Building

Building an UrbaNest

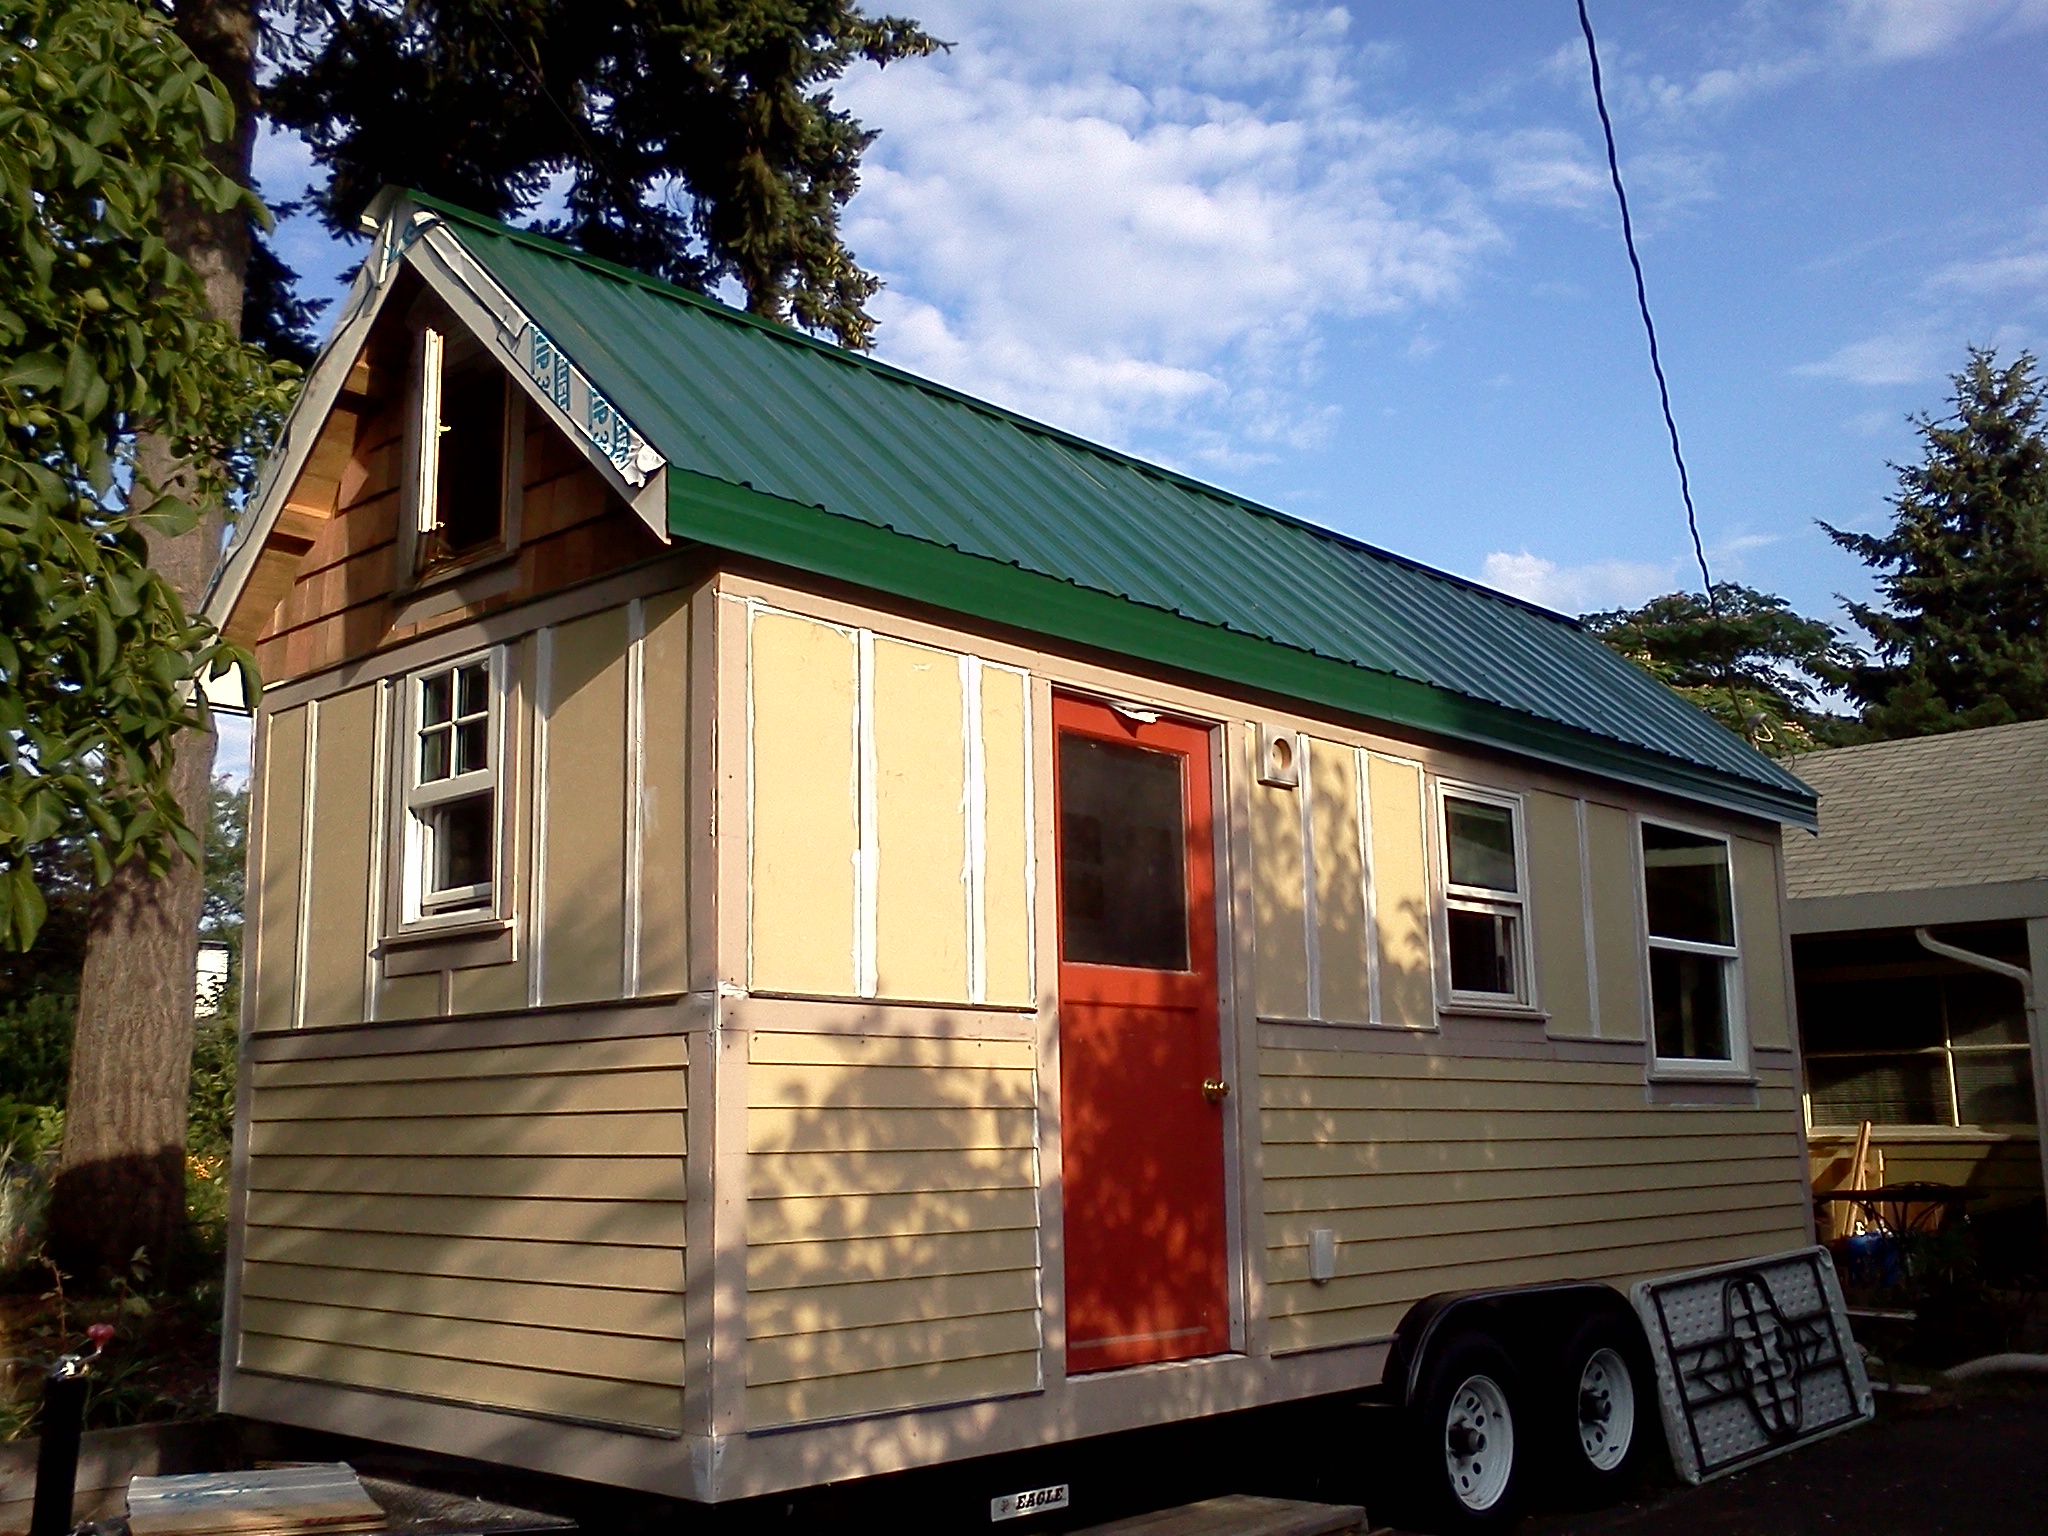
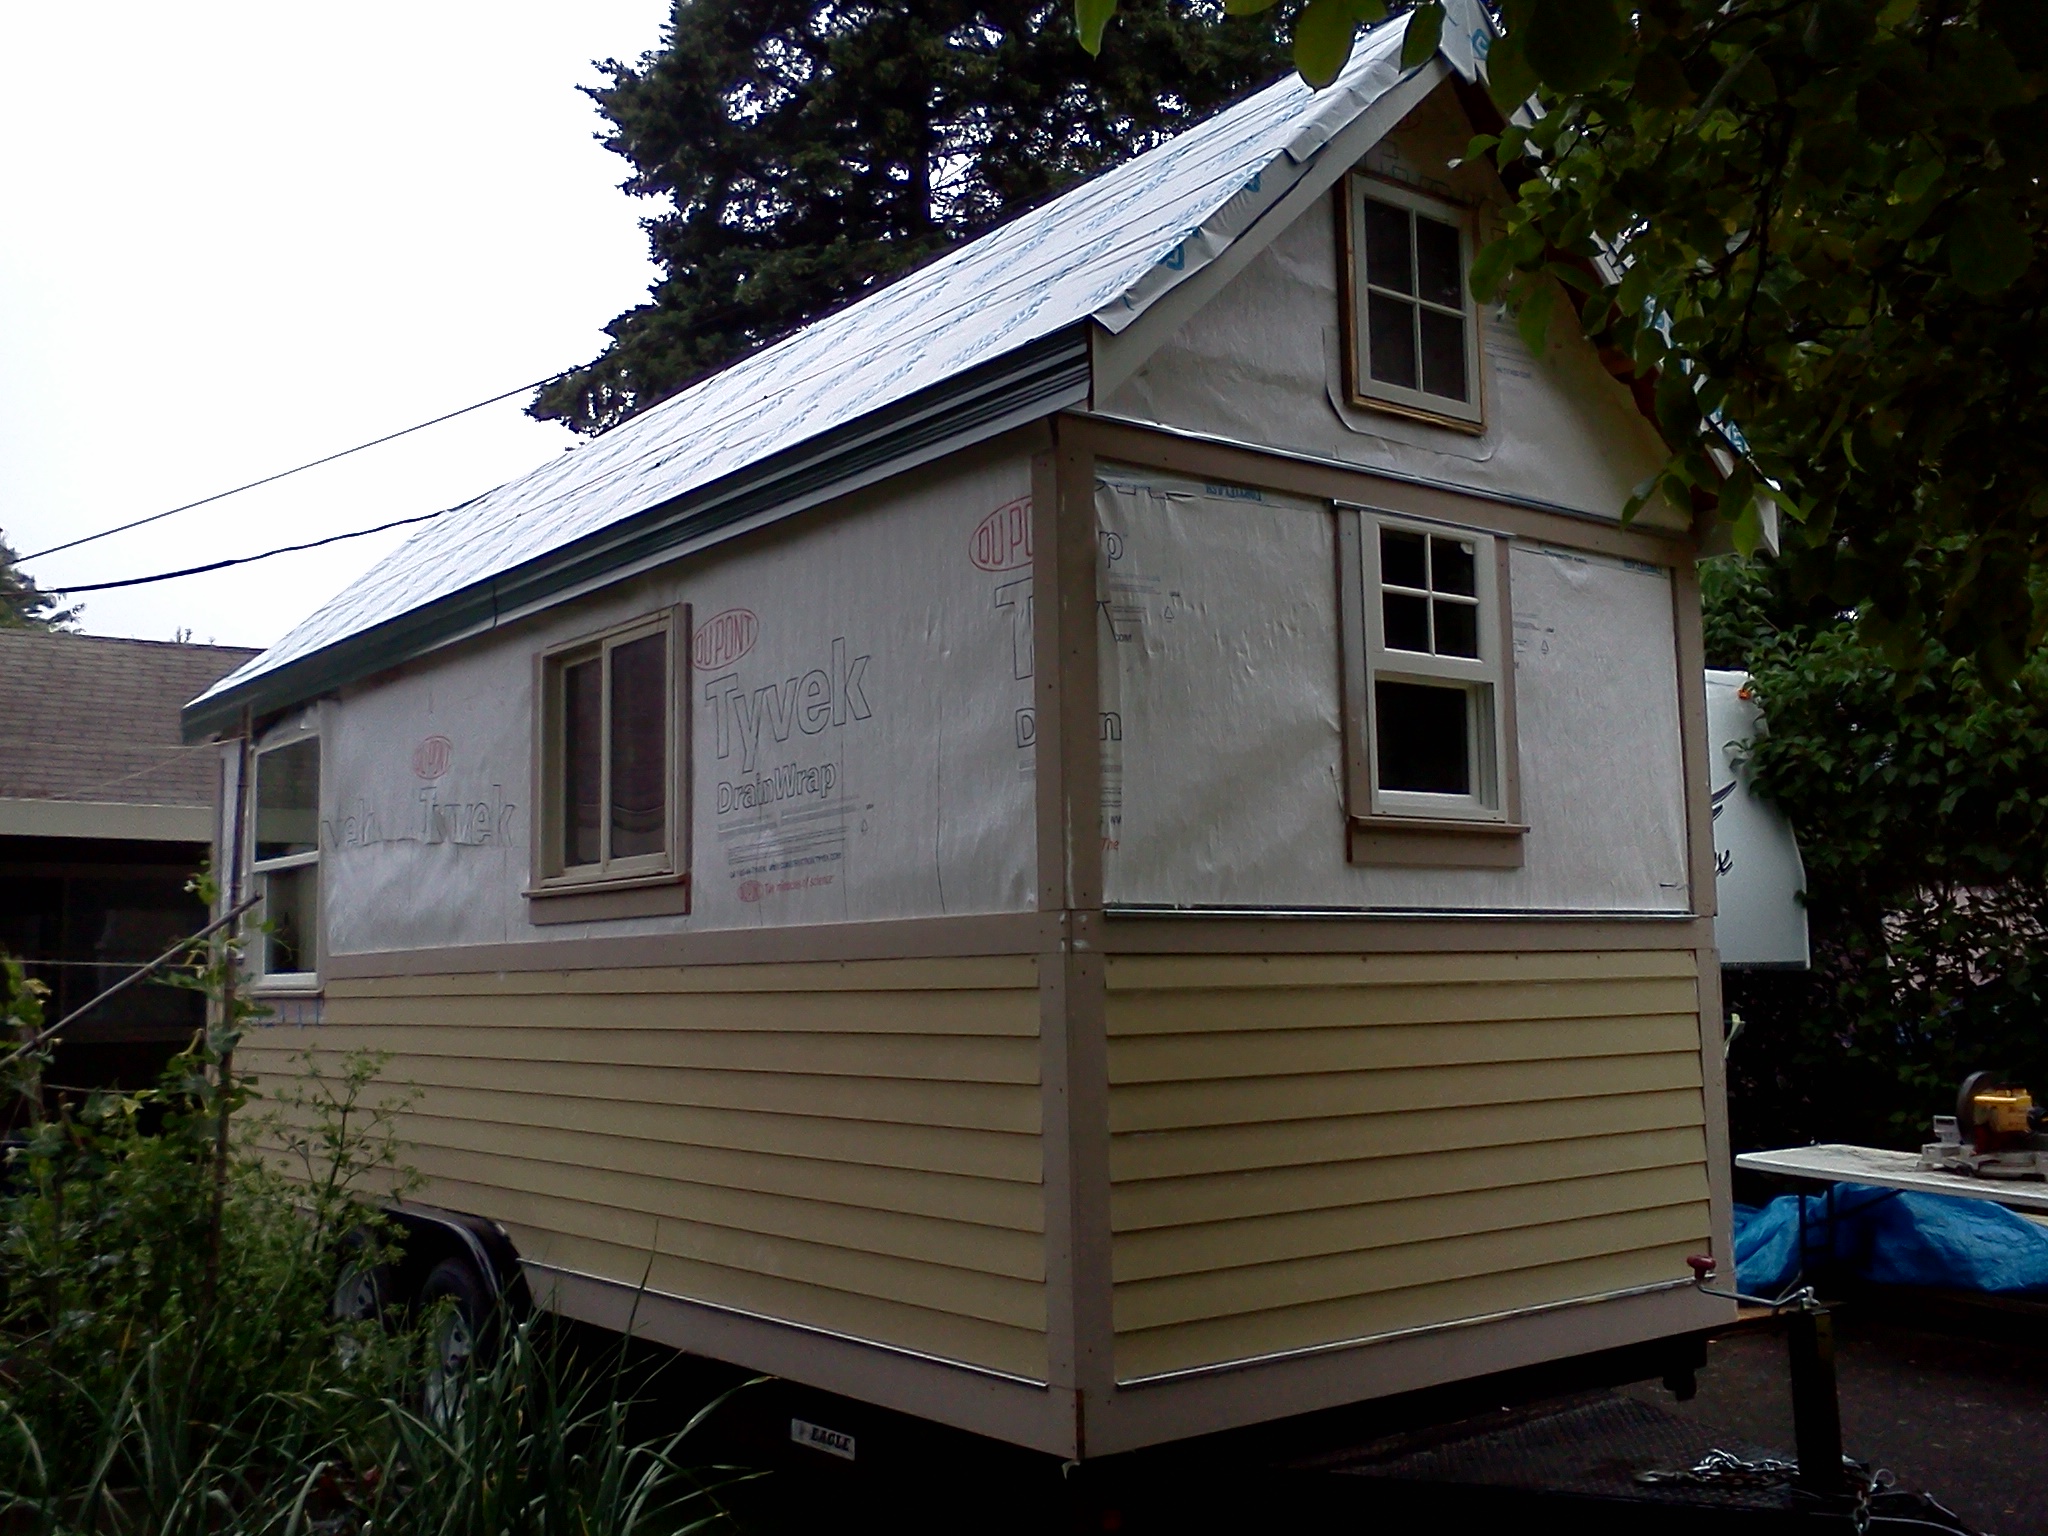
Through coordinating the Pedalpalooza Accessory Dwelling Tour I met Derin and Andra who built an ADU in their basement. We’ve kept in touch about small spaces and I was excited to learn that Derin and Andra have recently decided to start an energy efficiency consulting and tiny house building company called UrbaNest NW. First step: build a tiny house. I’ve been missing building since I wrapped up the tiny house I built for Orange Splot through My Summer Dream Job. So on Saturday I went over to Derin’s place to help him frame up the walls. It was a perfect October day: high clouds, yellow and orange leaves floating down in the breezes and blusters, still warm but with a hint of crispness. Derin already had one of the short walls mostly finished when I arrived so I helped him with the window framing and the top plates. Then we moved on to one of the long walls.

I took over the chop station while Derin did the final figuring. Derin is meticulous and had everything organized and laid out, but it’s amazing how there are always little tweaks here and there that are necessary once you start building in real life. We were talking about this when we took a snack break in the late afternoon.

I told him I often think of rock climbing when I’m building. Designing is like climbing at an indoor rock gym. You can get pretty good at technical climbing indoors: balancing, strength, agility, spotting your next foothold, etc. All this knowledge transfers to climbing on real rock, but outside you have more factors to consider. You’re contending with slippery surfaces, critters in the cracks, loose rocks, temperature variations, etc. Building is more like climbing on real rock: you’re dealing with the actual pieces of wood that are going to become your wall structure and they all have their own personalities. It’s like they come to the building process willing but with caveats. This is, of course, one of the most frustrating aspects of building, but that character is what gives wood it’s beauty and makes it a pleasure with which to work.

Once we’d knocked out two walls it was tempting to keep going, but Derin wisely suggested that we do the rest of the cuts and lay out the wall so that he could put it all together in the morning when he was fresh. We set up a second chop station and got to work. The two long walls are nearly symmetrical so we were able to lay out the new frame on top of the first one. Thanks to Derin’s detail-orientedness, the two matched up perfectly, at least at the lay out stage! I wanted so badly to come back the next day and help get the other walls up, but my schoolwork demanded my attention. So Derin had a few other friends come help out and I had to just appreciate the photographic evidence of another hard day’s work.

A Year of Little Living

moving into the tiny house a year ago Somehow it's already been nearly a year since I moved into a 121 square foot tiny house on wheels and wrote my first blog post: The Tiny House Adventure Begins. And what a year it's been!

This afternoon I was a virtual guest speaker for the Tiny House Design-Build Class at Yestermorrow and this evening I had a great conversation with my friend Derin about building tiny houses. Both of these got me thinking about how many amazing tiny opportunities I've had over the past year.

Through my internship with Orange Splot I coordinated the Pedalpalooza Accessory Dwellings and Tiny House Bike Tours and wrote several guest posts for AccessoryDwellings.org. Eli also connected me with the Space Efficient Housing Working Group and we've helped to plan the upcoming Build Small, Live Large Summit. I'll be presenting a session about tiny houses with Dee Williams of PAD Tiny Houses and Derin Williams of UrbaNest Northwest.

Tiny House Potluck

Speaking of Dee Williams, she helped me connect with other tiny housers in the area and our contacts spiderwebbed out from there. In the process I have met lots of great folks who are building, designing, living in, or dreaming about tiny houses. We've now had several potlucks and created the Portland Tiny Houses Facebook group and the Tiny House Network Google group. I've profiled A Tiny House Truck, A Tiny Natural House, and Advanced Fort Construction. We've chatted about the joys and challenges of the Little Life and helped each other with designing, building, troubleshooting, tiny house moves, and sharing resources and infromation. Dee also invited Brittany Yunker and I to participate in the Portland Tumbleweed Tiny House Workshop in June. I am extremely grateful to both Brittany and Dee for helping me to make these connections with other amazing tiny housers.

going whole hog on a tiny house build

Over spring break I had the chance to help a friend built the shell of her Tiny Barn and I apprenticed with Orange Splot for My Summer Dream Job: Tiny House Design Building. In July we got Brittany's Tiny House On the Road again and I lived in an ADU which I dubbed My Summer Garden Cottage. I spent my days Going Whole Hog on the Tiny House, working on Tiny House Insulation, Roofing, and Interior Walls. The tiny house was featured on the Build it Green (BIG) Tour in September. I was able to use these design-building experiences as my practicum project for my Certificate in Sustainable Design and Building at Yestermorrow Design Build School in Vermont.

home, sweet yurt

I've been interviewed by journalism students for OR Magazine, by newspapers like the Portland Tribune, by a Canadian TV station, and by Vermont Public Radio. I'm also scheduled to do an interview with my friend John for  Portlandia's The Real Portland. Meanwhile, I've considered a plethora of tiny house issues such as Tiny Home Improvement, Shrinky-Dink PorchesTop 10 Reasons to Pick An Envi Heater, Creative Tiny House Storage Solutions, why Tiny Houses Turn Their Backs on the Street, and Tiny House Insurance (or lack thereof).

Now I'm Downsizing from a Tiny House to a Tinier House and, inspired by the 100 Thing Challenge, I'm currently Inventorying & Packing Up so that I can embark upon My Things Challenge. For the next school year I'll be living in a 113 square foot yurt in inner Portland, so the tiny adventures will continue. Thanks for following along everyone. Here's to another great year of the Little Life!

Tiny House on BIG Tour

tiny house on BIG Tour Each year Portland’s Bureau of Planning and Sustainability hosts the Build it Green Tour, which has been nicknamed the BIG Tour. This year Cully Grove is going to be featured and since the tiny house is here, too, Eli has offered to include it as part of the tour. I’ll be able to show off all my hard work and talk tiny houses with everyone who stops by.

The tiny house has come a long way since I showed the house off at during my Yestermorrow practicum presentation a month ago. I’ll be wrapping up my work on the tiny house in the next week, so showing it at the BIG tour will be my capstone for my summer’s work.

The house isn’t quite done yet. In the next couple days the exterior will be painted and the interior will be clear coated. The kitchen cabinet has been ordered and will be installed soon. Eli is going to have a metalworker named Richard whom he’s worked with before make decorations to cover up the metal hanging brackets that support the loft joists. Eli’s also going to have Rocky tile the countertop. The sink will need to be installed, too. And of course, the finish plumbing and electrical work still needs to be done. But we’re getting to the point that there’s not much more I can do.

I certainly still have plenty to learn, but I’m proud of what I’ve accomplished. Over the course of the summer I learned some tangible hard skills: siding, air sealing, creating an electrical layout, running wire, insulating, paneling, trim work, roofing, shingling. I also learned soft skills related to working solo and planning ahead. I feel really lucky to have had my Summer Dream Job. I found that I love woodworking and especially finish work like window trim. The moment I figured out how to rabbet out a piece of trim on my own was a highlight of the summer. I’m grateful to Orange Splot, LLC for a full year of internship and apprenticeship and I’m glad I get to share the tiny house with others on Saturday, September 21.

Please come check it out if you’re able!

The Proof is in the Practicum

(Check out a Teeny, Tiny Film about the project!)

Just over two years ago I began my Certificate in Sustainable Design & Building at Yestermorrow Design-Build School in Warren, Vermont. I started out with the three week core curriculum Ecological Design in the Built Environment. I returned to Yestermorrow that fall for the Less is More Class focused on designing small spaces and the composting toilets workshop. That winter I participated in the two week Natural Design-Build course, a hands-on class that enabled us to work with straw bale, light straw clay, and wood chip clay construction techniques as well as design considerations for natural structures. I finished up my coursework in February with a set of three classes: Sustainable Development Best Practices, Green Remodeling, and Invisible Structures. This last course has really stuck with me since it focused on the social, legal, and financial systems that support our built environment. The coursework exposed me to new ideas and information as well as a very practical building skill set. More importantly, it introduced me to a network of talented, fascinating, and inspiring people who encourage each other across time and space.

But I knew all along that the certificate practicum project would be my chance to show that I had synthesized the knowledge and was able to apply it. When my friend asked me last winter to help her design and build her Tiny Barn, I realized I could count tiny house building as my practicum project. I asked Dave Cain, one of my Less is More instructors to be my adviser and he agreed. In March I helped my friend build the shell of her Tiny Barn and this summer I’ve been a Tiny House Design-Building for Orange Splot. I’ve had the chance to take a tiny house from the shell stage to near completion. Between the two projects I’ve learned how to build a tiny house on wheels from foundation to trim!

Yesterday I presented my practicum project to a panel of critics at Yestermorrow. A former classmate of mine Emily Morris is a talented videographer and made a Teeny, Tiny Film for me, which was part of the presentation! I was able to Skype in from the tiny house I helped build so I gave a tiny virtual tour at the beginning of our conversation. The half hour went by quickly as I shared my story, my lessons learned, and my next steps. I was dubbed a “tiny house evangelist” by one of my former classmates who was also presenting his practicum. I’ll have to be careful with that, but I was honored.

I initially considered Yestermorrow a stepping stone in my path towards creating sustainable community, but instead it's been more like a springboard, catapulting me on to adventures and opportunities far beyond what I originally envisioned. Yestermorrow's Certificate in Sustainable Design-Build has introduced me to fascinating ideas, brilliant people, and a plethora of information that has proven invaluable as I've embarked on a career in sustainable design, build, and consulting. Thank you, Yestermorrow!

Tiny House Insulation, Roofing, & Interior Walls

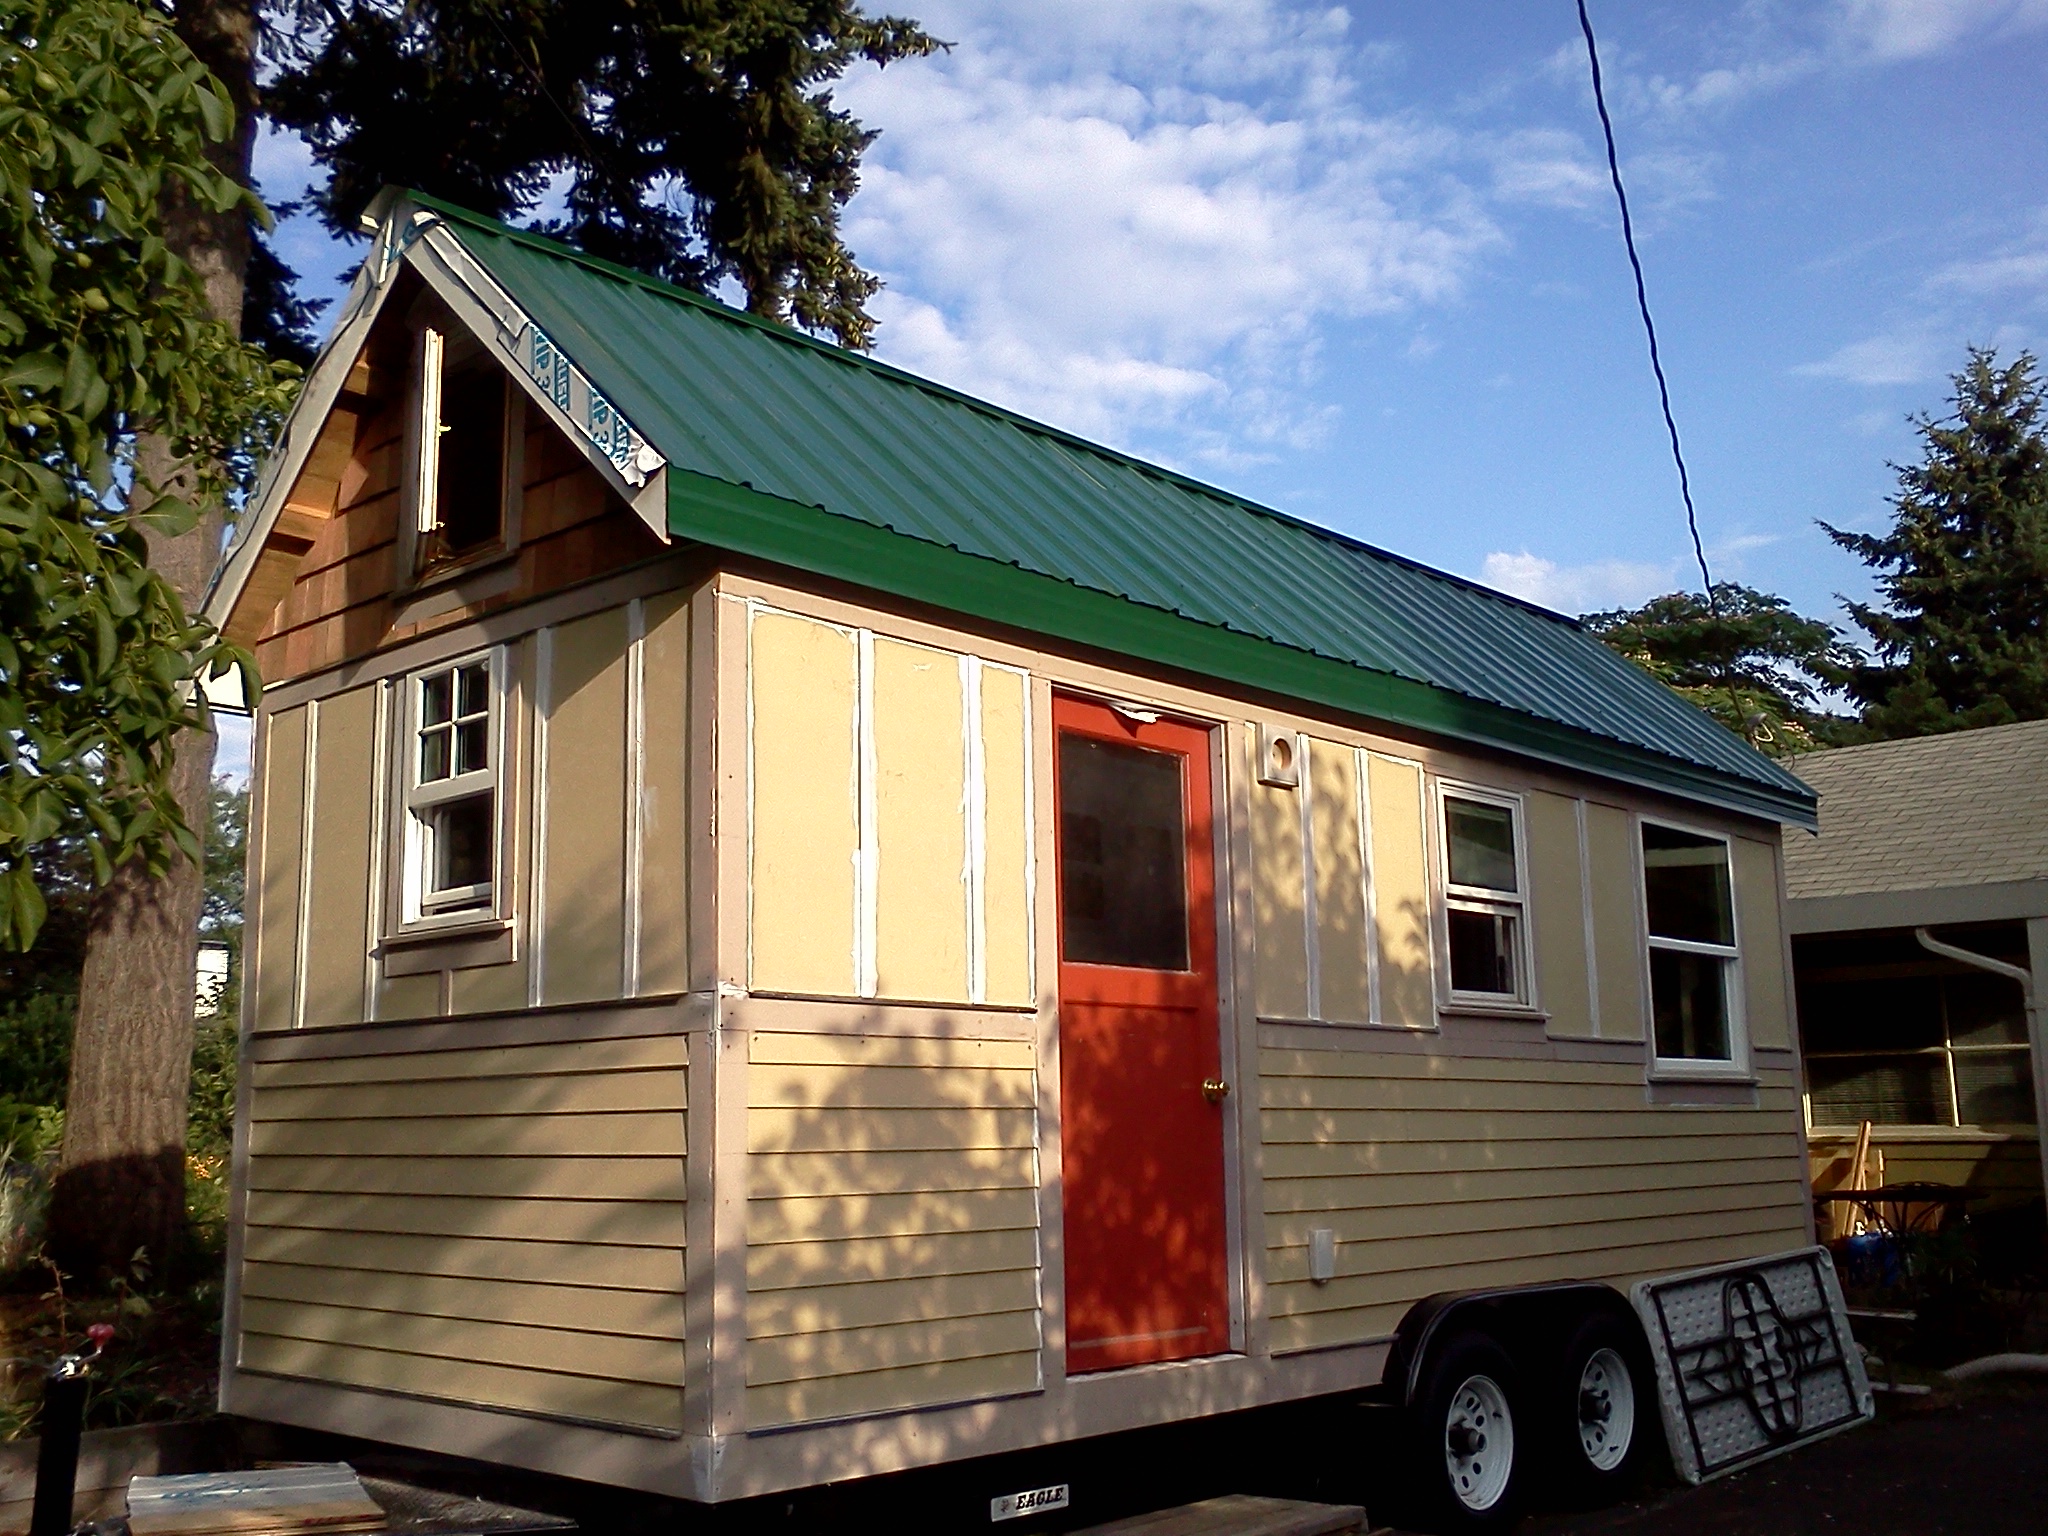
Tiny House Exterior The tiny house I'm building with Orange Splot, LLC has come along nicely in the past two weeks. Last week (between moving into My Summer Garden Cottage and getting the Tiny House On the Road and back to Olympia) I insulated the ceiling and walls. Manda and I also installed the metal roofing and flashed the gables and the skylight.

sealing gaps at the top of insulation and below the ridge vent with spray foam

I was a little nervous about getting up on the roof at first since I had a pretty epic fall off a ladder when I was 16 (and I have the scars to prove it). But I'm more afraid of falling than I am of heights. Once I was up there I was able to just enjoy the project and the view of the neighborhood. It was also awesome to hear Eli's three-year-old daughter squeal: "Look! Two women on the roof!" I love that this little girl is growing up with role models of women building houses. A few days ago when the office manager Chris pointed to the tiny house and asked Ozora whose house it was, she replied "Lina's House." Aww, shucks! I wish!

working with gravity: we taped seams then spray foamed the gaps


As for the insulation, I know many tiny housers are committed to using natural insulation like sheep's wool or denim batts. I appreciate that because the natural materials are renewable, less toxic, and support green industry. But in this case we're going for high R-value in the ceiling with 3 inches of rigid foam. We're using R-19 fiberglass in the walls because it's quick and inexpensive. The ceiling bays had few complications (just a carbon monoxide/smoke detector and an overhead light to work around) so the rigid insulation was pretty easy to install once I got myself a 3 inch blade. Manda also showed me how to work with gravity instead of against it when using expanding spray foam. We taped the seams where the rigid foam ran along the rafters and then sprayed the foam from above once we cut open the ridge vent. (This was a drastic improvement over my attempt to spray foam from below at the end of the previous day!) Even installing the prickly fiberglass insulation in the walls was pretty painless since I prepped ahead and was totally prepared. I had long sleeves, gloves, safety glasses, and a great face mask. I still plan to use fiberglass insulation as infrequently as possible, but at least I know for next time that a good mask makes all the difference.

Interior Paneling

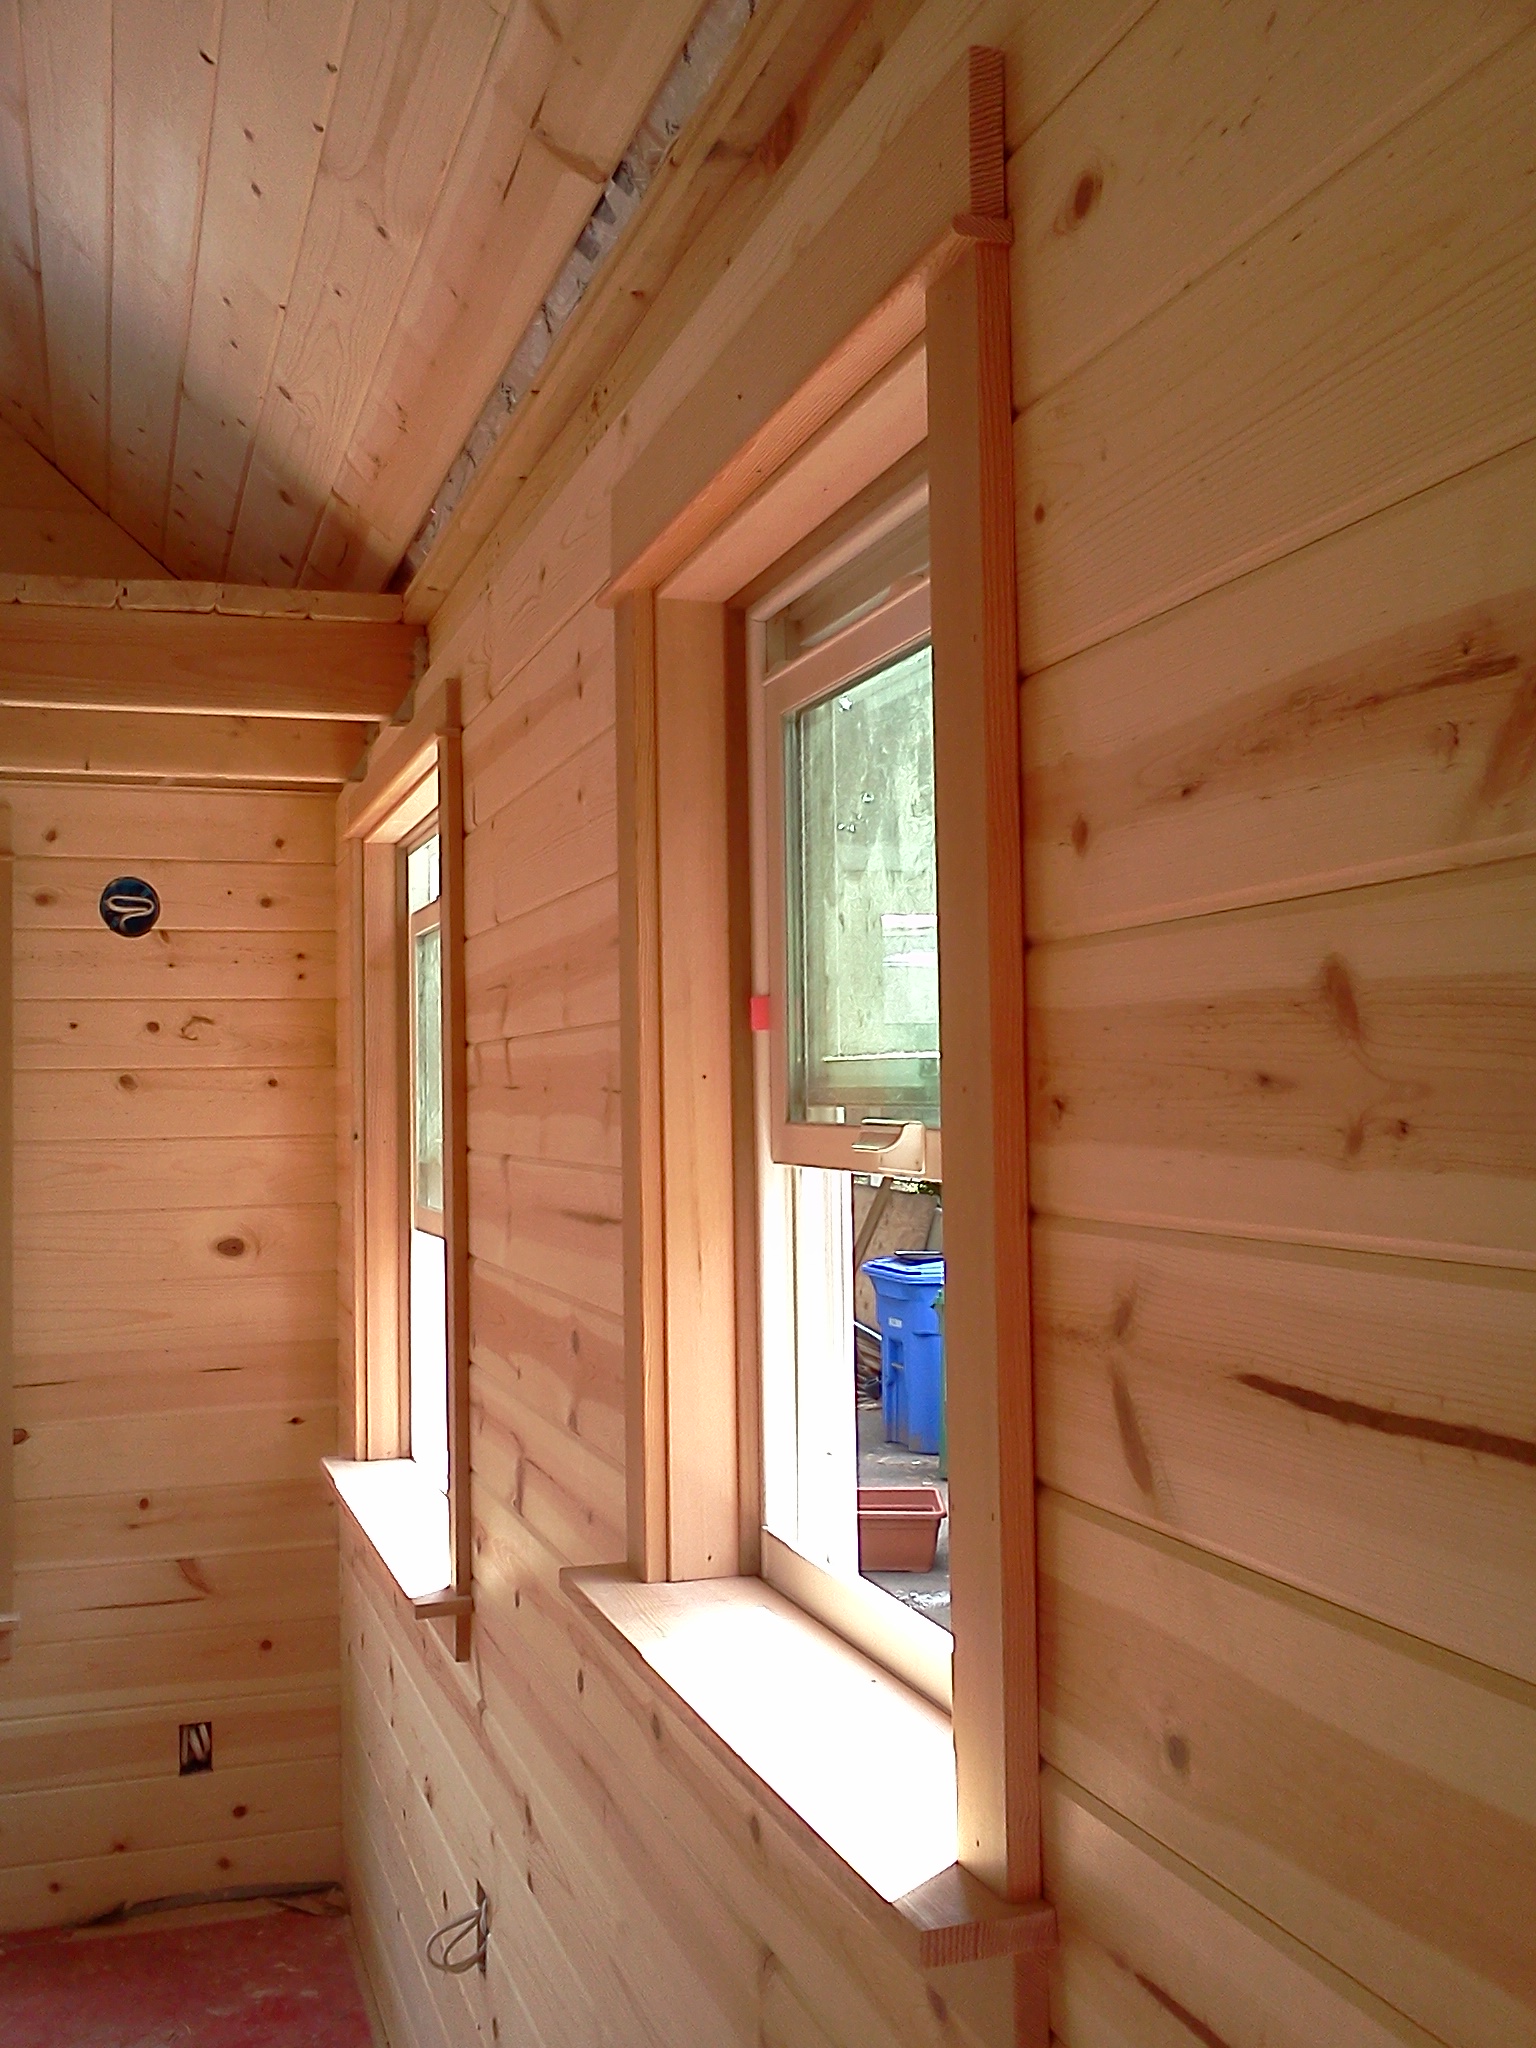
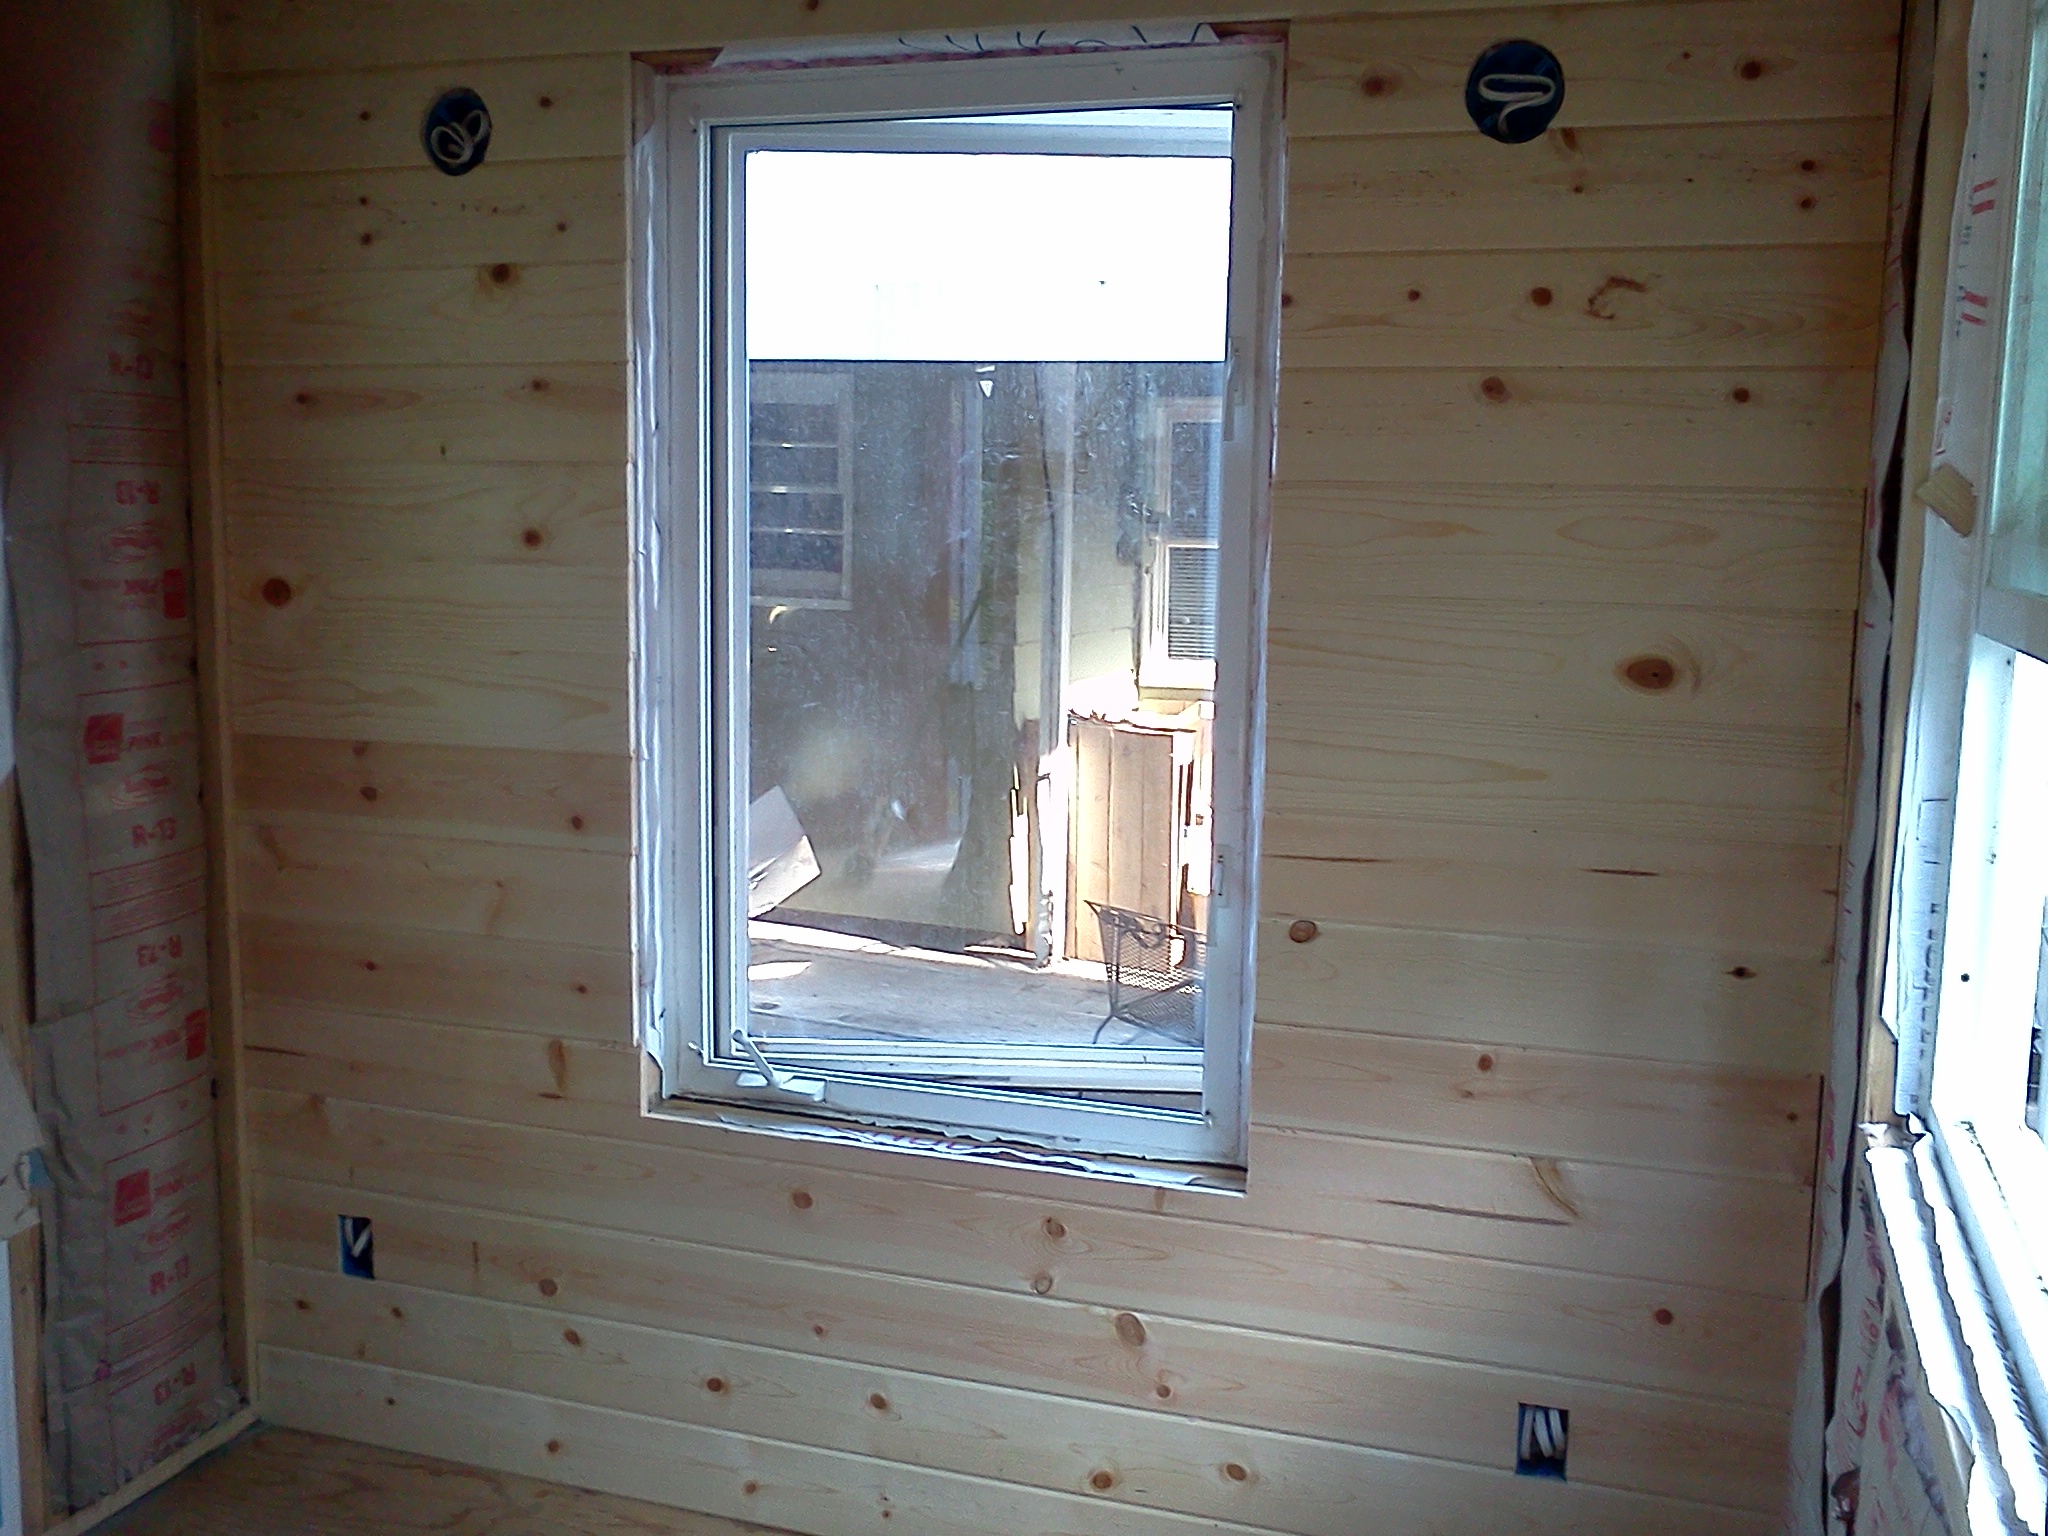
This week on Monday I worked through a punch list of little tasks such as insulating the outlet boxes and tidying up our exterior materials. First thing Wednesday morning the plumbers roughed in for the shower and kitchen sink, so once they finished I was able to insulate the kitchen and bathroom. Yesterday I began on the interior finish which is a 5/8" tongue and groove paneling. It's thicker and heavier than I've seen in other tiny houses, but it's really beautiful wood. I think it will be gorgeous once we clear coat it.

Jill of All Trades

let there be (sky)light! We (almost!) finished the tiny house's exterior last week. Eli has found a professional painter with all the equipment to paint the tiny house in just a day. So on Monday I caulked big gaps and primed the battens and trim to prep for the painter. Simon - who is quite an artist in addition to being a great site supervisor - is letting some thoughts percolate for the time being about the design details for the upper portion of the gable ends. Of course, we still need to install the metal roofing, too, but I won't be able to do that by myself. Manda and Simon have been super busy over at the Cully Grove site since the framing has begun over there now. In the meantime, I shifted my attention to the interior of the tiny house and solo projects.

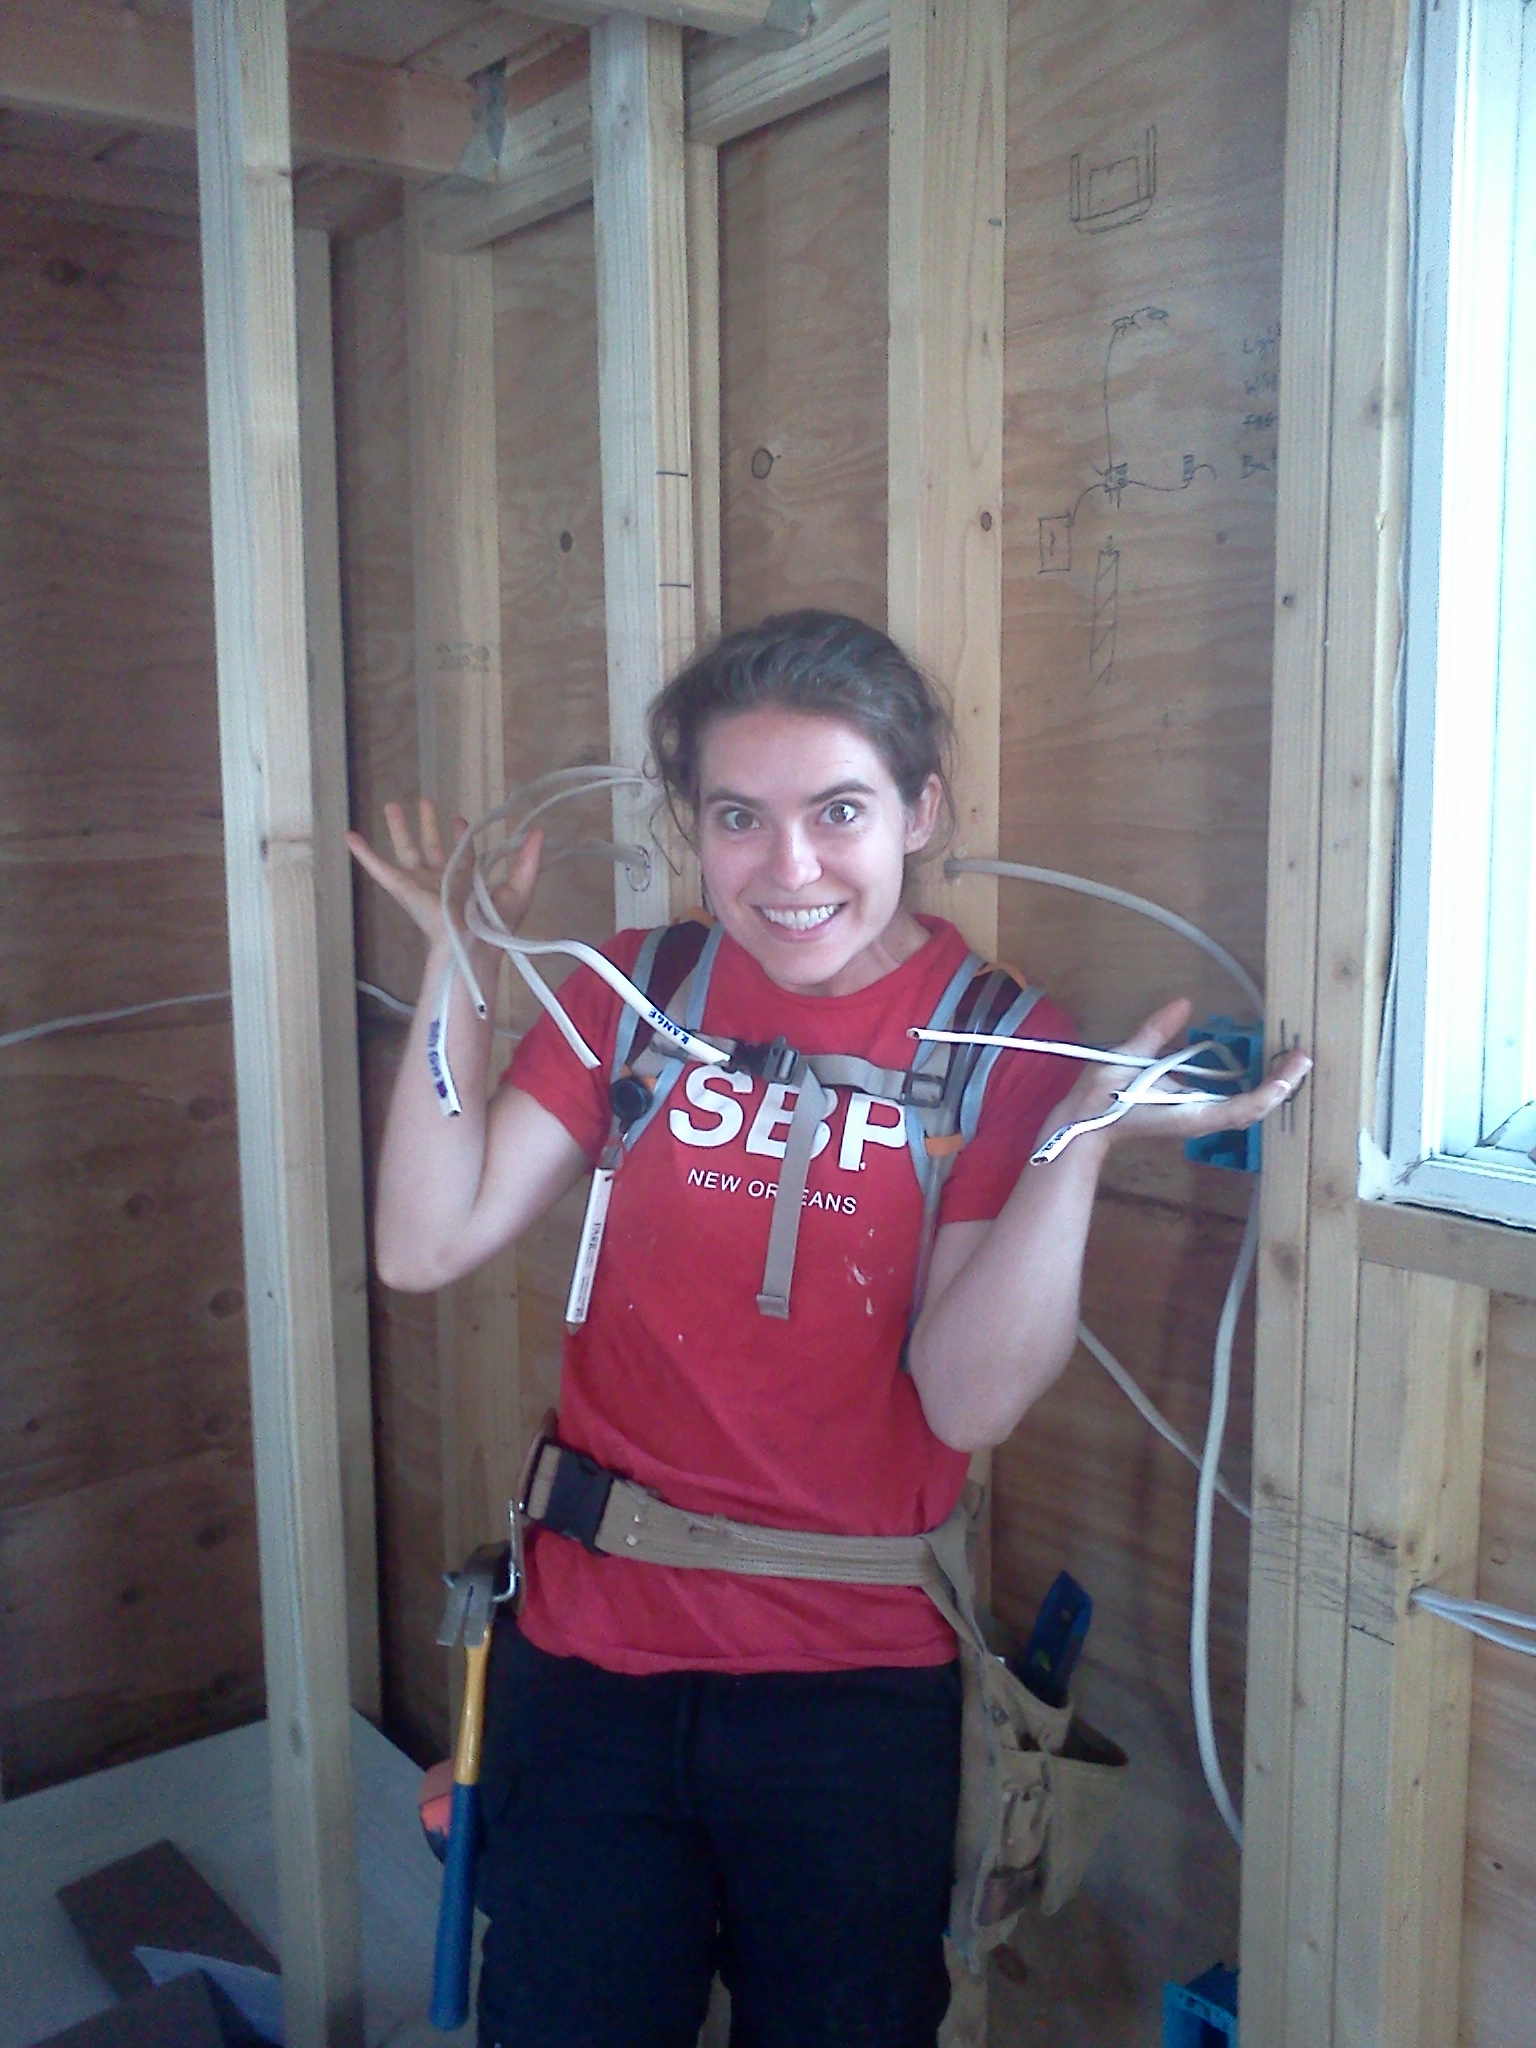
I started out the week by clearing out all the building supplies we'd been storing in the tiny house and cleaning it up. After sweeping and vacuuming, I caulked the floorplates to the floor, studs, and sheathing. I also installed the door knob so that we can close up the house at night. Then I got going again on the rough electrical. Eli did a walk-through over the weekend and had a few modifications and additions for electrical switch and outlet boxes so I set those in place Monday. The electrical additions required a few more holes to be drilled through the studs so I've become pretty handy with the right angle drill. (Manda informs me that it's actually a "hole hog," but I like the idea of Going Whole Hog on the Tiny House!)

wiring fun

With the thumbs up from Eli I was able to pull the wire Tuesday. (I realized there was a good reason Eli suggested making my runs as straight as possible - it's much easier to actually pull the wire that way!) We're using a 12 gauge wire with 4 circuits. There's a dedicated circuit for the 10 gallon tank water heater and second for the range. A third circuit controls the bedroom and bathroom lights, outlet, and exhaust fan. The fourth circuit is for switches and outlets throughout the rest of the house. I've labeled the wires to make it easier for the electrician to connect everything once we've finished out the walls.

Running wire was a good logic puzzle and by the time I had to leave for my Real Estate Construction class on Tuesday, I had a long list of questions which Simon helped me answer on Wednesday. I enjoyed my crash course in electrical. Turns out I enjoy pulling wire and double checking that my switches and lights are all wired properly. Of course, now that I've got the hang of it, I'm finished with rough electrical, but I'm eager to give it a go again soon!

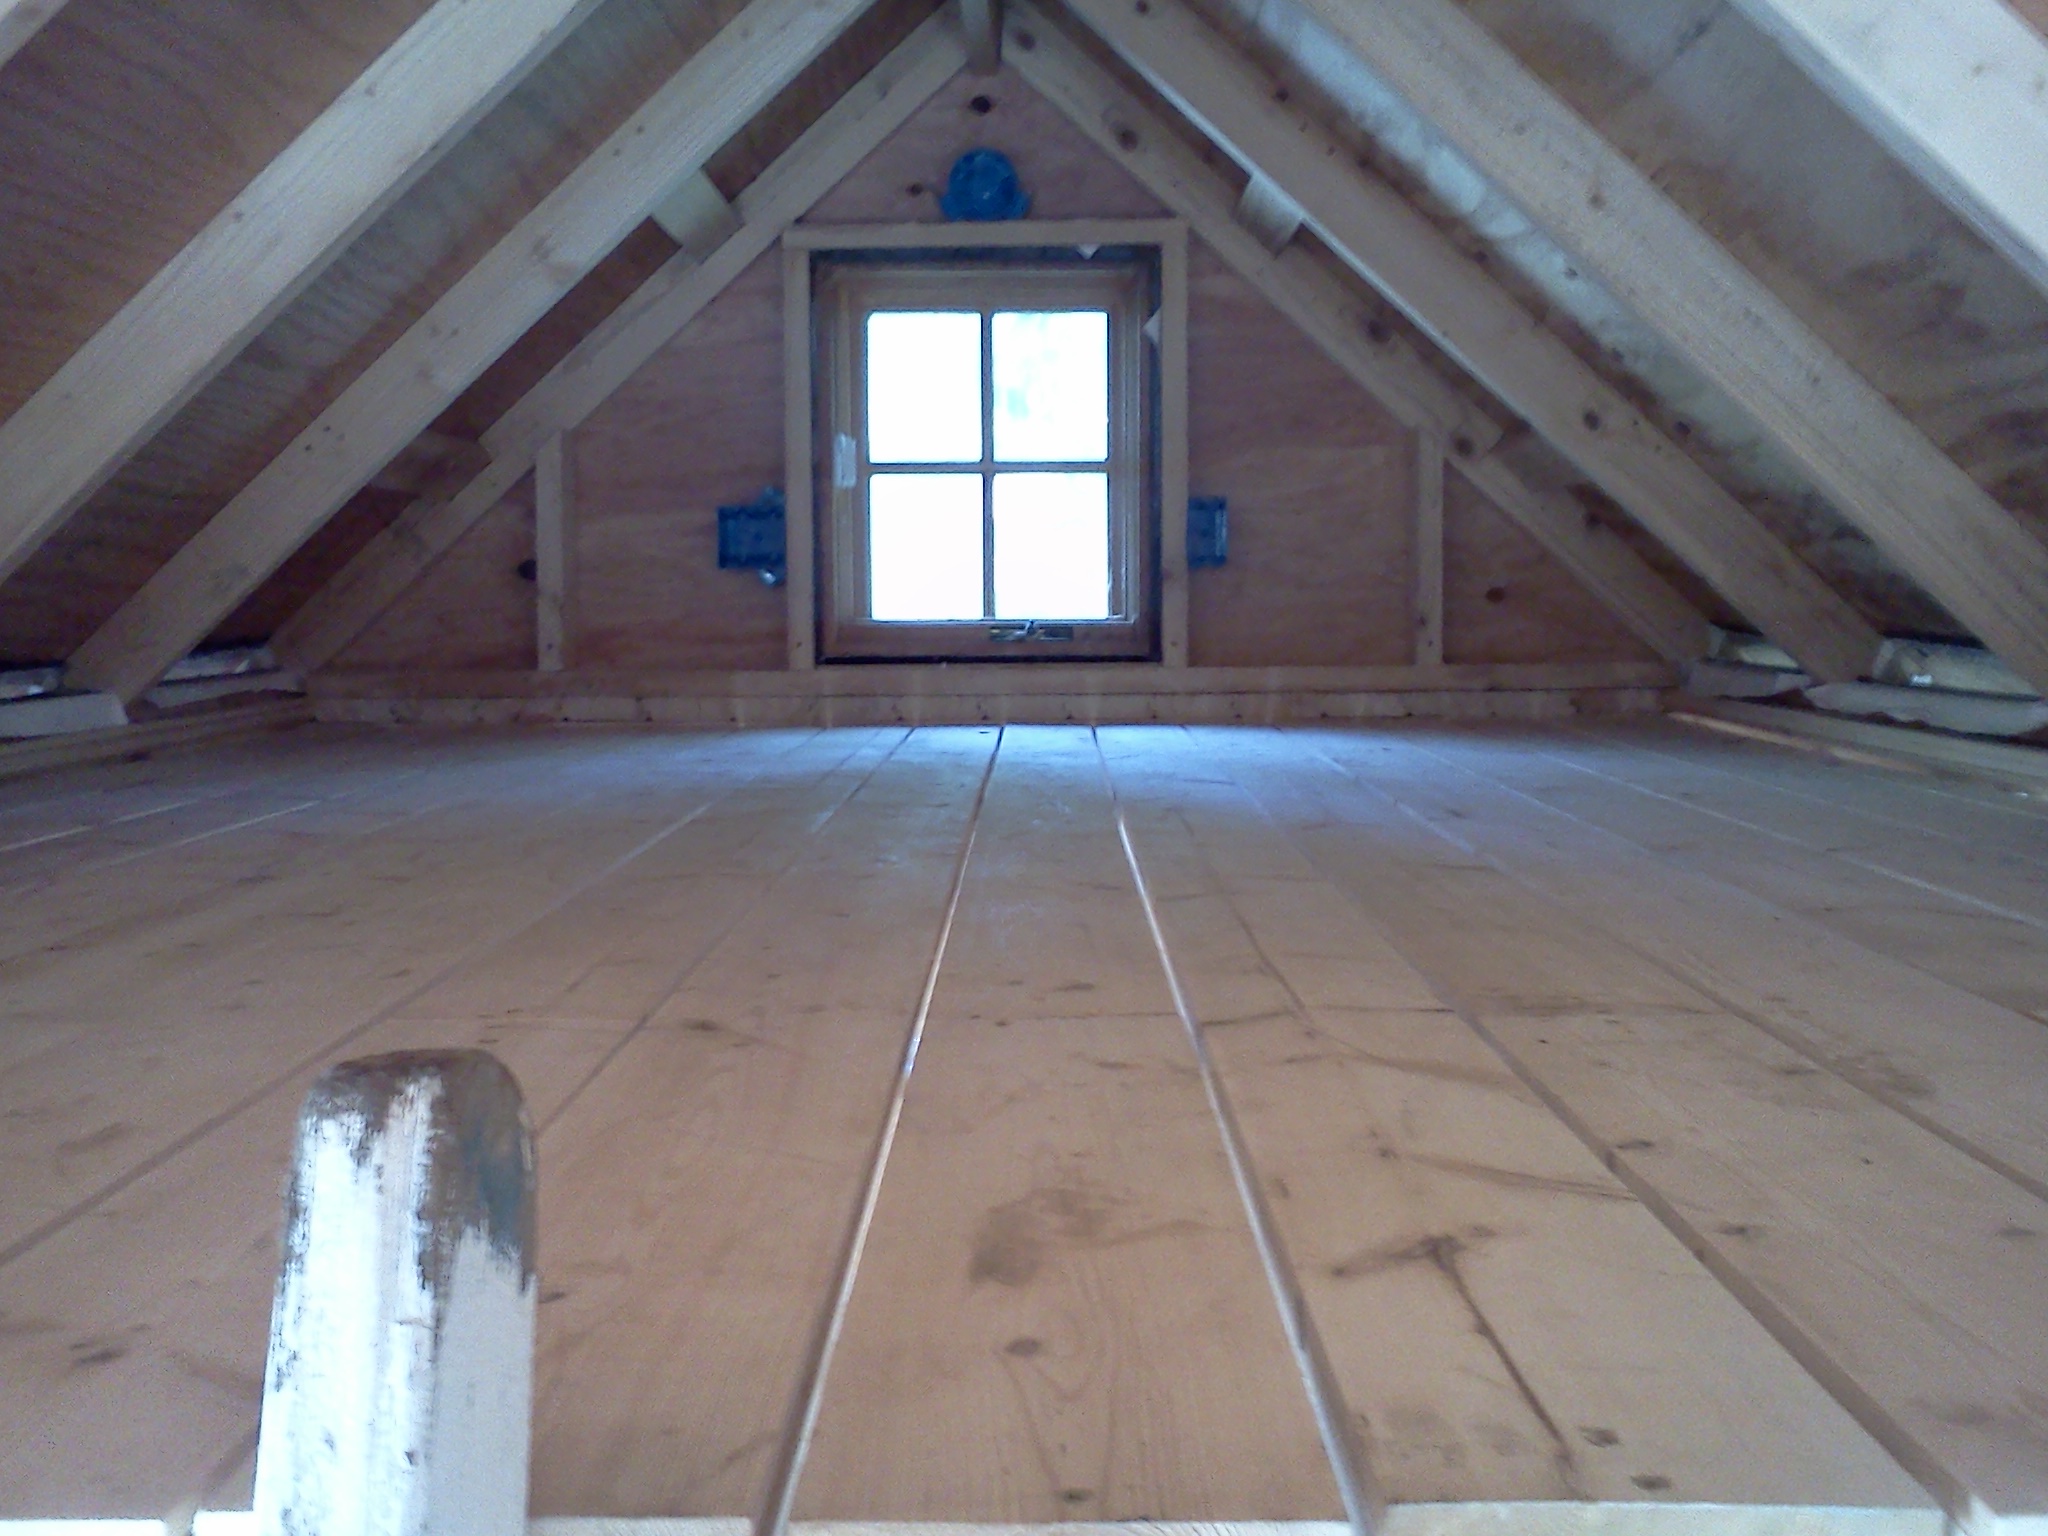
sleeping loft before the skylight

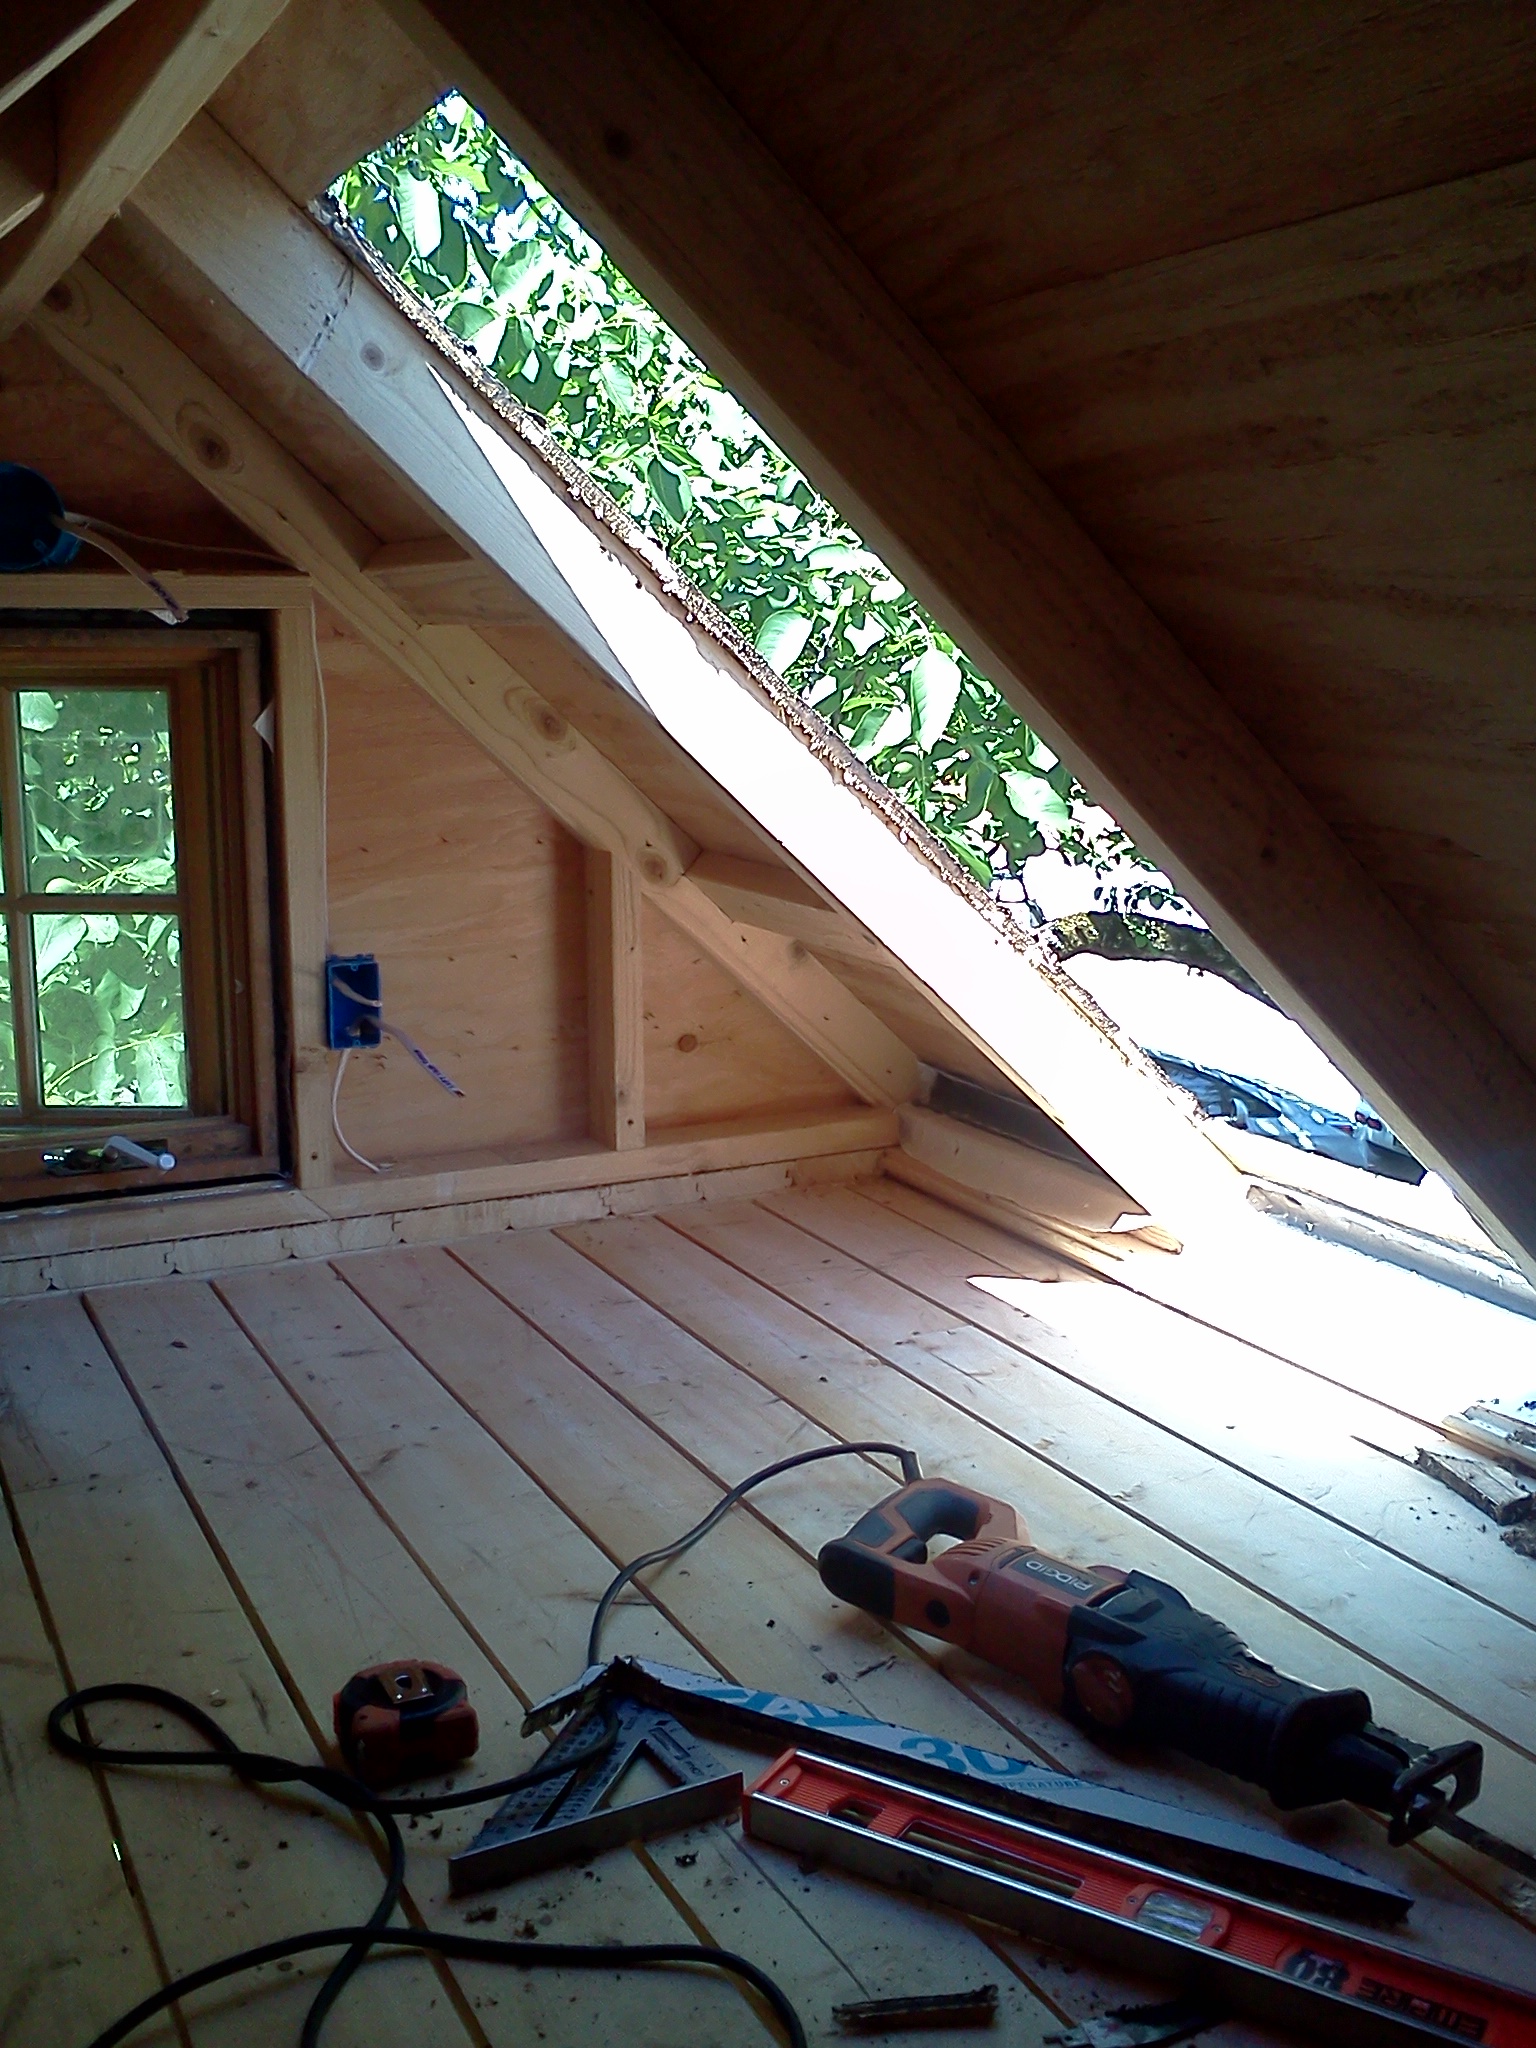
Eli also asked us to install the skylight over the sleeping loft so we can start on the roofing. I marked our rough opening, but I was nervous about using the sawzall, especially in such a confined space and at an awkward angle. The sawzall and the table saw are the two power tools I'm still not quite comfortable with because I hear horror stories of professionals doing serious damage with them. Certain power tools demand respect and I intend to be respectful! So I decided to wait for some coaching.

Fortunately, Manda had some down time at the Cully Grove site yesterday afternoon so she taught me how to use the sawzall safely. Simon helped us set the skylight in place and fix it to the roof sheathing. It's amazing how much the skylight opens up the sleeping loft. Once again, I'm convinced that skylights are the trick to creating a feeling of spaciousness. It's my new favorite feature of the tiny house!

little shared car, big load

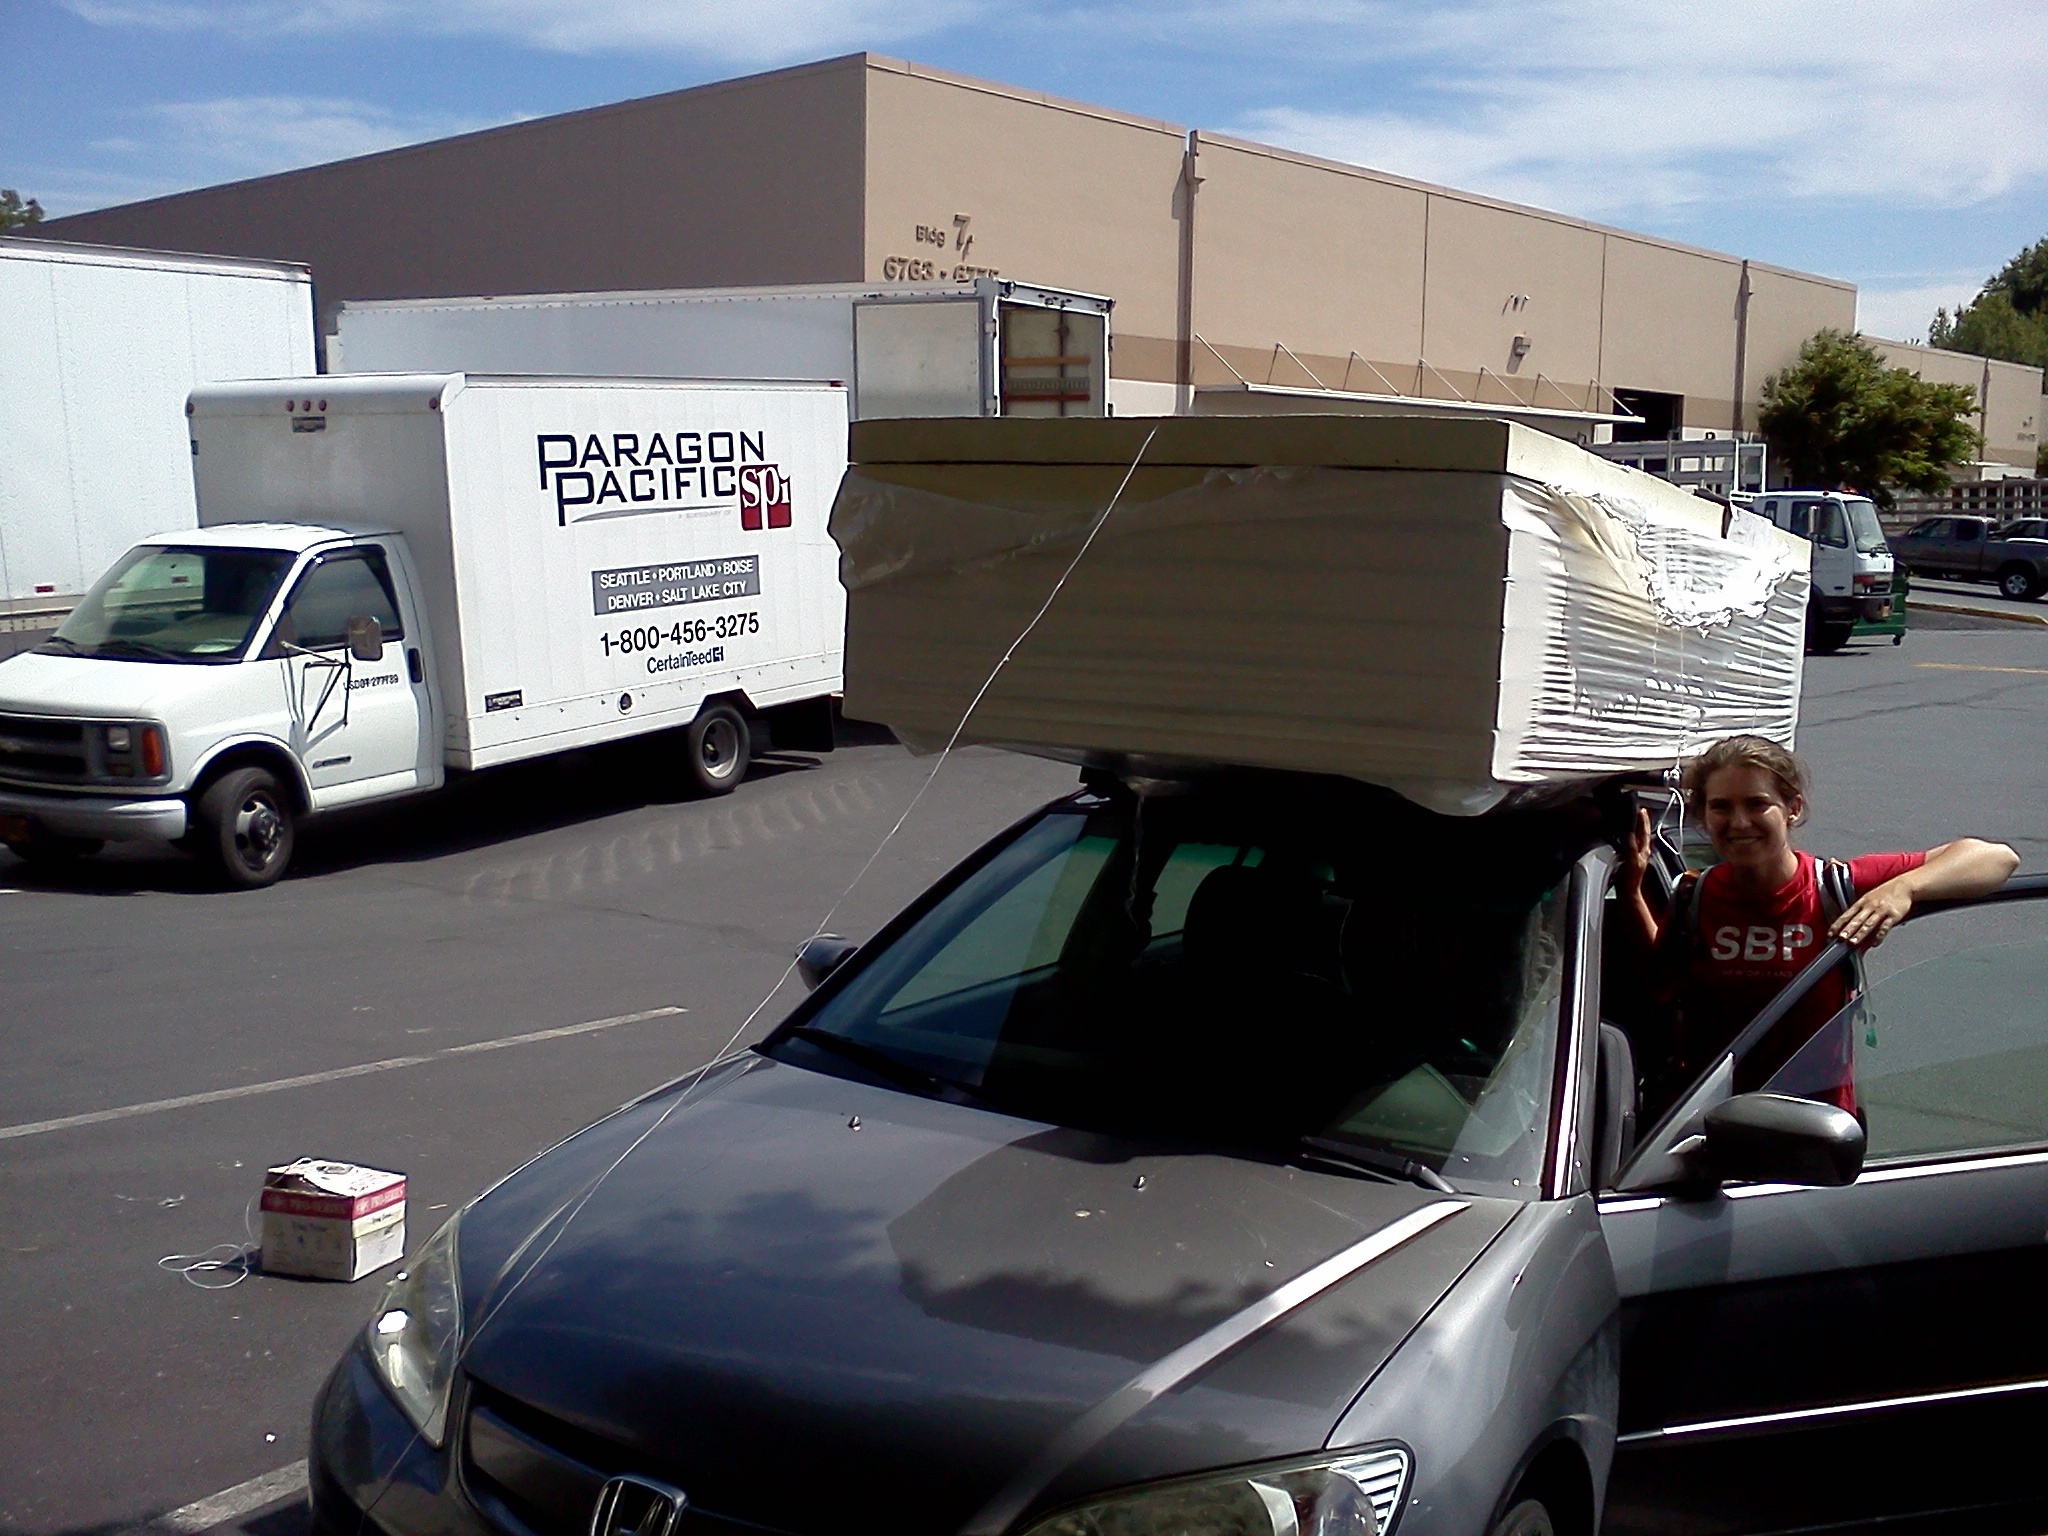
Today I did a supply run to pick up 14-3 wire for our 3-way switch, nail plates to protect our wire from puncture wounds when we install the interior finish, and the insulation for our ceiling and walls. Paragon Pacific has a crazy-wonderful selection of insulation, including this 3 inch rigid foam we'll use for our ceiling. I loved loading up the Getaround car with a heap of insulation. It reminded me of the IKEA commercials. Tee, hee!

I've realized this week that one of the strange things about building a tiny house is that I don't have a chance to perfect any of the building techniques. Just as I get the gist of hanging siding, running wire, or cutting rough openings with a sawzall we've finished up that step and moved on to the next one. I imagine by the end of the summer I'll be a true Jill of all trades. Fortunately, I anticipate there will be plenty of chances to apply what I'm learning to other tiny houses! I learned a lot this week and next week it's on to a whole new skill set...

Going Whole Hog on the Tiny House

going at the tiny house electrical whole hog This week we wrapped up the siding, adding panels and battens above the belly band and shingles in the gable ends above the head band. It was fun to work with the cedar shingles. They smell much better than the cement board! There was also an amusing puzzle aspect of making them fit together just so. It reminded me of building a stone or straw bale wall.

There's something about working with natural materials that's so aesthetically pleasing. I often wish it were easier to combine natural building methods and tiny houses. There are, of course, many natural materials that can be used for tiny houses, but several natural building traditions such as straw bale and light straw clay don't work well for tiny houses. (To learn about a wee house built with light straw clay, check out A Tiny Natural House.)

Siding & Shingles

We also got started on the rough-in electrical which involved walking through the house, imagining a day in the life of a tiny house dweller. Where do we need a light switch when arriving home with groceries in the evening? Where do we want an outlet to plug in a desk lamp and computer? How can we ensure that someone can get into the loft with adequate lighting but still manage to flip out the lights to go to sleep? It's amazing how early on in the building process these decisions need to be made! (On the other hand, for my vardo I don't plan to run electrical through the walls any more than I have to, so I'll probably have electrical chases above the kitchen counter and desk and use plug-in lights in most places. I will still need to plan ahead for where all the electrical will go, but I probably won't actually run the electrical this early in the building process.) I tacked our light switch and outlet boxes and light fixture boxes into place, so Eli can do a second walk-through and make sure it's all just right.

To bore holes through the studs for all the wiring I also got to use a heavy duty right angle drill with a super long auger bit. I'm told the tool is called a "whole hog" and I felt like it requires the accompanying attitude. When using a tool like that you've got to be committed to the placement of that hole! It was great fun. I've got a feeling I'm going to earn both my muscles and my sun tan this summer!

Summer Dream Job: Tiny House Design-Building

I'm going to help finish this tiny house! I've landed my summer dream job thanks to Eli Spevak of Orange Splot, LLC. I'm apprenticing with his construction crew to build tiny houses this summer. The first house we're working on was started last summer by a woman who was building it for herself with the help of some friends. Changes in her life pointed her in a different direction, so the tiny house sat all winter, waiting to be finished. I found this tiny house on Craigslist and decided it wasn't for me, so I showed it to Eli and he hauled the wee house from Sauvie Island to his place in Cully. It's now parked in his driveway, where we built the shell of my friend Jane's Tiny Barn during an intensive week-long build. The interior design is evolving a bit, but we're certain the tiny house will have a bathroom, a kitchenette, a hang out space, a sleeping loft, and a storage loft.

putting up cement board siding

The thing I find especially cool about working on this tiny house is that when I joined the crew it was at exactly the stage Jane's Tiny Barn was when my spring break ended and I shifted back into school mode. The house was secured to its 20 foot long trailer foundation, the walls and roof were framed up, sheathed, and tyveked, and the windows were in. So I got to pick up right where I left off with the last tiny house.

This week we've been working on exterior finish for the tiny house. We've put up our corner trim, a belly band and a head band. We're using concrete board which is fine since this tiny house probably won't be moving very often. But it's been a steep learning curve for me since I'd never worked with it before. In general Hardi Board is not the best material for tiny house siding since it's heavy, fragile, and not very forgiving. I've been working alone some days, so I've been using strategies like propping up one side of the board while I screw the other end to the house.

I hung the door! hooray!

Most days I've been working directly with Cully Grove's project assistant who went through the Oregon Tradeswoman program and has taught carpentry. I feel very lucky to be working with her because she's a great teacher in addition to being a really cool person. When she set me up to hang the door she asked "You got this, right? Feeling confident?" I laughed and told her I'd let her know if I needed a hand. I was glad she was confident in my abilities. It made me more confident, too. Doors are tricky and I had to modify the door to fit a mis-matched frame, but I got it to work. (And I learned how to use chisels in the process!) The exterior finish has gone slower than I thought it would, but I'm starting to get the hang of it and I think the pace will pick up next week. It feels so good to be working outside and I am immensely grateful to be spending my summer this way!

Portland Tumbleweed Tiny House Workshop = Brilliance + Connections

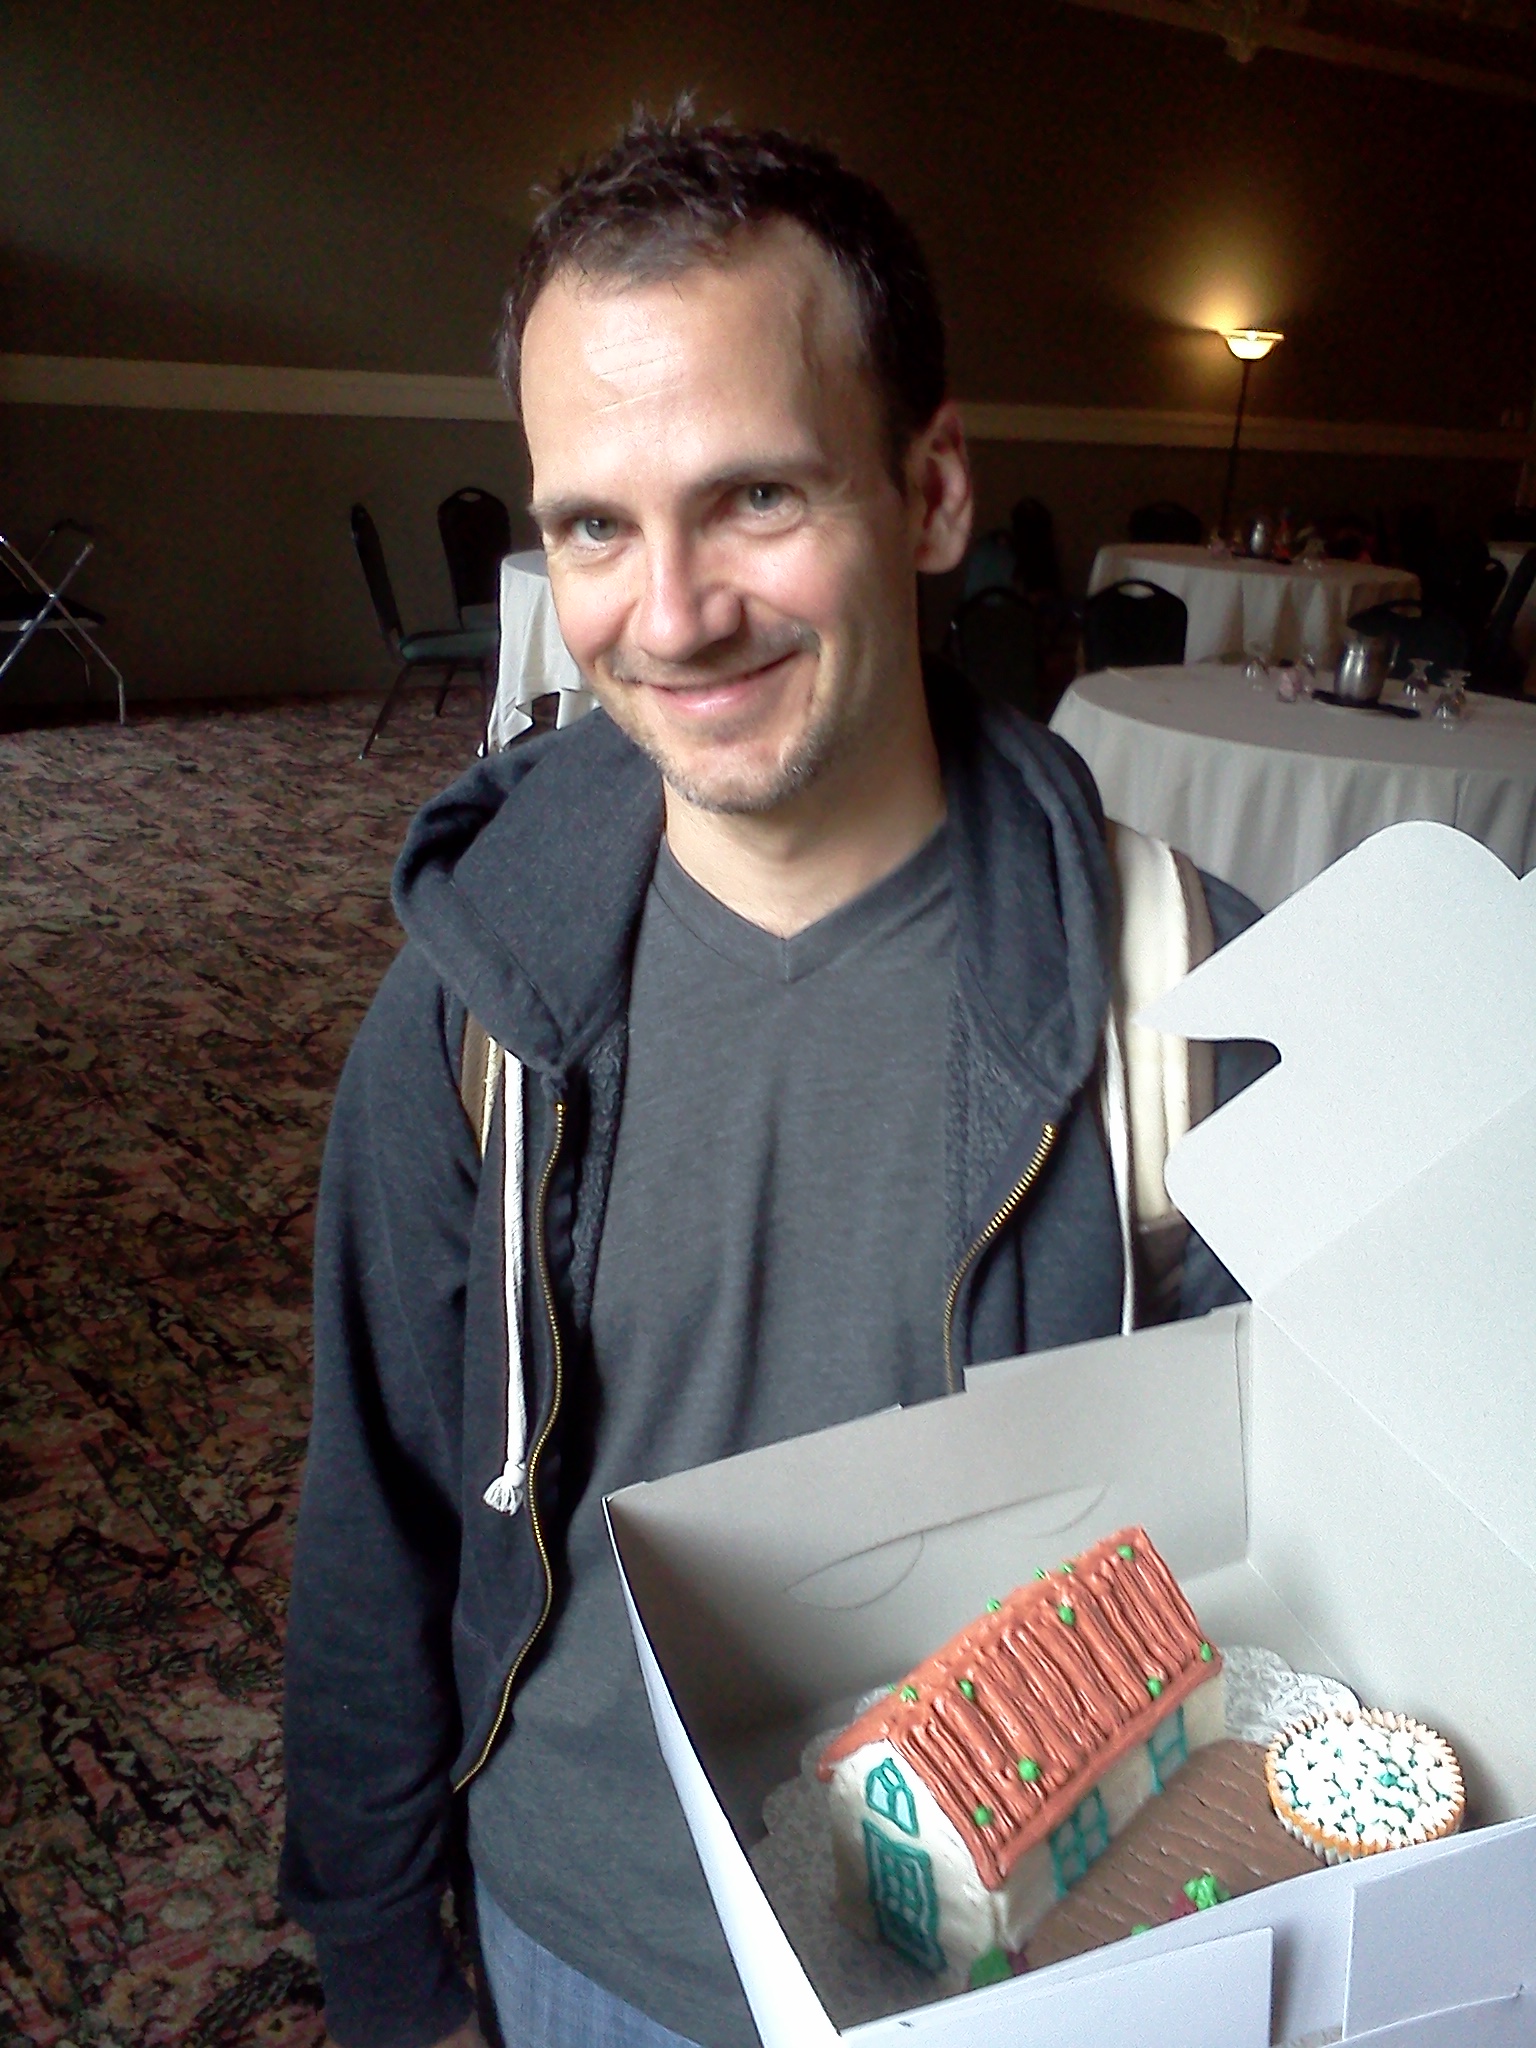
Happy Birthday Denny! It was a delight to attend the Portland Tumbleweed Tiny House Workshop this weekend! I was honored that Dee Williams asked me to participate in a panel on Saturday afternoon and open up the tiny house I'm renting for a walk-through for the participants afterwards. I arrived bright and early and had a chance to meet several of the participants, including Denny who is so tiny house obsessed that he decided to celebrate his birthday by attending the tiny house workshop. He even brought along the tiny house birthday cake commissioned by excellent friends who support Denny's passion. As people introduced themselves we discovered that there were participants from as far away as Plano, TX and Anchorage, AK. Some had recently learned about tiny houses and some had been fascinated for years. People looking for a place to park connected up with people who own property and people who are eager to turn their designs into a structure met experienced builders.

Britt's Bungalow: a tiny tester

Throughout the day Dee Williams, in all her glorious exuberance, wit, and wisdom, shared tiny house considerations such as wall systems, trailer and roof attachments, and moisture management. Over a lunch of food cart deliciousness, I joined a group of tiny house enthusiasts for discussion of downsizing and community-building. In the afternoon Brittany, Michelle, and I shared our experiences of living in a tiny house, including our inspirations and what we would do differently. I explained that I feel extremely lucky to have had the opportunity to try on the little life before building my own tiny house. We encouraged participants to rent Brittany's Bayside Bungalow by the weekend this summer to see what it's like to live in a tiny house. Brittany's website is up and running and she's now taking reservations.

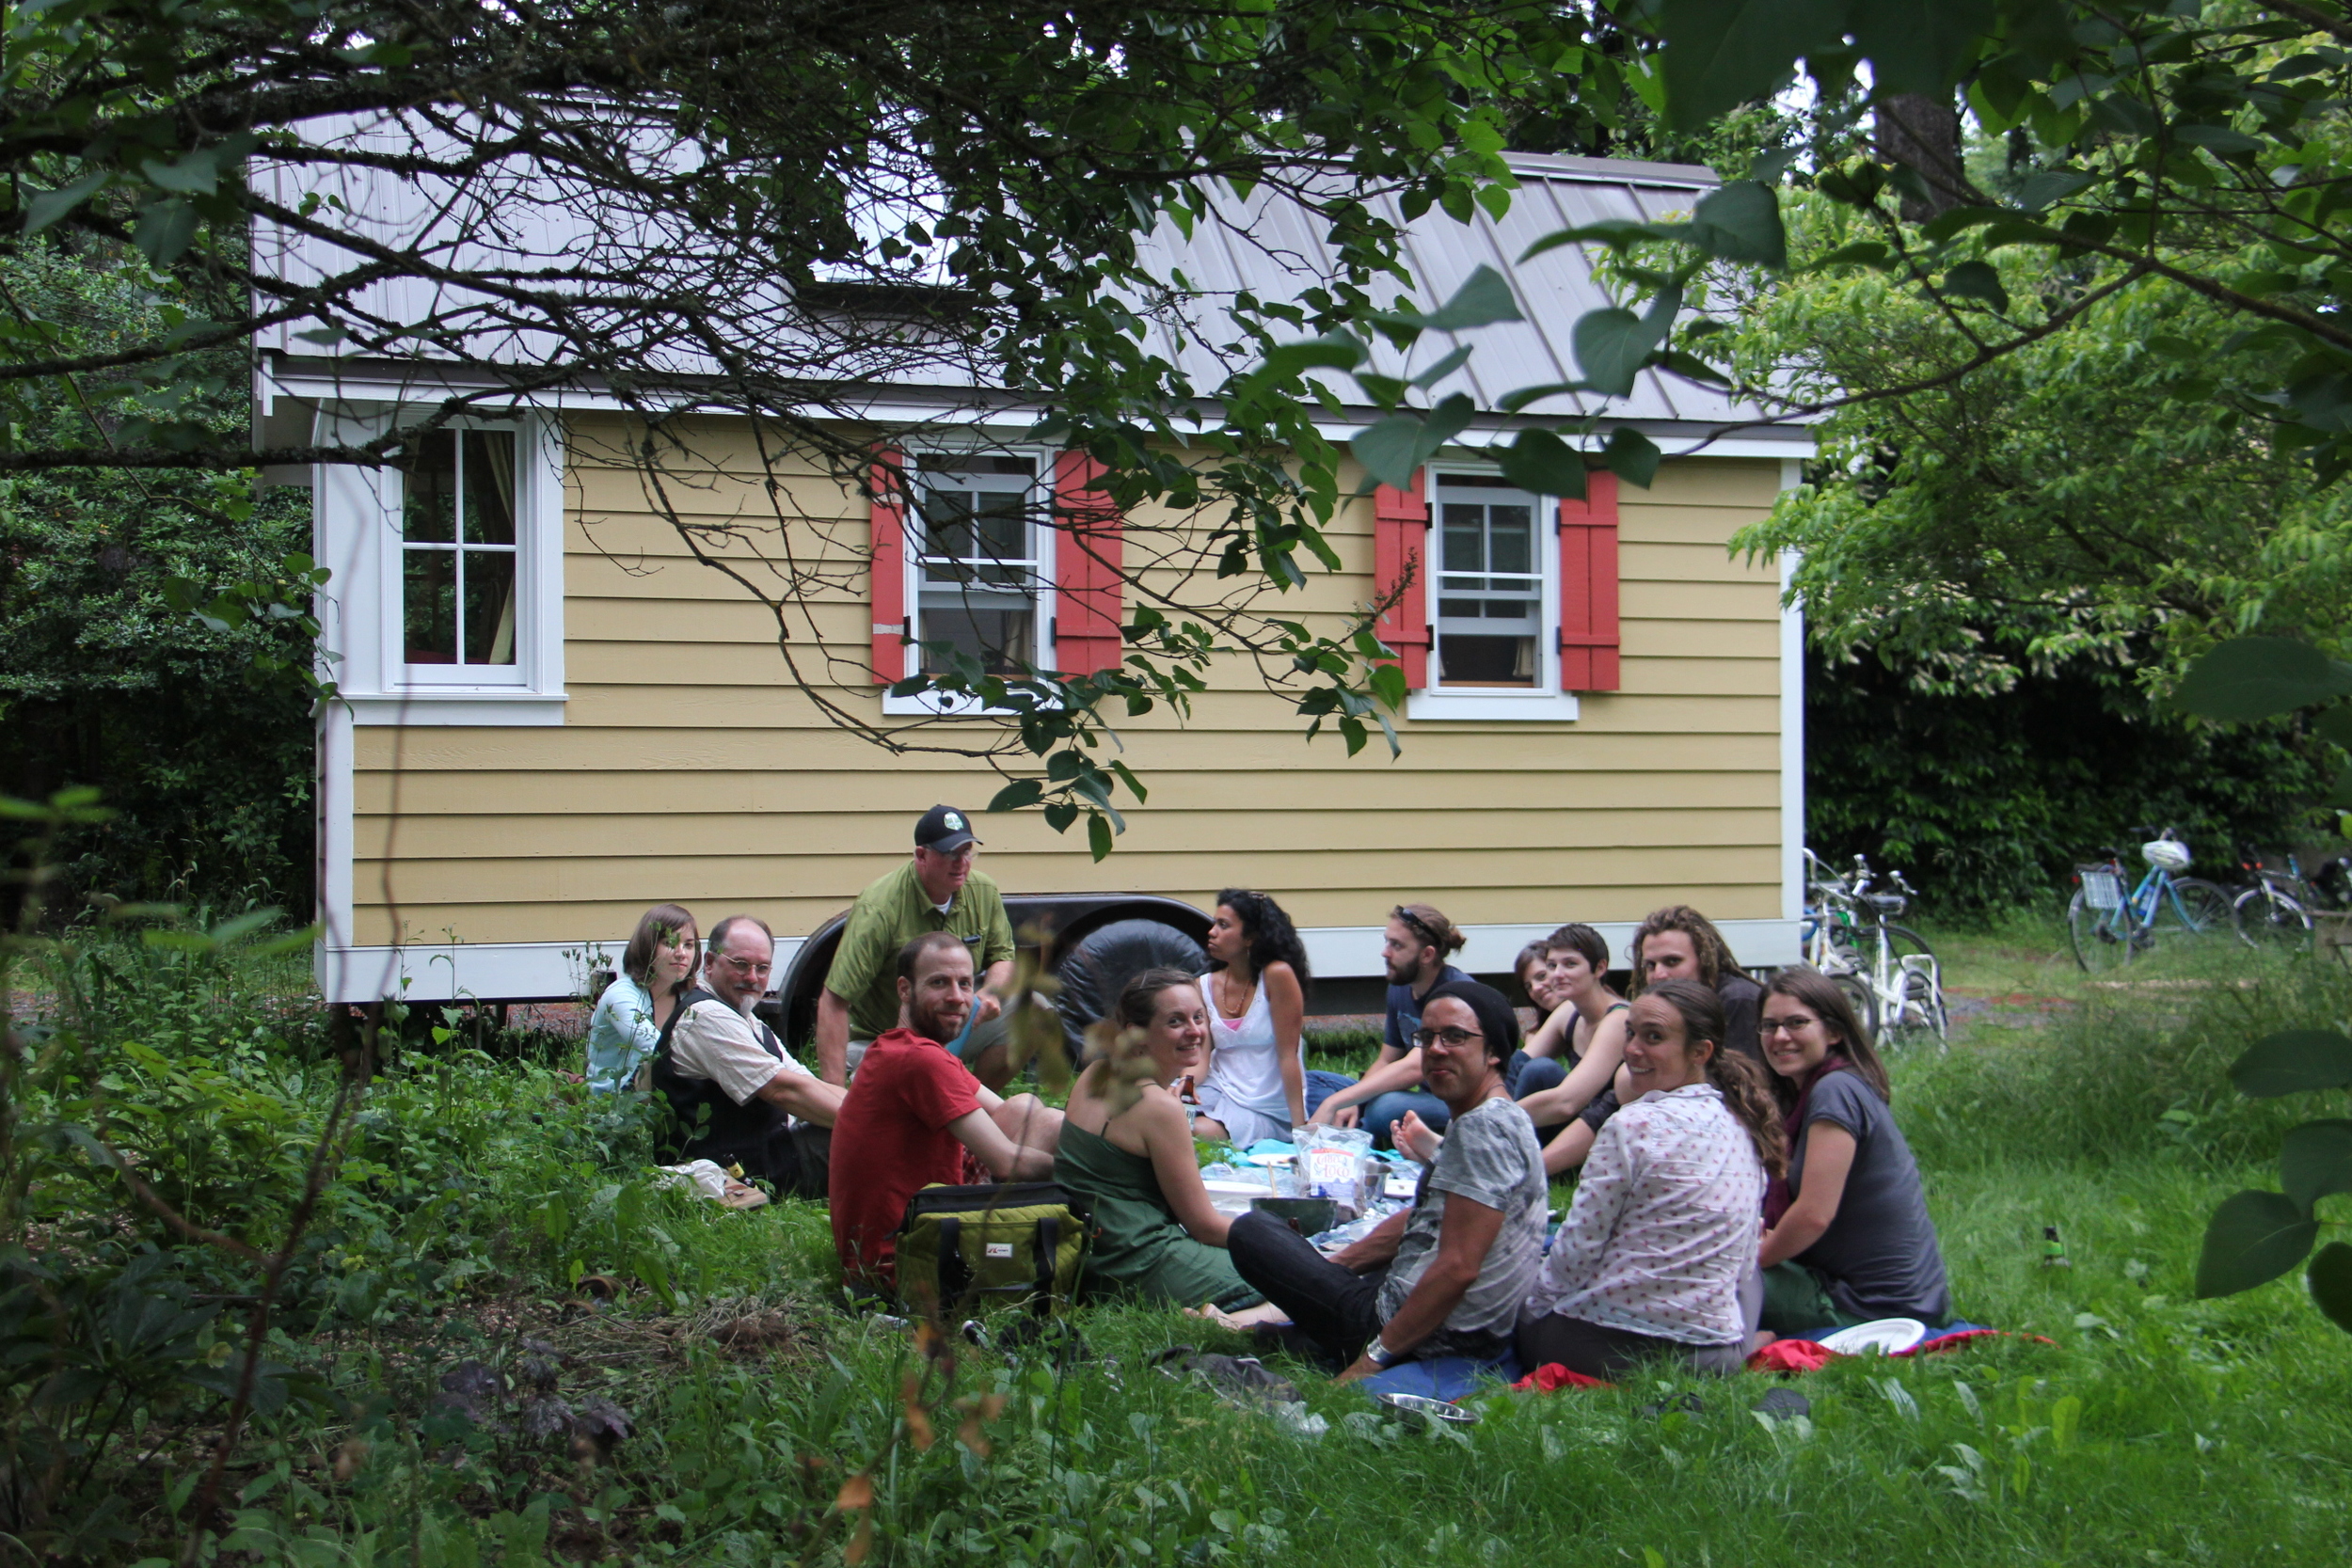
tiny house potluck

Then fifty-ish people came over for a tiny house tour of Britt's Bungalow, taking turns in small batches to note all the details of the wee abode. A dozen or so workshop participants stuck around for the tiny house potluck afterwards, which was the highlight of an already splendid day. There's a fantastic tiny house community here in Portland and several tiny house dwellers joined us for the potluck. It was fun to watch the synergy as workshop participants asked questions of Portland tiny house dwellers, builders, and designers. My friend Emily Morris, who is a videographer, started filming for the movie she's making about Portland's tiny house community. I also got confirmation from a couple leaders for the upcoming Pedalpalooza Tiny Home Tour on Sunday, June 24th from 10AM-1PM which will feature 5 tiny houses in Portland.

Brittany and I were too exhausted by the end of the day to participate in the World Naked Bike Ride, but we considered it a Saturday very well spent. I look forward to seeing what comes of all these connections. Thanks for coming to Portland everyone. And special thanks to Dee, Brittany, and Tumbleweed for an incredible workshop!

Accessory Dwelling Bike Tour Draws A Crowd

Artsy ADU Thanks to Mark Rainha we have a great little video of the Pedalpalooza ADU bike tour! Thanks Mark! (Bruce and Carolyn's ADU, which is My Summer Garden Cottage is the fourth property featured, so take a peek!)

Approximately 100 people participated in this year's Pedalpalooza Accessory Dwelling Bike Tour. It was hard to get an exact count since the units are small and the crowds are big! Eli Spevak, Kol Peterson, and I each lead a wave of the tour. I was lucky to have Jordan Palmeri of the Department of Environmental Quality along with my group since I find his work inspirational. DEQ's research demonstrates that small is one of our best green building tools.

The route featured five properties including a basement ADU, a garage conversion, a backyard ADU, an accessible ADU, and a couple detached bedrooms. Eli's Sabin Green and Ruth's Cottages were featured on the ride, as was Kol's accessory dwelling. We staggered the arrivals so that the homeowners could take time to explain the homes' features to each group. We were lucky to have a gorgeous day for cycling and it was fun to see so many ADU enthusiasts out for the ride. Many of the participants on today's ride are planing to build an ADU, some of them live in ADUs, and some are ADU designers and builders. We expect a similar level of enthusiasm for the Pedalpalooza Tiny House Bike Tour on June 24th.

ADU bike tour!

The number of ADUs built each year has doubled since the System Development Charges (SDCs) were waived a couple years ago. This waiver has resulted in hundreds of great infill dwellings that utilize existing infrastructure and provide flexibility for families without compromising neighborhood character. Unfortunately, the SDC fee waiver is set to expire in June 2013. We hope it will be extended. If you've been thinking about building an ADU it's a great time to do it! Kol Peterson's ADU class for homeowners on July 21st can get you started.

For more information about ADUs, check out the Accessory Dwellings website. If you were on the ride and took pictures you'd like to share, please email them to me!