Building

Floorbox Lessons Learned

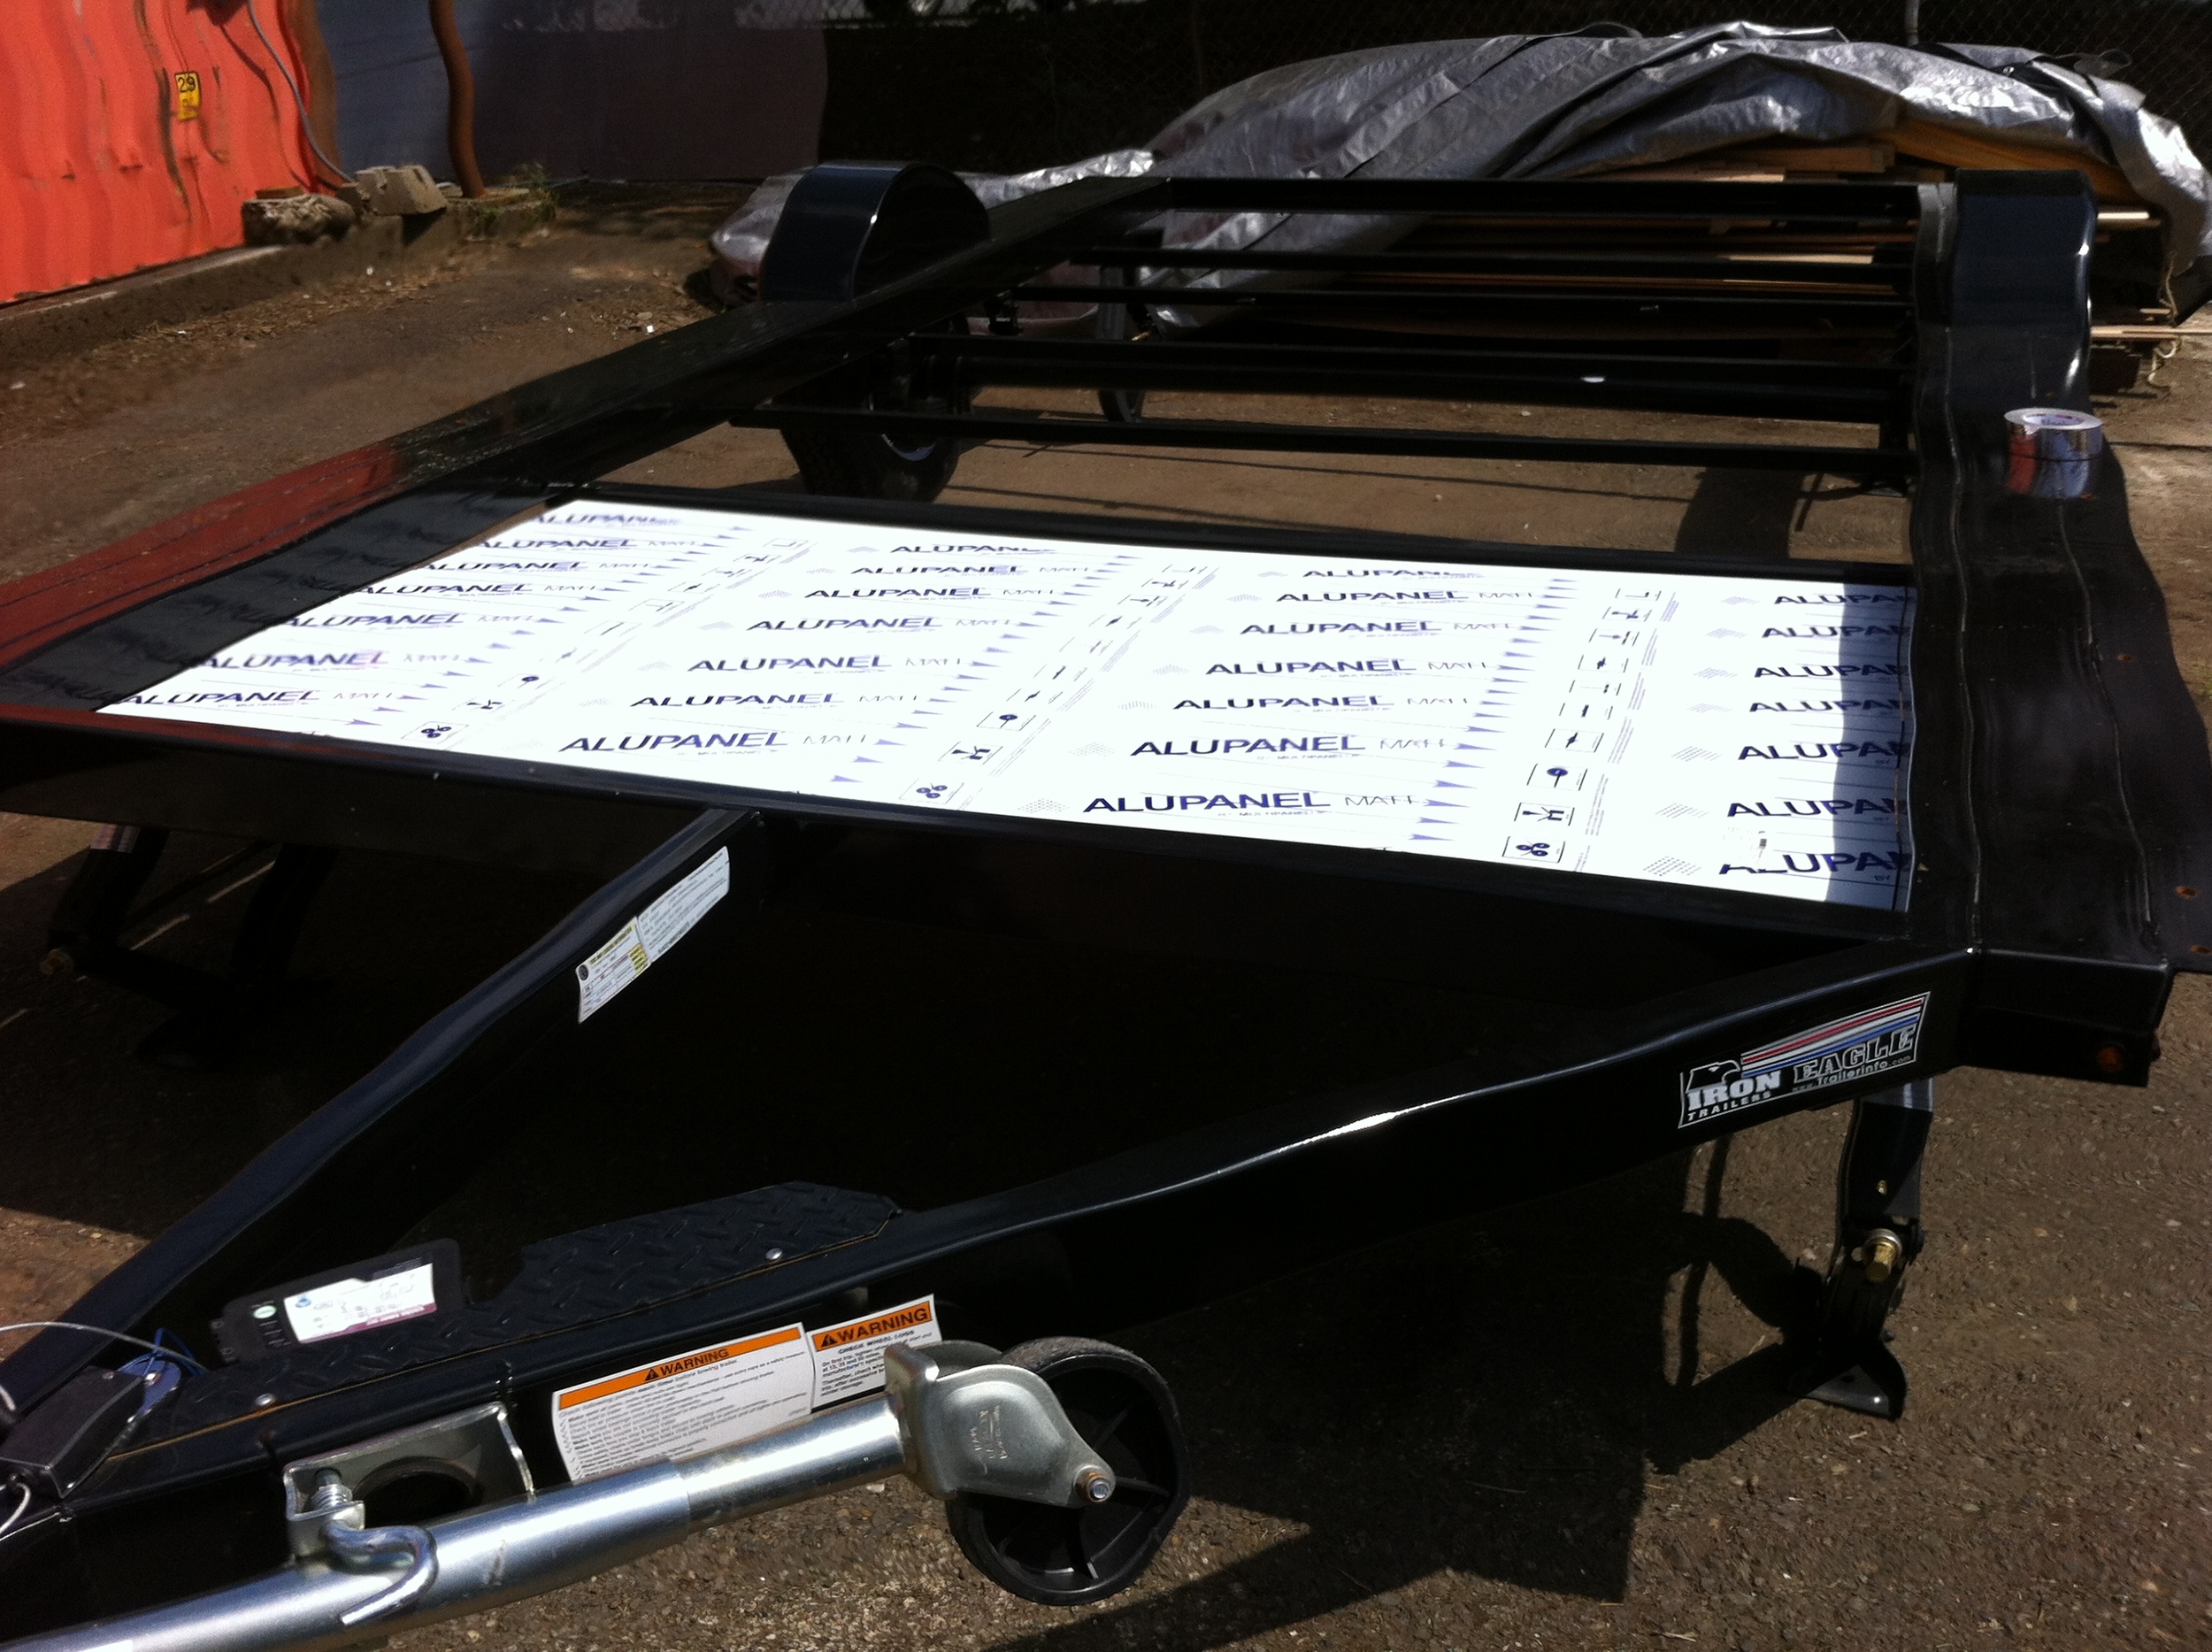
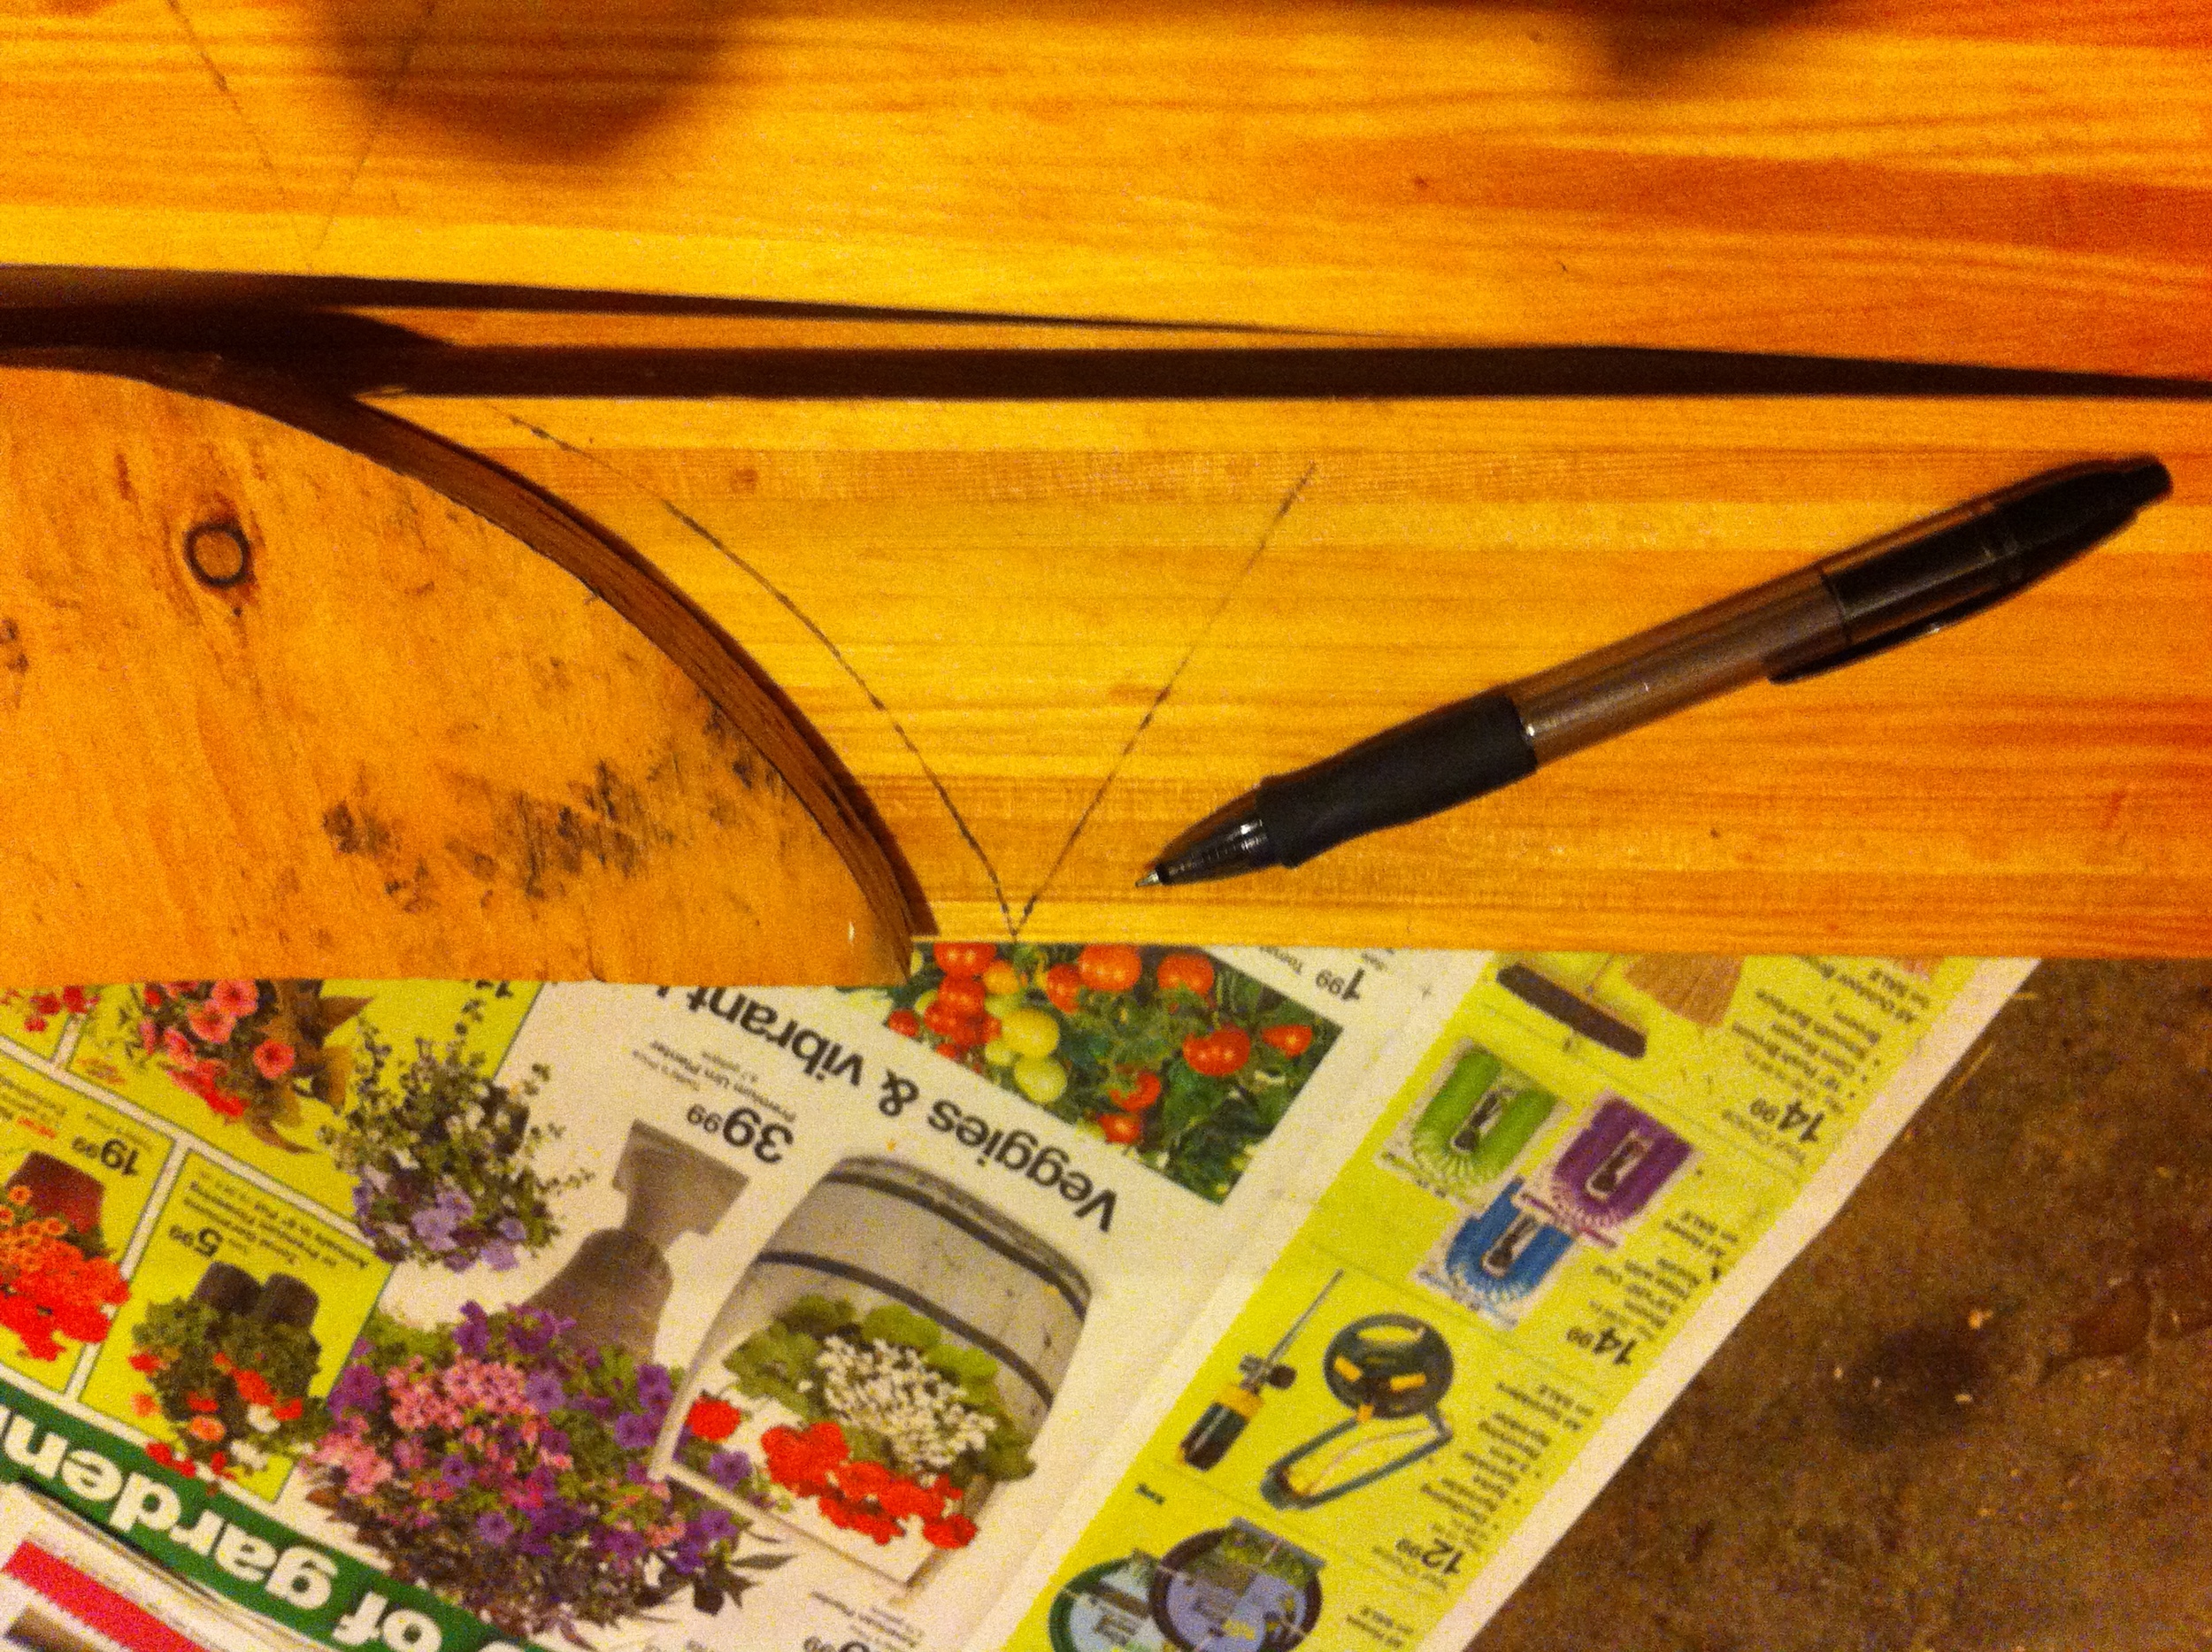
dryfitting the first piece of Alupanel Yesterday was my first official day of work on my tiny house! I Kicked Off Spring with Tiny House Prep with my build buddy Laura Klement. My prep work has included Building My Arched Rafters, Painting My Skylight Frames, Planing My Curved Rafters, and Refinishing My Arched Door. Starting in on the floor yesterday was a milestone (though the really exciting day will be next Friday when I have My SIPs Wall Raising). Stay tuned for more on that!

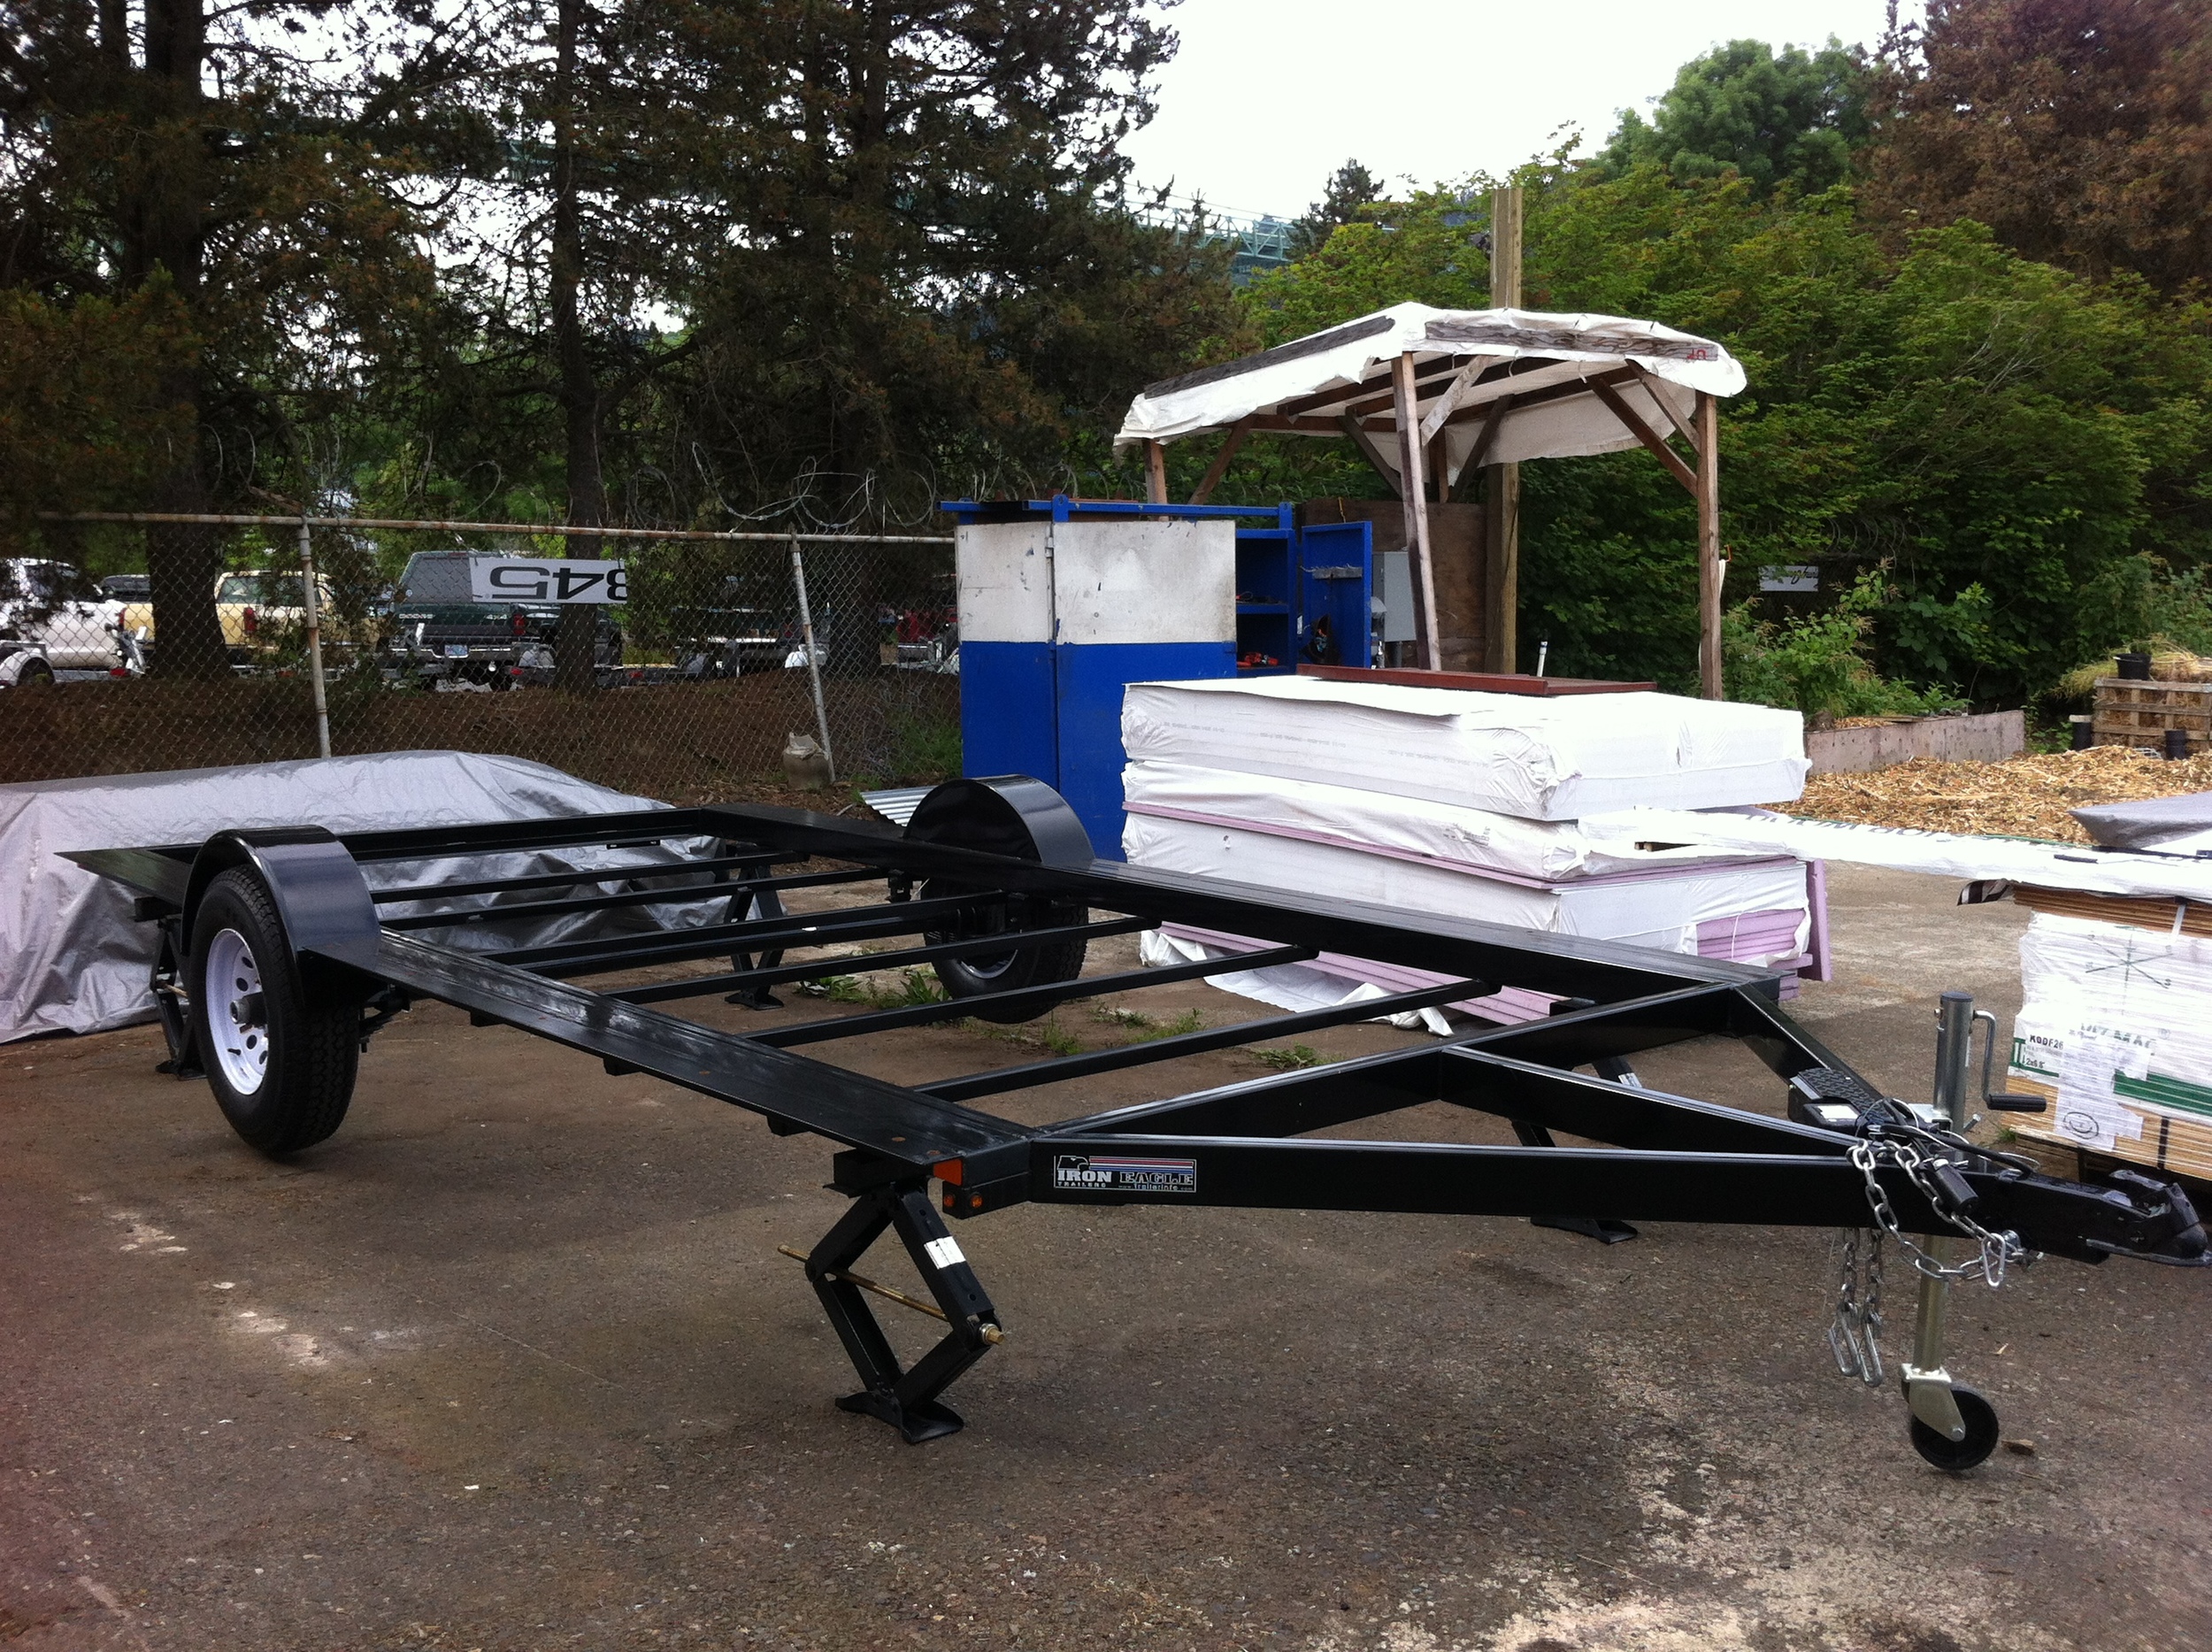
First thing in the morning, my friend Christian helped me pick up My Custom Vardo Trailer from Iron Eagle Trailers and haul it to my build site at Green Anchors. Then my friend Alex helped me move my tools and supplies to site and pick up the Alupanel for my floorbox undercarriage.

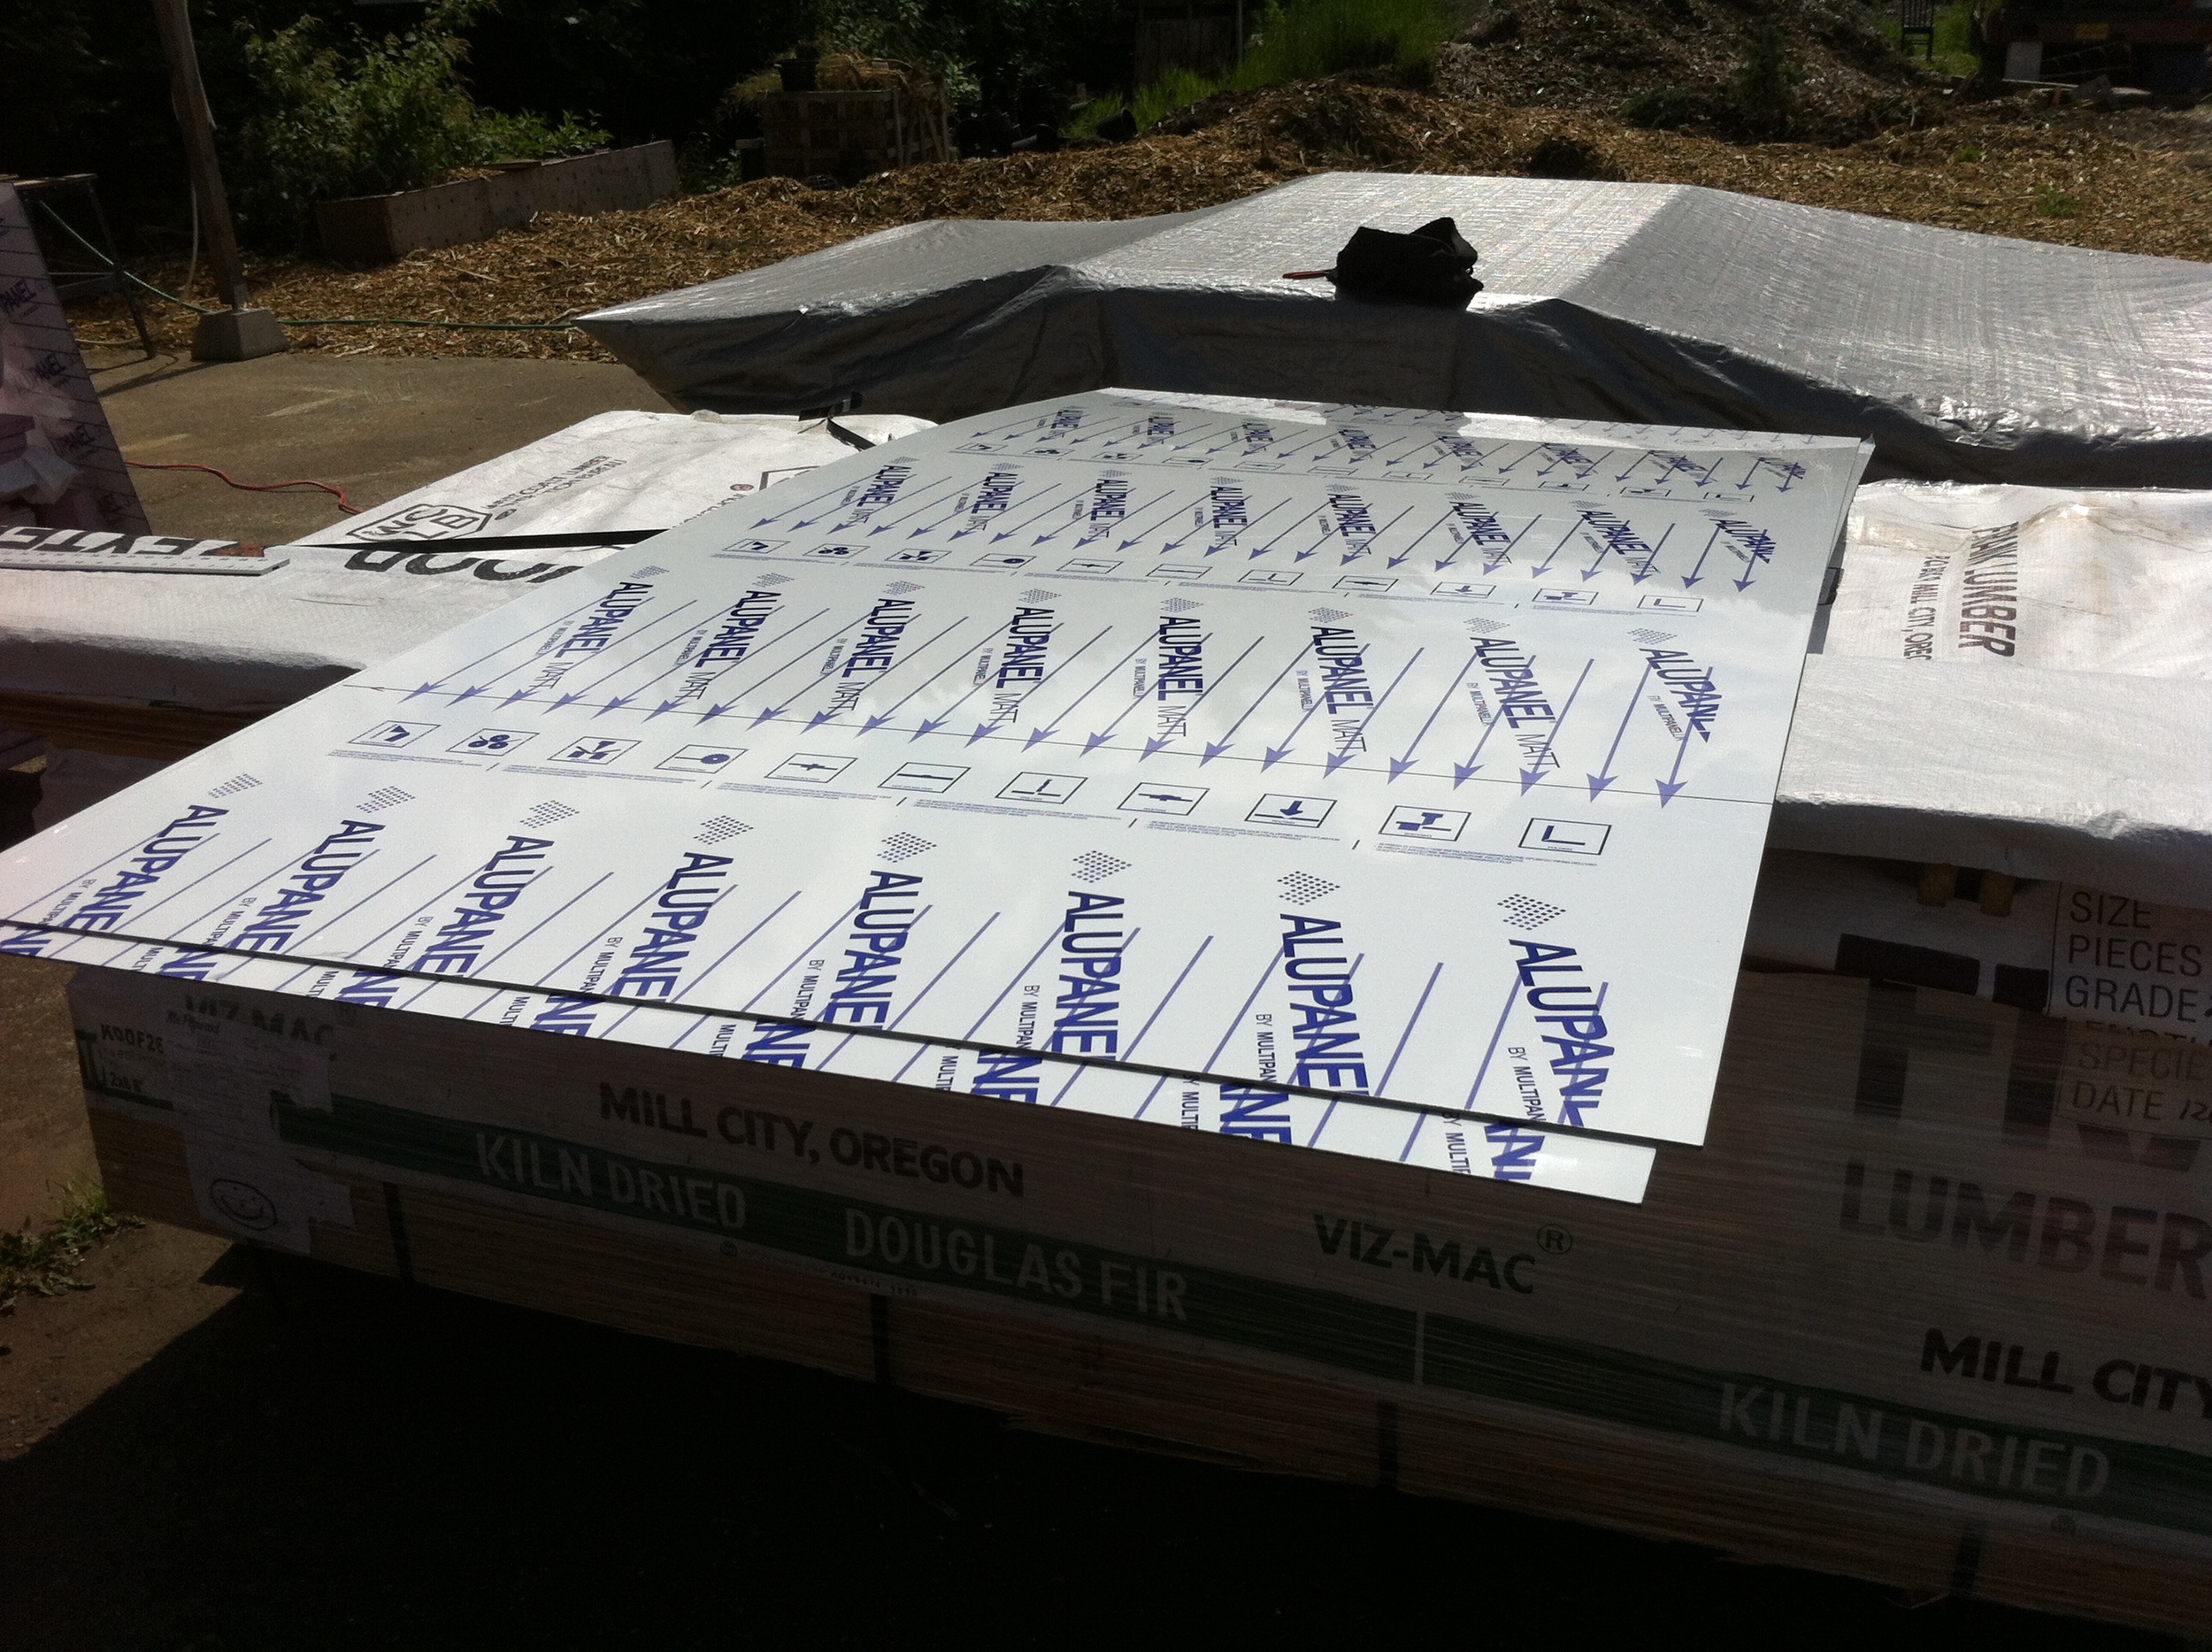
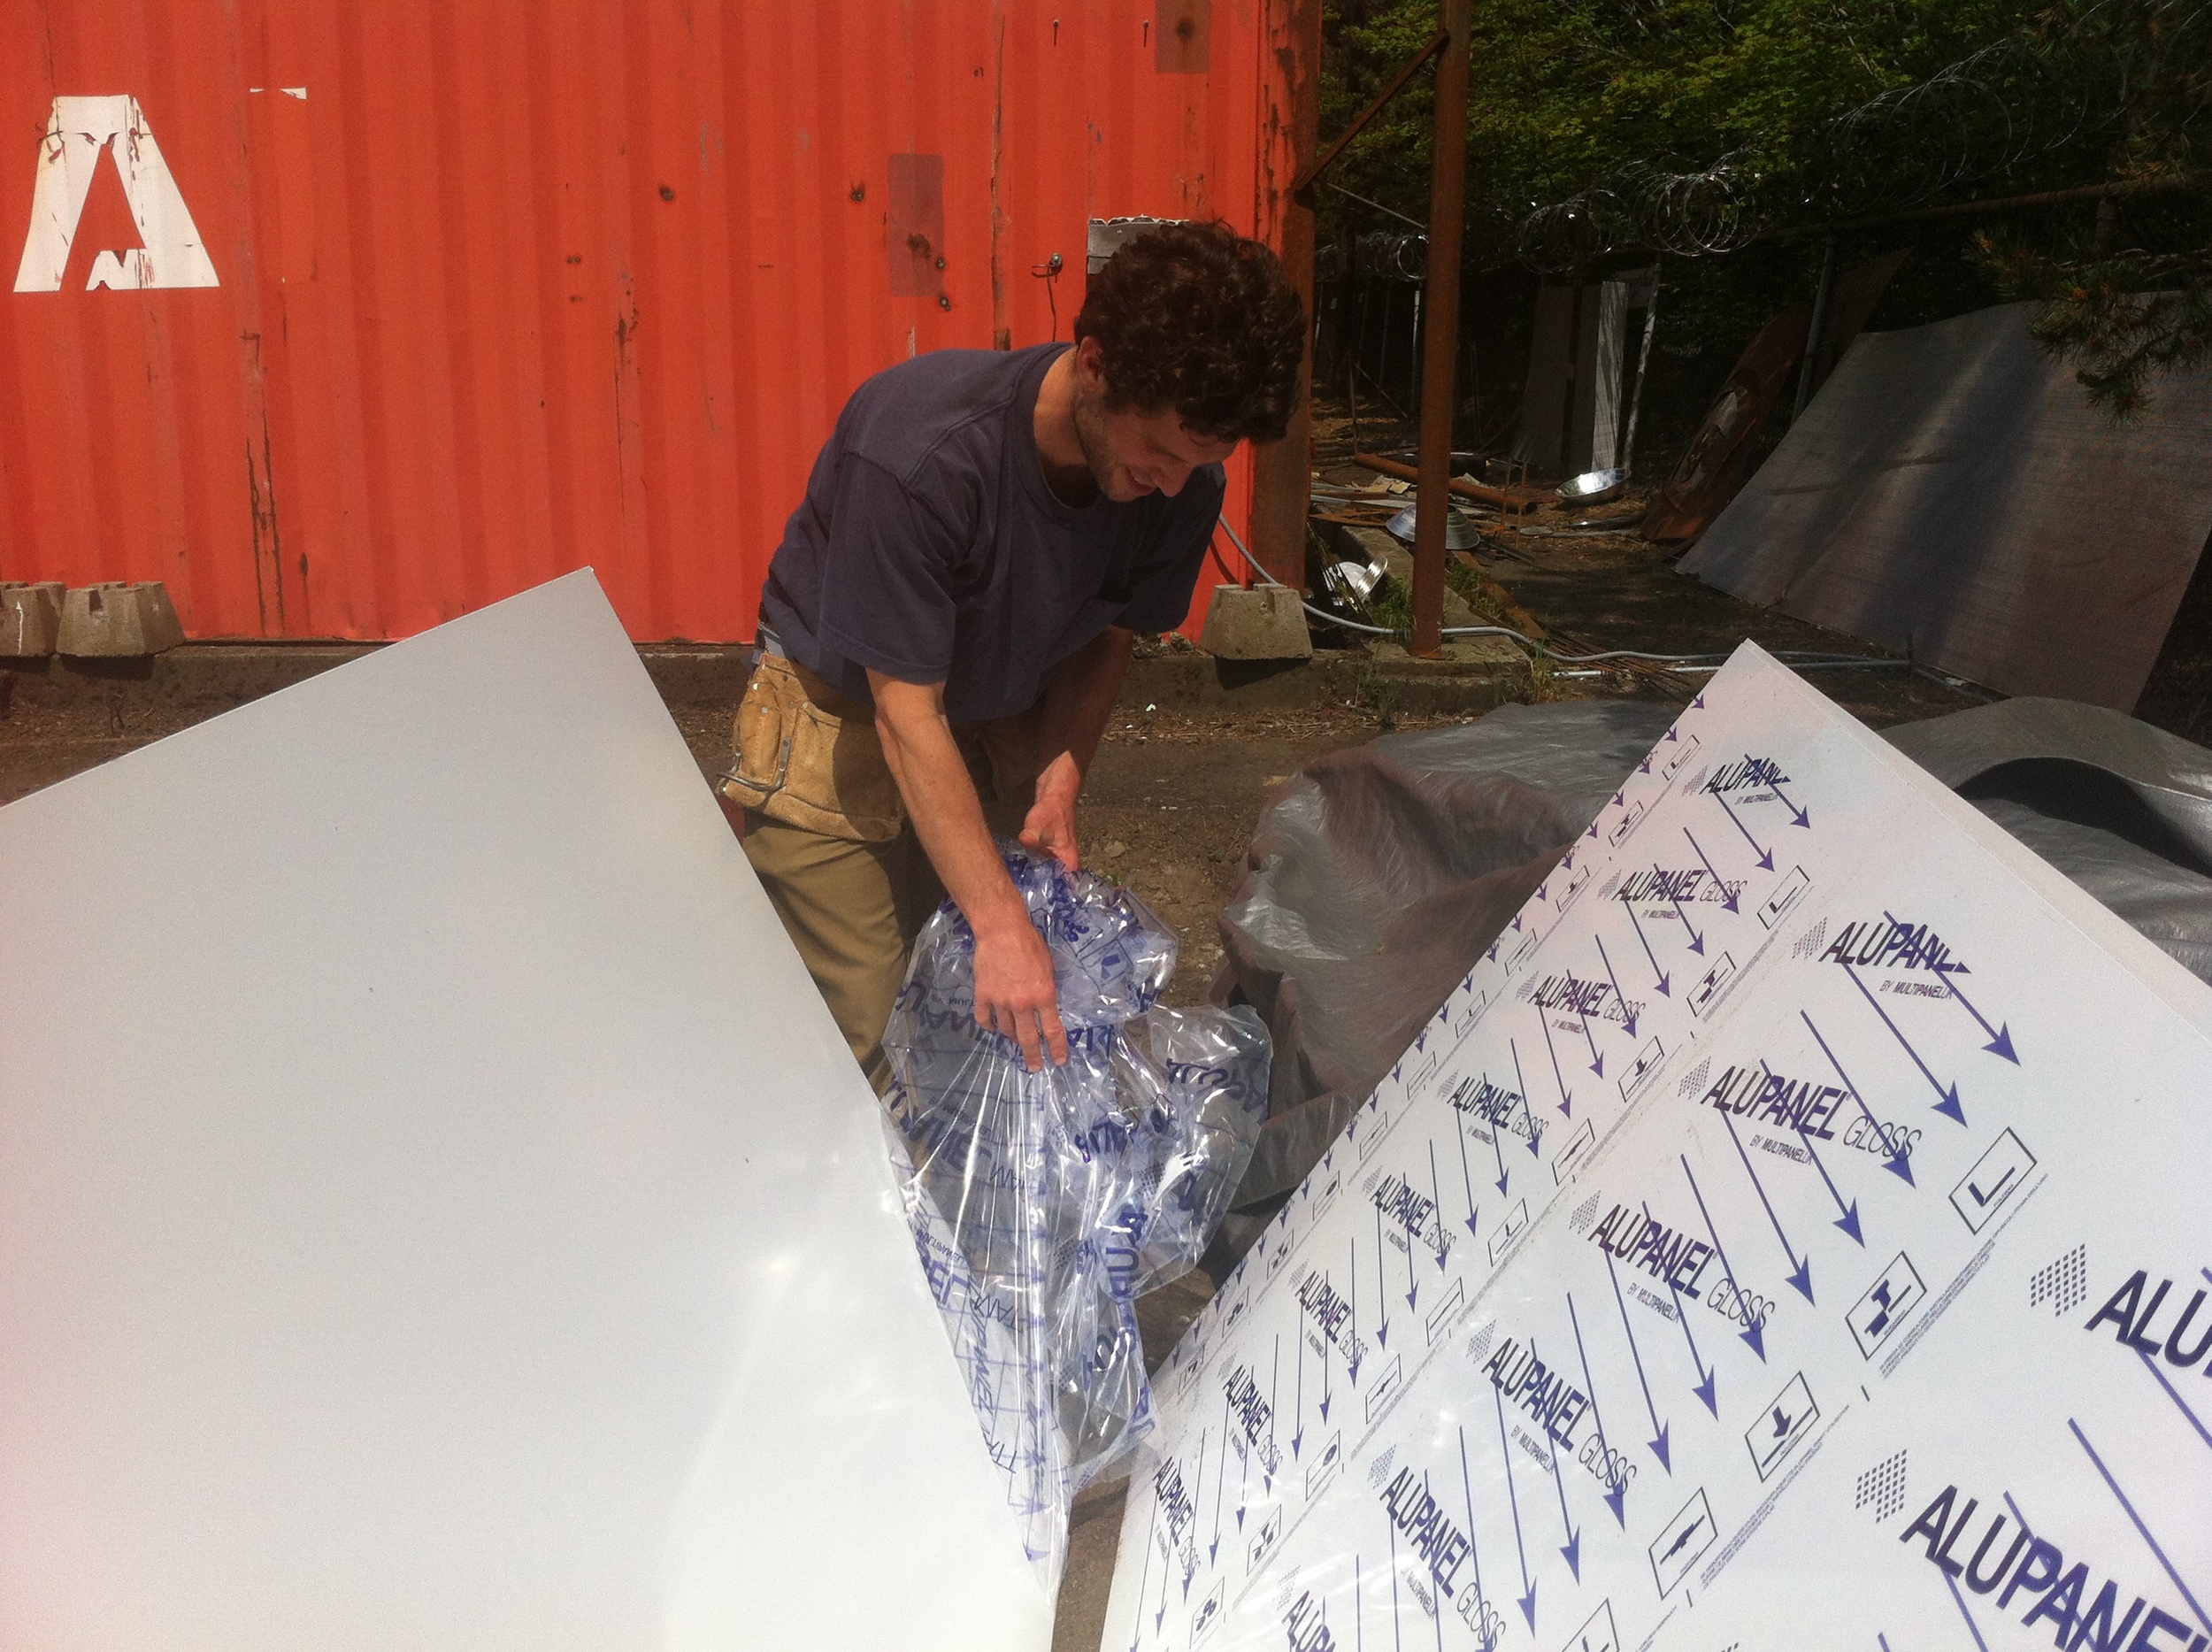
Alupanel is a product Derin Williams of Shelter Wise suggested last week when I asked him if he had any recommendations for a material that was lightweight, rigid, thin, and durable. Robert at Denco Sales was great to work with as I explained my project and he helped me figure out what my options were. Alupanel is quite pricy, so I went with 3 mm, the thinnest material that would do the job. (It cost $85 per sheet, about what it would have cost to have a steel pan fabricated for my trailer. It also cost about twice what it would have cost to do a wooden floor box a la Dee Williams, but I’m doing a few experimental things with my tiny house – like constructing my floor box sans wood so that I can save weight and increase the amount of insulation in my floors.)

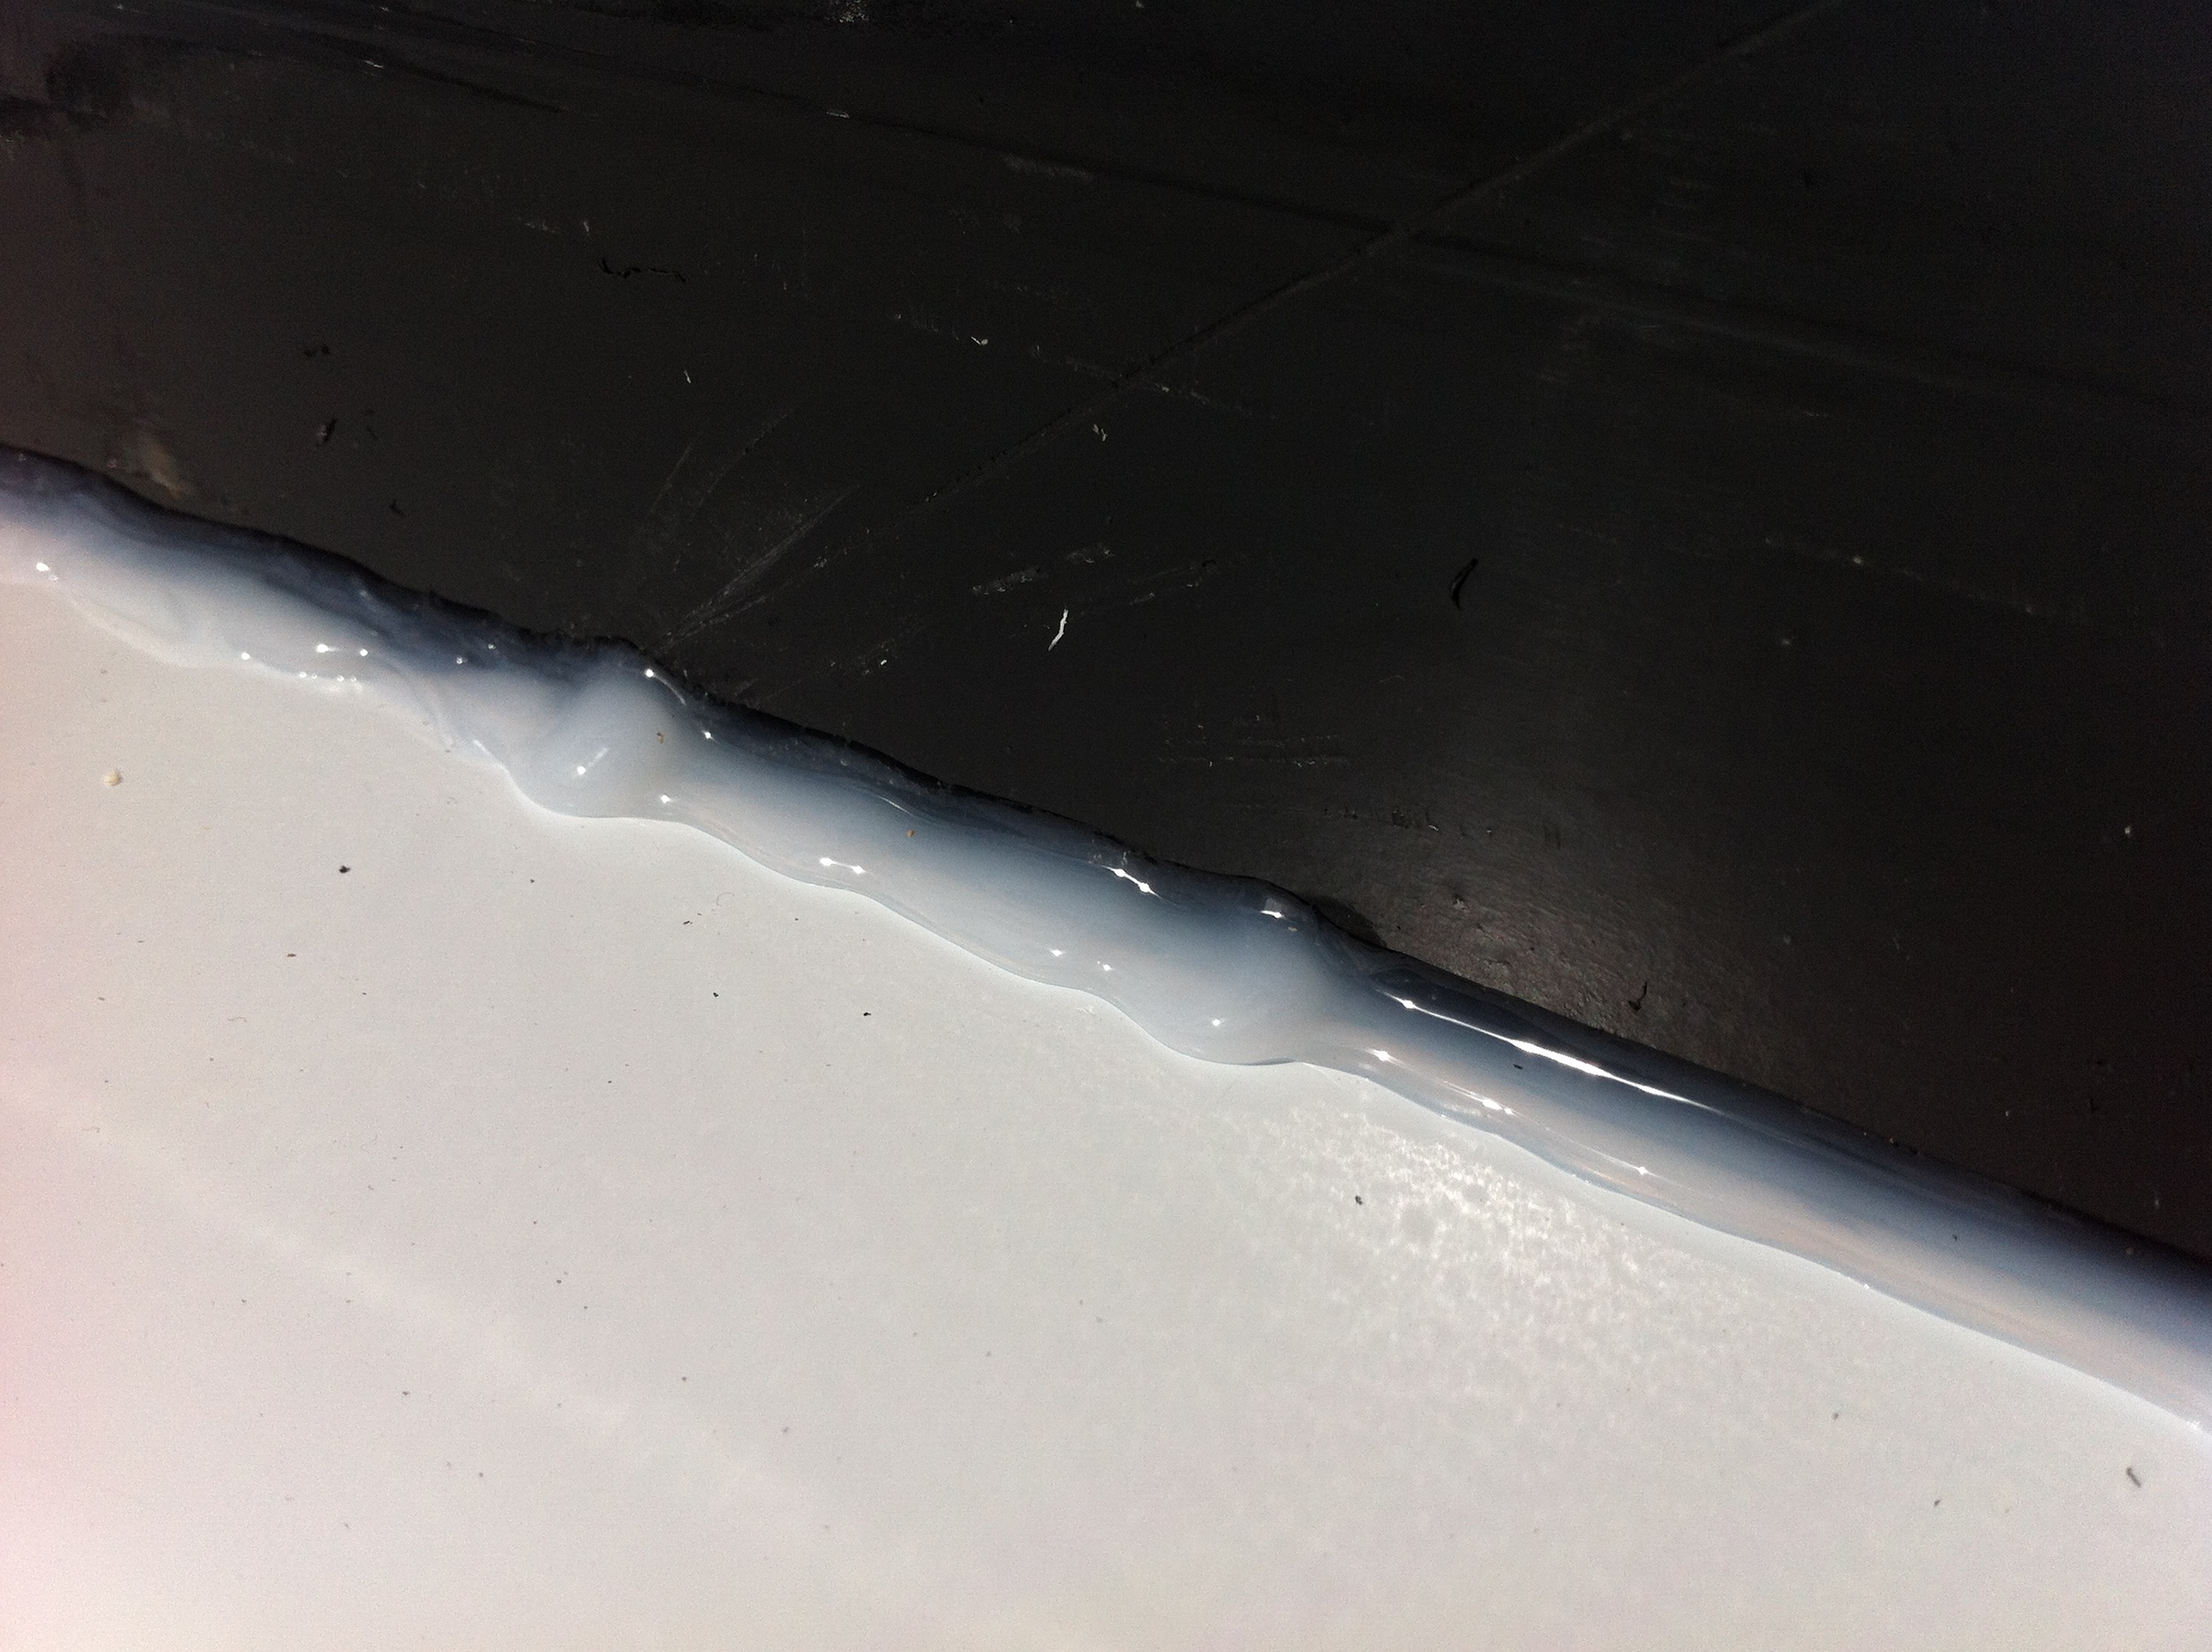
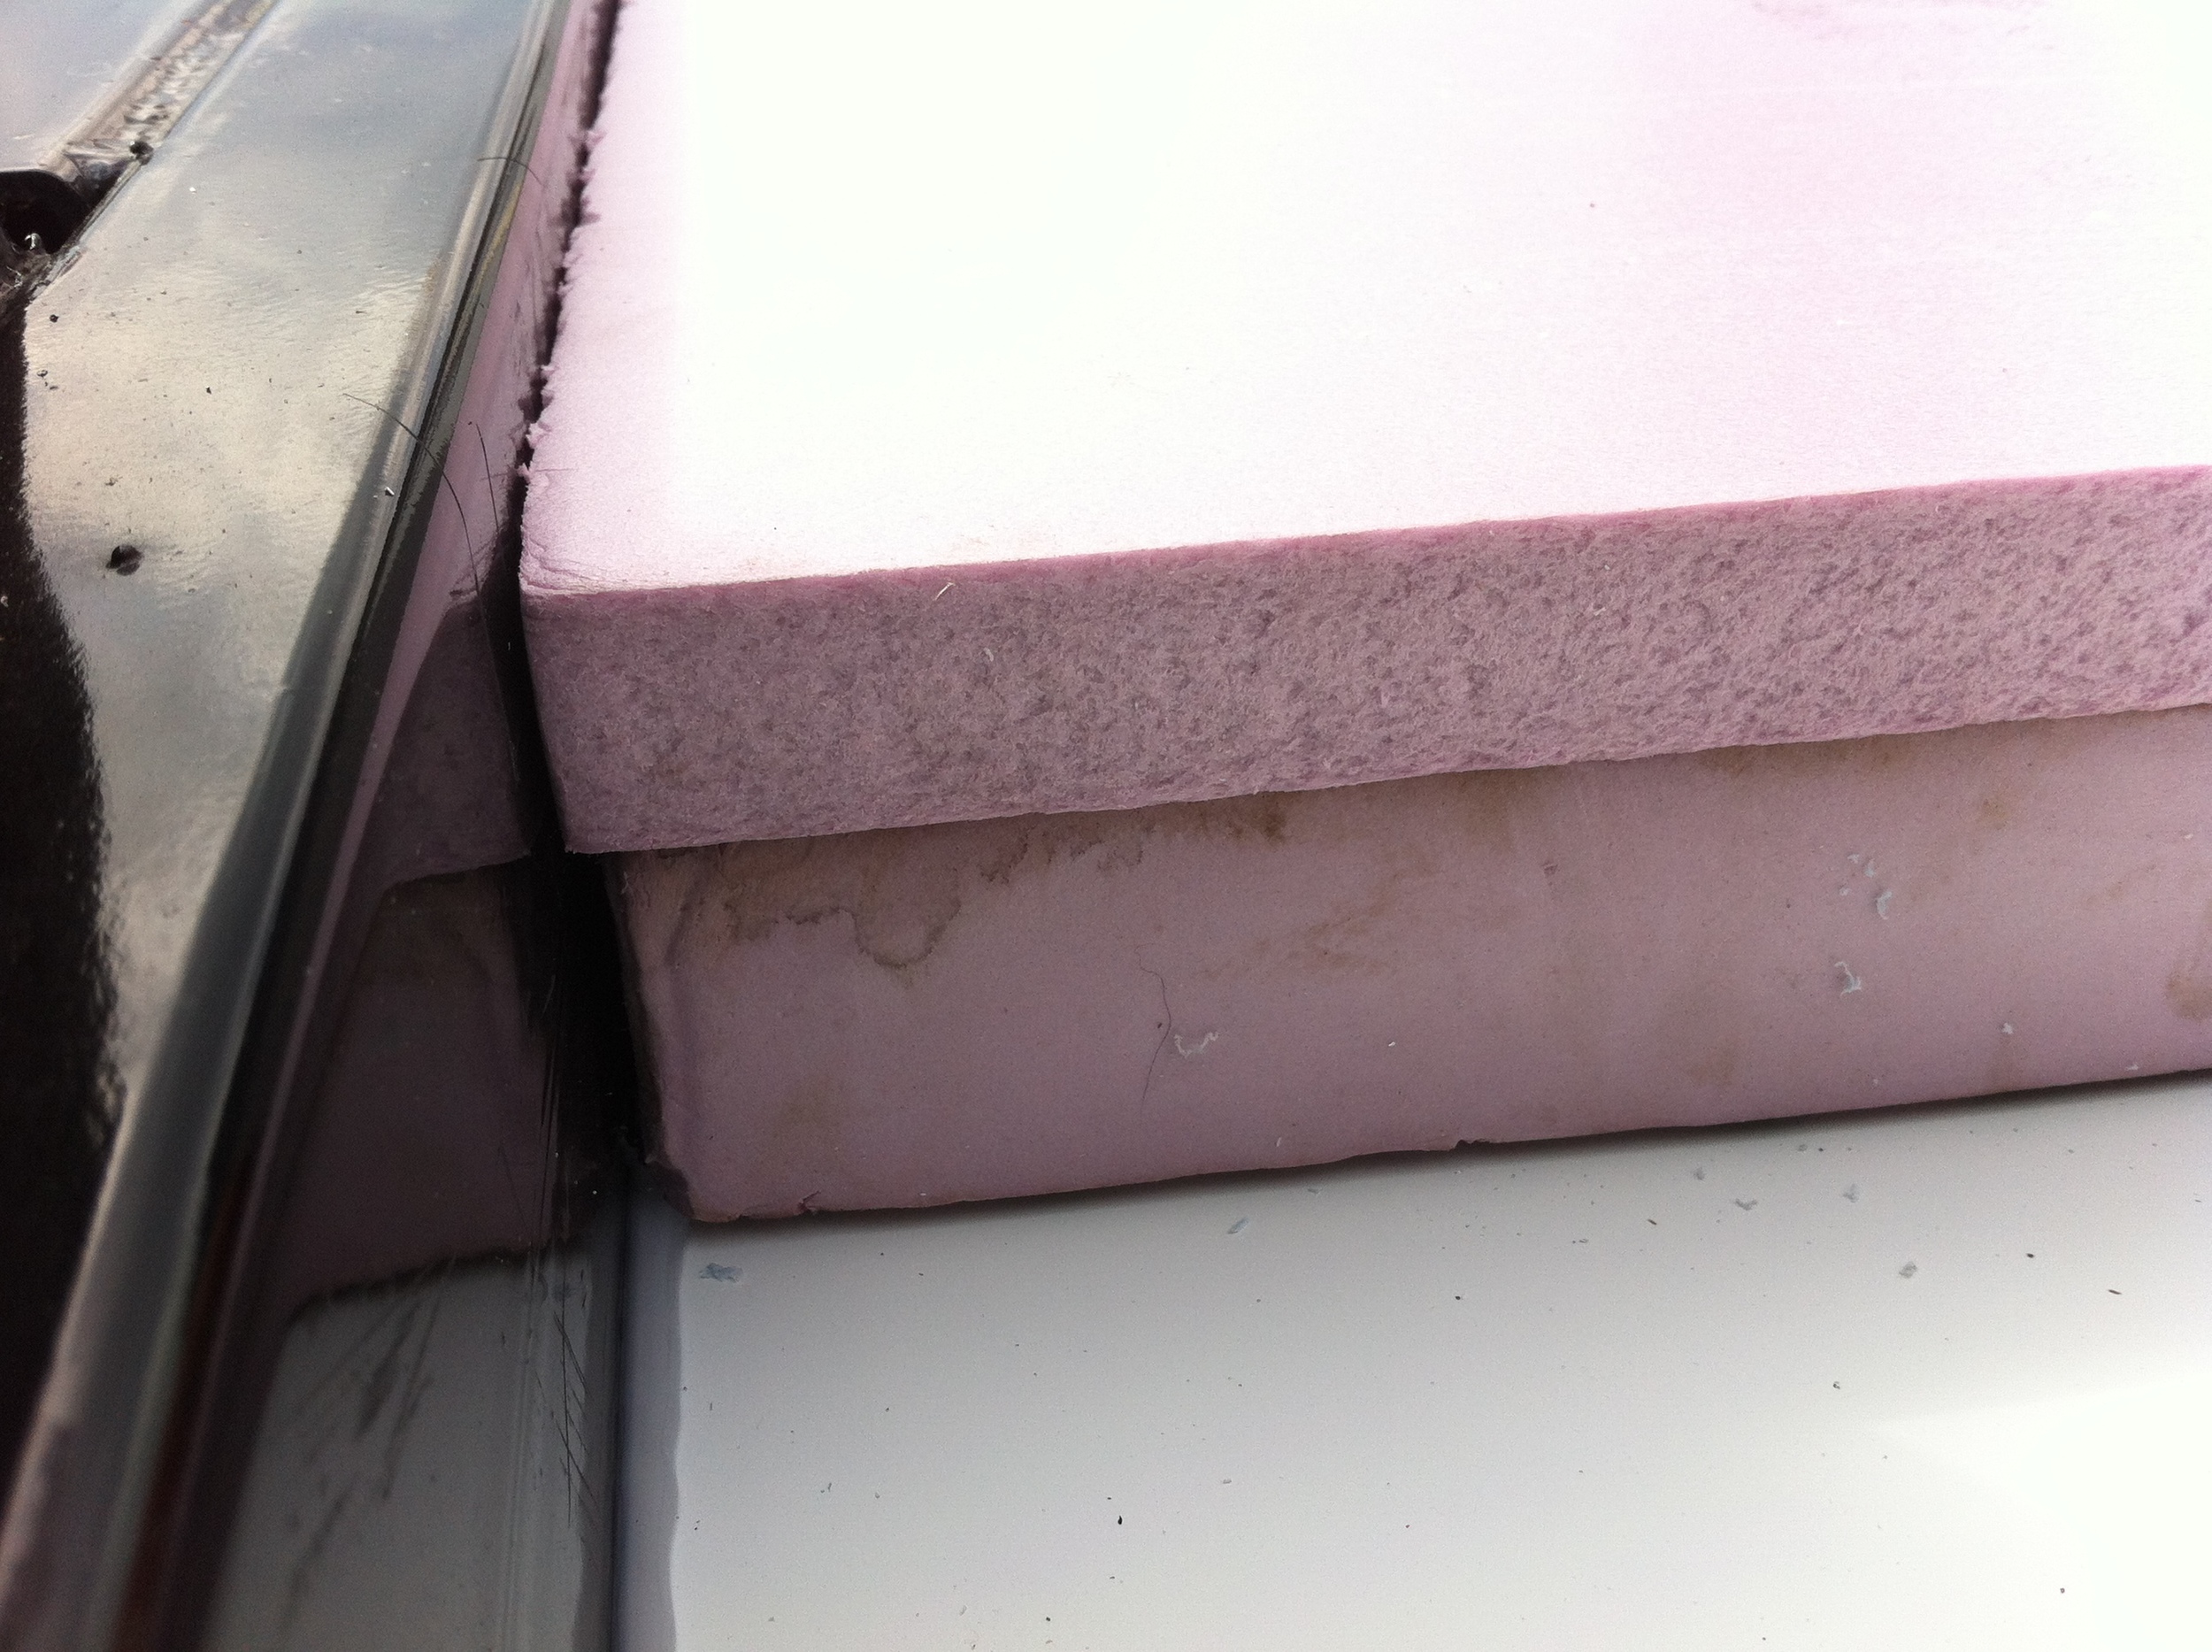
Patrick Sughre of Structures Northwest (the supplier for my Structural Insulated Panels – SIPs) dropped by a couple minutes after we got back and he rolled up his sleeves and pitched in, helping us with the undercarriage. We cut the Alupanels to size, caulked the panels into place around the perimeter and along each seam with silicone caulk, and then started filling the cavity with rigid foam. We didn’t manage to finish it (see #5 below), but hopefully I can get finished up on Sunday. I’ve got to get my floor ready because the SIPs walls will be ready for pick up soon!

Here’s what I learned today:

  1. The Alupanel is truly an easy material to work with. A few cuts with a circular saw fitted with a 40-tooth carbonite blade and we were good to go!
  2. Figuring out that the first sheet was cut a bit shorter than I would have liked is a good reminder that it’s always a good idea to calibrate tape measures and to cut long at first. It’s much easier to take off another blade’s width (especially when working with an expensive-but-critical material!)
  3. It would have been really great to have the ribs of my trailer welded at 24” (OC) rather than twenty-four-inches-on-center-ish. Last summer, when I ordered My Custom Vardo Trailer, I was planning to do a version of the Dee Williams floorbox so the rib spacing didn’t matter much, but with my new system it would have been really nice to have support exactly where I wanted it!
  4. Sometimes my first instinct is right on. I’d originally planned for 3 ½” worth of insulation inside my trailer (one set of 2” XPS topped with another set of 1 ½”). However, I decided that since I was going with a thinner undercarriage material I’d better plan on the full 4” of foam. Turns out, once the Alupanel was in place 3 ½” worth of insulation fit much better. So I needed to trade my 4 sheets of 1” XPS for 4 sheets of ½” XPS (expanded polystyrene).
  5. No hardware store in Portland seems to carry ½” XPS foamboard. (Though if you call ahead, one of the big box stores will assure you they DO have it and they’ll even set it aside for you so that when you arrive you have the opportunity to explain them the difference between ½” and 2.”)

So My Floorbox Continues. Here’s to getting the floorbox finished on Sunday. Meanwhile, today is Laura’s wall raising work party. Wish us luck!

My Tiny House Build Begins!

Lina- -Trailer.jpg

me and my vardo trailer Dee Williams likes to say that when building a tiny house (and most other important things in life, for that matter) "It's 1 part how to, 2 parts why not." I tend to be more of a 2-parts-how-to sort of person myself.

But one way or the other, if you've spent the past few months (or, in my case, years) contemplating your tiny dream house - designing, refining, experimenting, budgeting, and prepping - eventually it's time to start!

I start today.

Christian, one of my childhood friends, is going to help me pick up My Custom Vardo Trailer from Iron Eagle Trailers. Then Alex, a friend from Yestermorrow Design-Build School, will help me do a few more schlepping errands and get started on my floorbox.

My goal is to get my floorbox finished today so that I can focus my attention this weekend on my build buddy Laura's wall raising. My SIPs are supposed to be complete sometime mid-week so my wall raising will be next weekend. After years of eagerly anticipating this day, I'm thrilled it's finally here!

If the past couple weeks are any indication, I can't promise I'll be as good about posting for my own build as I have been for other blitz builds like the Tiny Barn Build and Yestermorrow's Tiny House Design-Build. But I assure you, dear readers, I will do my best to bring you along on this journey. I am considering a more photographic format, so stay tuned to see if that works out for us. Thank you for all your encouragement and support!

I am so delighted the moment has arrived! Here's to one part why not!

Refinishing My Arched Door

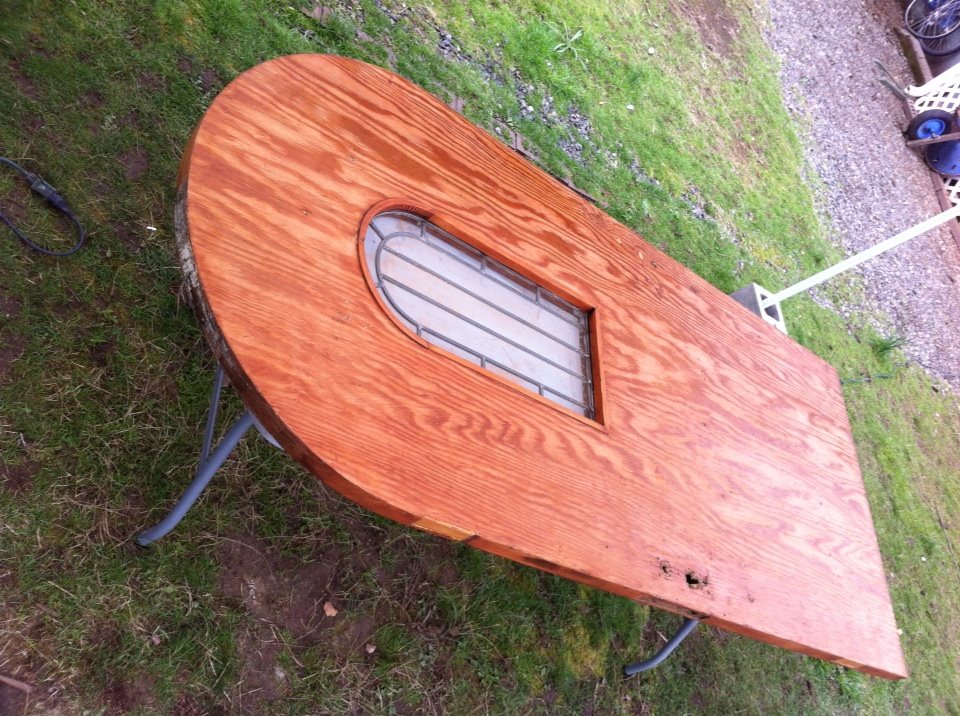
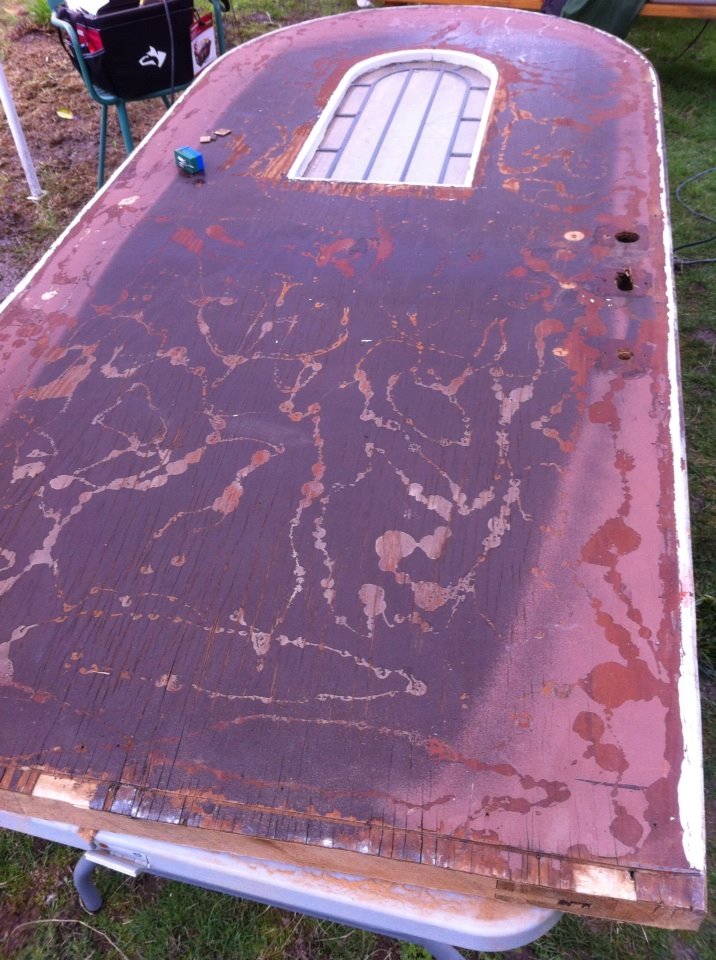
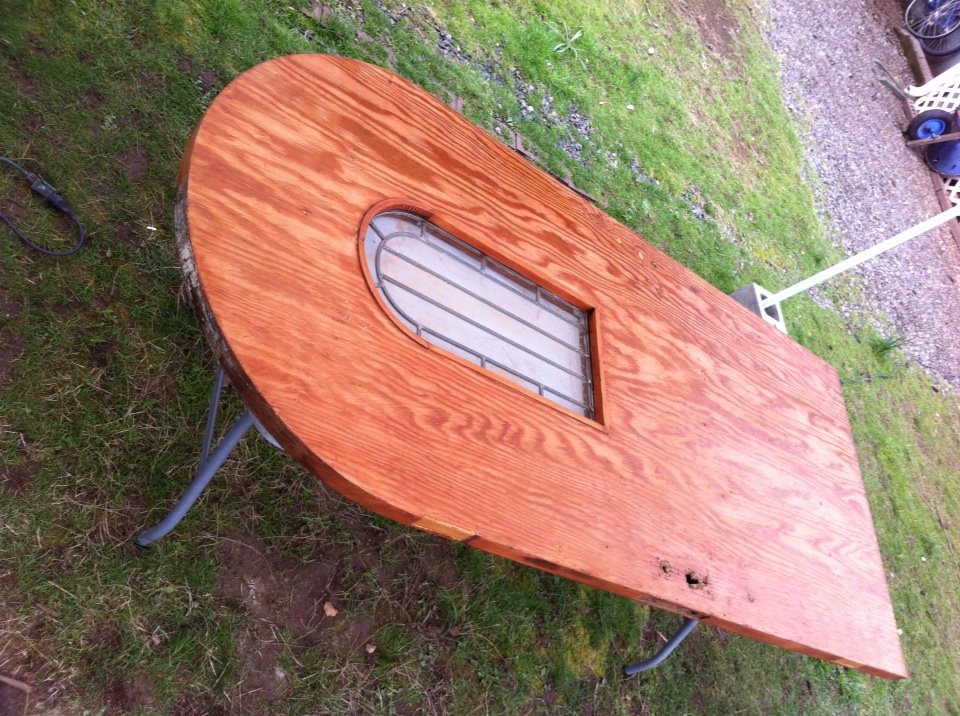
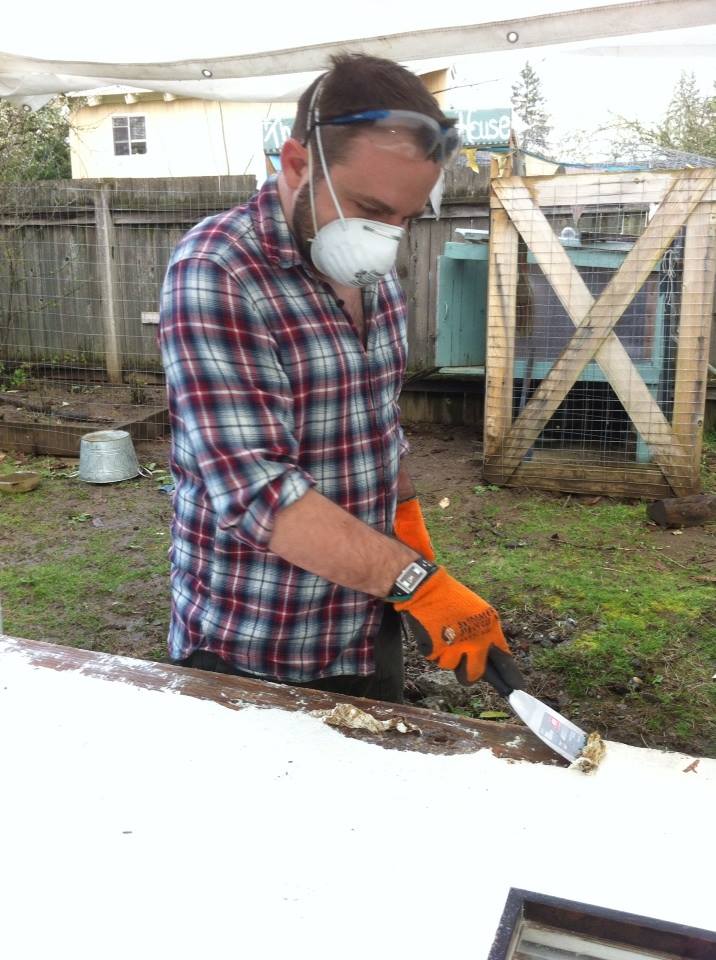
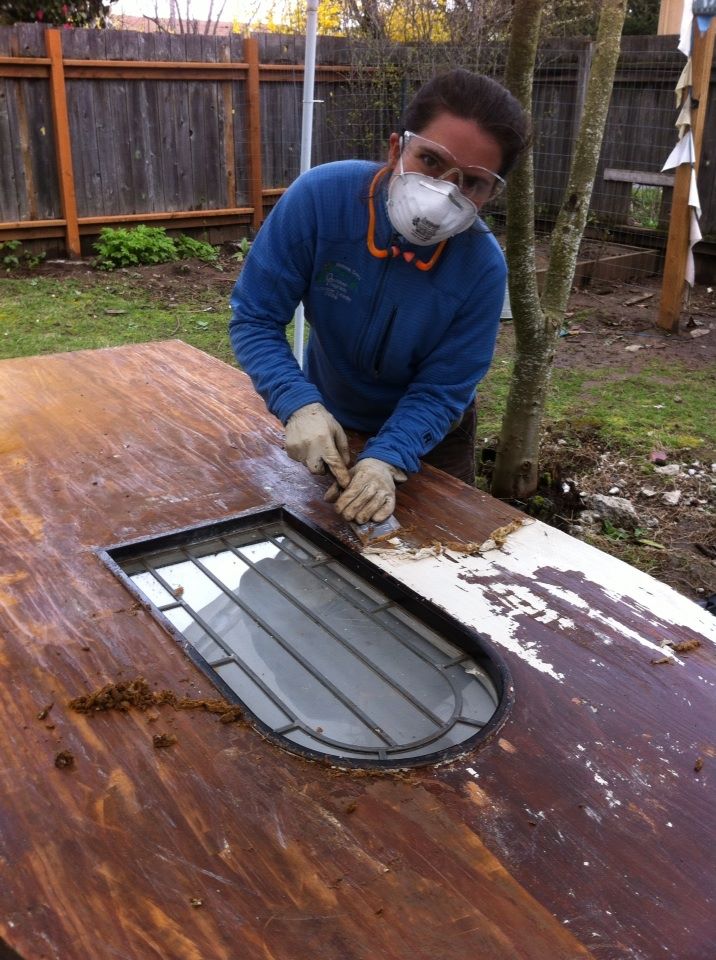
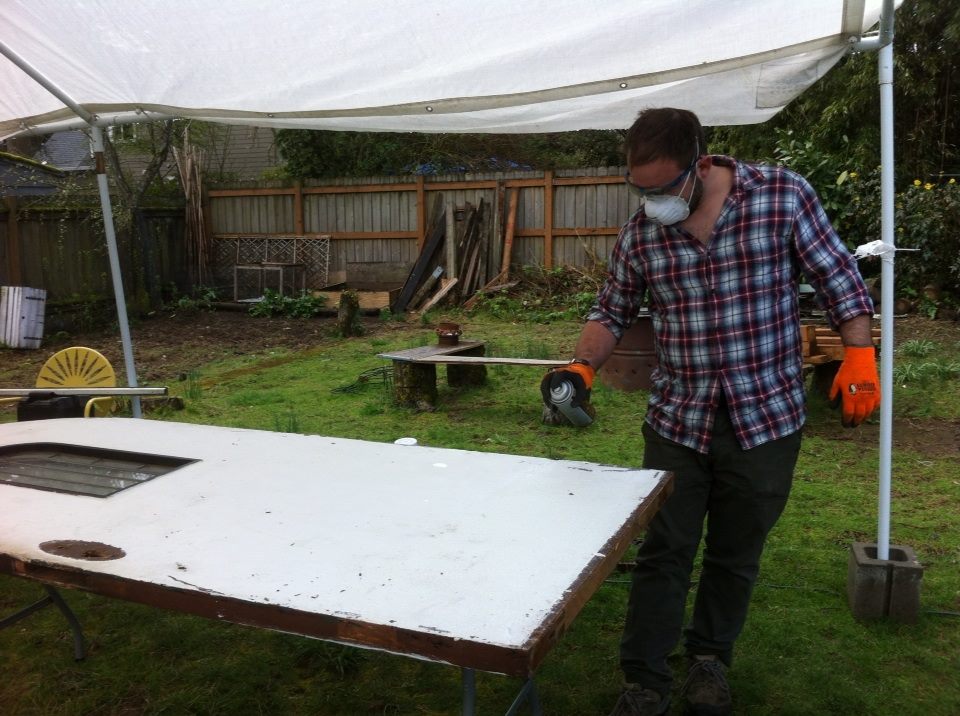
Lina scraping the door A few weeks ago my friend Matthew helped me begin the process of refinishing My Beautiful Arched Door. This weekend we finished it up. I’m so pleased with the results! It’s beautiful!

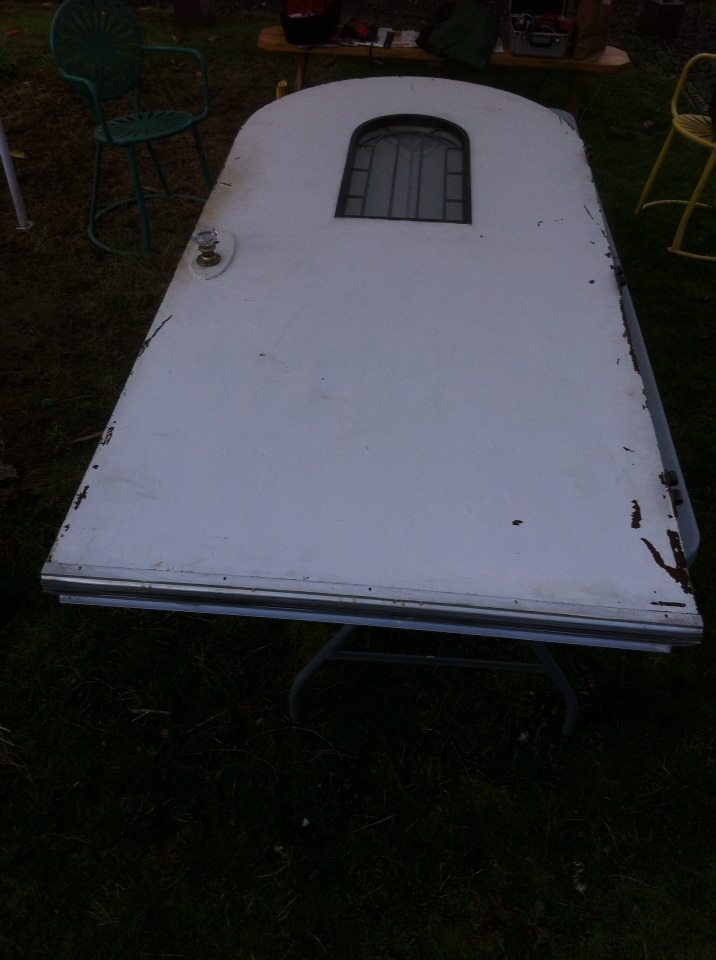
Since it’s an old door I found at the ReBuilding Center, I started out by testing the paint for lead, using a lead test kit. I discovered that the door itself didn’t have any lead paint. However, the doorjamb did test positive for lead paint. So last week I took the doorjamb to Timby’s to have it “dip stripped.”

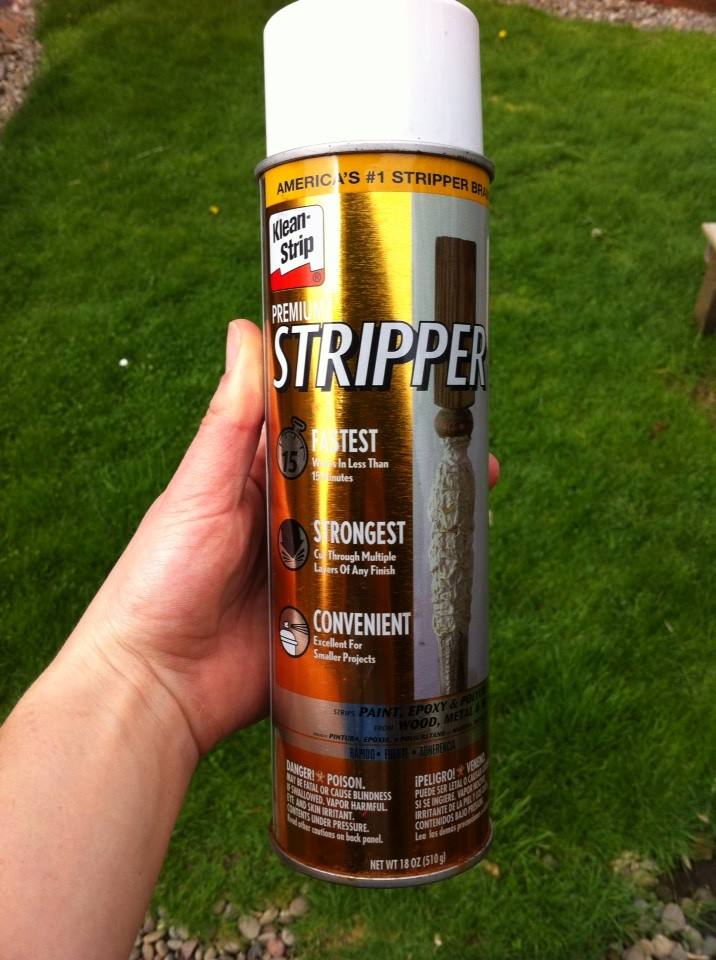
Meanwhile, I decided to work on the door with Matthew. We started out by removing all the old hardware. Next we used paint stripper to remove several layers of old paint from the interior of the door. The paint stripper contains toxic and potent chemicals so we wore masks, gloves, and eye protection. We used scrapers to remove the paint and dispose of it. (Note Bene: we discovered that the spray paint stripper was much more effective than the paint-on version, so next time I have to use paint stripper I’ll plan to use the spray version.)

interior of door sealed

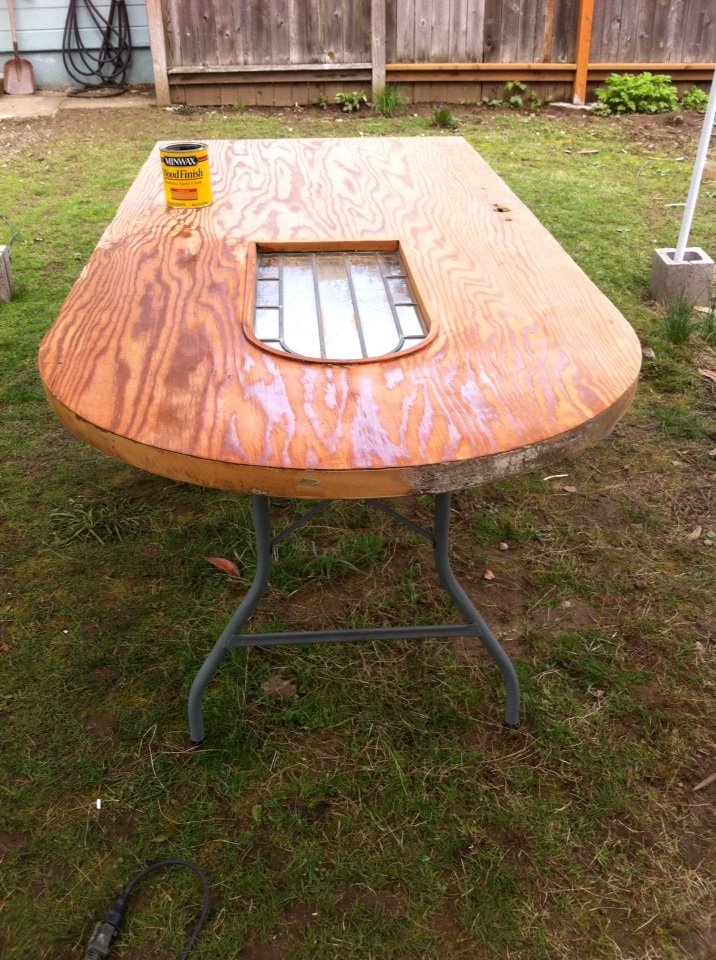
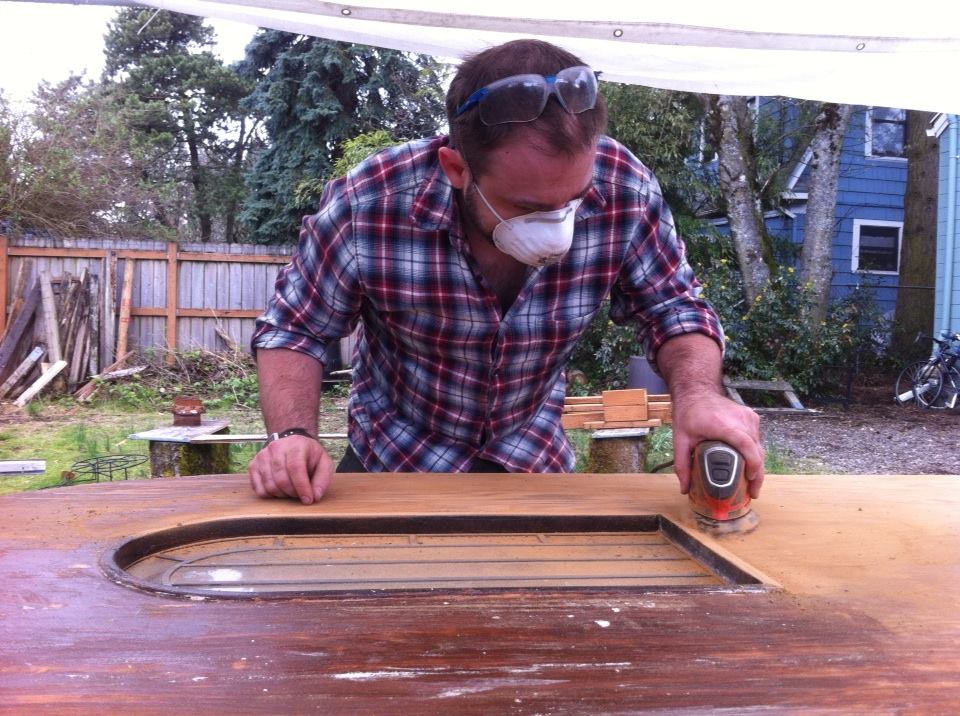
Once the paint was stripped off the interior we discovered that the door has lots of character in the form of nicks, holes, and scratches. I think these indicators of my door’s history make it even more beautiful, so I decided to finish the interior with a clear stain. We tackled it with 80-grit sandpaper and moved through 100 and then 150, finally finishing up with 220-grit. My ¼ sheet palm sander and Matthew’s mouse sander seemed to be the perfect duo of tools for the project. Then I applied 3 layers of clear stain to the inside of the door. It was so neat seeing it take on the richness of the stain!

exterior of door painted

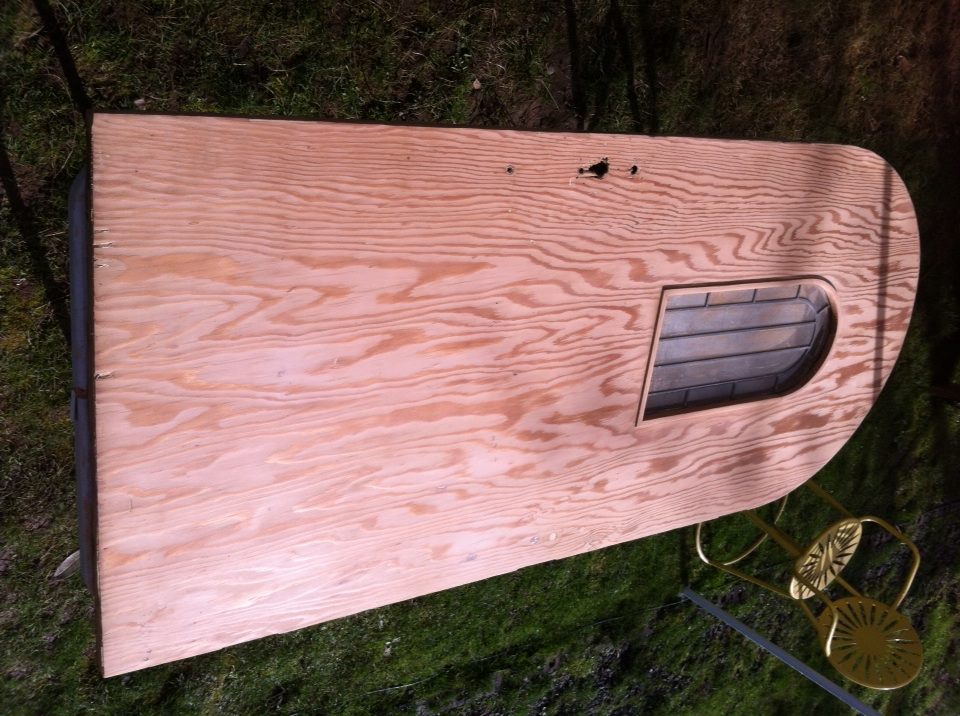
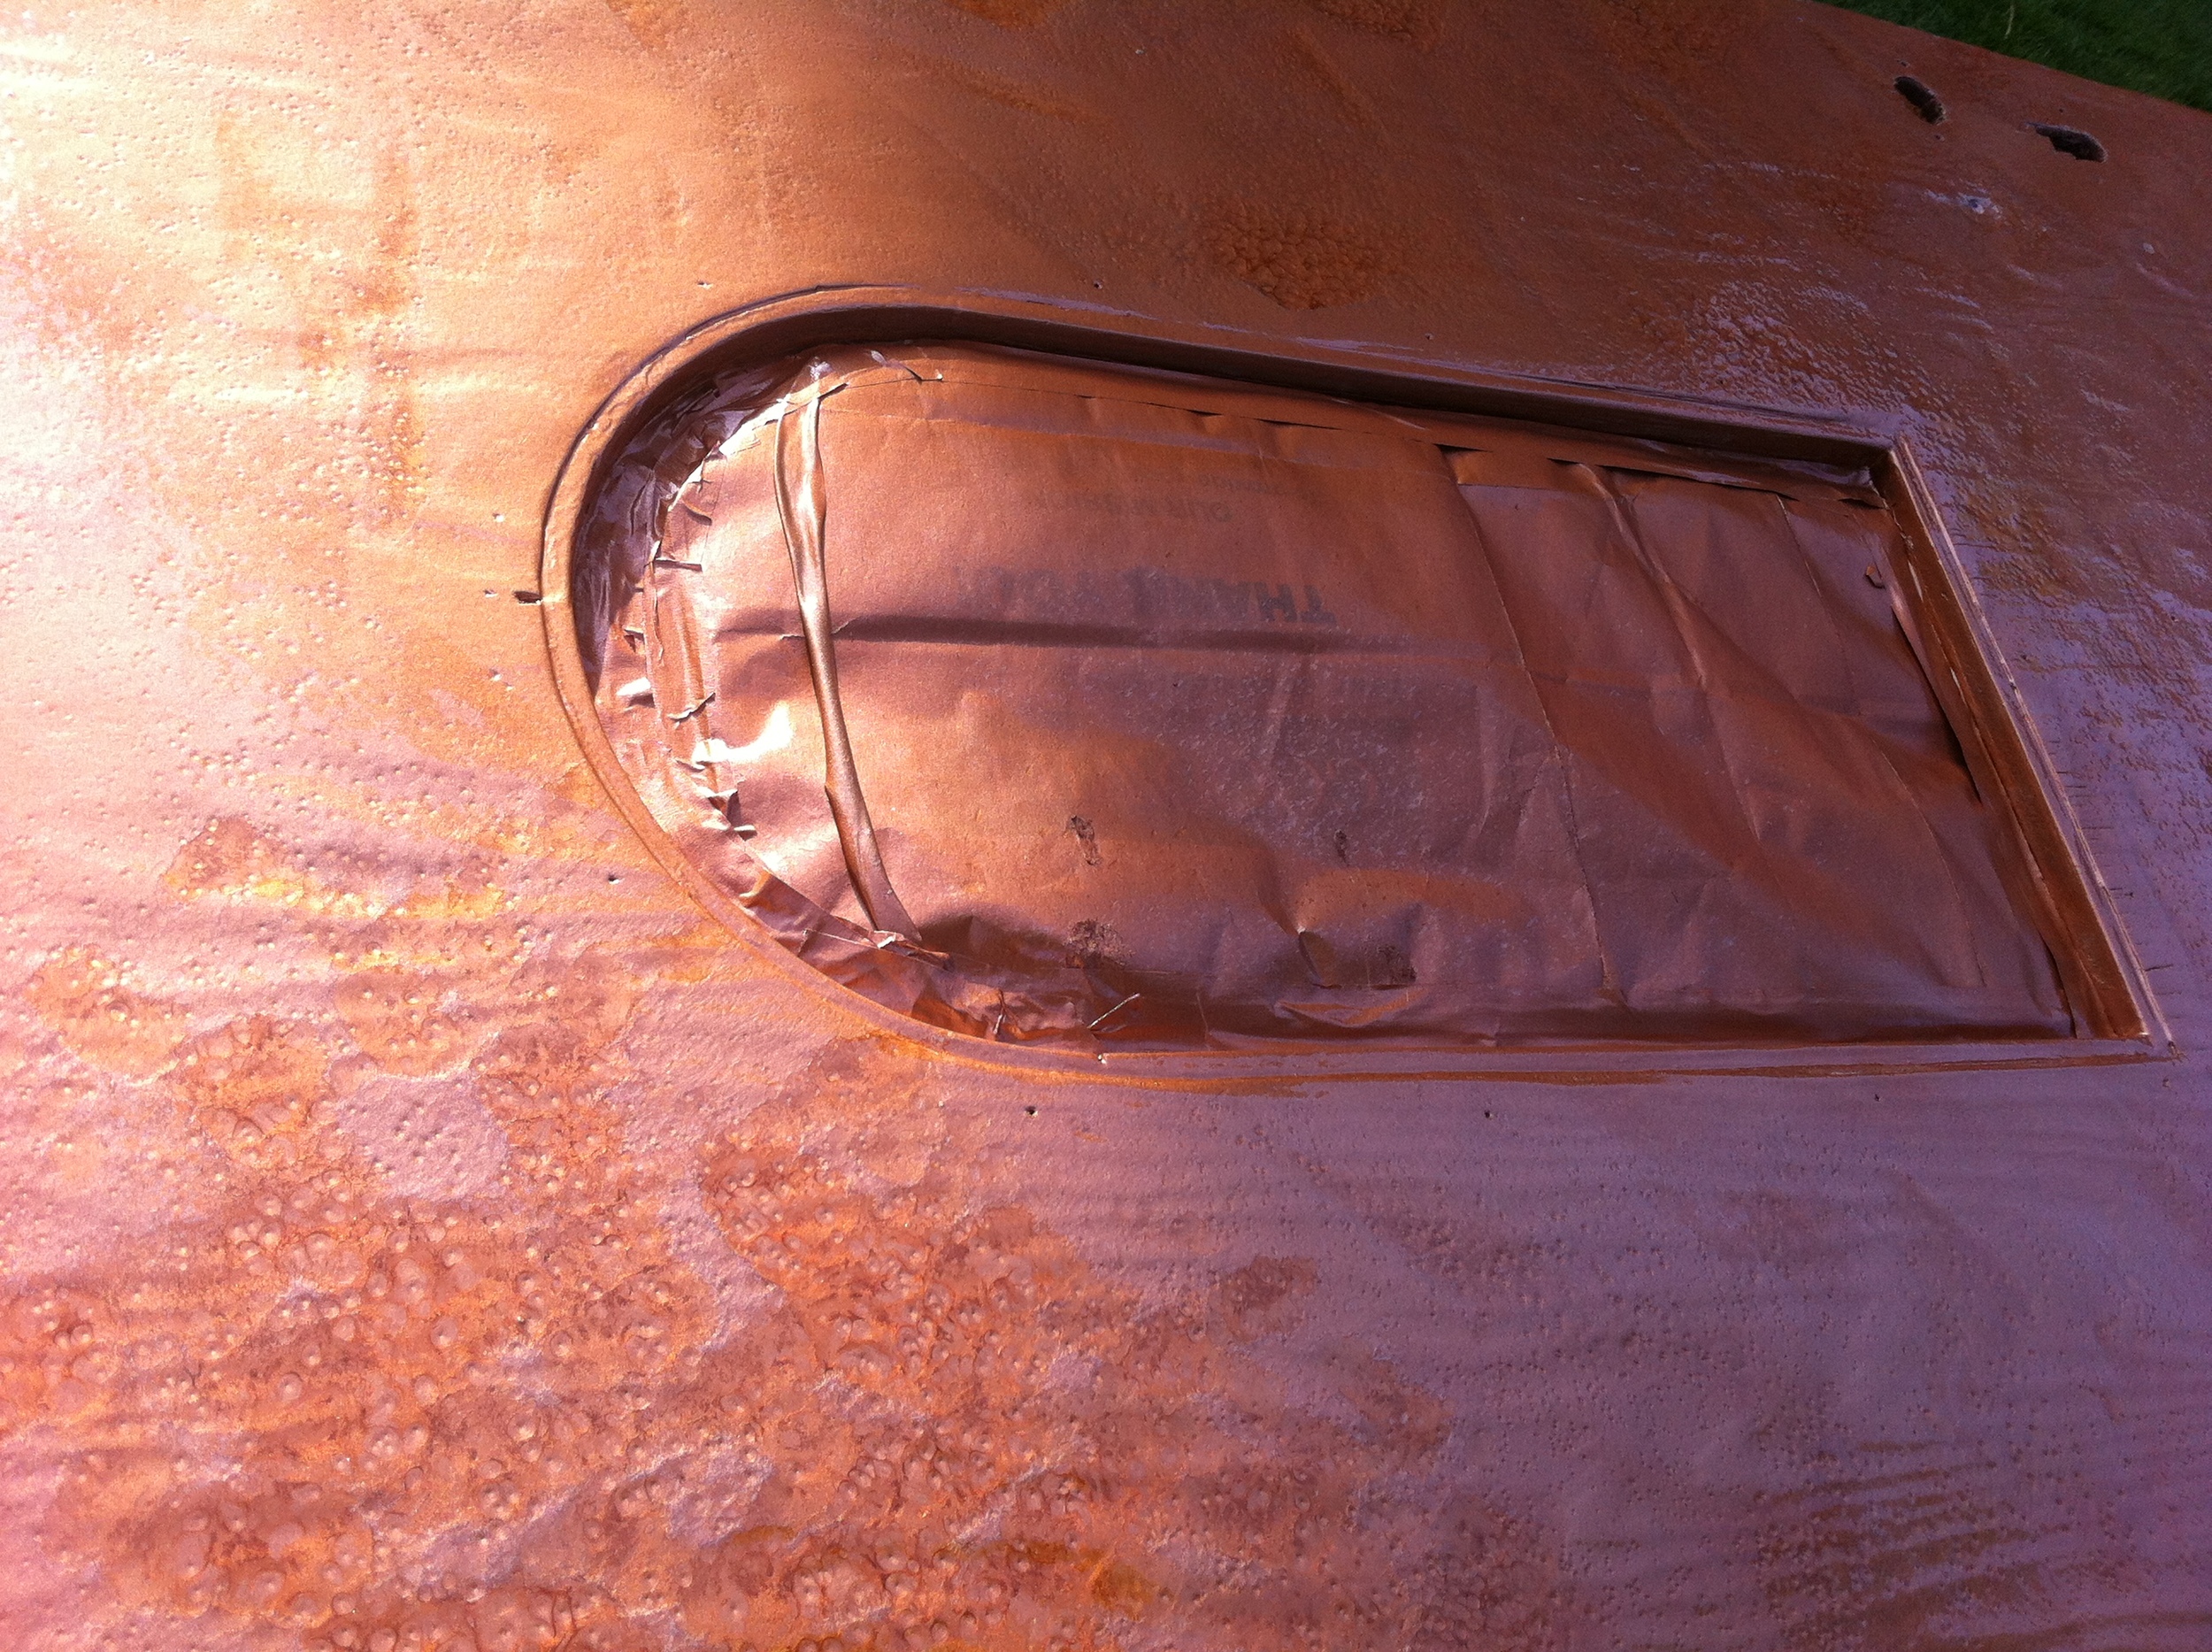
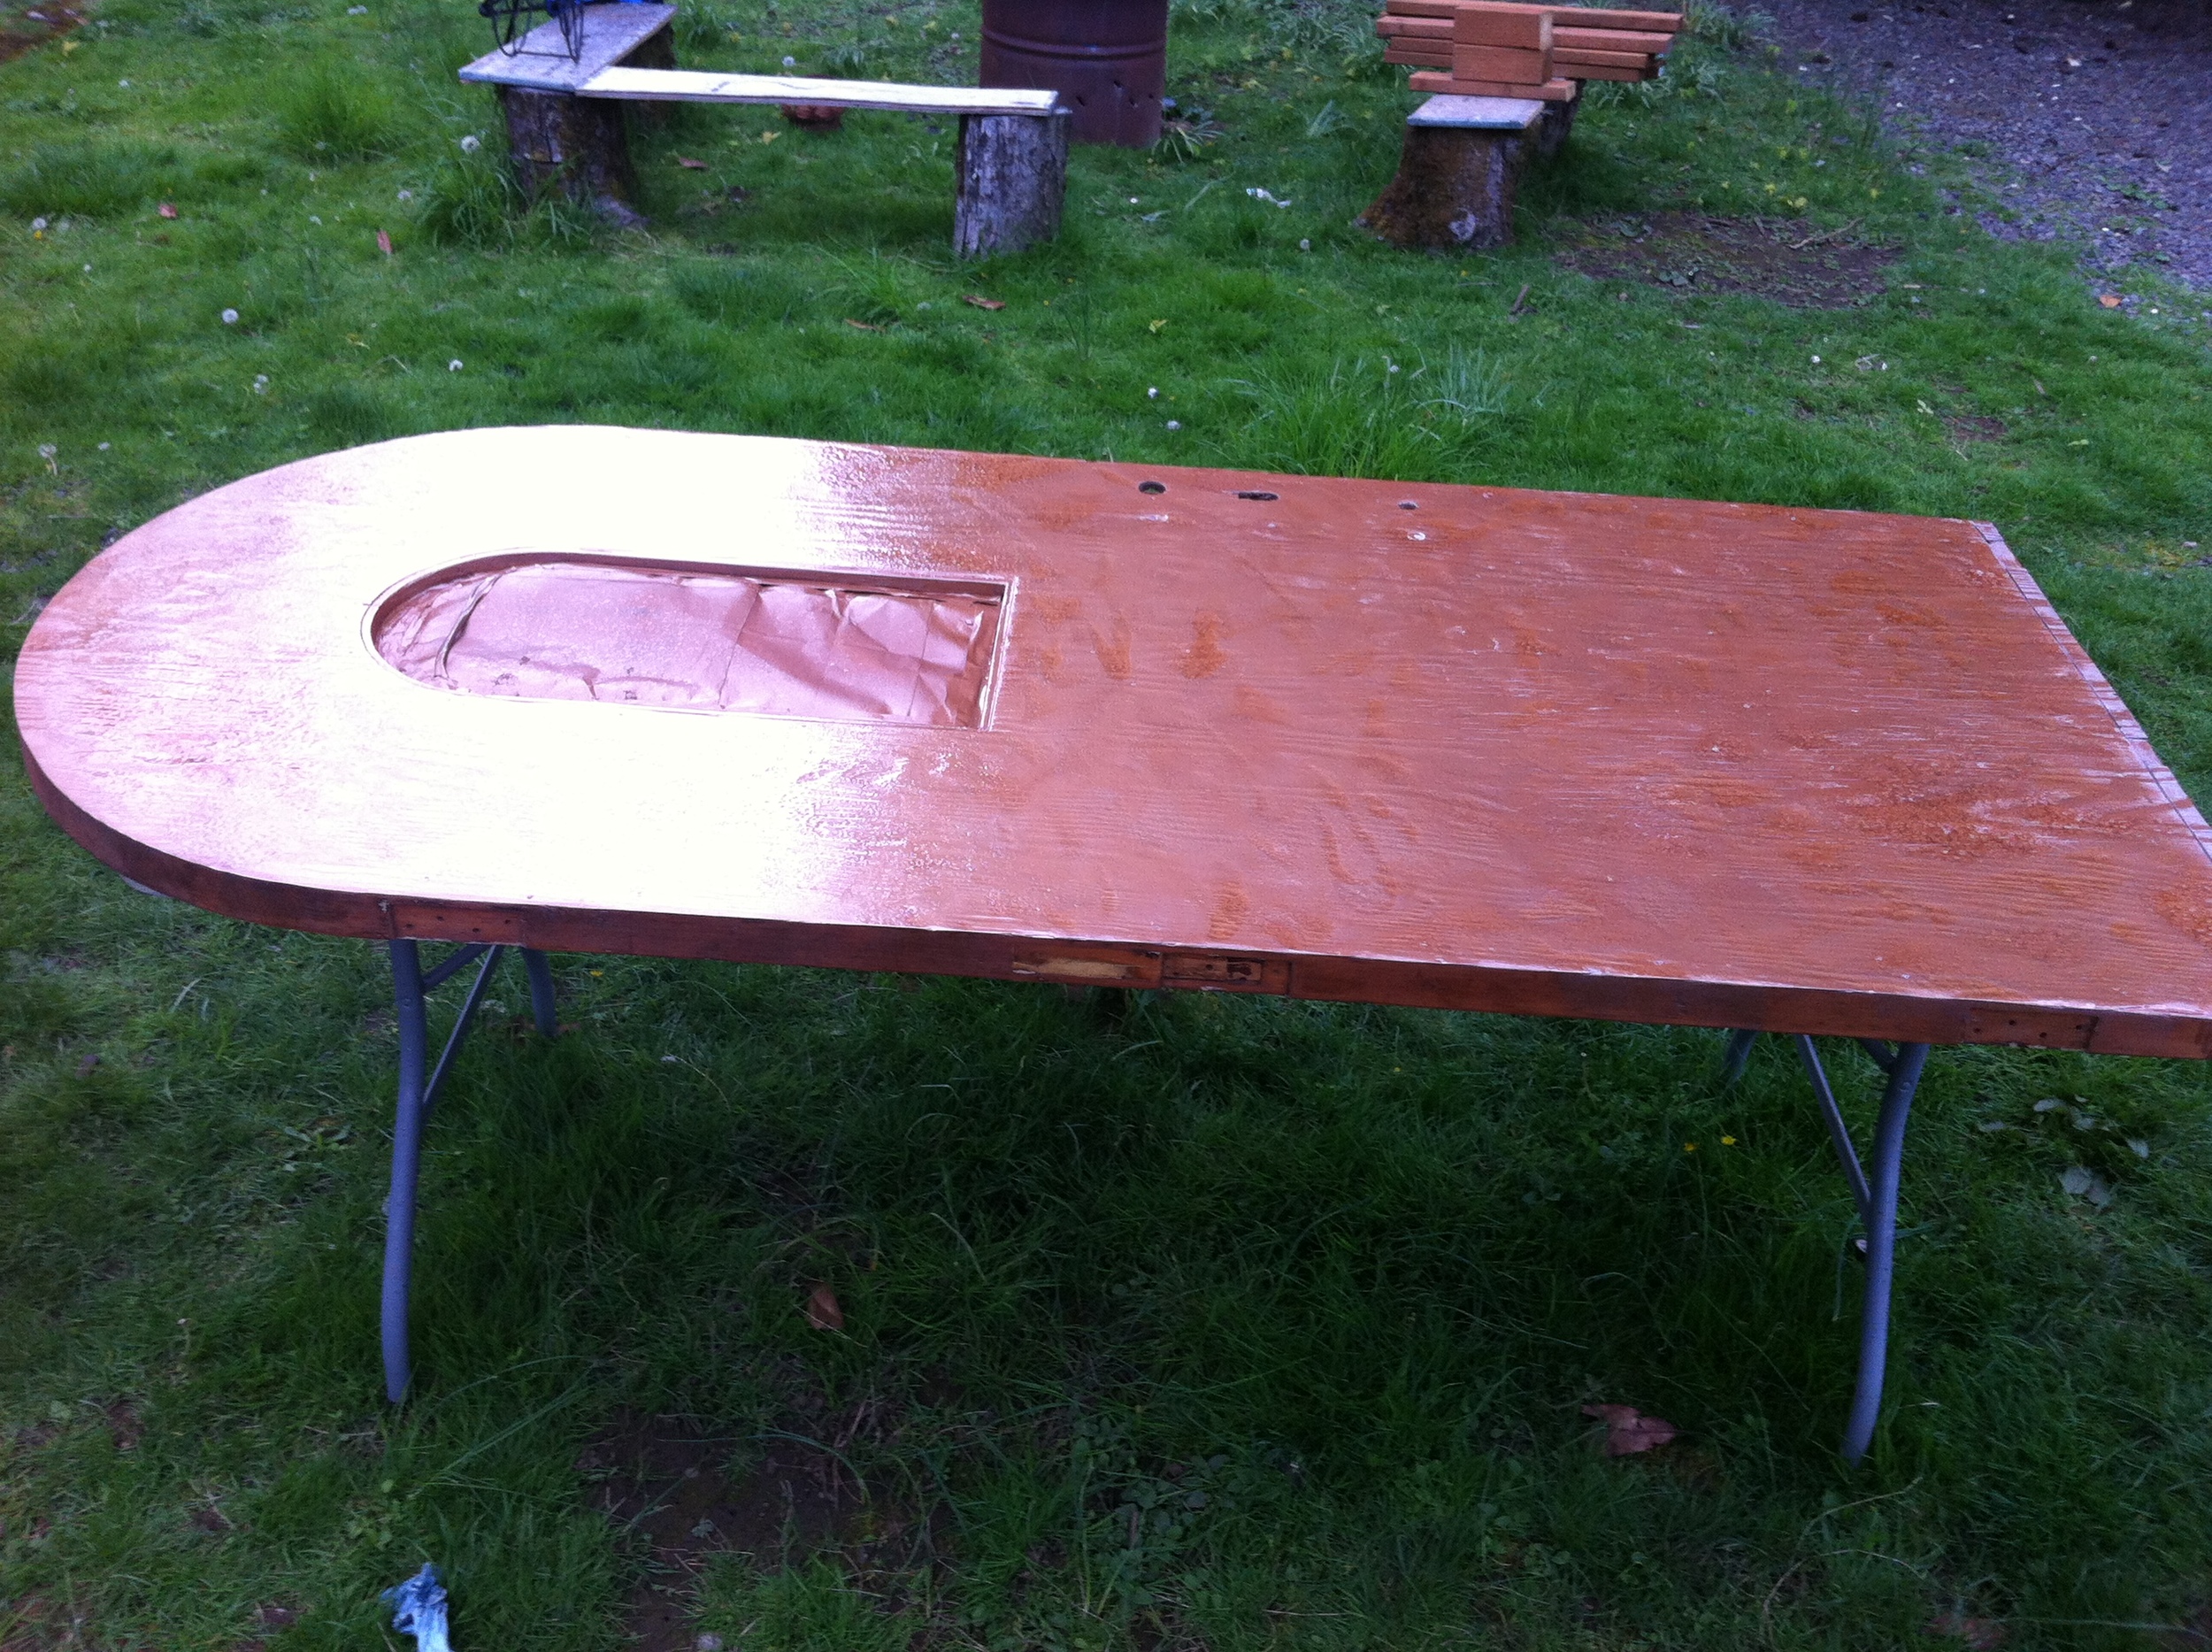
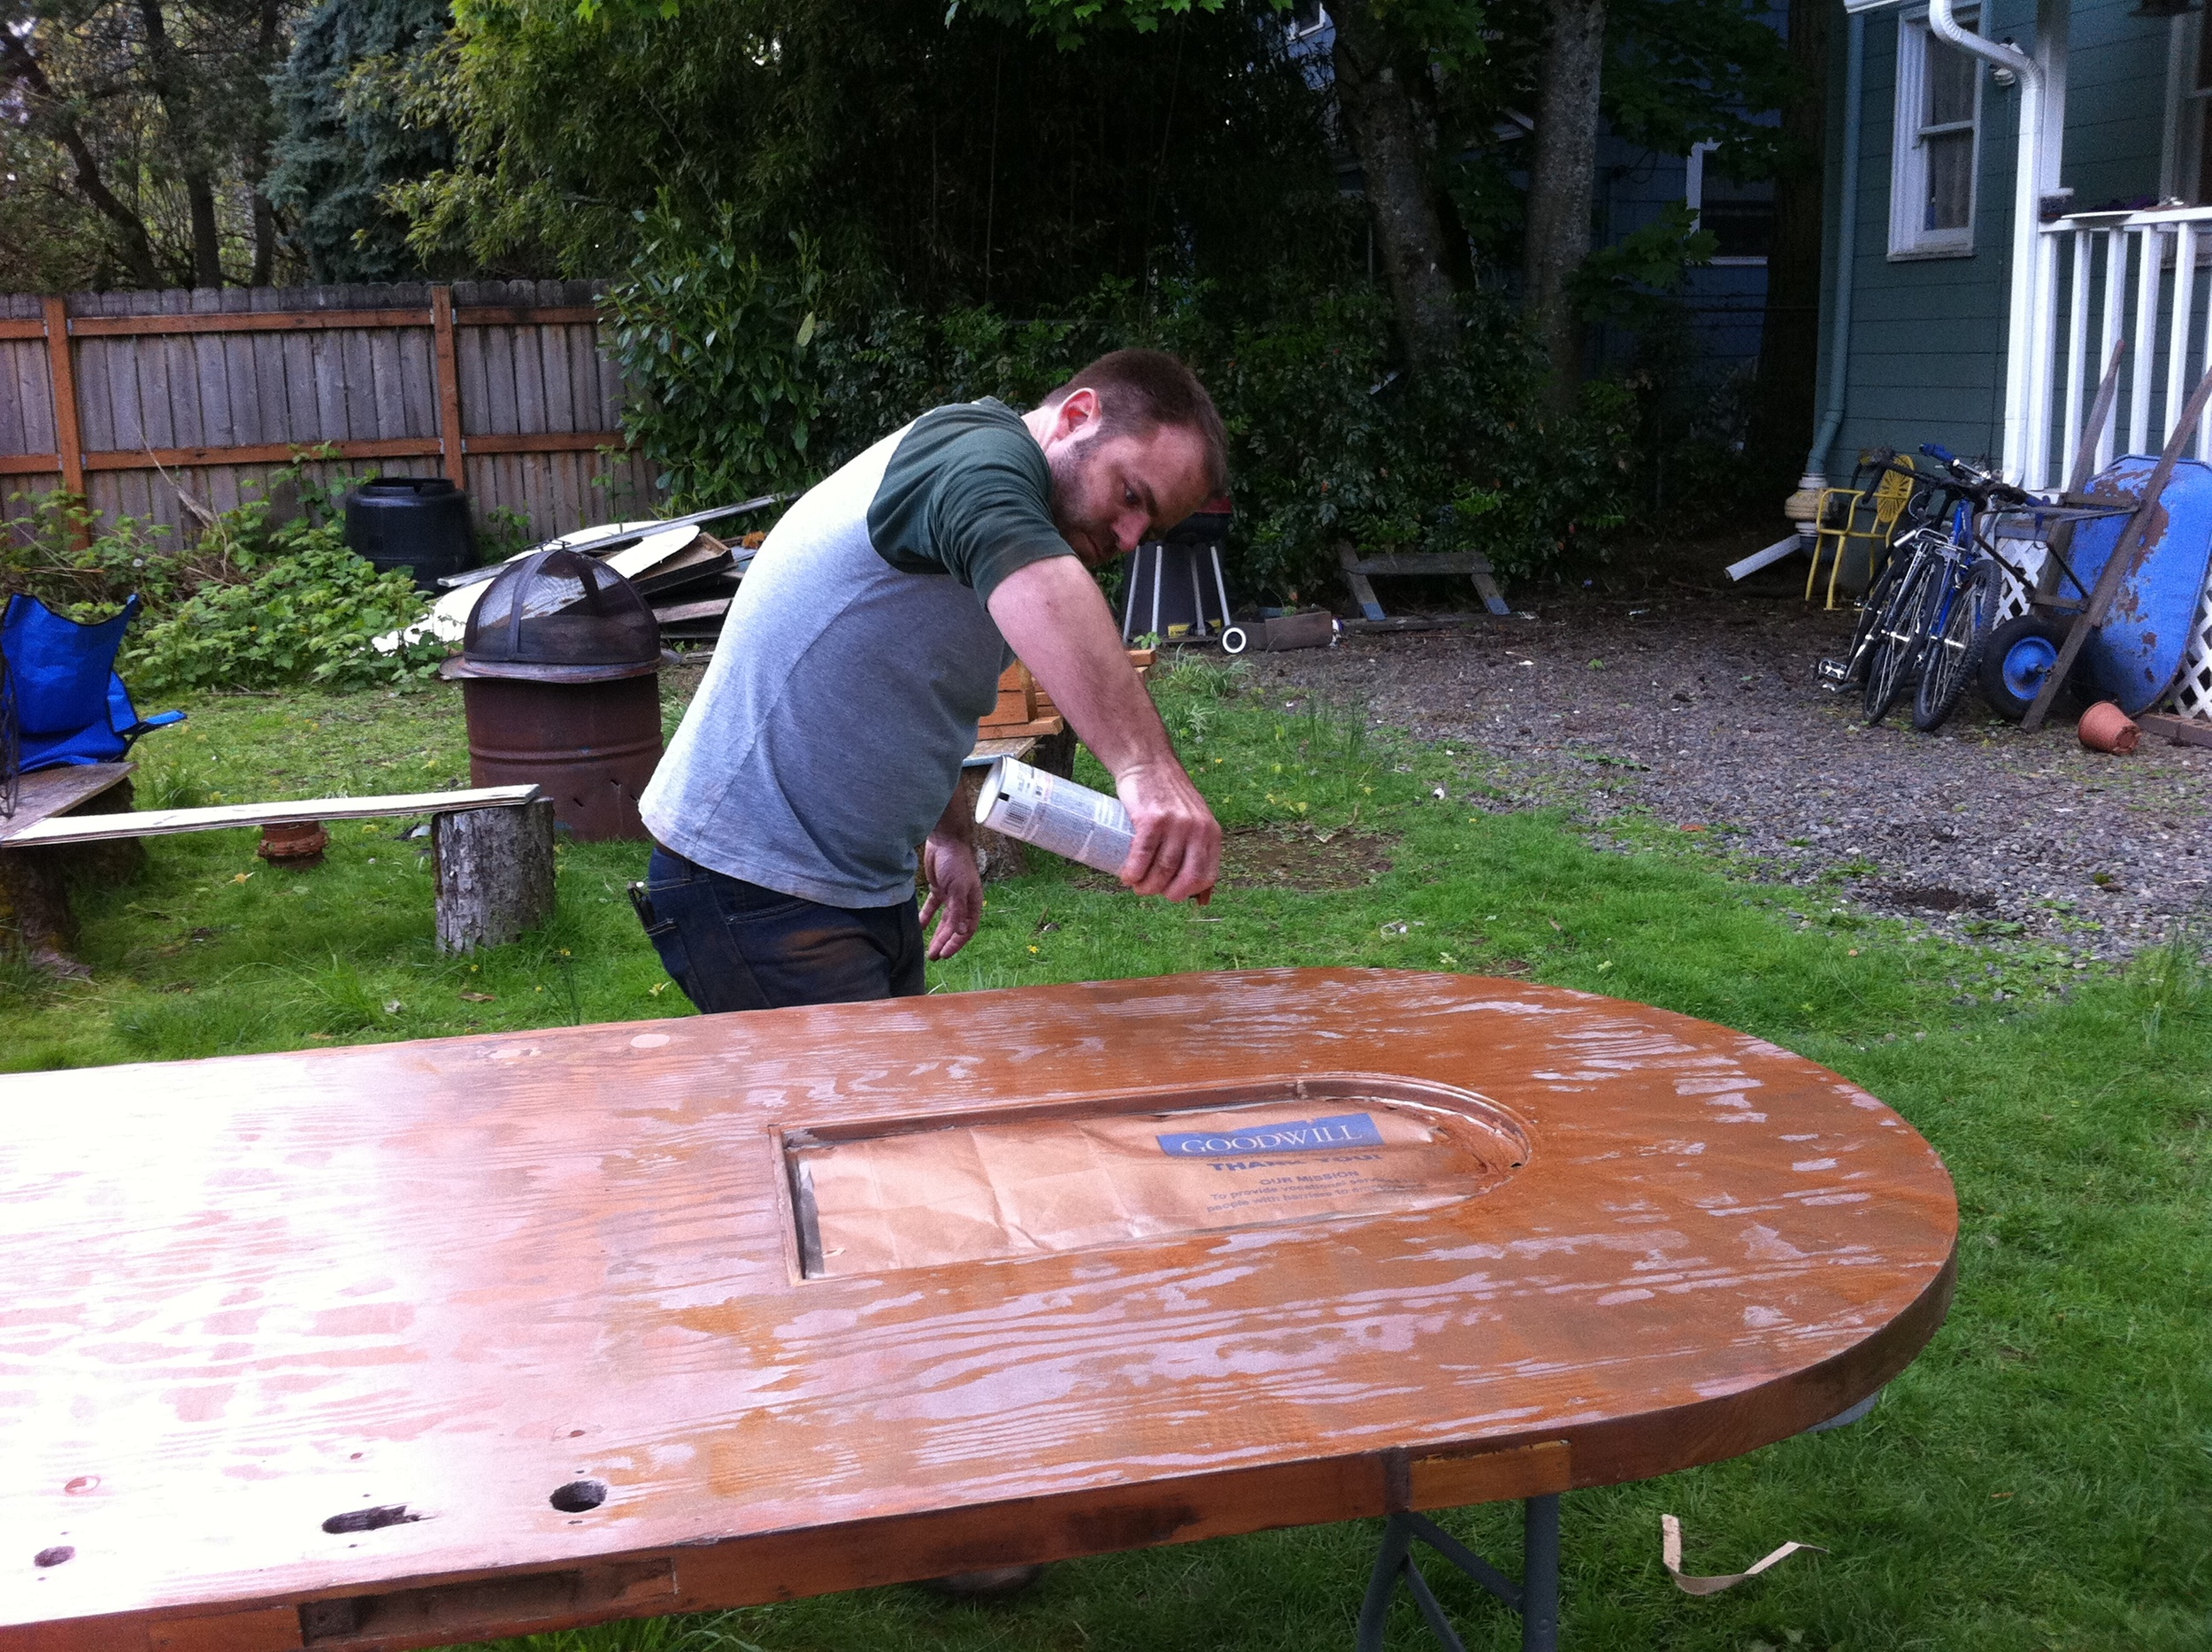
Unfortunately, when we removed the veneer on the outside of the door (and all the teeny finish nails that held it in place), we found that the exterior of the door is really rough. I knew it wouldn’t be worth sanding down and staining the exterior, so I considered covering it with a veneer again. However, I’ve been on a copper kick and I’ve always loved copper doors. Besides, my house is the Lucky Penny so I like the idea of a copper door greeting me and my guests. Of course, I can’t afford to purchase sheet copper to cover it, so I ultimately decided to spray paint it with a hammered copper spray paint. I picked up a can of Rustoleum universal hammered copper spray paint. Today we sanded the door enough to remove the obvious textural issues and then applied a couple layers of spray paint. It took a little finesse to get the look right, so I’m glad I got some practice in spraypainting the frames of my skylights this morning.

I think the new look for my old arched door is lovely! I can’t wait to install my door in my SIPs walls in just a few weeks! Check out the photo gallery for more photos of each step.


Rafter Tales

tales of rafter tails Earlier this week I was Planing My Curved Rafters. Today I cut the rafter tales and sealed them.

I deliberated again this morning before I committed to my rafter width. My tiny house on wheels is only 8 feet wide (which works nicely for dimensional sheet goods!) So if I’d made the rafters overhang just 3” the house would have been within the road legal limit of 8’6” and I wouldn’t need any sort of permit to haul it. There is something alluring about being able to hitch up and go whenever I want.

However, I don’t figure I’ll move too often. Probably not more than a couple times each year. I don’t have any intention of hauling my house across the country. I’m impressed that Dee Williams will be road-tripping with her vardo in a couple weeks as part of her book tour for The Big Tiny, but I can’t see myself doing that. If I were going to hit the road and be really mobile I’d probably want to do it in an actual vehicle, like a Volkswagon or Sprinter van.

I built myself a jig to measure the 9'10" mark on my curved rafters

So I decided to give my vardo some decent eaves. Eaves will help protect my little house, they’ll provide some shade, and they’ll give it a more settled look. The maximum width a tiny house on wheels can be without a trip permit is 8’6.” If you get a trip permit (often about $30) you can go up to 10 feet wide. (If your house is bigger than 10 feet wide you need to go with a commercial hauler and have a lead car and a follow car and it gets a lot more complicated – not to say it can’t be done, but it’s more than I wanted to deal with!)

So I decided to make my rafters 9’10.” But it turns out, it’s tricky finding the 9’10” mark when your rafters are curved! So I made another little jig for myself with a board cut to 9’10,” which I could butt up against the bottom curve of my rafter so that I could mark the edges of the board.

I made another jig for the curve of my rafter tails

I'd been scouting the neighborhood looking for rafter tails I liked and I ultimately decided I just wanted them to be curved (surprise, surprise, right?!) So I used the bottom of my food processor as a stencil and I picked a curve I like. I made yet another little jig so they'd all be the same and then set to work cutting my rafter tails. Jigsaws are my favorite power tool, but I hadn’t used one is so darn long I’d forgotten how helpful it is to have a little momentum going into a curve. Just don’t look too closely for the wonky rafter! I didn’t feel like building a new one!

they look gorgeous but they stick to high heaven!

Once I’d made my cuts I sealed the rafters up with an oil-based clear coat. (I haven’t cut the birdsmouths yet, by the way, because I want to see exactly where they’ll land when I have the walls up.) I picked a stain recommended by someone in the paint store as one of the greenest options. But I wish I’d done a little more research because it stinks like crazy! I may need to let my rafters sit out a while so that this smell doesn’t get captured inside my house. Fortunately I still have a little time before the rafters will go up so hopefully they'll air out completely!

Planing My Curved Rafters

Planed-Rafters.jpg

Evan shows off the first planed rafter Waaay back in March, I began Building My Arched Rafters for my gypsy wagon, The Lucky Penny. I was able to borrow a jig from the uber talented Katy Anderson. Katy is a woodcrafter extraordinaire (who is currently building a vardo for Dee Williams which she’ll be taking on her book tour for The Big Tiny!) Laminating the ¼” strips of mixed grain fir on the jig was a neat process. (If you’d like to learn how you can do it yourself, check out the Vardo Plan Set from Portland Alternative Dwellings!)

even when I was good about pressing the strips into the jig, they were pretty rough

I’d never done any lamination before so I learned a lot through trial-and-error. I found there were two particularly important things to remember:

First, it’s important to prep your workspace because once you start gluing up the rafters you have to keep moving. Even the Titebond III glue has a fairly short open time. (That means it starts sticking quickly so you have to get things positioned just how you want them before it’s too late!)

Second, if you aren’t really good about pressing the fir strips down (in addition to clamping them against the jig), you end up with quite a bit of variation along the edges of the rafters. I didn't consider this at all on the first rafter I built and it was all kinds of cattywampus! On the second one I remembered to press down at the middle but didn't realize it was important to do this all the way to the edges. With two trial rafters under my belt I caught on and made the rest of them much better. However, even on the best ones, when my rafters were all glued up there was probably about a ¼” worth of variation from the low point to the high point on each side.

Gabriel, Mike, and Evan helping me plane my curved rafters - thanks, fellas!

Fortunately, the Breathe Building, the Living Building Challenge project I'm working on, had just purchased a planer. We’ve salvaged the wood that was removed from the North Building and we’ll be milling it down to use as interior finishes throughout the new facility. When I told Mike about my project he suggested we use my rafters to test out the new planer.

So yesterday afternoon my coworkers Mike, Gabriel, and Evan spent a couple hours helping me plane my rafters down so that they’re smooth on both sides. We all oohed and ahhed when the first one came through the planer. They are bee-a-you-tee-full! It was fun getting into a rhythm with the team and making the magic happen thanks to a really great tool. Both the machine and its operators get two thumbs up from yours truly! I can’t wait to see what all the wood in the Breathe Building looks like when it’s done...

Painting My Skylight Frames

2014-04-28 13.17.23 A couple weeks ago I purchased two Skylights for My Vardo from Mark at Natural Light Skylight Co. They are double-paned acrylic dome skylights with a plain black metal frame, which was all well and good except that my house is The Lucky Penny. It is not going to be plain. It is going to be a beautiful little house with copper accents.

So I decided to spray paint the frames with one of my new favorite art supplies: Rustoleum's hammered copper spray paint. I picked up a can at my local hardware store, Division's Do It Best Hardware (which, by the way, is the only place in town where I could find it!)

Voila! Beautiful copper skylight frames!

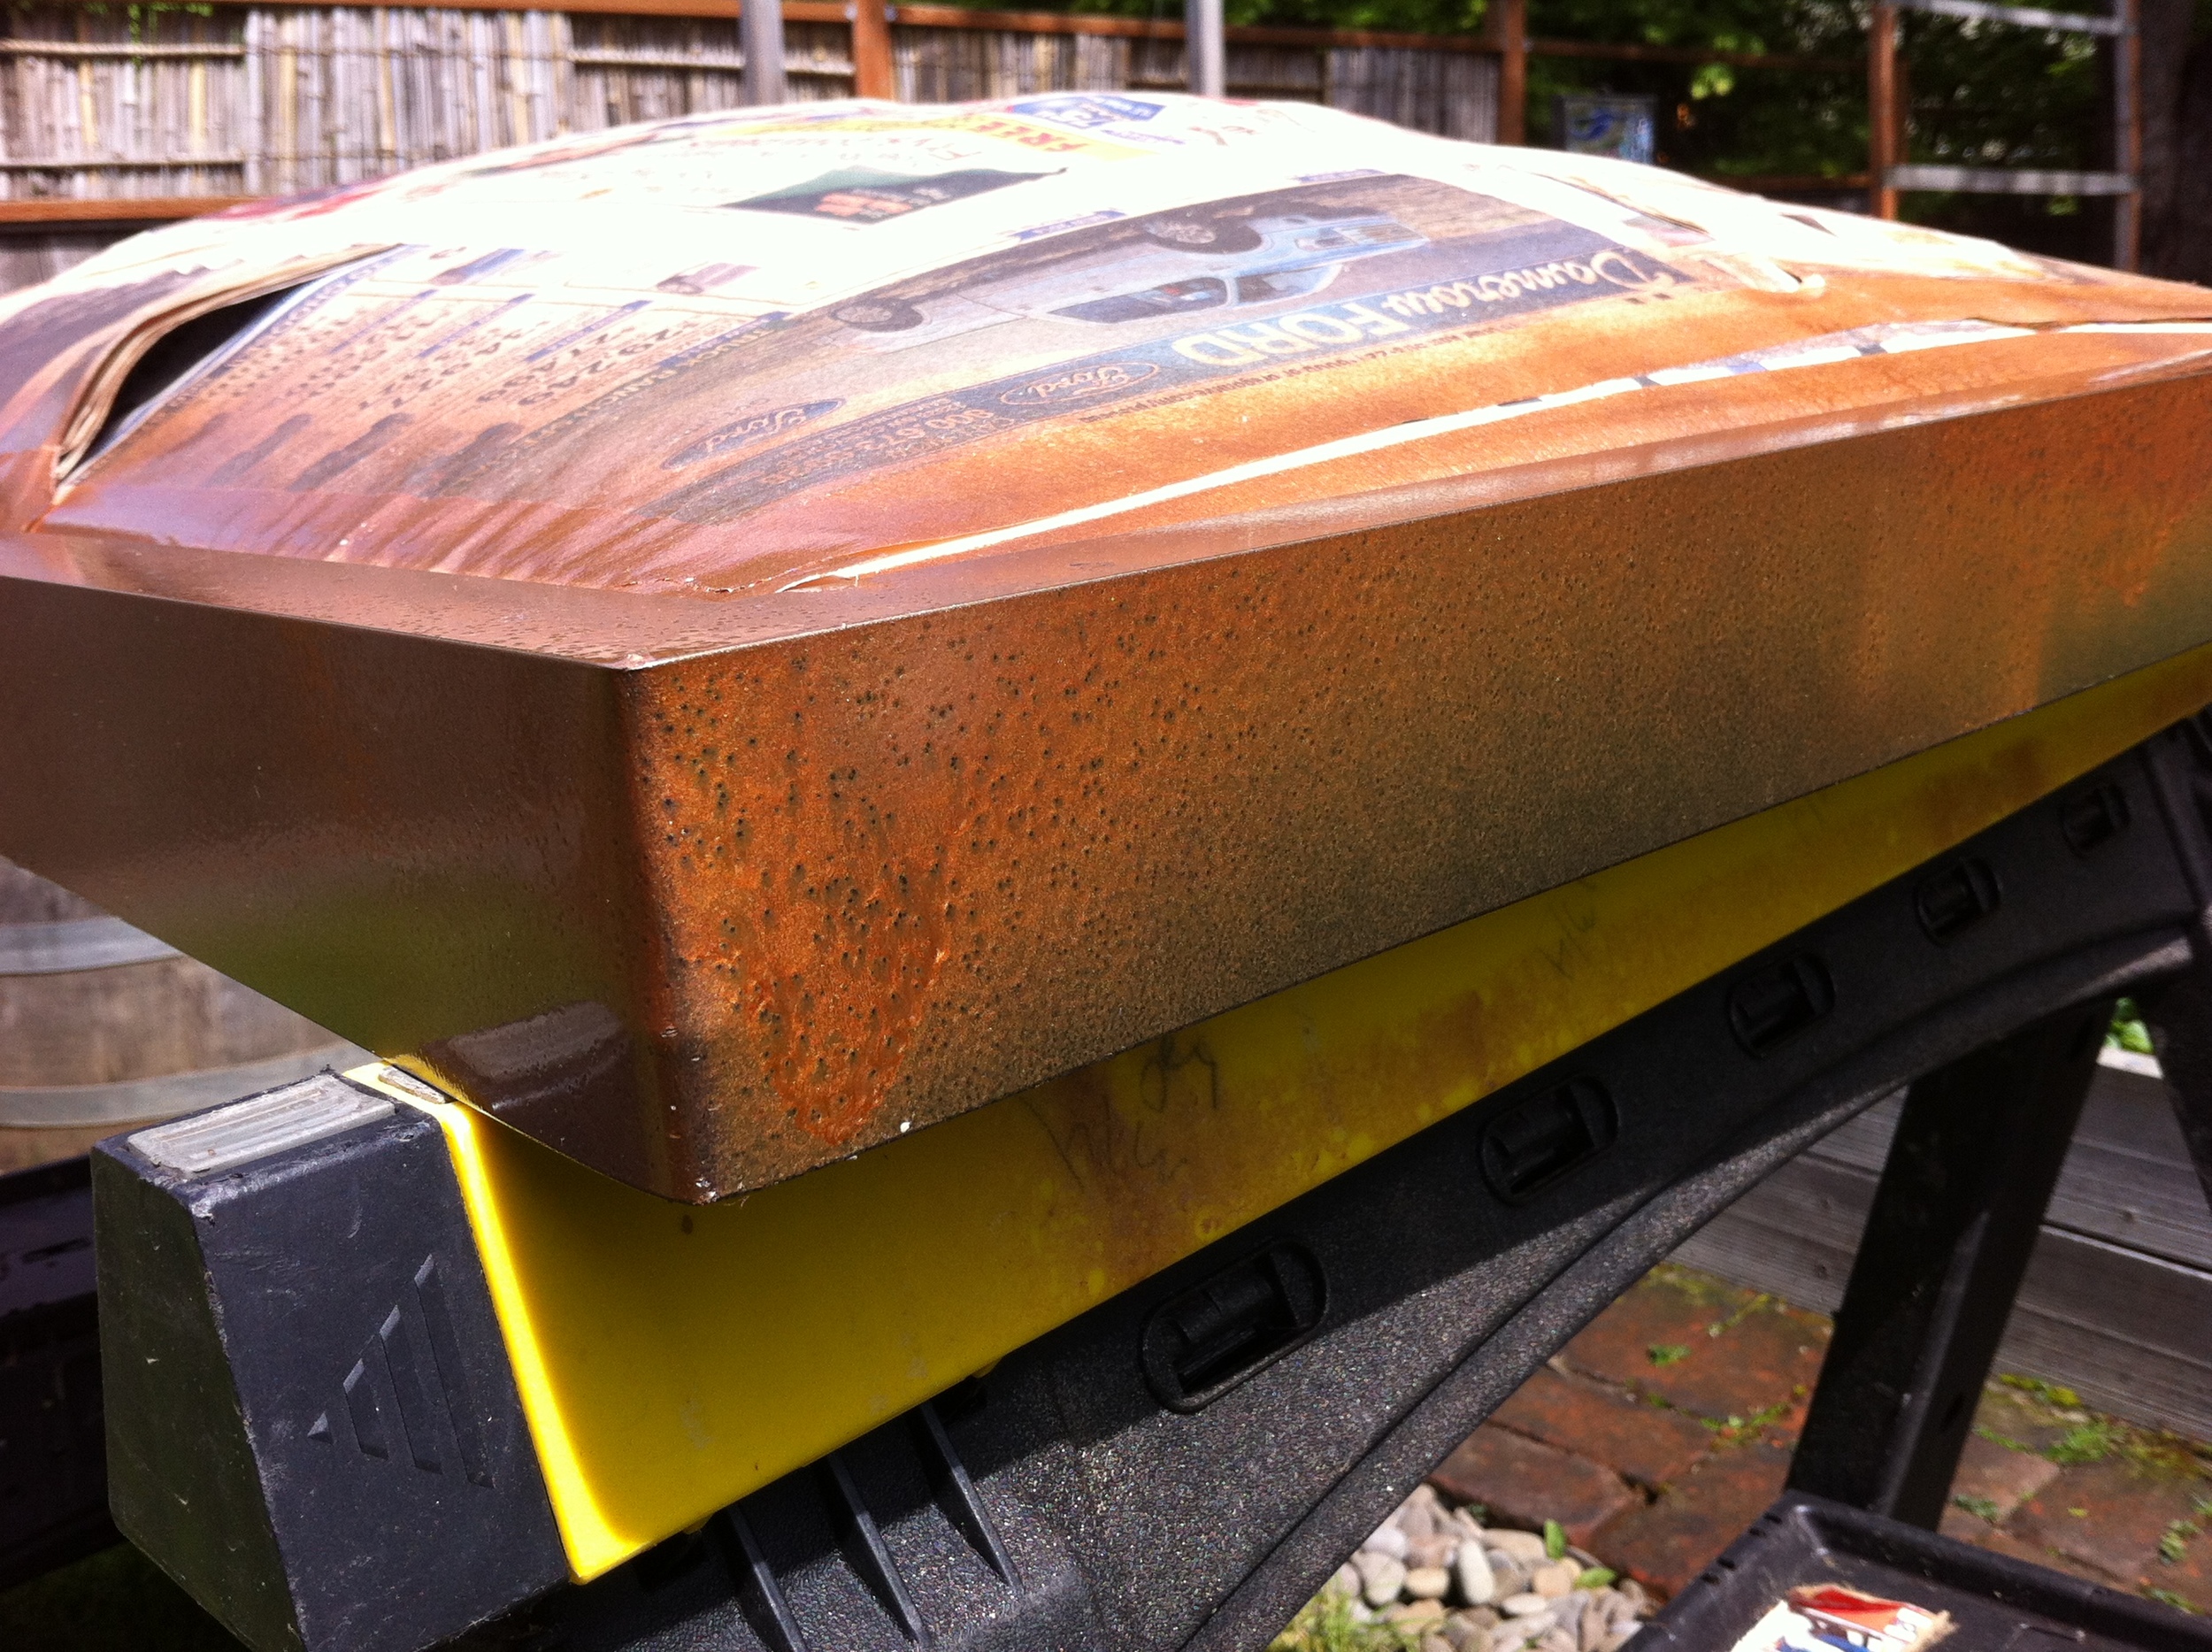
I started my skylight painting project by giving the windows a good cleaning and then covering the acrylic with newspaper, being careful to tape the edges thoroughly with masking tape. Then I set the skylight up on sawhorses, gave the can about 3,000 good shakes, and proceeded to spray the skylight frame down with a layer of spray paint. Once it was dry I re-taped the edges (because the tape pulls back from the edge when it dries after being painted) and then gave it another layer of paint. Voila! Drab skylight frames become beautiful!

Yes, I recognize that this spray paint is not the most eco-friendly product on the planet. I know, I know. But it is really beautiful. And I recognize that building a tiny house on wheels all about the trade-offs. There are a few places where I have to compromise one thing for another. I'm using styrofoam in the SIPS for my Tiny House - even though stryofoam is a material I detest in general - because I believe it's an appropriate application. It's lightweight, insulative, and doesn't break down. This is a problem for one-time food containers, but great for keeping my house warm! The spray paint uses aerosols and it's high in VOCs, but I'm not using much of it, and it's a quick and easy way to bring a little bling to The Lucky Penny.

Ordering My Tiny House SIPs

Iso Today I placed the order for my SIPs (structural insulated panels) with Patrick Sughrue of Structures Northwest. This means it’s time to schedule the wall-raising for my gypsy wagon. At this point it looks like it will be about three weeks out. Eeep! My tiny house build just got real!

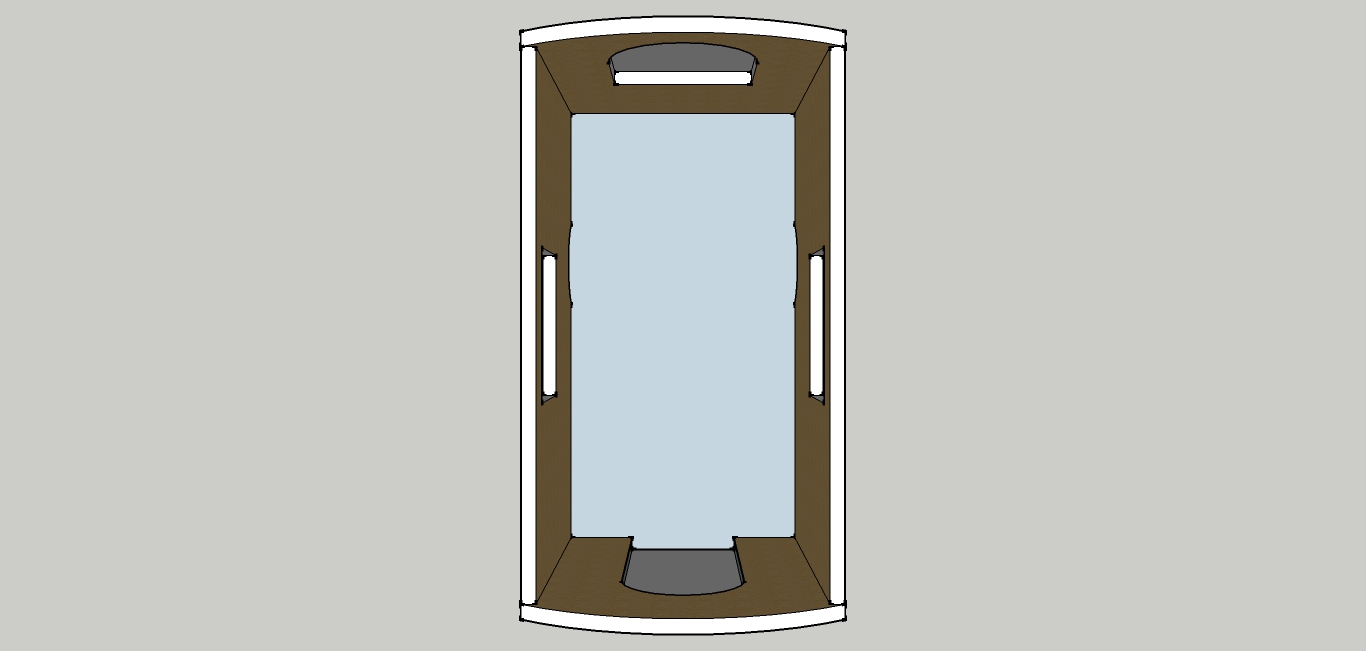
floor plan of my gypsy wagon in SIPs

Ordering My Custom Vardo Trailer from Iron Eagle Trailers was a big step, but ordering my SIPs feels much more momentous to me. Patrick and I have been talking ever since we met at an open house at Caravan – The Tiny House Hotel last fall. At the time I was thinking about building my own SIPs, but Patrick convinced me it would be easier and more cost-effective to have them factory-built instead. So I spent the past few months noodling over them and it was pretty exciting to finally sign on the dotted line and write the check!

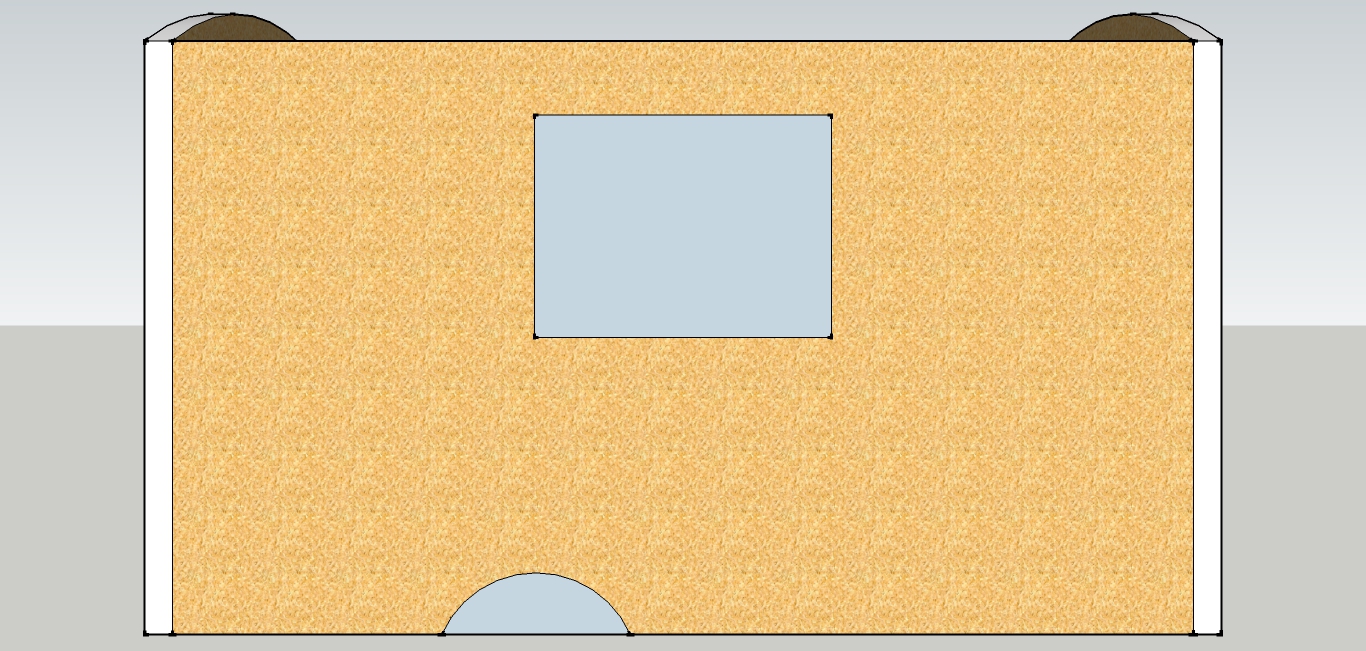
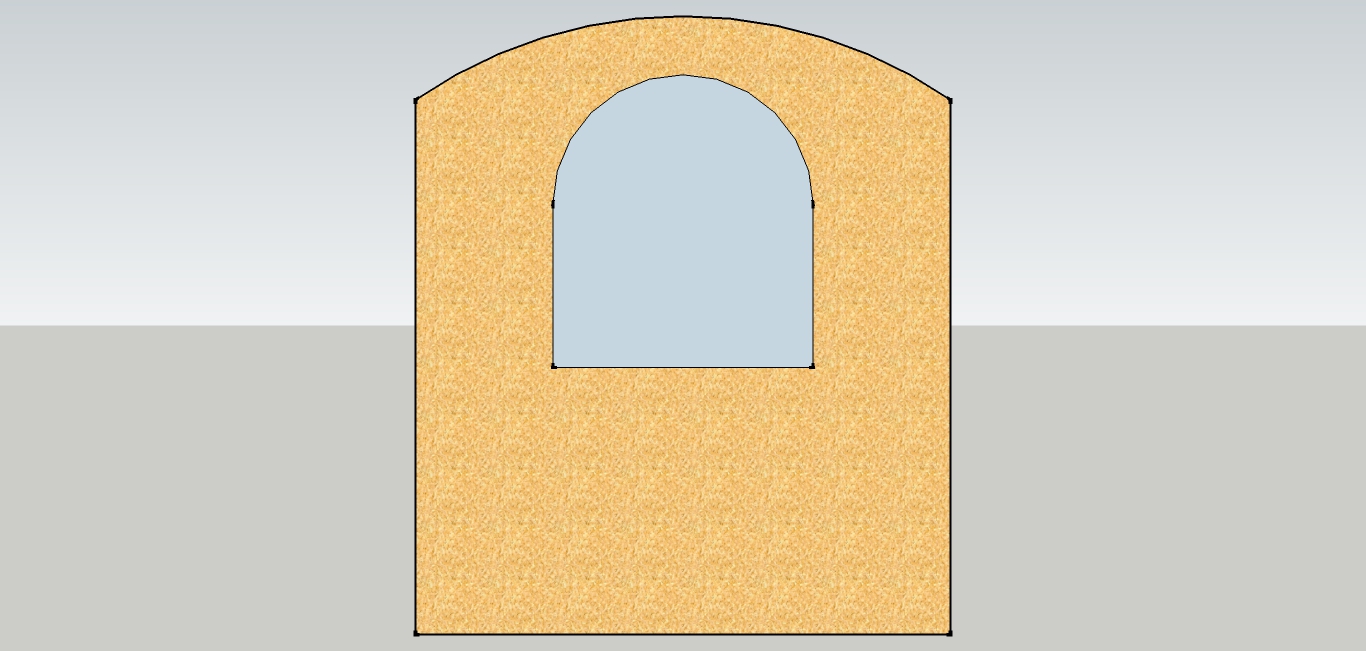
the front of my gypsy wagon - a cut out for my arched door

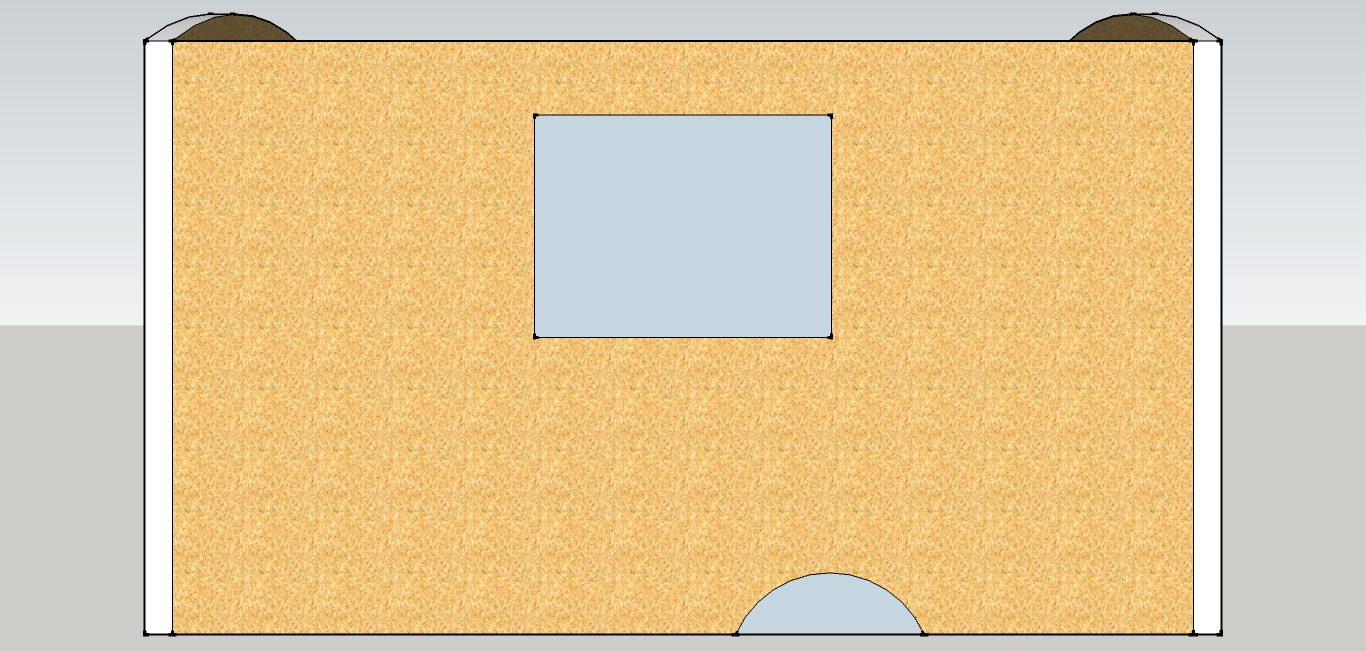
Patrick will be sending shop drawings for my review in the next couple days. Then my order will go to the factory where my panels will be manufactured to my exact specifications. When my wall panels arrive flat-packed they’ll already have the holes cut and the framing in place for my arched end walls, my wheelwells, My Arched Window, My Kitchen Windows, and My Beautiful Arched Door. In order to have them just right I double-checked all the measurements for my door and windows. I also had to have precise measurements from my trailer, so Laura and I paid an extra visit to Iron Eagle Trailers to take down measurements and check in with Rob. (By the way, if you let Rob know I sent you, he’ll give you $50 off your trailer order!)

Starboard

Since it’s more difficult to modify SIPs in the field than it is to modify stick-built walls, I’ve made my final decisions about my window and door placement. It’s amazing to me how much I can dither over these choices, but I’m feeling pretty good about my decisions right now. My walls will be 8 feet tall instead of the 6 feet that is more common in vardos. I love the coziness of a short-walled vardo, but living in Sweet Pea, I’ve come to really appreciate the spaciousness of higher walls. Since the sheet goods come in 8-foot lengths it would create more waste if I chose shorter walls – and it wouldn’t cost any less. Going with 8-foot walls instead of 6-foot walls, I’m able to contain more space with less waste at the same cost. Seems like a good choice to me. I’ve centered the door and windows in their panels so my house will be symmetrical. I’ve enjoyed the process of designing my house both from the inside-out and the outside-in. I can’t wait to see how it feels to be inside the space!

Port

SIPs are composed of two pieces of OSB (oriented strand board) glued to a piece of Styrofoam. Typically, I’m anti-Styrofoam. However, I believe that this is an appropriate use of the material. The very same things that make Styrofoam a lousy option for disposable packaging and single-use dishware make it great for a wall system – it takes approximately forever to biodegrade – which means it’s very durable. Additionally, it’s super lightweight (which is great for a mobile structure) and it has great insulation properties (which will reduce the long-term heating and cooling costs for my gypsy wagon). Yes, it has very high-embodied energy, and no, I probably wouldn’t use it for a ground-bound house (so many wonderful natural building options – like strawbale, which is like a natural version of a SIP!) However, I believe SIPs are an appropriate technology for tiny houses on wheels. The idea of using SIPs for a tiny house on wheels initially occurred to me four years ago, before I’d heard of anyone actually trying it. Now dozens of people have done it and I get to benefit from their pioneering efforts. (To read up on it, check out Jenna and Sean’s website Vagabode or their most recent post on TinyHomes.com To SIP or Not to SIP?)

the stern of my gypsy wagon (with a cut out for the arched window that started it all!

I’m so excited about my tiny house I’m not sure I’ll be able to sleep tonight! But I better because tomorrow is Earth Day and it’s going to be a big day. Dee’s book The Big Tiny comes out tomorrow and she’s in Washington, D.C. for the book release. There’s also a groundbreaking for the Breathe Building, a Living Building Challenge project I’ve been working on. So many great things to celebrate!

Besides, I need to get my rest because I have a lot of prep work to do in the next few weeks! Here are a few things on that list: Planing My Arched Rafters, Refinishing My Arched Door, Cleaning Up My Kitchen Windows, and Prepping My Skylights. Ready and go!

P.S. The other quote I got for SIPs was from Allen at Pacific Builders and I'm sure he would have done a great job, too. If I were building closer to their manufacturing facility in Montana, I probably would have picked them.

Skylights for My Vardo

Skylights Many of my favorite spaces have skylights, so they’ve been an integral part of my tiny house designs from the beginning. Many people decide to forgo skylights in their wee homes because of the cost or the complexity of flashing them properly. So I’m thankful that Tandem and both of the tiny houses on wheels I’ve lived in have skylights over the loft. They open up the space exponentially!

I wasn’t quite sure how skylights would work in my vardo, but living with an oculous in My Home Sweet Yurt convinced me that there’s something magical about the quality of light from directly above. I have loved being able to fall asleep with the stars hanging overhead and to wake up with a view of a squirrel tiptoeing onto the end of a branch to nibble on a fig. Once I had my heart set on having skylights overhead, I decided it would be worth the effort of figuring out how to install them on a curved roof!

Showman's Wagon

My friend John Labovitz, who built a tiny house truck called Polymecca, introduced me to the term mollycroft to describe the shape of a streetcar’s roof. A mollycroft roof is curved – both down to the sides and to the front and back – with a monitor that pops out of the center. Traditionally streetcars and showman’s wagons had little panes of glass in the clerestory, bringing light into the space. My roof design is a modified mollycroft; it won’t slope down to the front and back and the light will come from skylights at the top, rather than from the sides. However, I think (I hope!) it will look enough like a mollycroft roof to honor the gypsy wagons of yore.

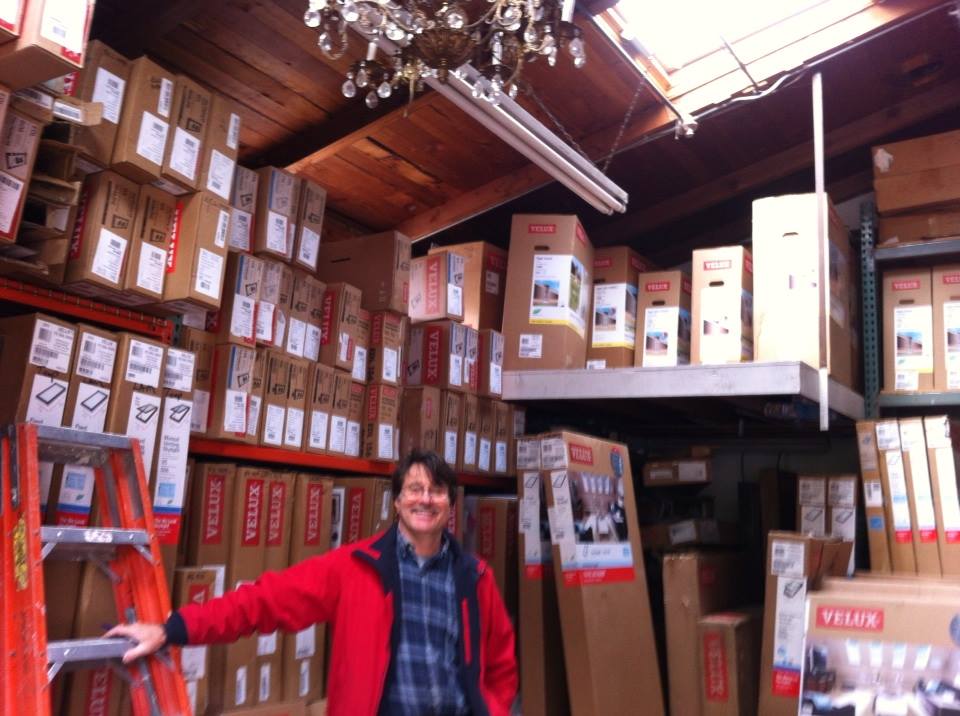
Mark in his skylight stacks

Yesterday I purchased two skylights for my gypsy wagon from Mark at Natural Light Skylight Co who has been selling skylights for over 30 years. Mark primarily sells new Velux skylights because he believes they’re the best ones on the market. But, on the side, he also sells used skylights he’s removed from projects when he installs the latest and greatest. I’d love to have new Velux skylights, but it’s not in my budget, so I was pleased that Mark had these two 2x4 acrylic dome skylights.

When I first called Mark up to ask about the availability of his used skylights he helped me find the vocabulary to describe what I was looking for. And when he asked me what my project was and I told him I am building a gypsy wagon he said, “No kidding?! I made myself a gypsy wagon years ago and traveled the country in it.” When I met him to look at what he had in stock, he told me about his gypsy wagon adventures and asked about mine. He also helped me noodle through design questions to come up with a plan for installing shades. (Battening Down the Hatches in the yurt helped me figure out that shades make a big difference!)

Over the next couple weeks, before I begin construction of my roof system, I’ll be working on getting my skylights ready for installation. I anticipate this will involve finally using the can of hammered copper spray paint that I picked up at the hardware store a month ago...

Tiny House Conference 2014 Kick Off

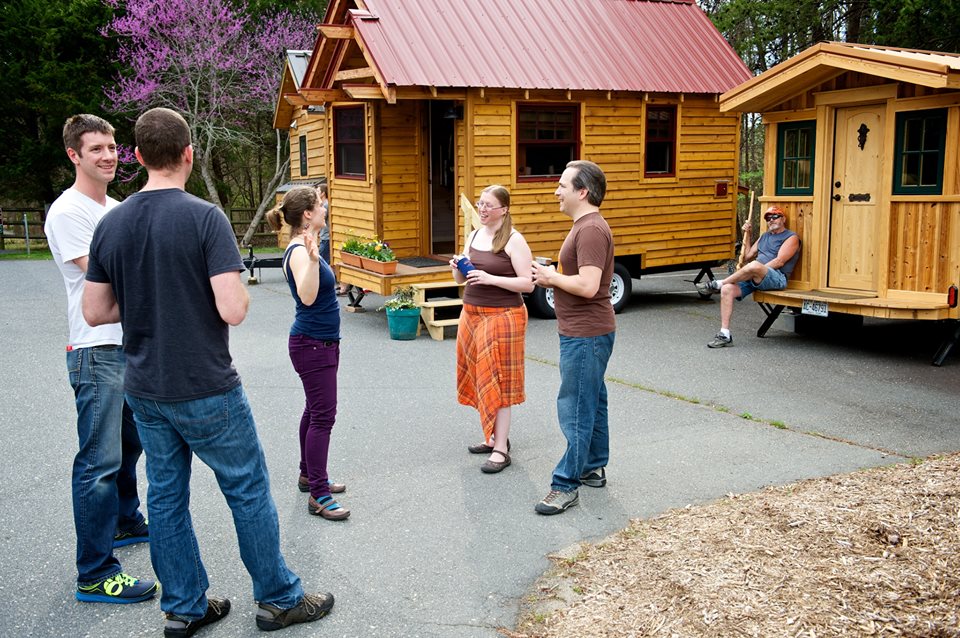
meeting fellow tiny housers and touring their wee homes in anticipation of the Tiny House Conference (photo credit: Chris Tack) Tiny house lovers from across the country have descended upon Charlotte, NC this weekend for the Tiny House Conference. I couldn't be more excited about this opportunity to geek out about one of my favorite things! We will spend the next two days watching presentations (I'll be speaking on Tiny House Building Basics later today), touring tiny houses, and mixing and mingling.

Speakers were invited to arrive yesterday evening so we could get acquainted with each other and the facility. It was great to finally meet some of the folks I've been following: Macy Miller of minimotives, Hari and Karl of Tiny House Family, Andrew Odom of Tiny (R)evolution, and, of course Ryan Mitchell of The Tiny Life. It was also great to meet some new-to-me-but-probably-not-you-if-you've-been-watching-the-tiny-house-scene tiny house builders: Kelly and Chris, Frank, and Teal and Gerry of Wishbone Tiny Homes. Their tiny homes are be-a-u-ti-ful and I'm eager for everyone to see them, especially if they've never been inside a tiny home before!

The conference is sold out and I'm guessing many of you didn't manage to get tickets and make the trek to North Carolina, so if you'd like to live vicariously, follow along this weekend. Internet access and cell service are limited on the site, but we'll do our best to facebook and tweet the event with the hashtag #thc14.

Building My Arched Rafters

arched laminated rafter This year I'm Kicking Off Spring with Tiny House Prep! Today I began building my arched laminated rafters. I'm building a gypsy wagon, also known as a vardo. Over and over again I find myself drawn to little arch-topped houses, so I've decided to make one of my own. I've never lived in an arch topped house before, but did live in My Home Sweet Yurt, which had a circular roof and a round oculus. And I'm a big fan of the arched roof on Caboose at Caravan - The Tiny House Hotel, John Labovitz's tiny house truck Polymecca, and Big Maroon. And, of course, Little Bird, which is one of my all-time favorite tiny houses.

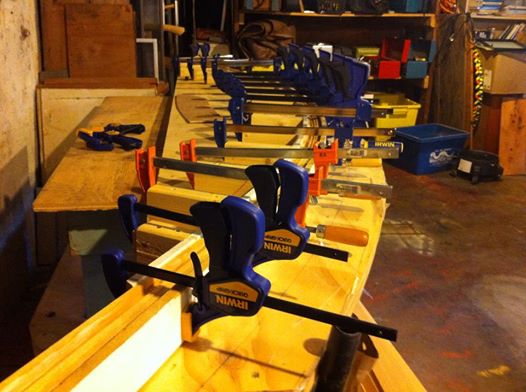
Katy Anderson, the incredible craftswoman who built Sweet Pea has generously allowed me to borrow her jig to make the rafters. I my mixed grain fir milled up by the fine folks at Creative Woodworking. It cost a small fortune to have the milling done, so these rafters will probably cost twice what I originally estimated. But I'm fine with paying for the milling since I didn't have a good way to cut 130 pieces of 12 foot long 1/4" thick fir. Over the past couple weeks I hunted at nearly every hardware store in town to find a glue applicator like Katy recommended. I finally found one at Woodcrafters. They had the best price on Tightbond III as well, so I got a couple gallons of that on Friday when I was Kicking Off Spring with Tiny House Prep. I also dropped nearly $200 on clamps, because, you know, "you can never have too many clamps." I currently have 20. Need more clamps...

At the moment I have the first half of the first rafter on the jig. I feel like a kid eager to open a present, waiting to unclamp it and see how it worked! I'll be building my arched rafters over the next ten days, so I'll let you know how it goes.