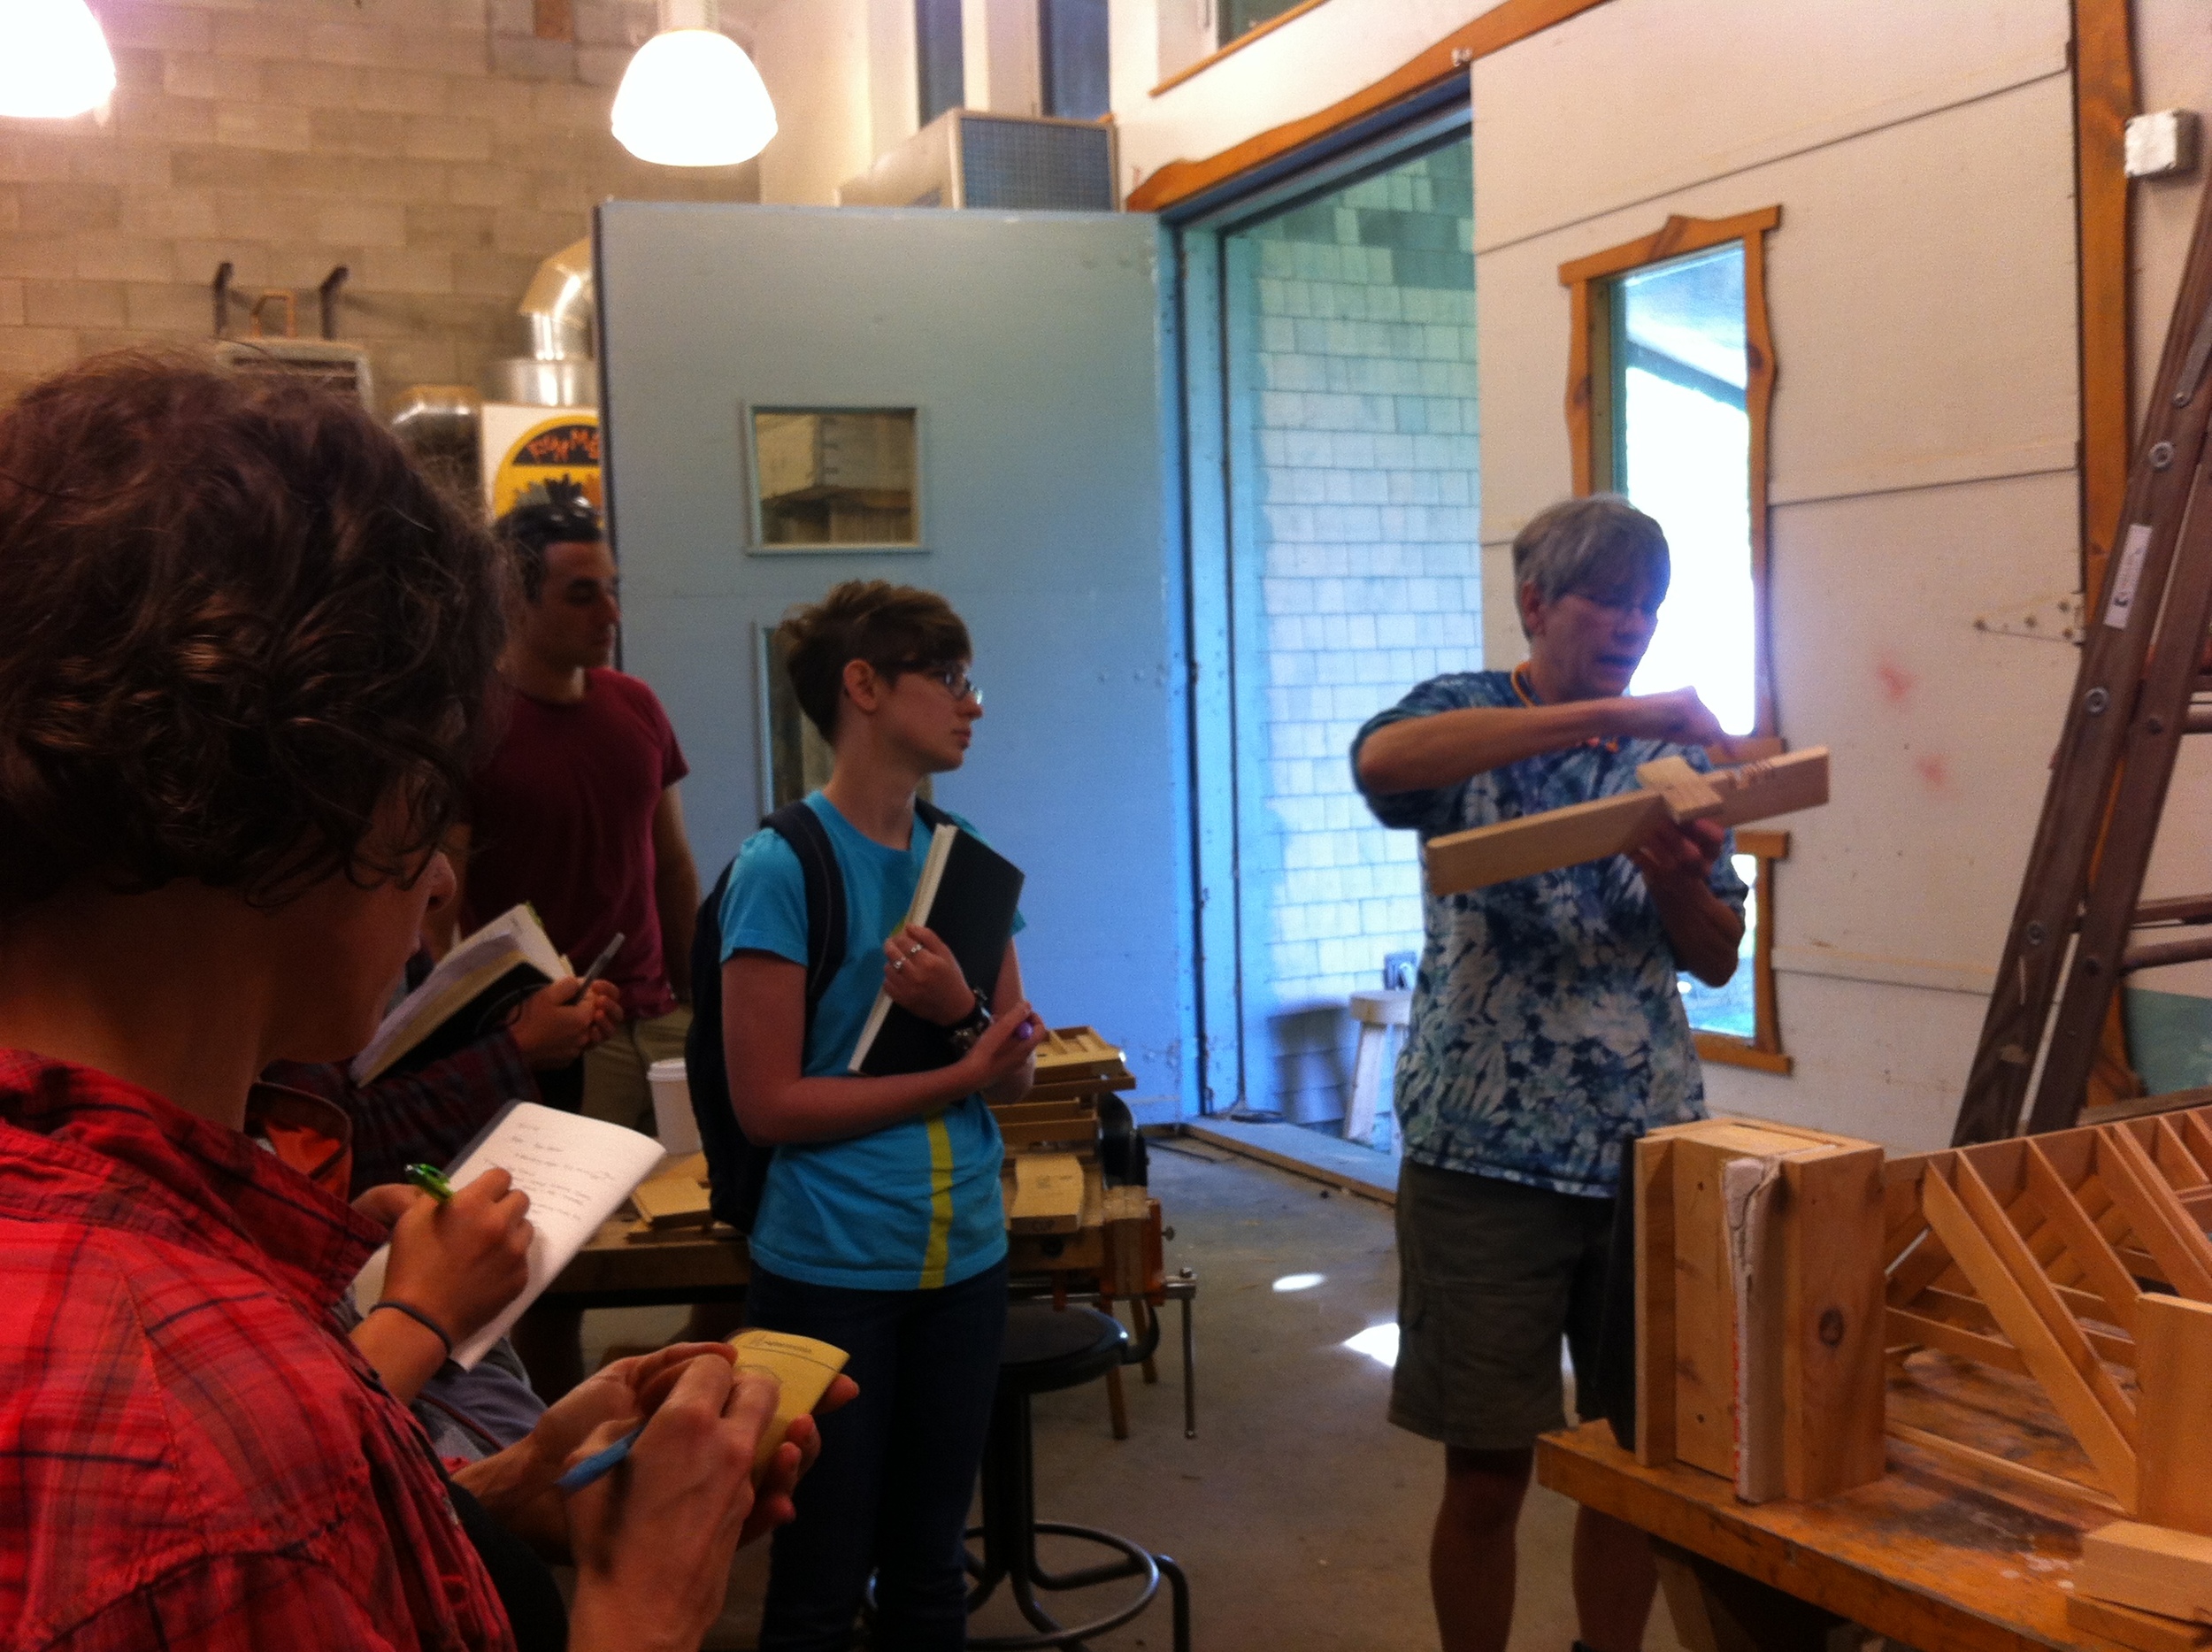
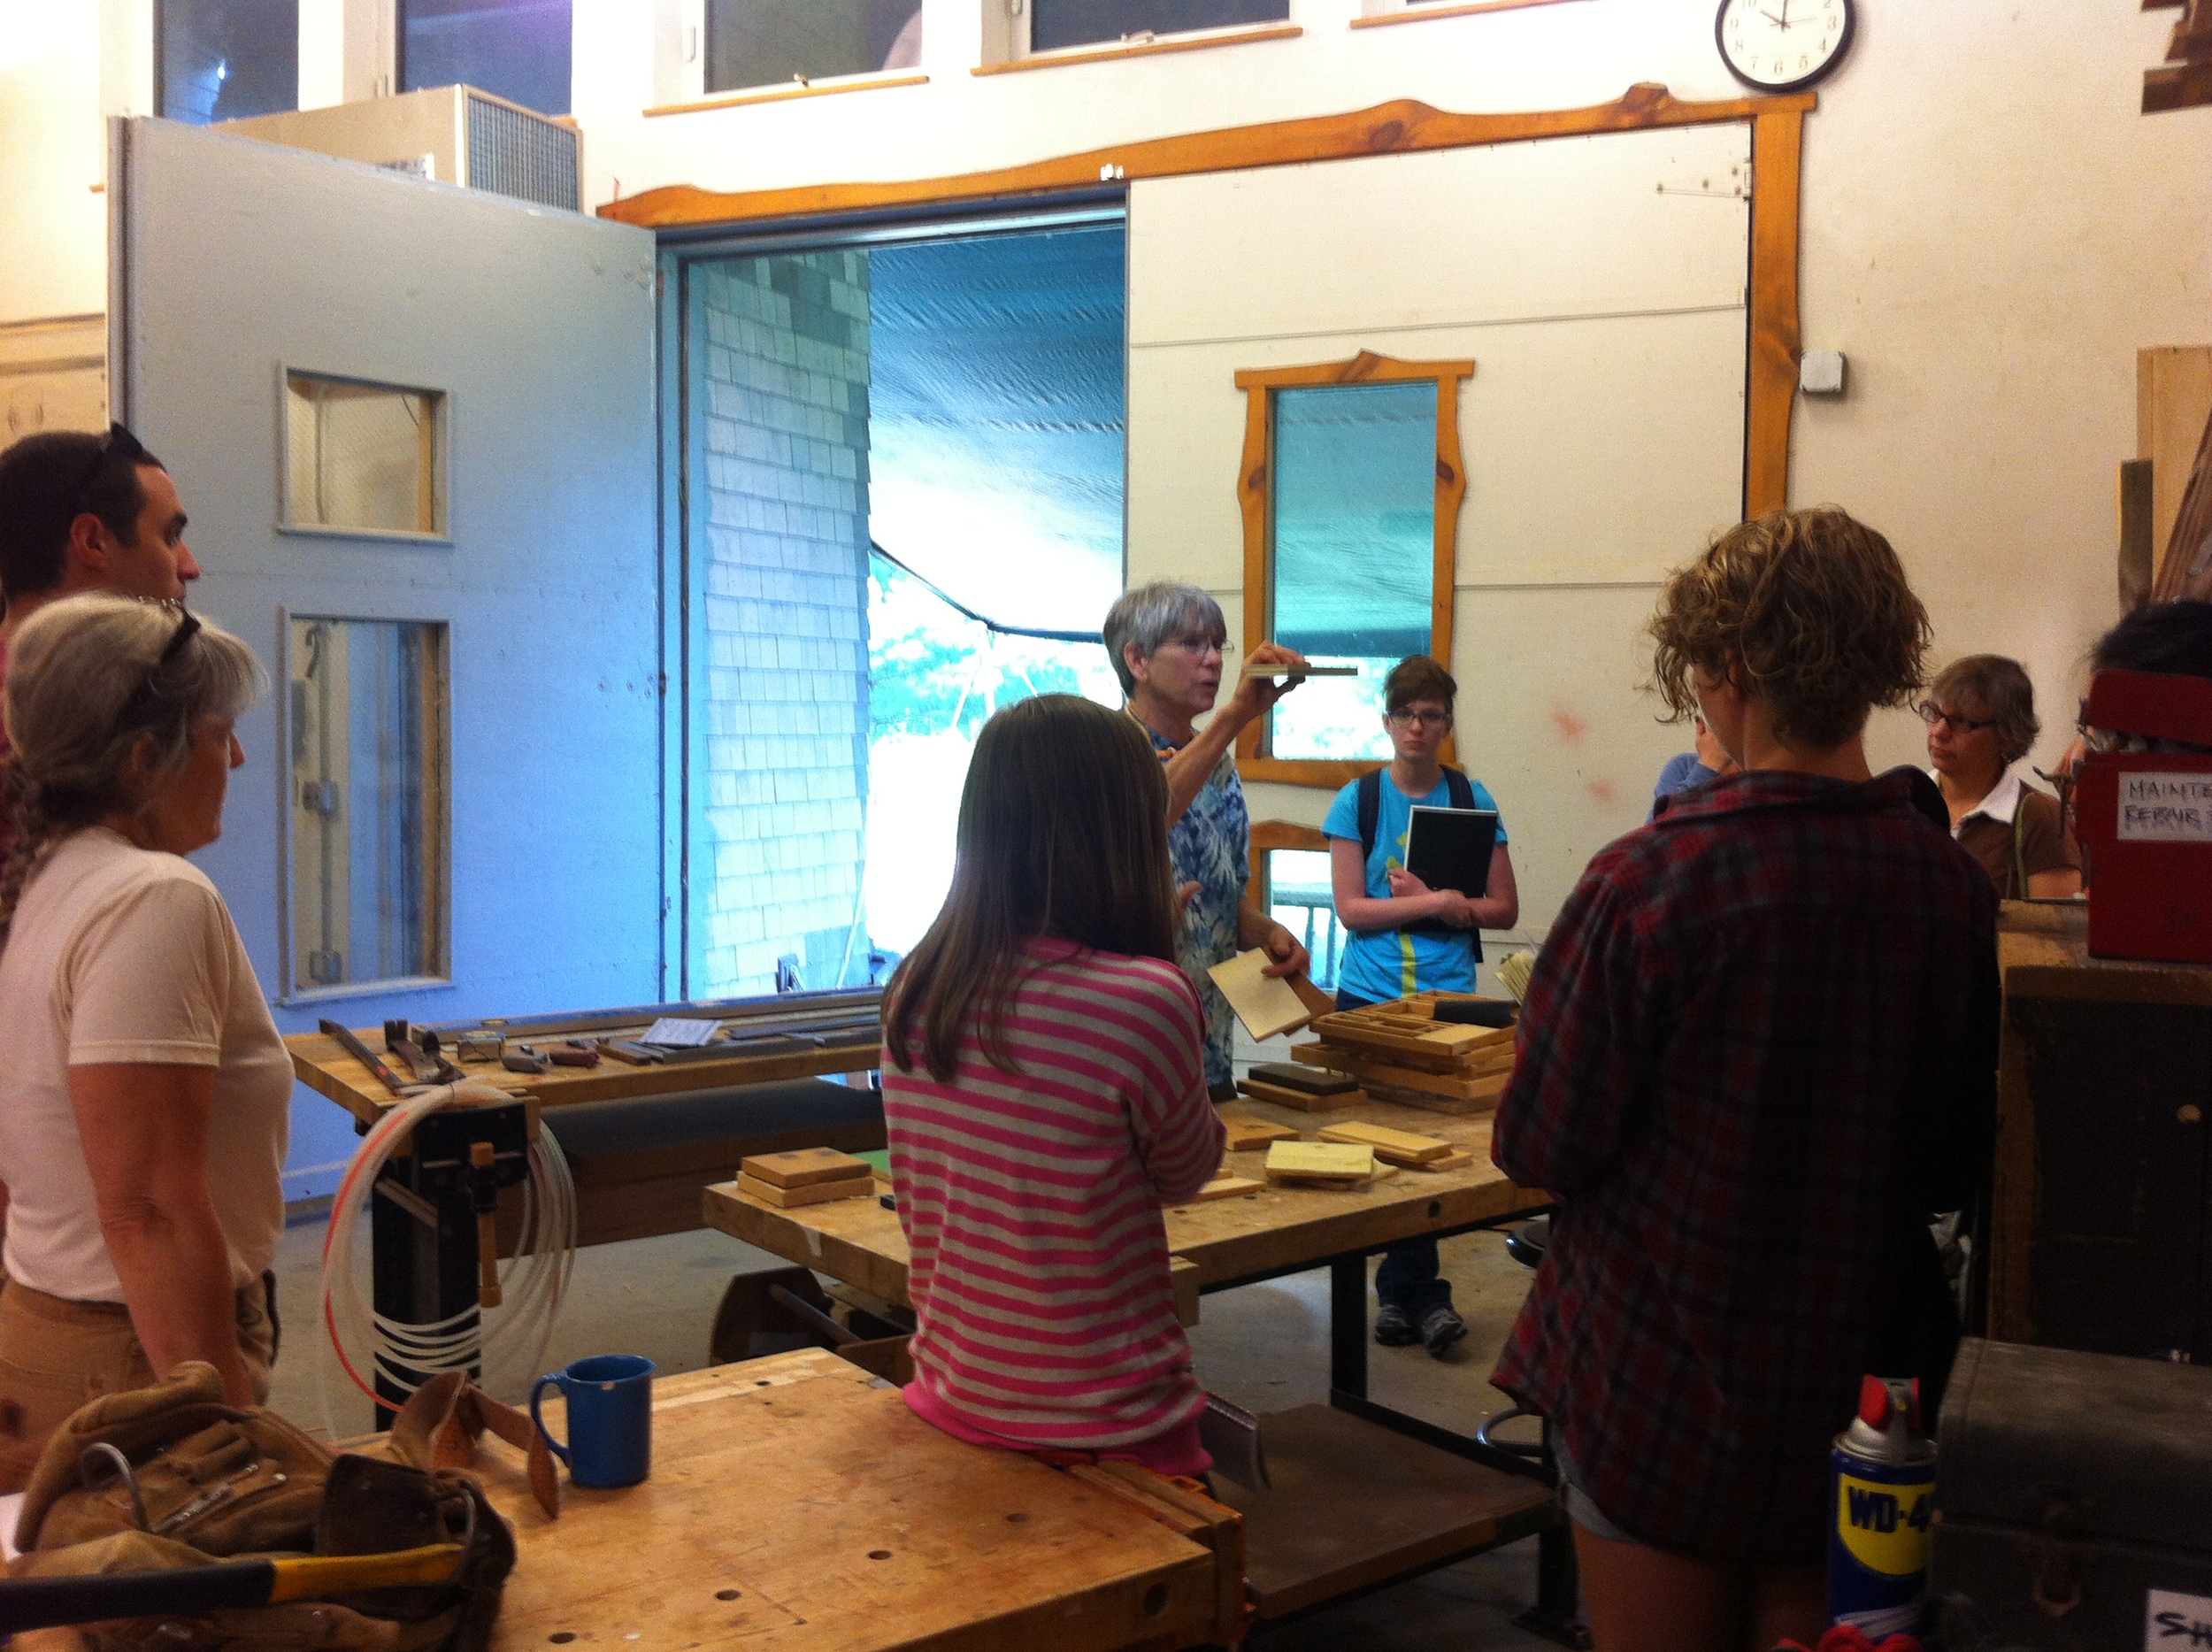
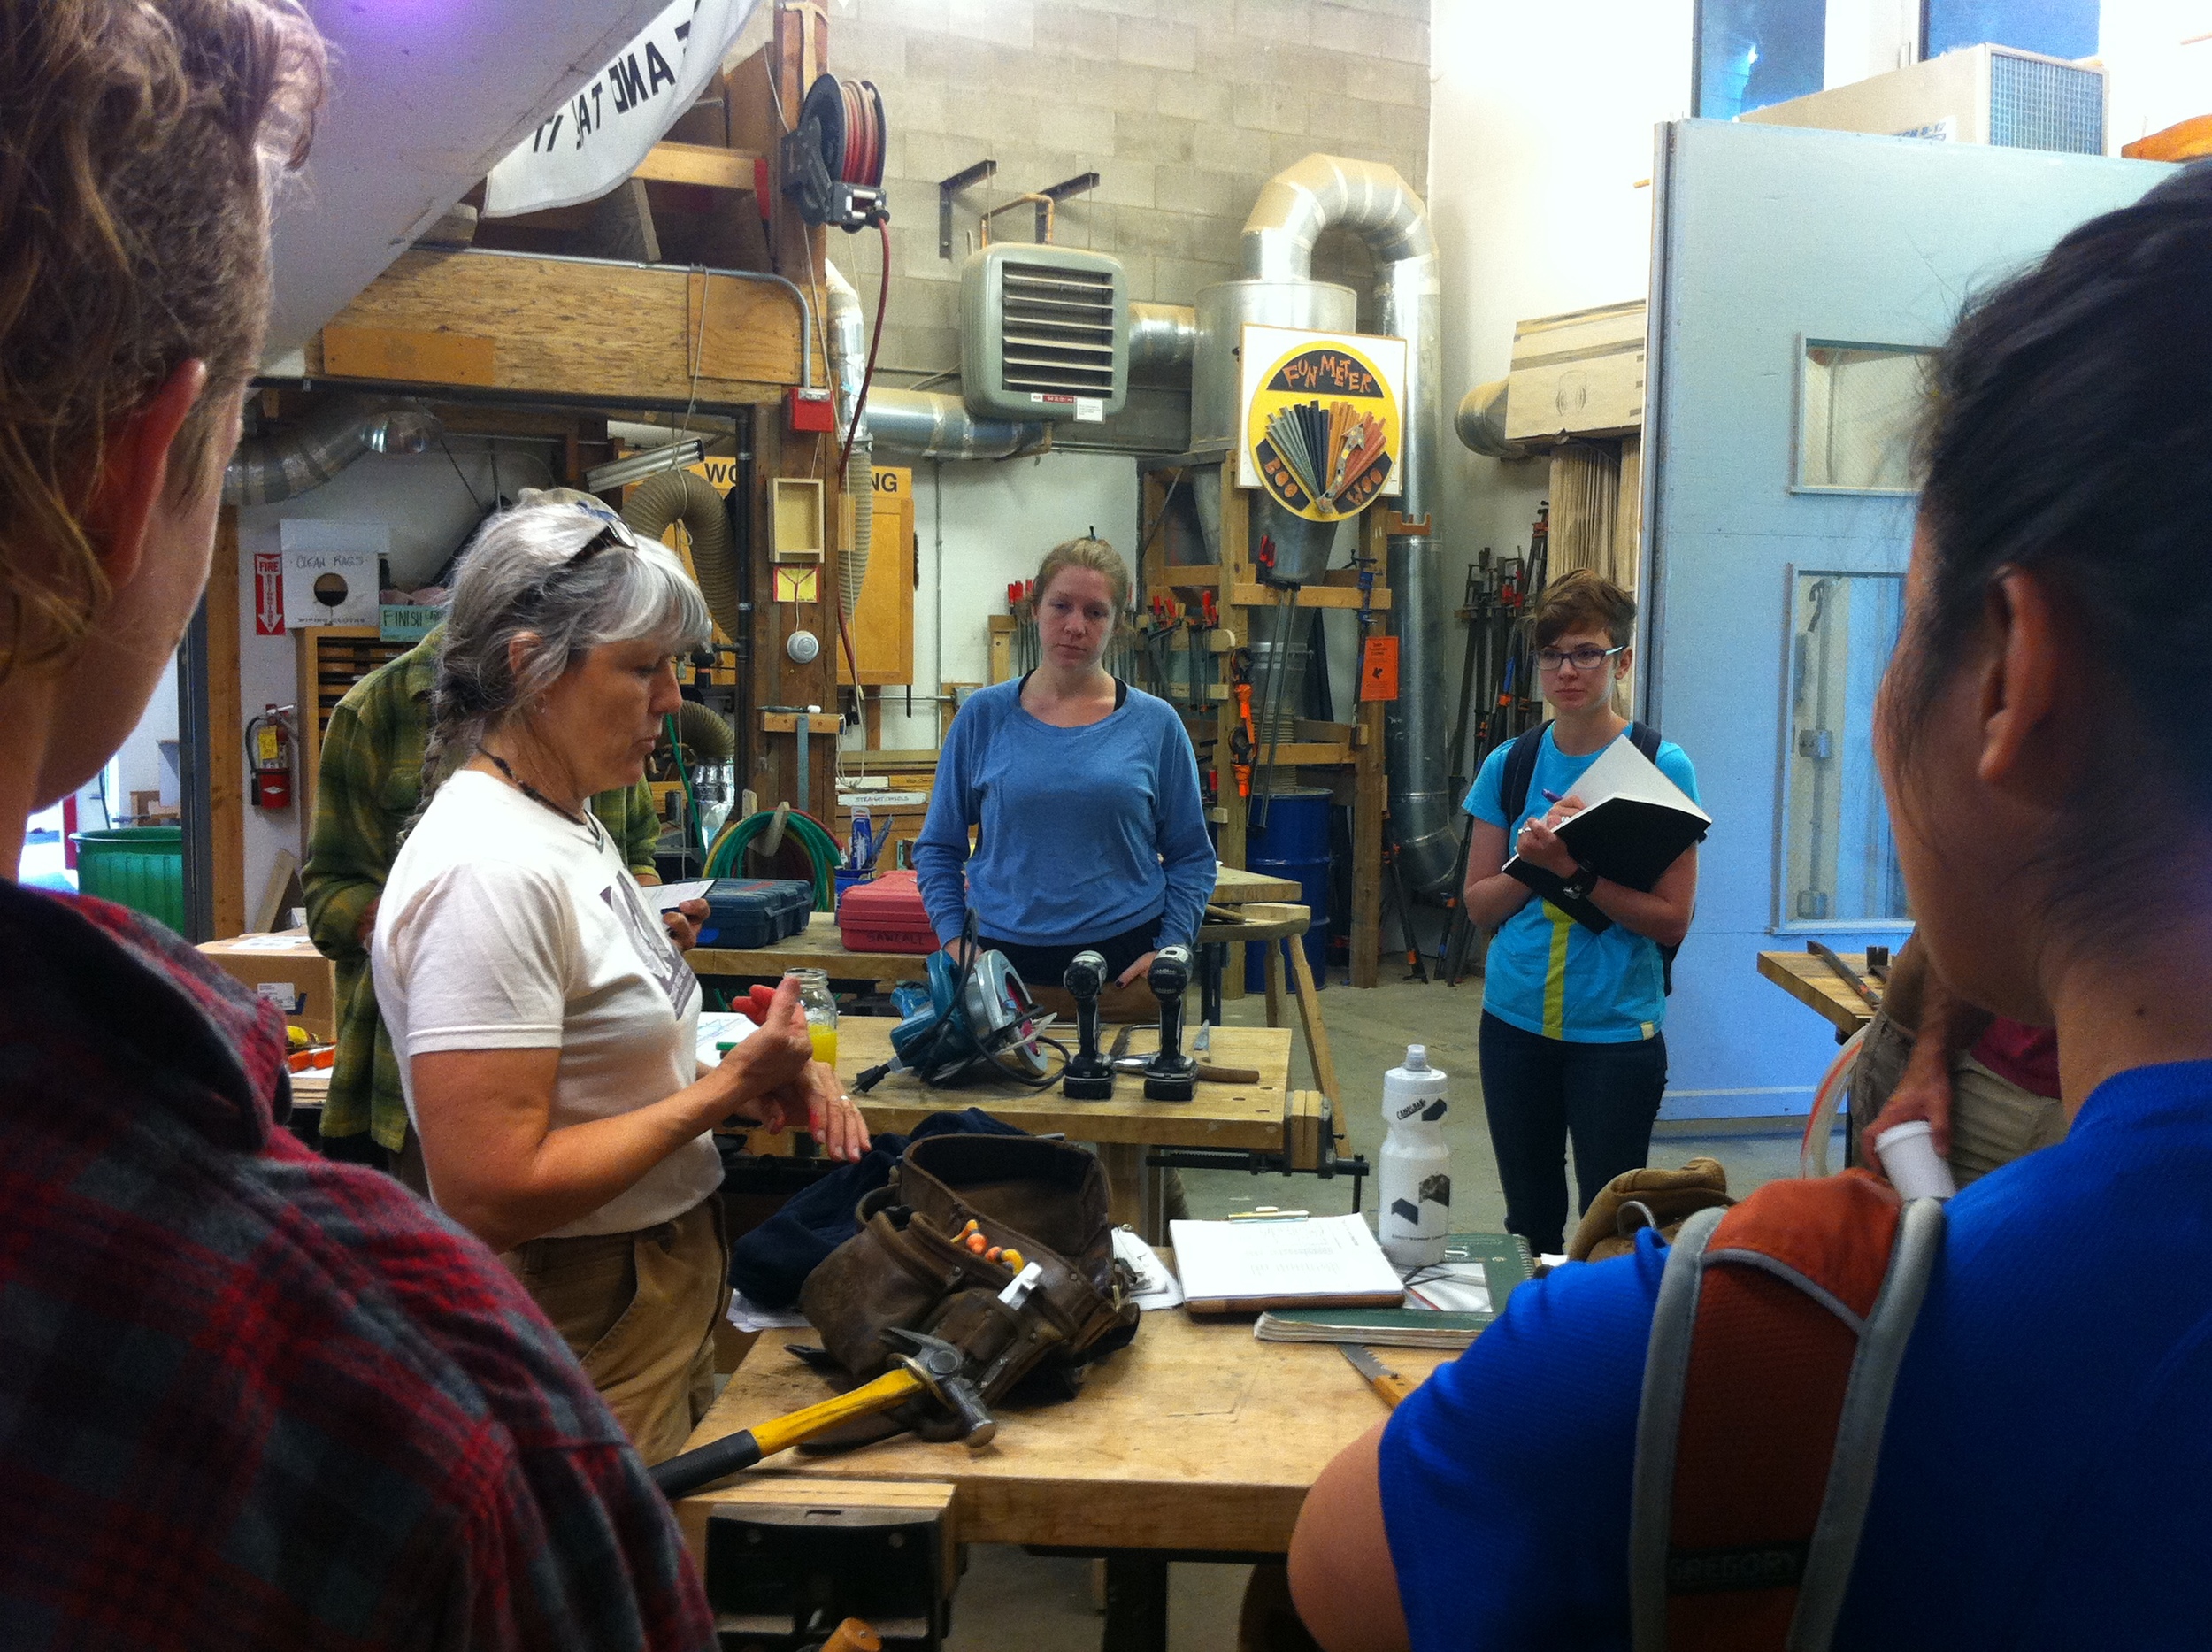
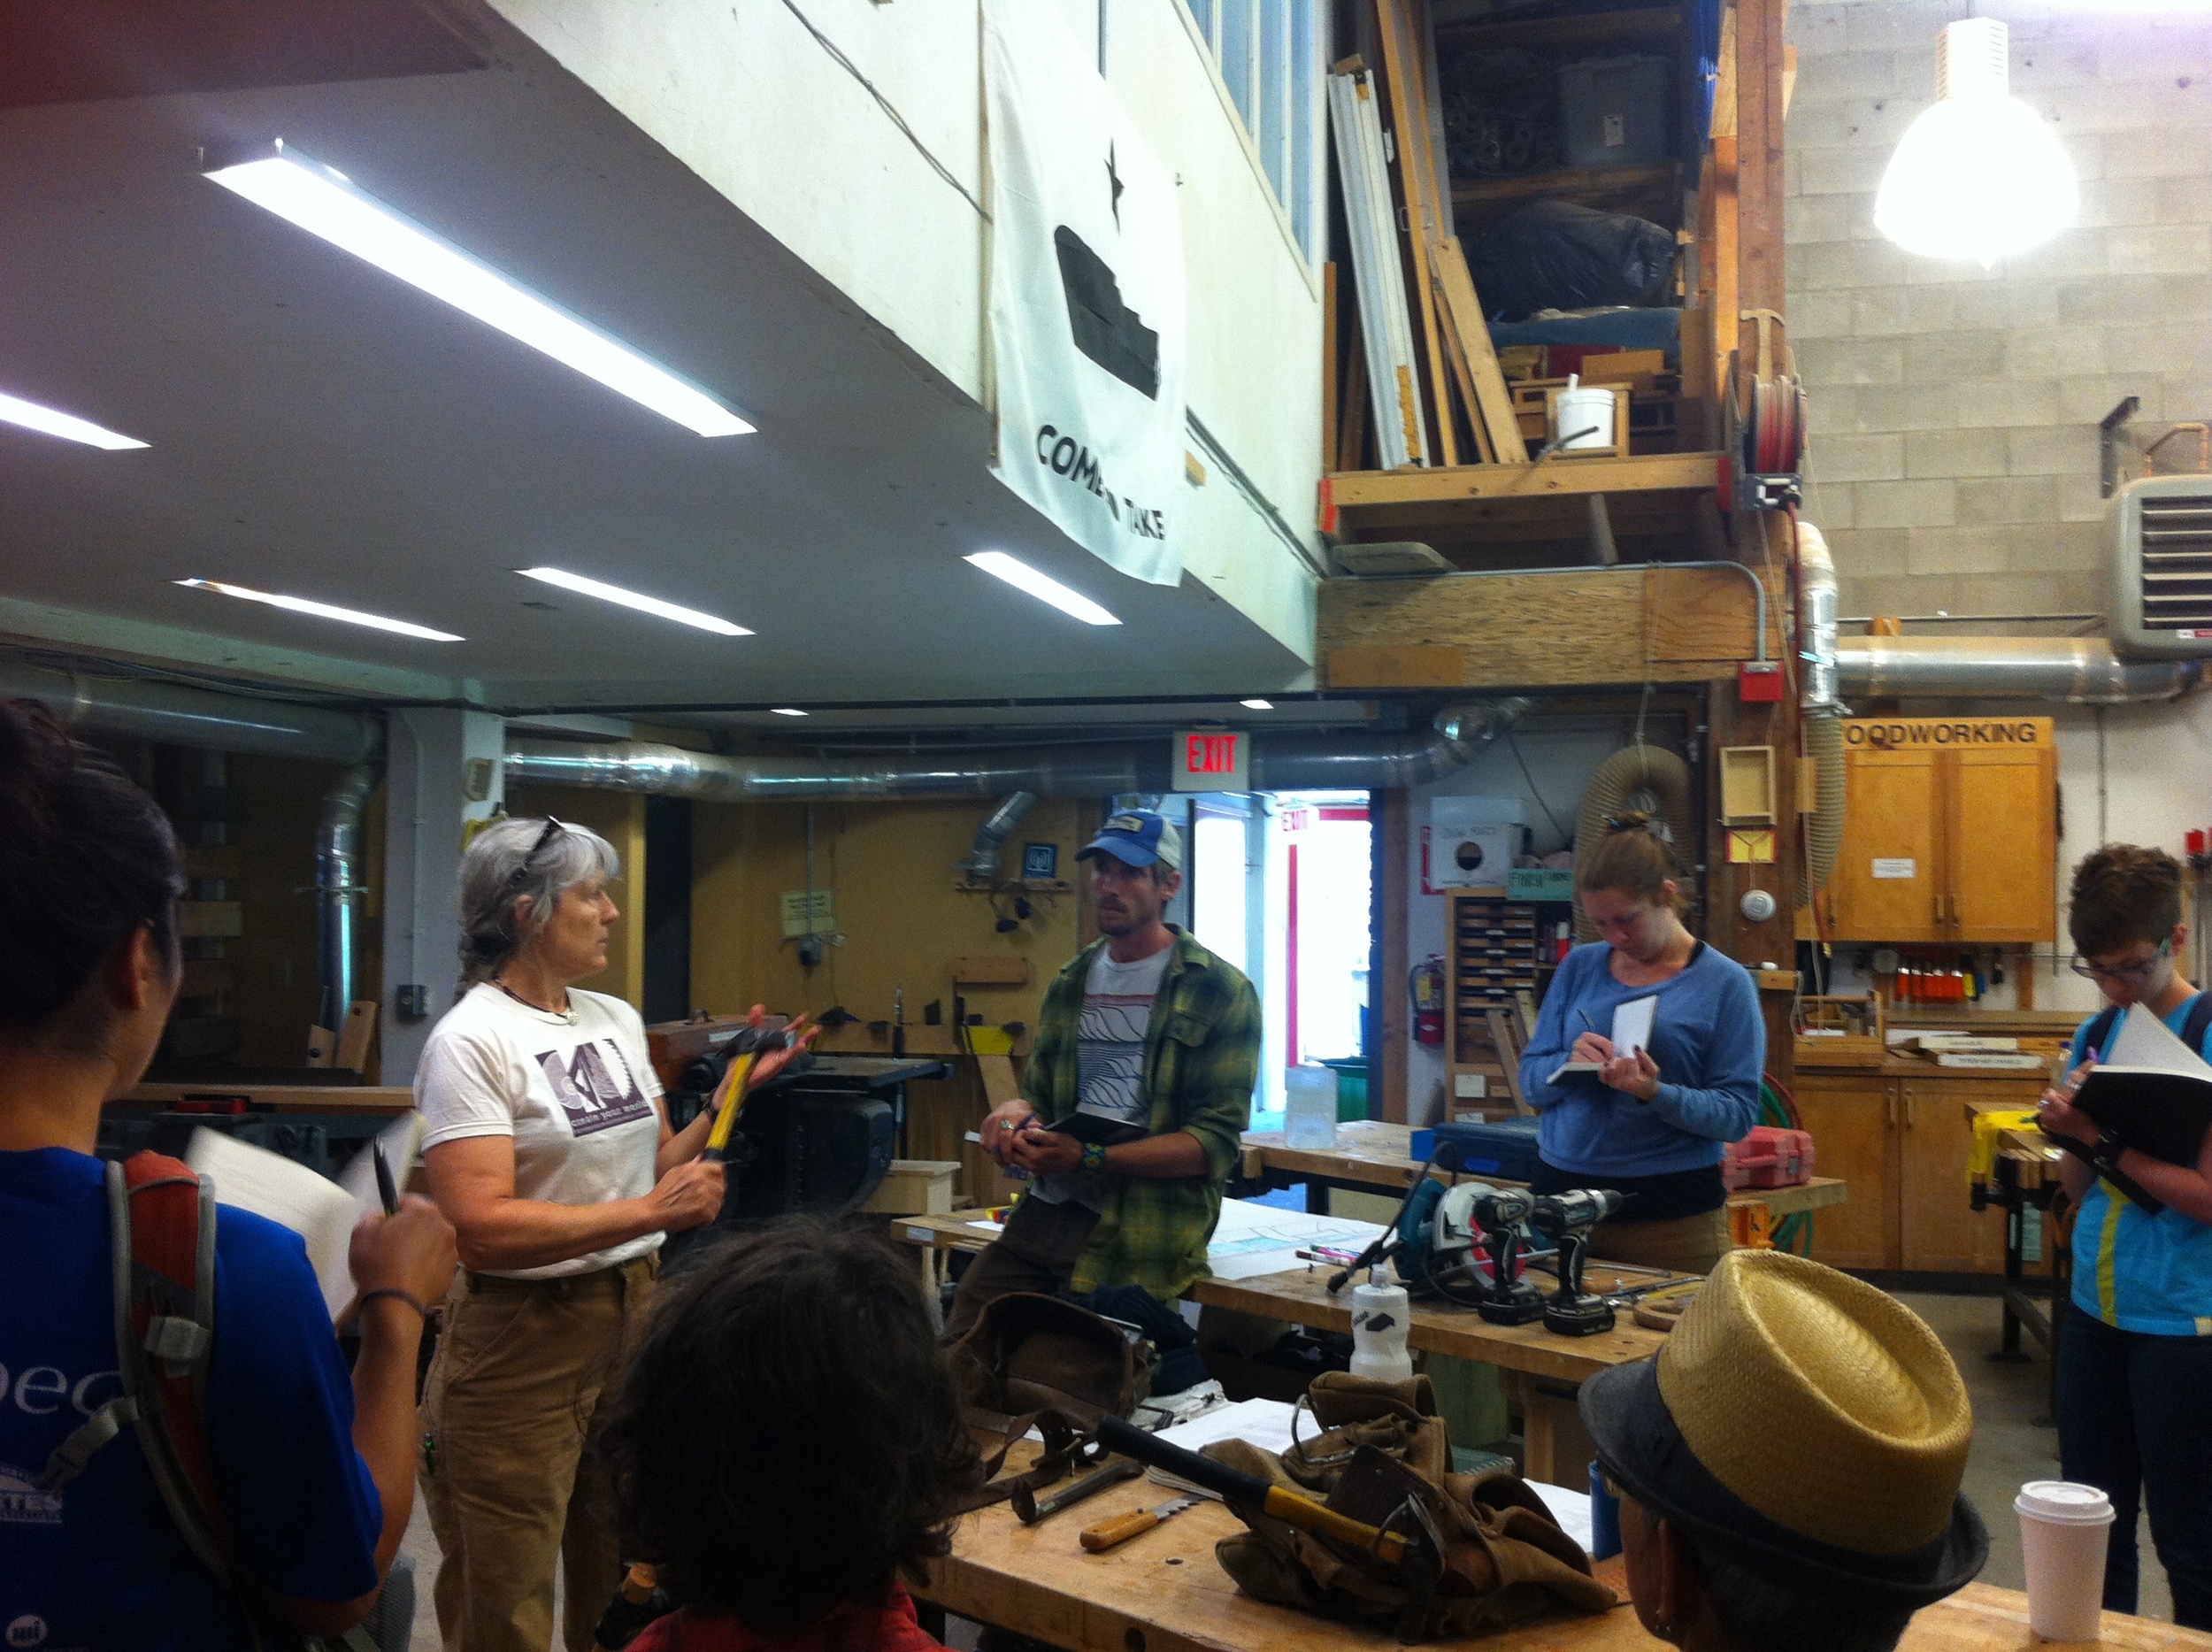
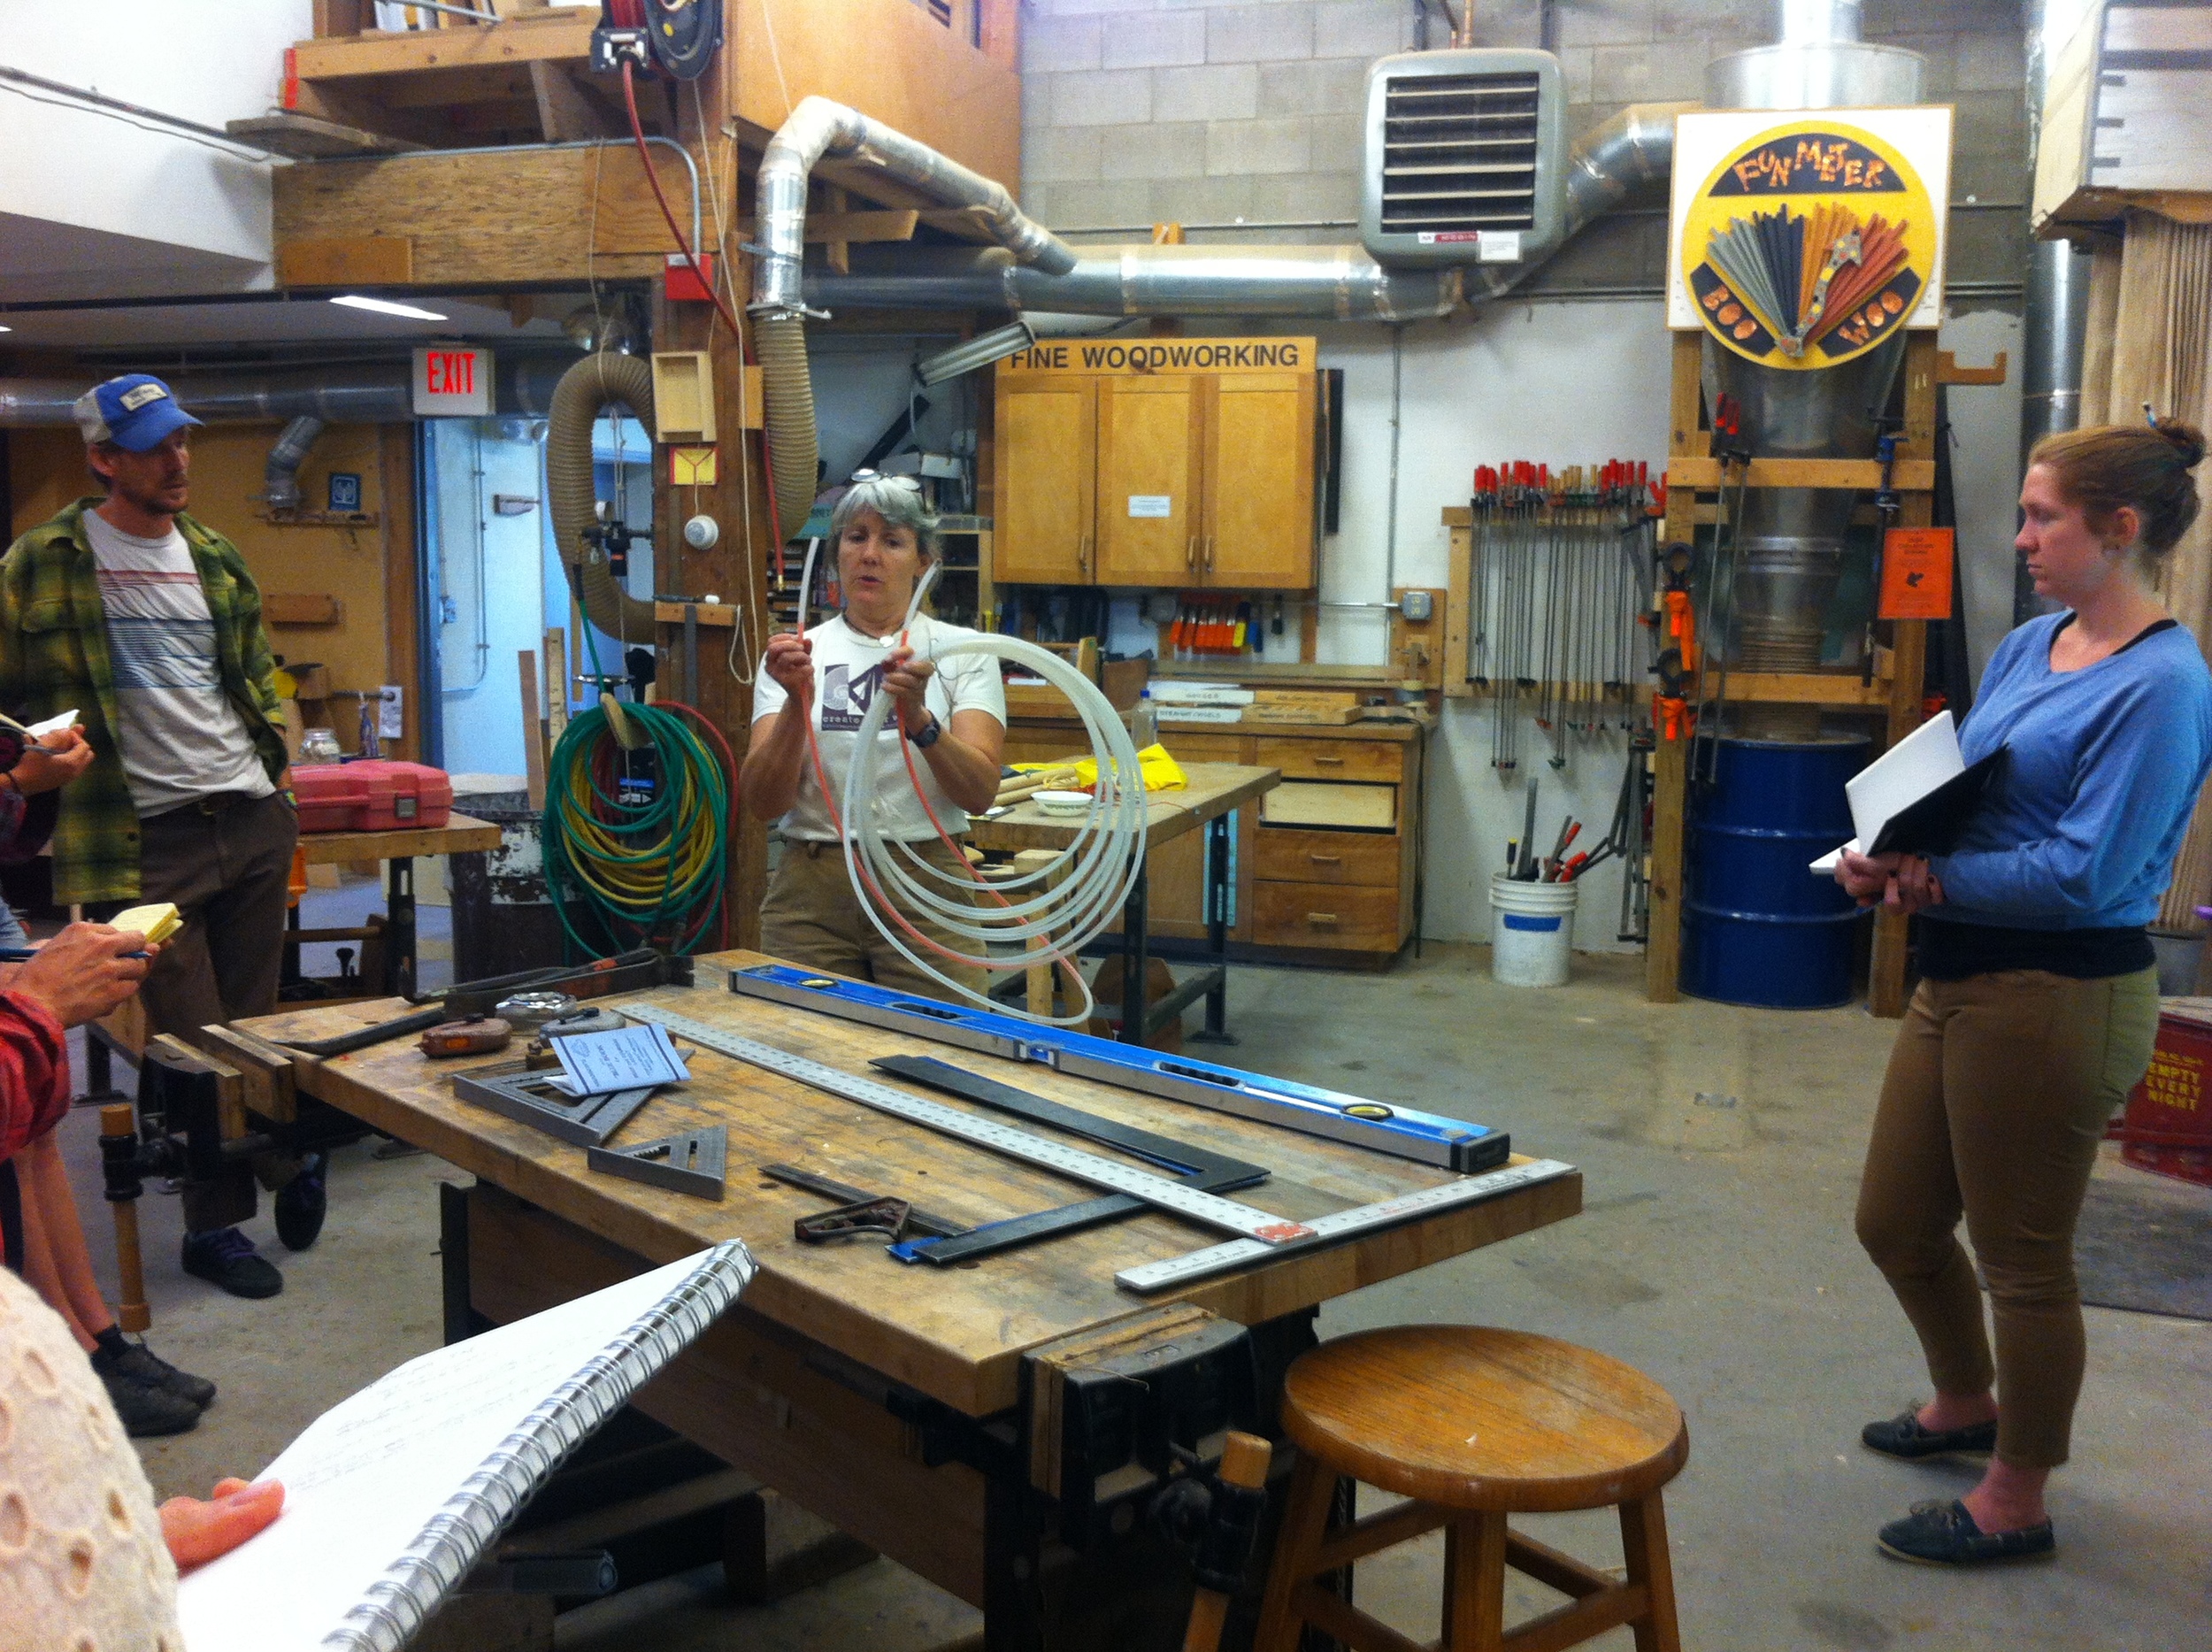
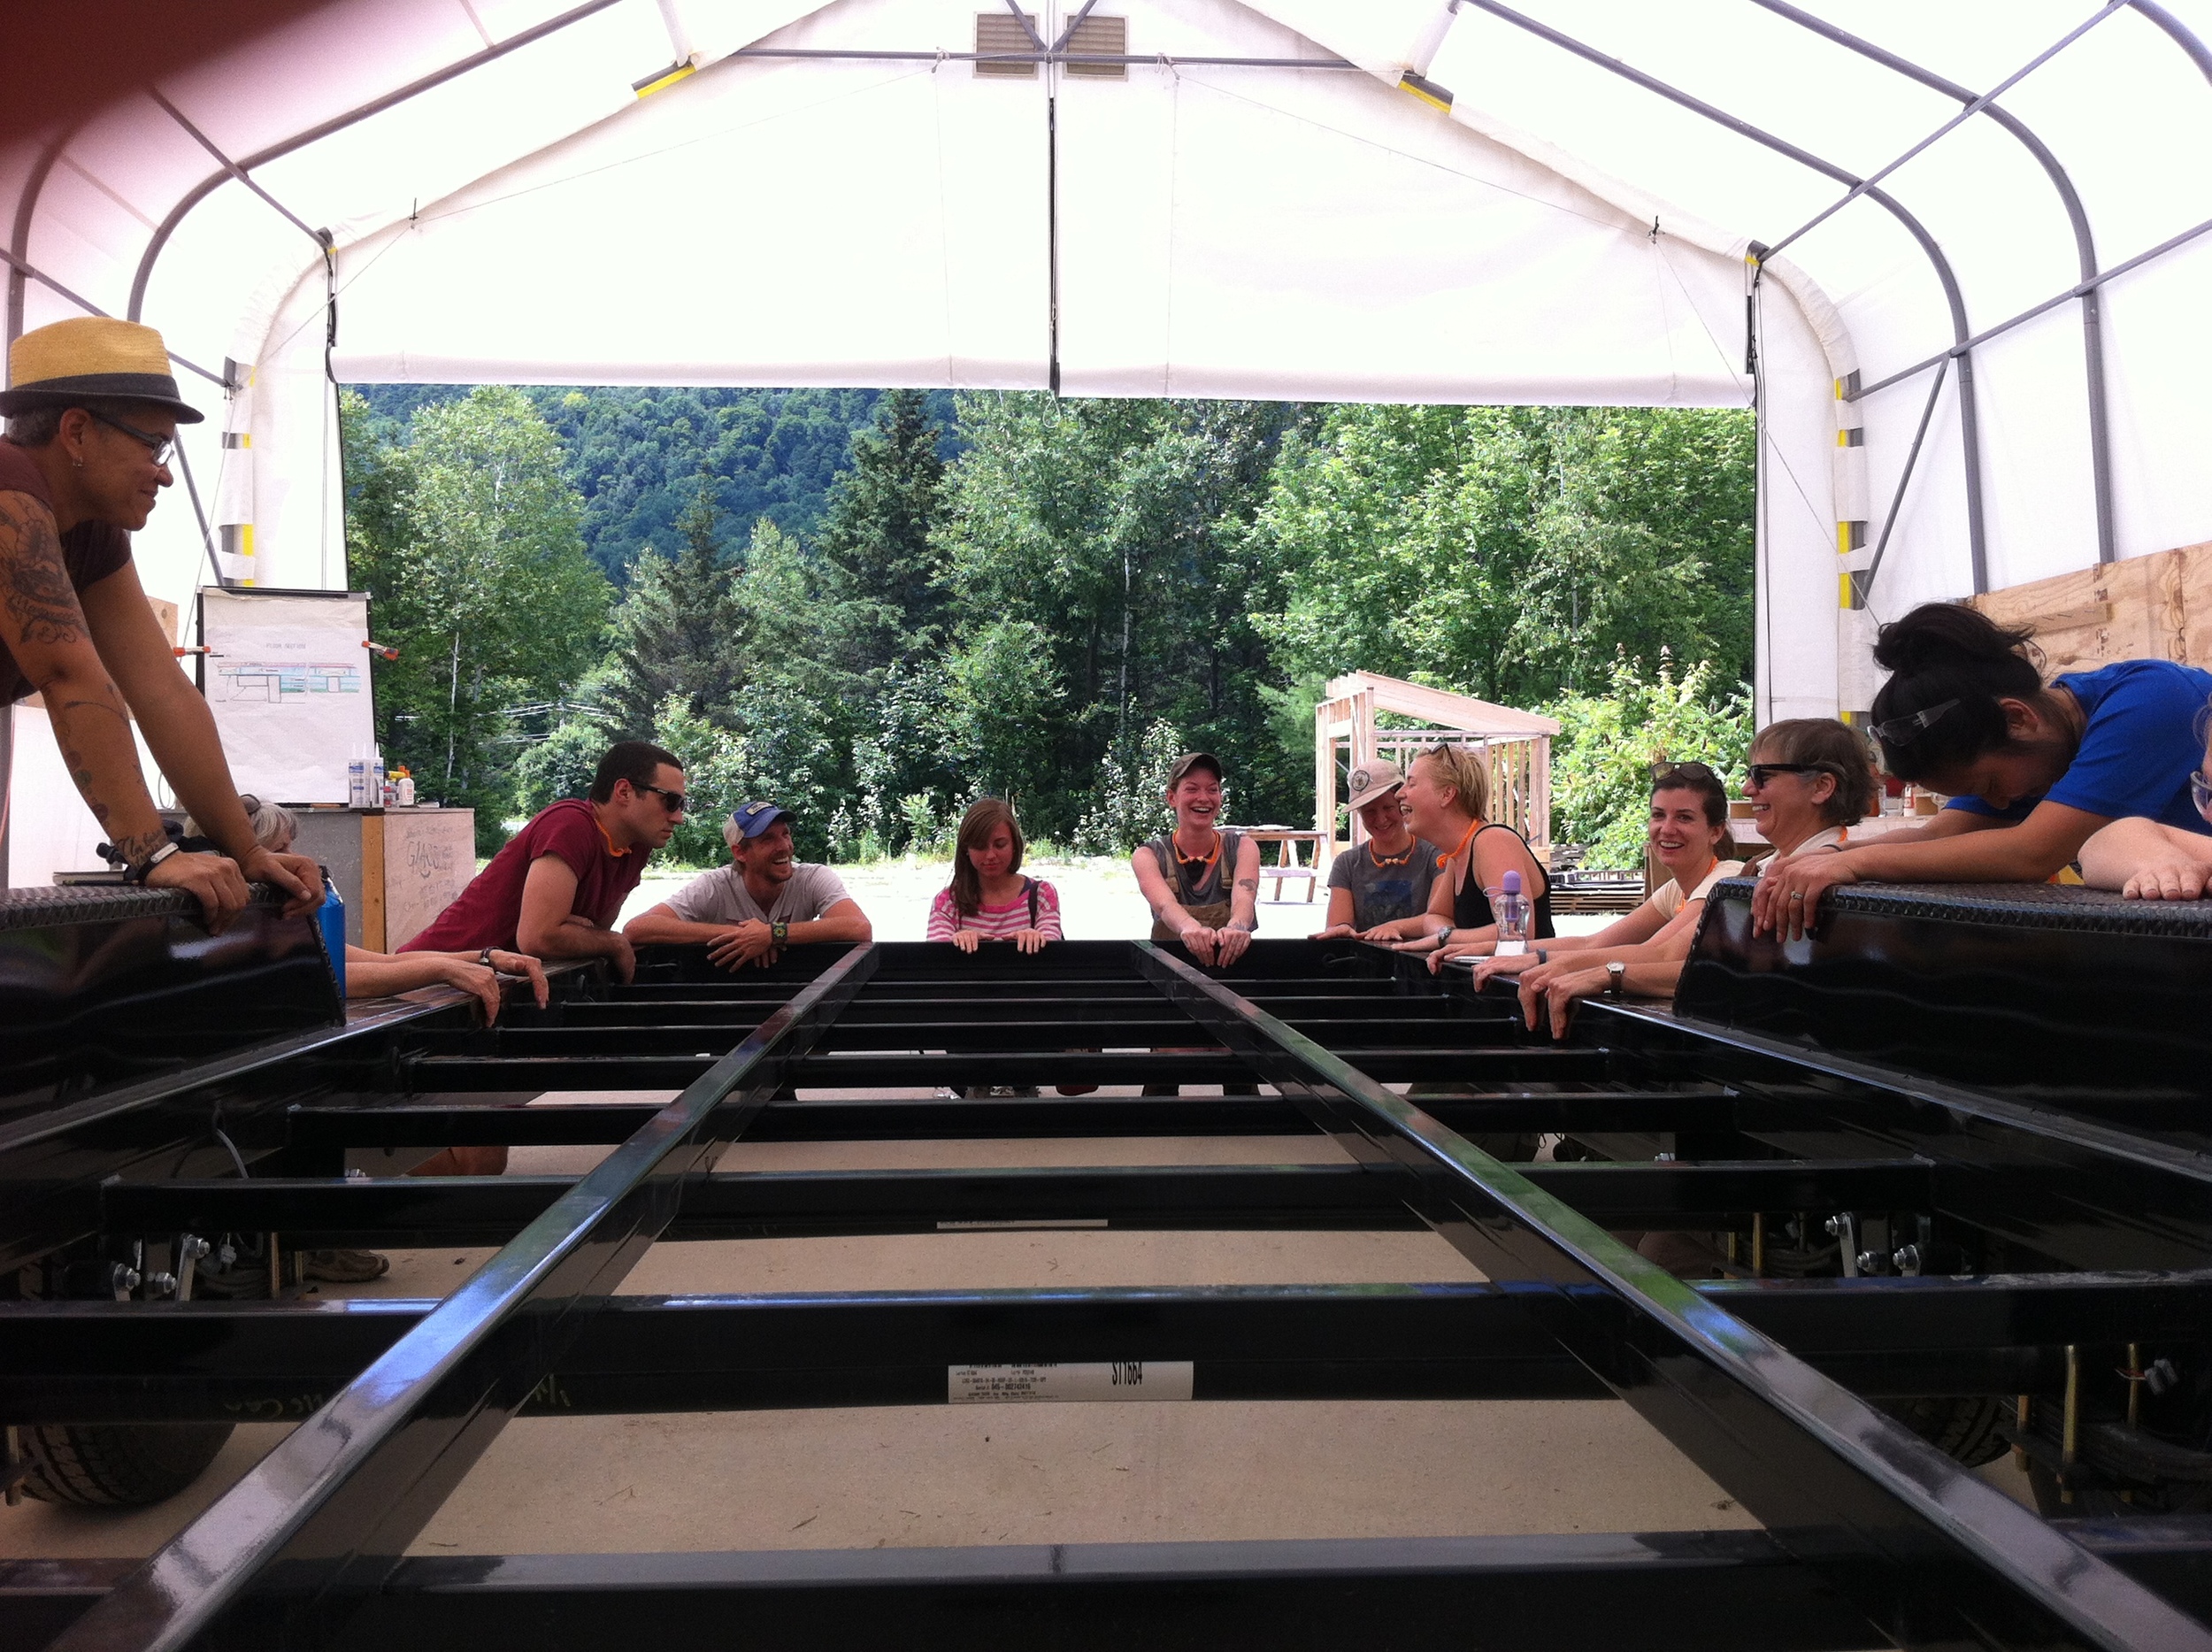
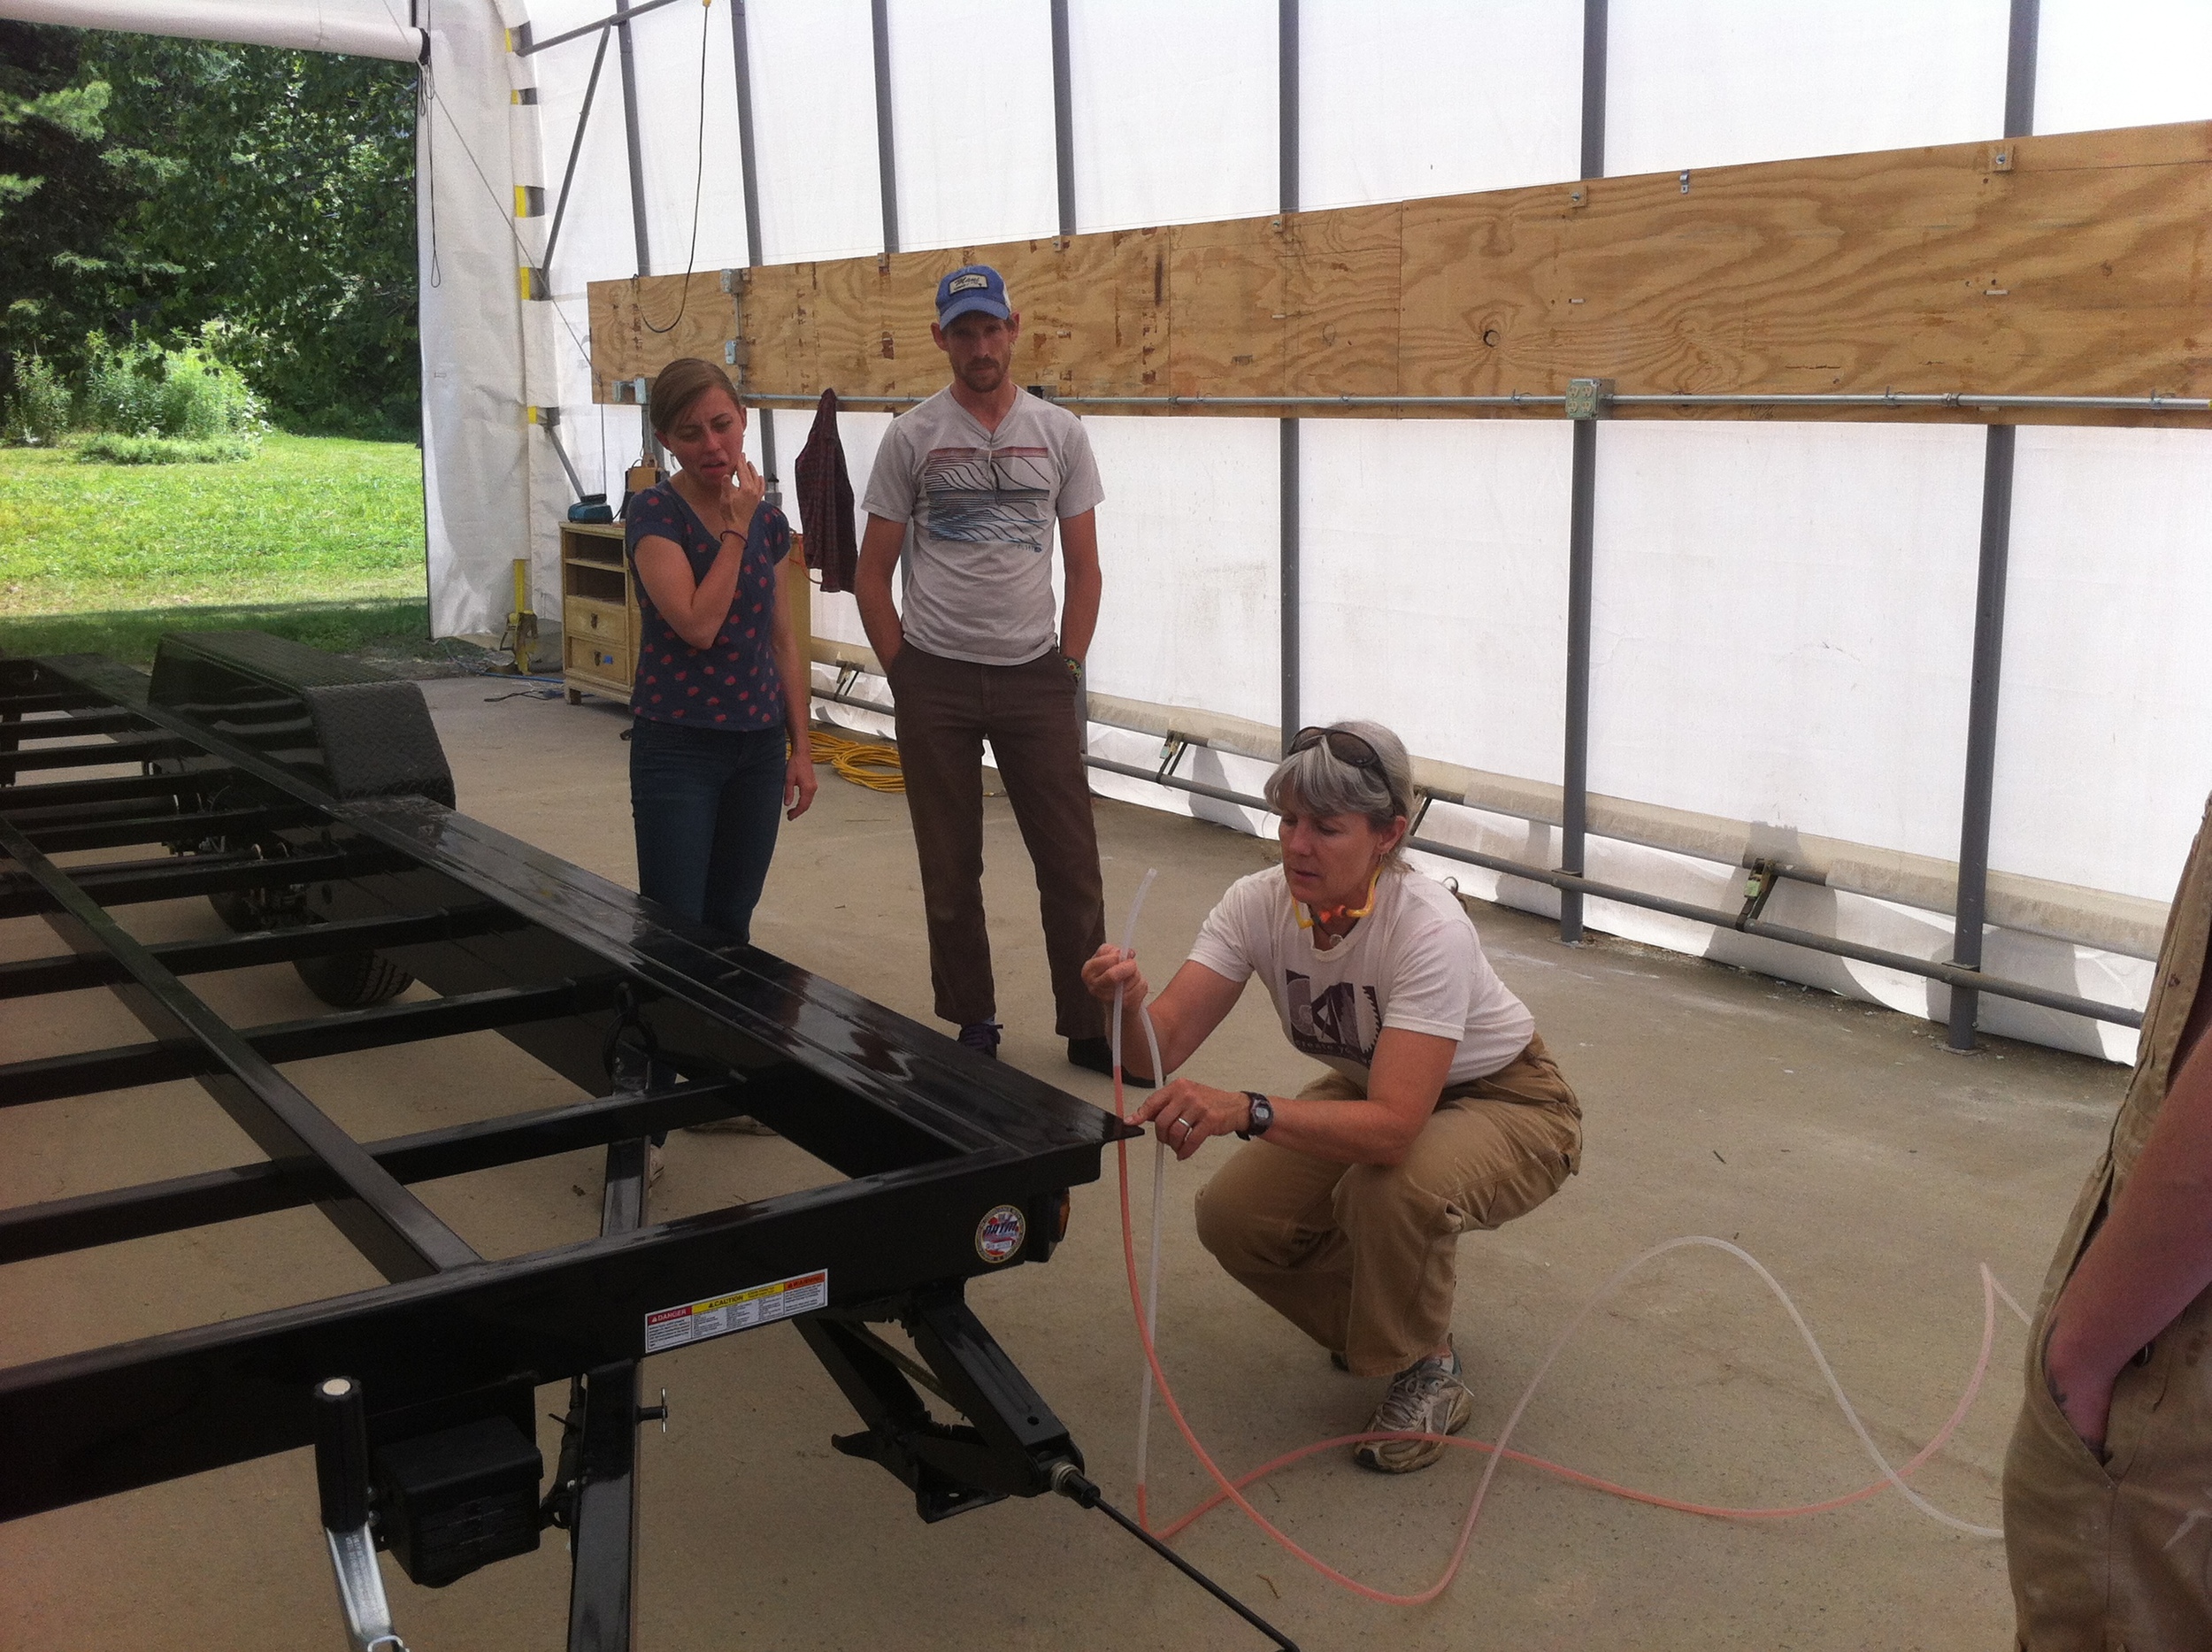
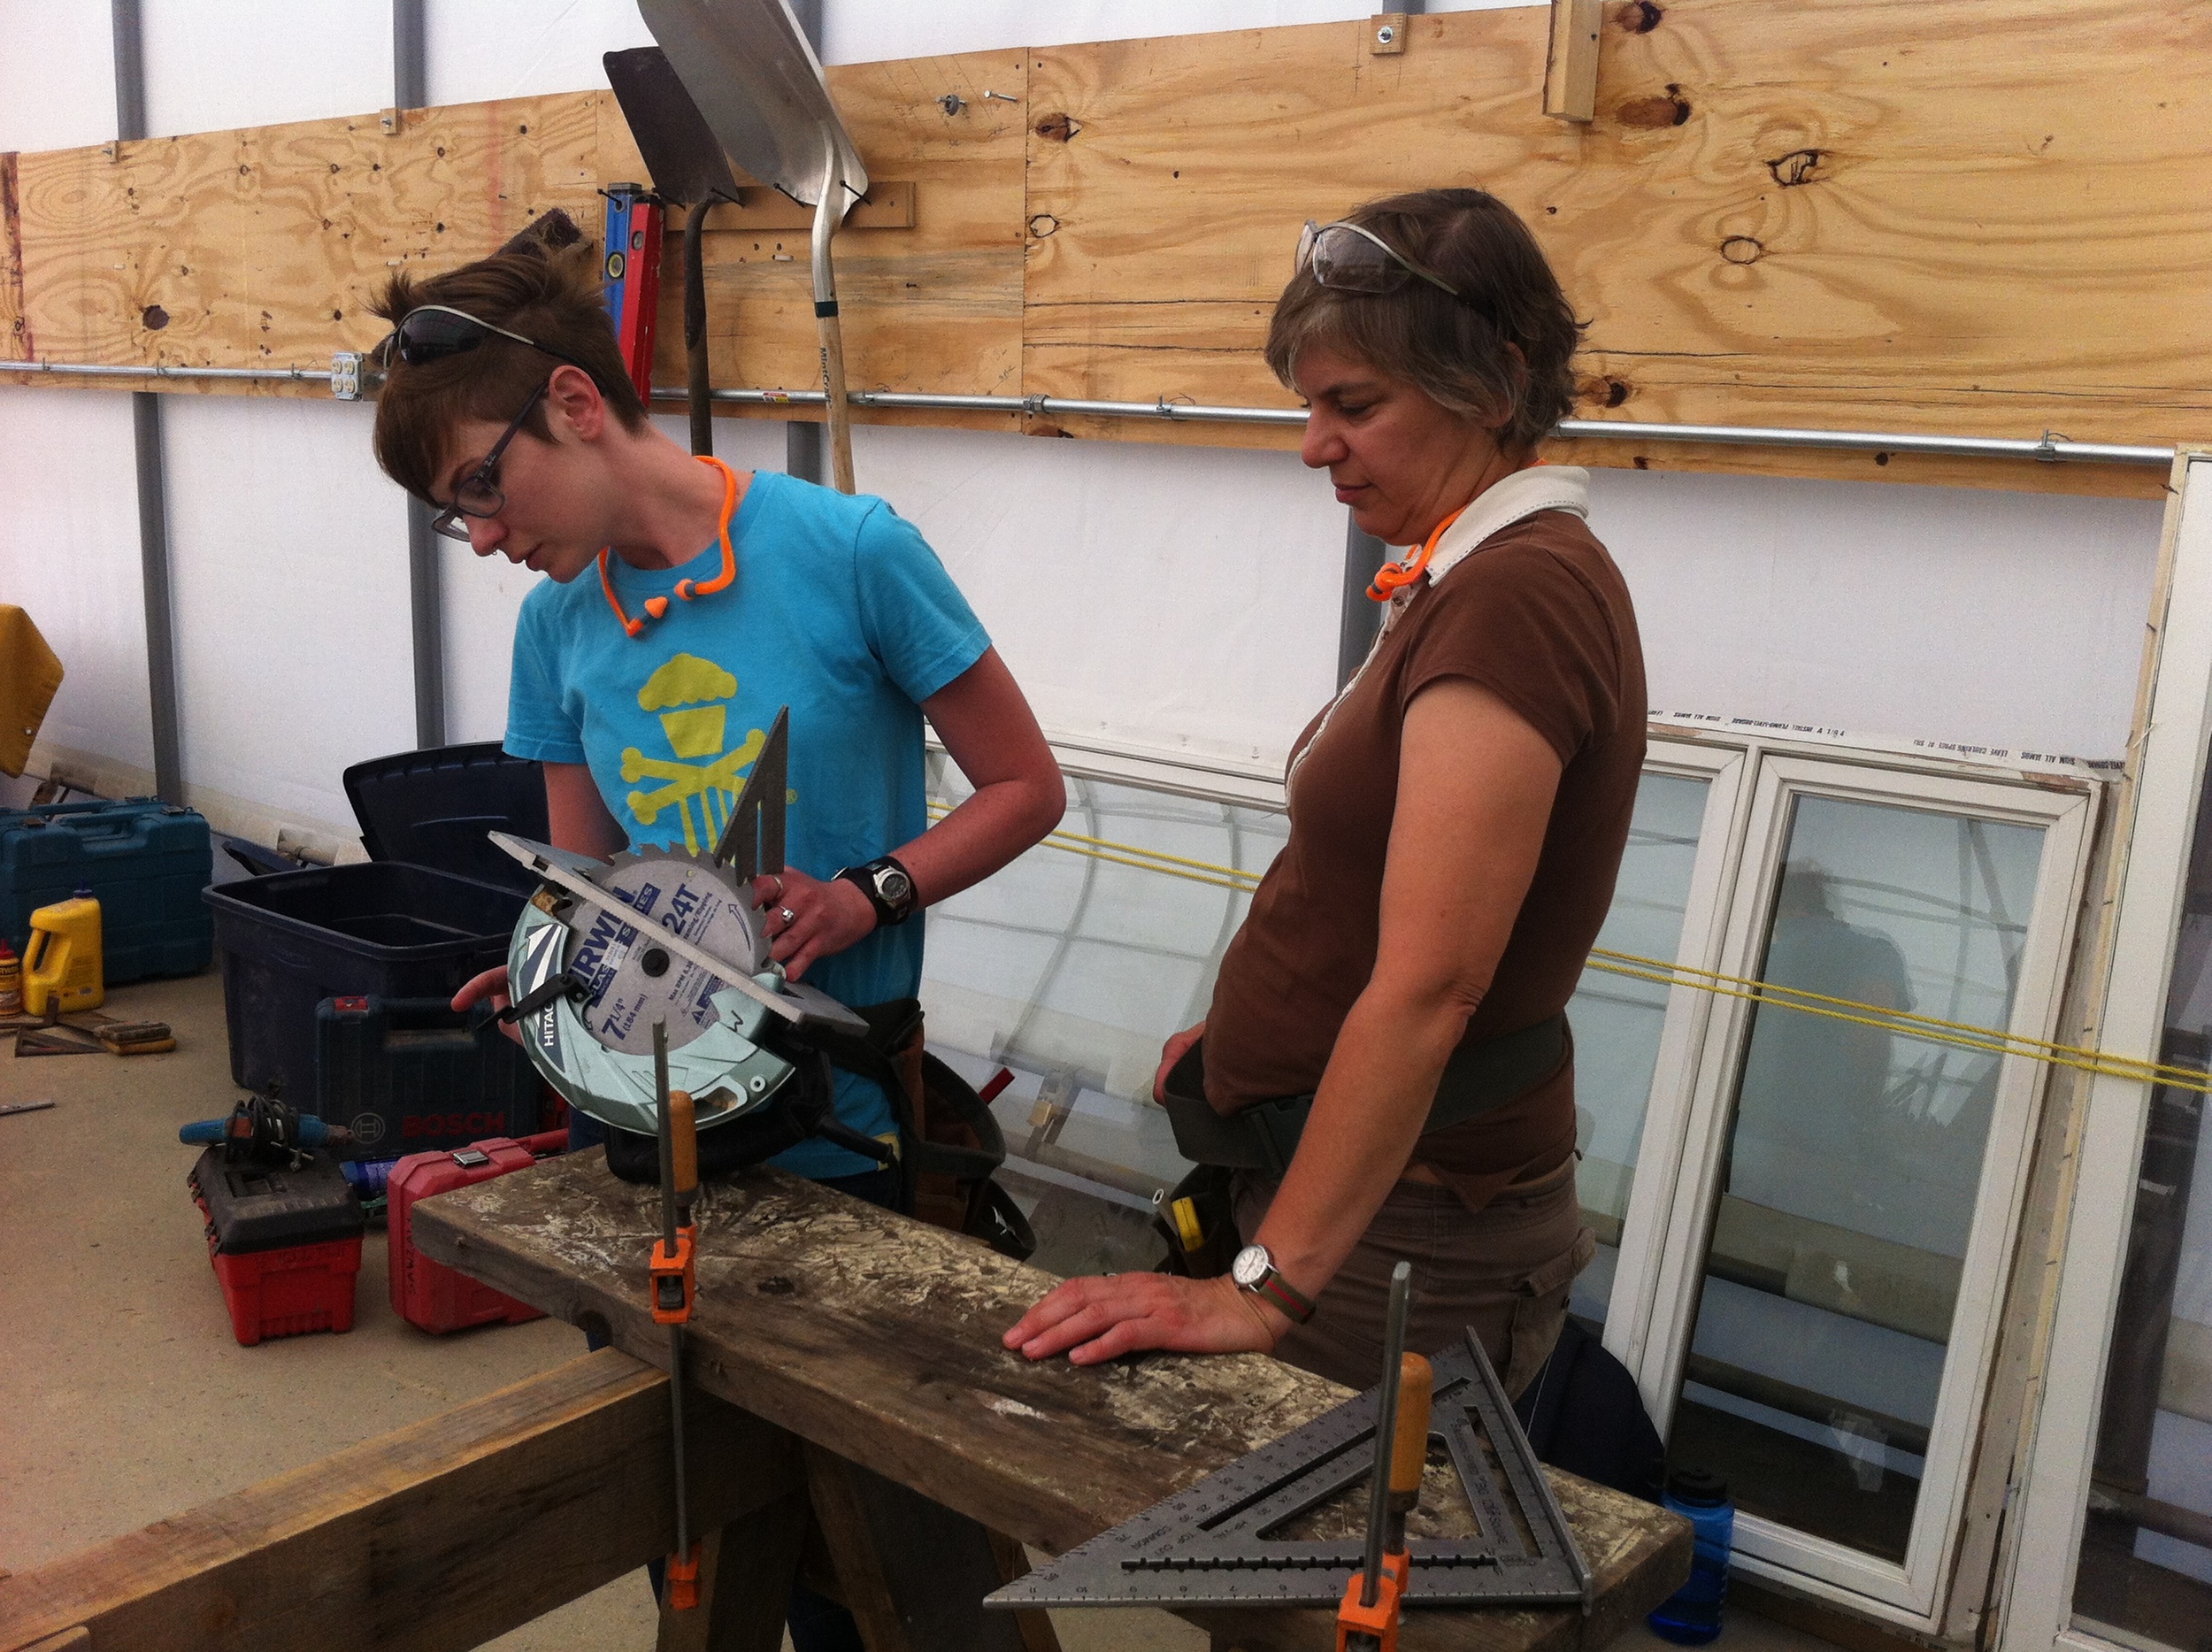
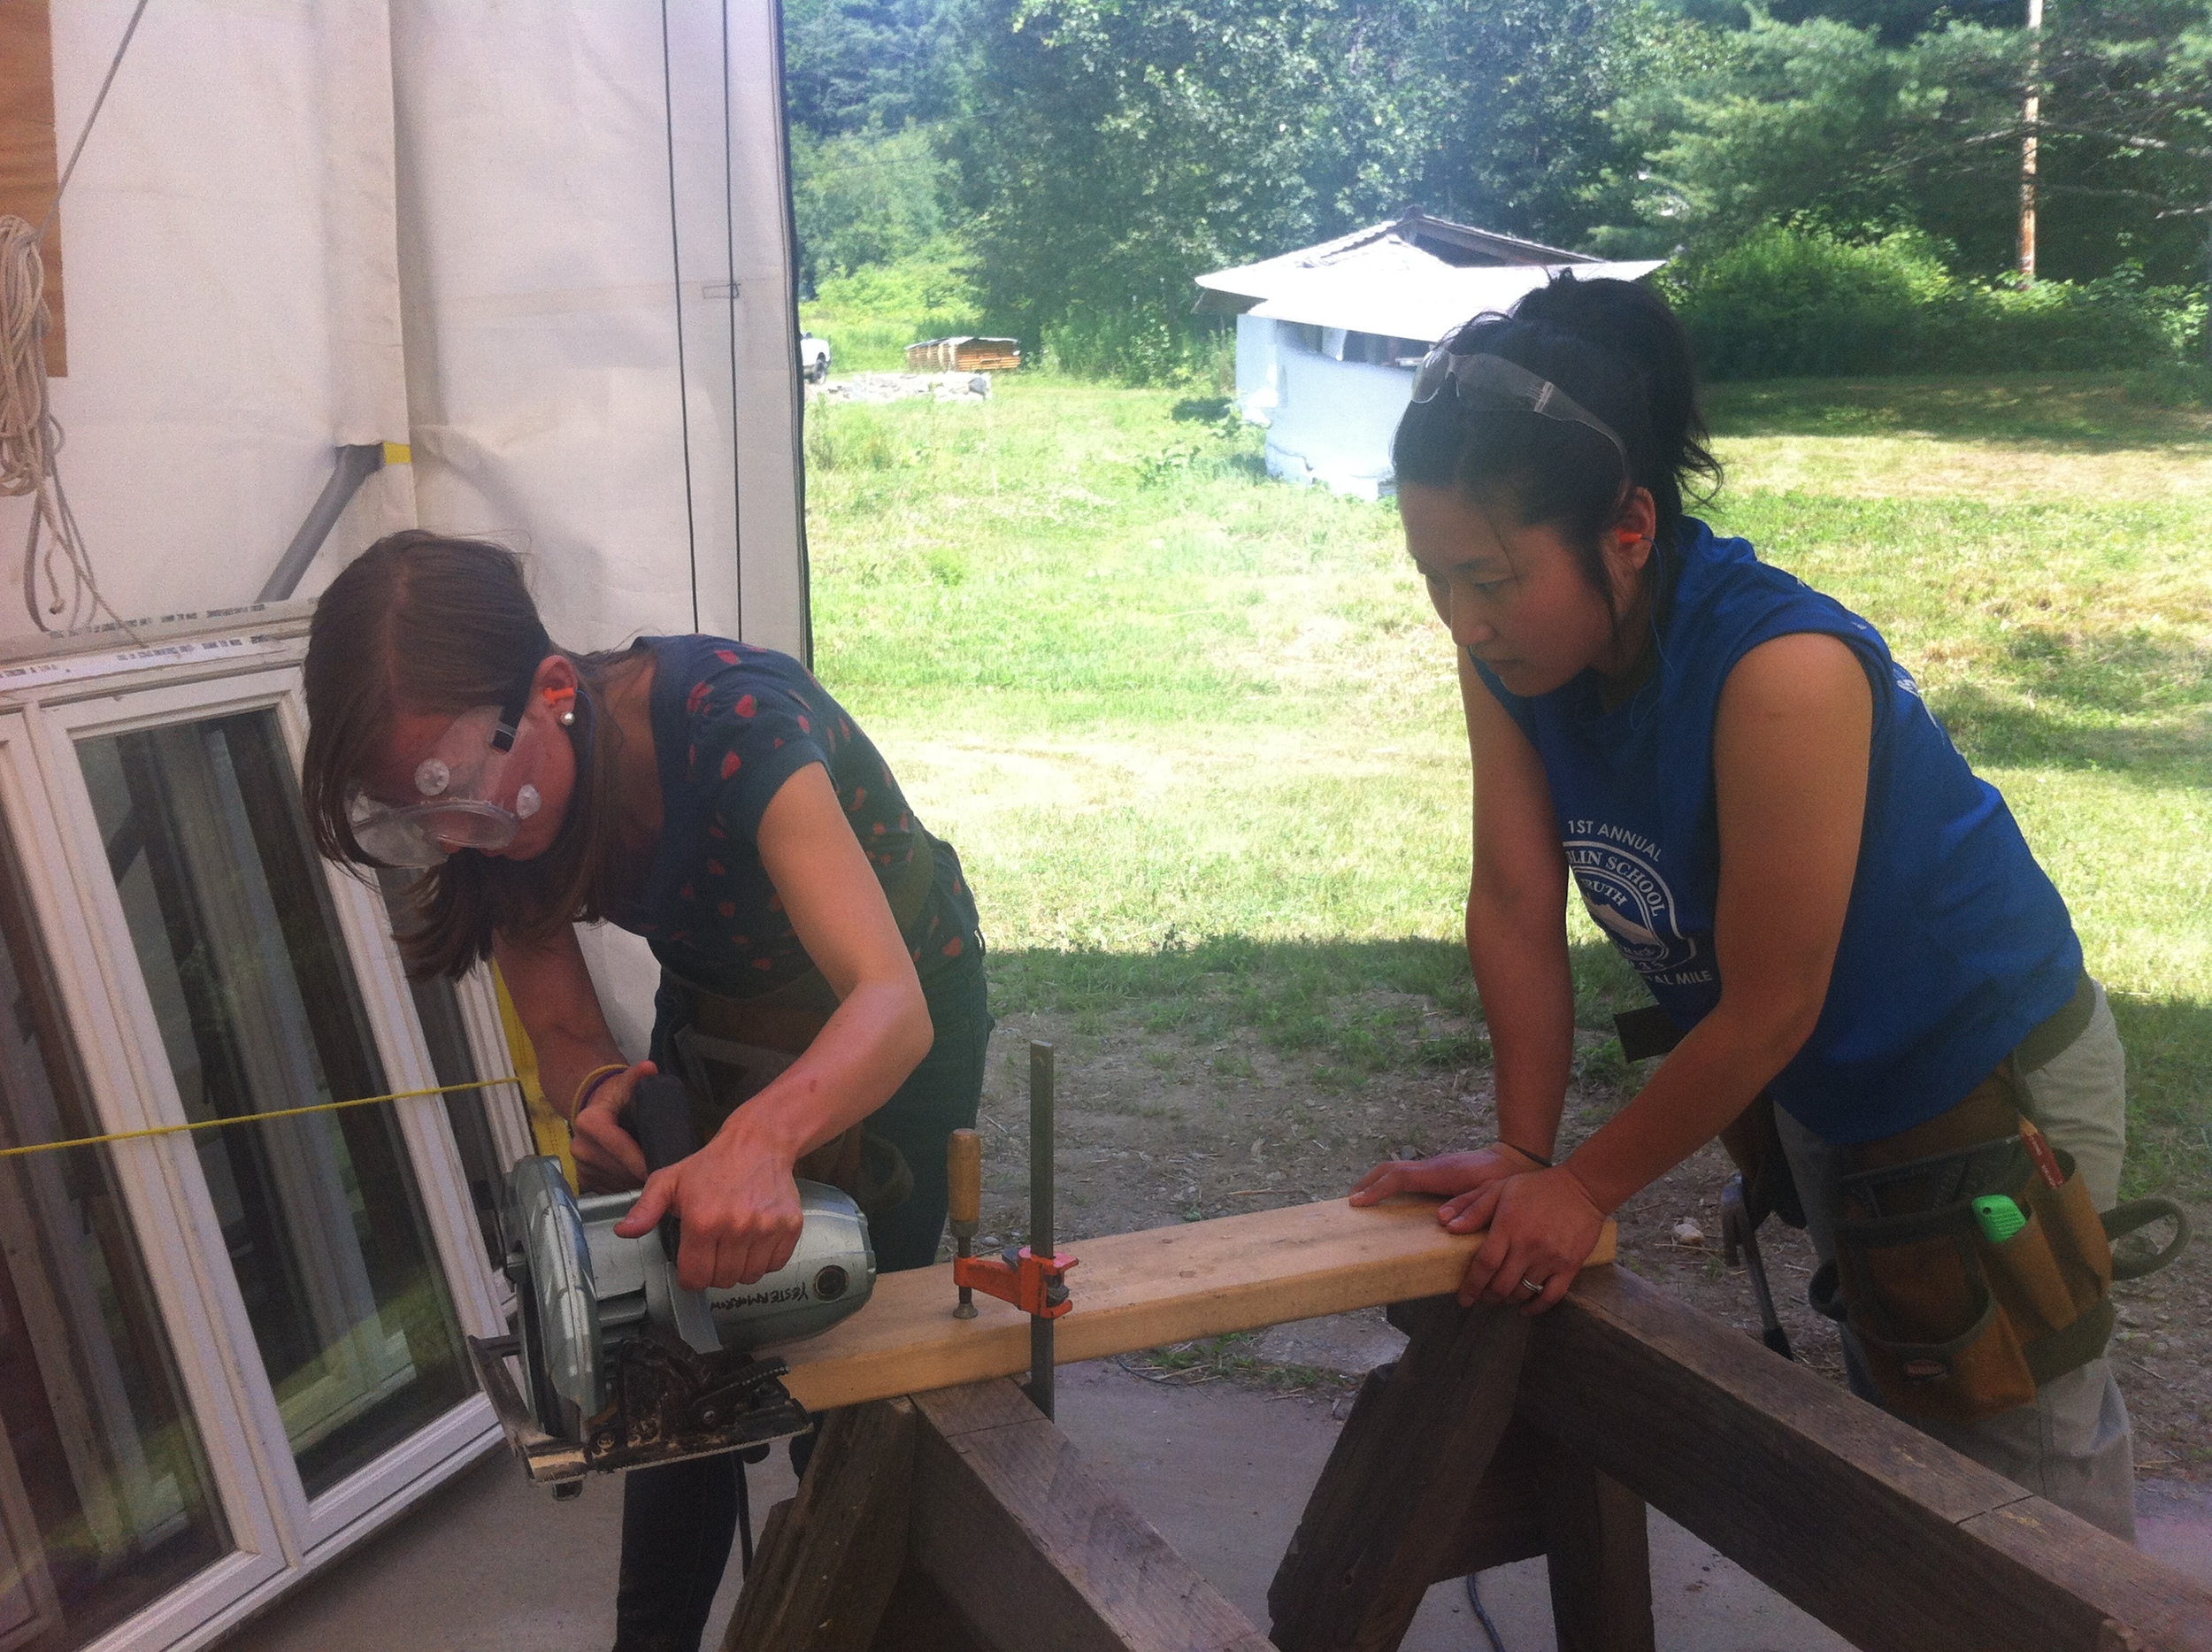
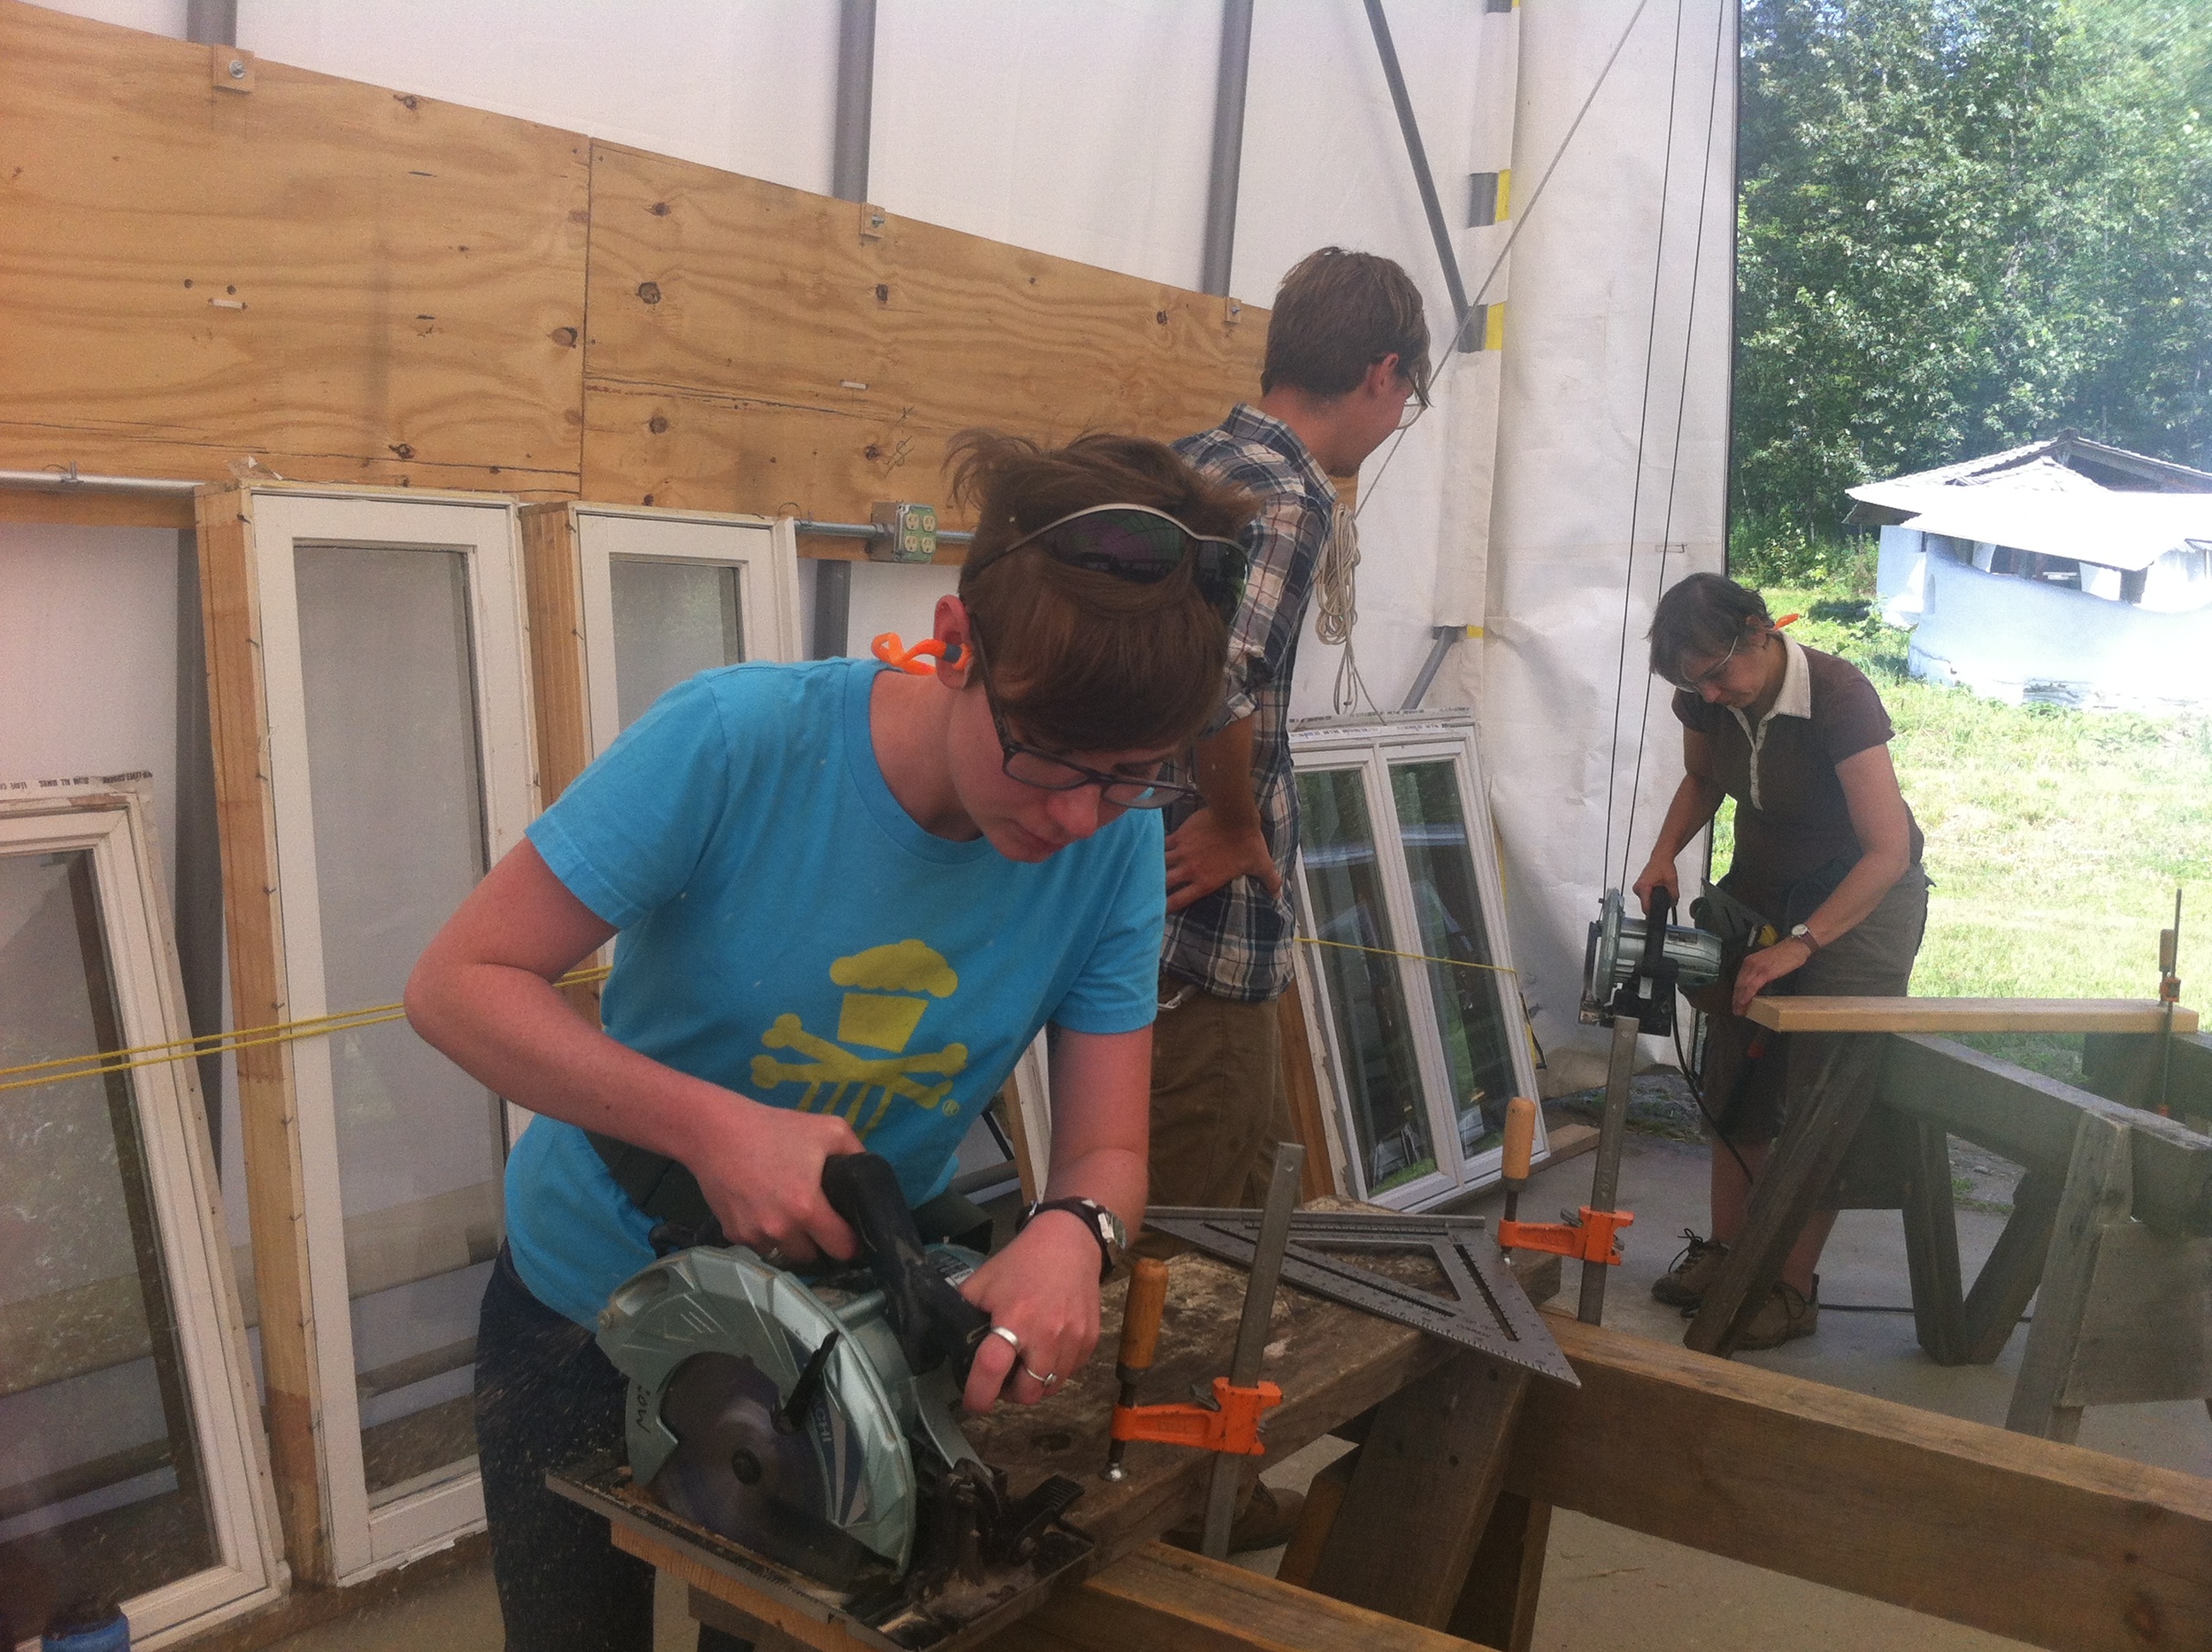
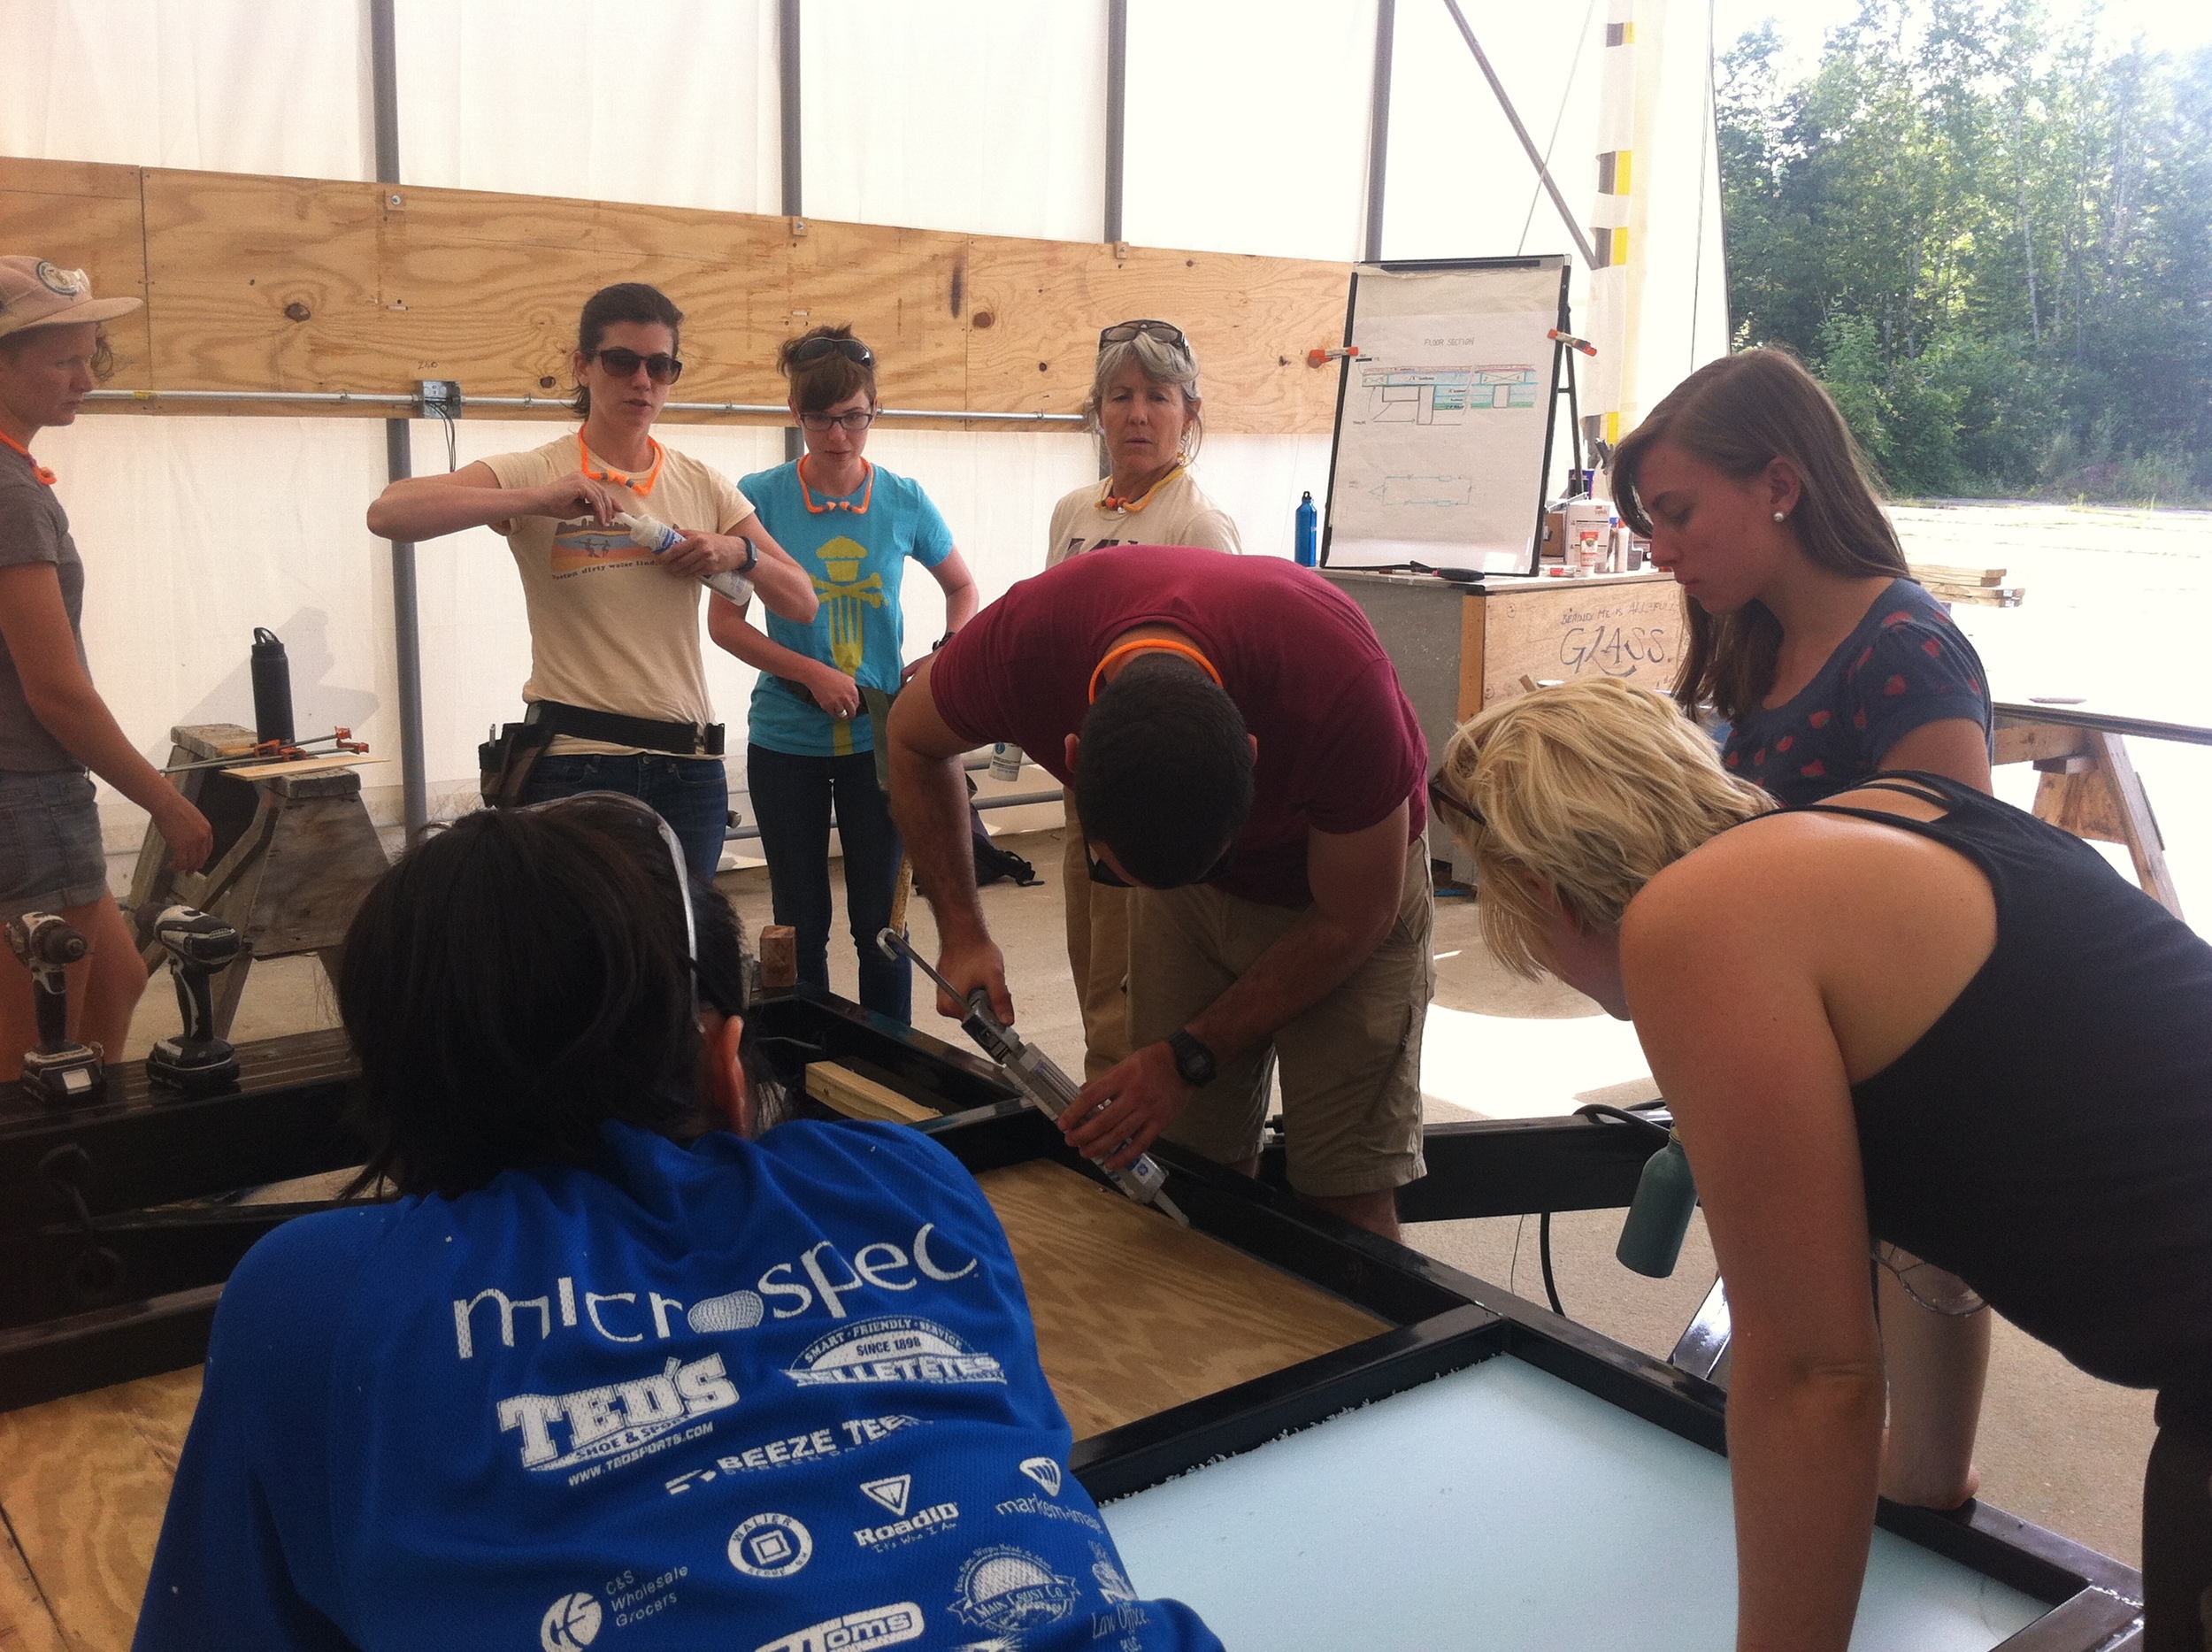
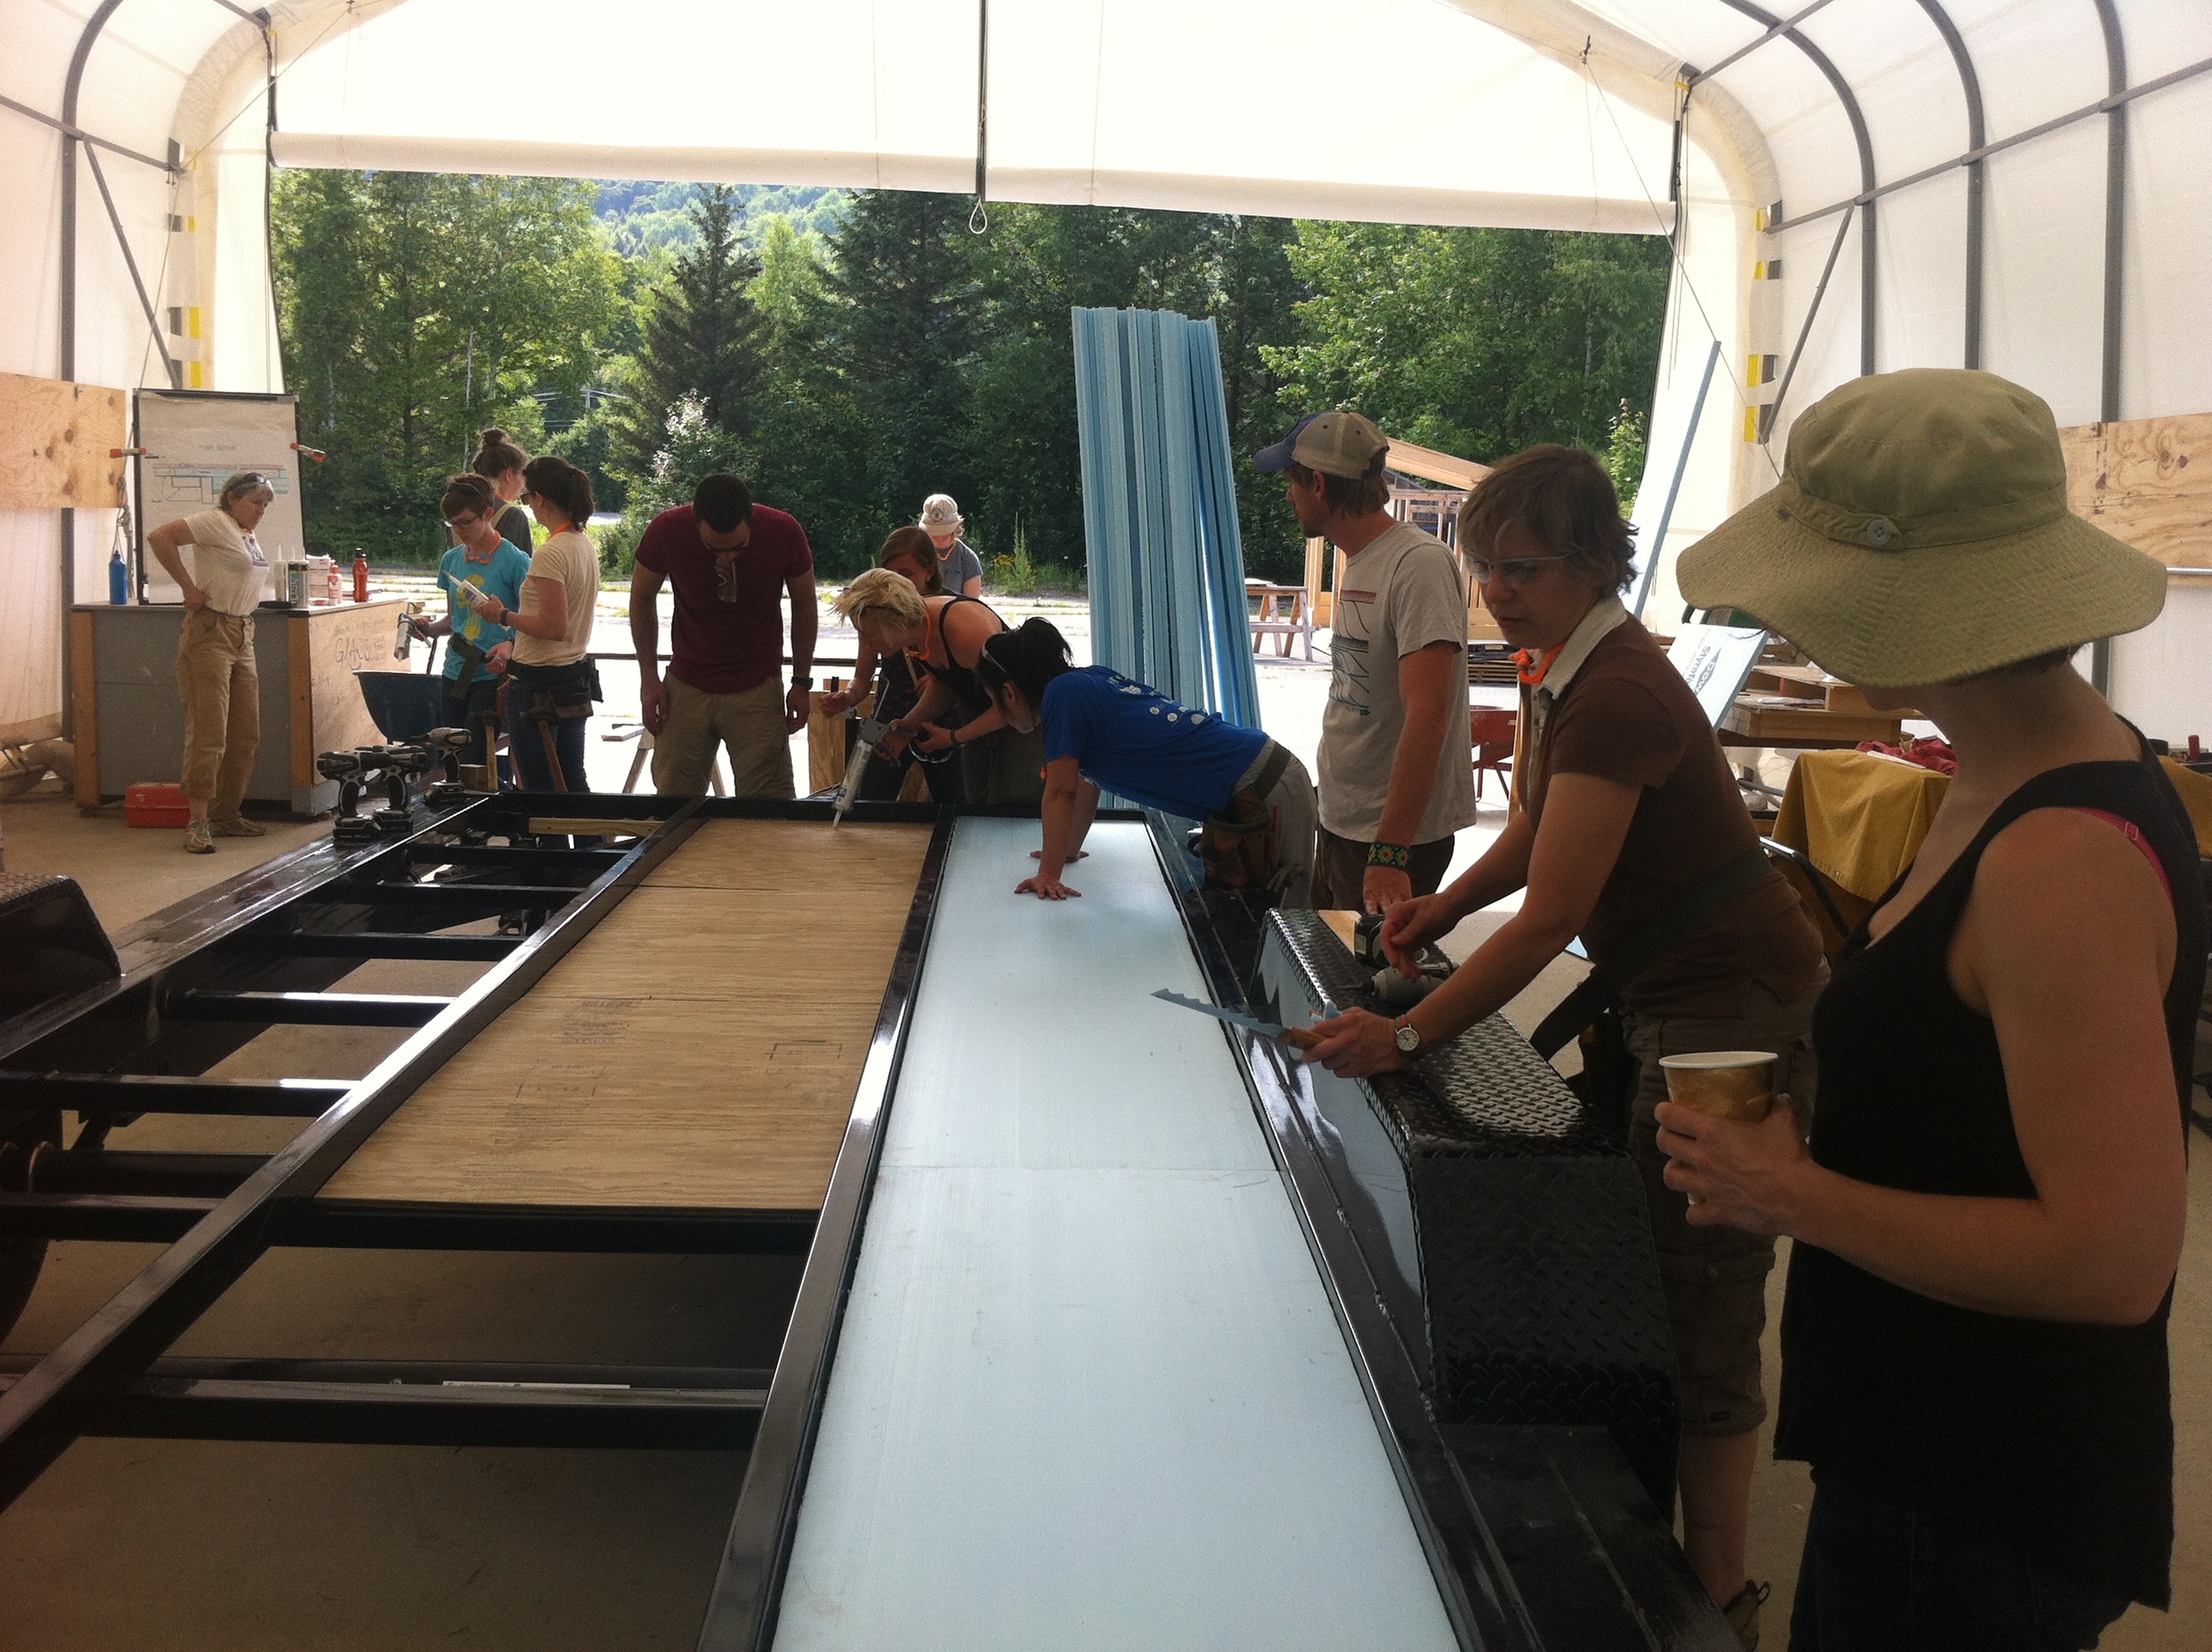
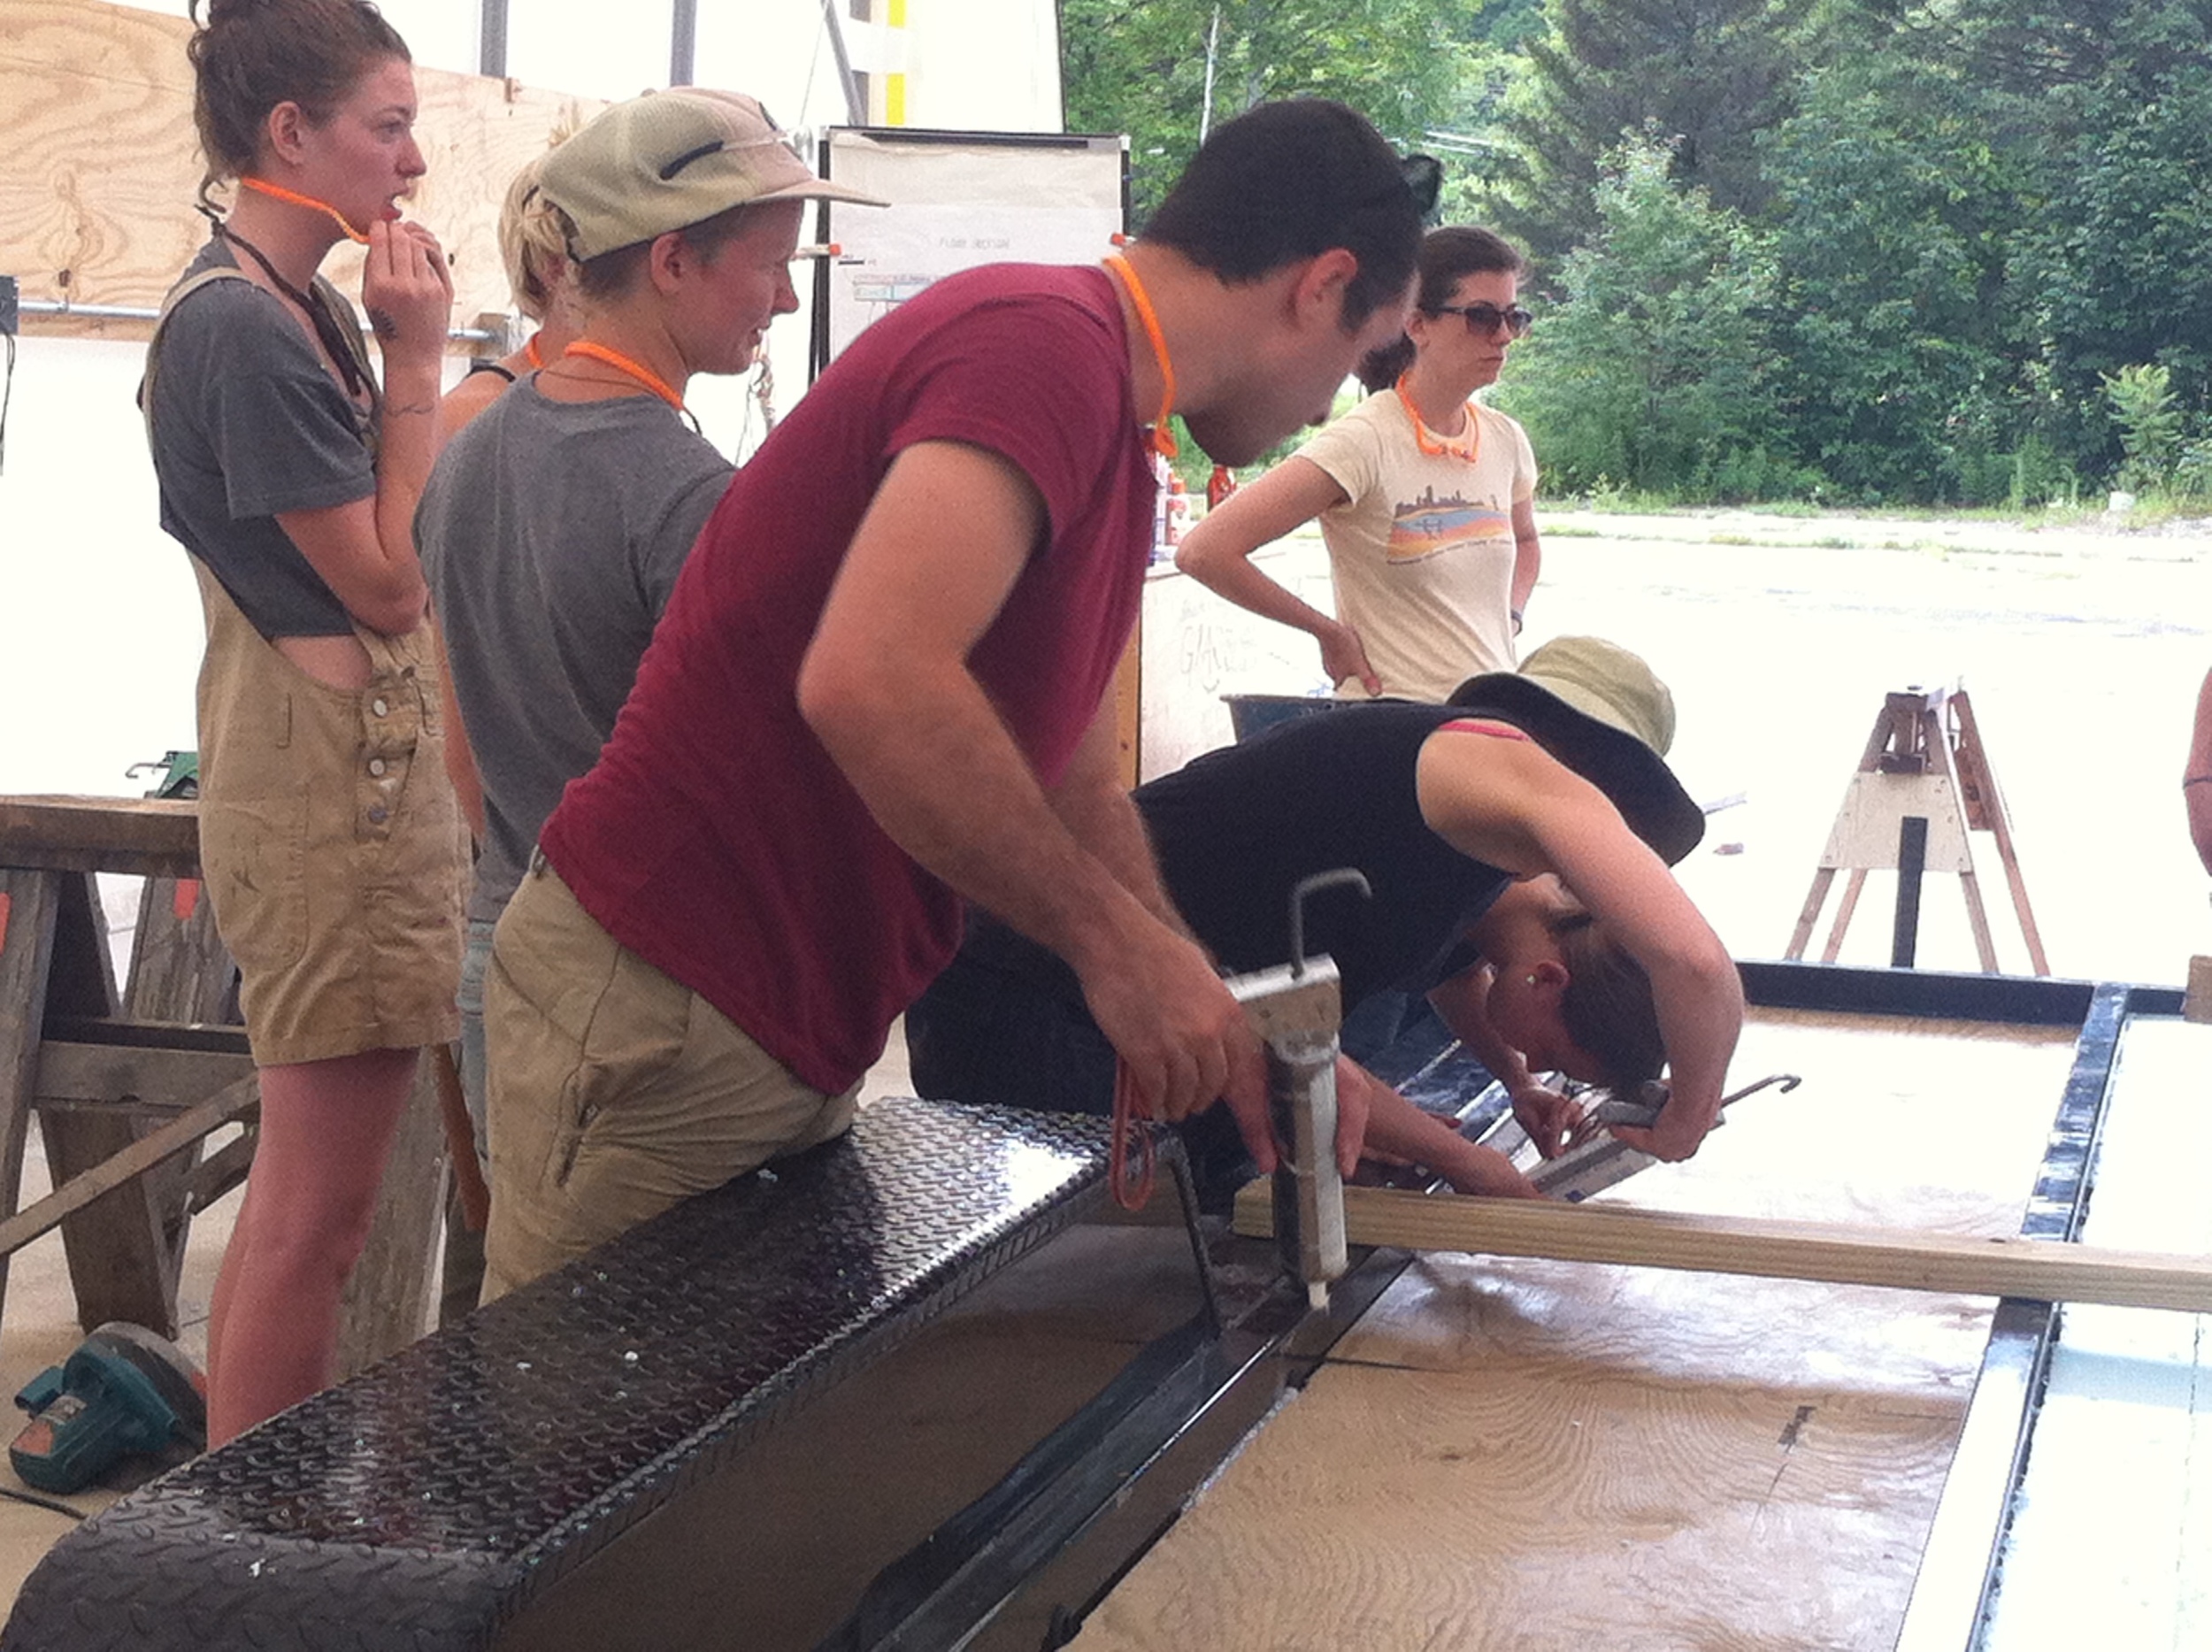
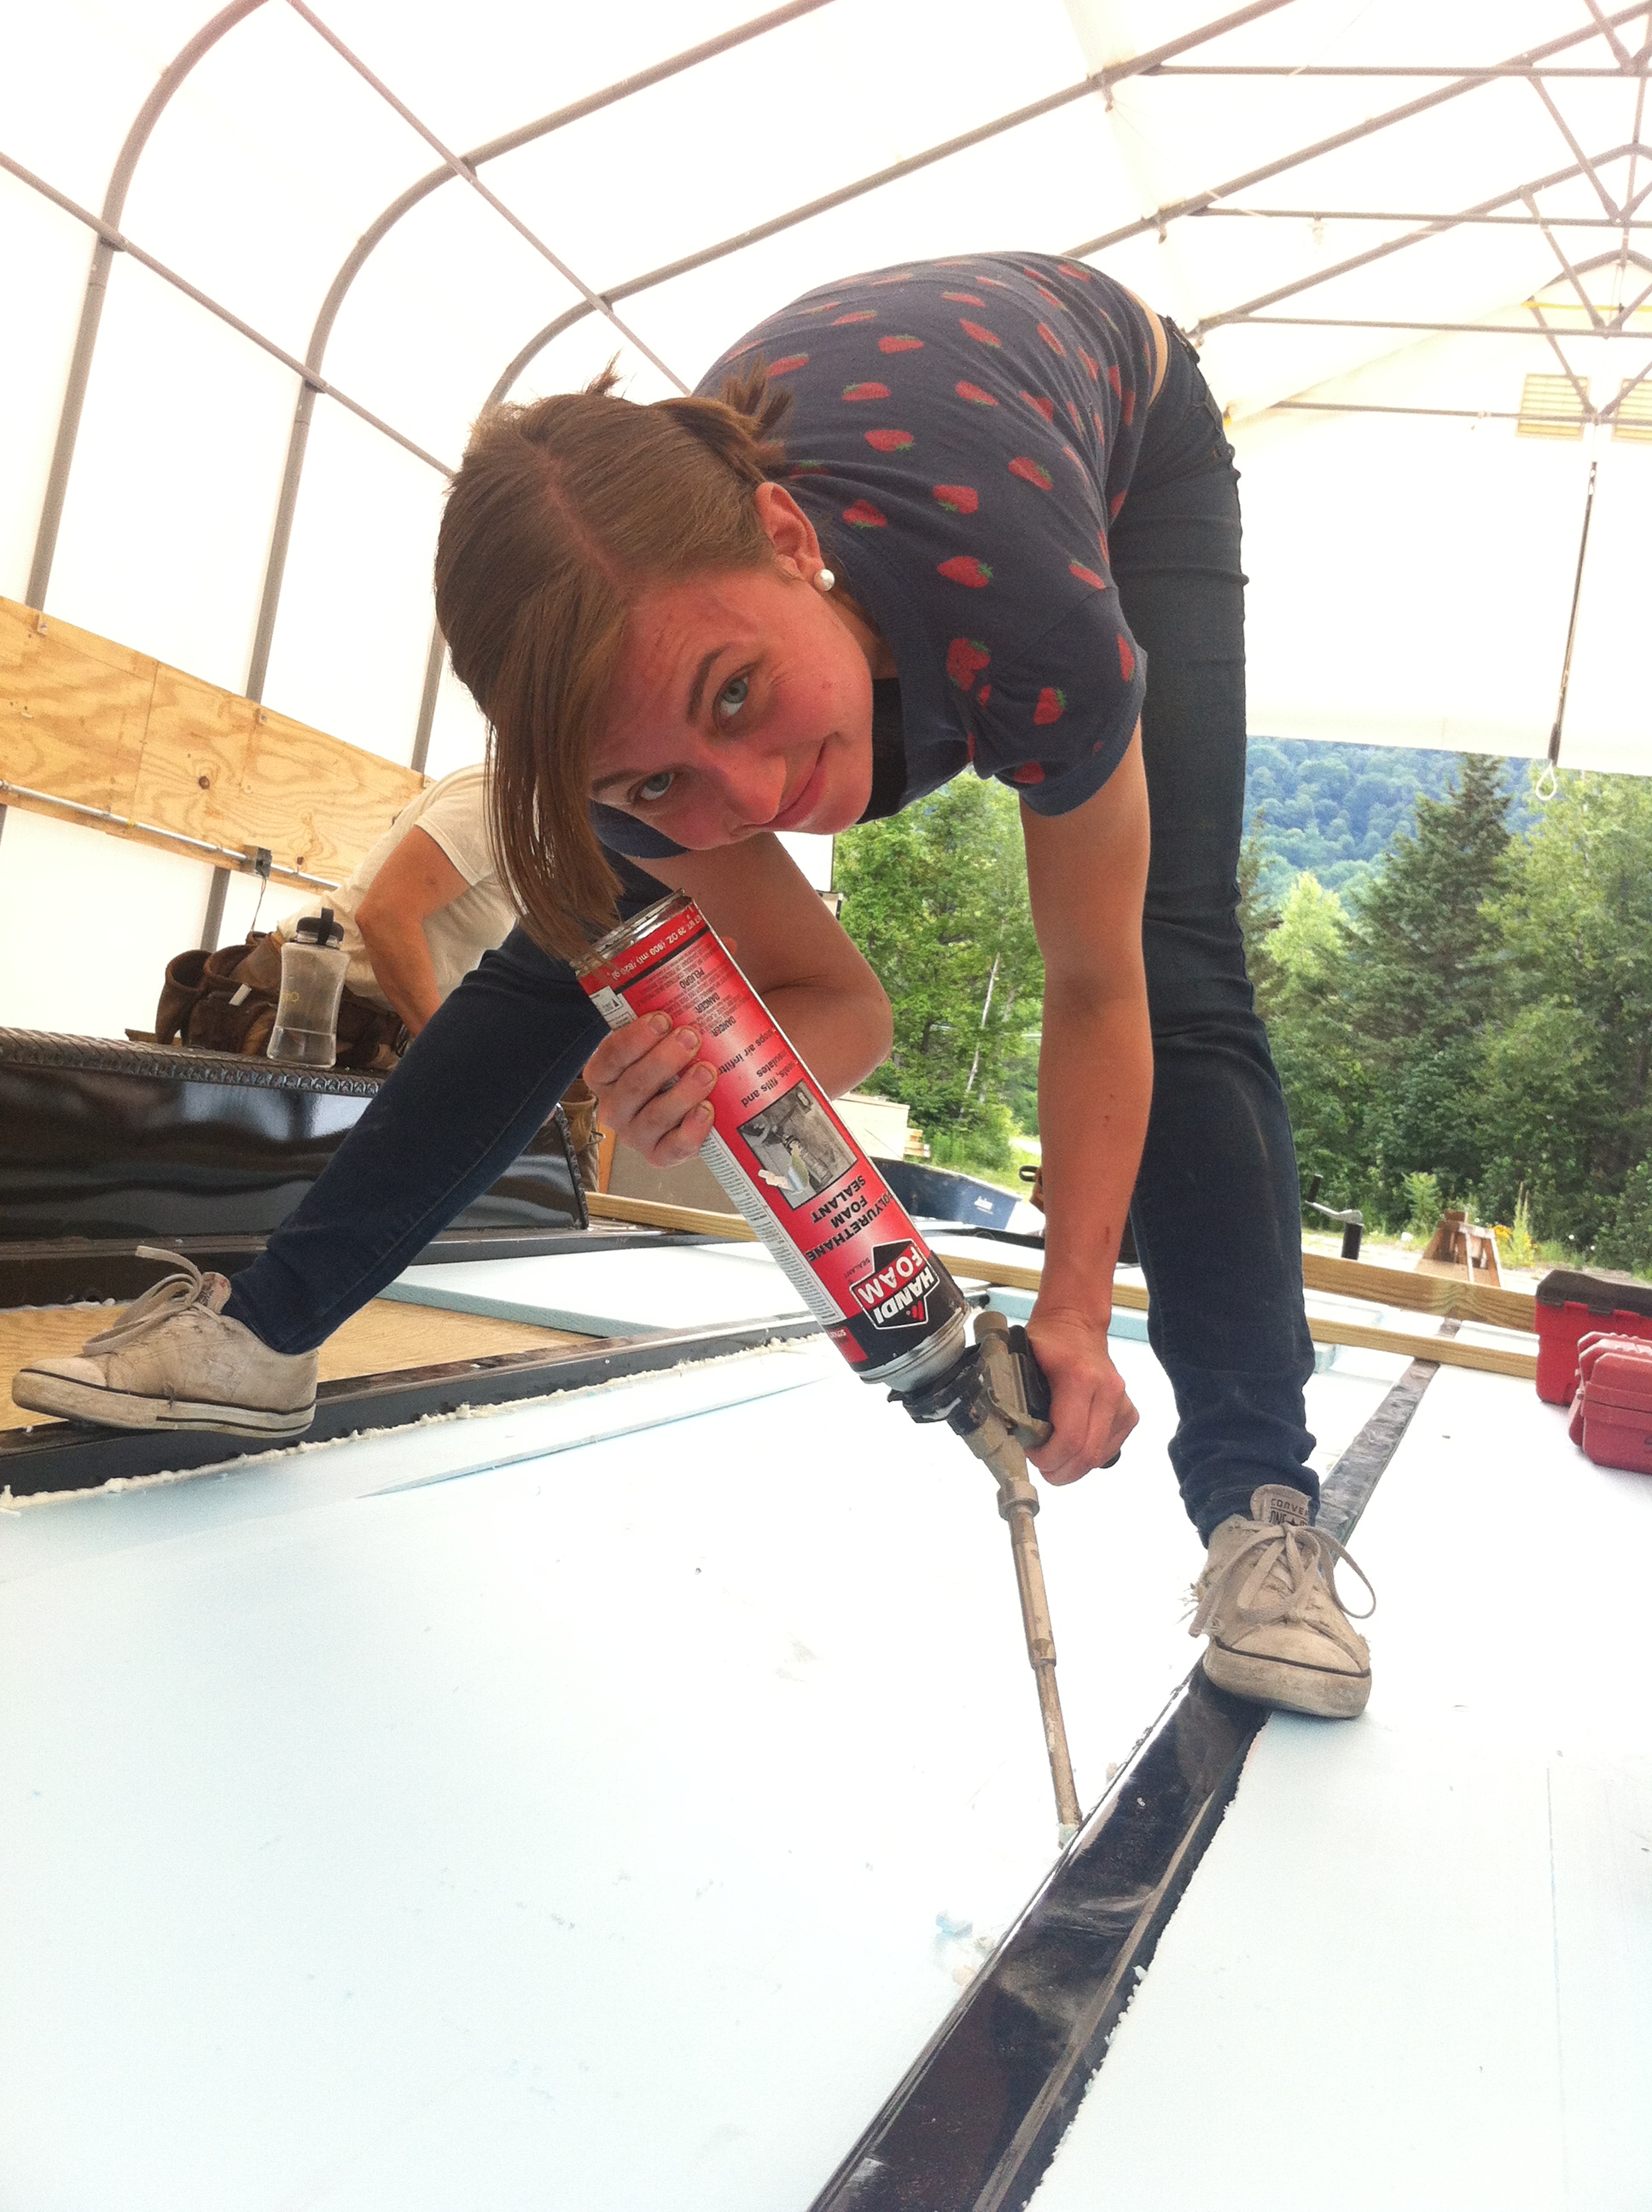
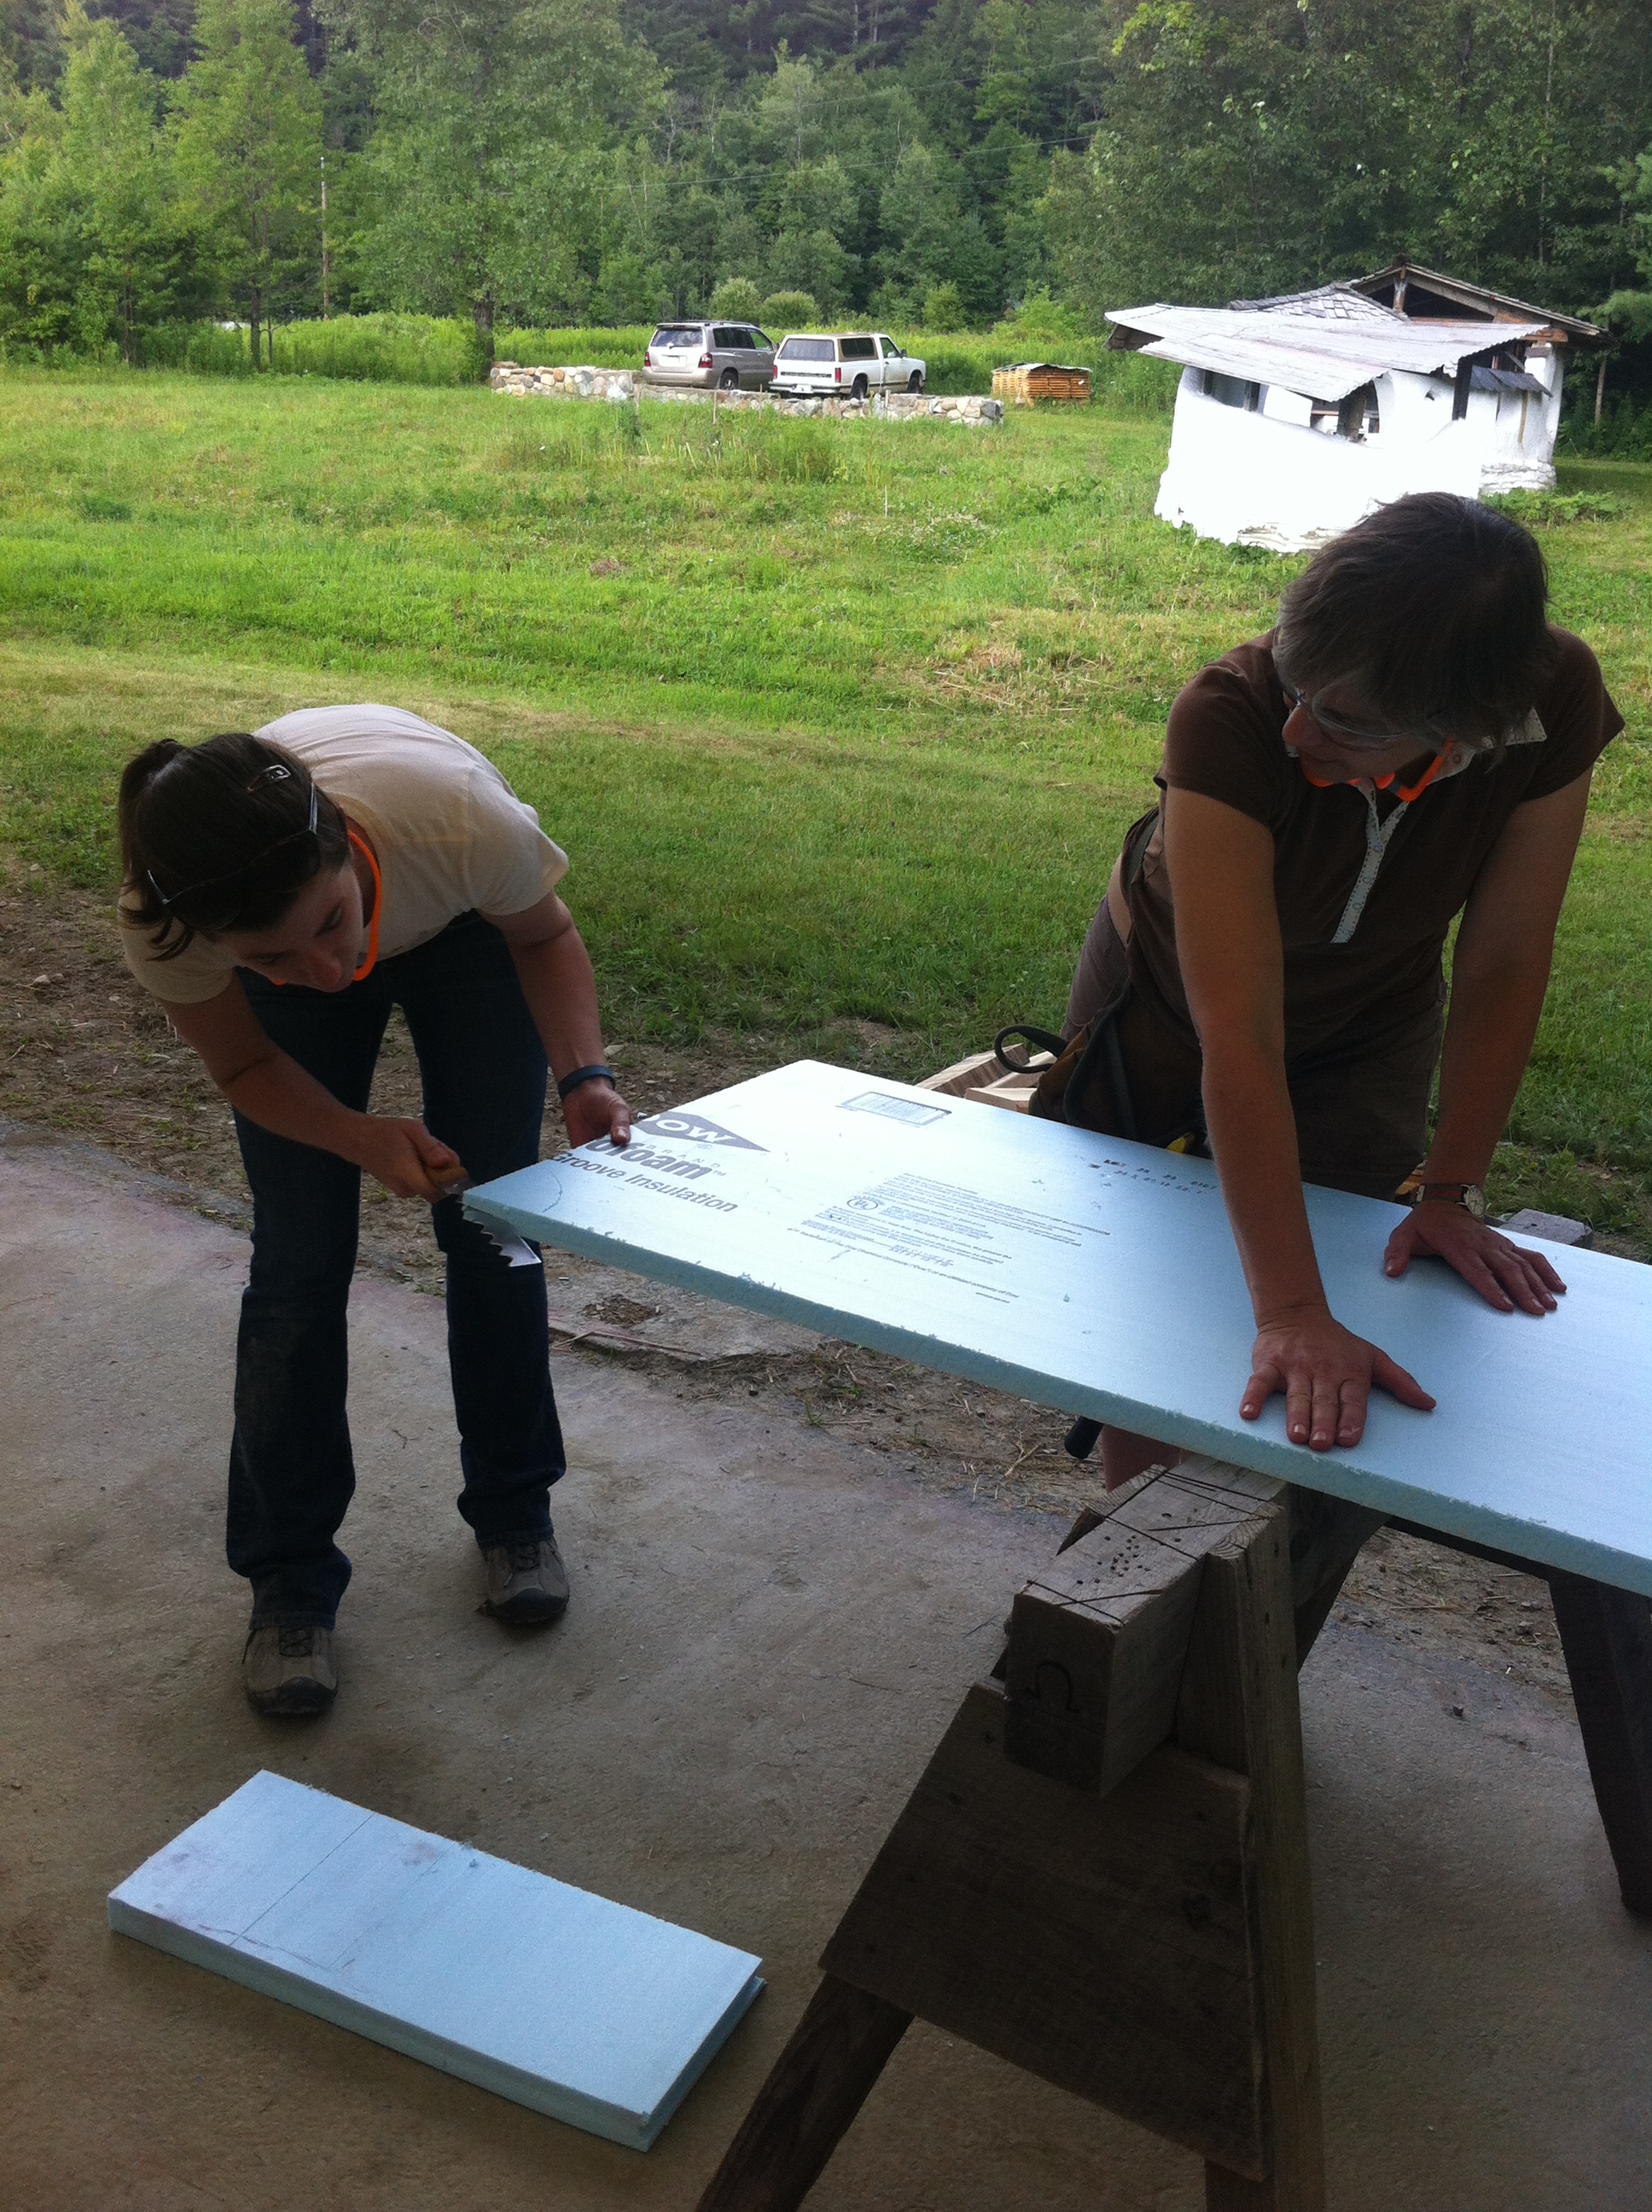
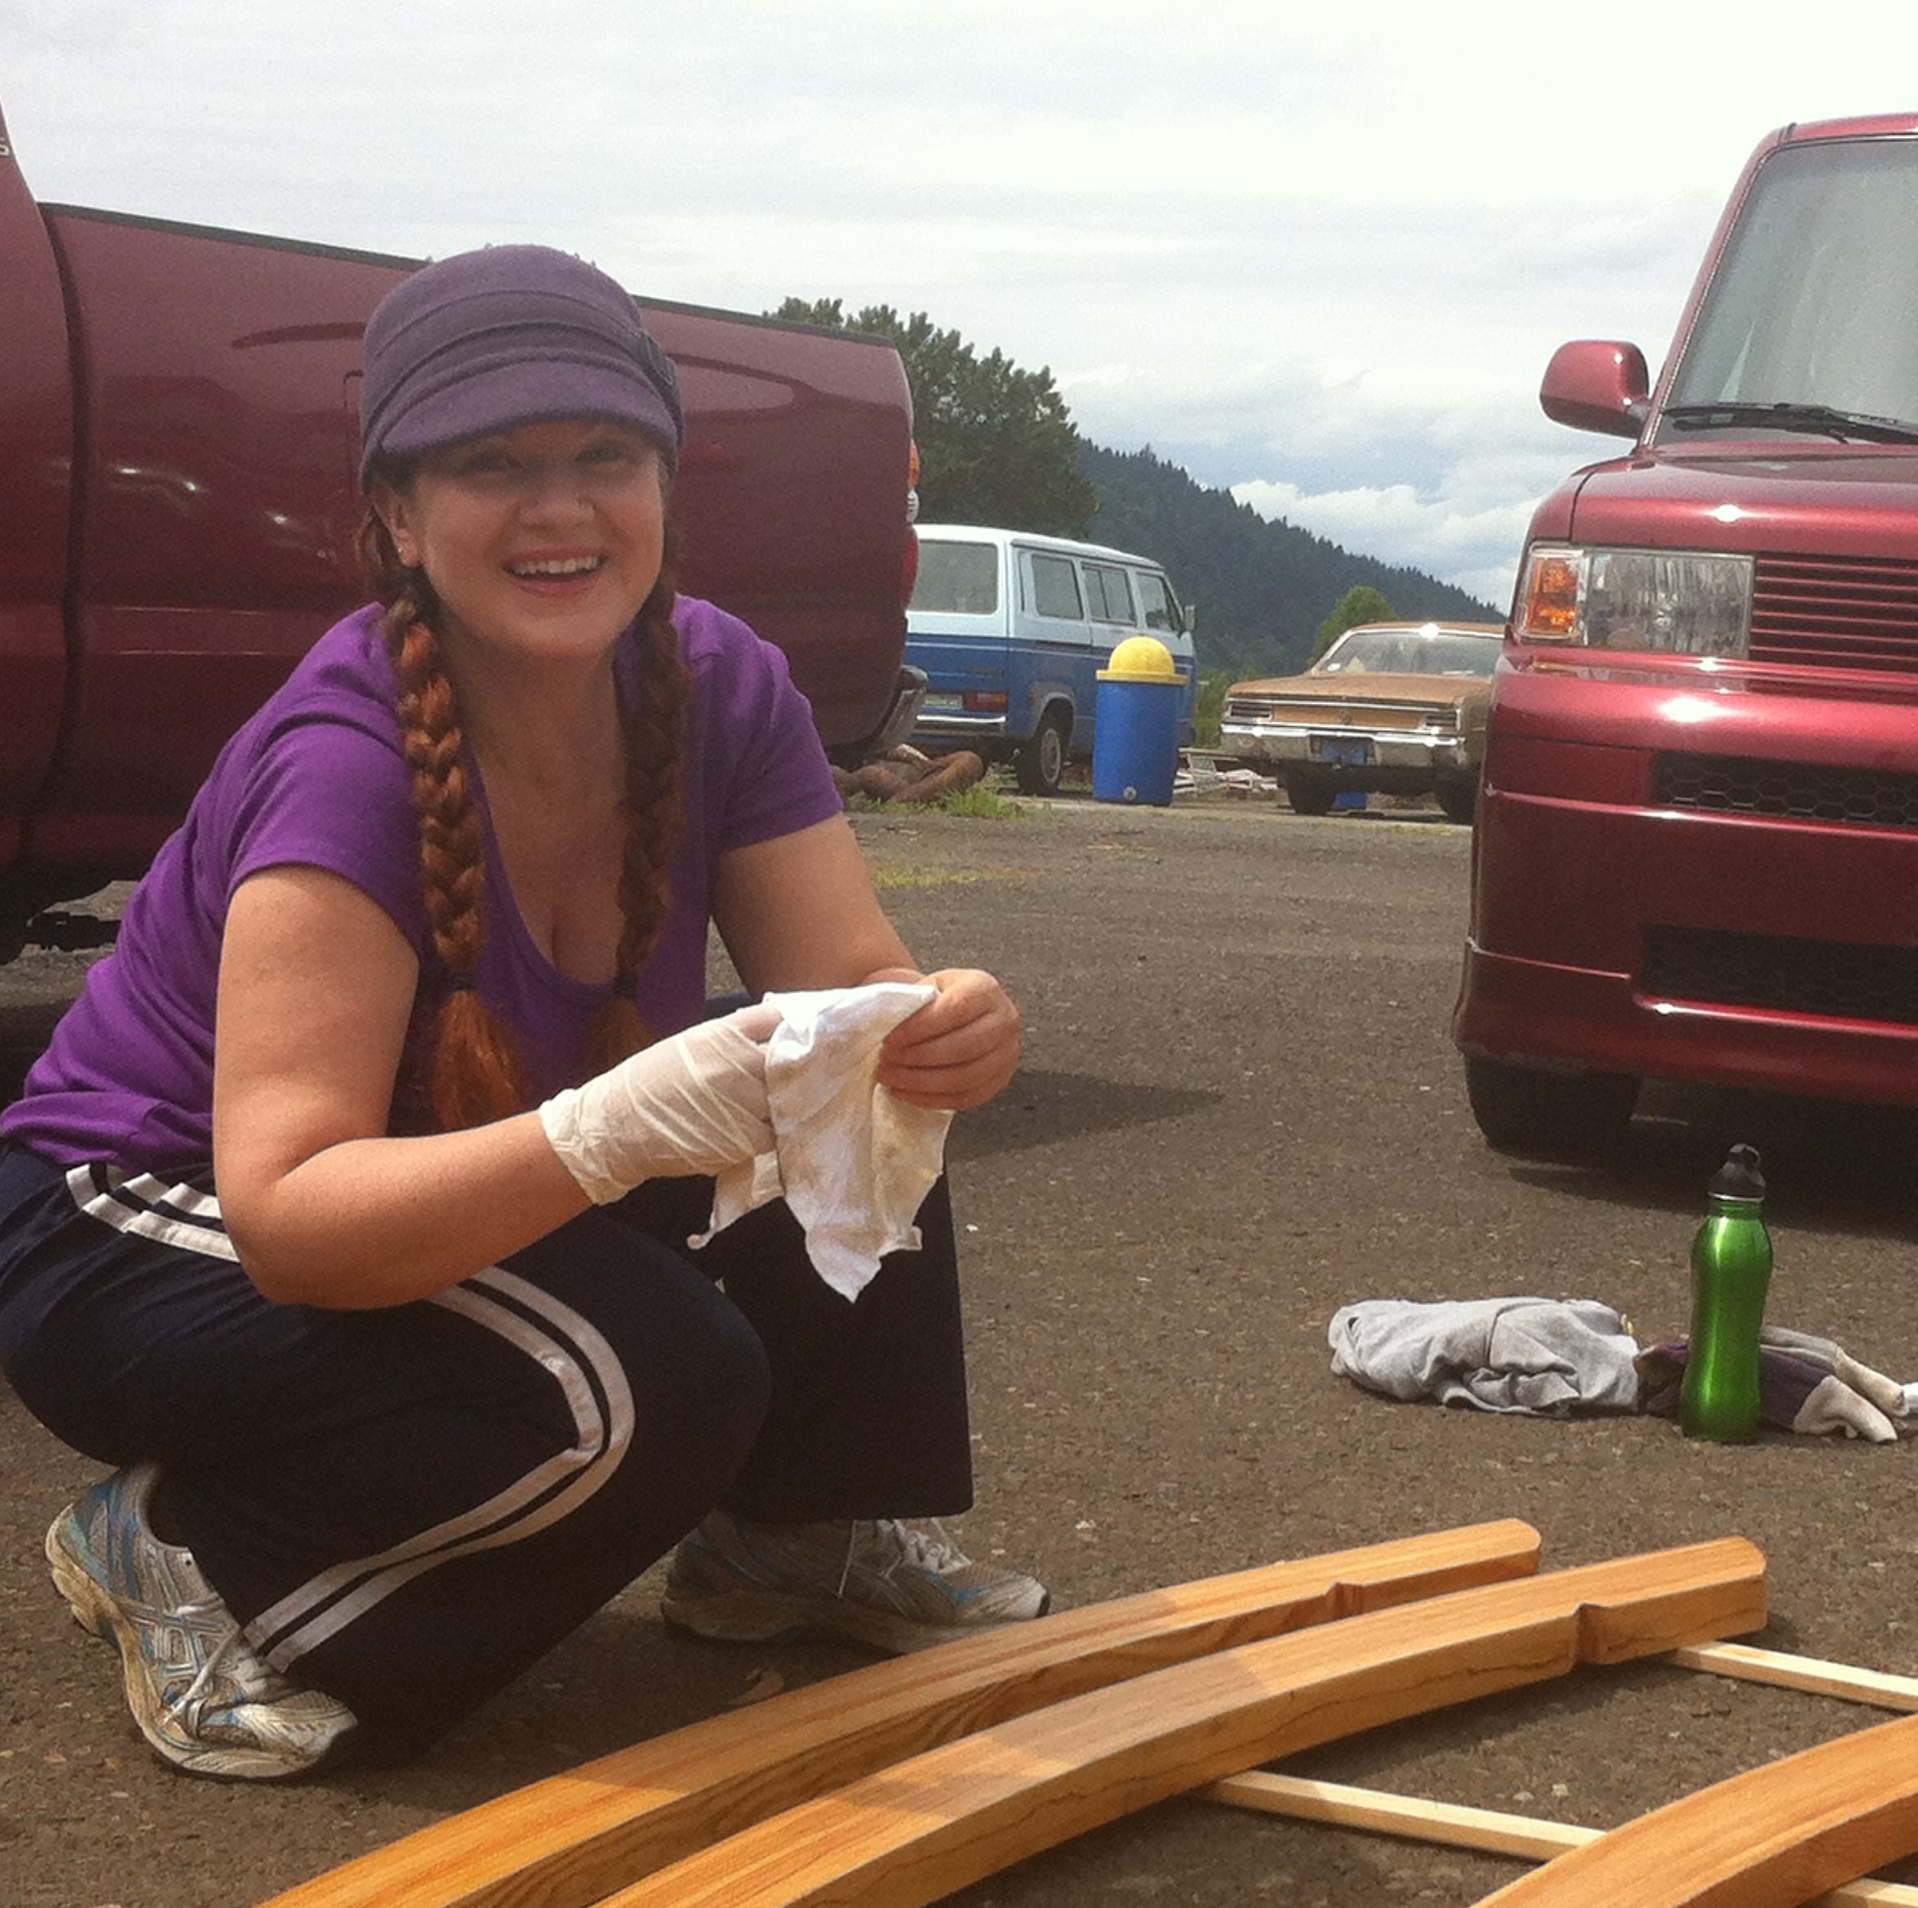
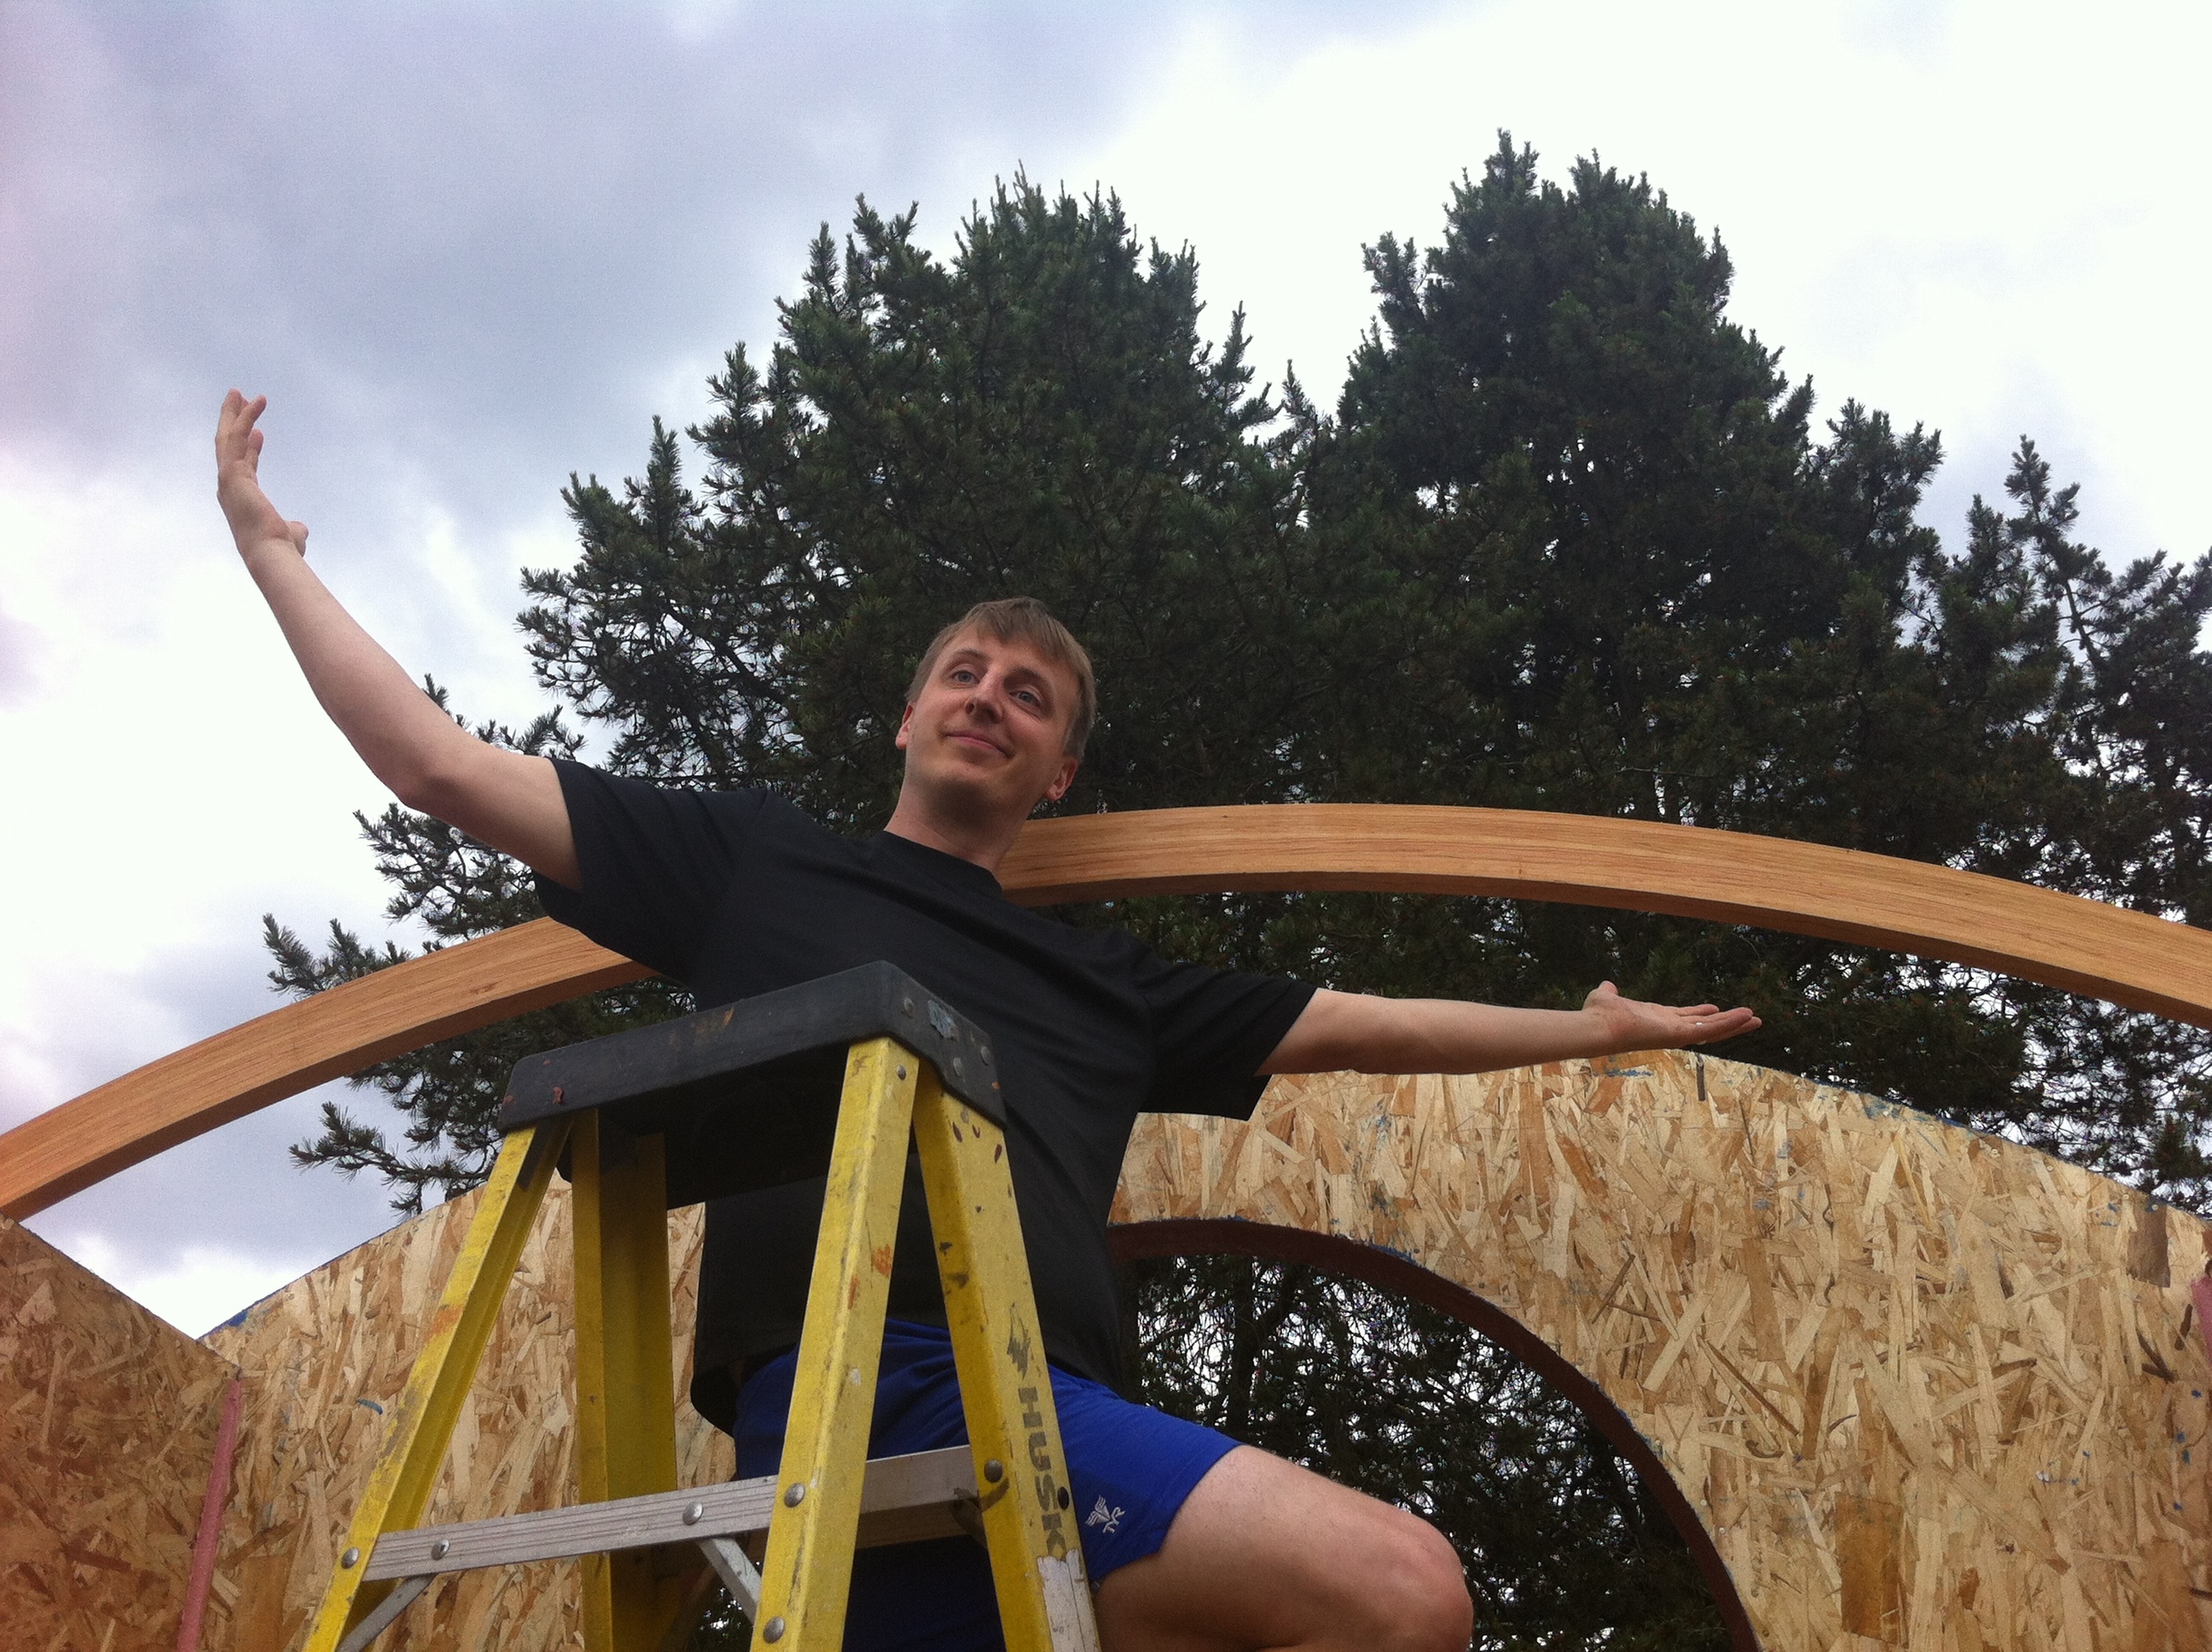
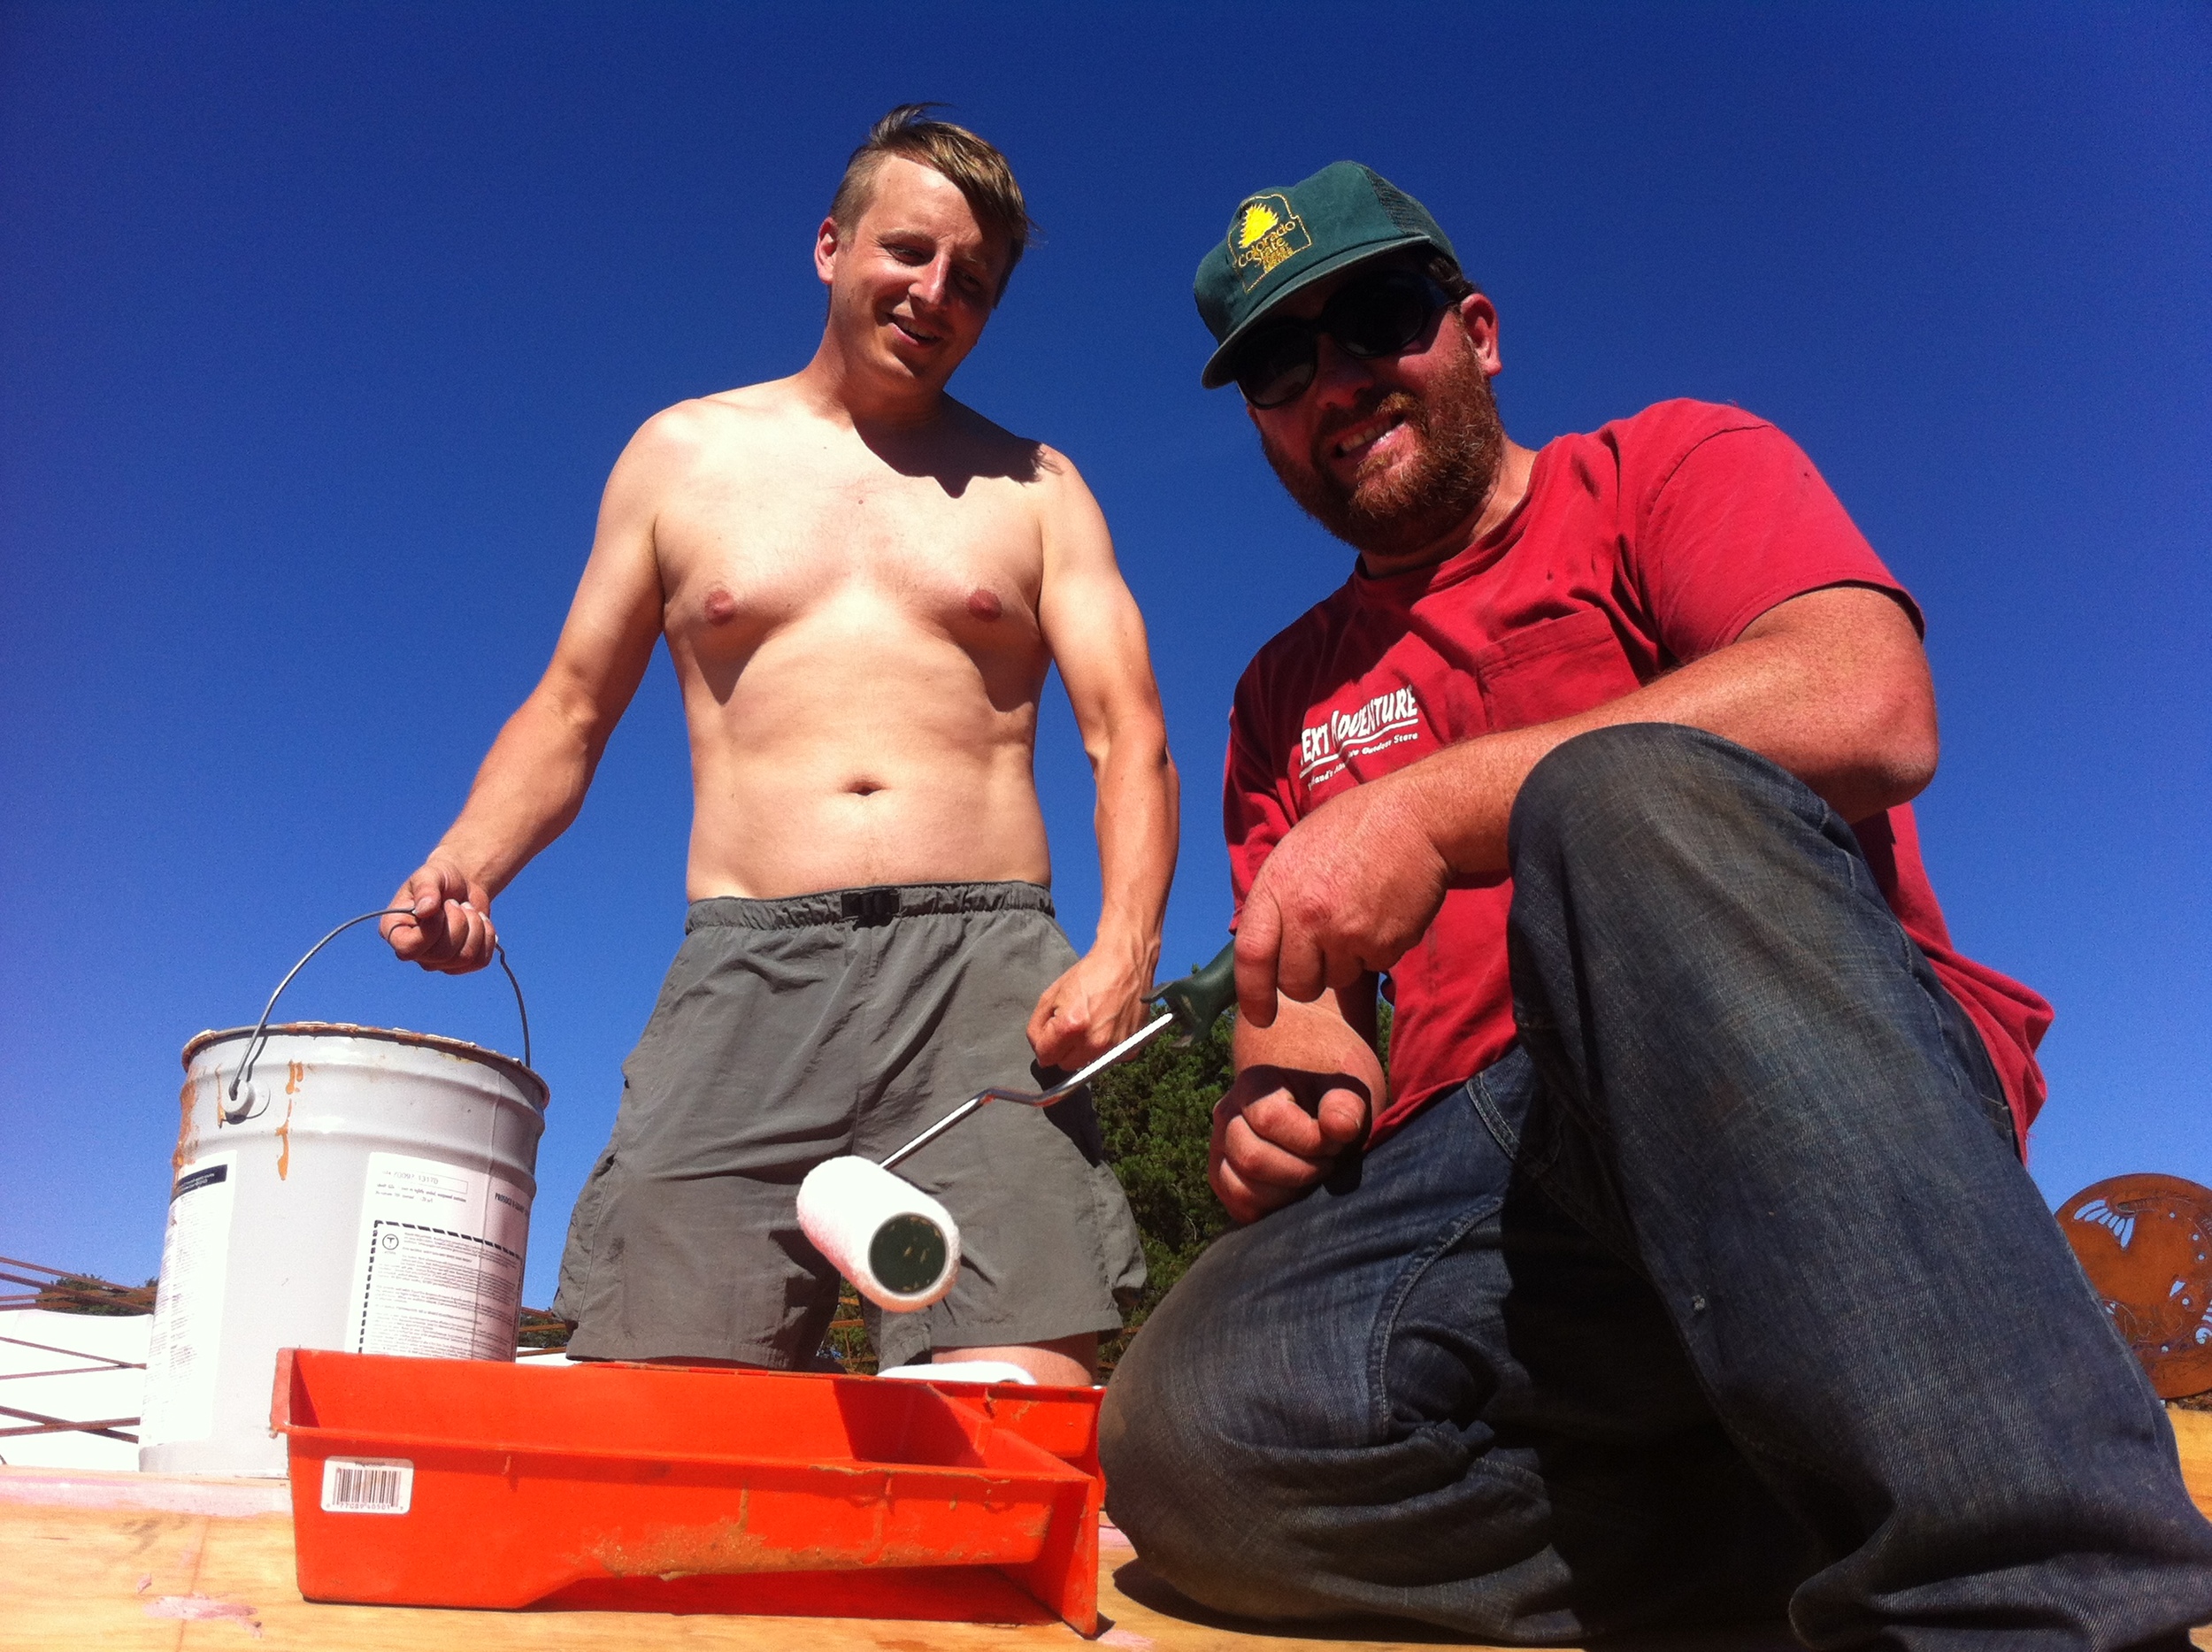
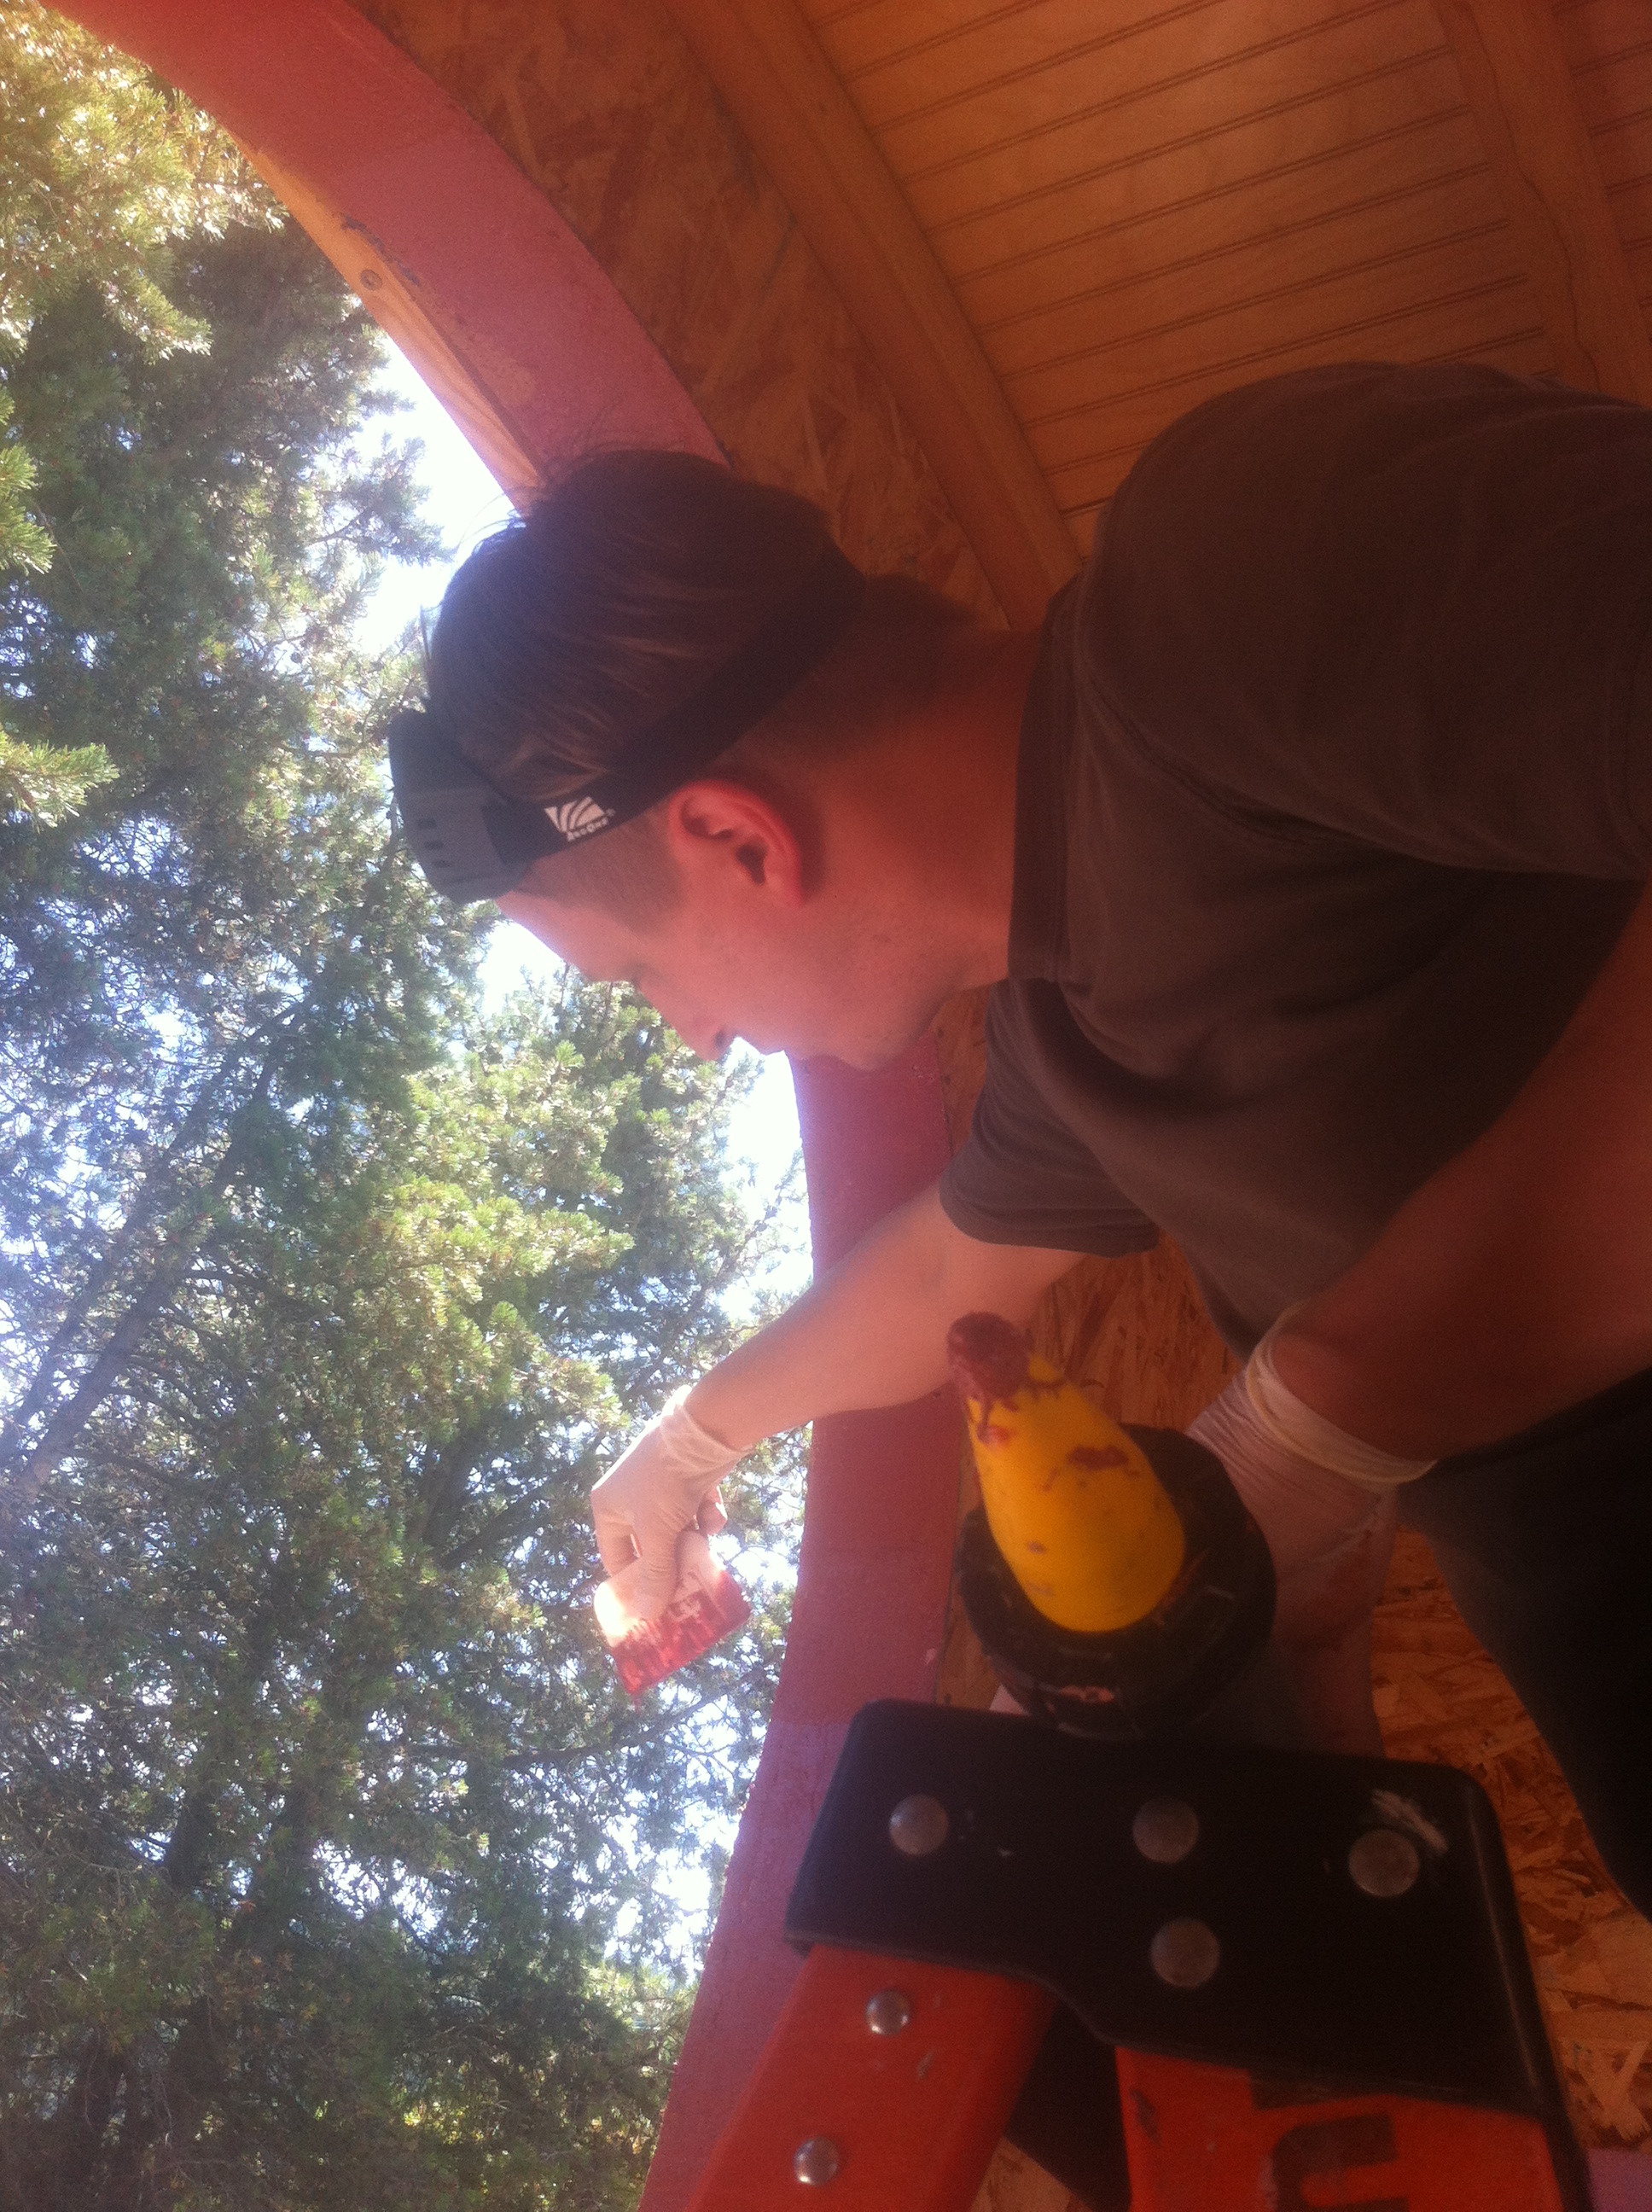
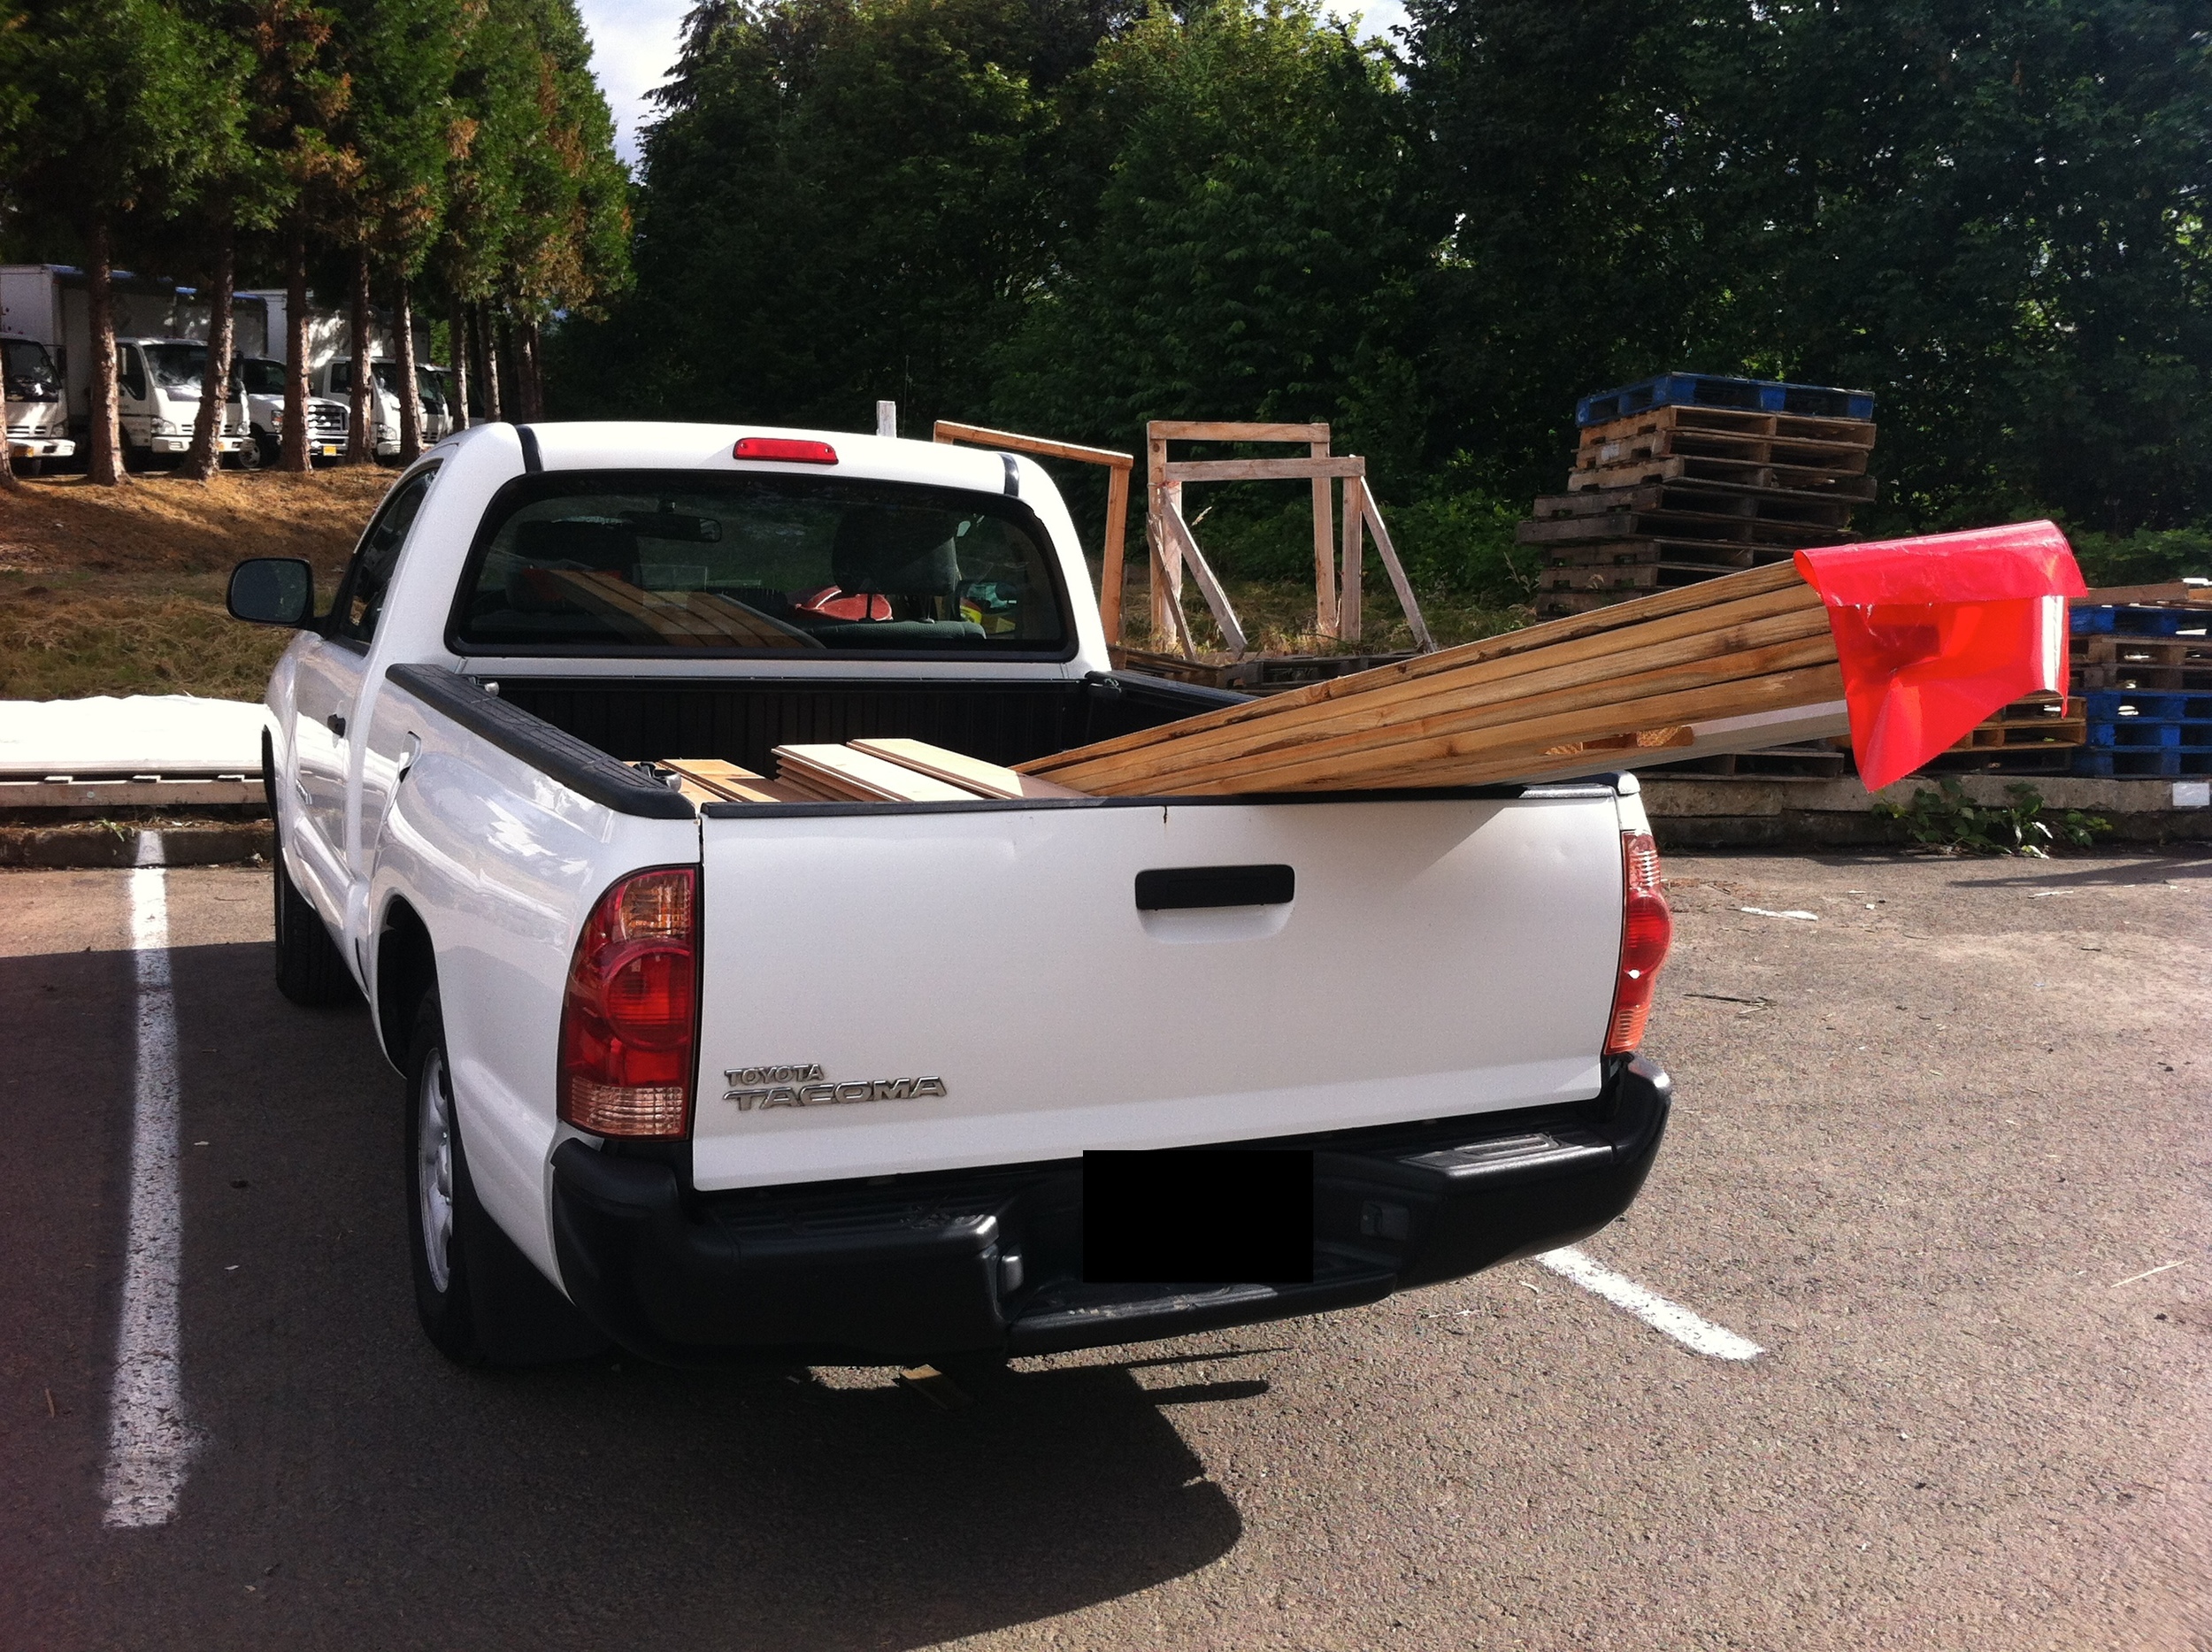
Today's guest post brought to you by Katherine Arathoon, a student in this summer's Tiny House Design-Build class at Yestermorrow. Thanks, Katherine!
It's Day 1 of the Tiny House Design-Build, and we're off to a roaring start!
Hello Again, Tiny House Design-Build
 This evening we kicked off the fourth two-week-long Tiny House Design-Build course at Yestermorrow. This is my second time co-teaching the course with Paul Hanke, Patti Garbeck, and Lizabeth Moniz. (And I blogged about last fall’s class in a set of daily posts. You can read them here: Hello, Tiny House Design Build. It was a great course, which connected me with incredible students, including Laura Klement, my build buddy.)
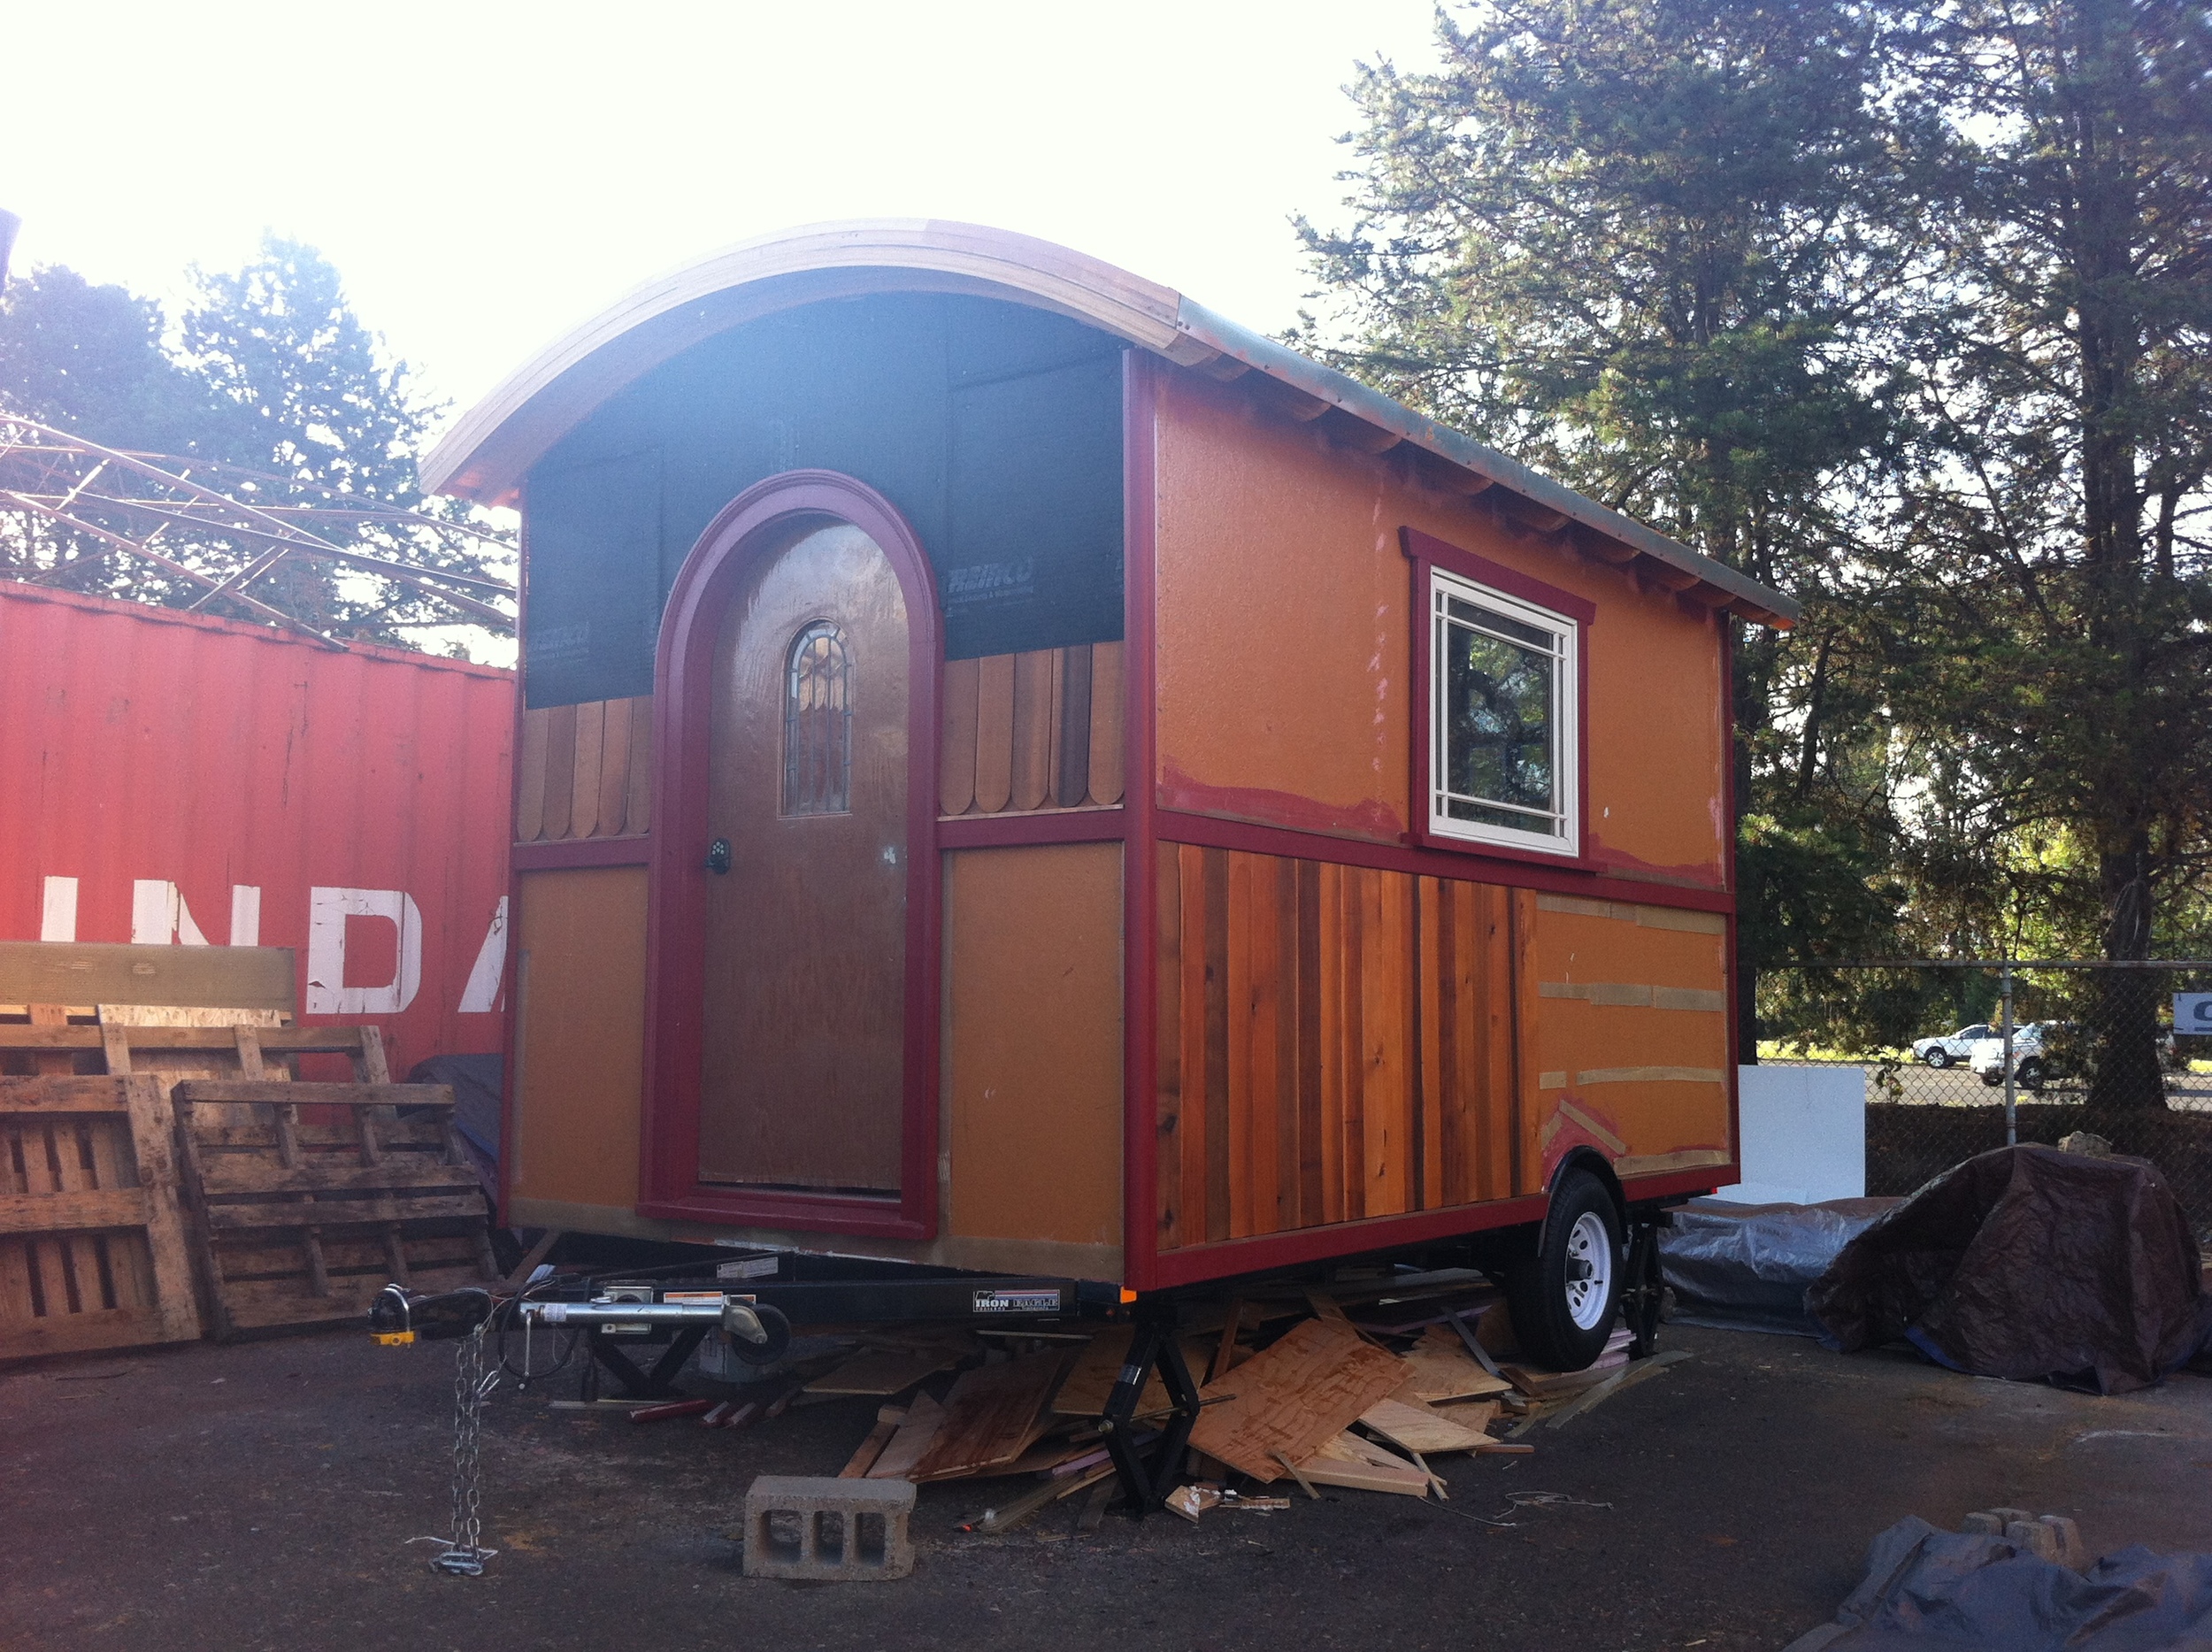
It’s wonderful, as always, to be Back Home at Yestermorrow. Vermont is a magical place any time of the year, but summers here are particularly splendid. It’s also nice to have a break from working on The Lucky Penny. I knew that between the Oregon Country Fair and the three weekends occupied by travel for Yestermorrow’s Tiny House Design-Build class, I’d have a whole month away from working on my tiny house. I knew I’d miss my little house but that it would also be good to take some time away. My goal was to get dried in before I left for the Oregon Country Fair, which was last weekend. I managed to do this with the help of my friends Mike and Eleanor – and a Pool Noodle! – so this break will be a good chance to recharge. When I return to my little house I’ll finish up the exterior – siding, shingles, and building a porch – and then turn my attention to the interior.
 The same talented team will be teaching this summer’s Tiny House Design-Build class and I was excited to recognize a couple of the names on the class roster even before I met our fine group of students. One of them was a student of mine in a PAD workshop I co-taught with Dee Williams. And, of course, there’s our client, Katie, with whom Paul and I worked in March to develop a concept and basic layout for her tiny house. Paul has since developed the construction drawings for Katie’s house and we’re looking forward to bringing her house to life. After introductions last night I'm convinced we have another great bunch of people to work with this summer!
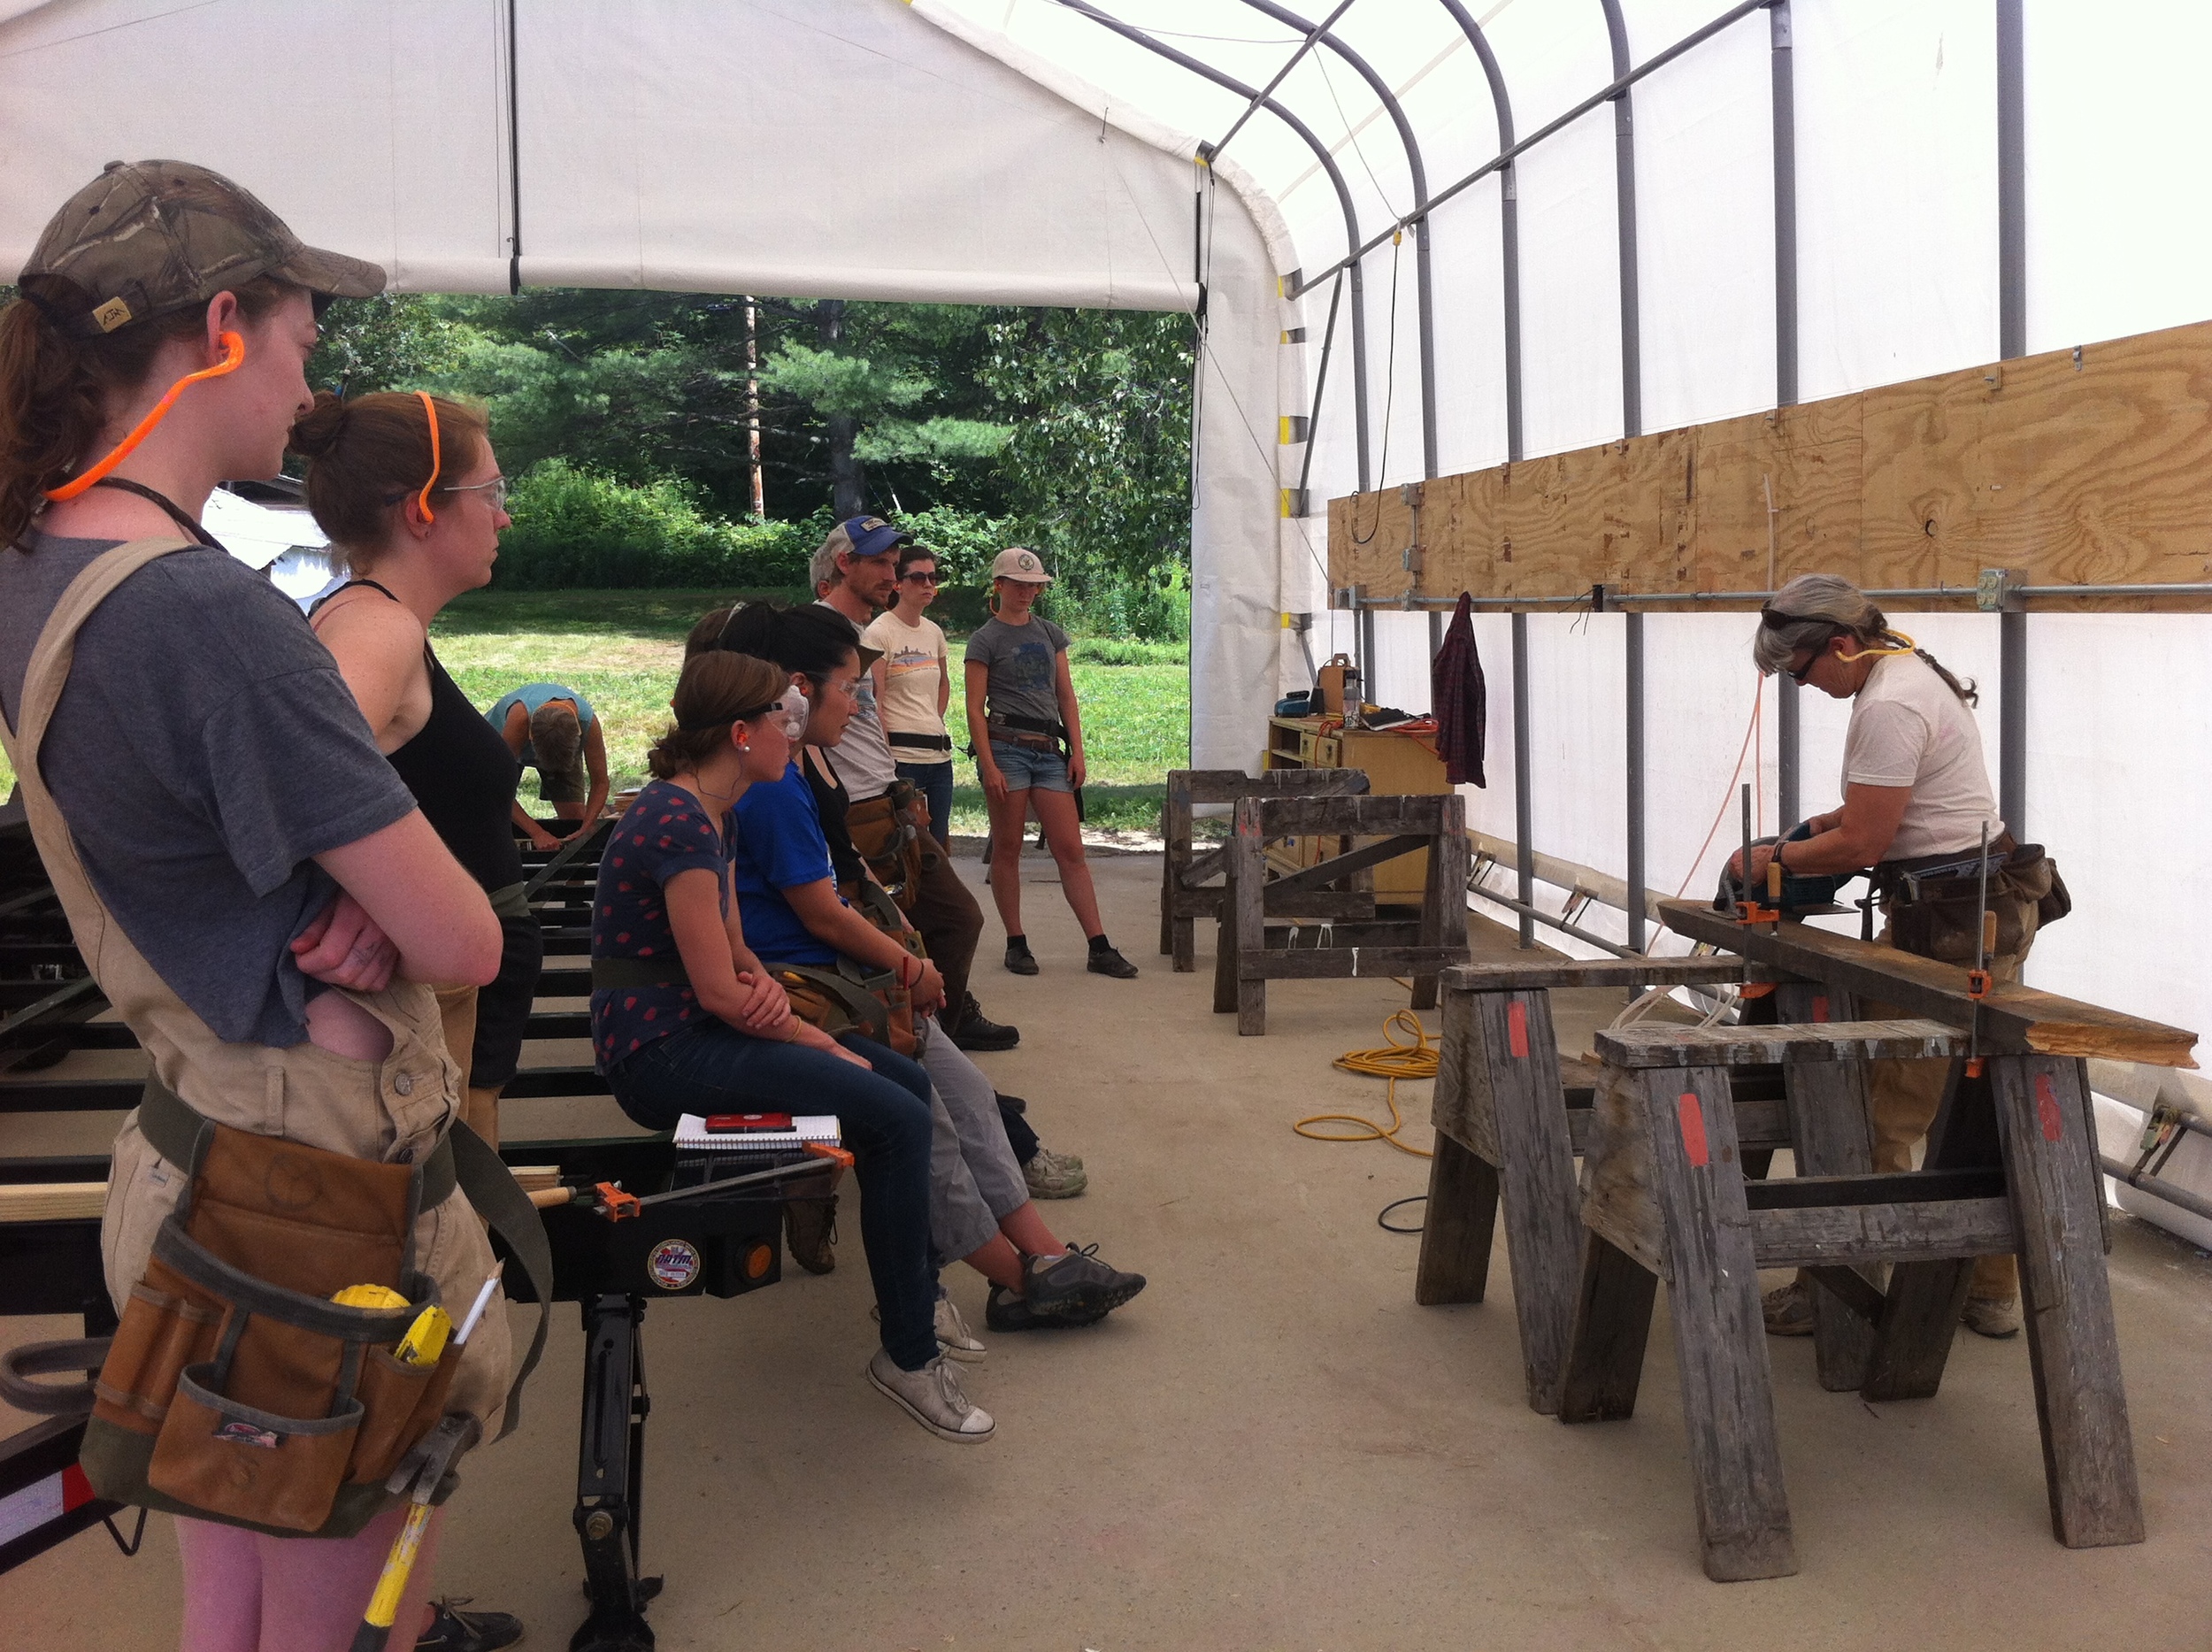
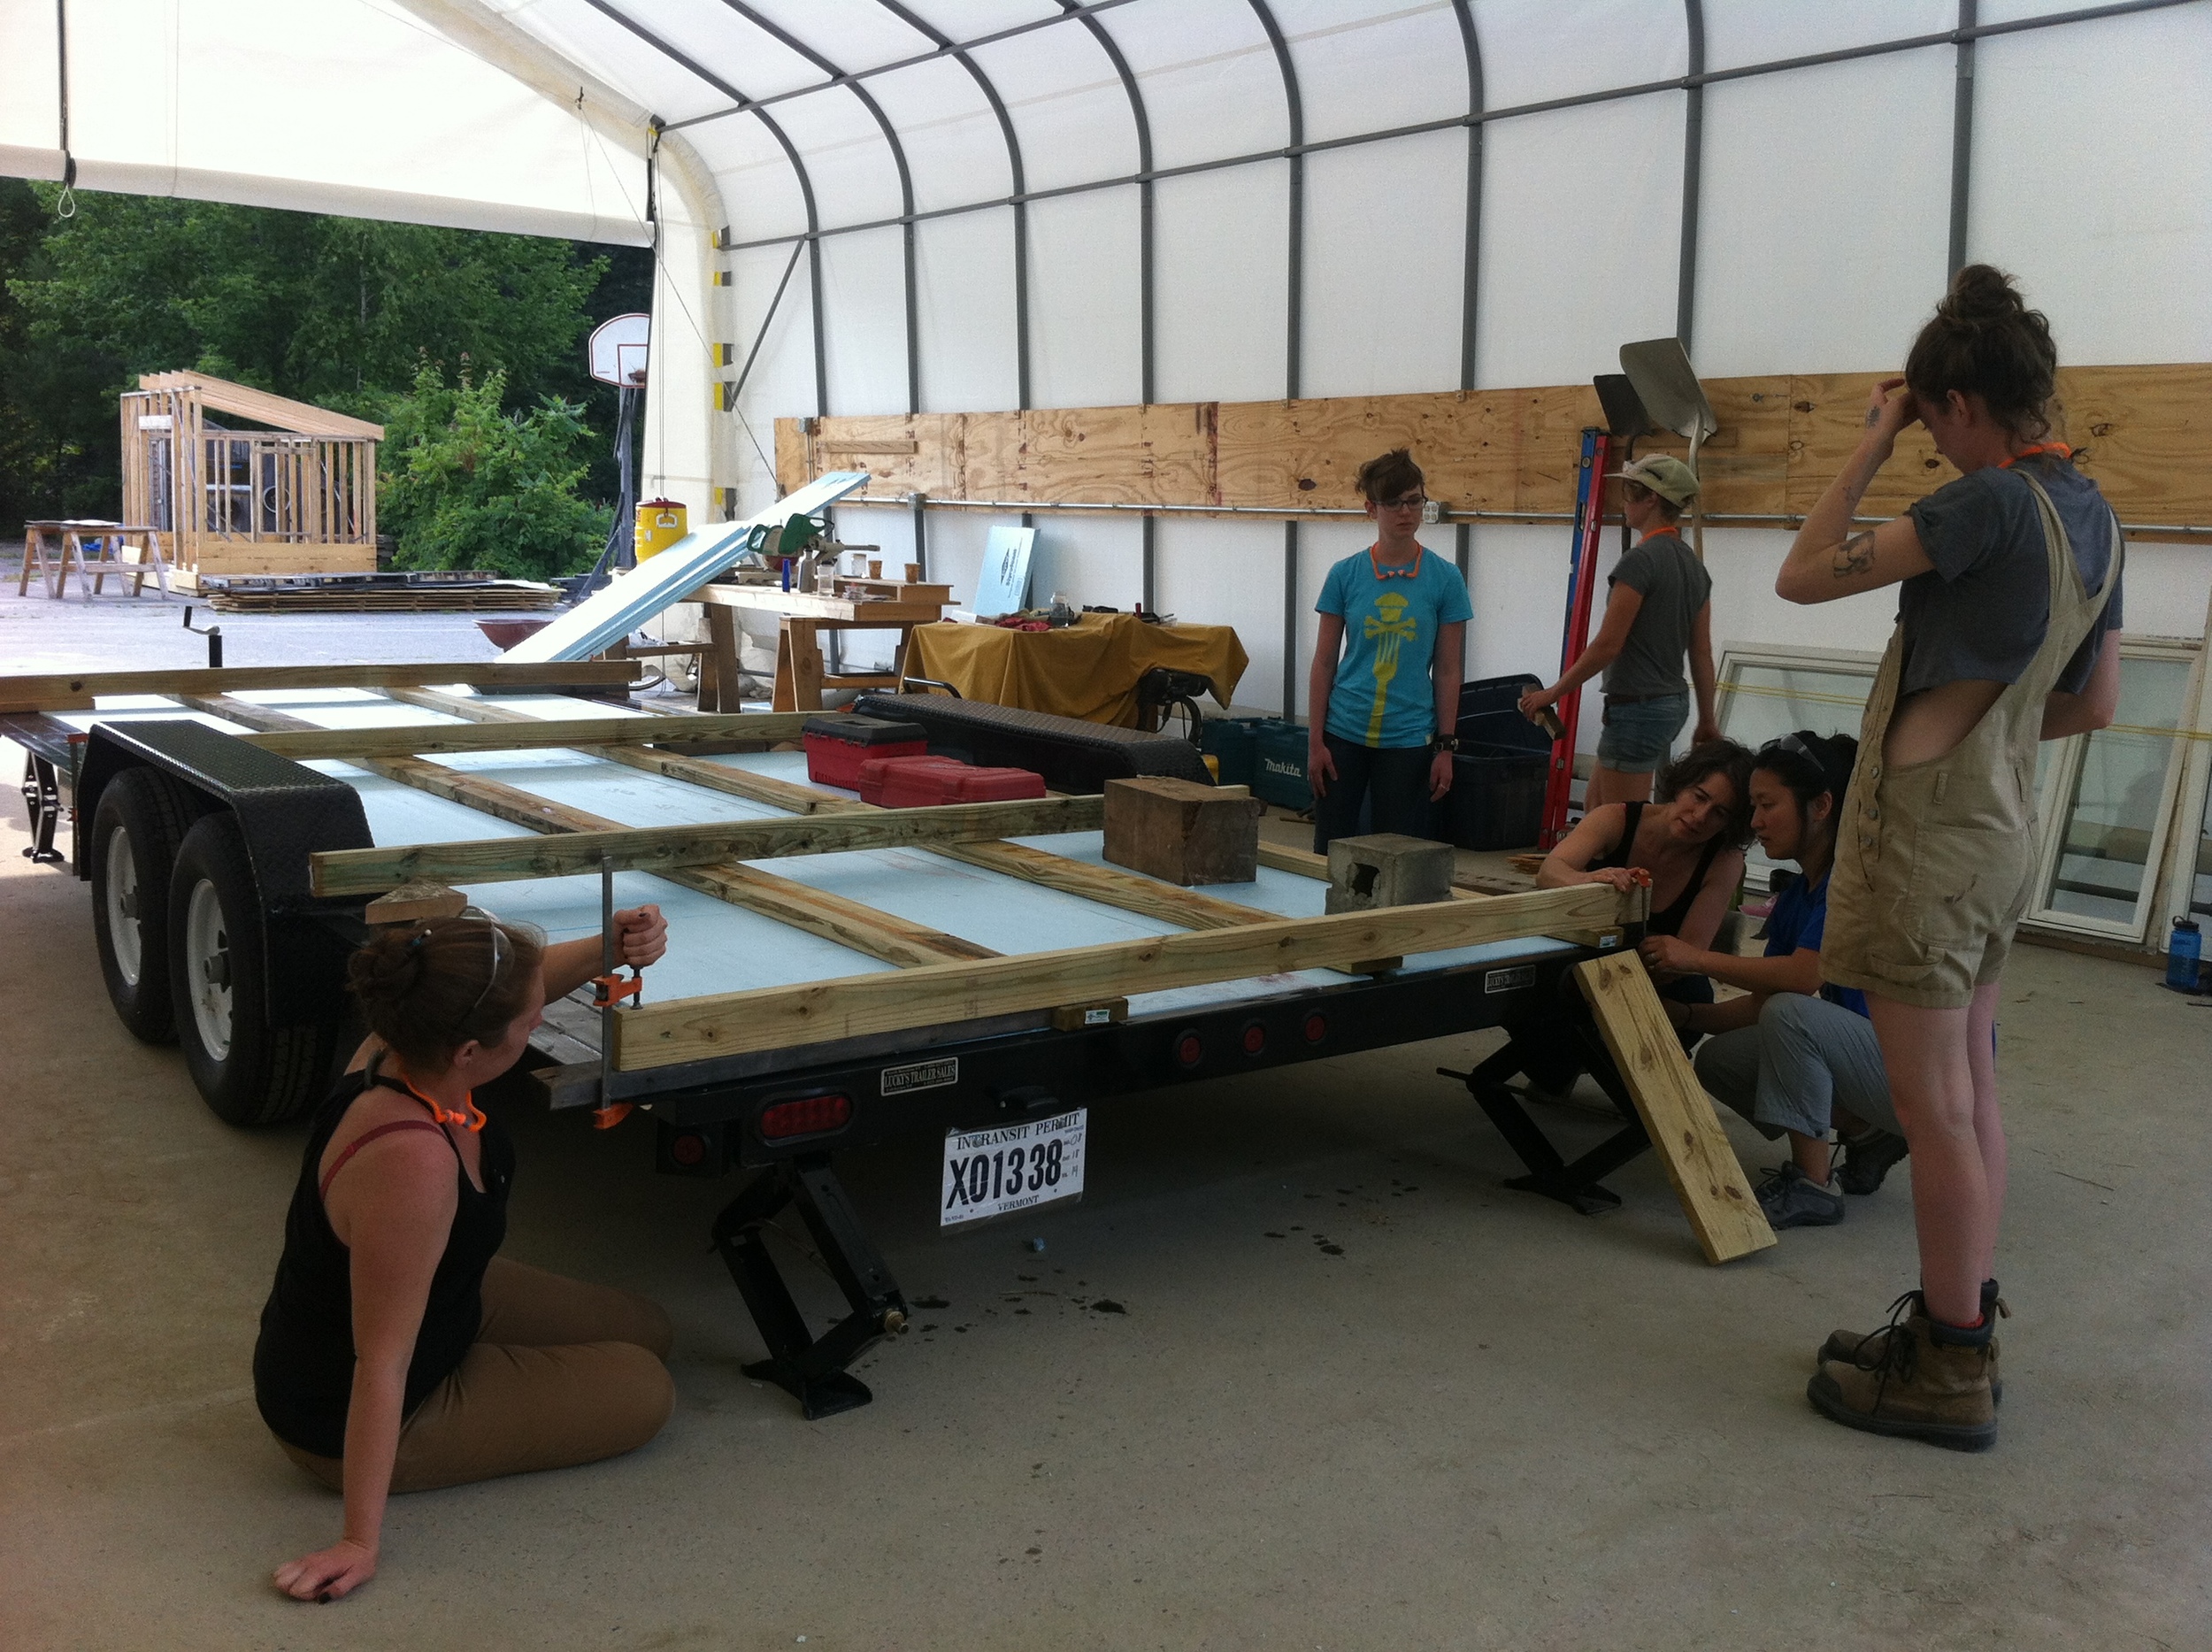
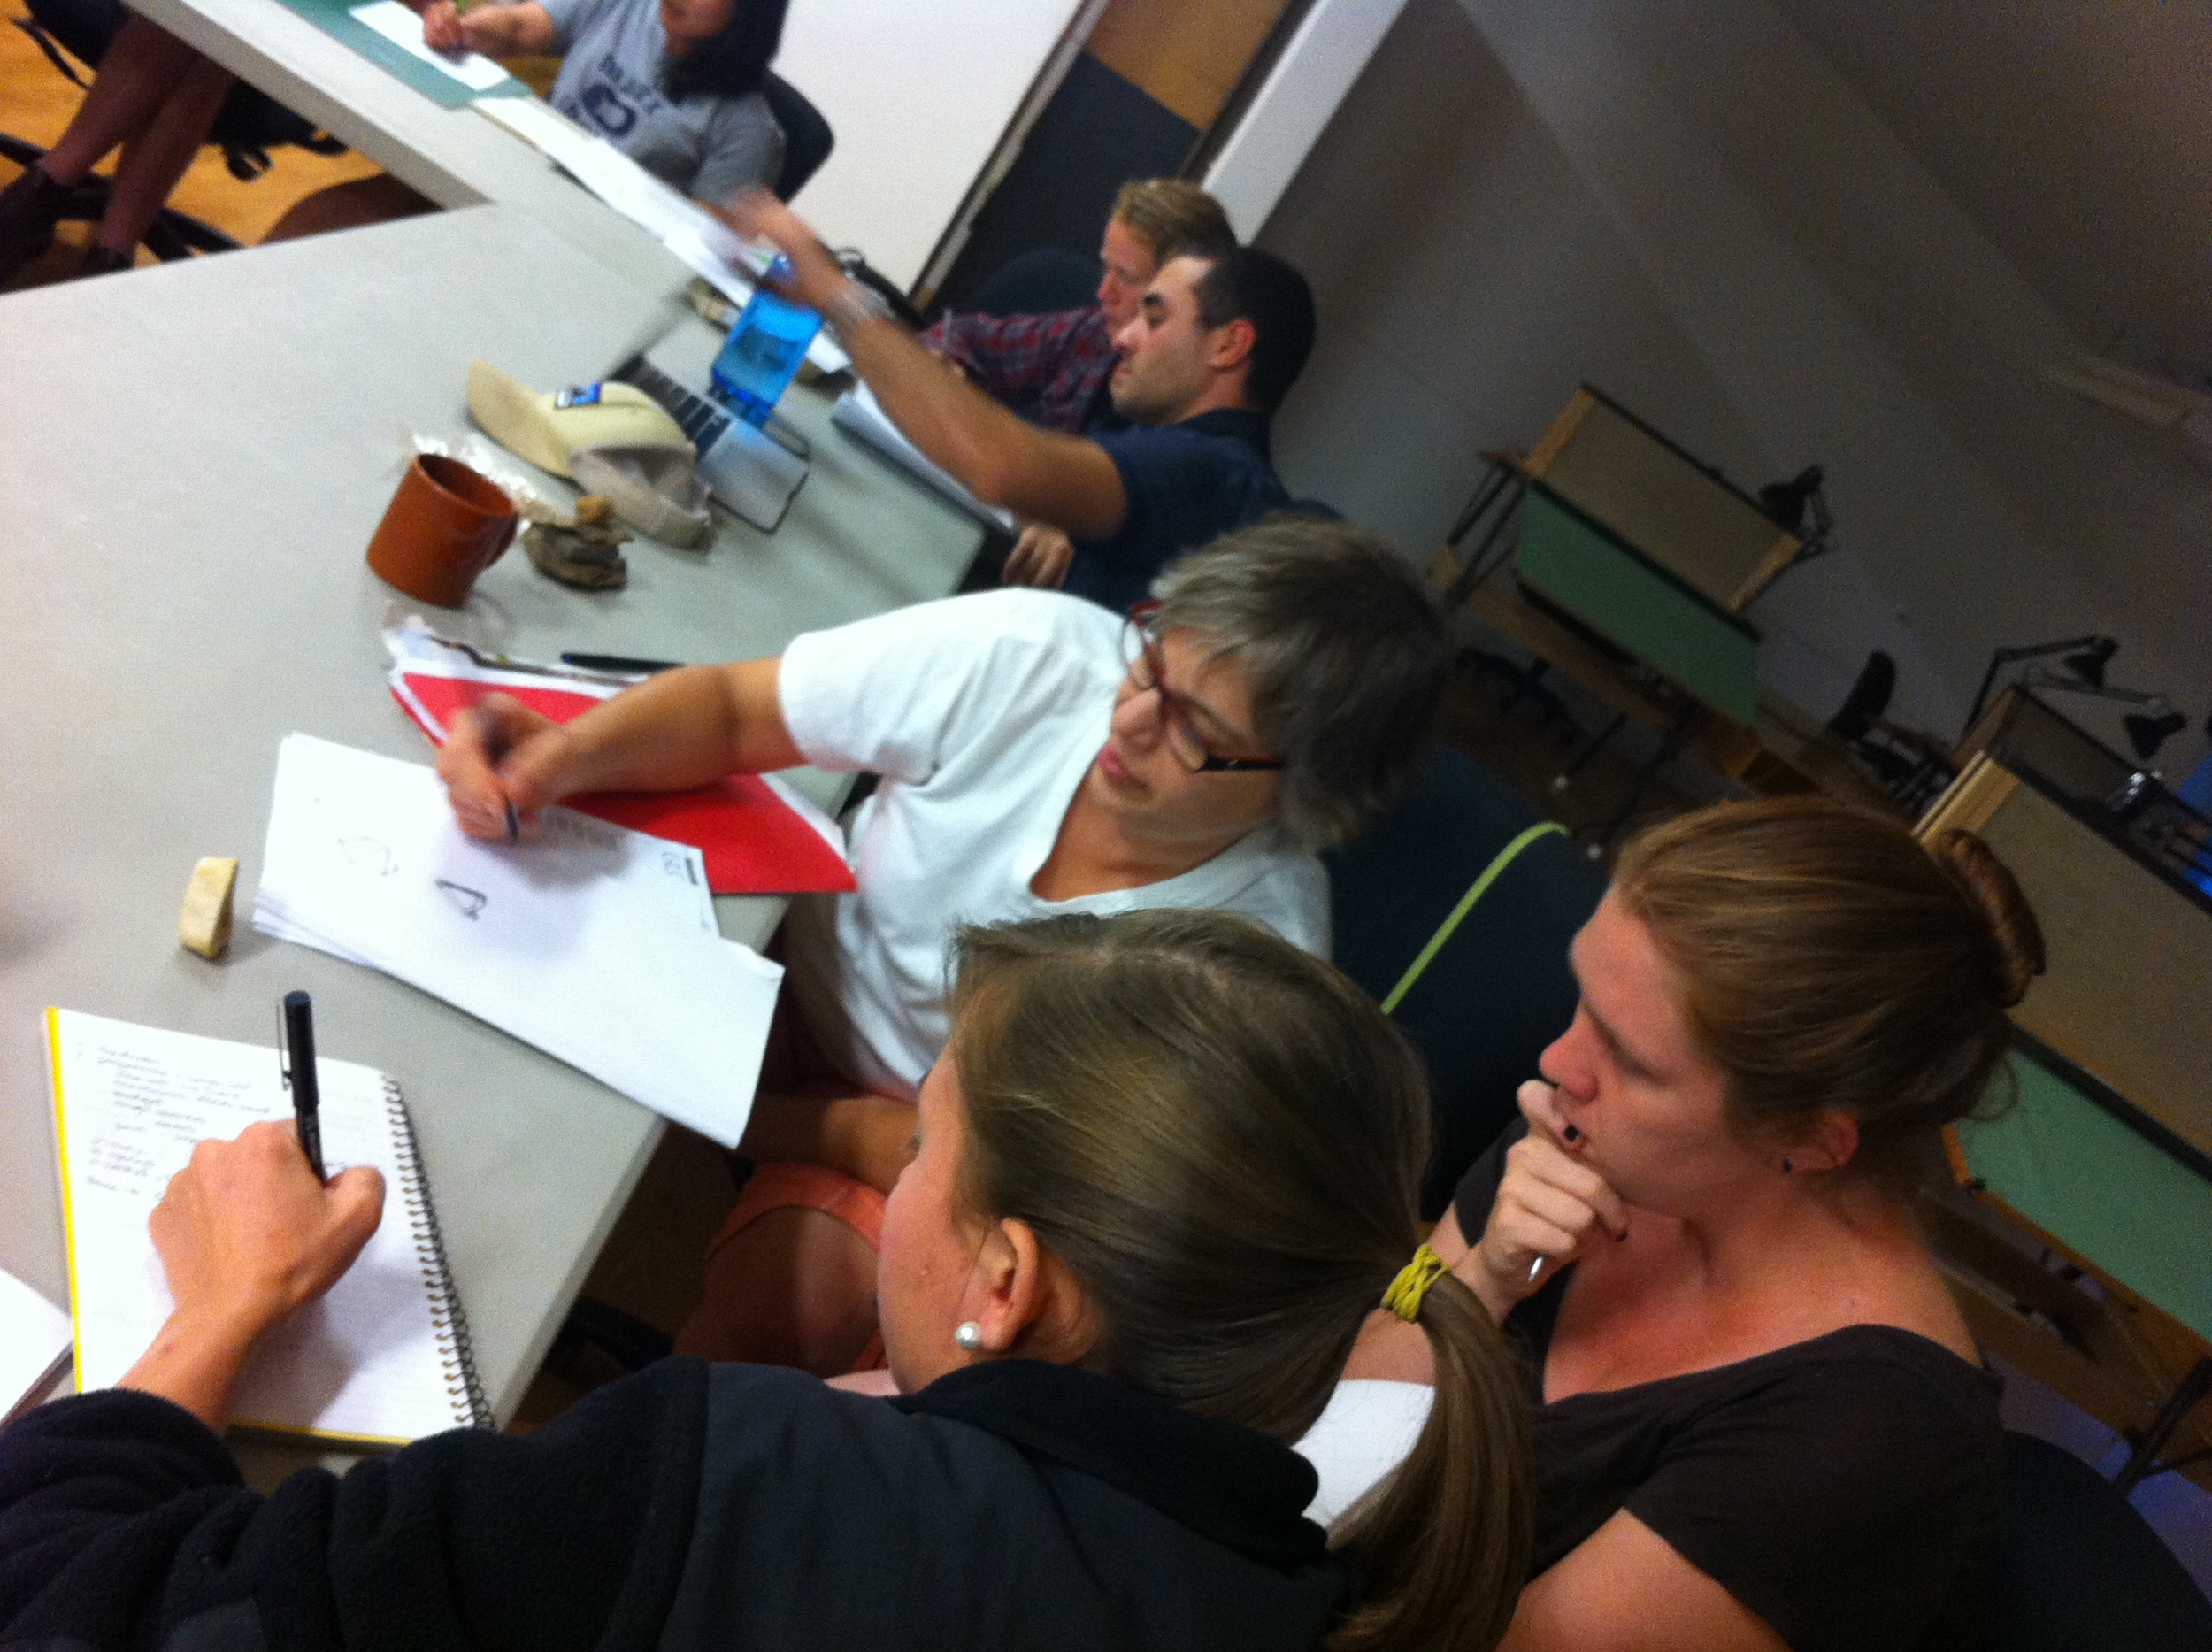
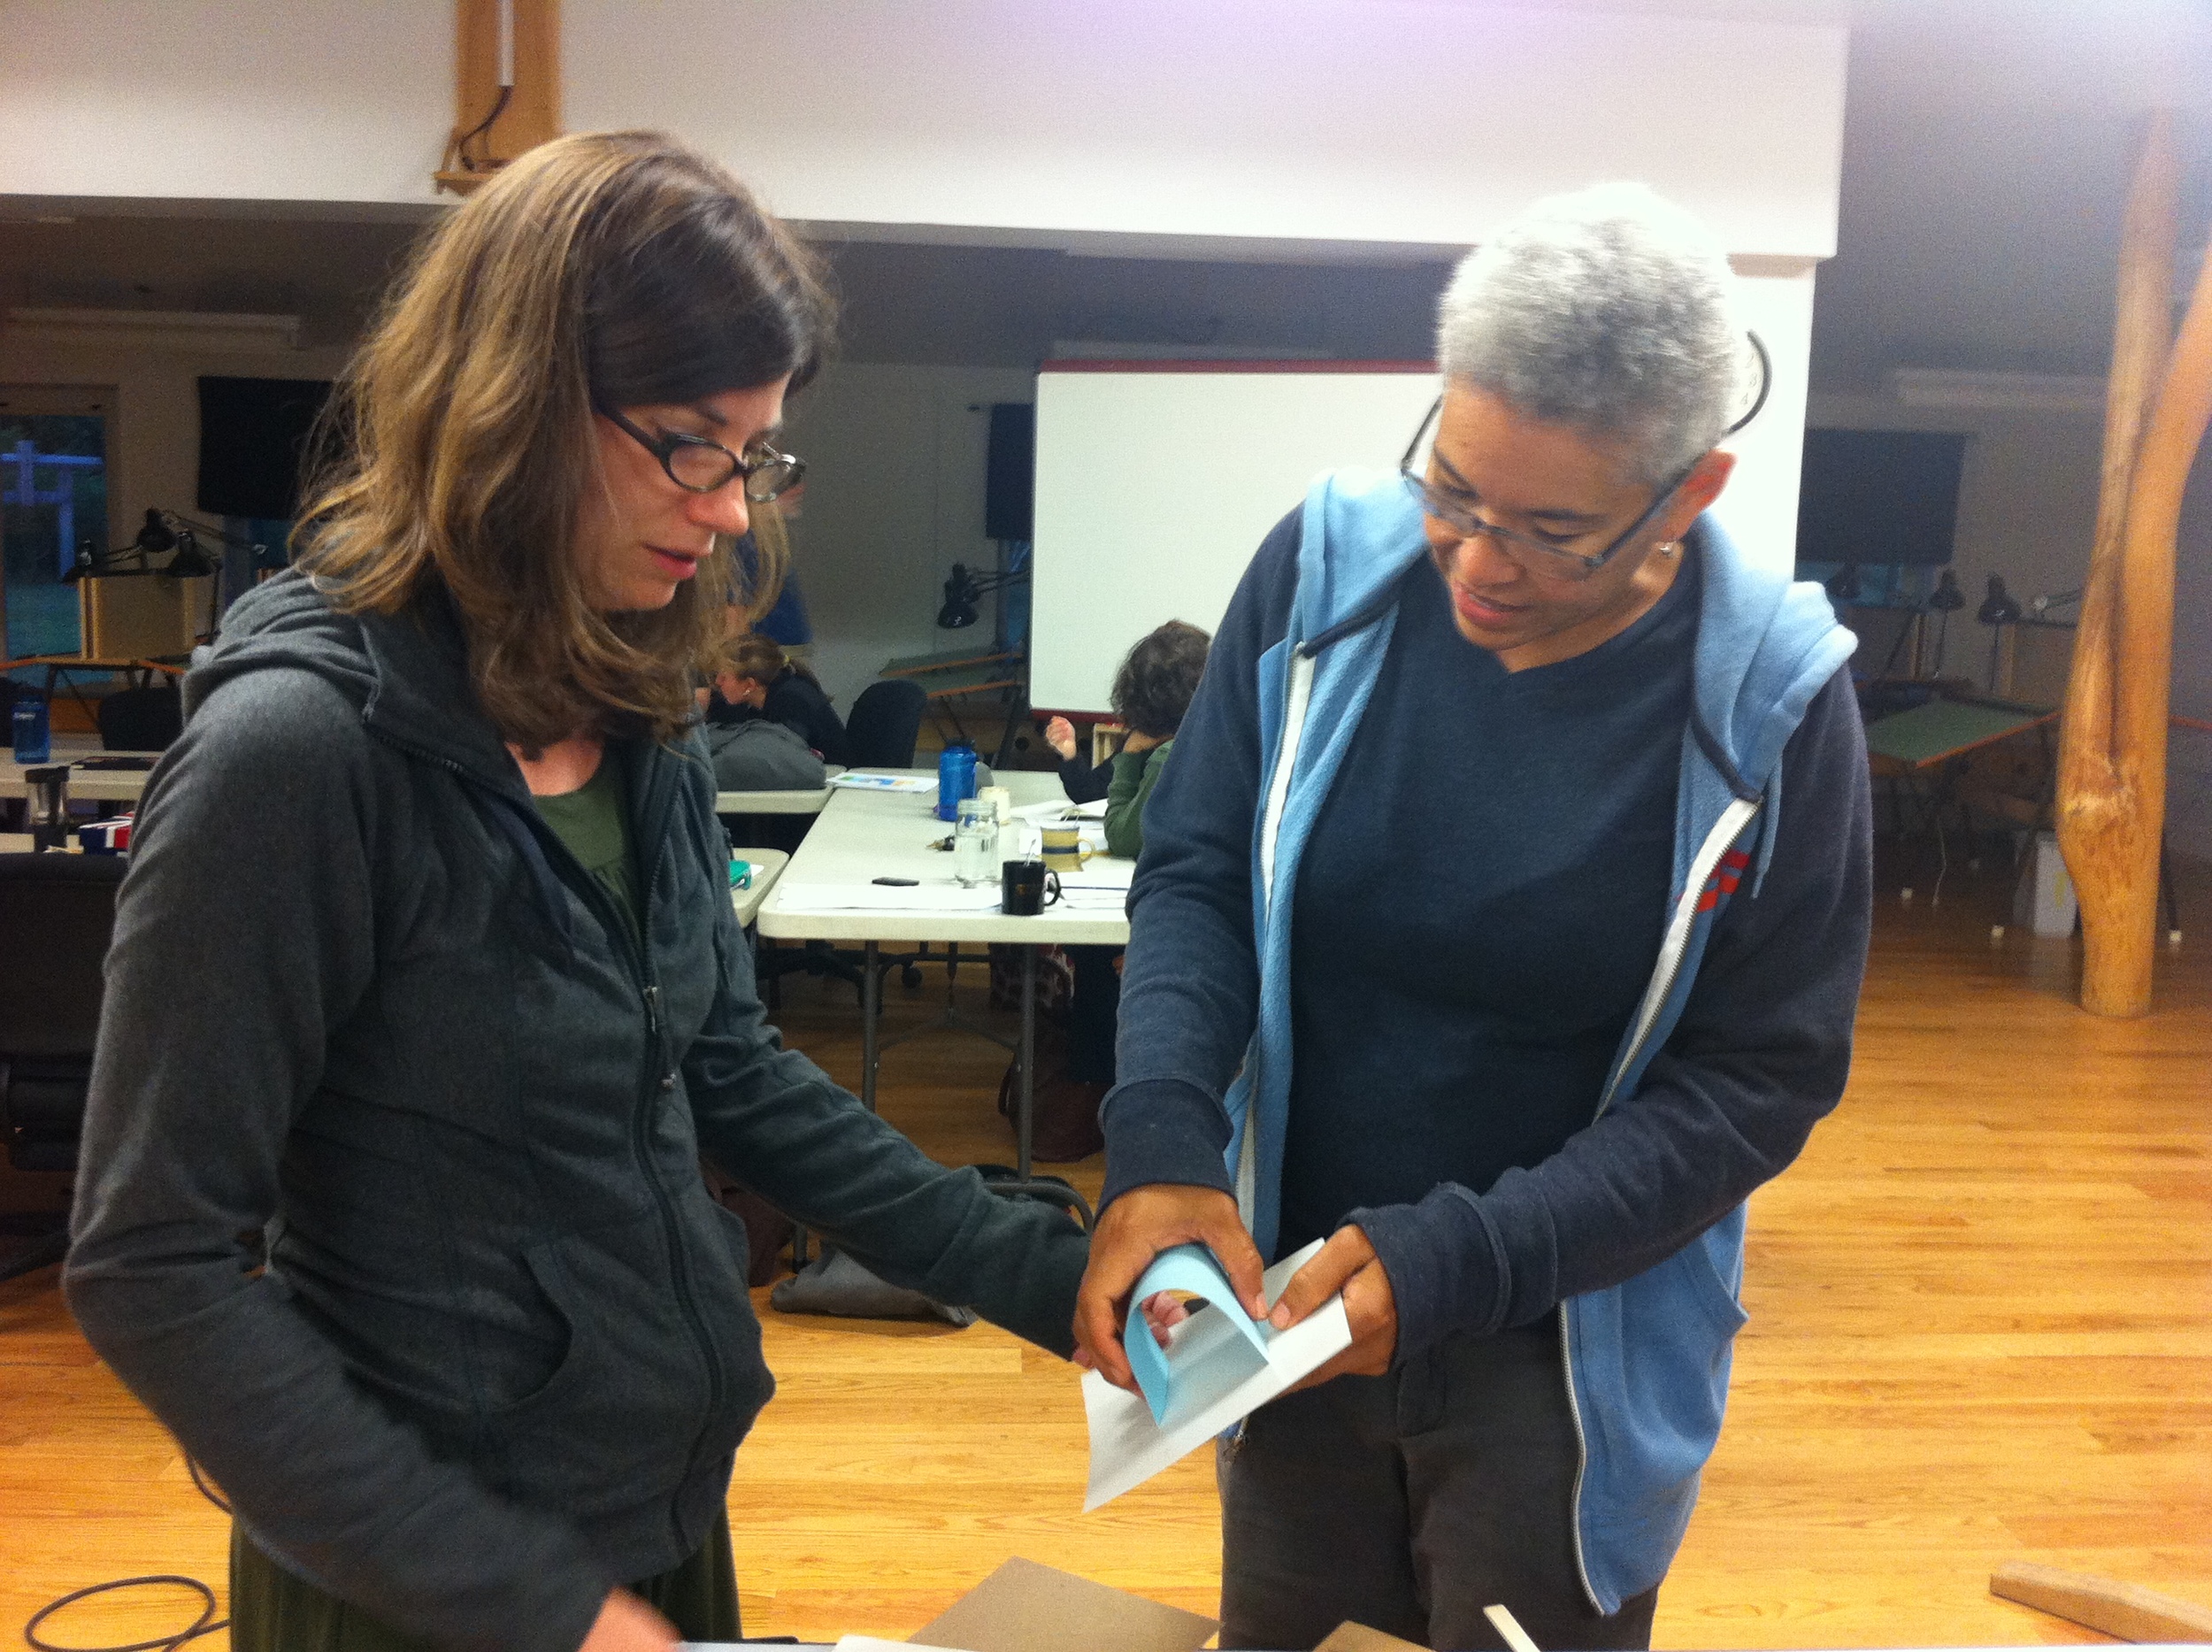
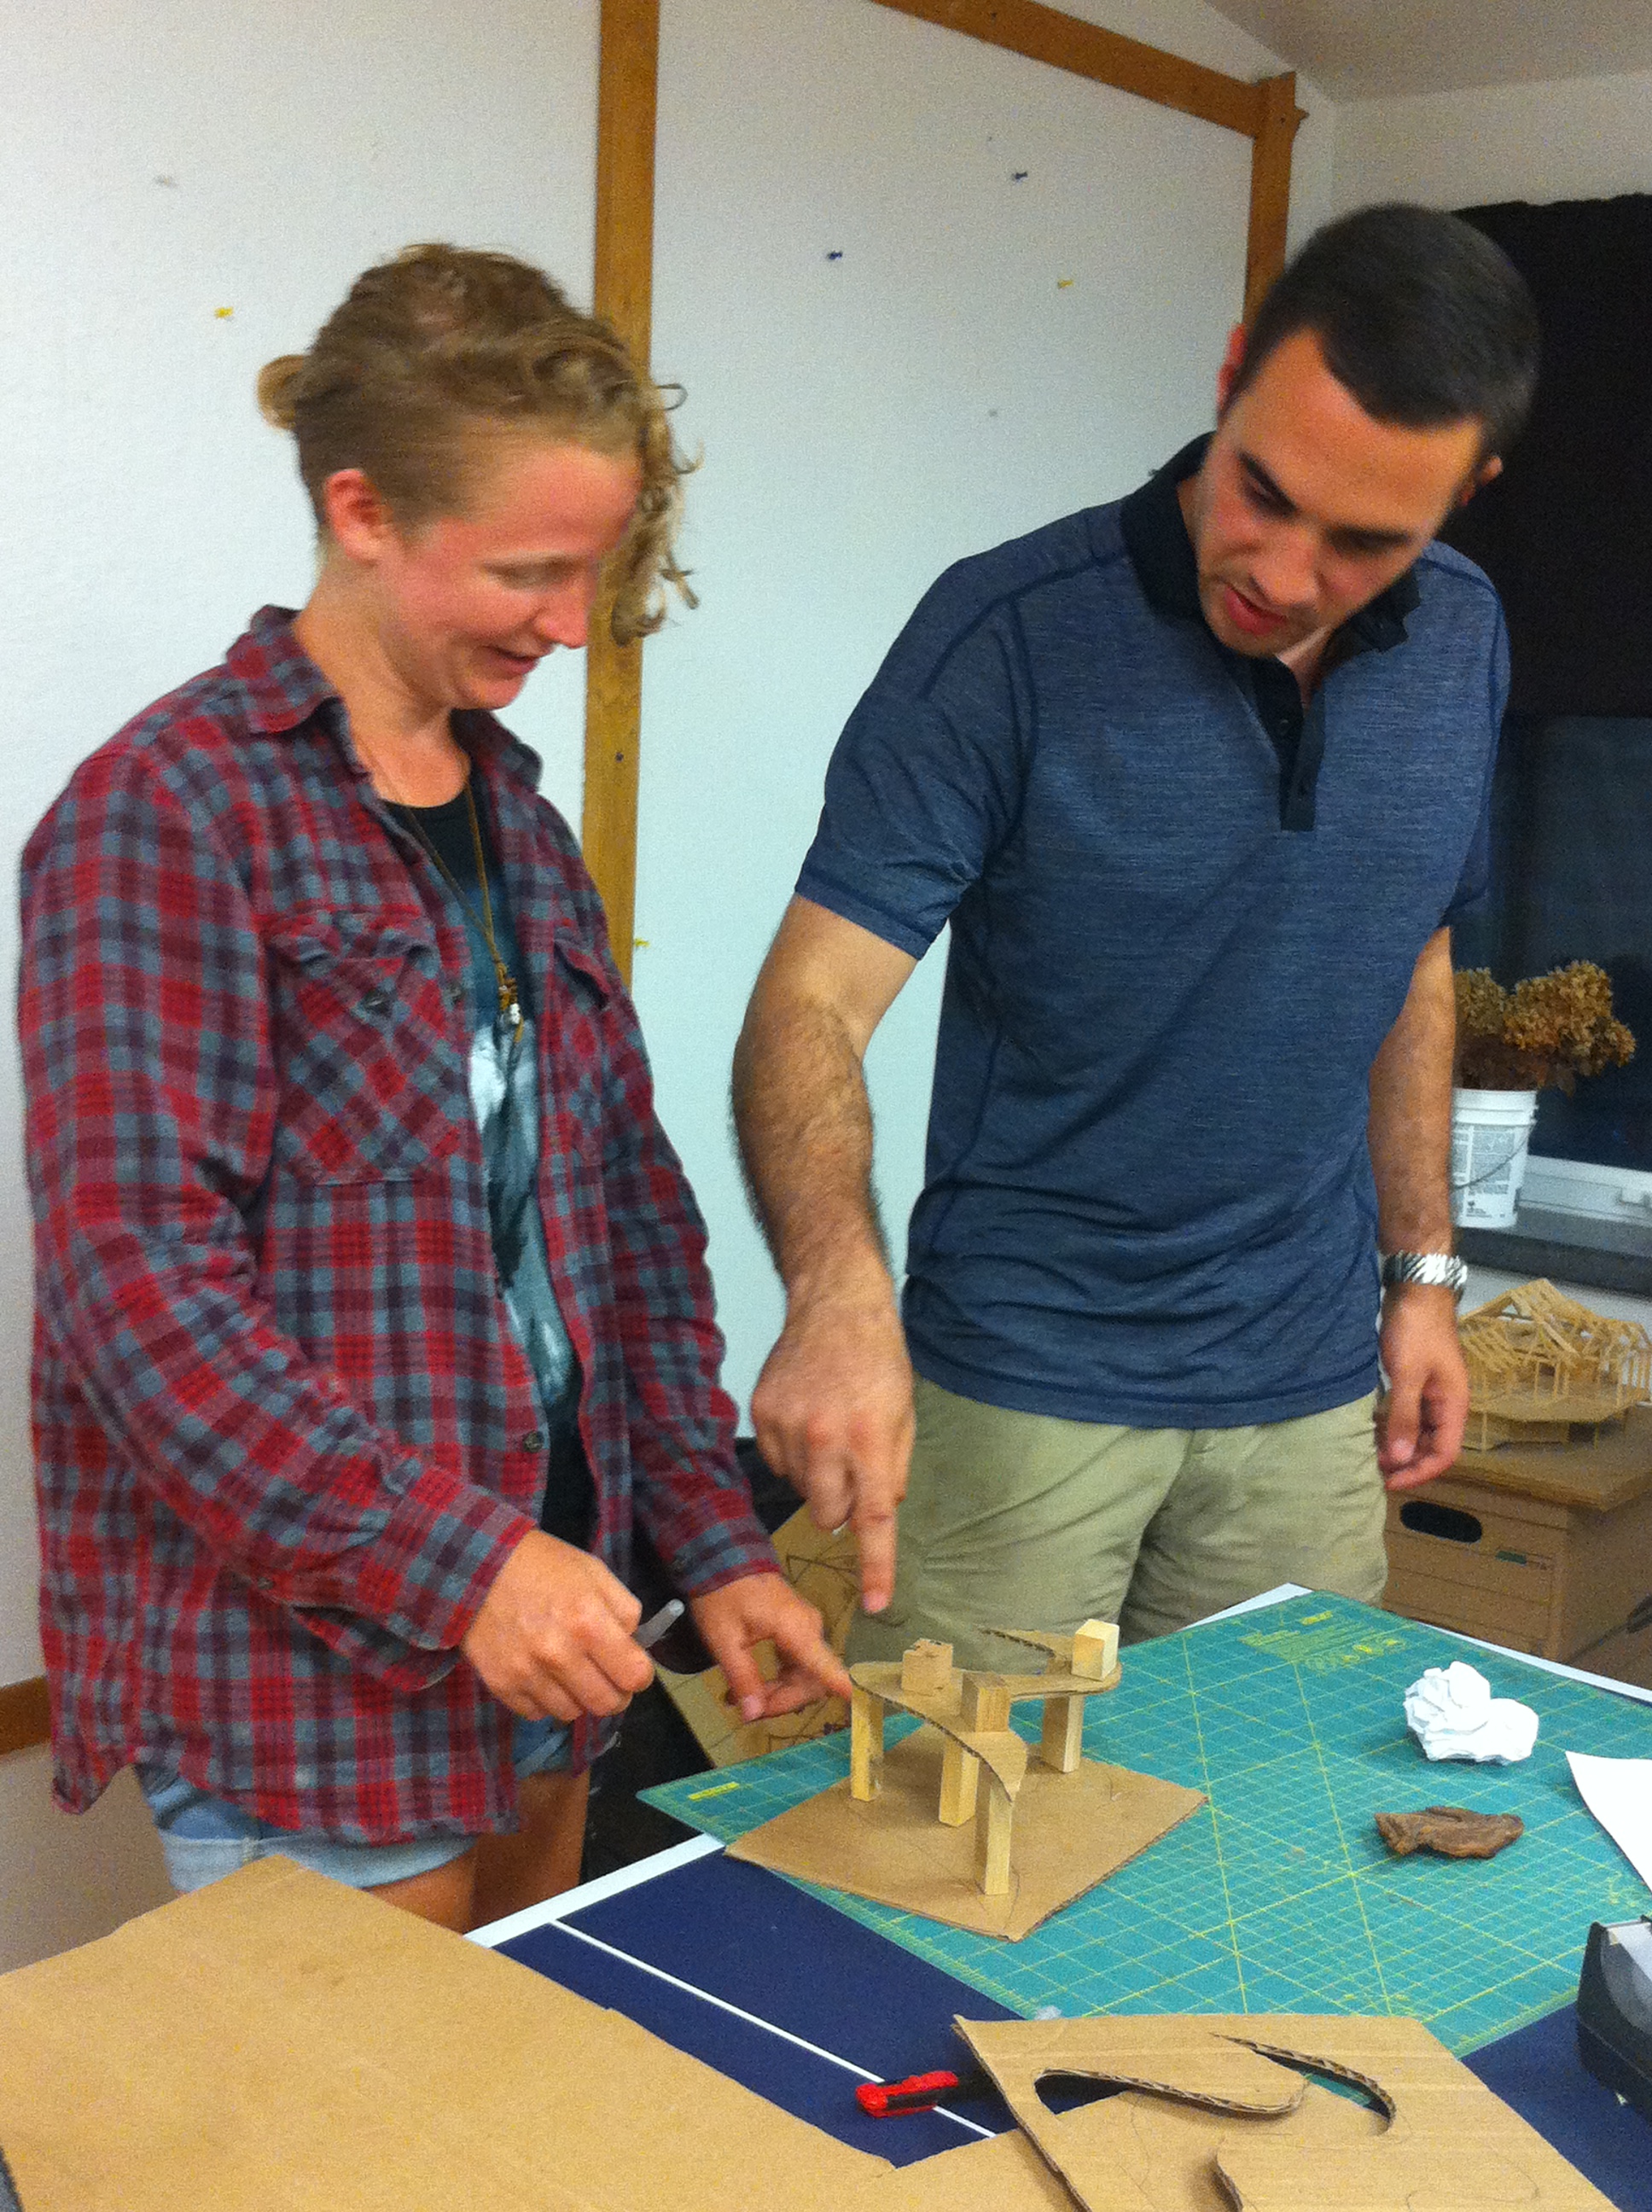
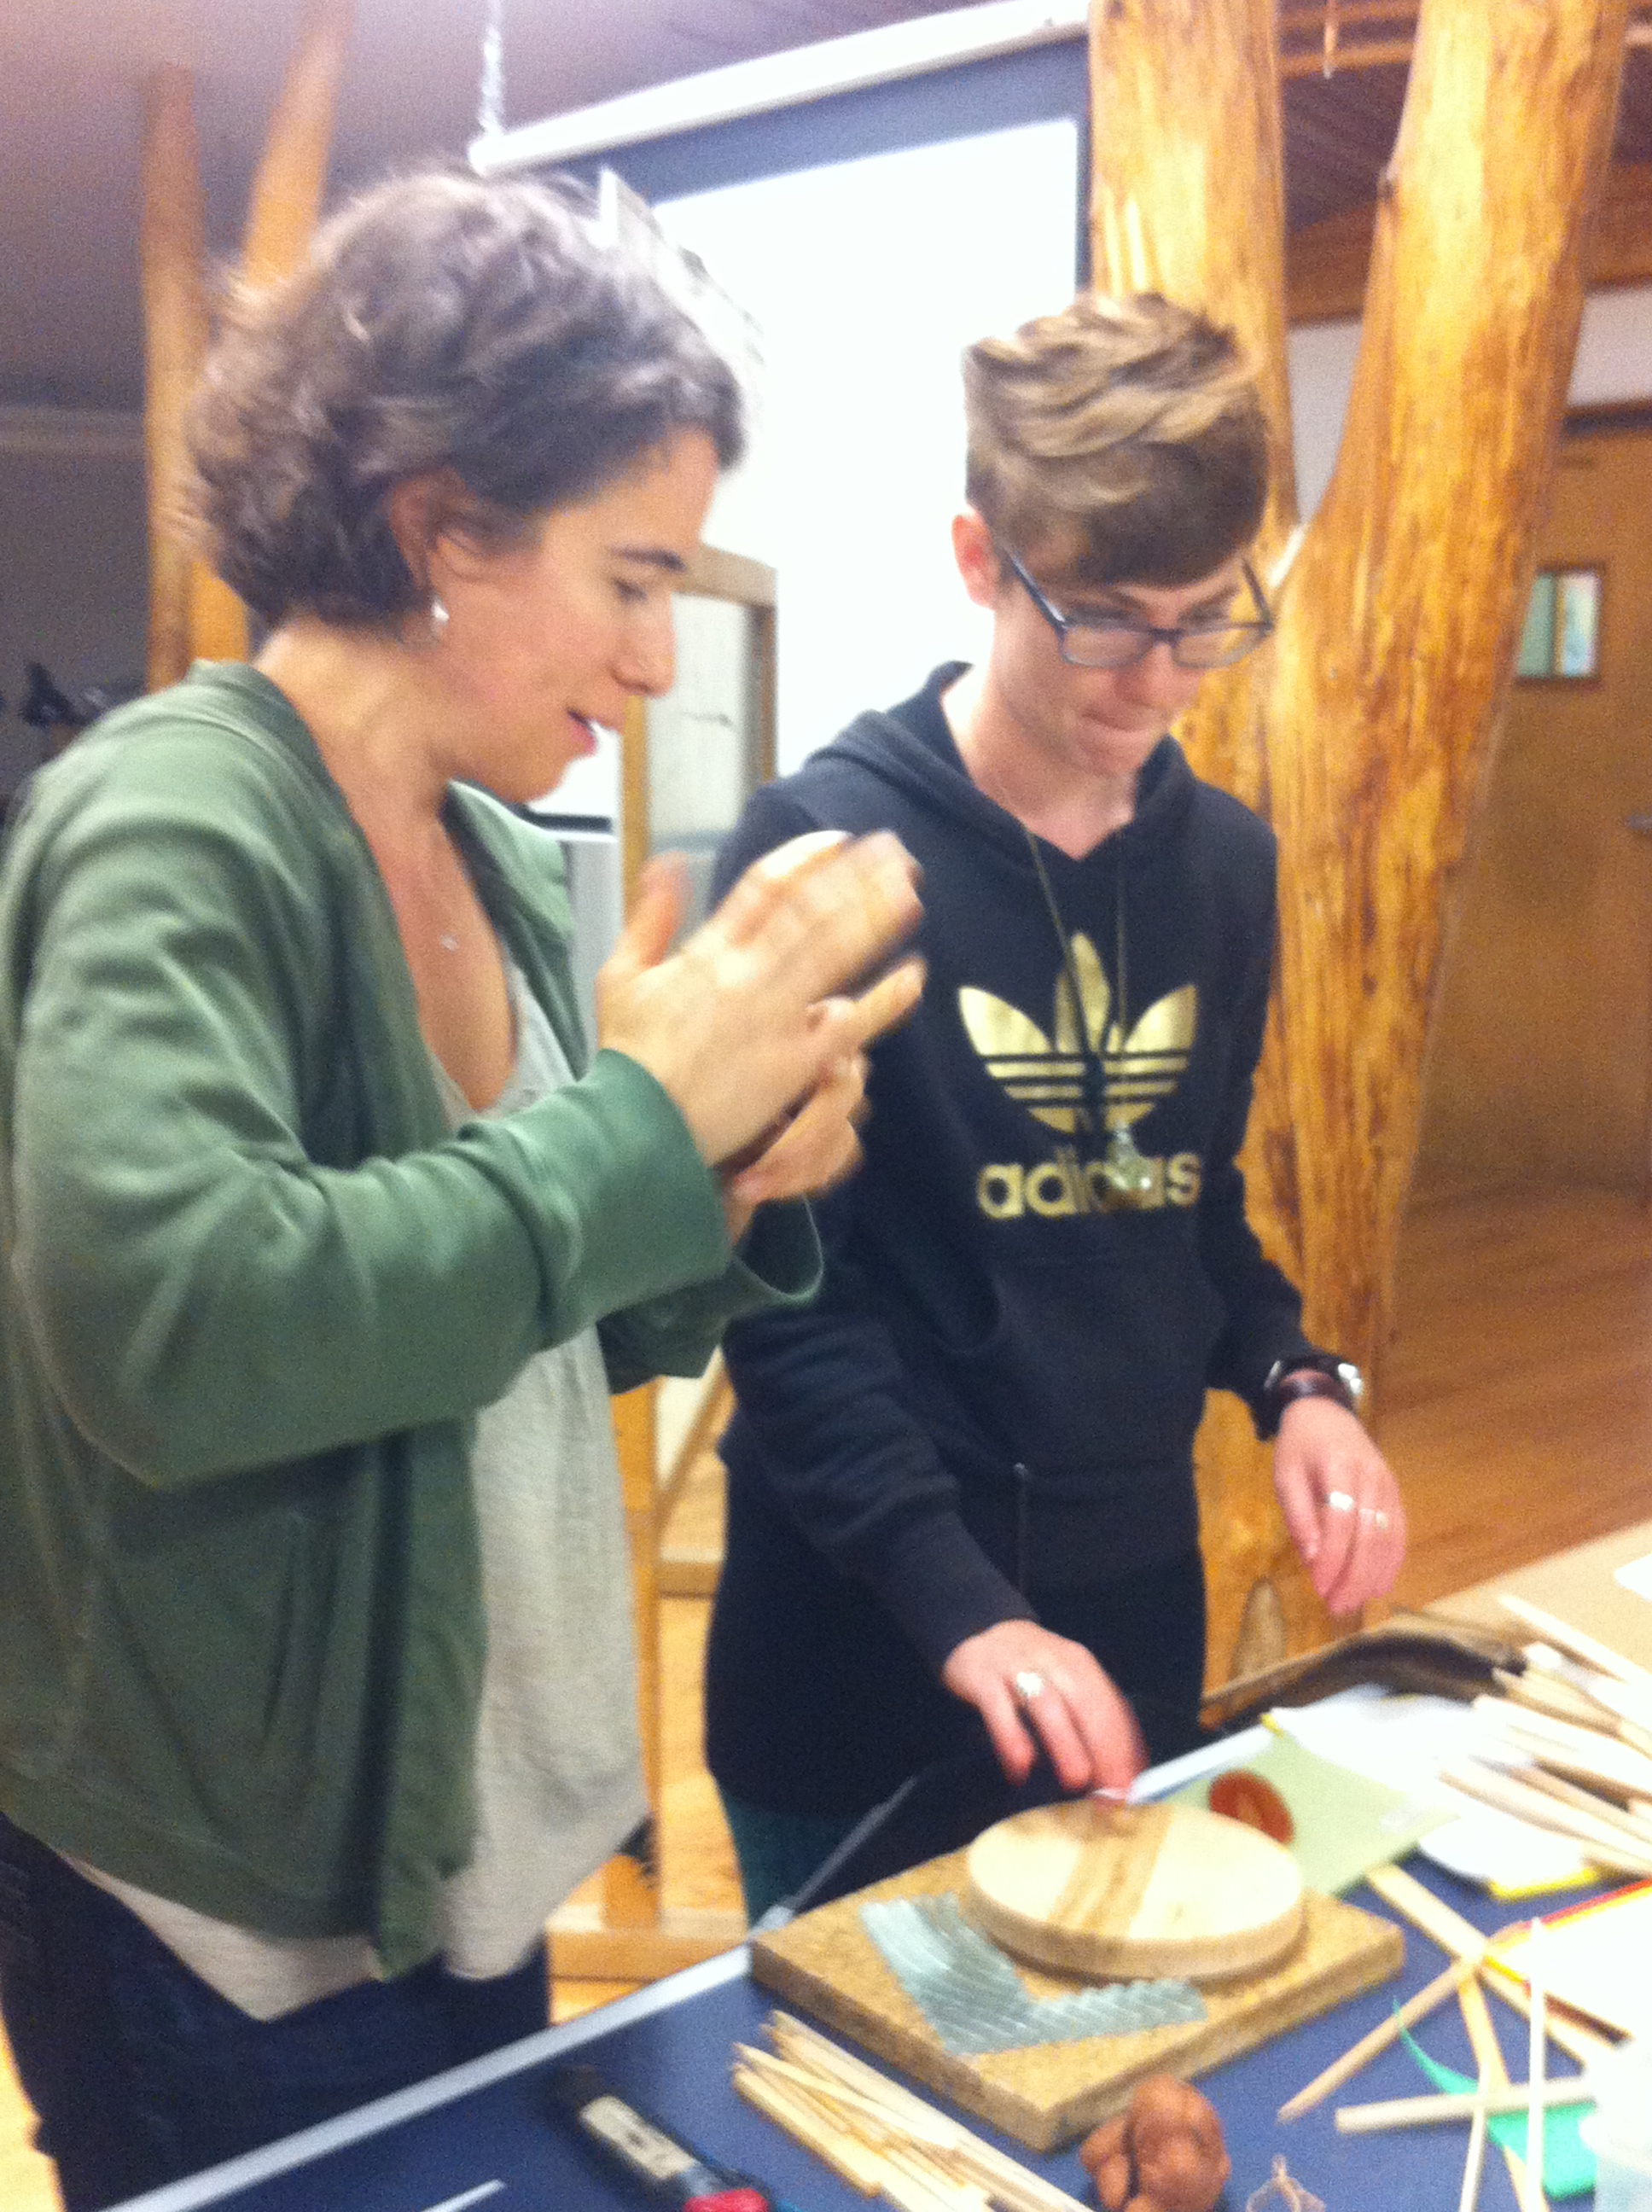
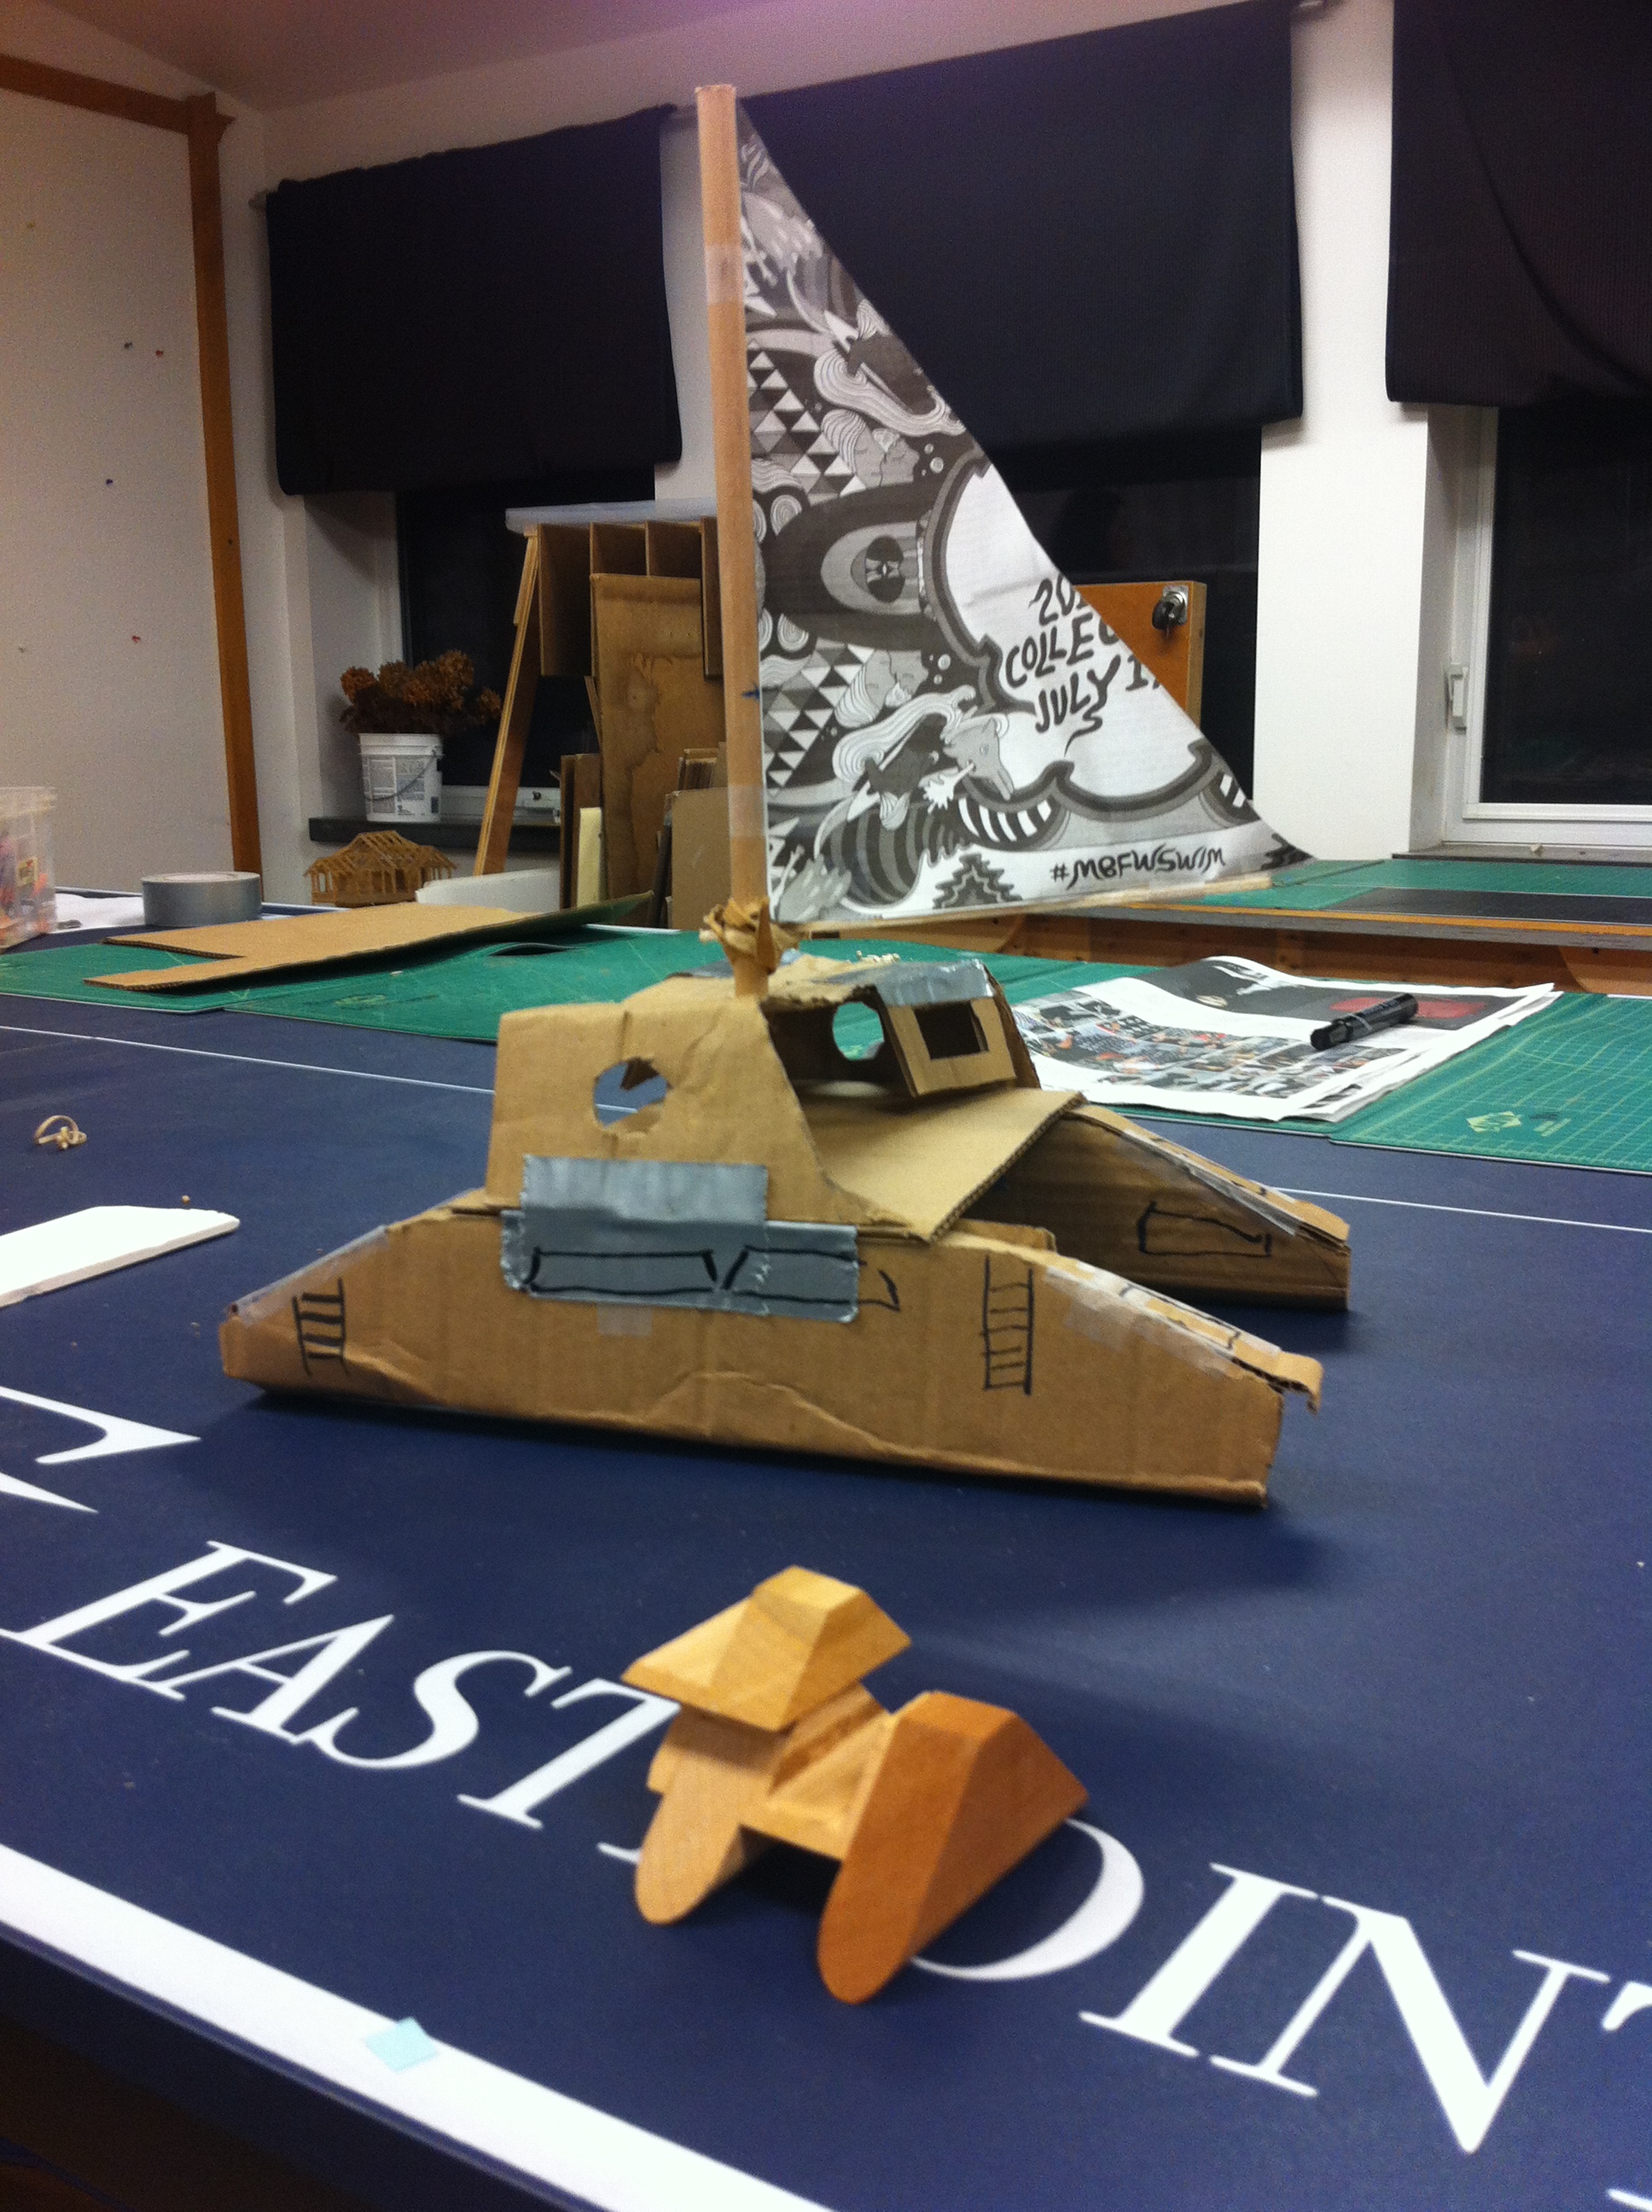
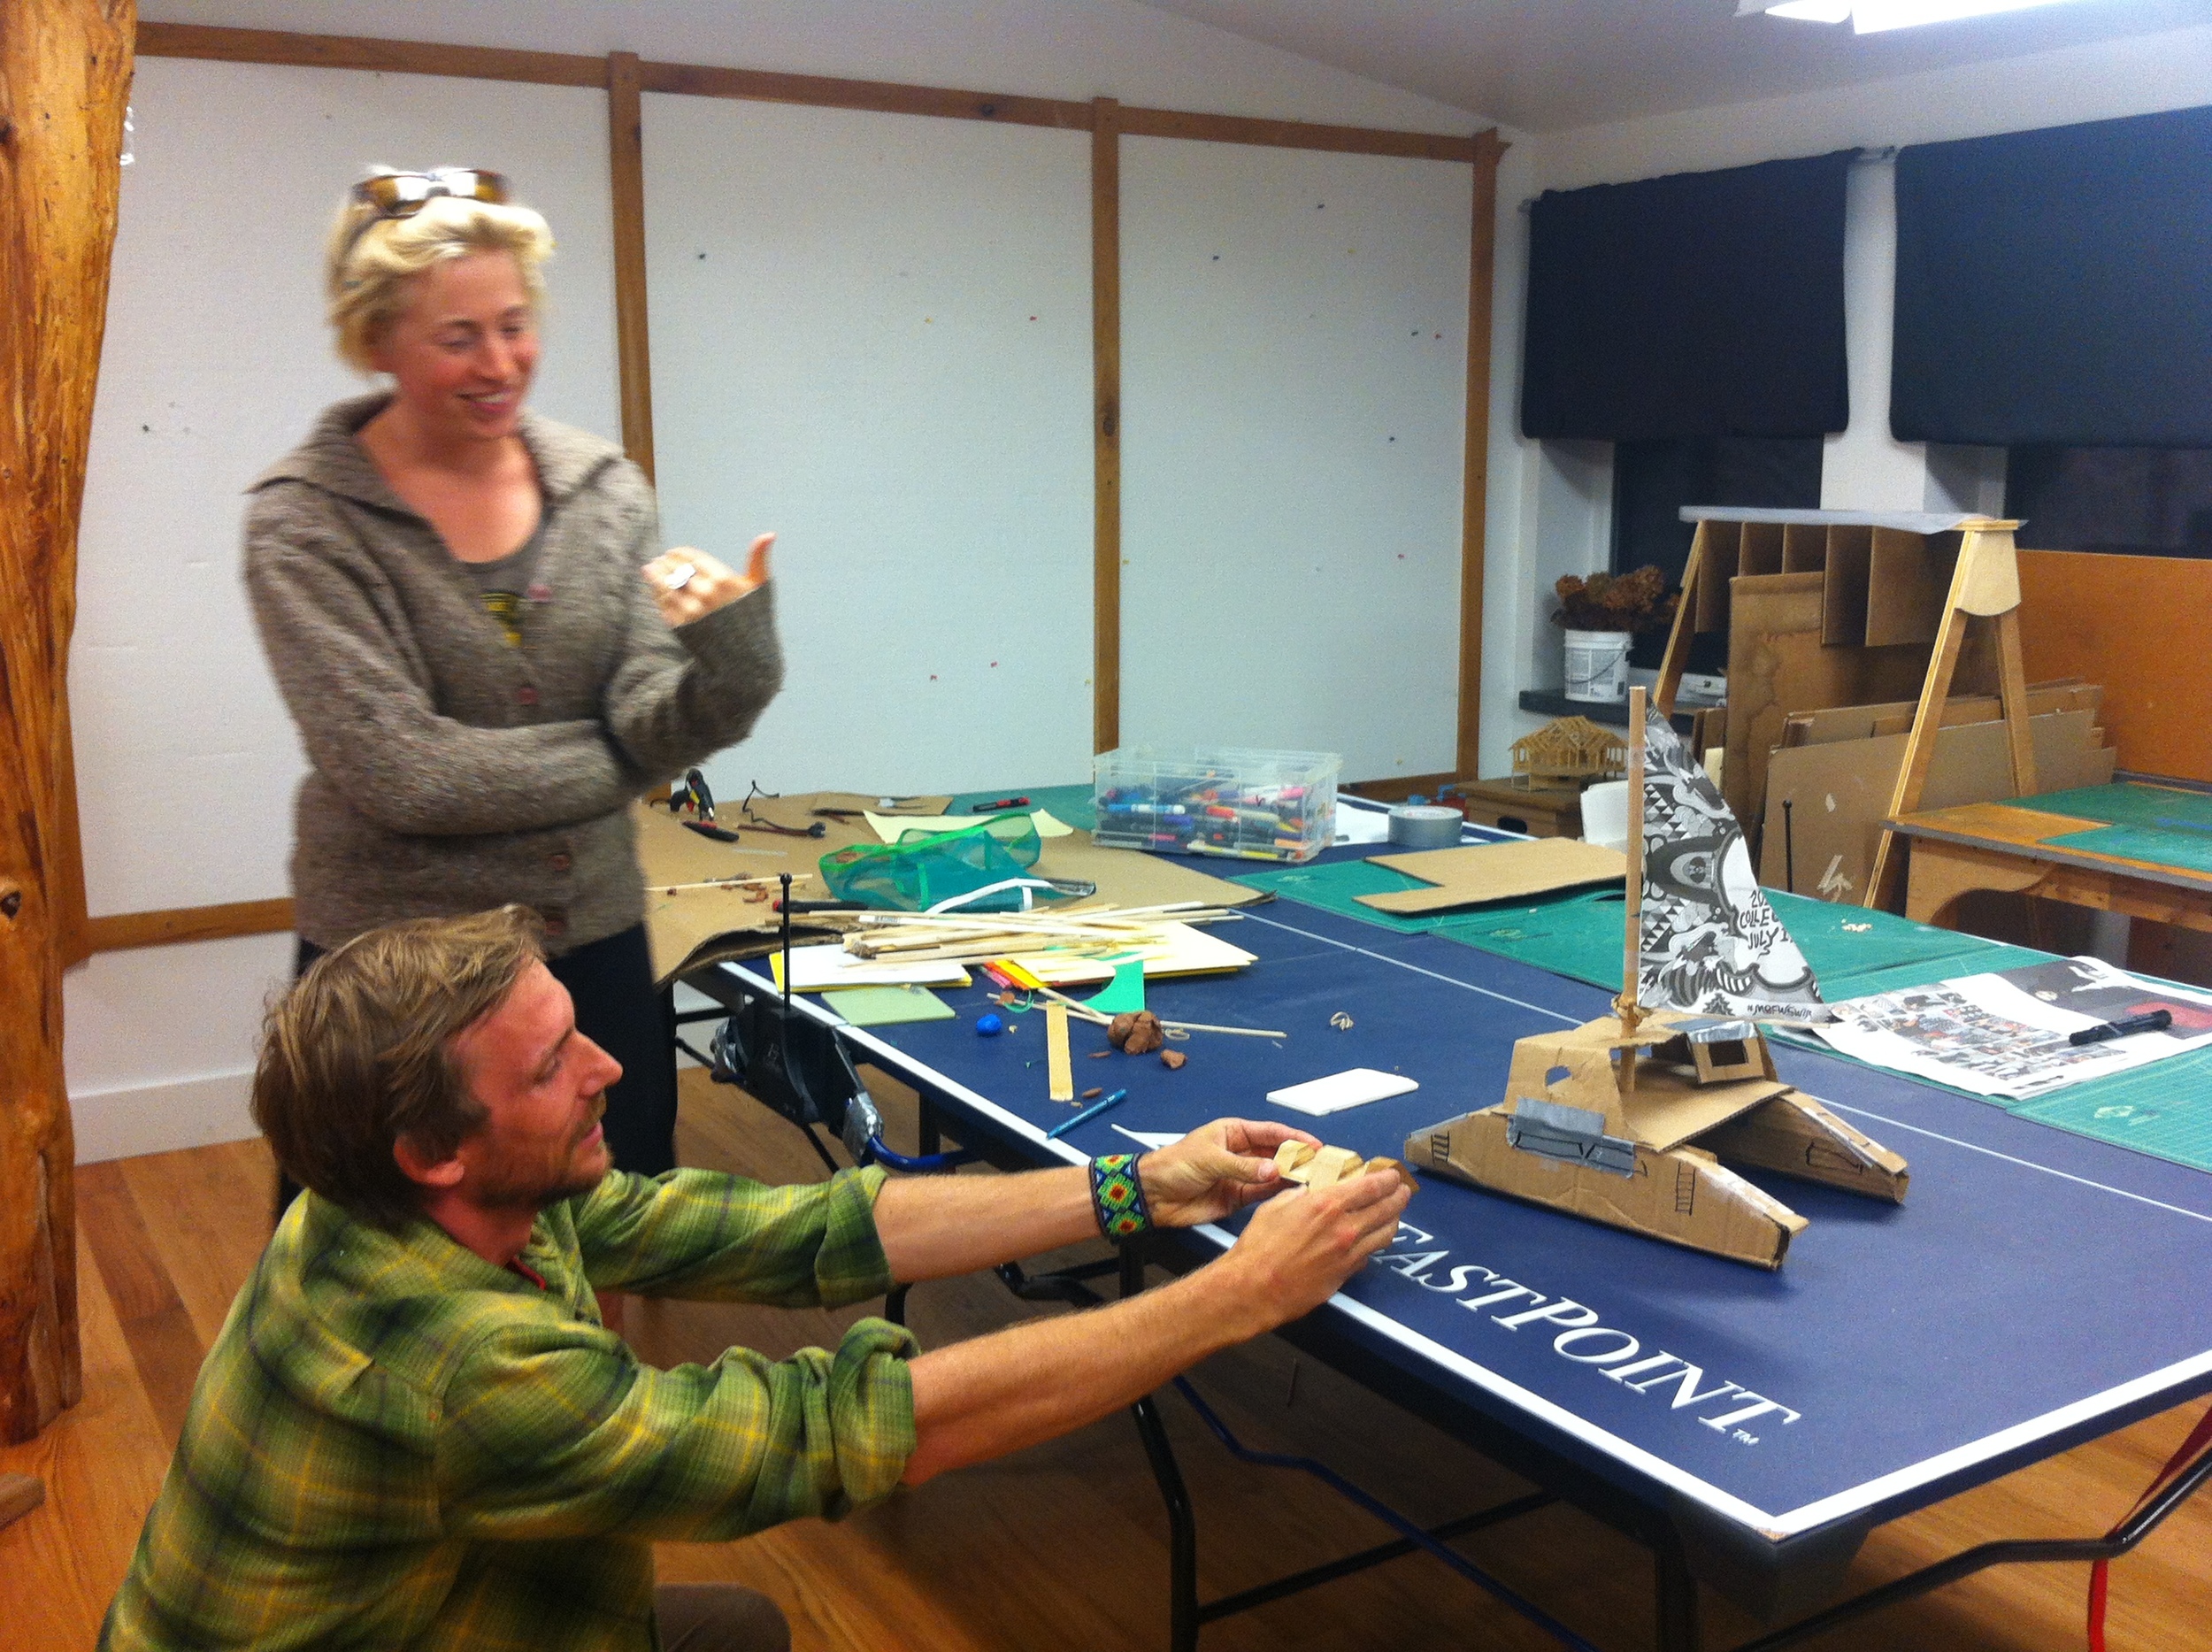
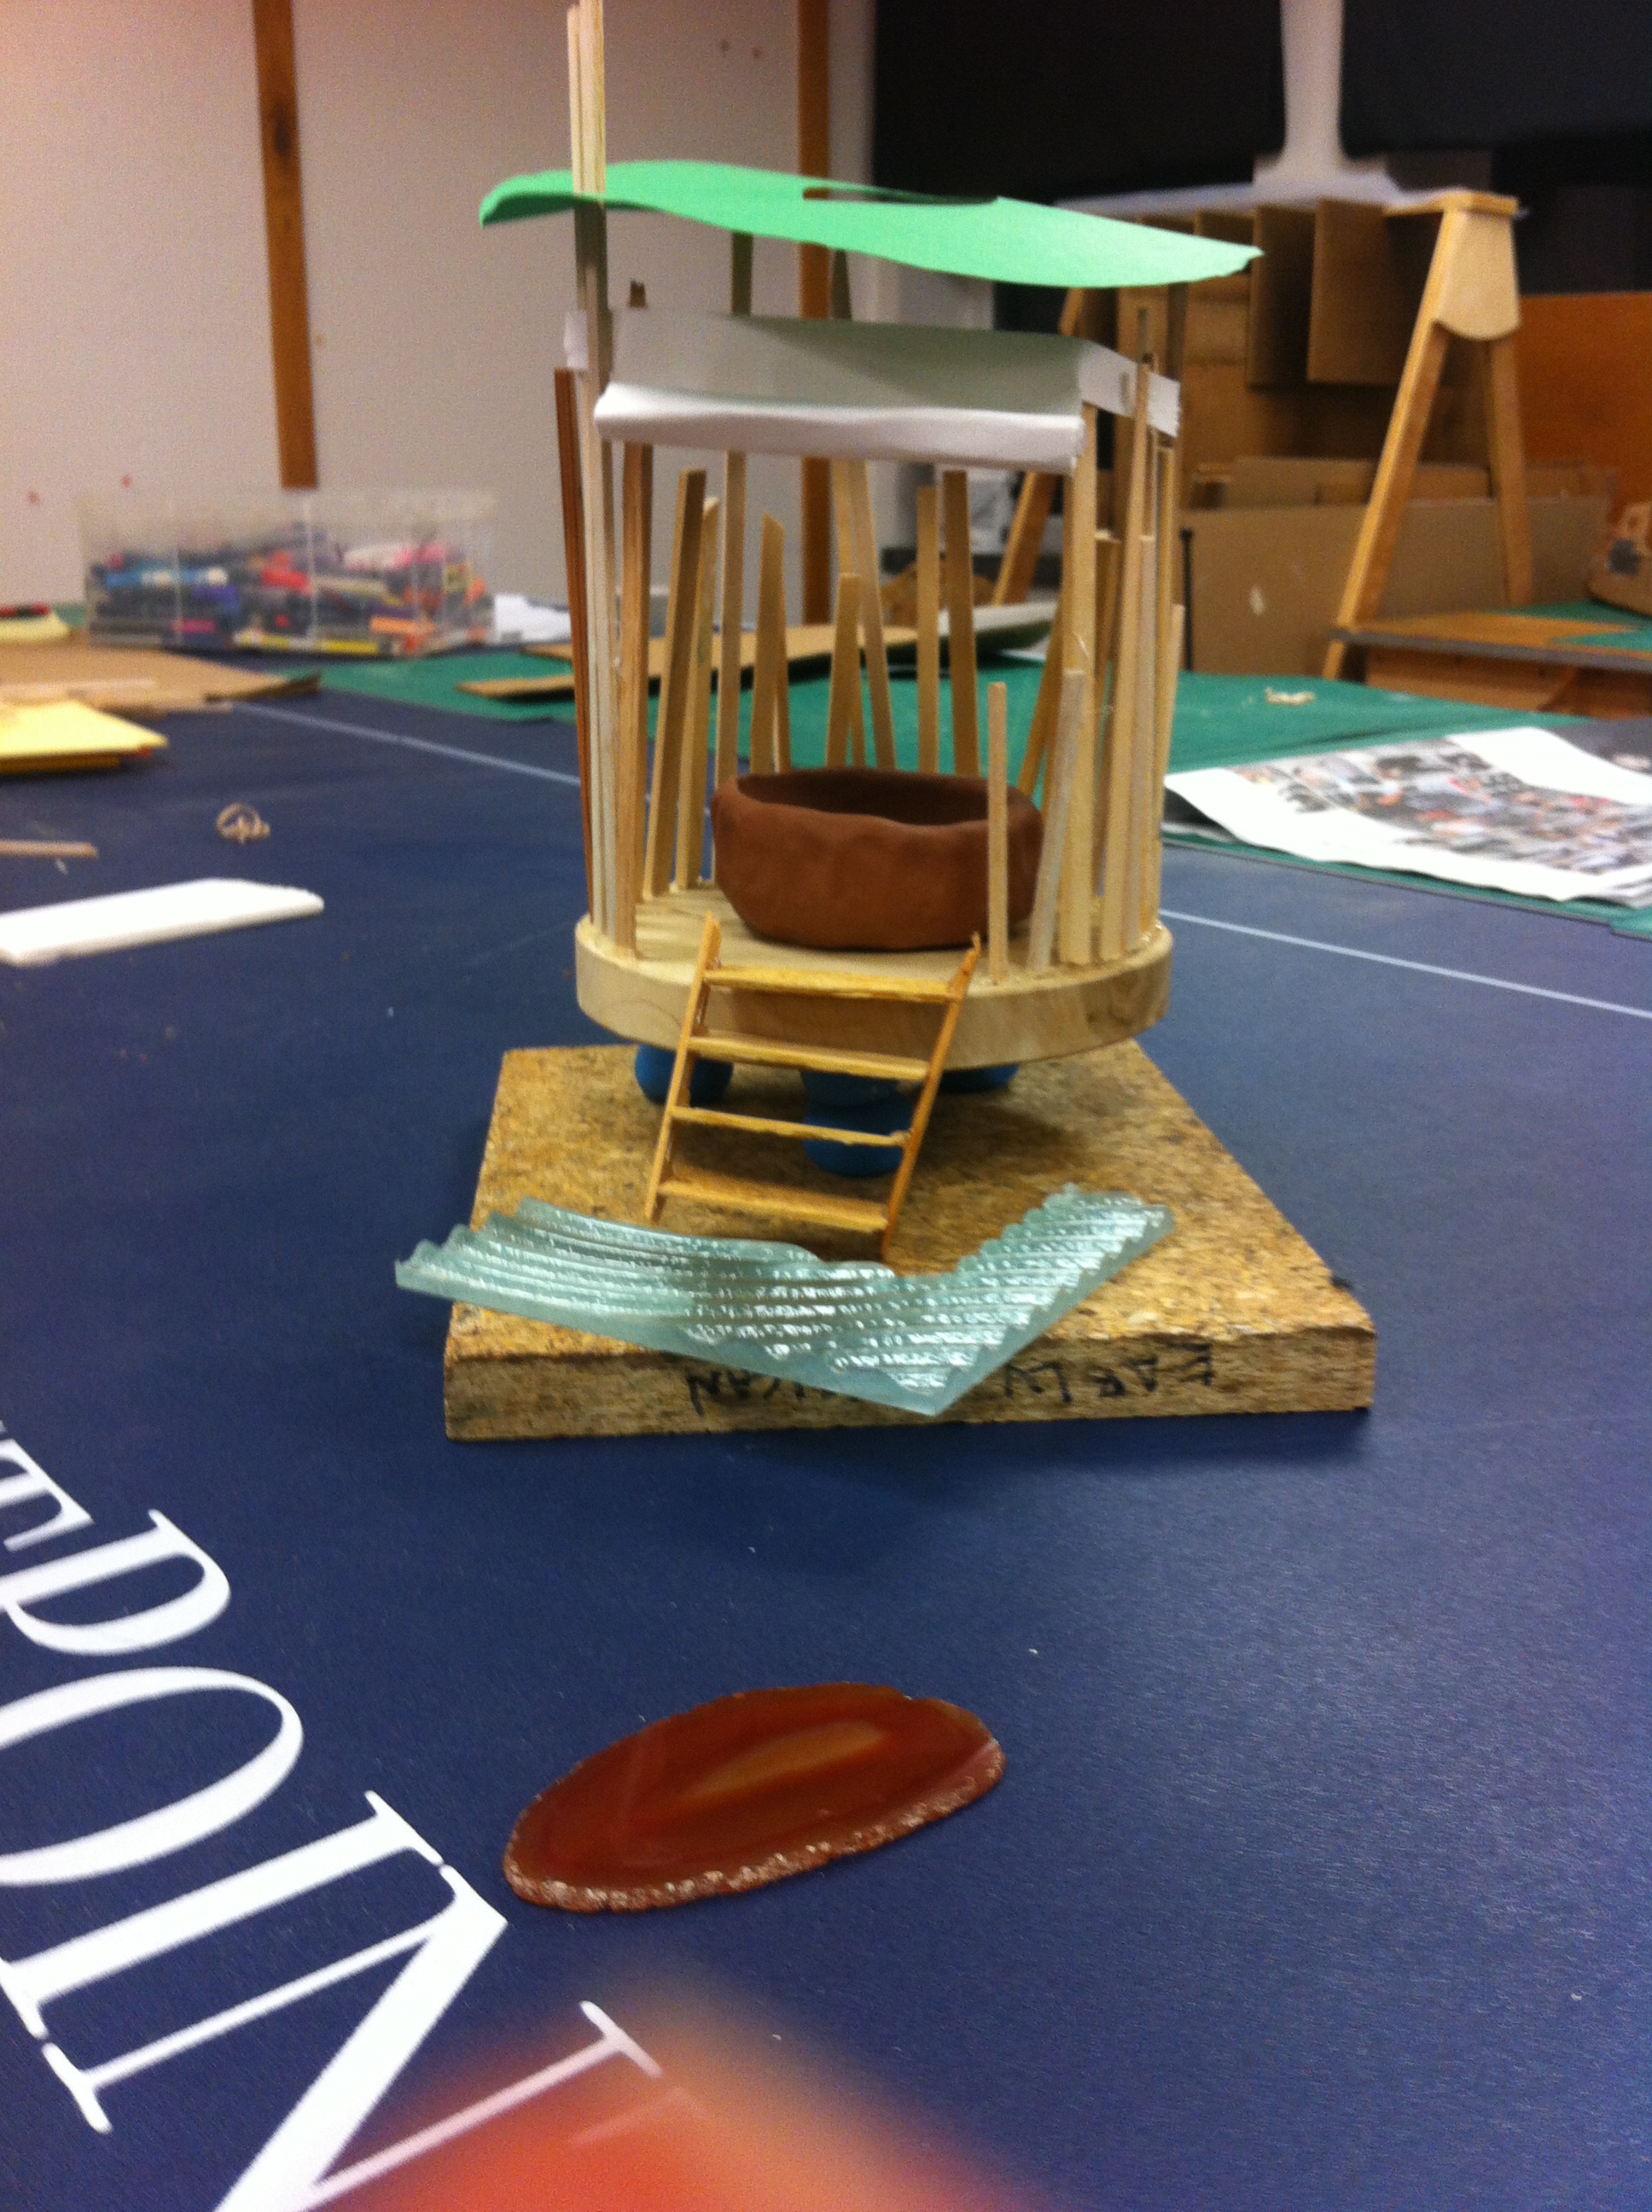
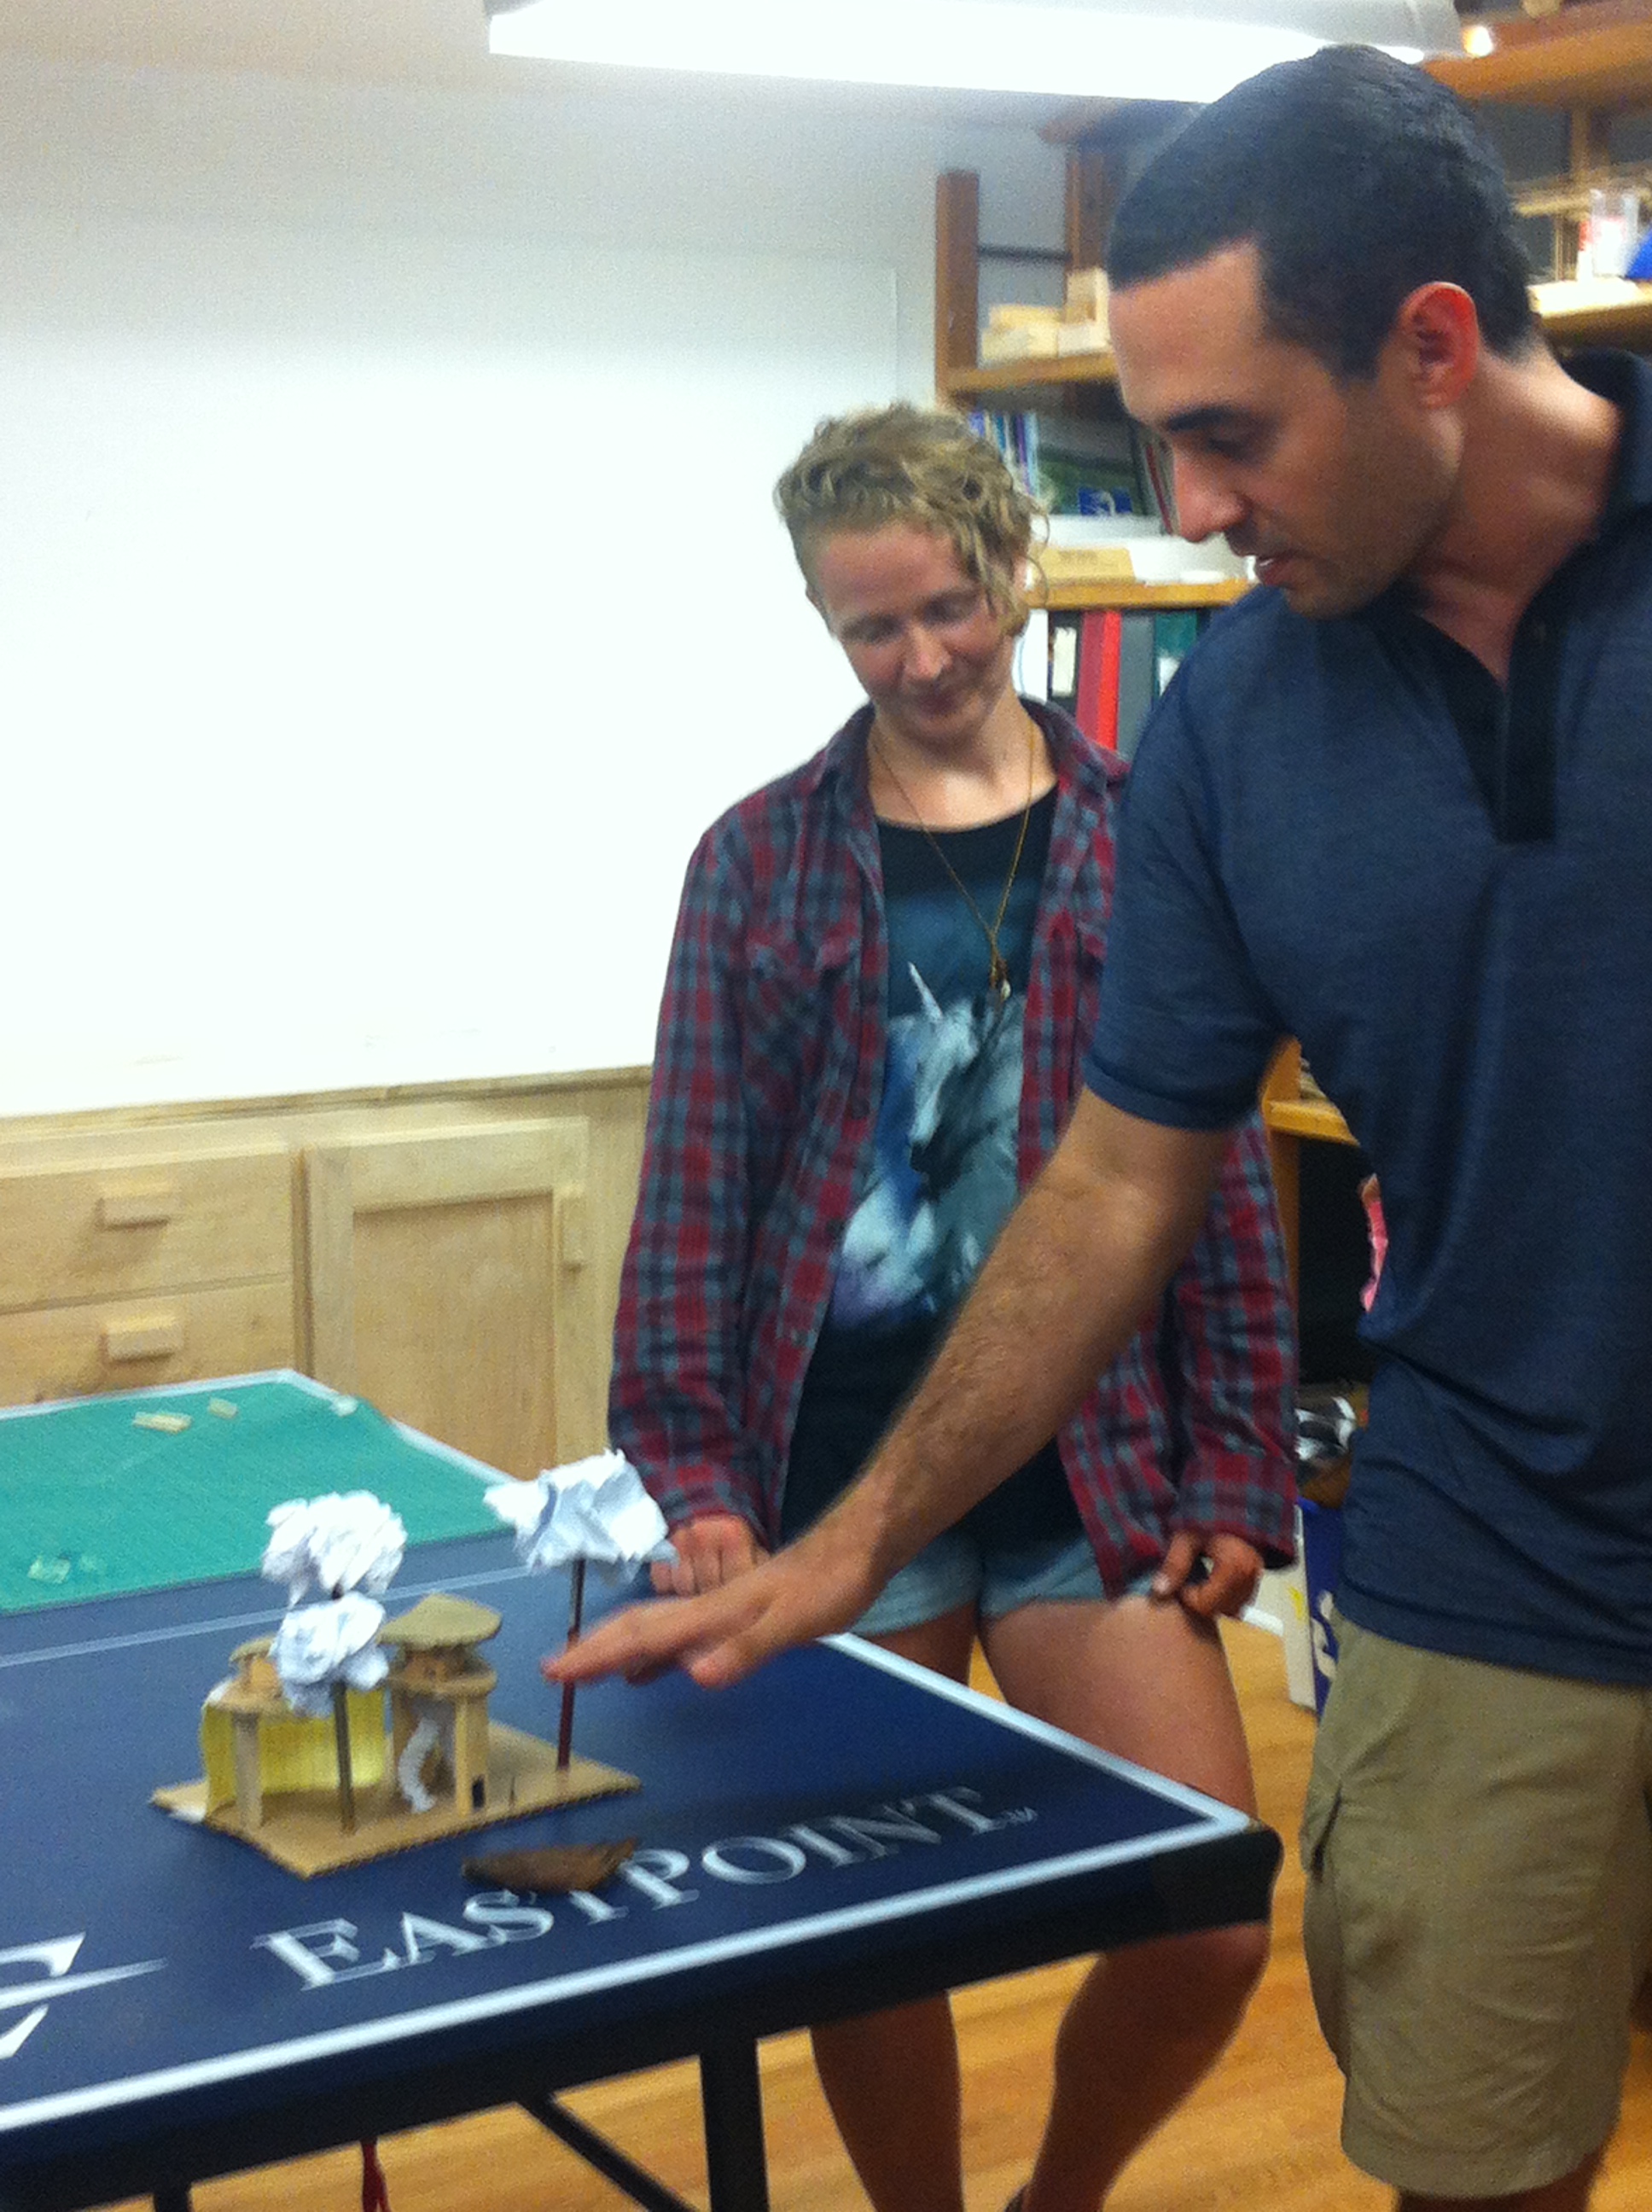
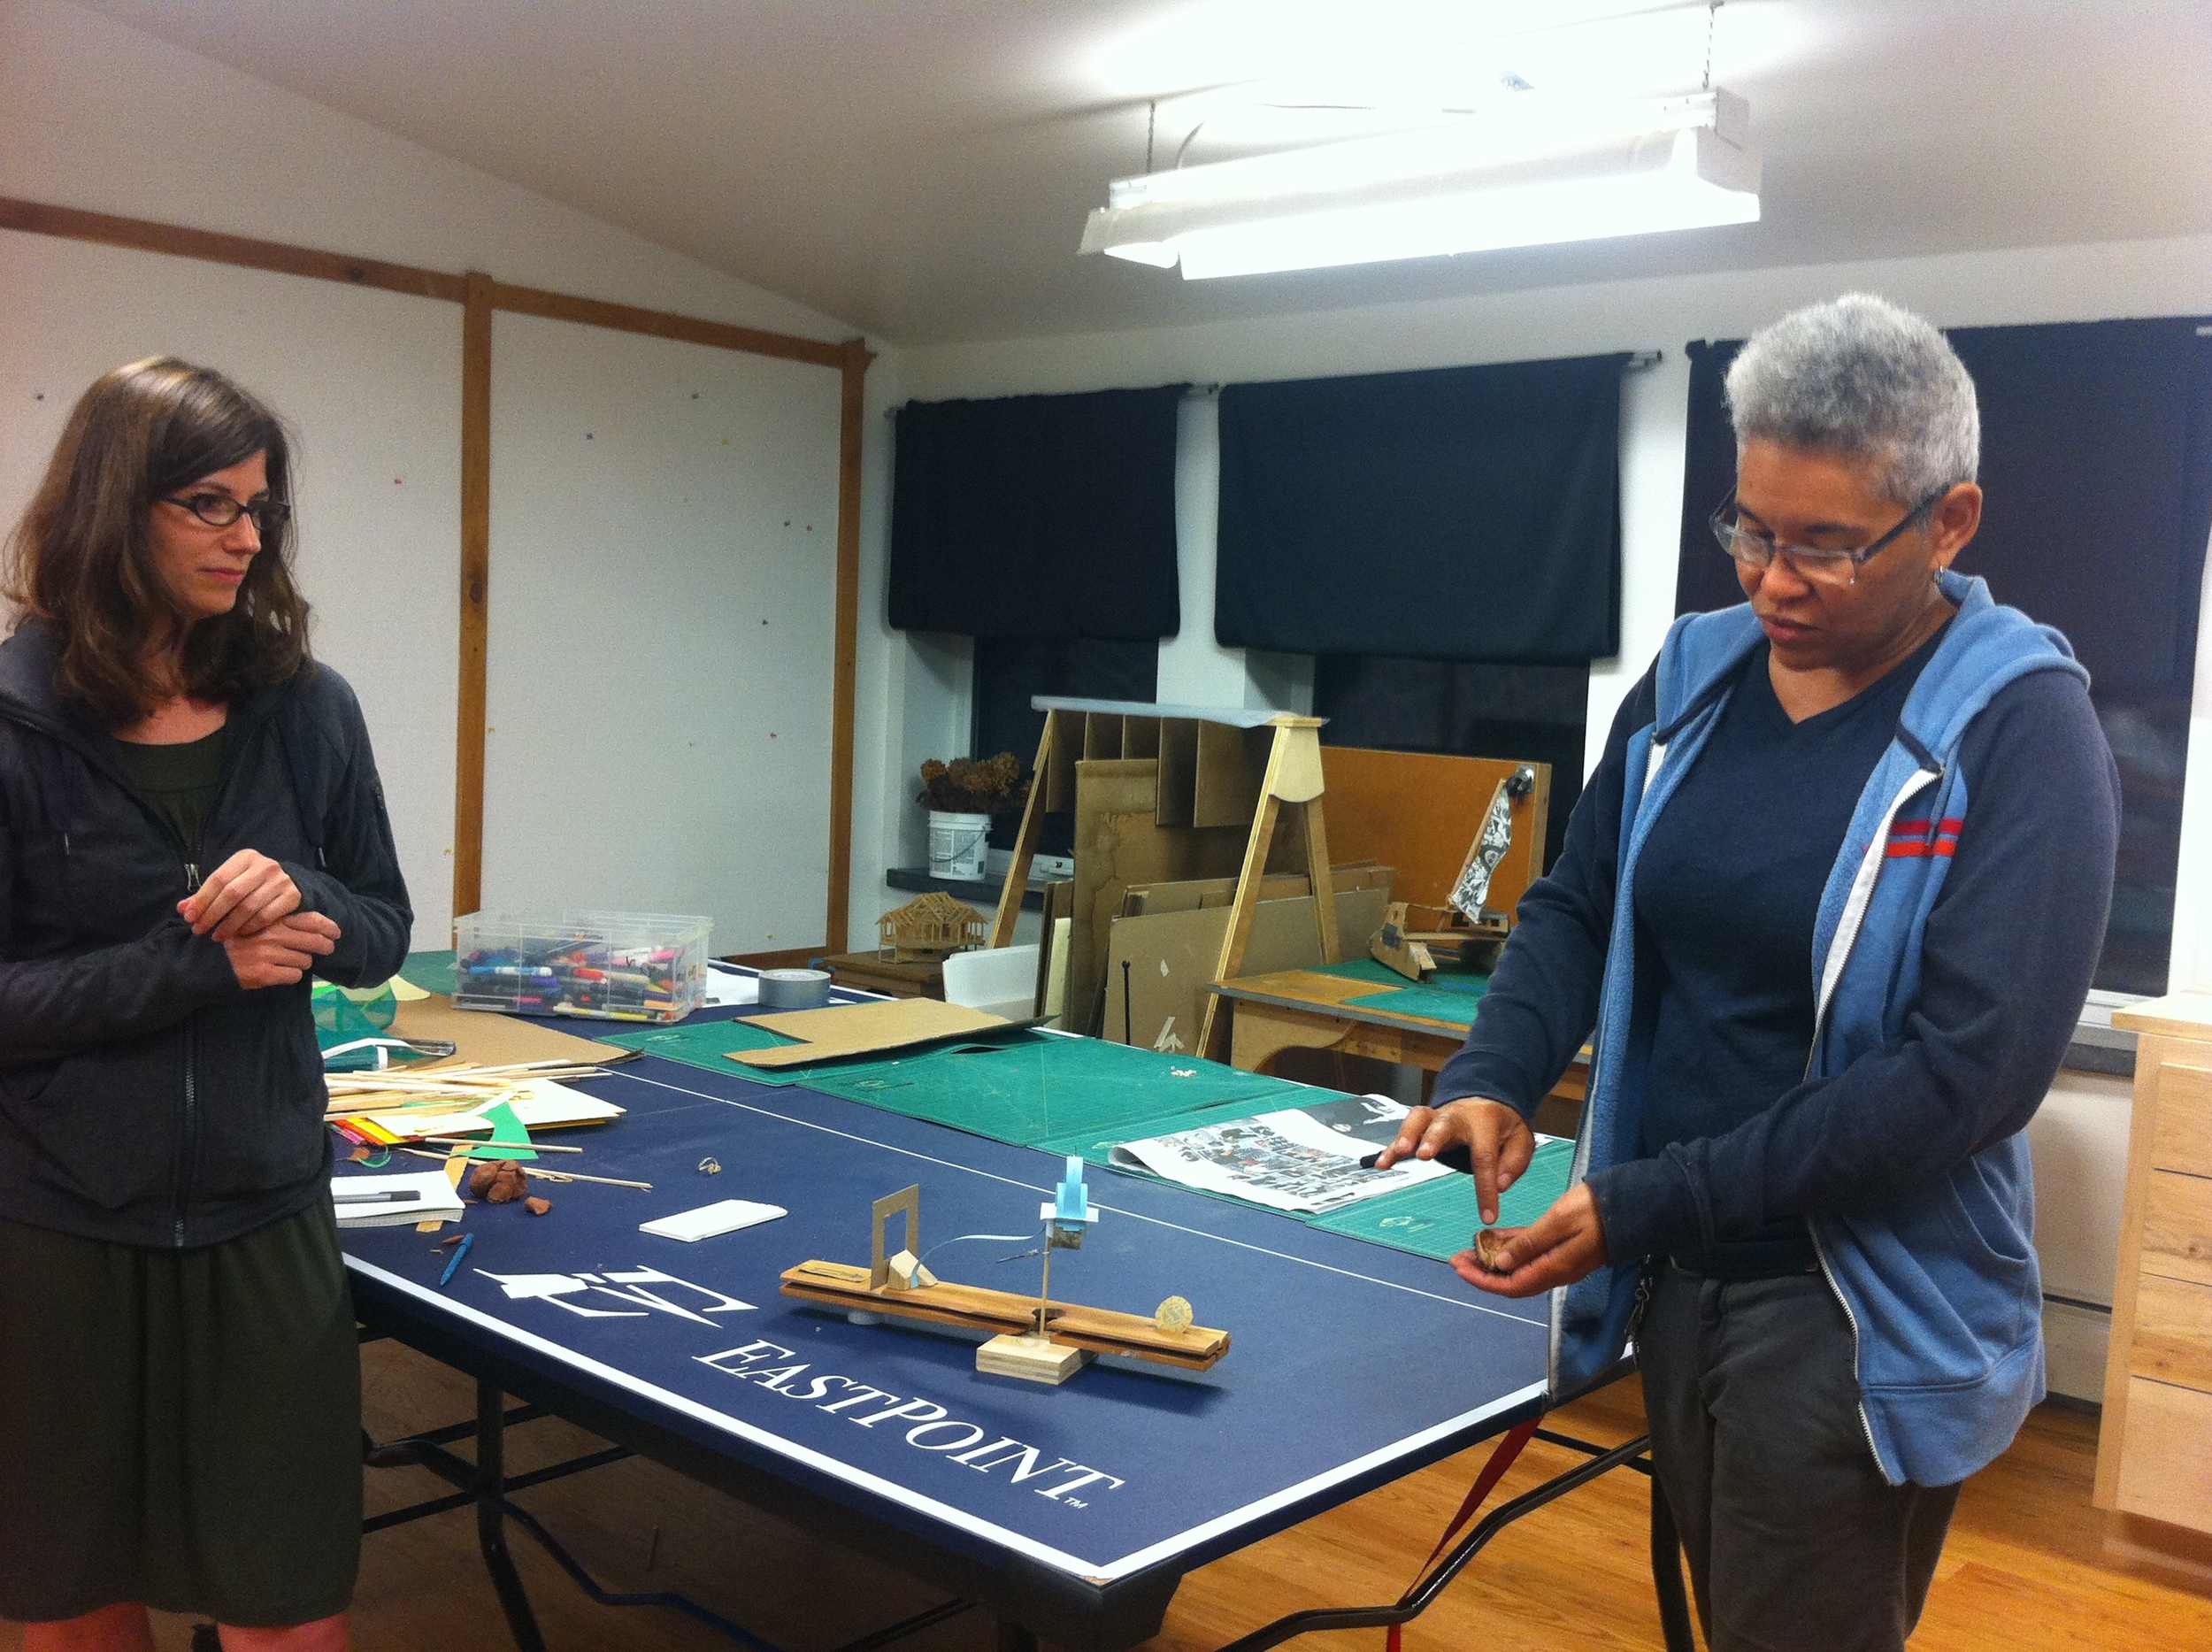
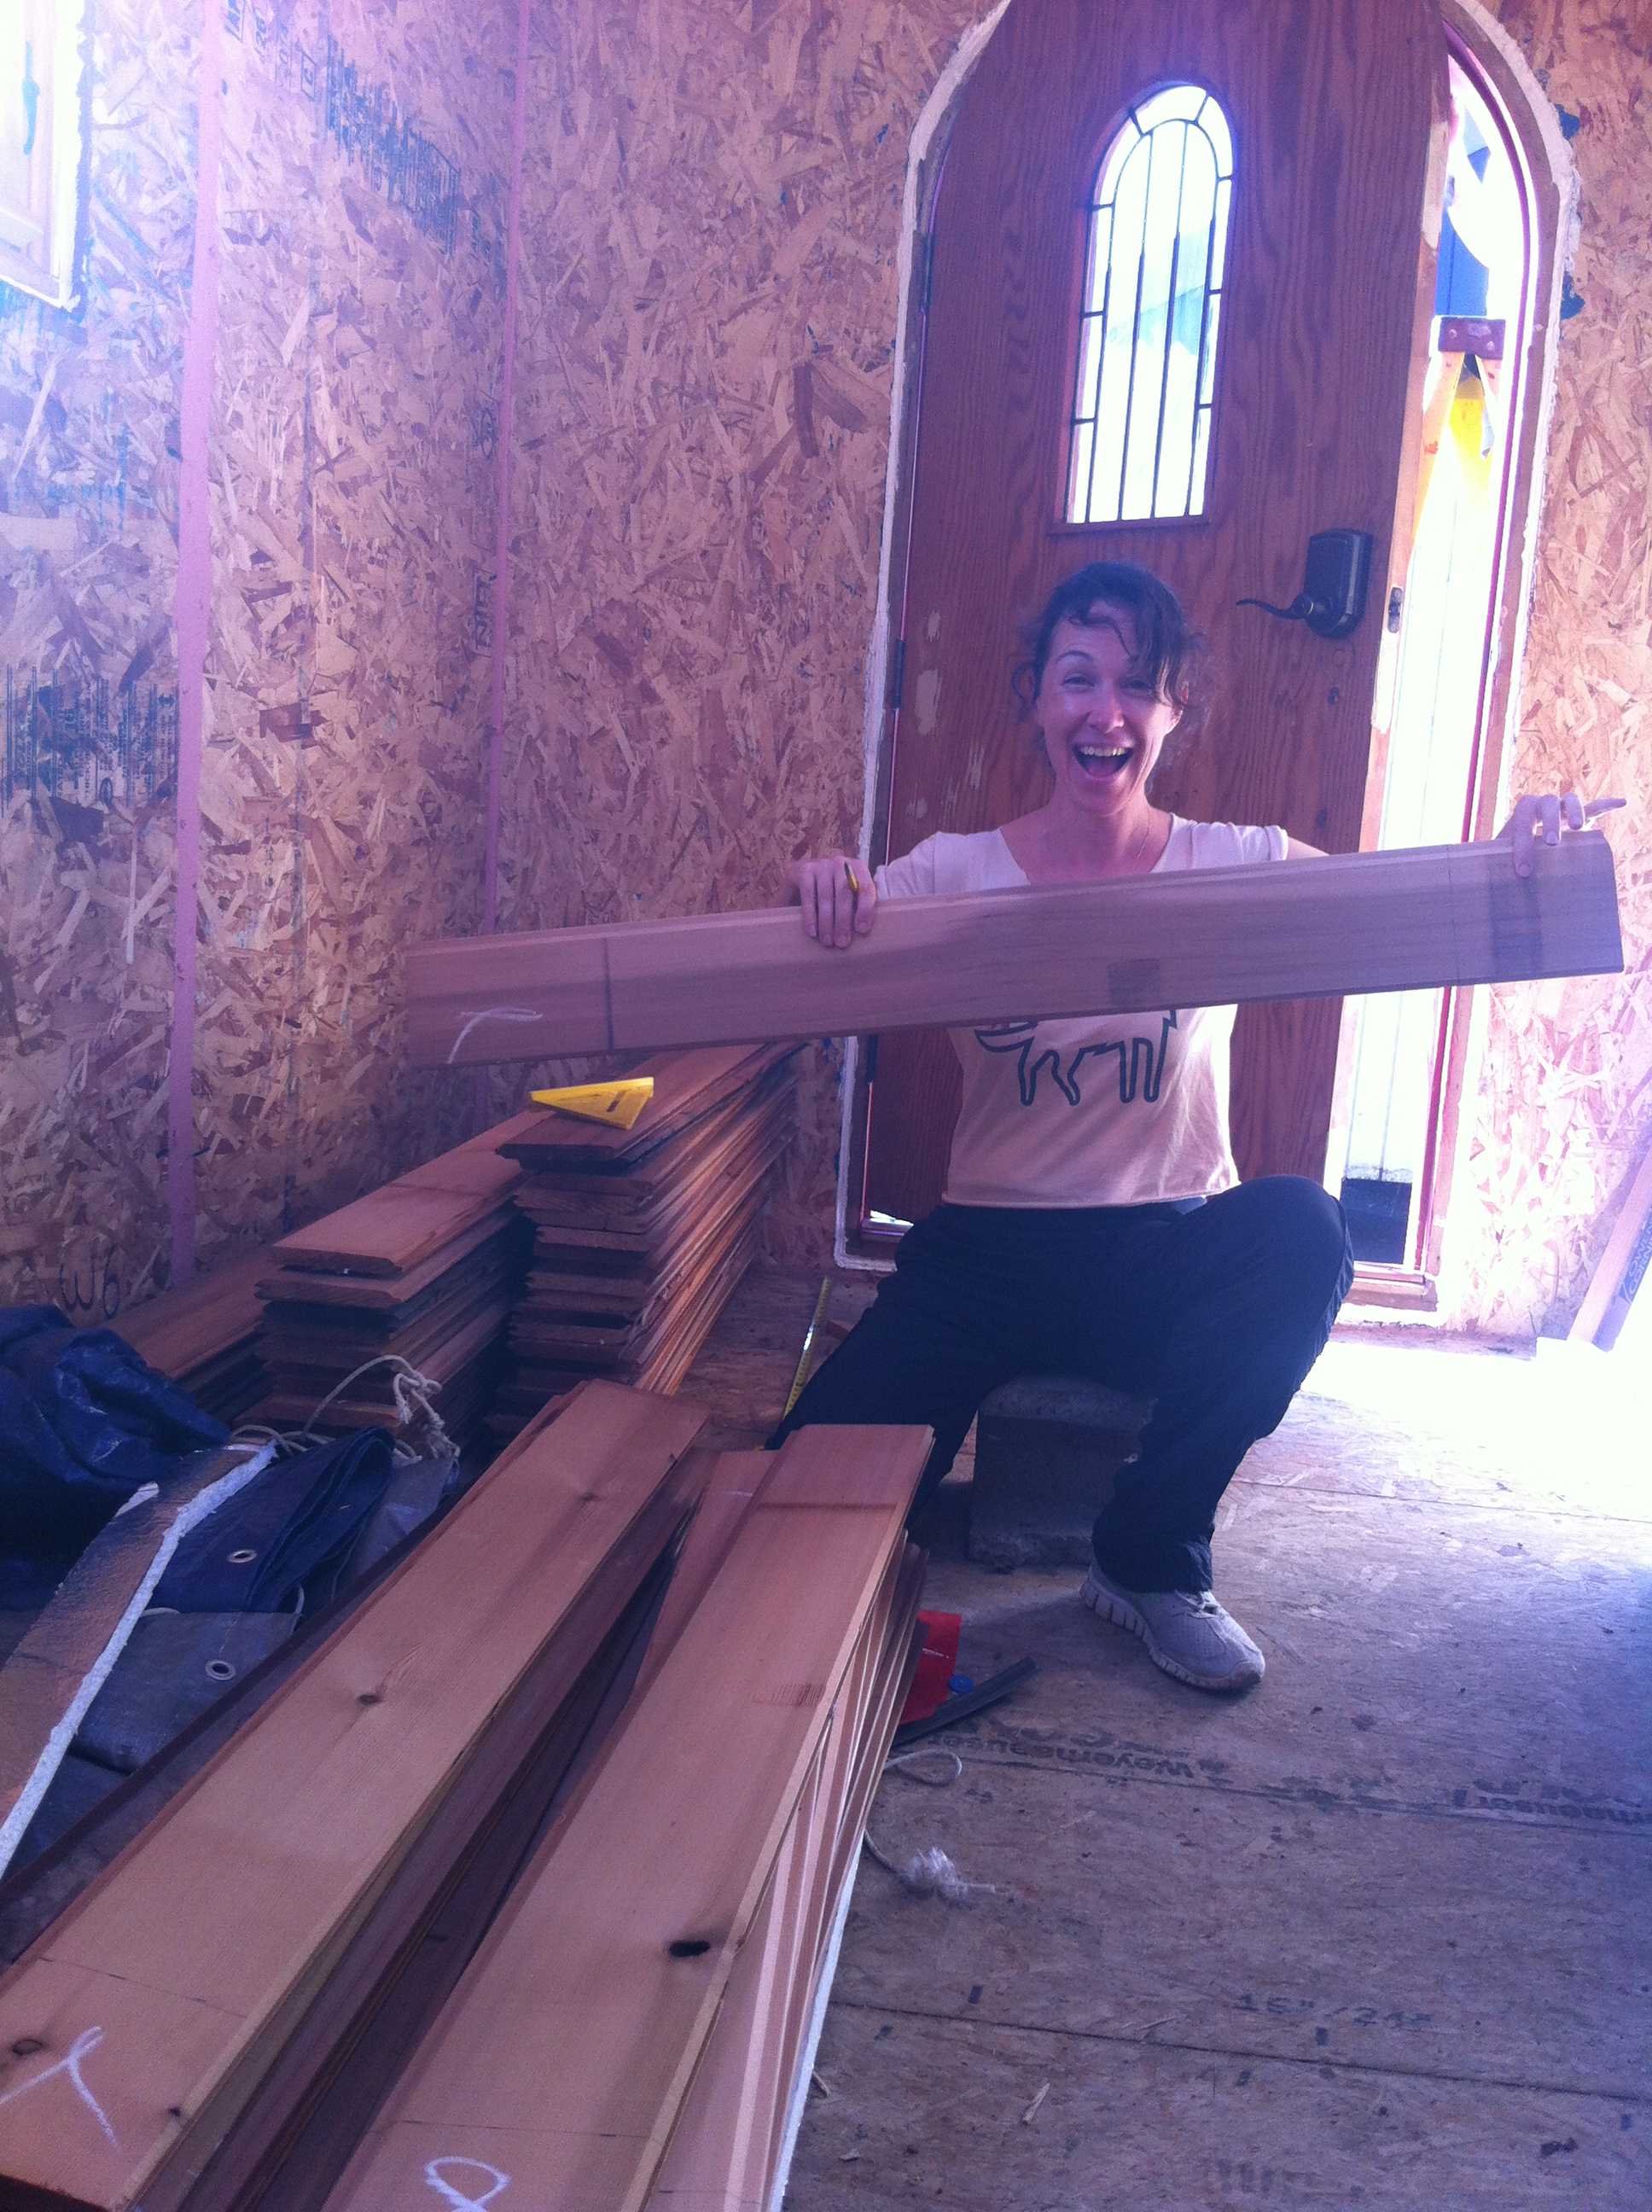
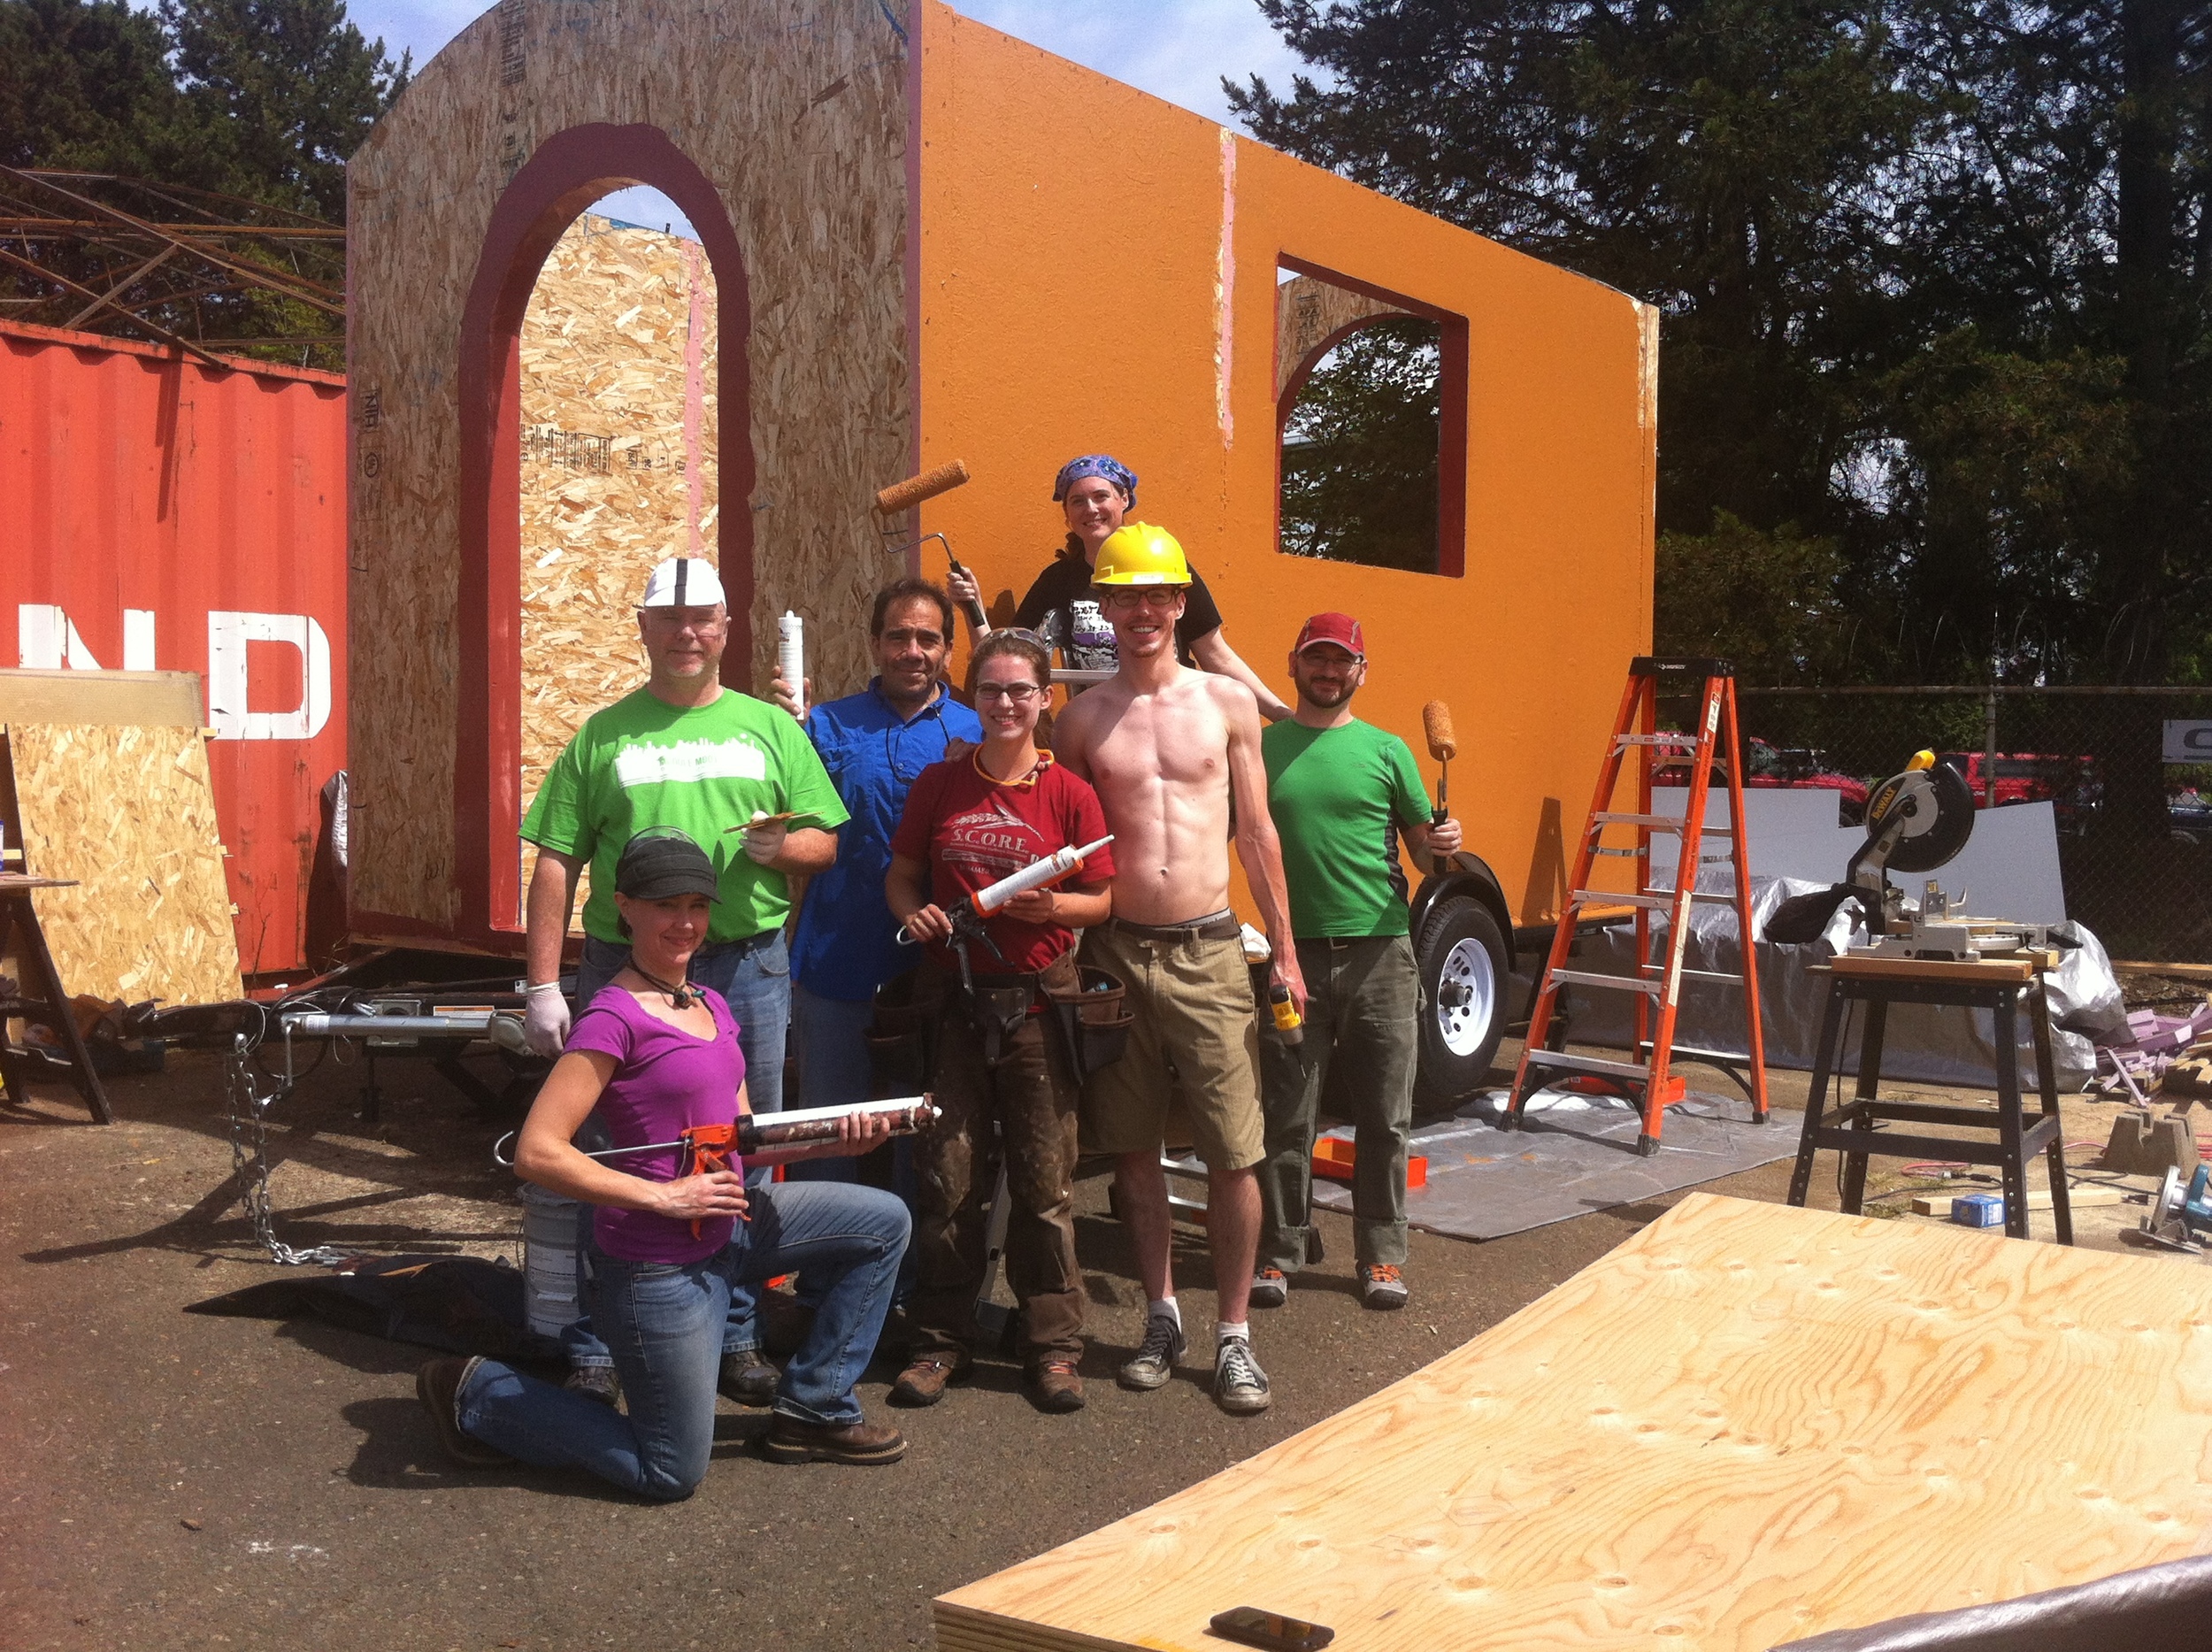
We started out with a parti exercise in which the students paired up to create a concept model for a structure based on inspiration from one of Paul's found objects. It was great fun to see the creativity flowing and the neat results of teamwork.
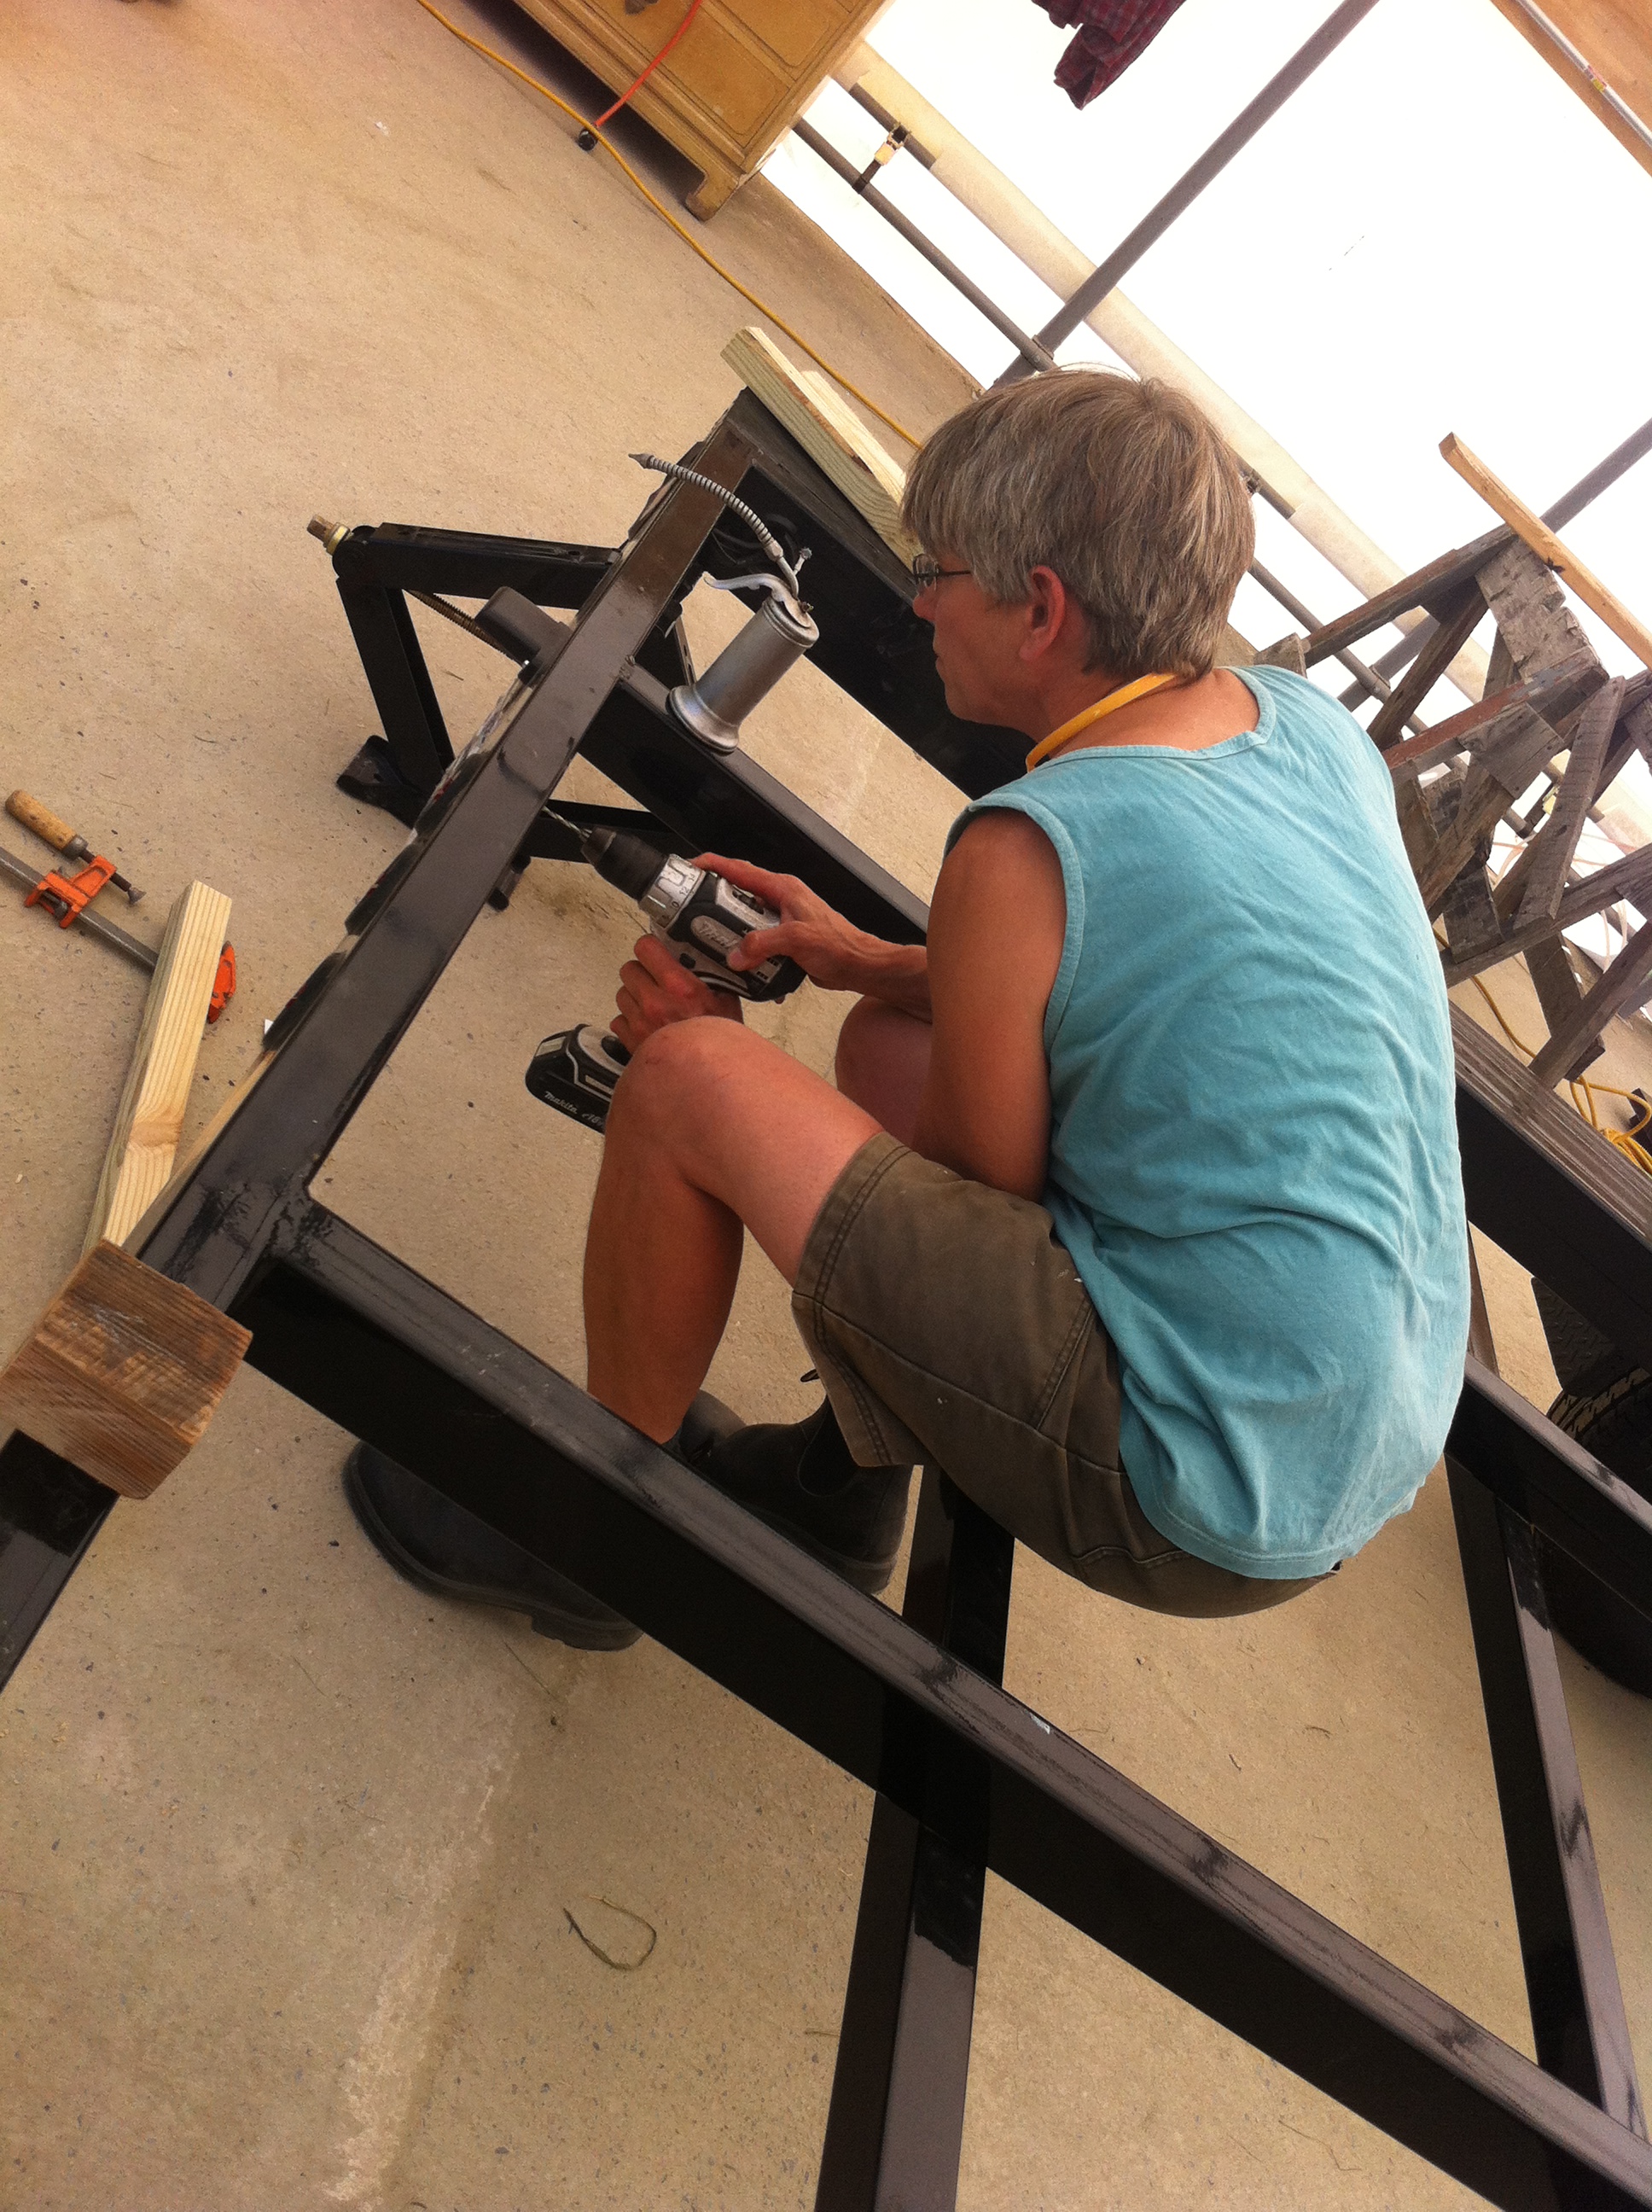
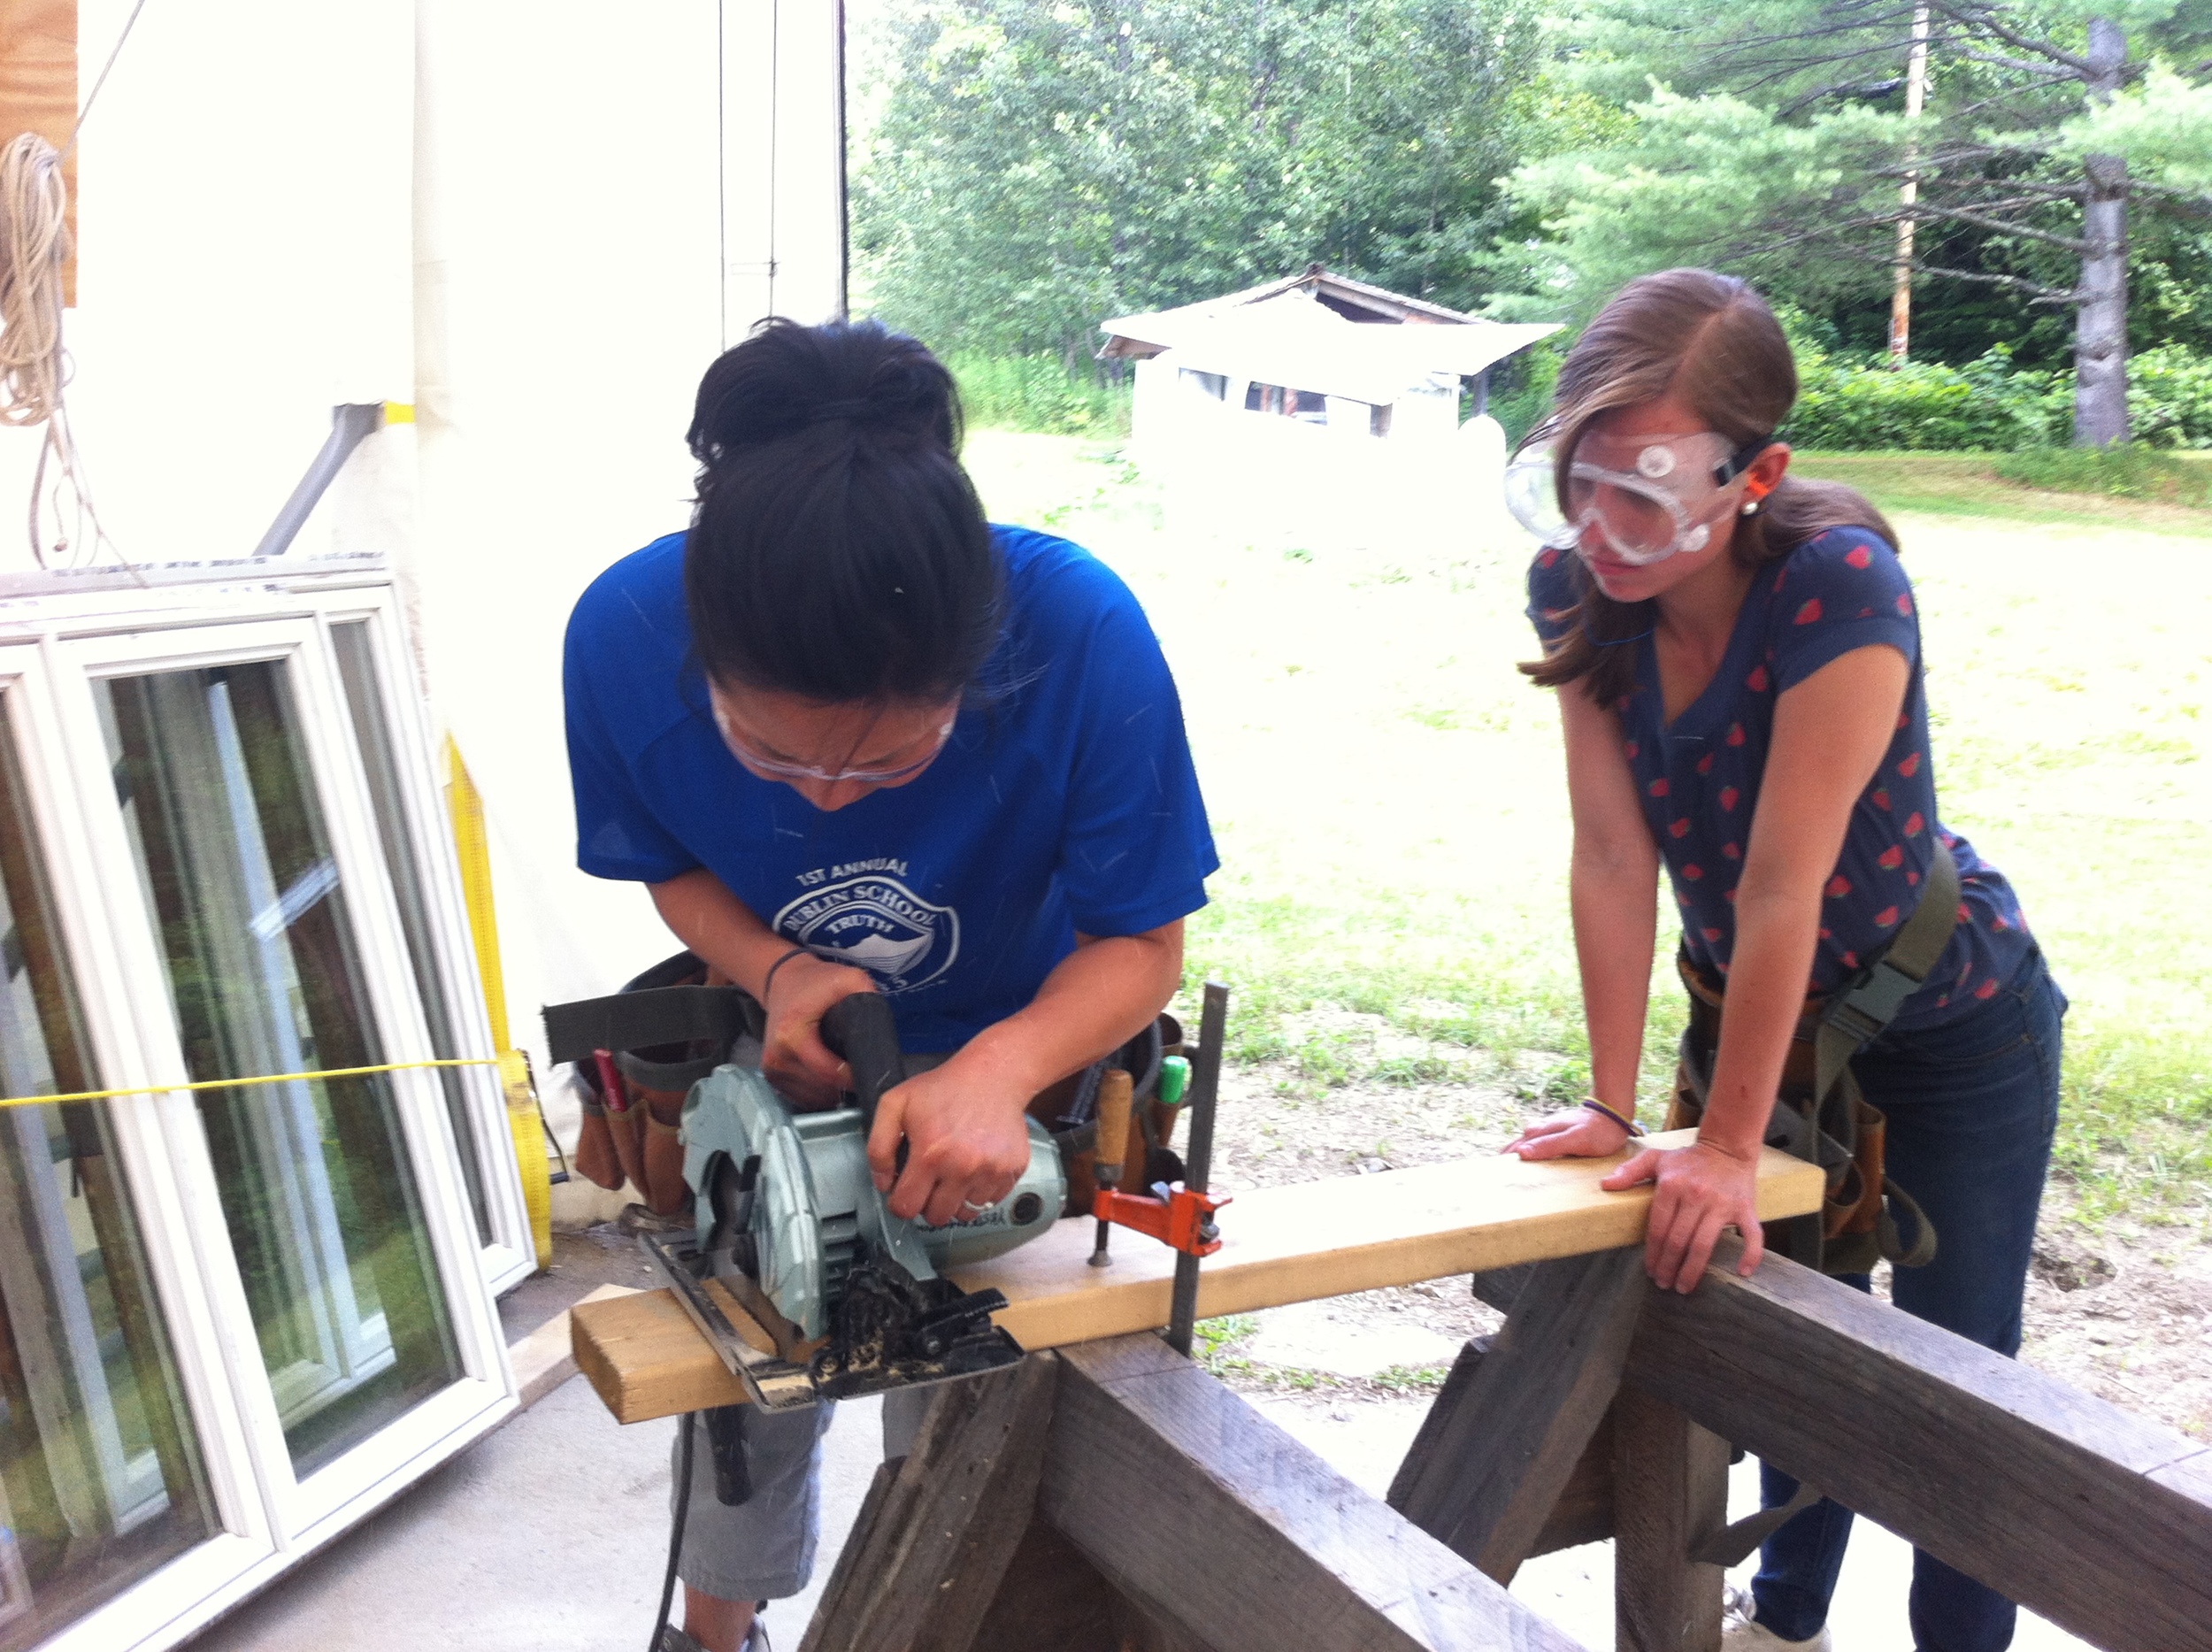
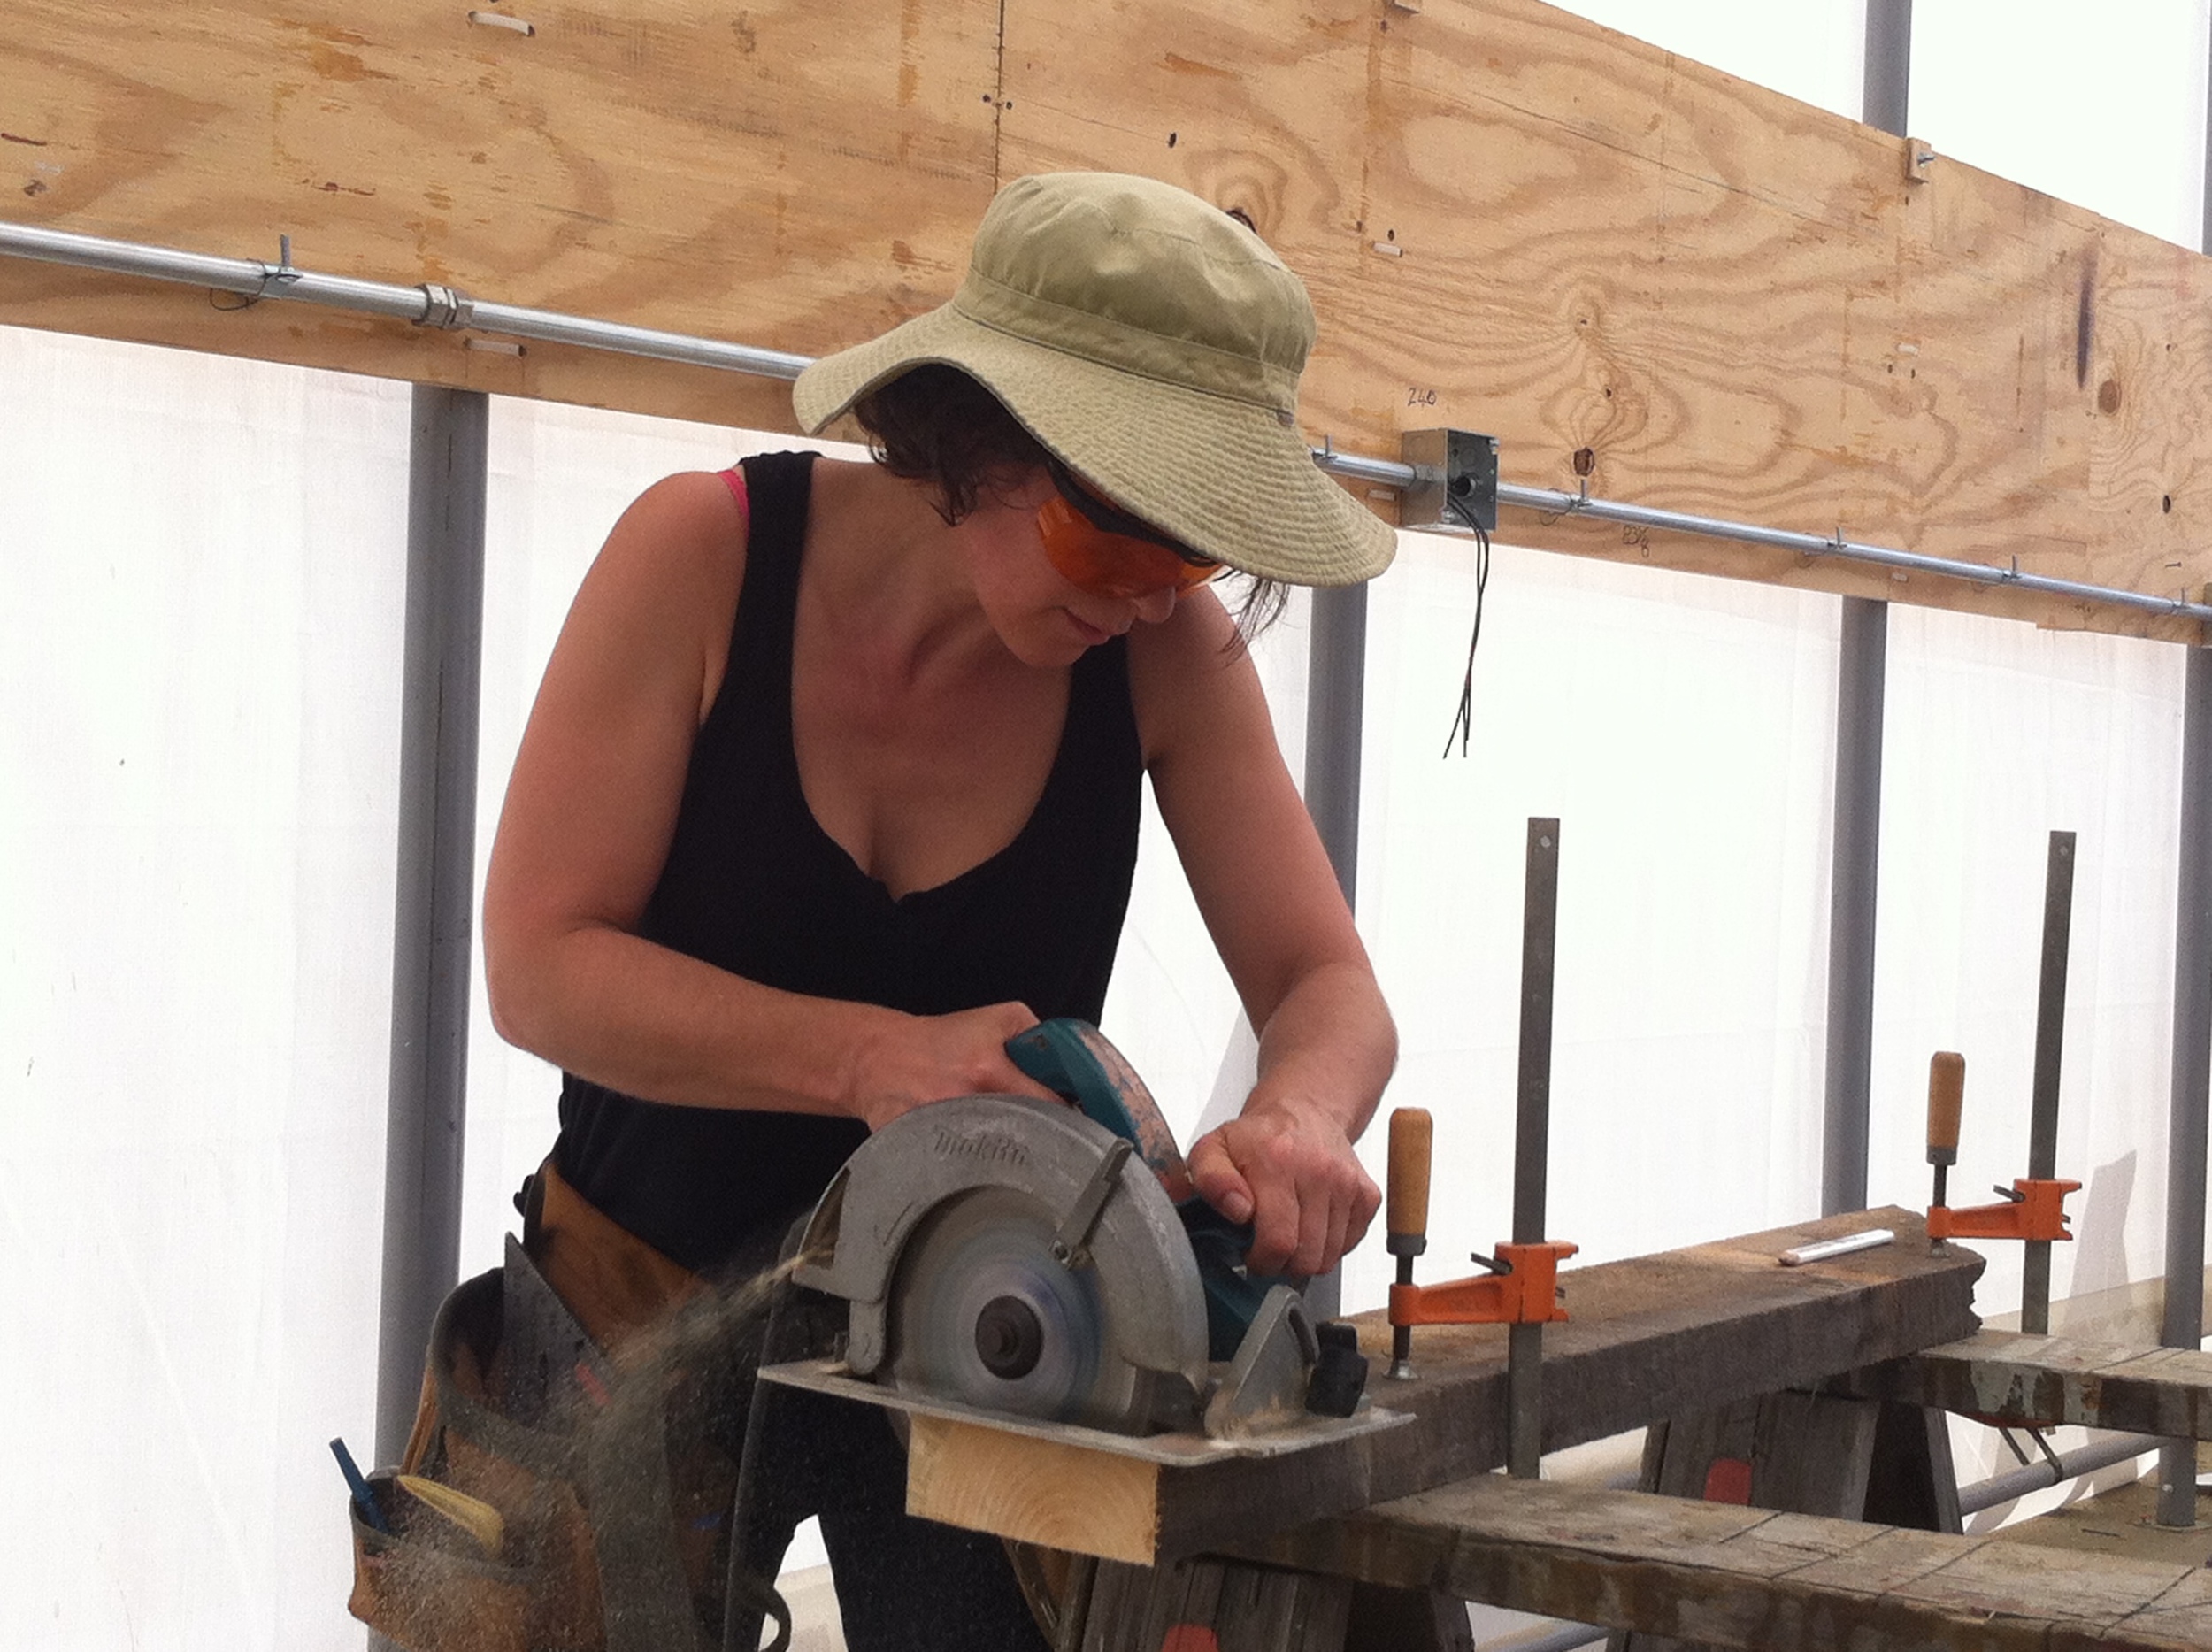
We have an action-packed schedule, which includes tiny house tours, presentations, construction, and design time in the studio. I don’t plan to blog daily this year, but I’ll be inviting our students to guest blog, so I hope some of them choose to share their experiences with you. Follow along for the fun!
Tiny House Helpers
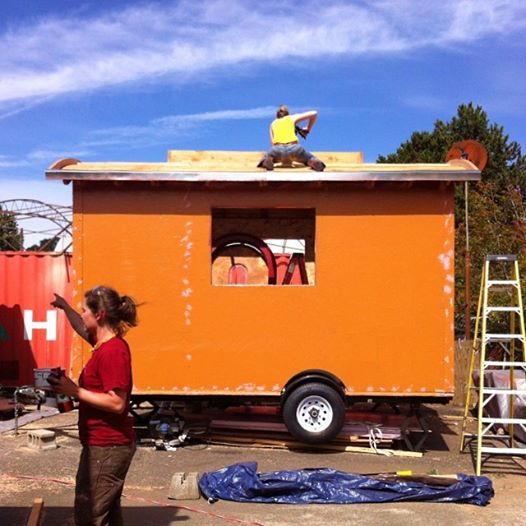
 My tiny house is now dried-in and I'm taking a break from building for a few weeks. This past weekend I made My Annual Pilgrimage to the Oregon Country Fair. This weekend I'm headed to Yestermorrow in Vermont to teach the two-week Tiny House Design-Build class.
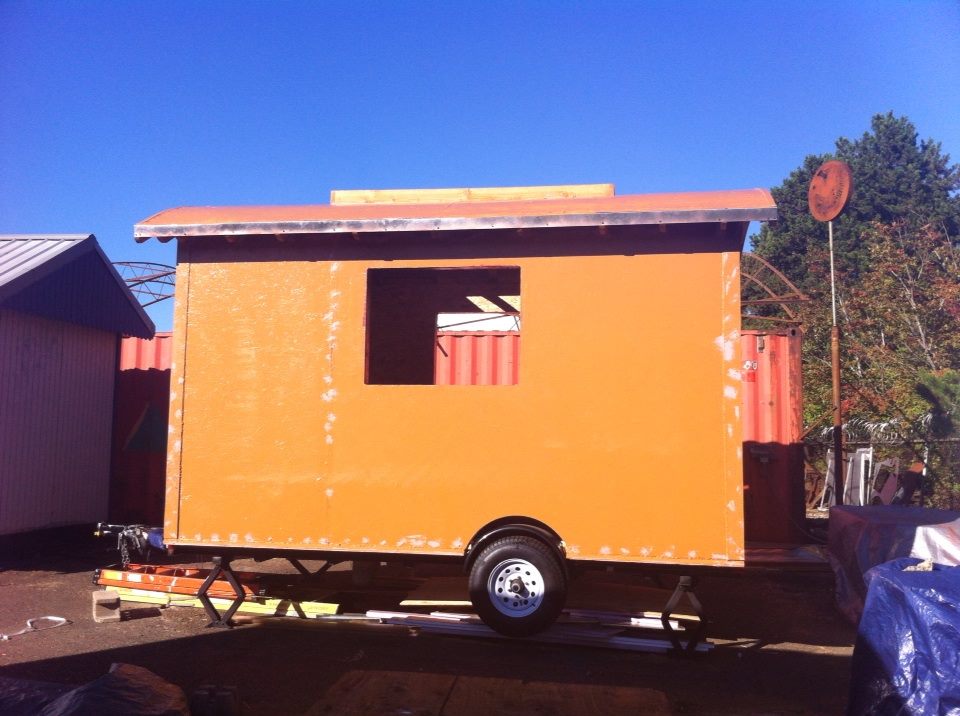
My goal was to be dried in before these adventures began and I've managed to do it, thanks to the help of many wonderful people. I now have eighteen full days of work into my tiny house on wheels and let me assure you, I am incredibly grateful for my tiny house helpers! During these work parties we’ve done the following:
 Picked up my trailer and undercarriage materials (My Tiny House Begins!)
- Installed my undercarriage, insulated my floors, and installed my subfloor (Floorbox Lessons Learned)
- Reworked my subfloor and sill plates when I changed my mind (My Floorbox Continued)
- Raised my SIPs walls (My SIPs Wall Raising)
- Applied air barrier to my walls (My Tiny House Air Barrier)
- Raised the rafters and built and installed a skylight box (Vardo Rafter Raising)
- Installed blocking between the rafters and closed up the end walls (Making Ends Meet)
- Stapled my beadboard ceiling over the rafters (Ceiling Up My Vardo)
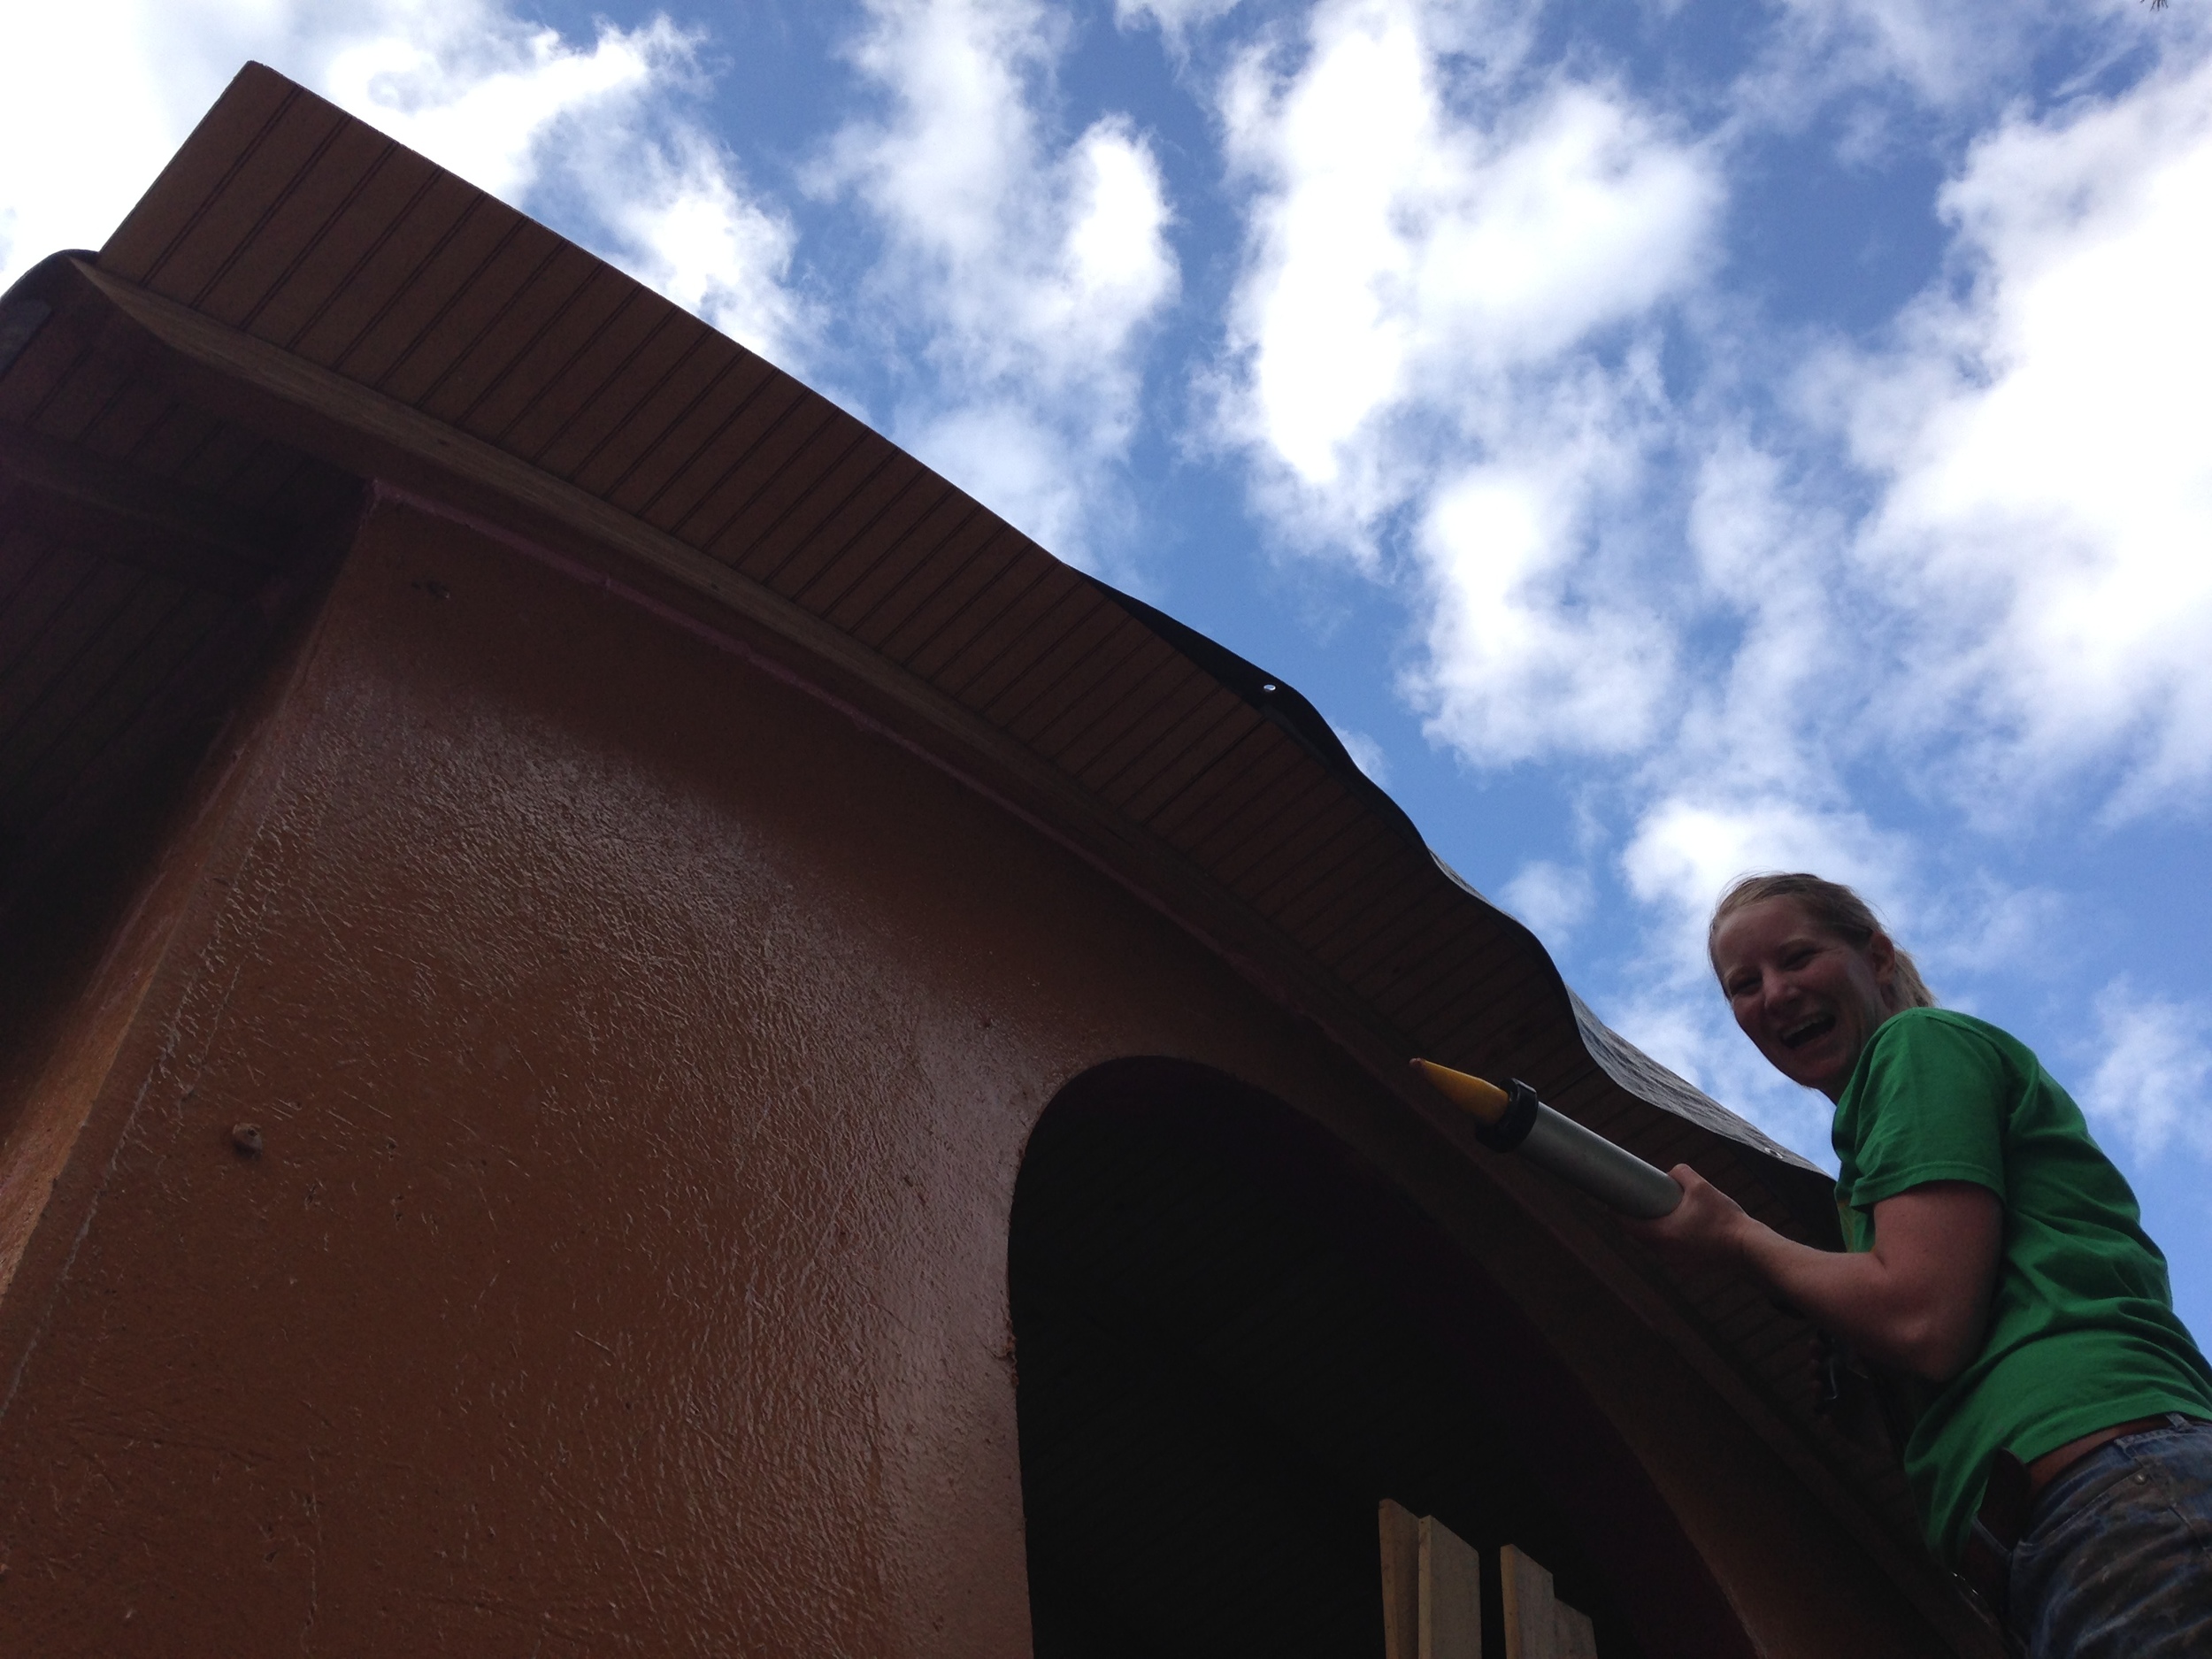
- Attached eave caps at the edges of my rafters to catch the insulation (Eave Caps for My Vardo Roof, Plan F, Plan F: Take 2)
- Insulated the roof box (Insulating My Vardo Roof)
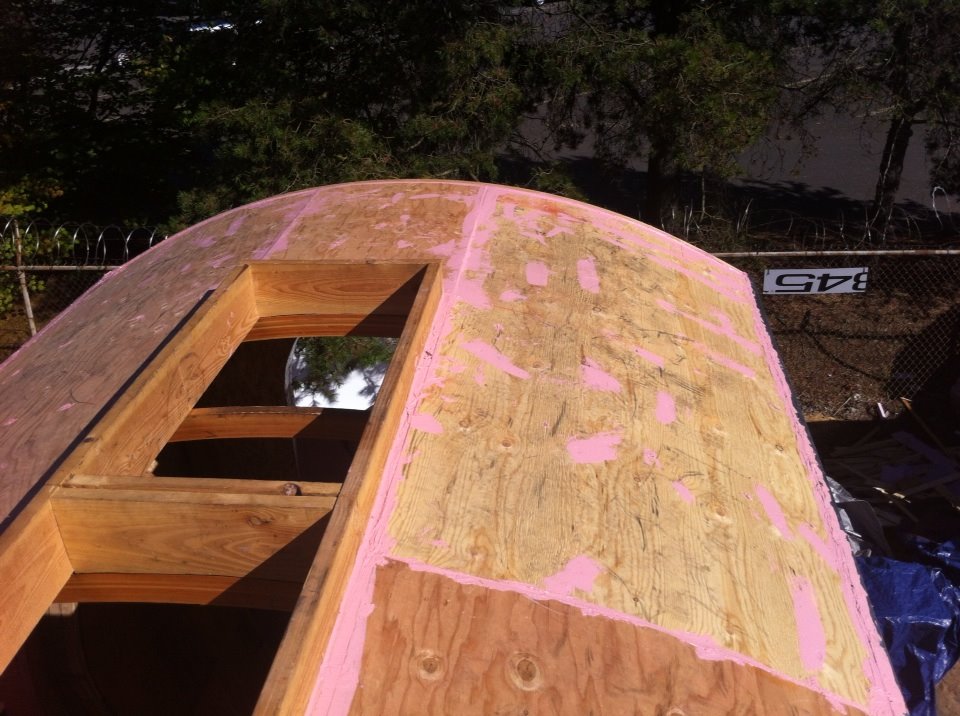
- Sheathed and waterproofed the roof (Sheathing My Vardo Roof)
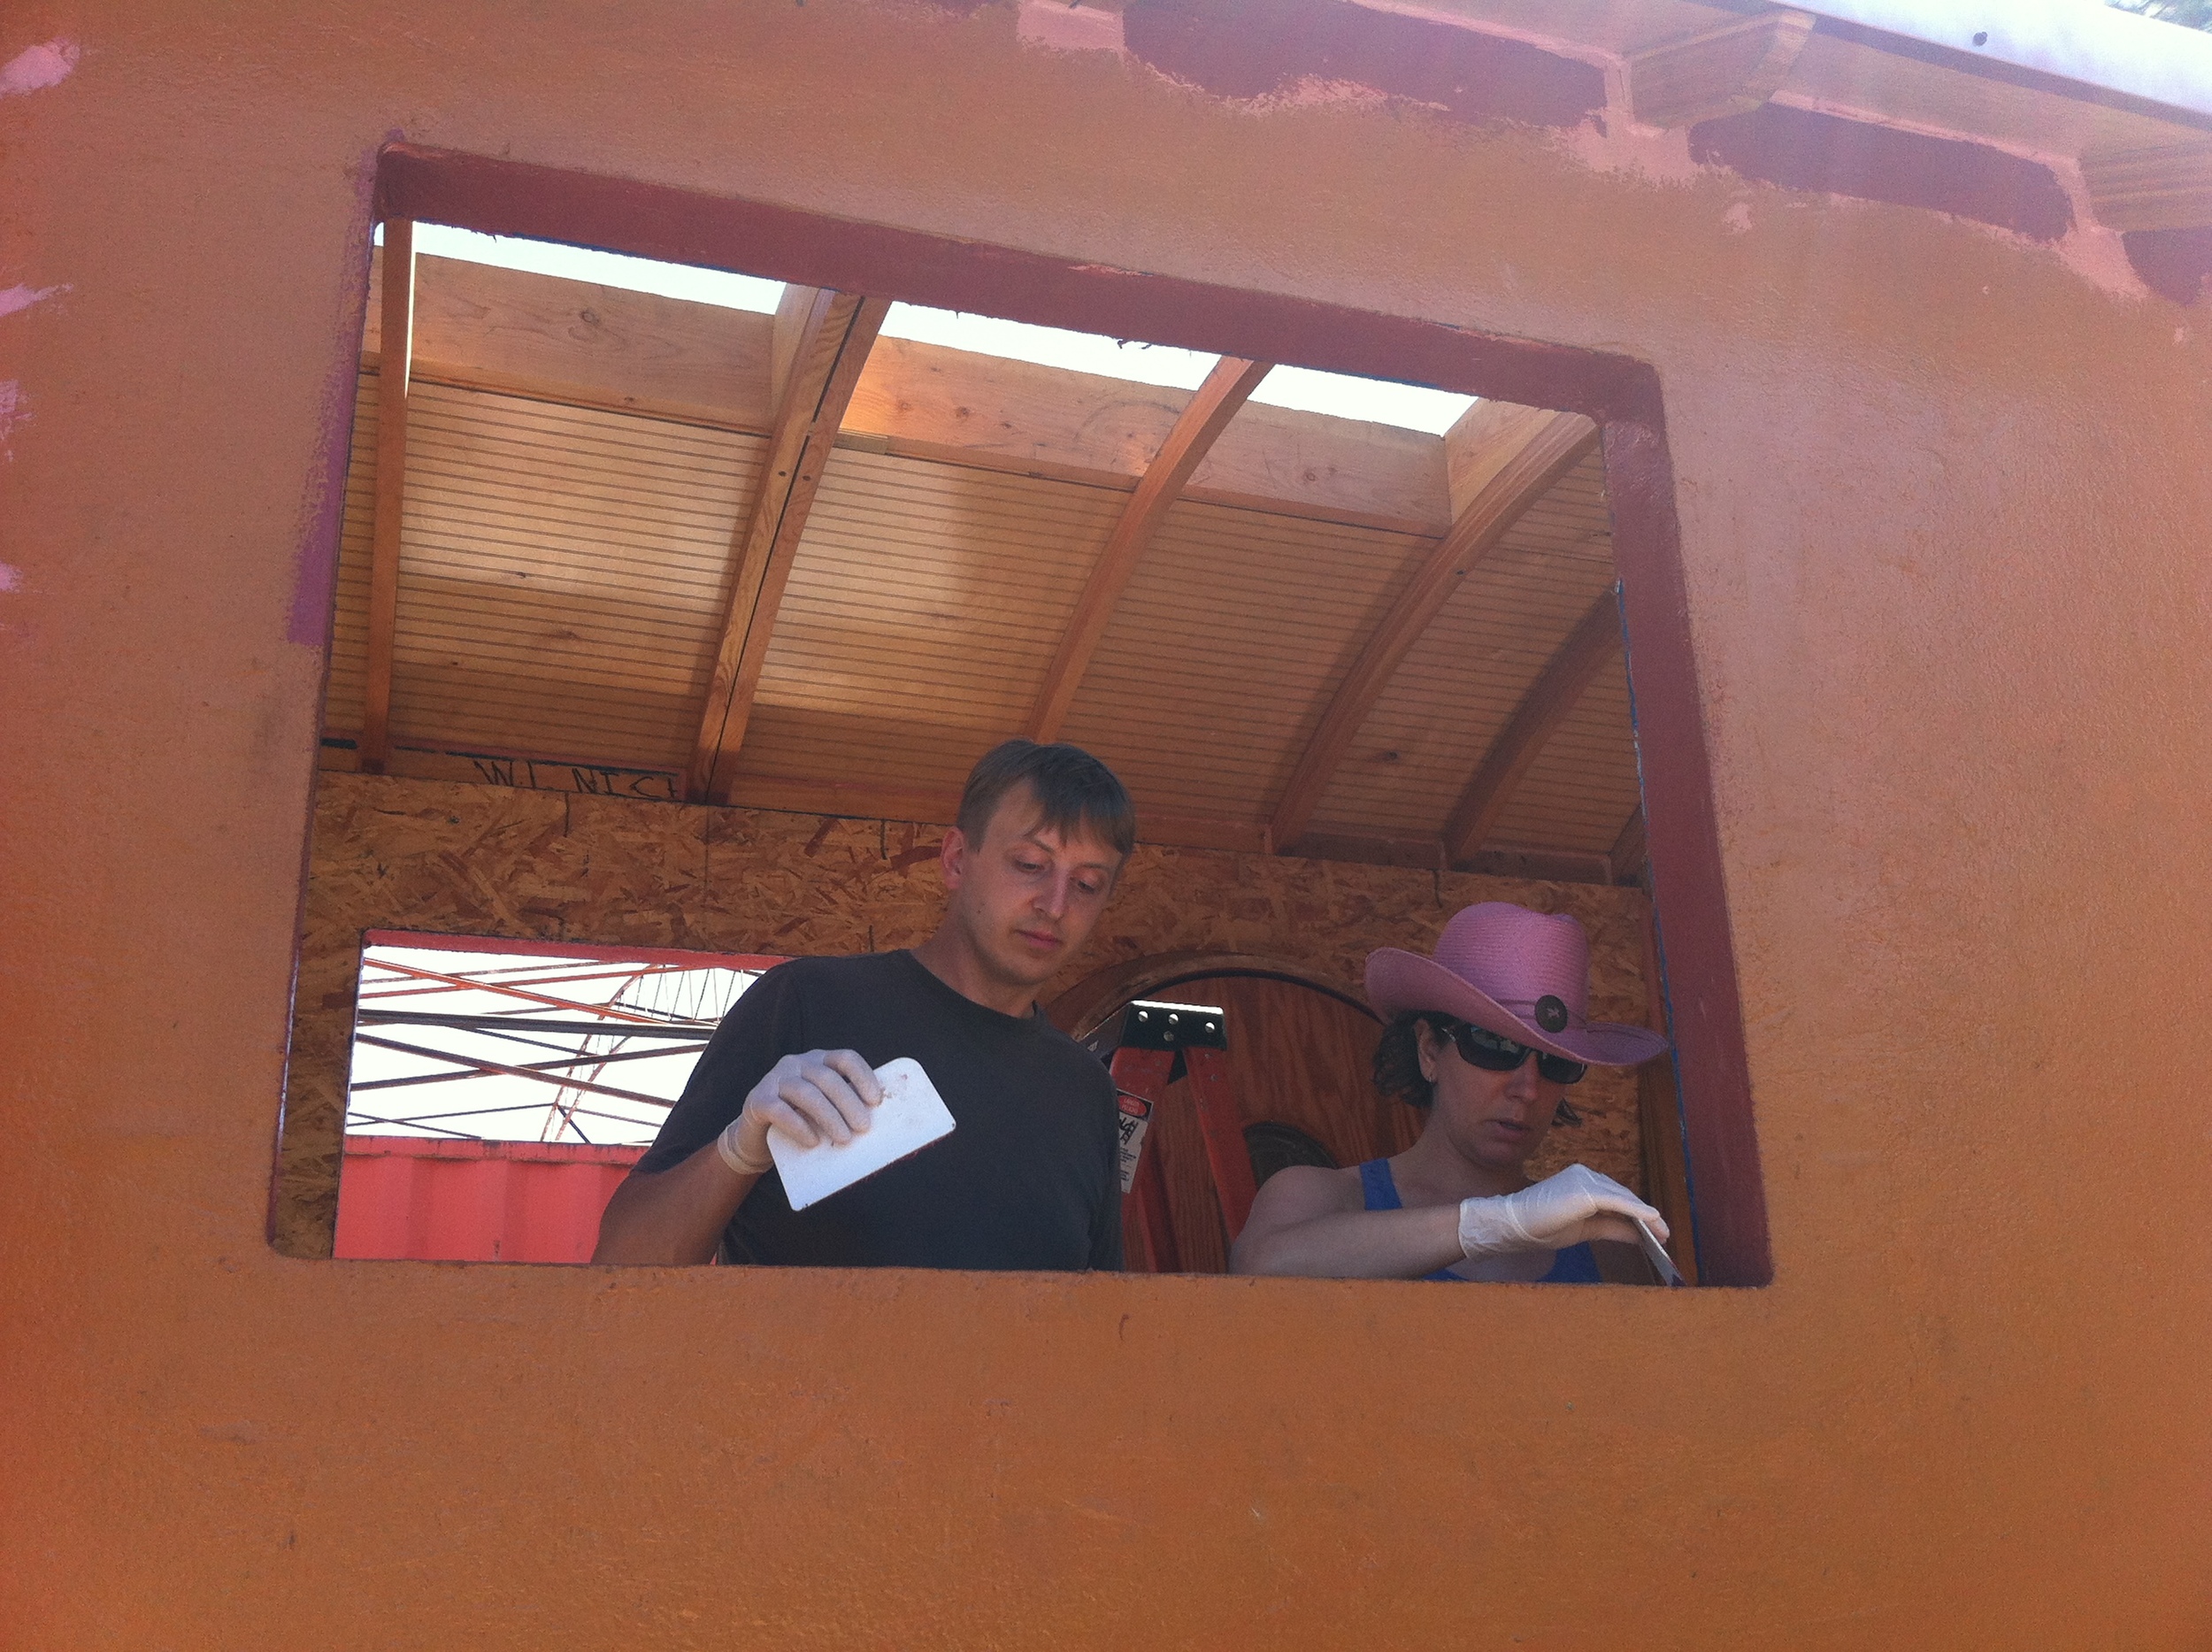
- Installed the beautiful windows (Tiny House Window Installation)
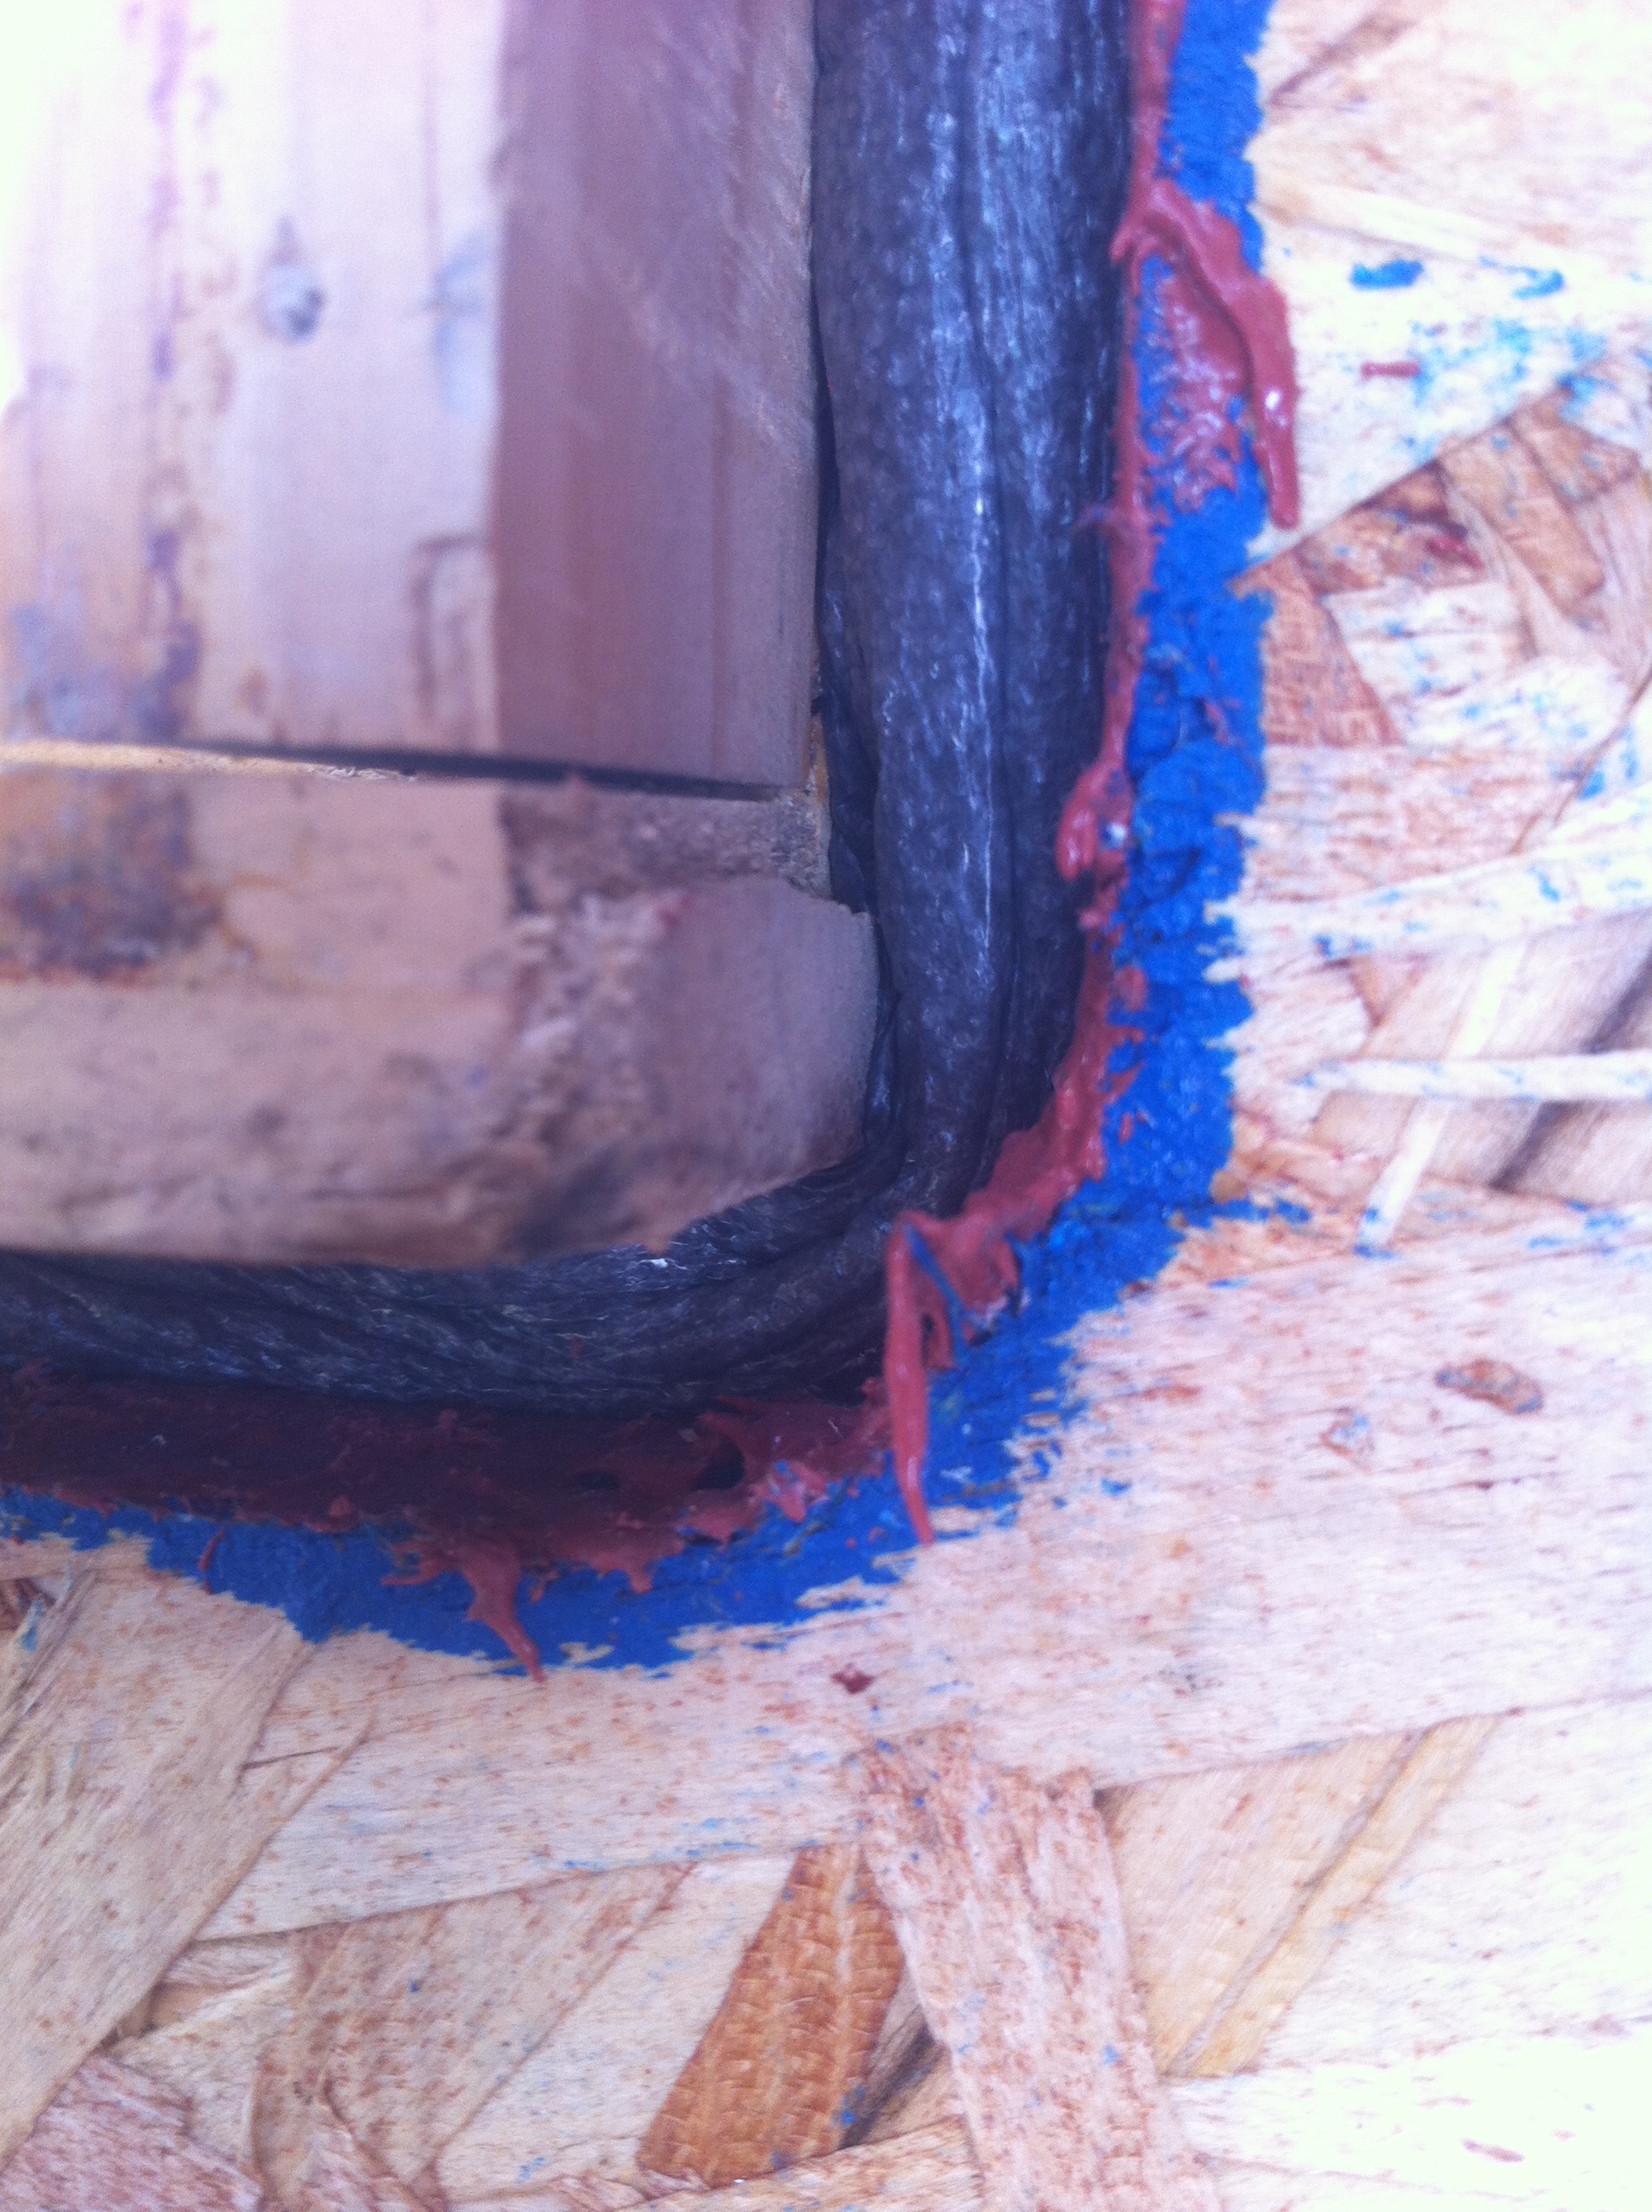
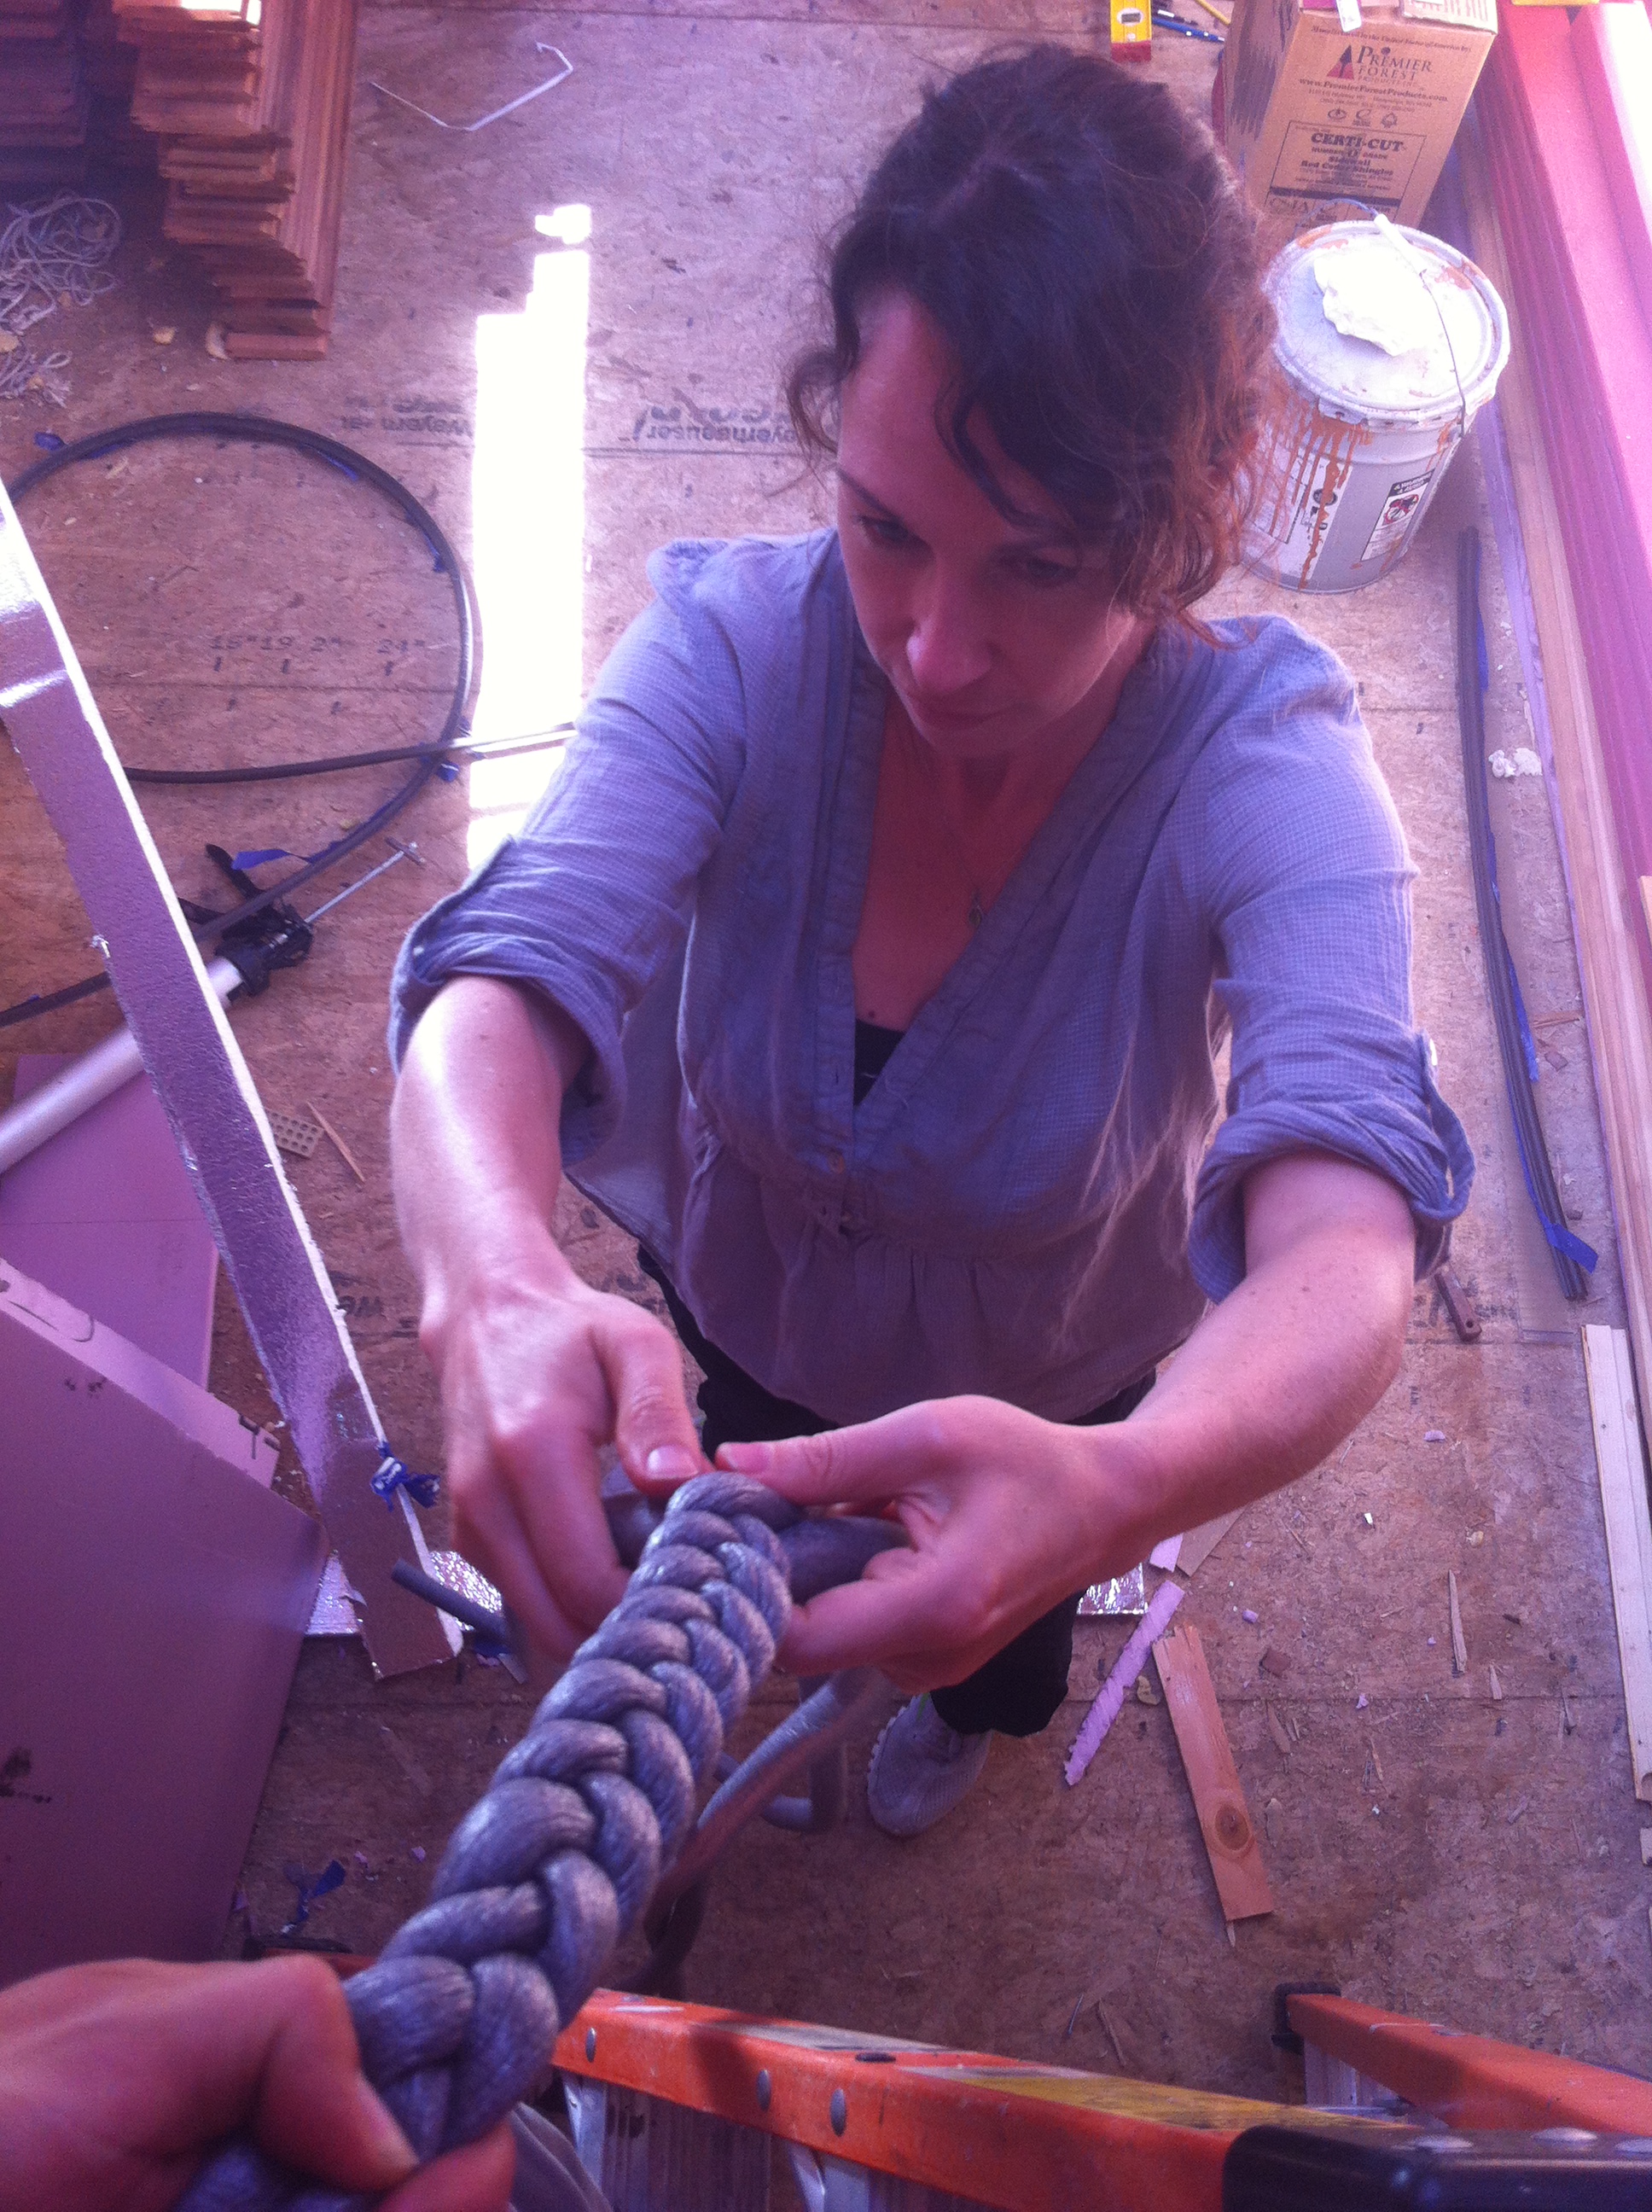
- Finished drying in the house with backerrod - and a pool noodle! (Tiny House Trim & Siding)
There are already 23 people who have contributed to my wee house in some way. I’m so grateful that my community has rallied around The Lucky Penny!
If you’d like to join in on the fun, please contact me. If you can’t make it out to help, but you’d like to Support the Lucky Penny, you can contribute via The Lucky Penny Wish List or send me notes of encouragement on Facebook. Thanks everyone!
Tiny House Rain Screen
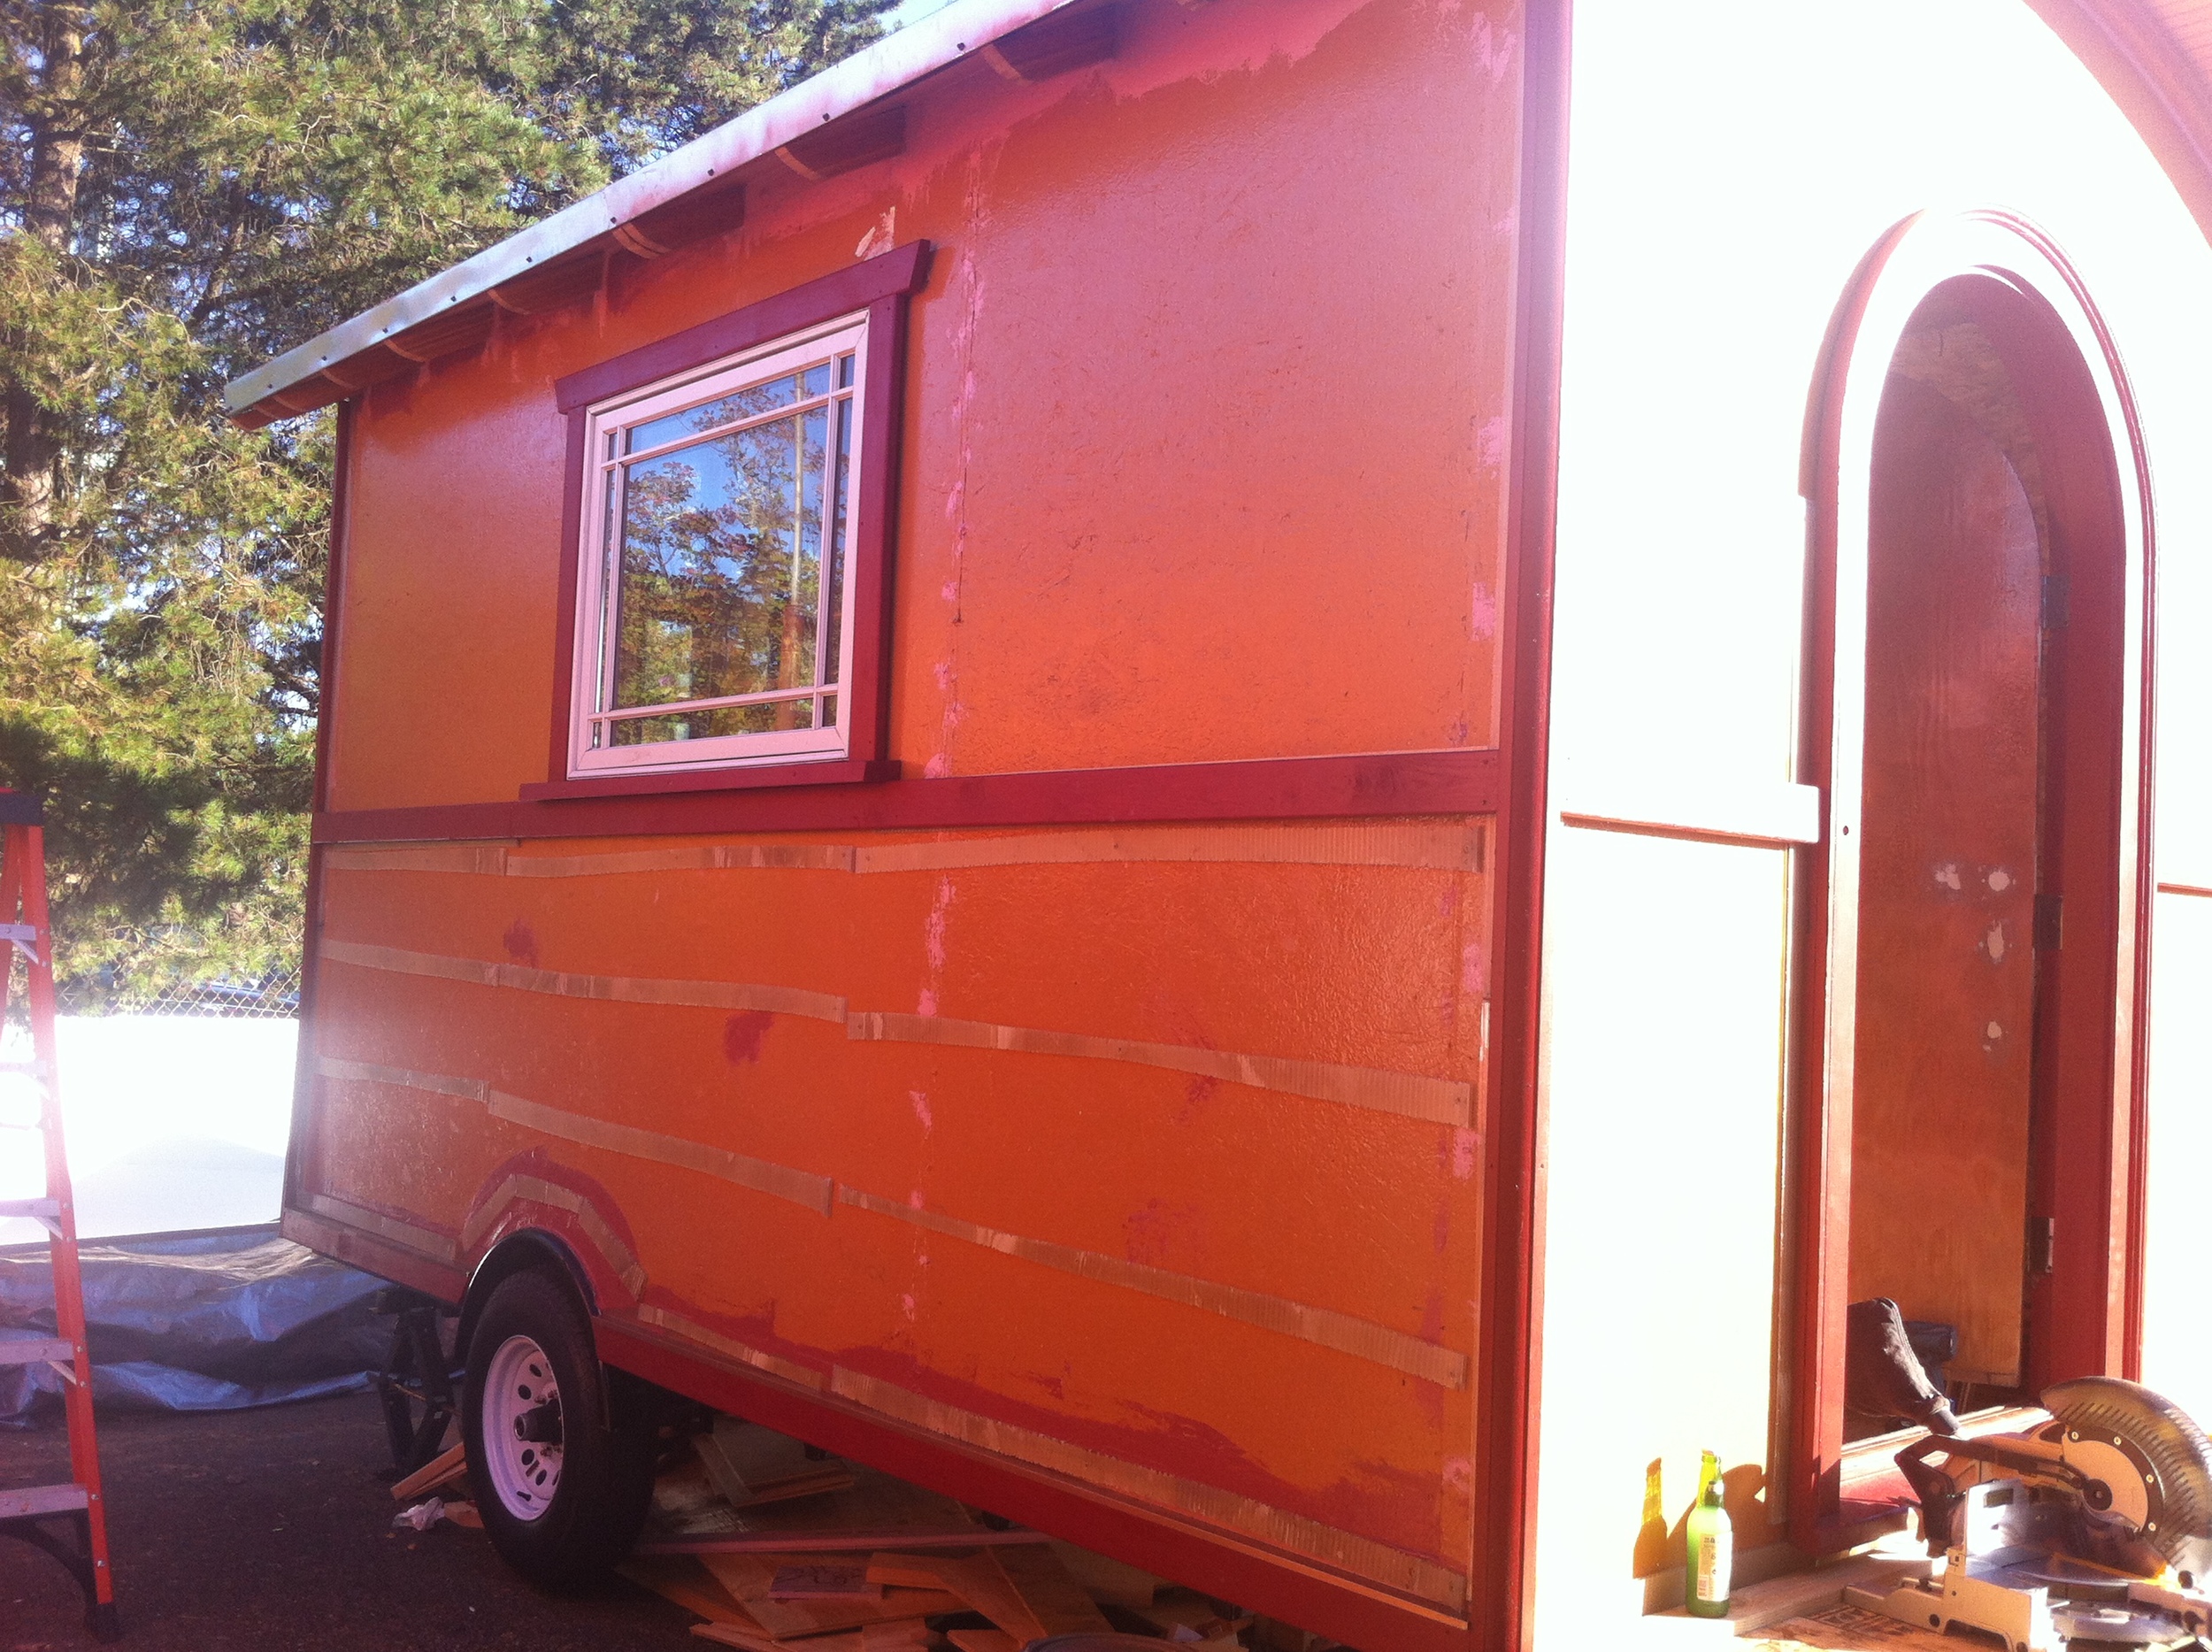 Let’s talk about rain screens for a moment. In the Pacific Northwest rain screens are recommended because they prevent siding from rotting by draining away water that gets behind the siding. (Note that I didn't say any water that might get behind the siding. Around here we figure that water will get behind the siding!)
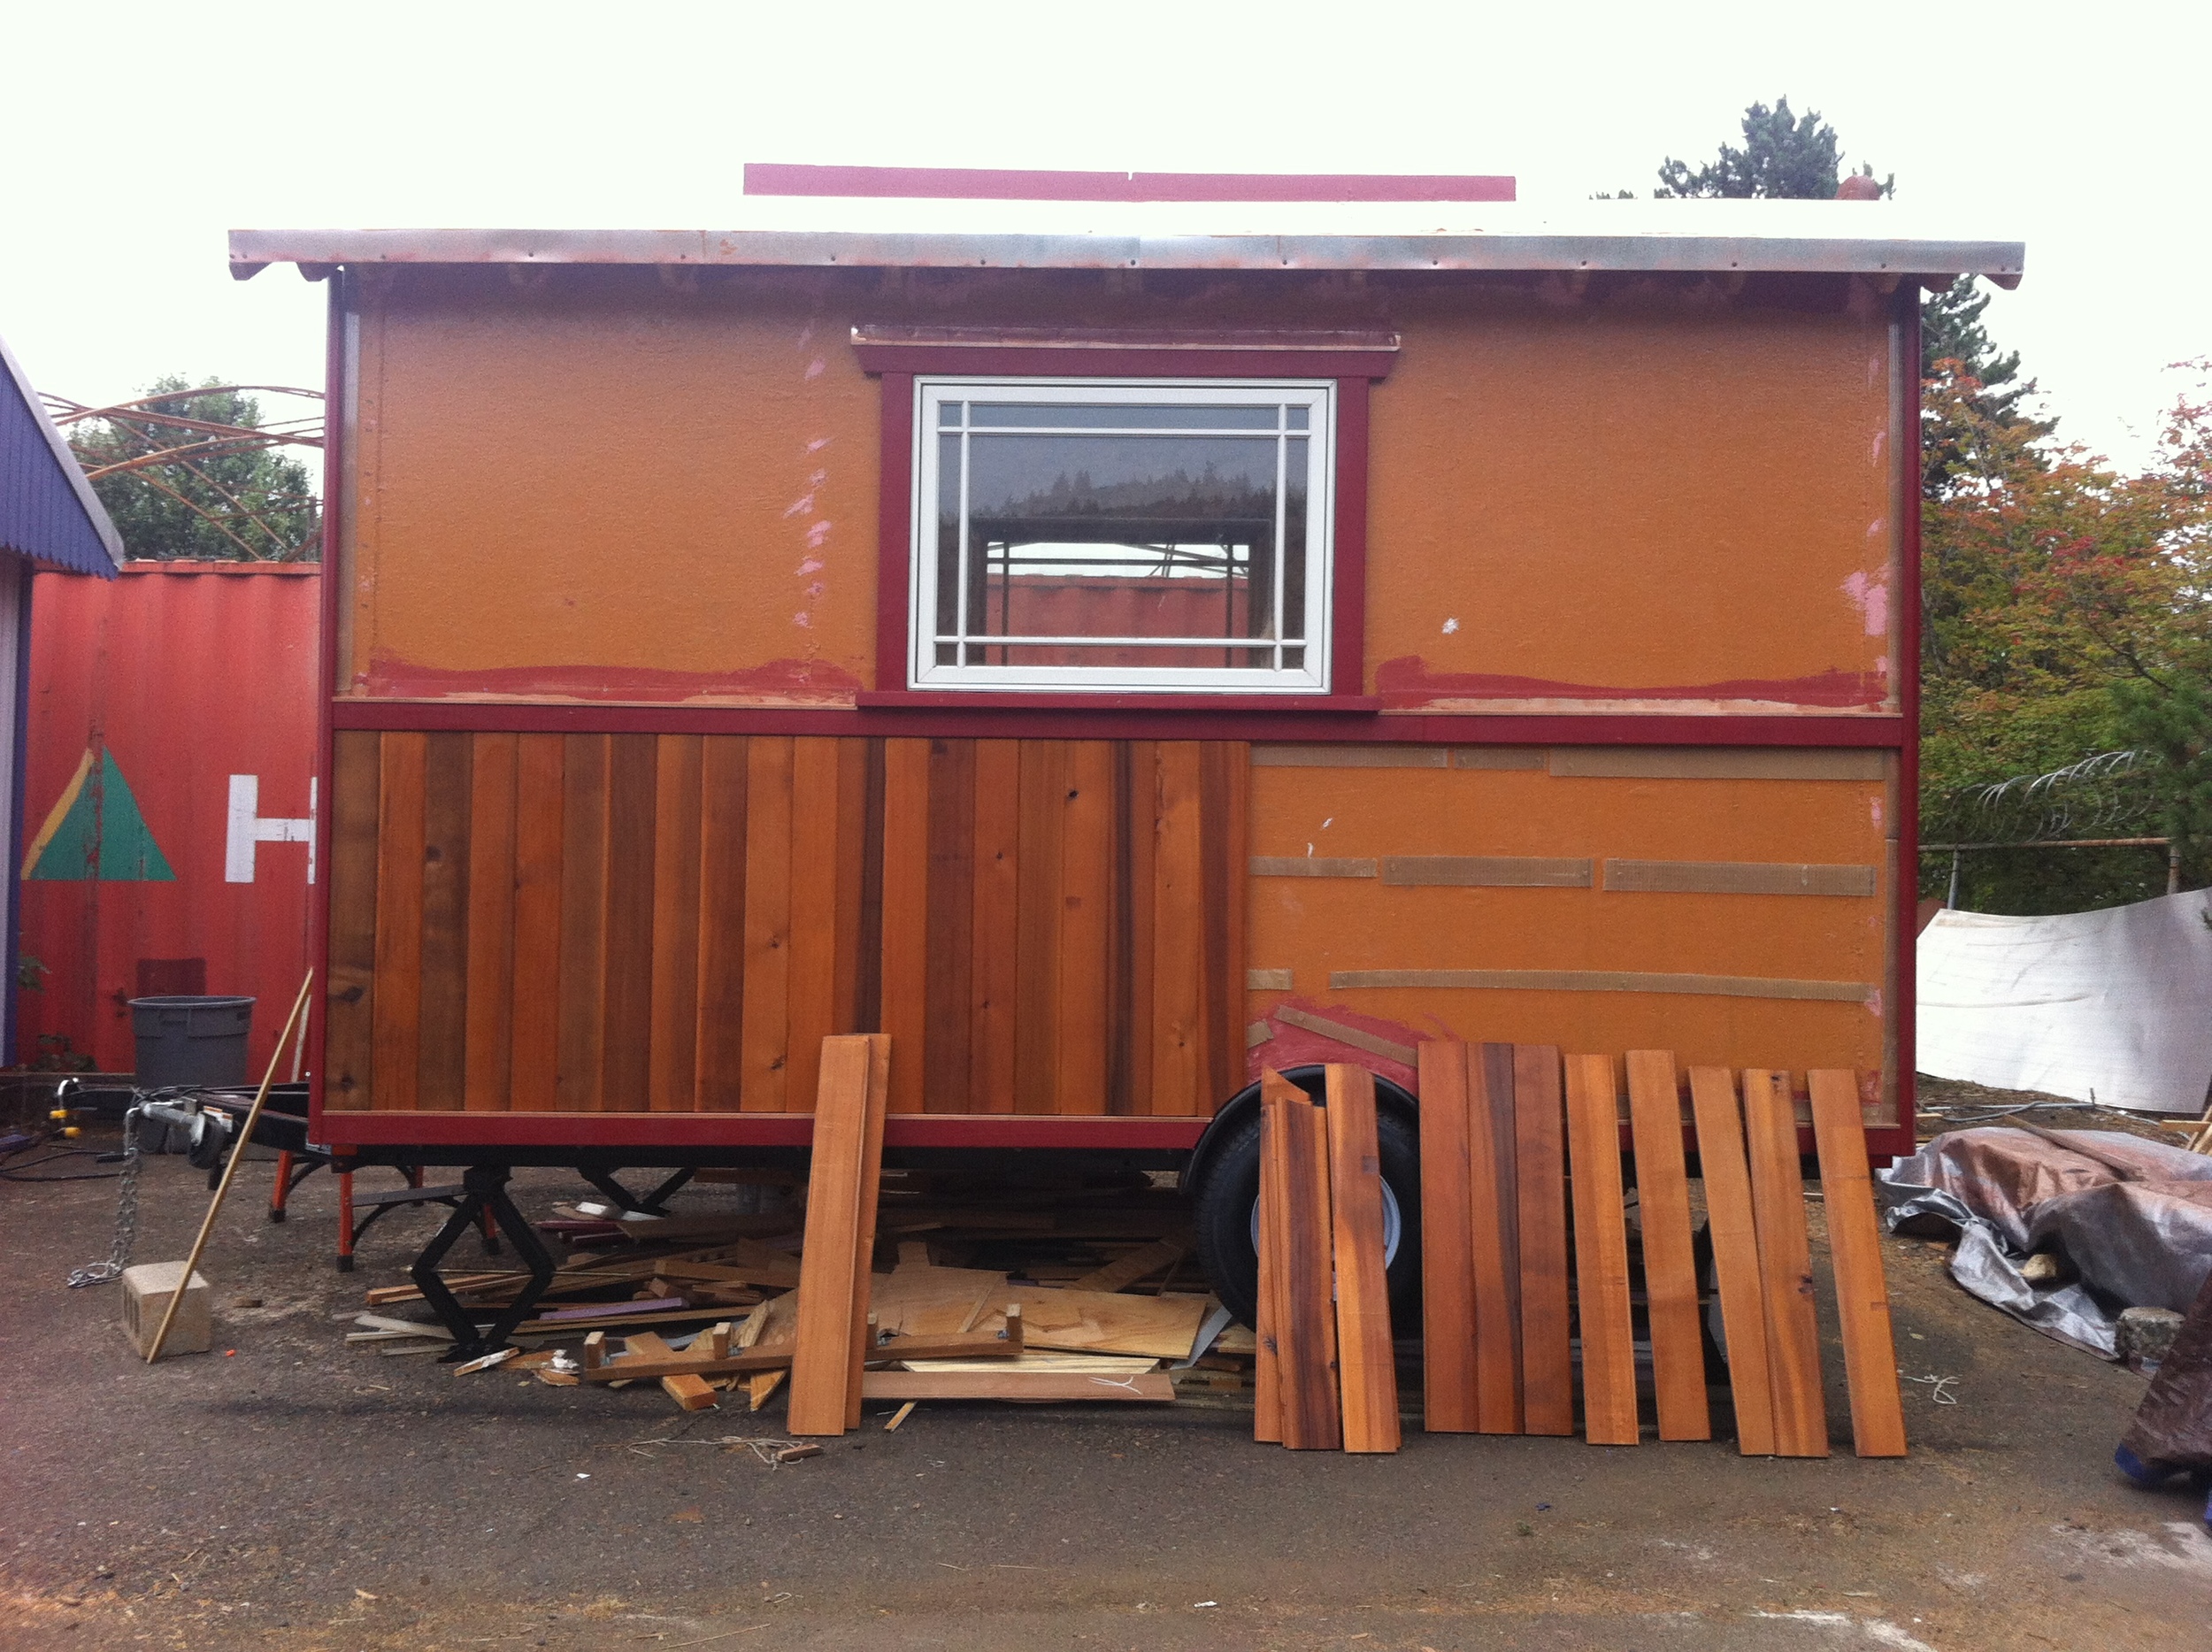
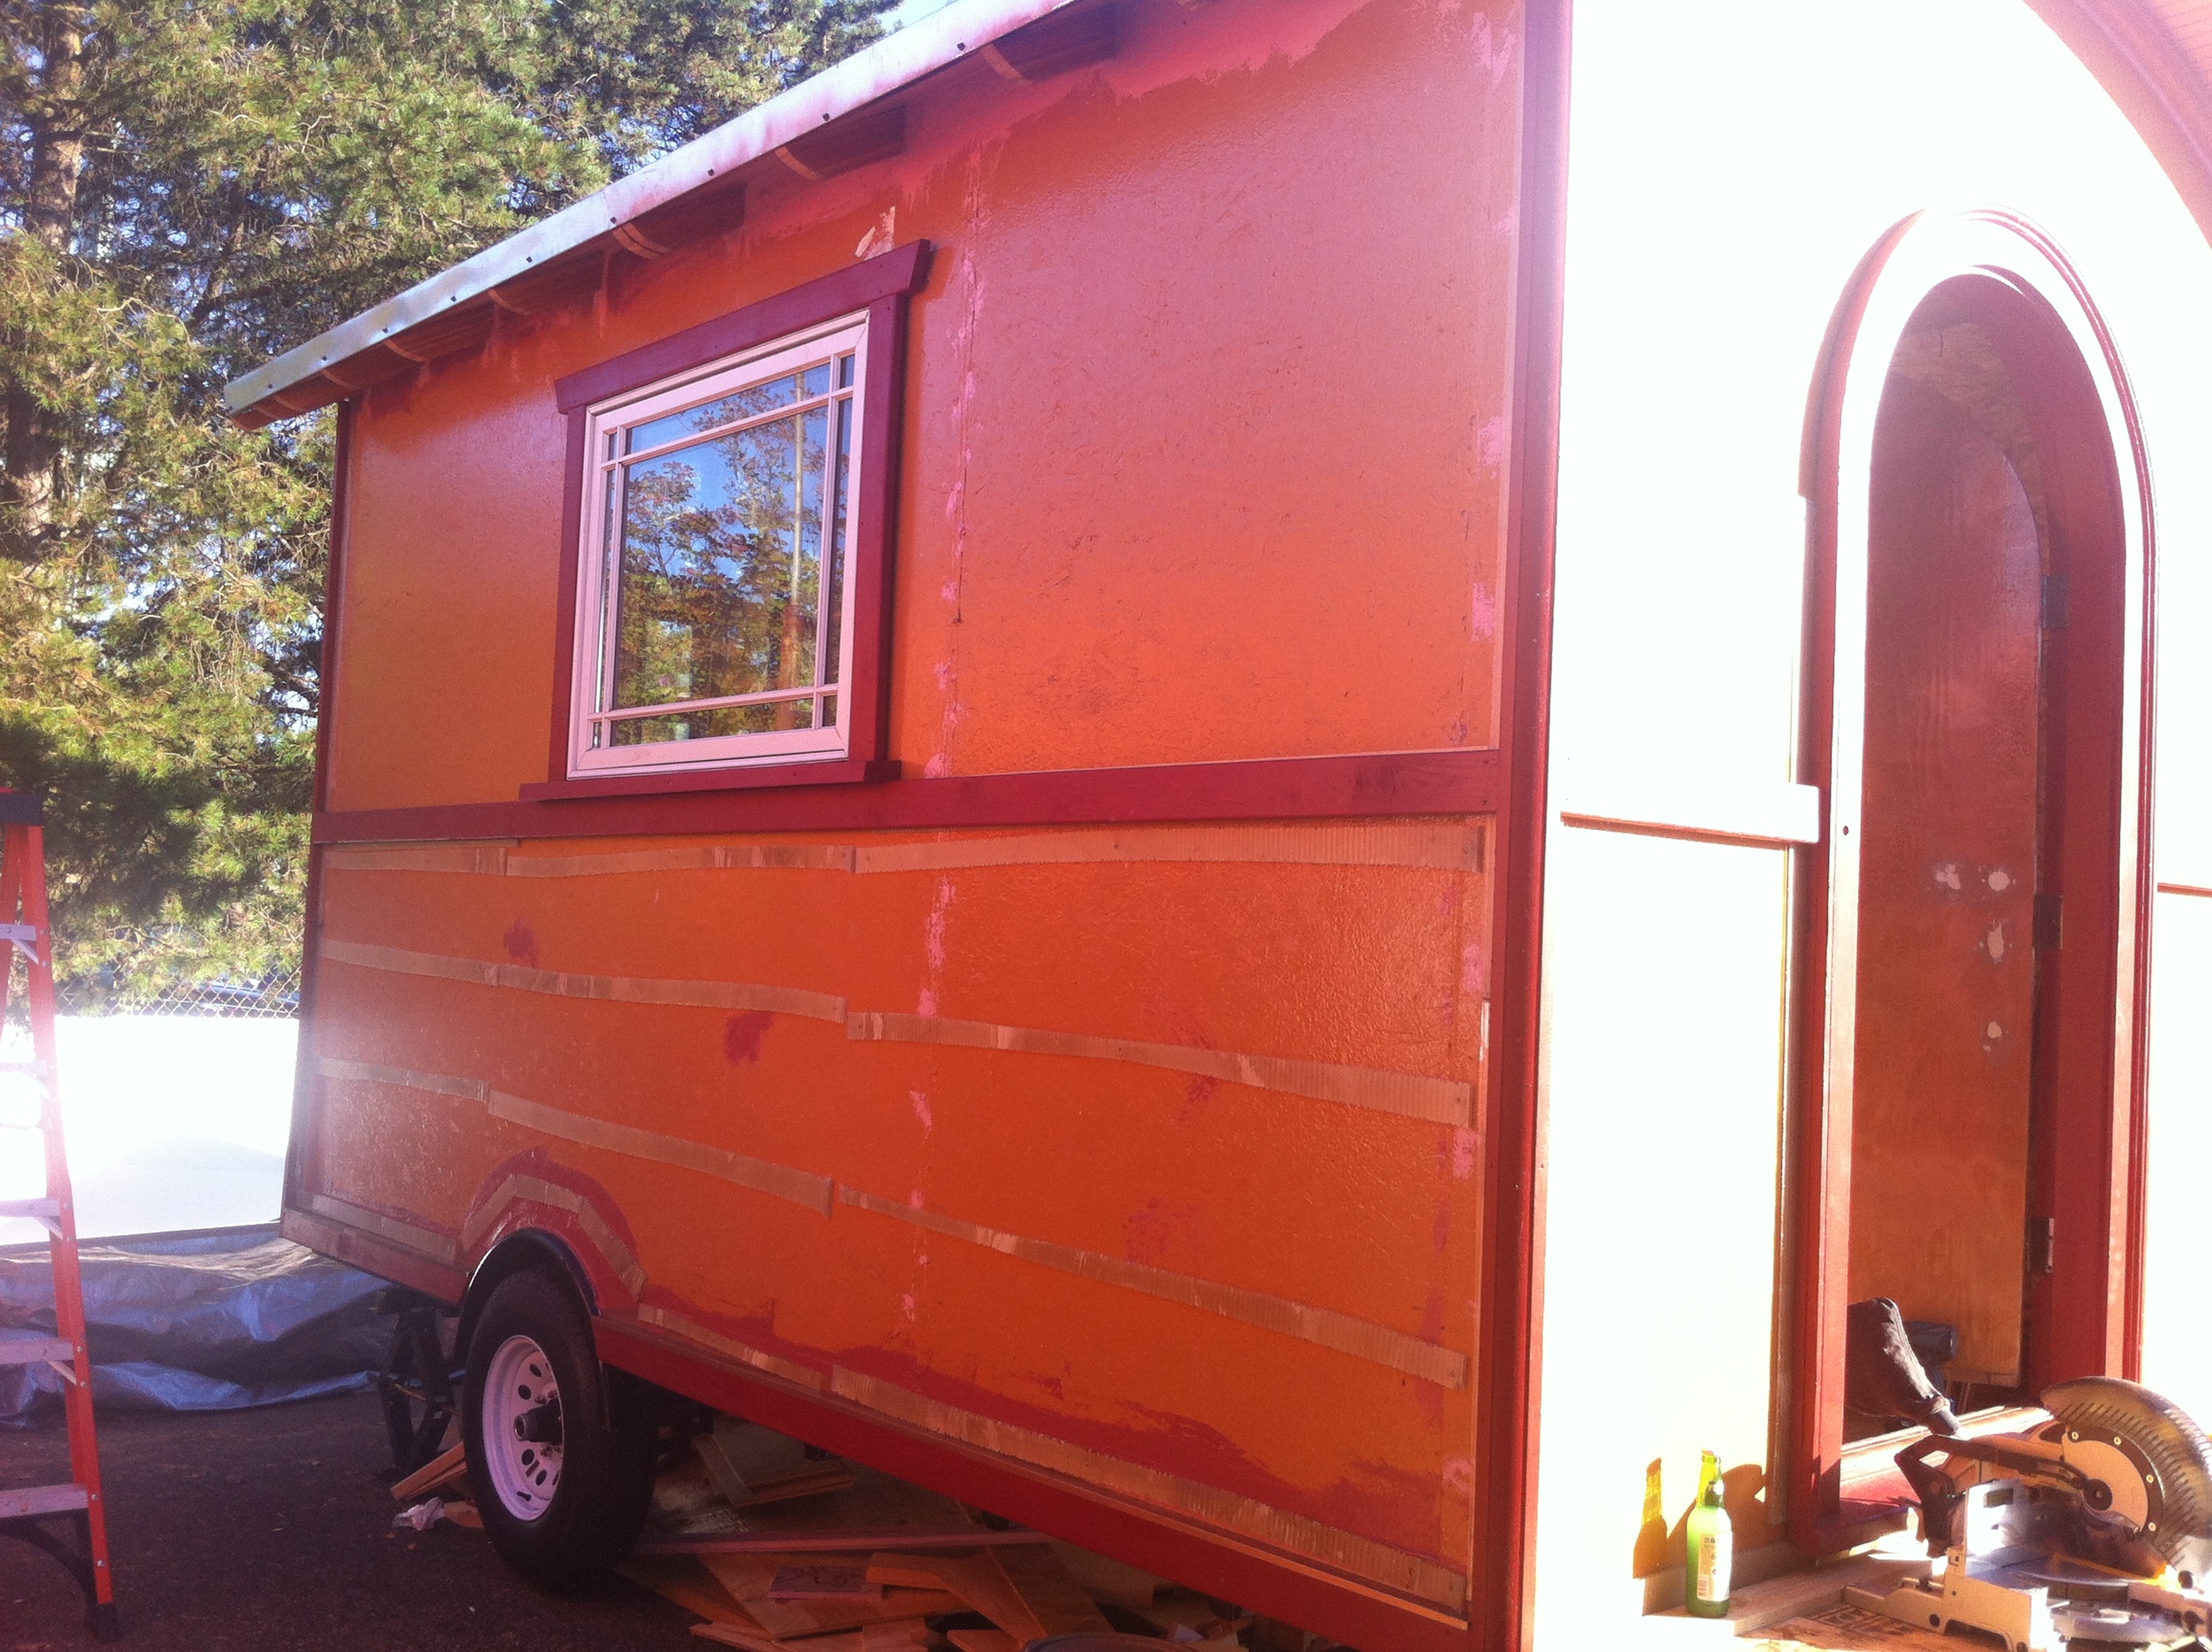
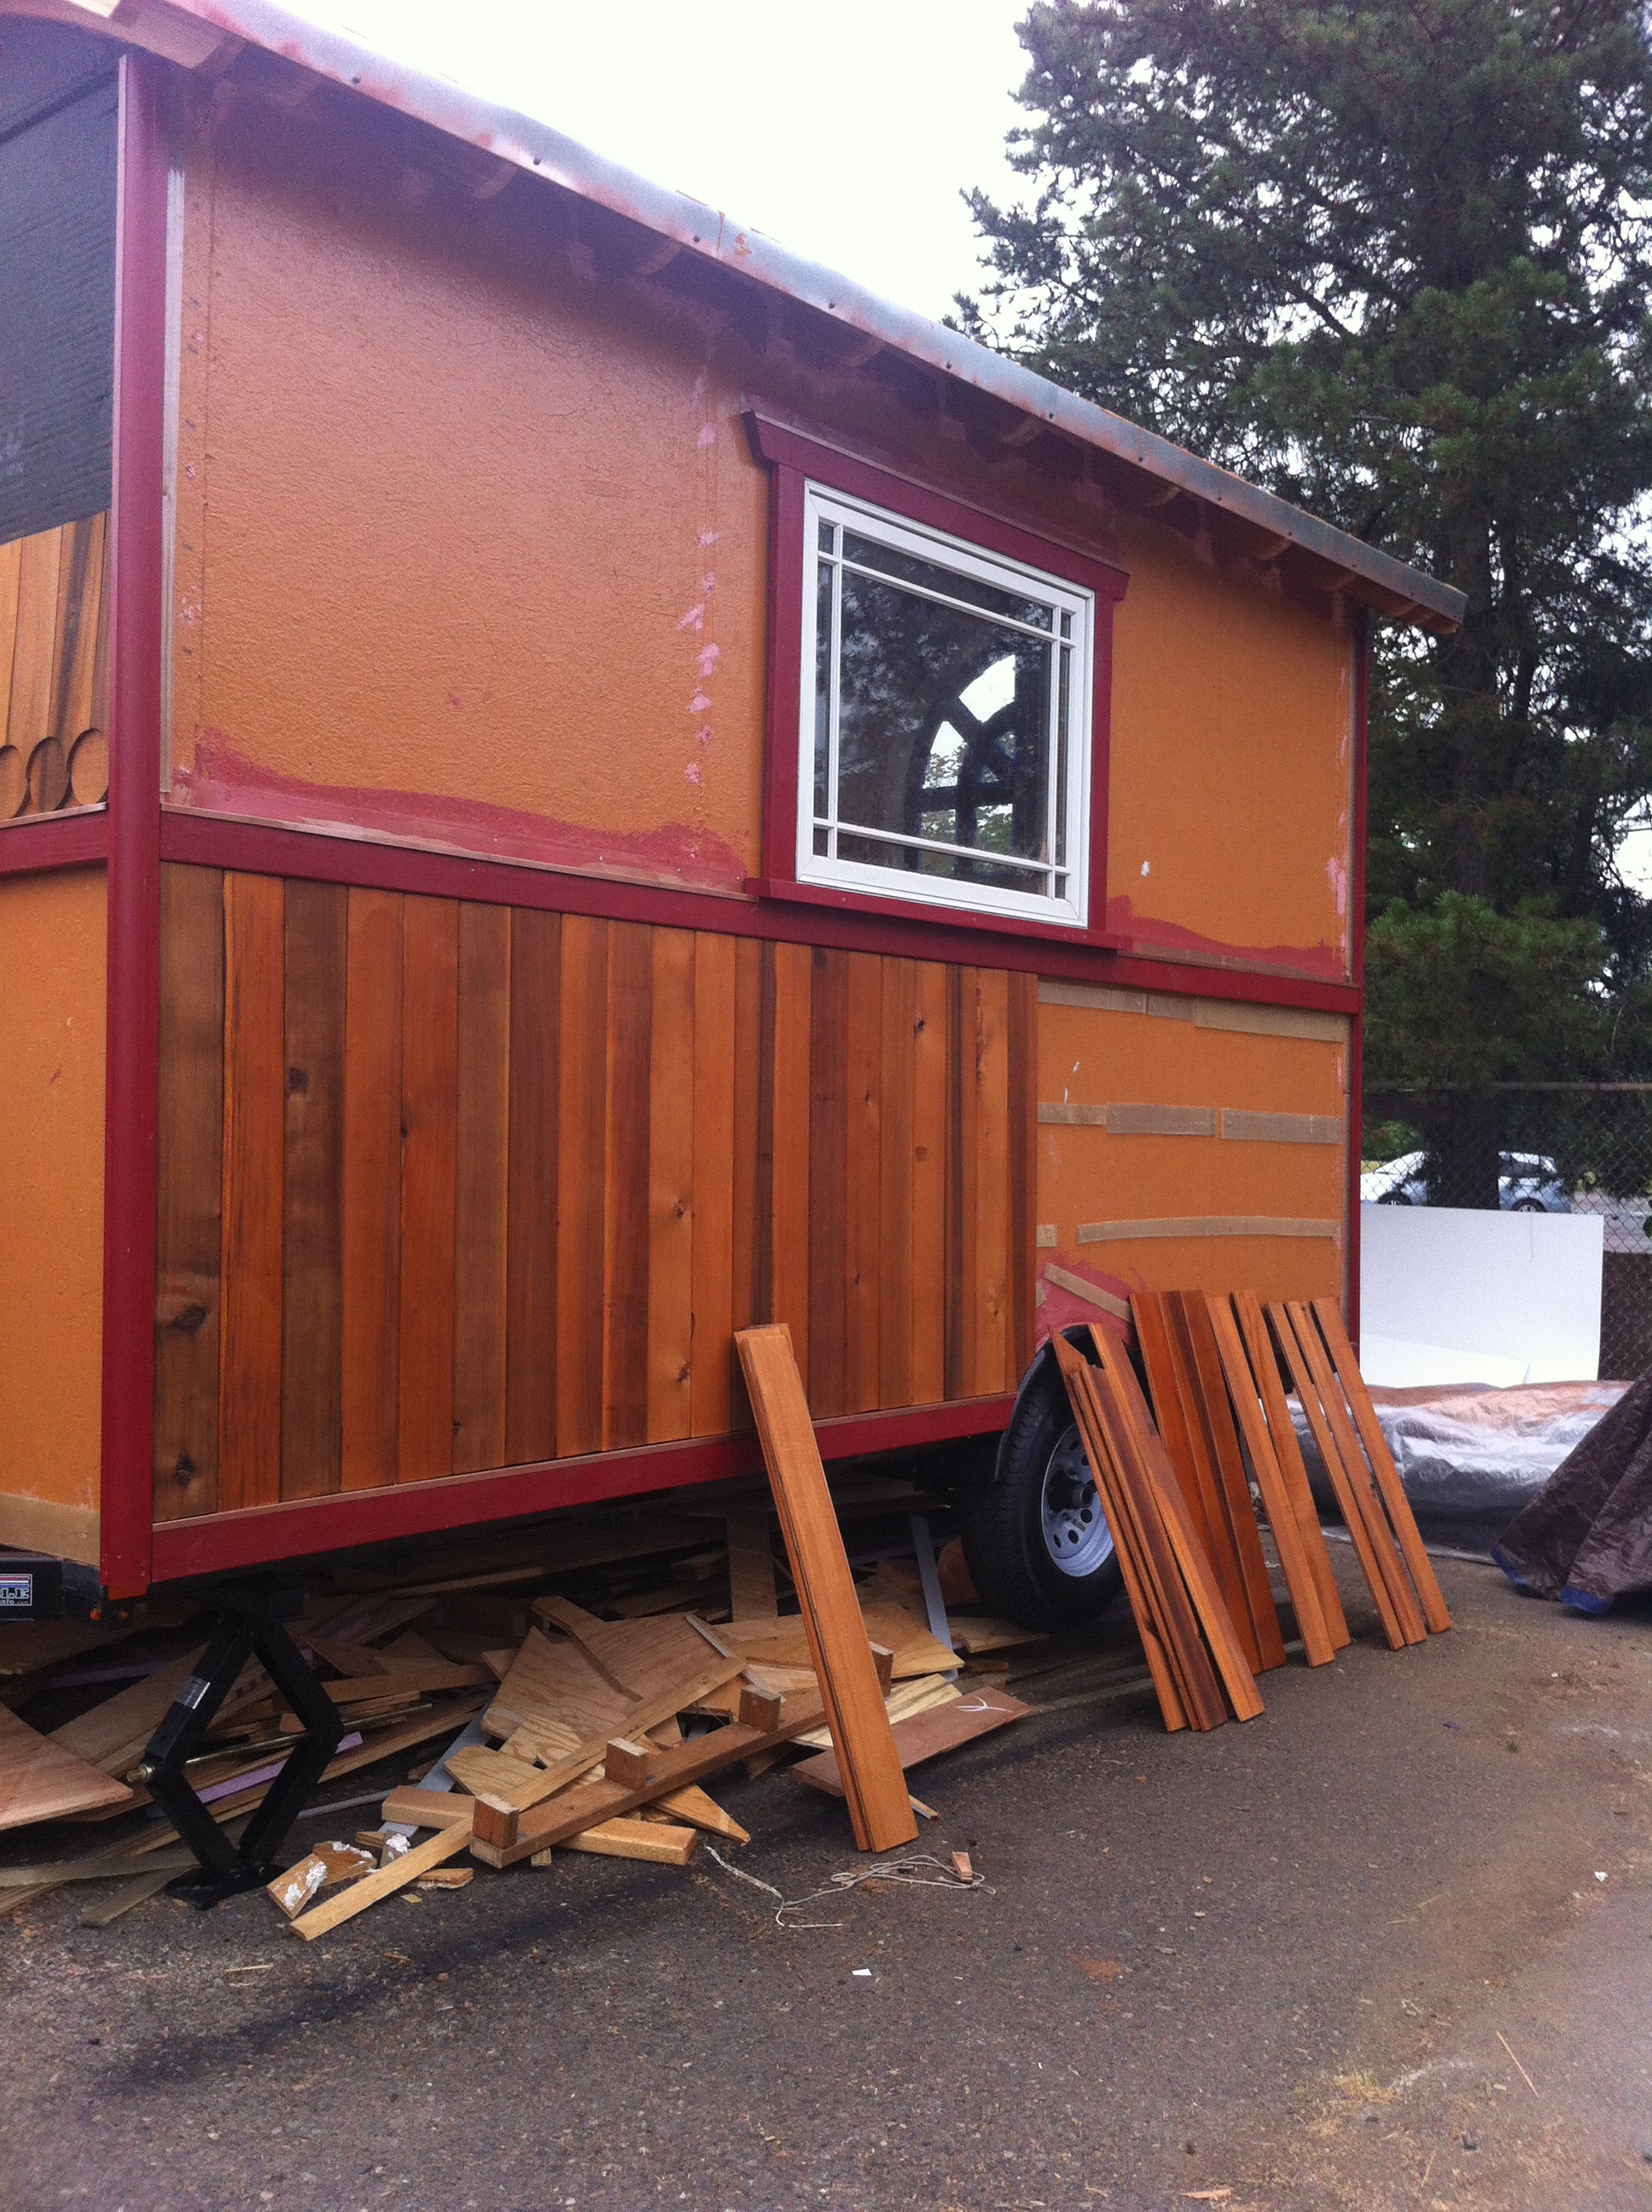
The most common system is to install vertical wood furring strips over house wrap (or over the exterior insulation if you’re doing an exterior insulation system like my build buddy Laura Klement). However, since I am installing vertical tongue and groove cedar siding, I had to do a horizontal rain screen system between my bottom band and belly band. And when you do a horizontal system you need it to be permeable so that water can drain away.
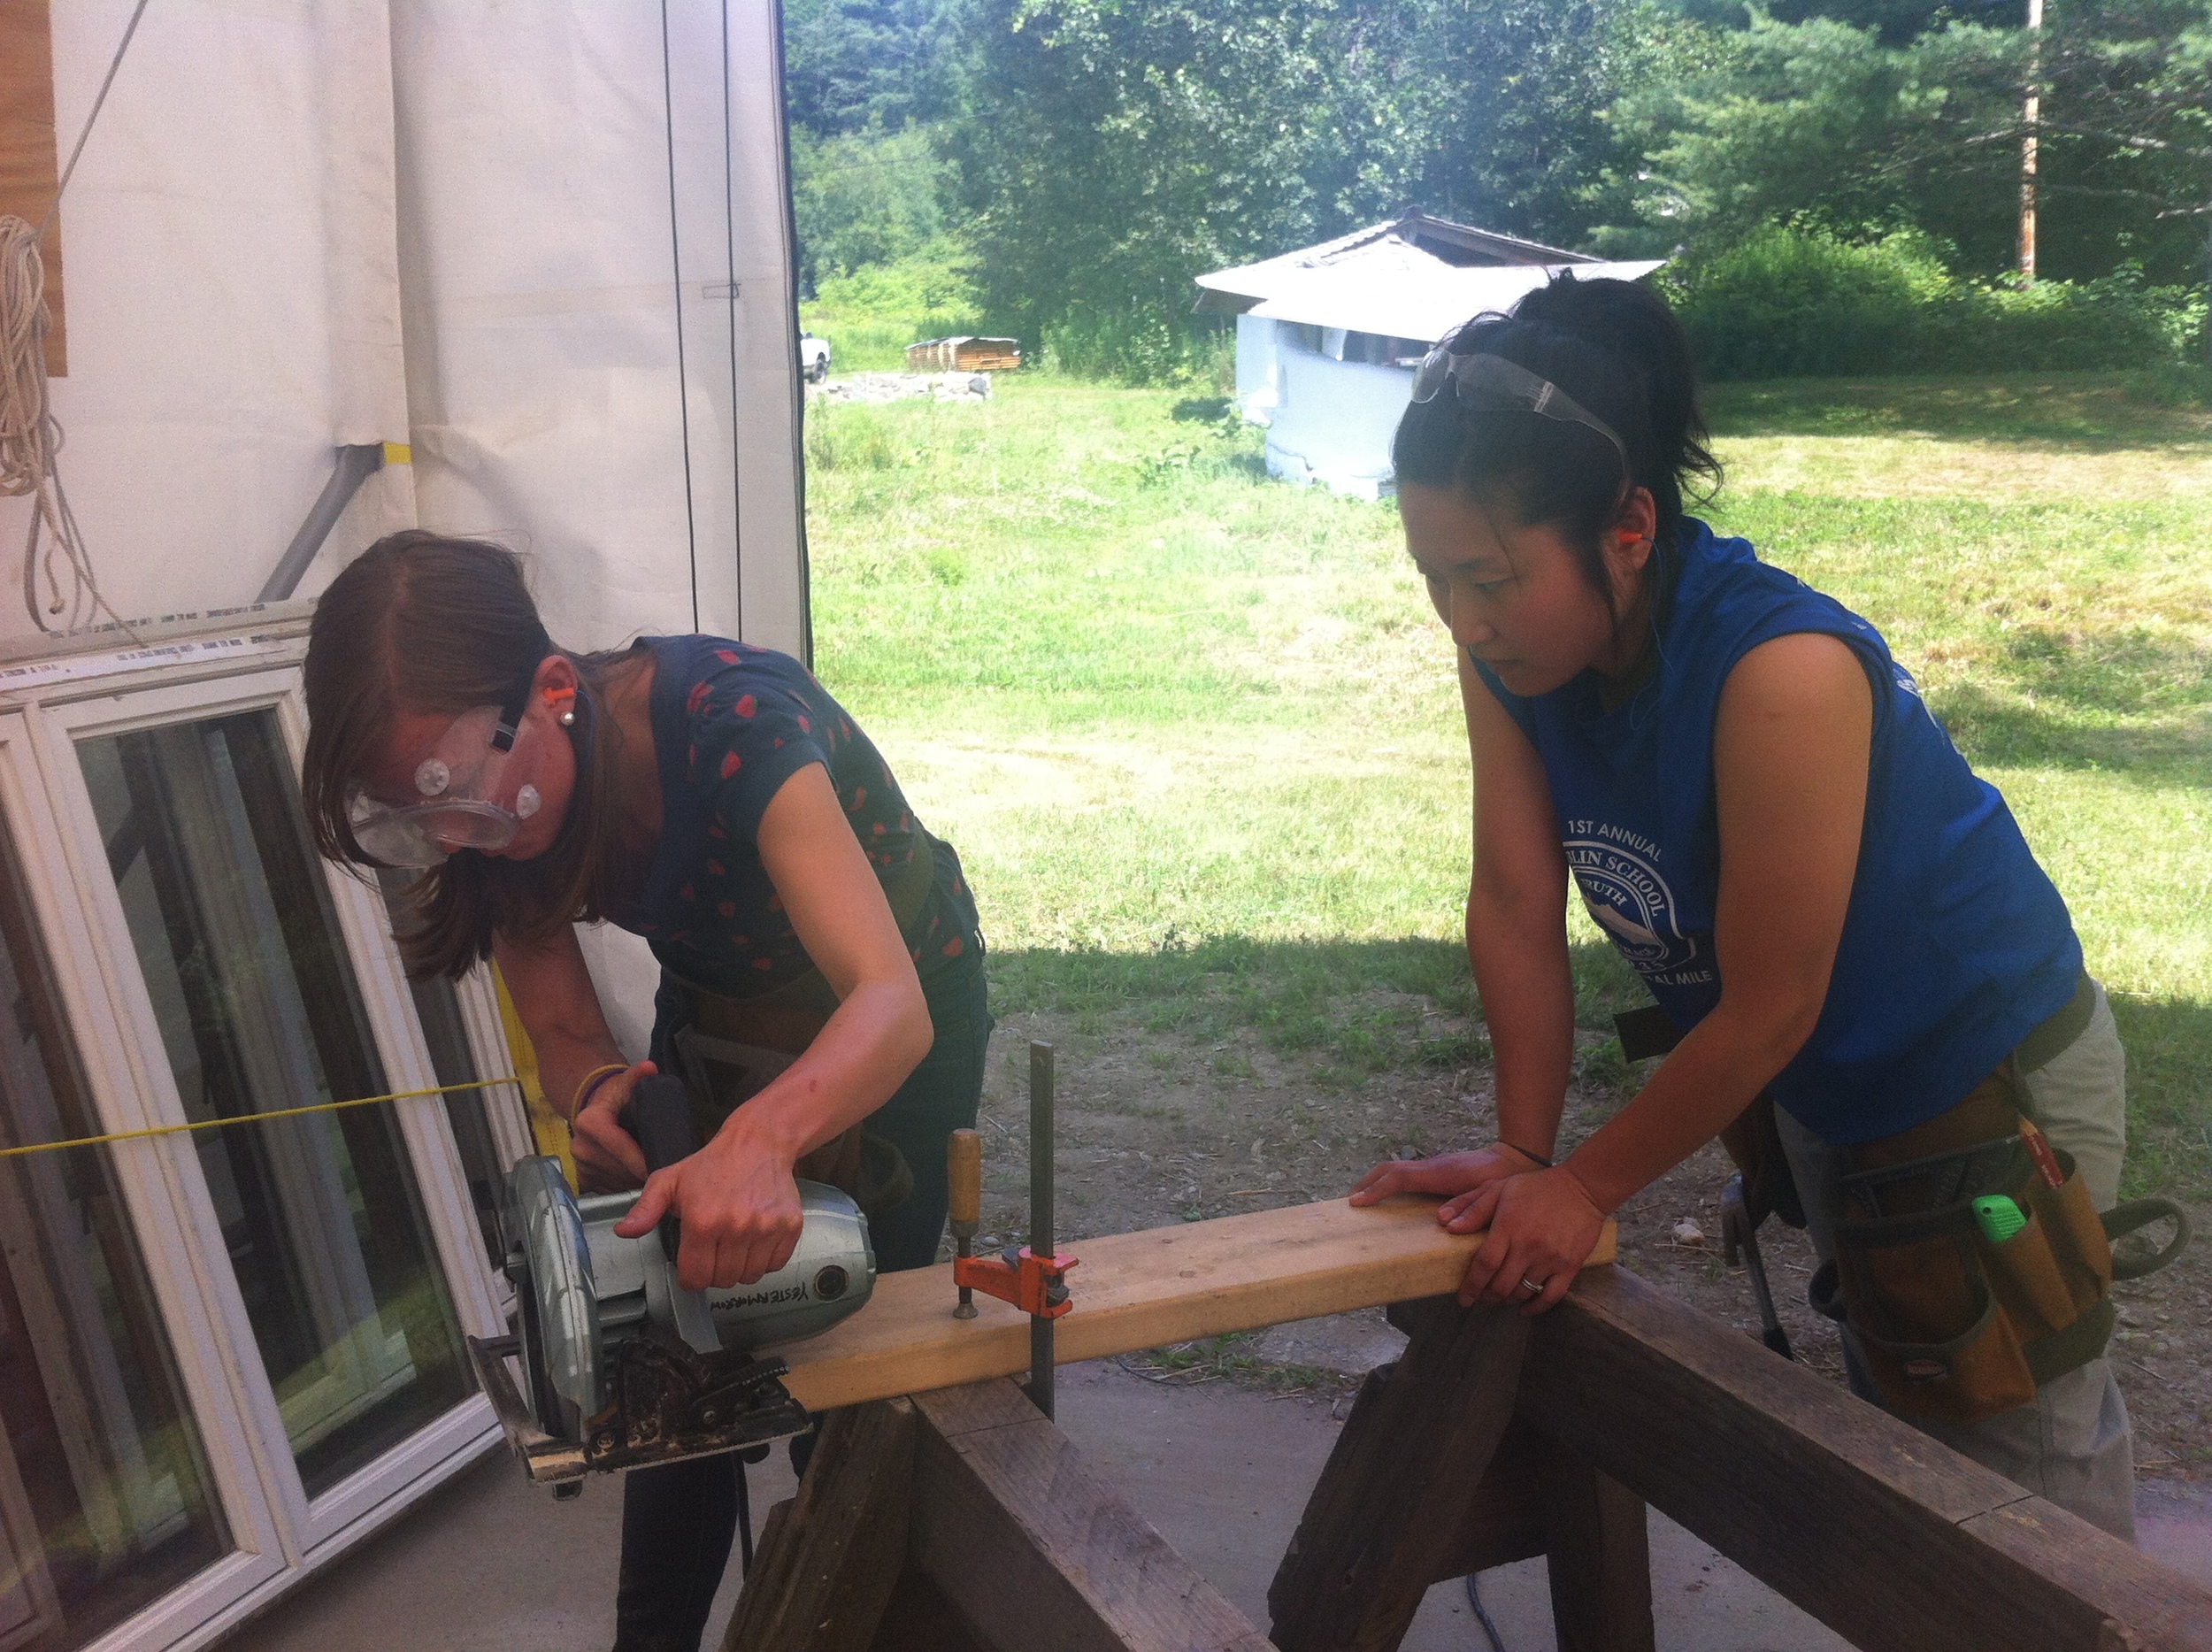
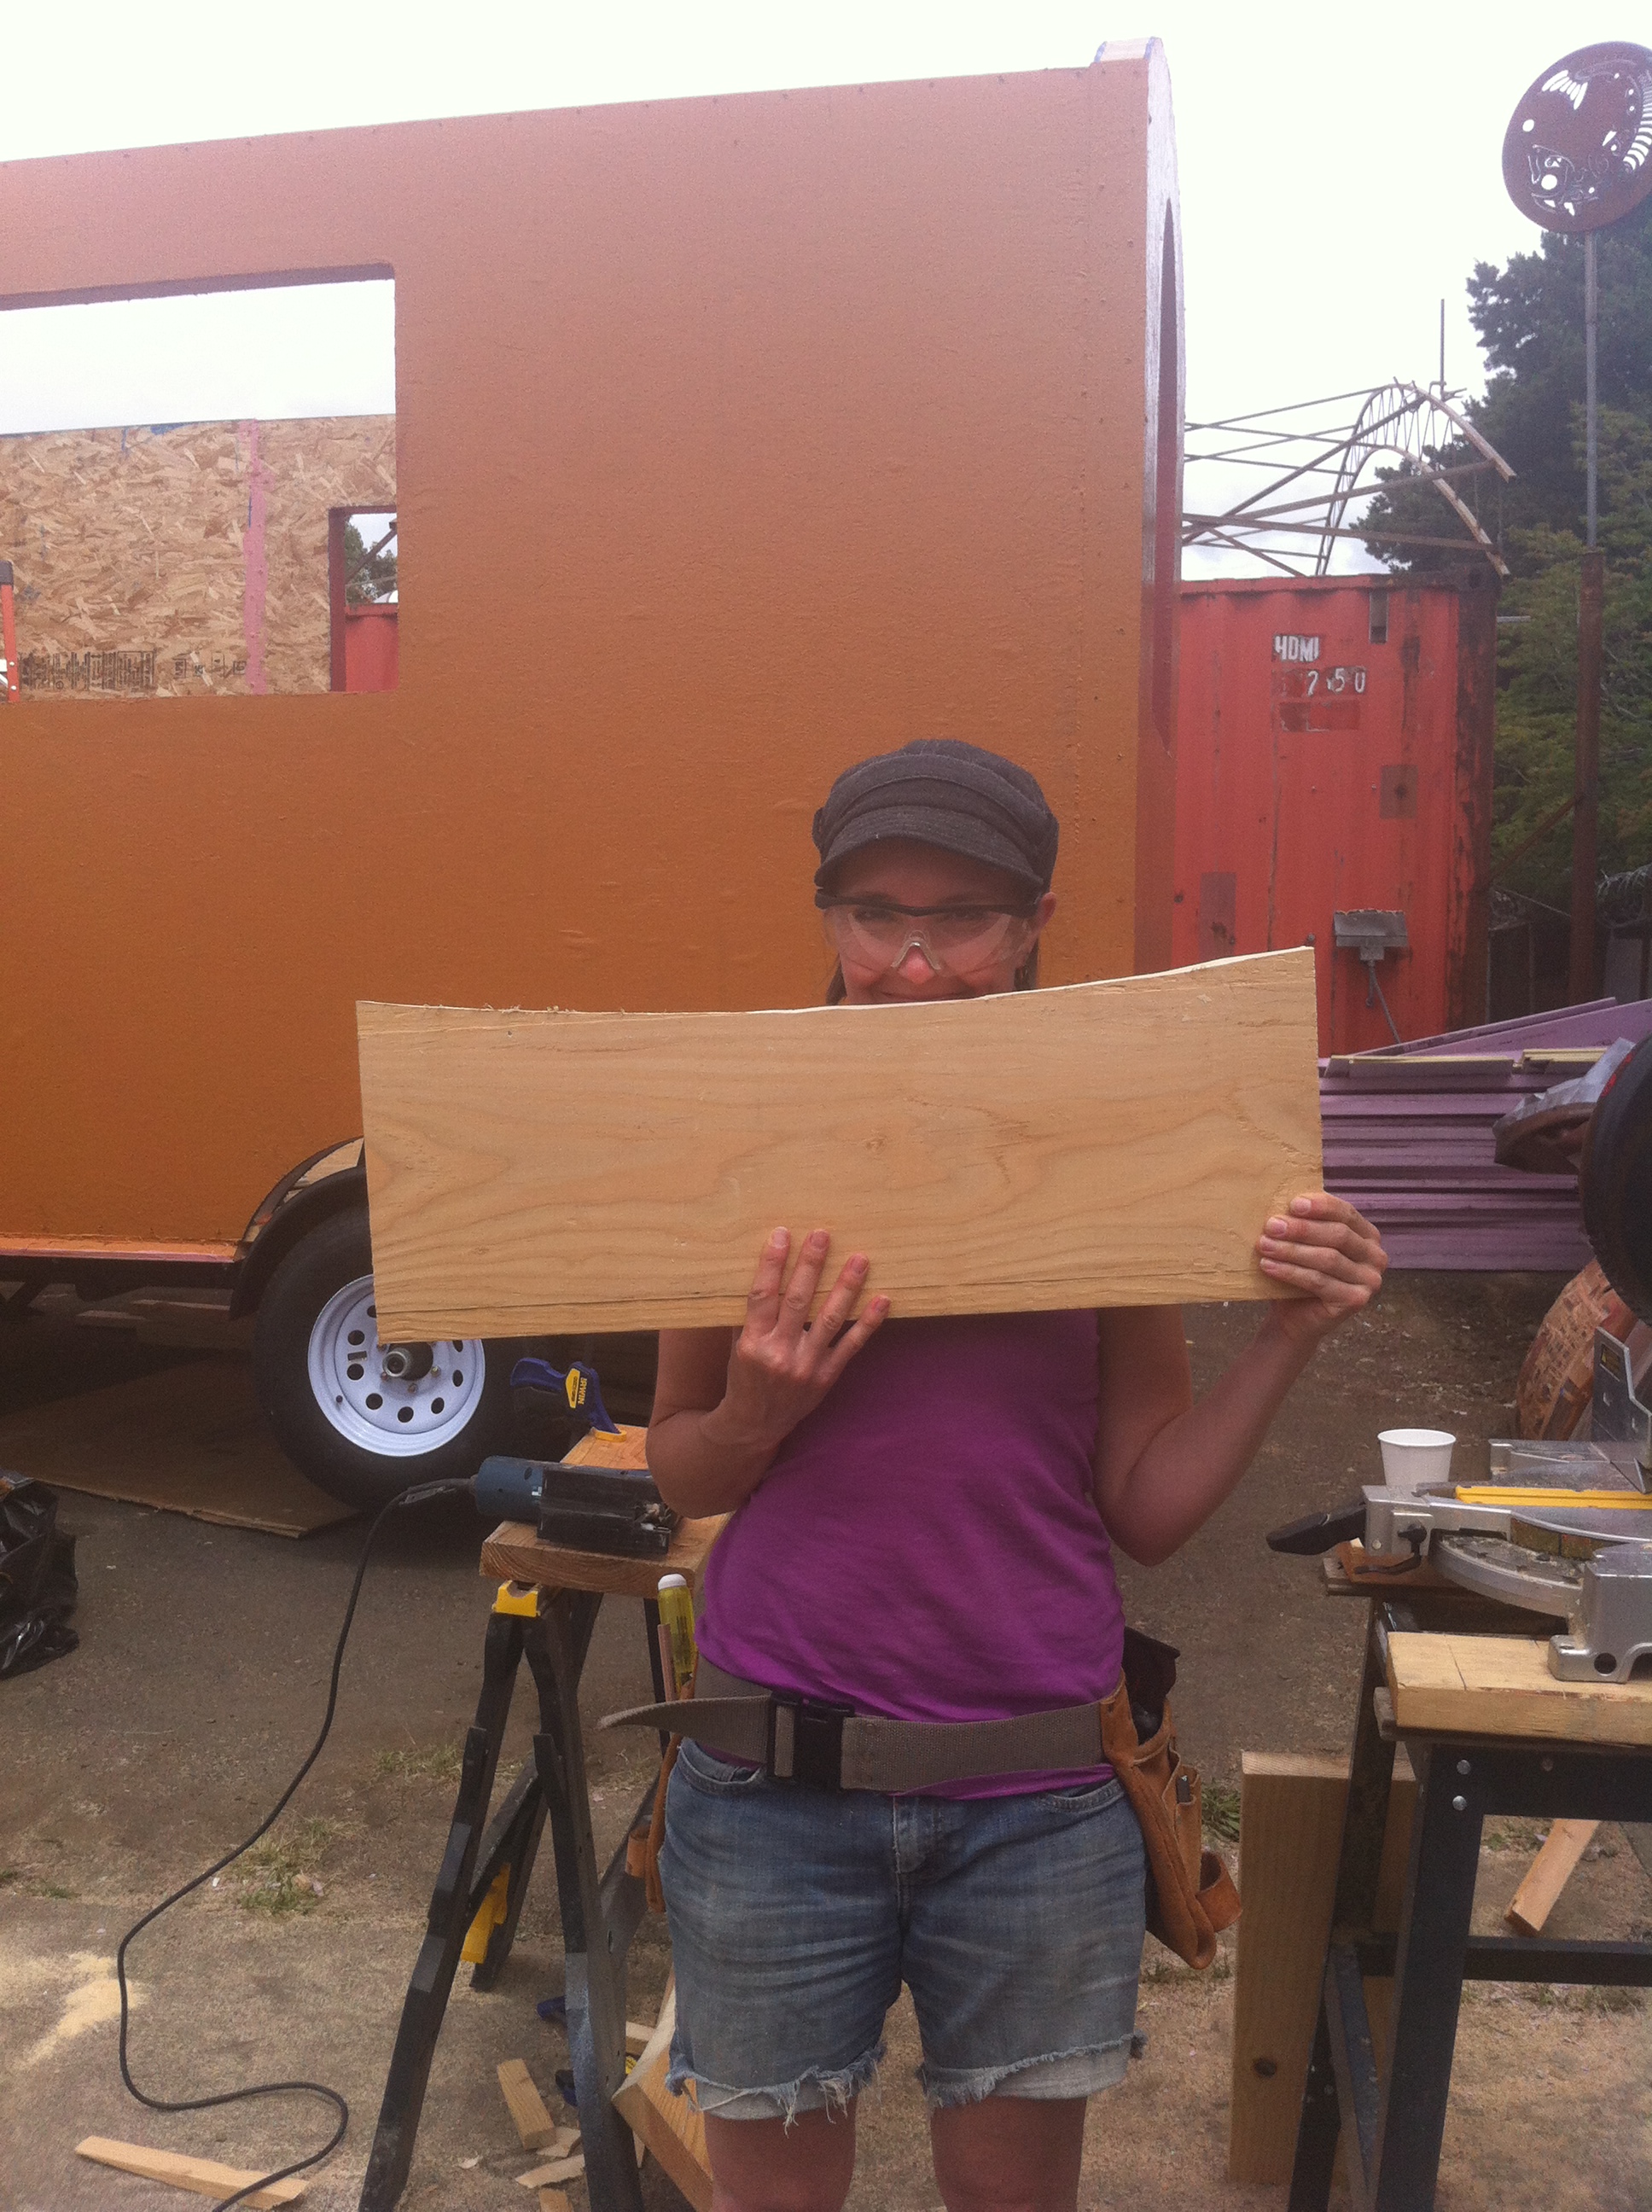
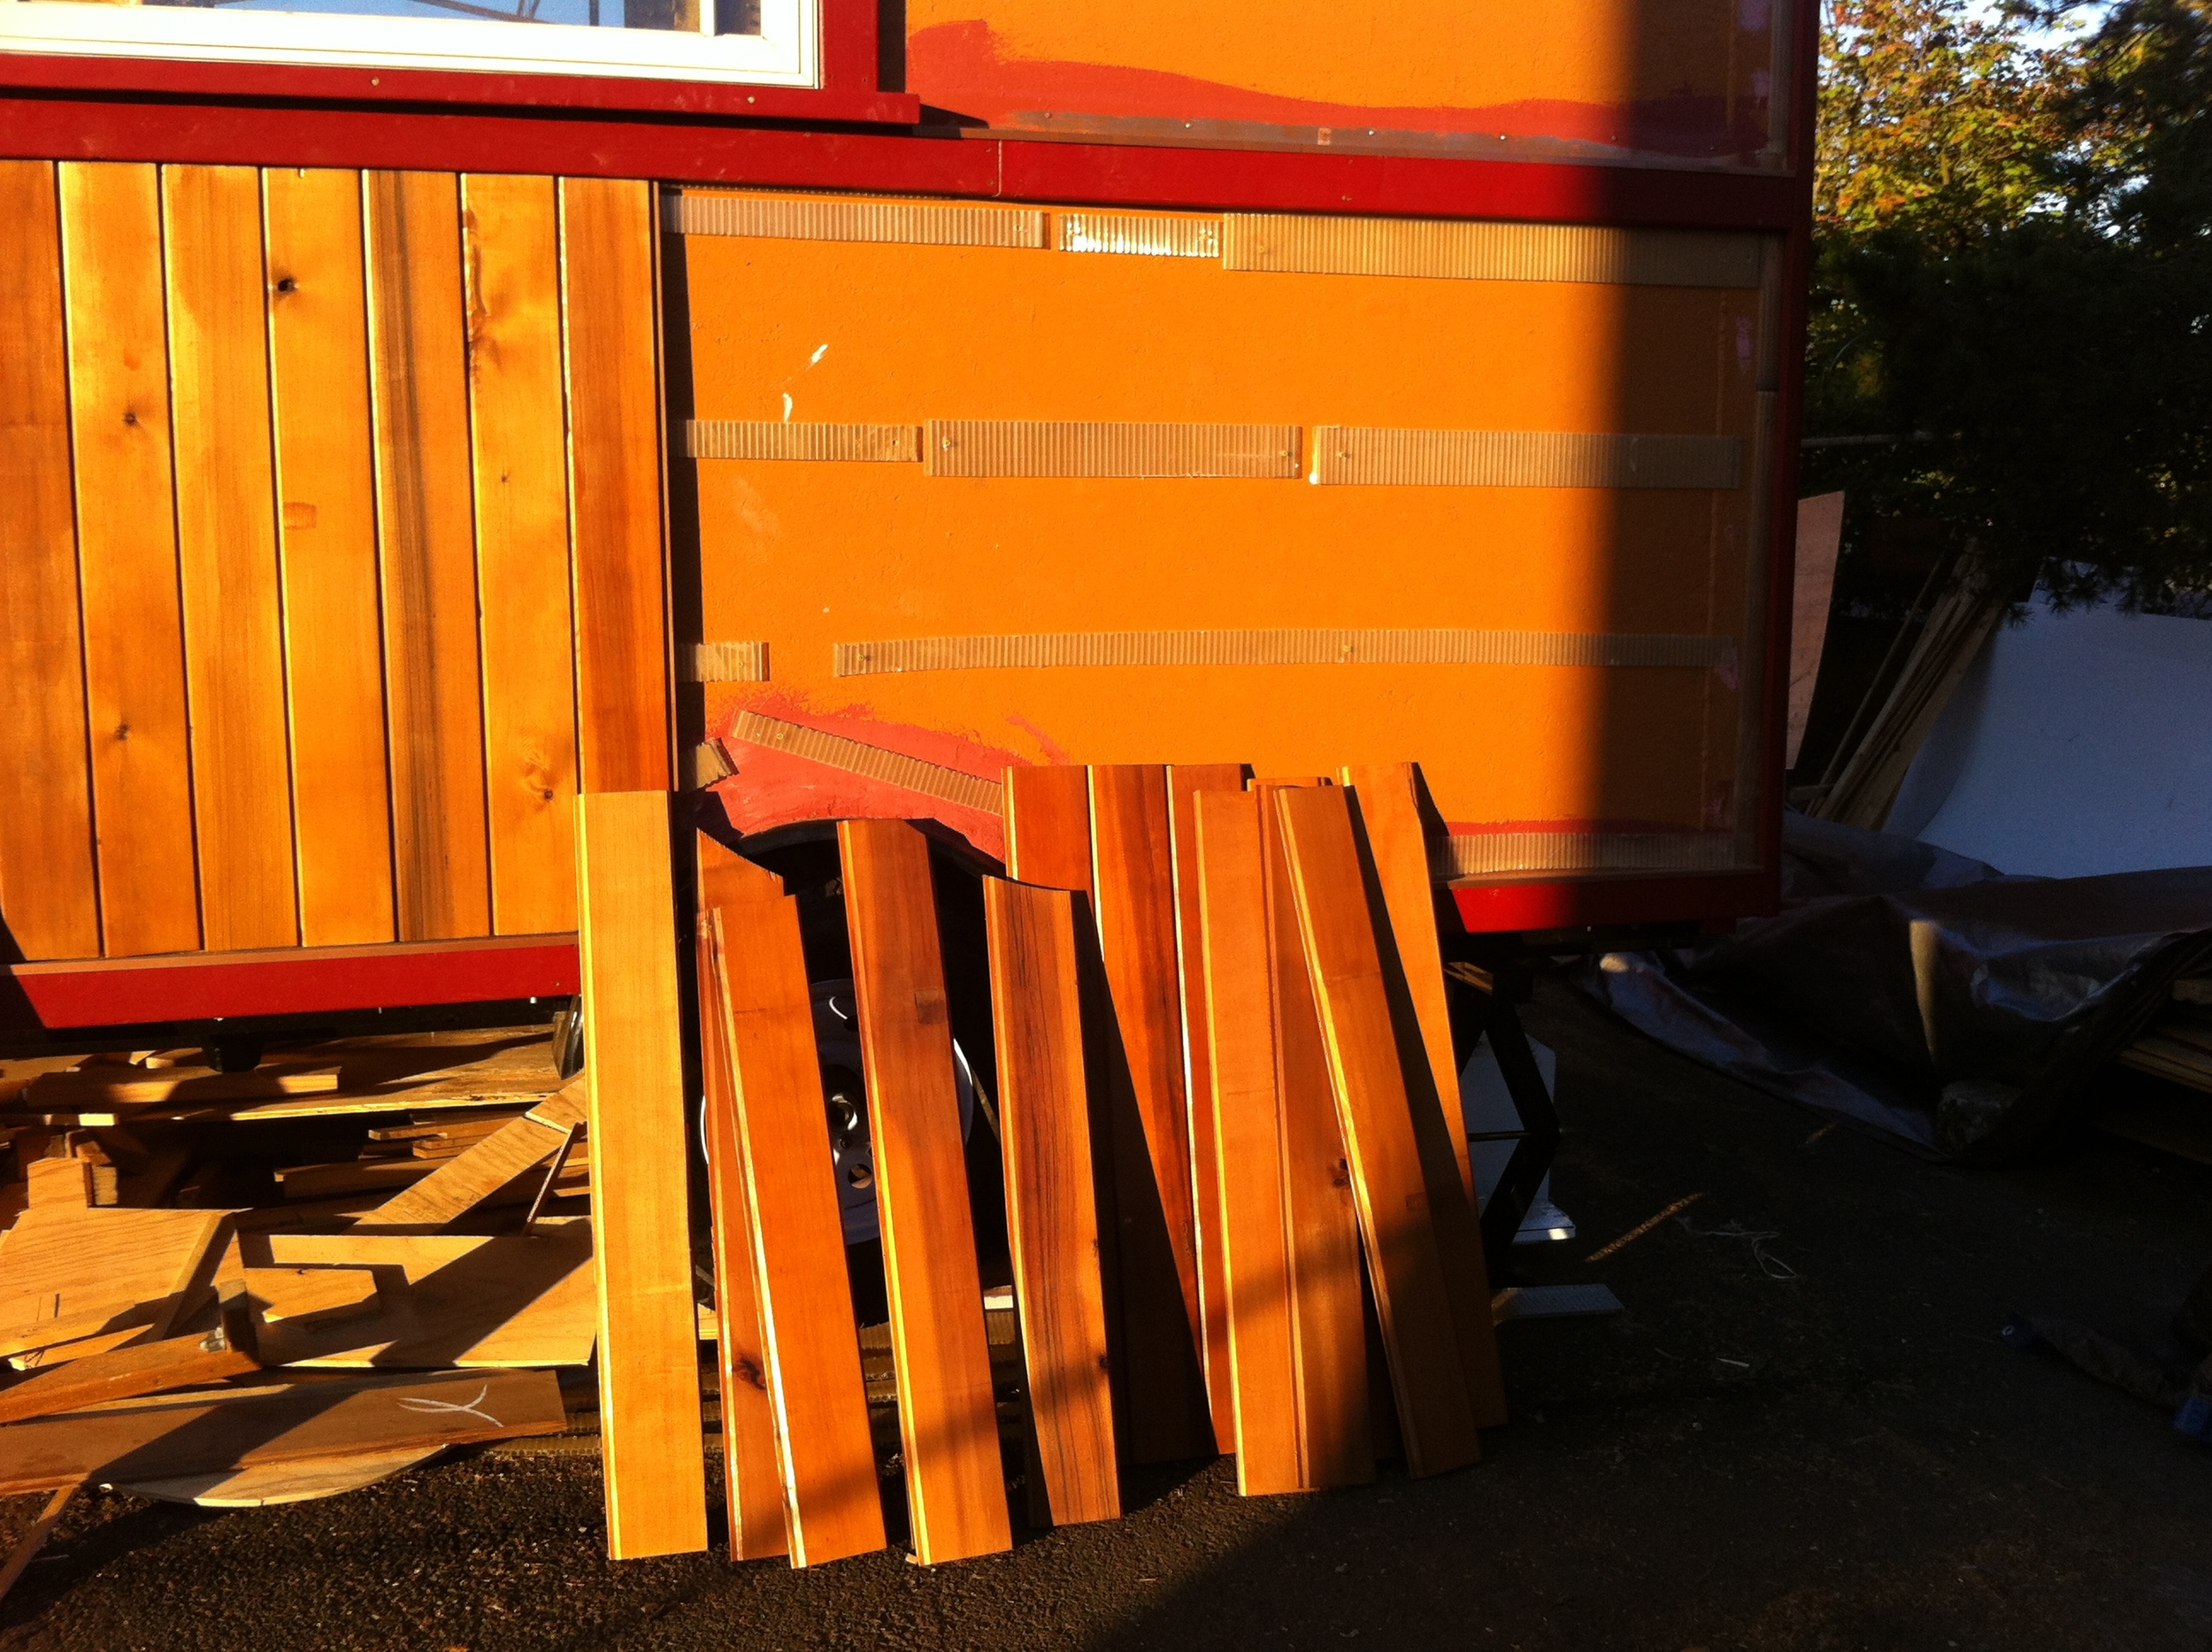
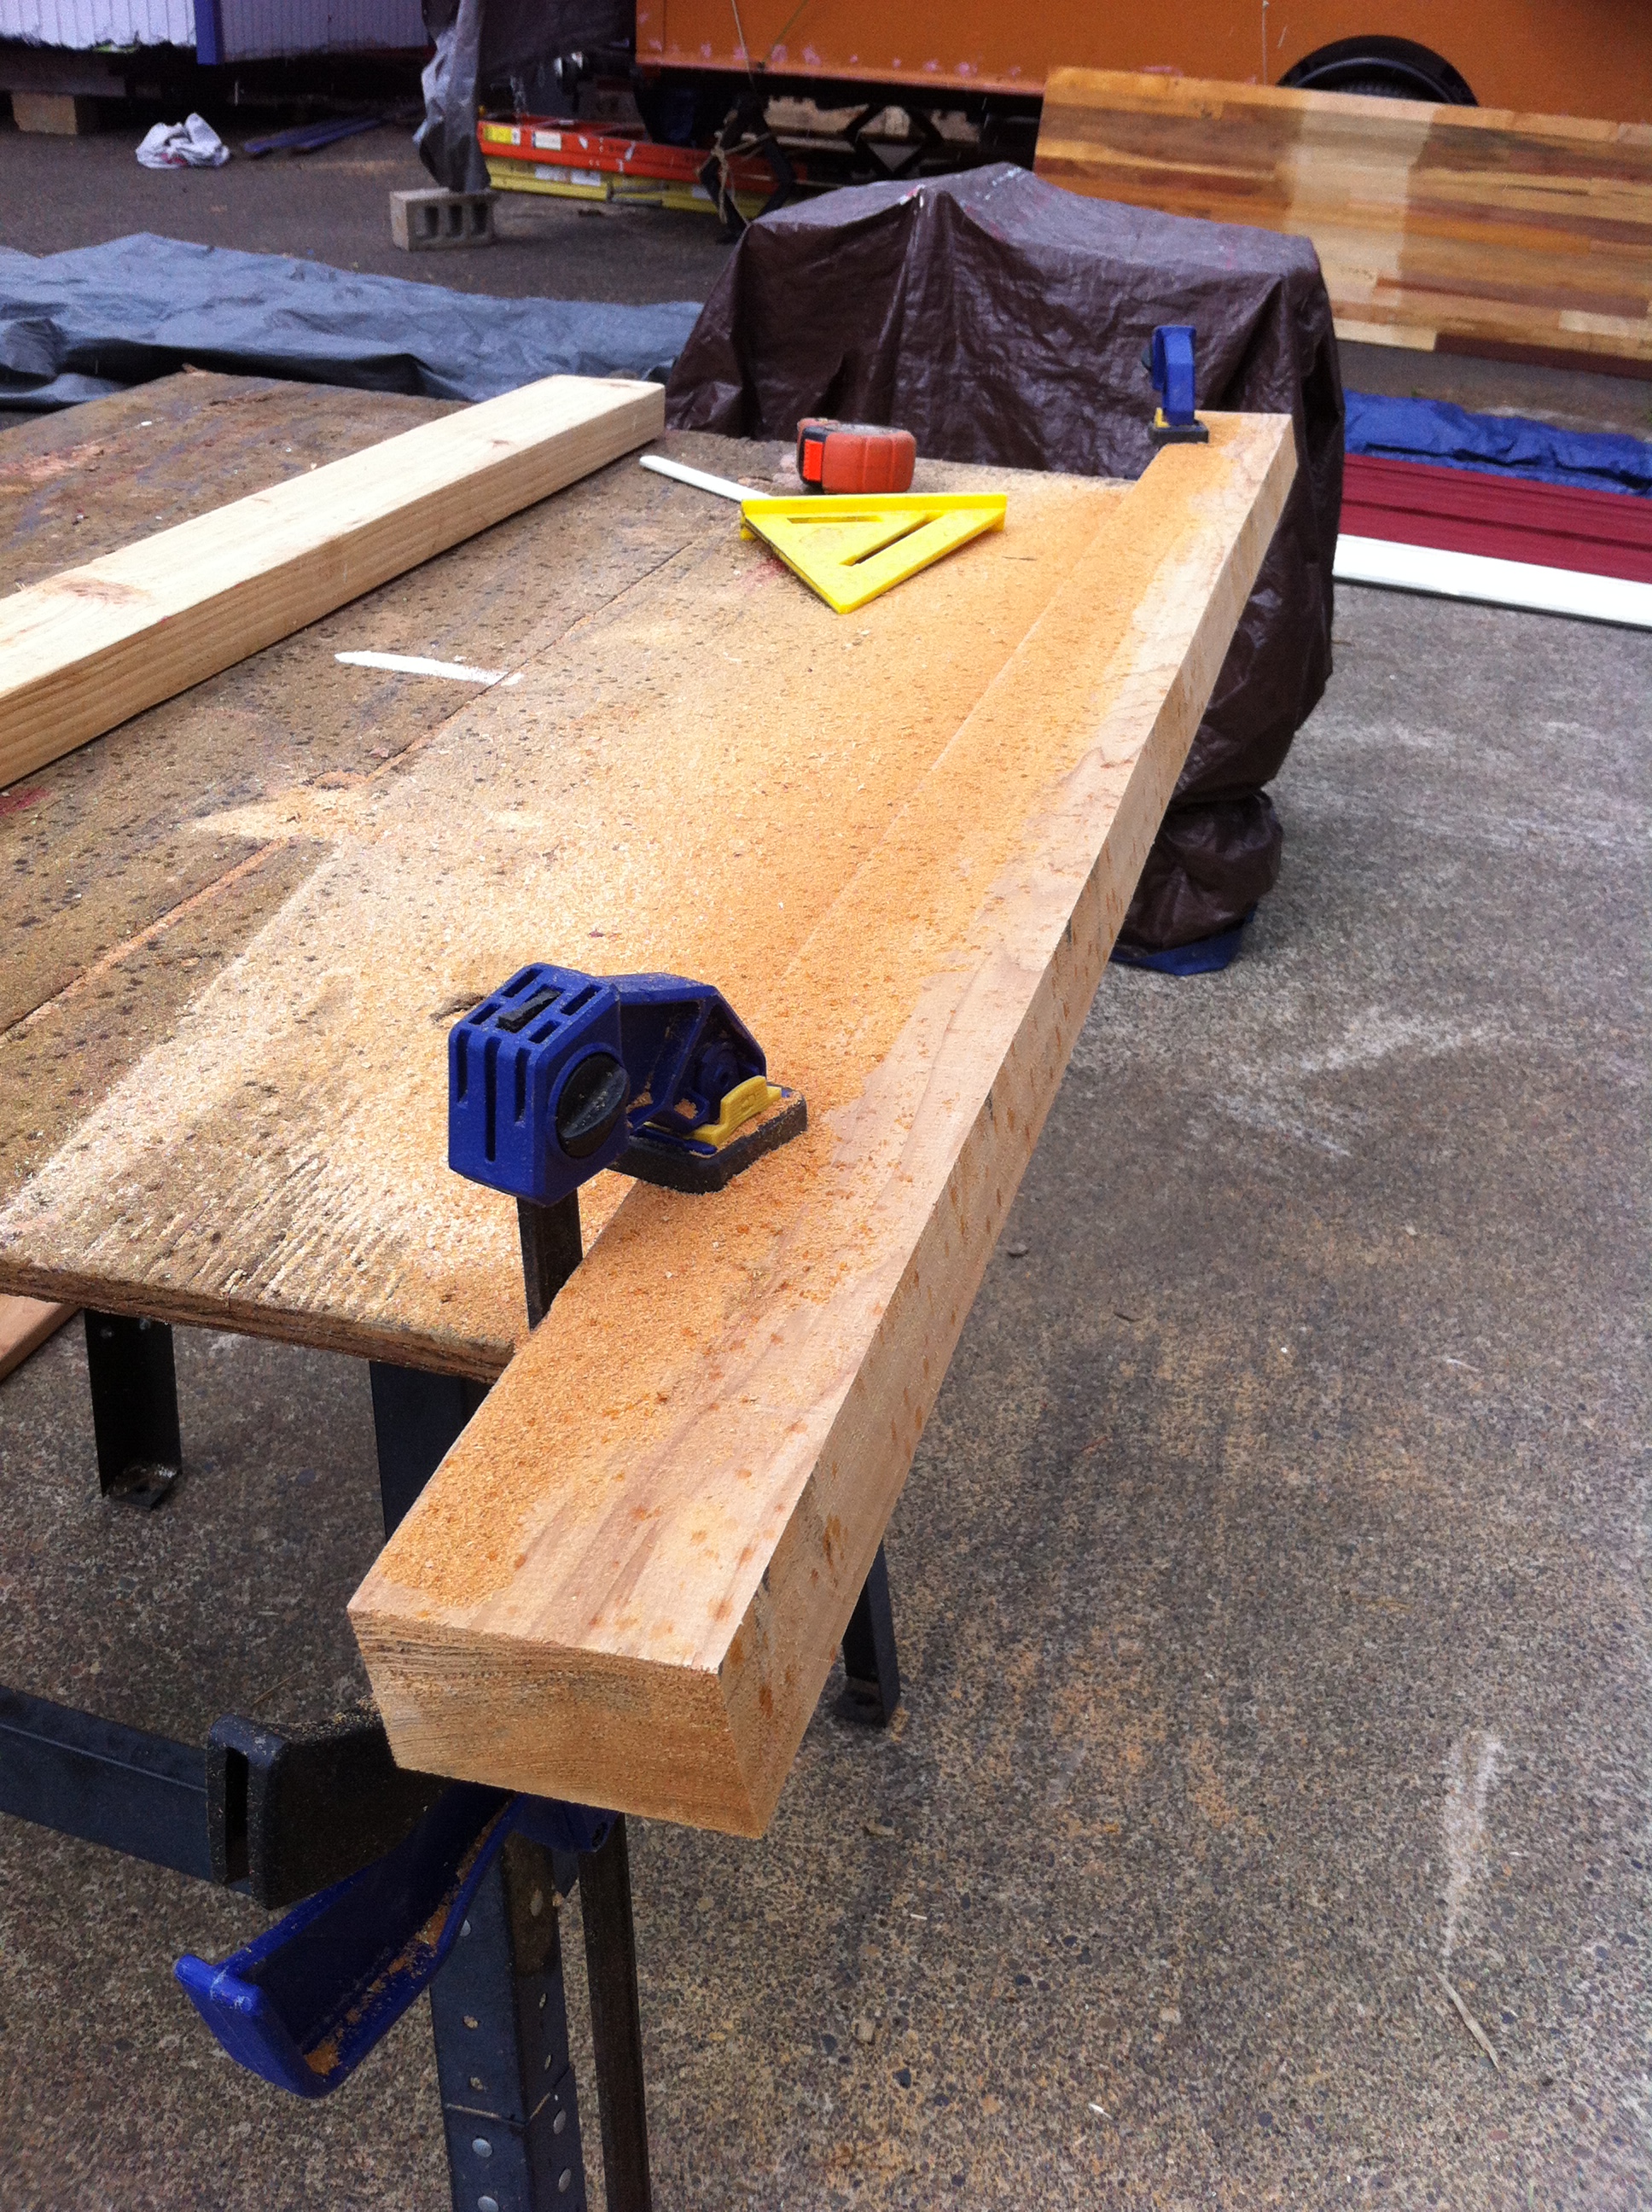
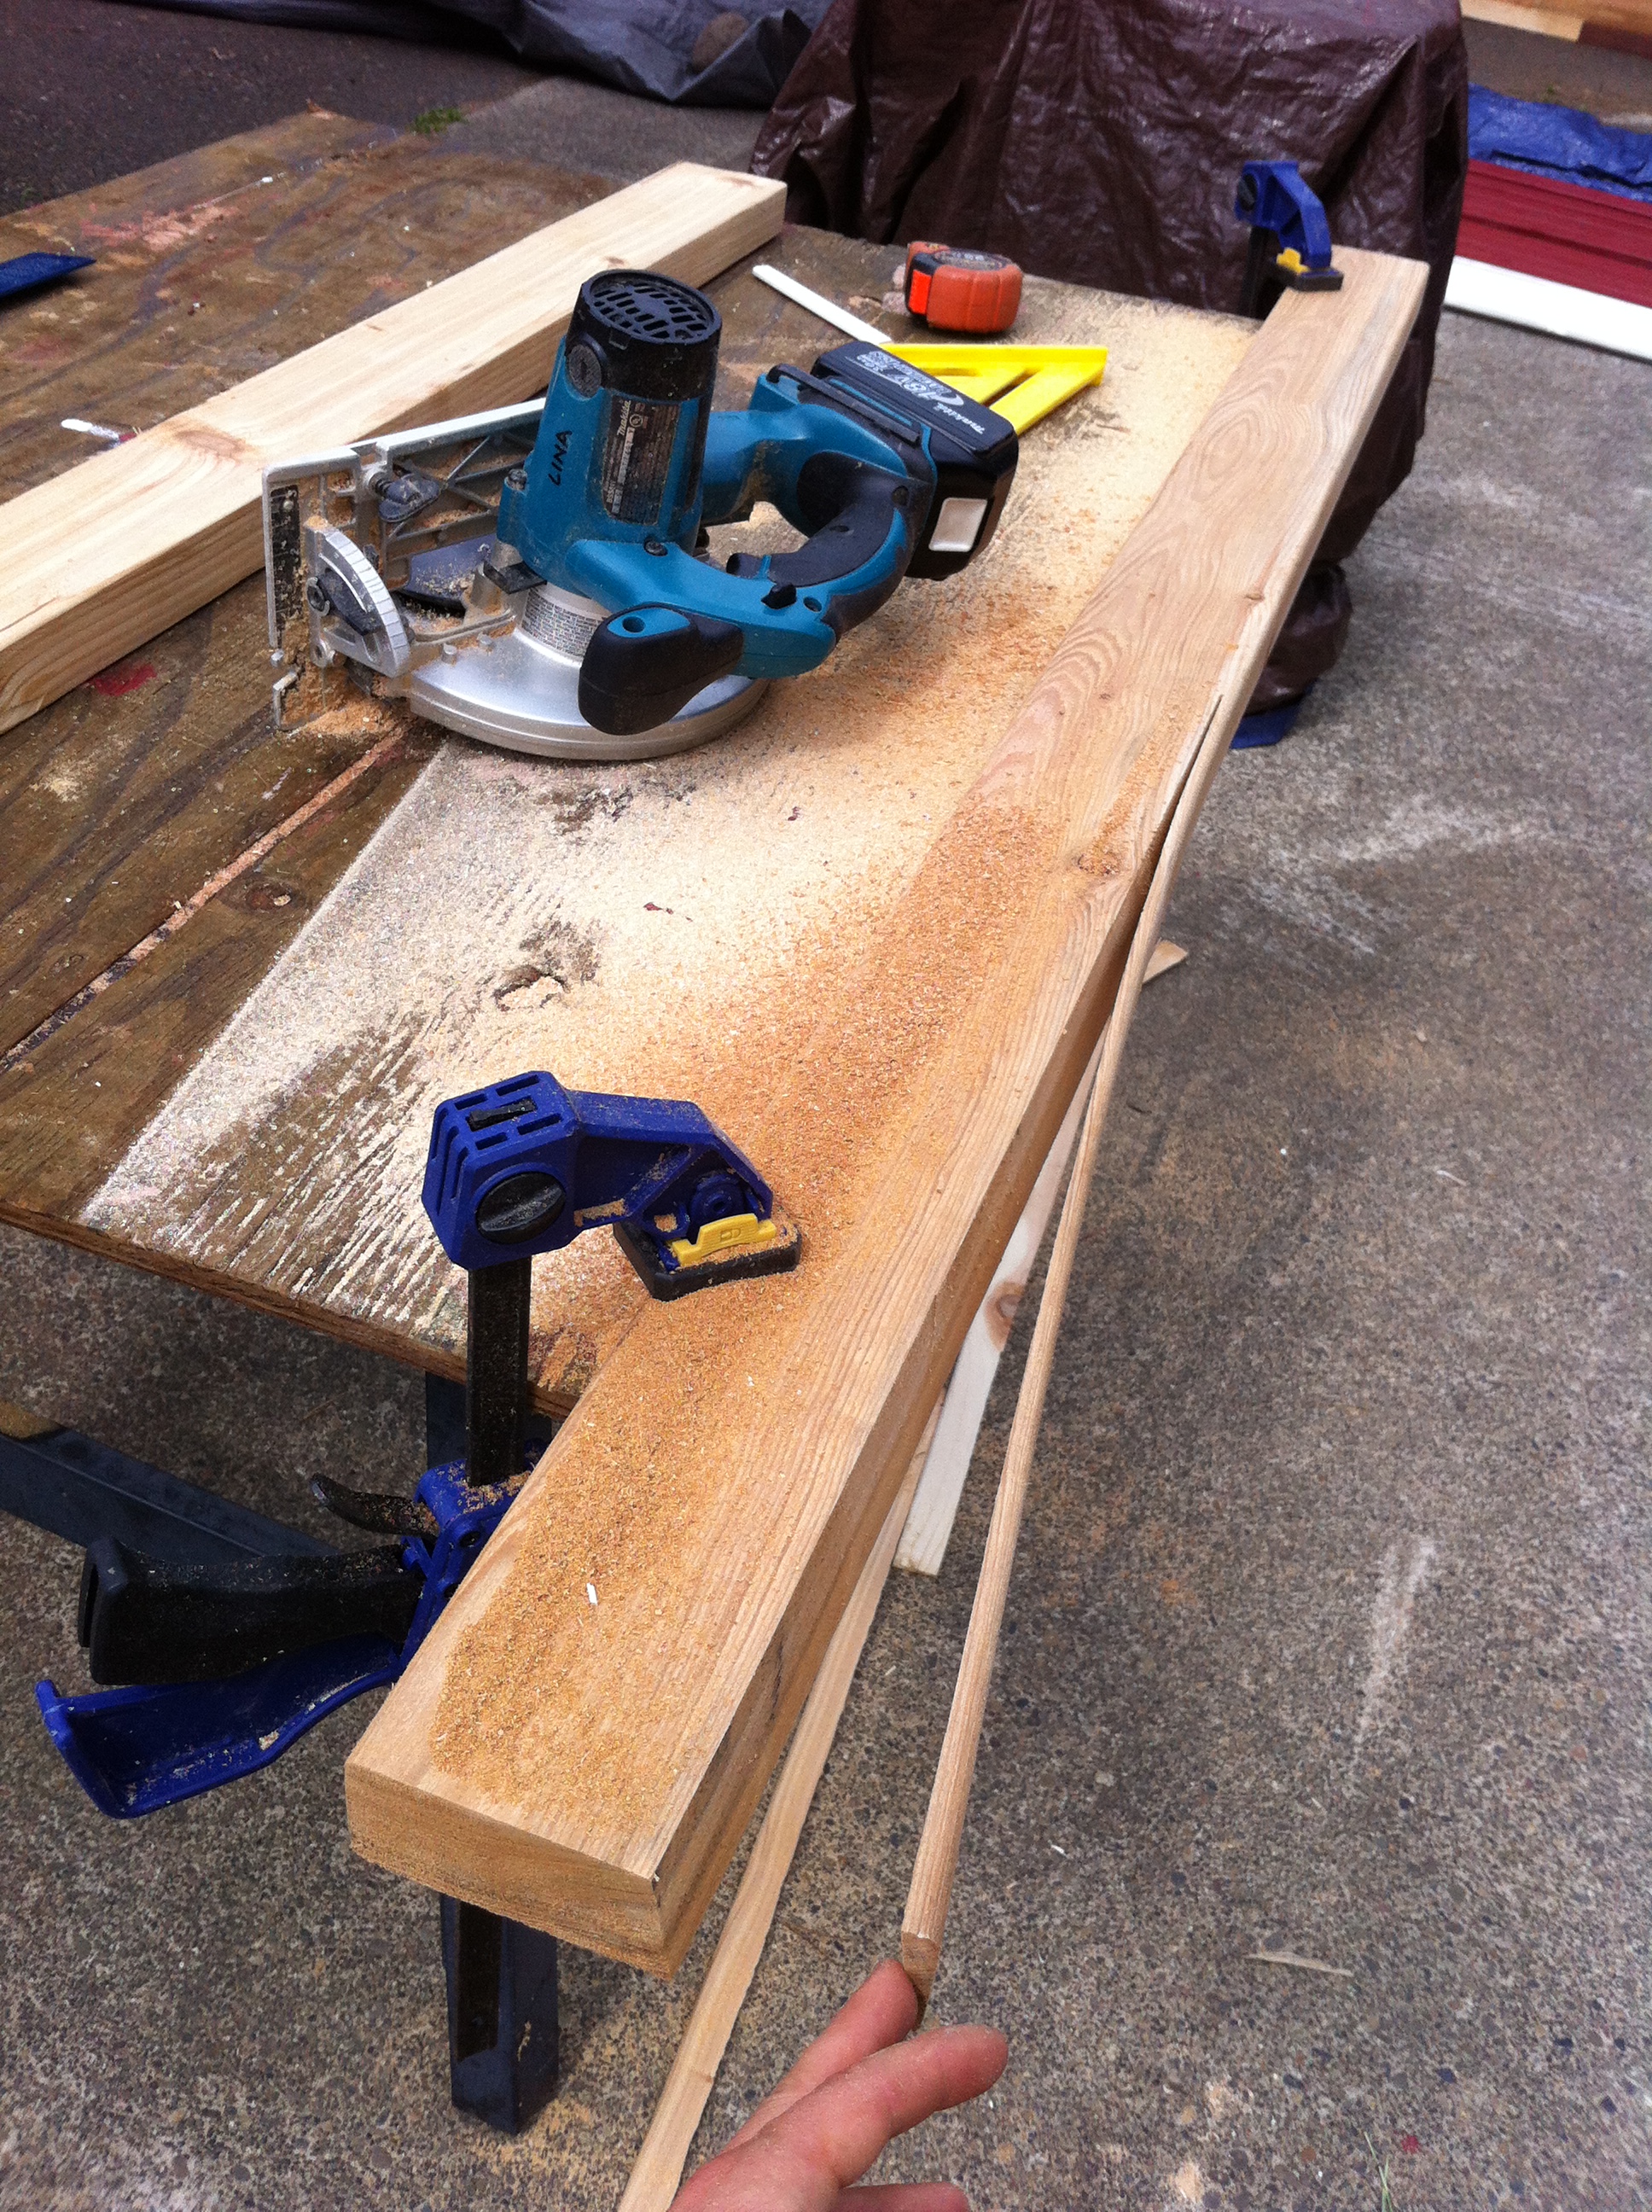
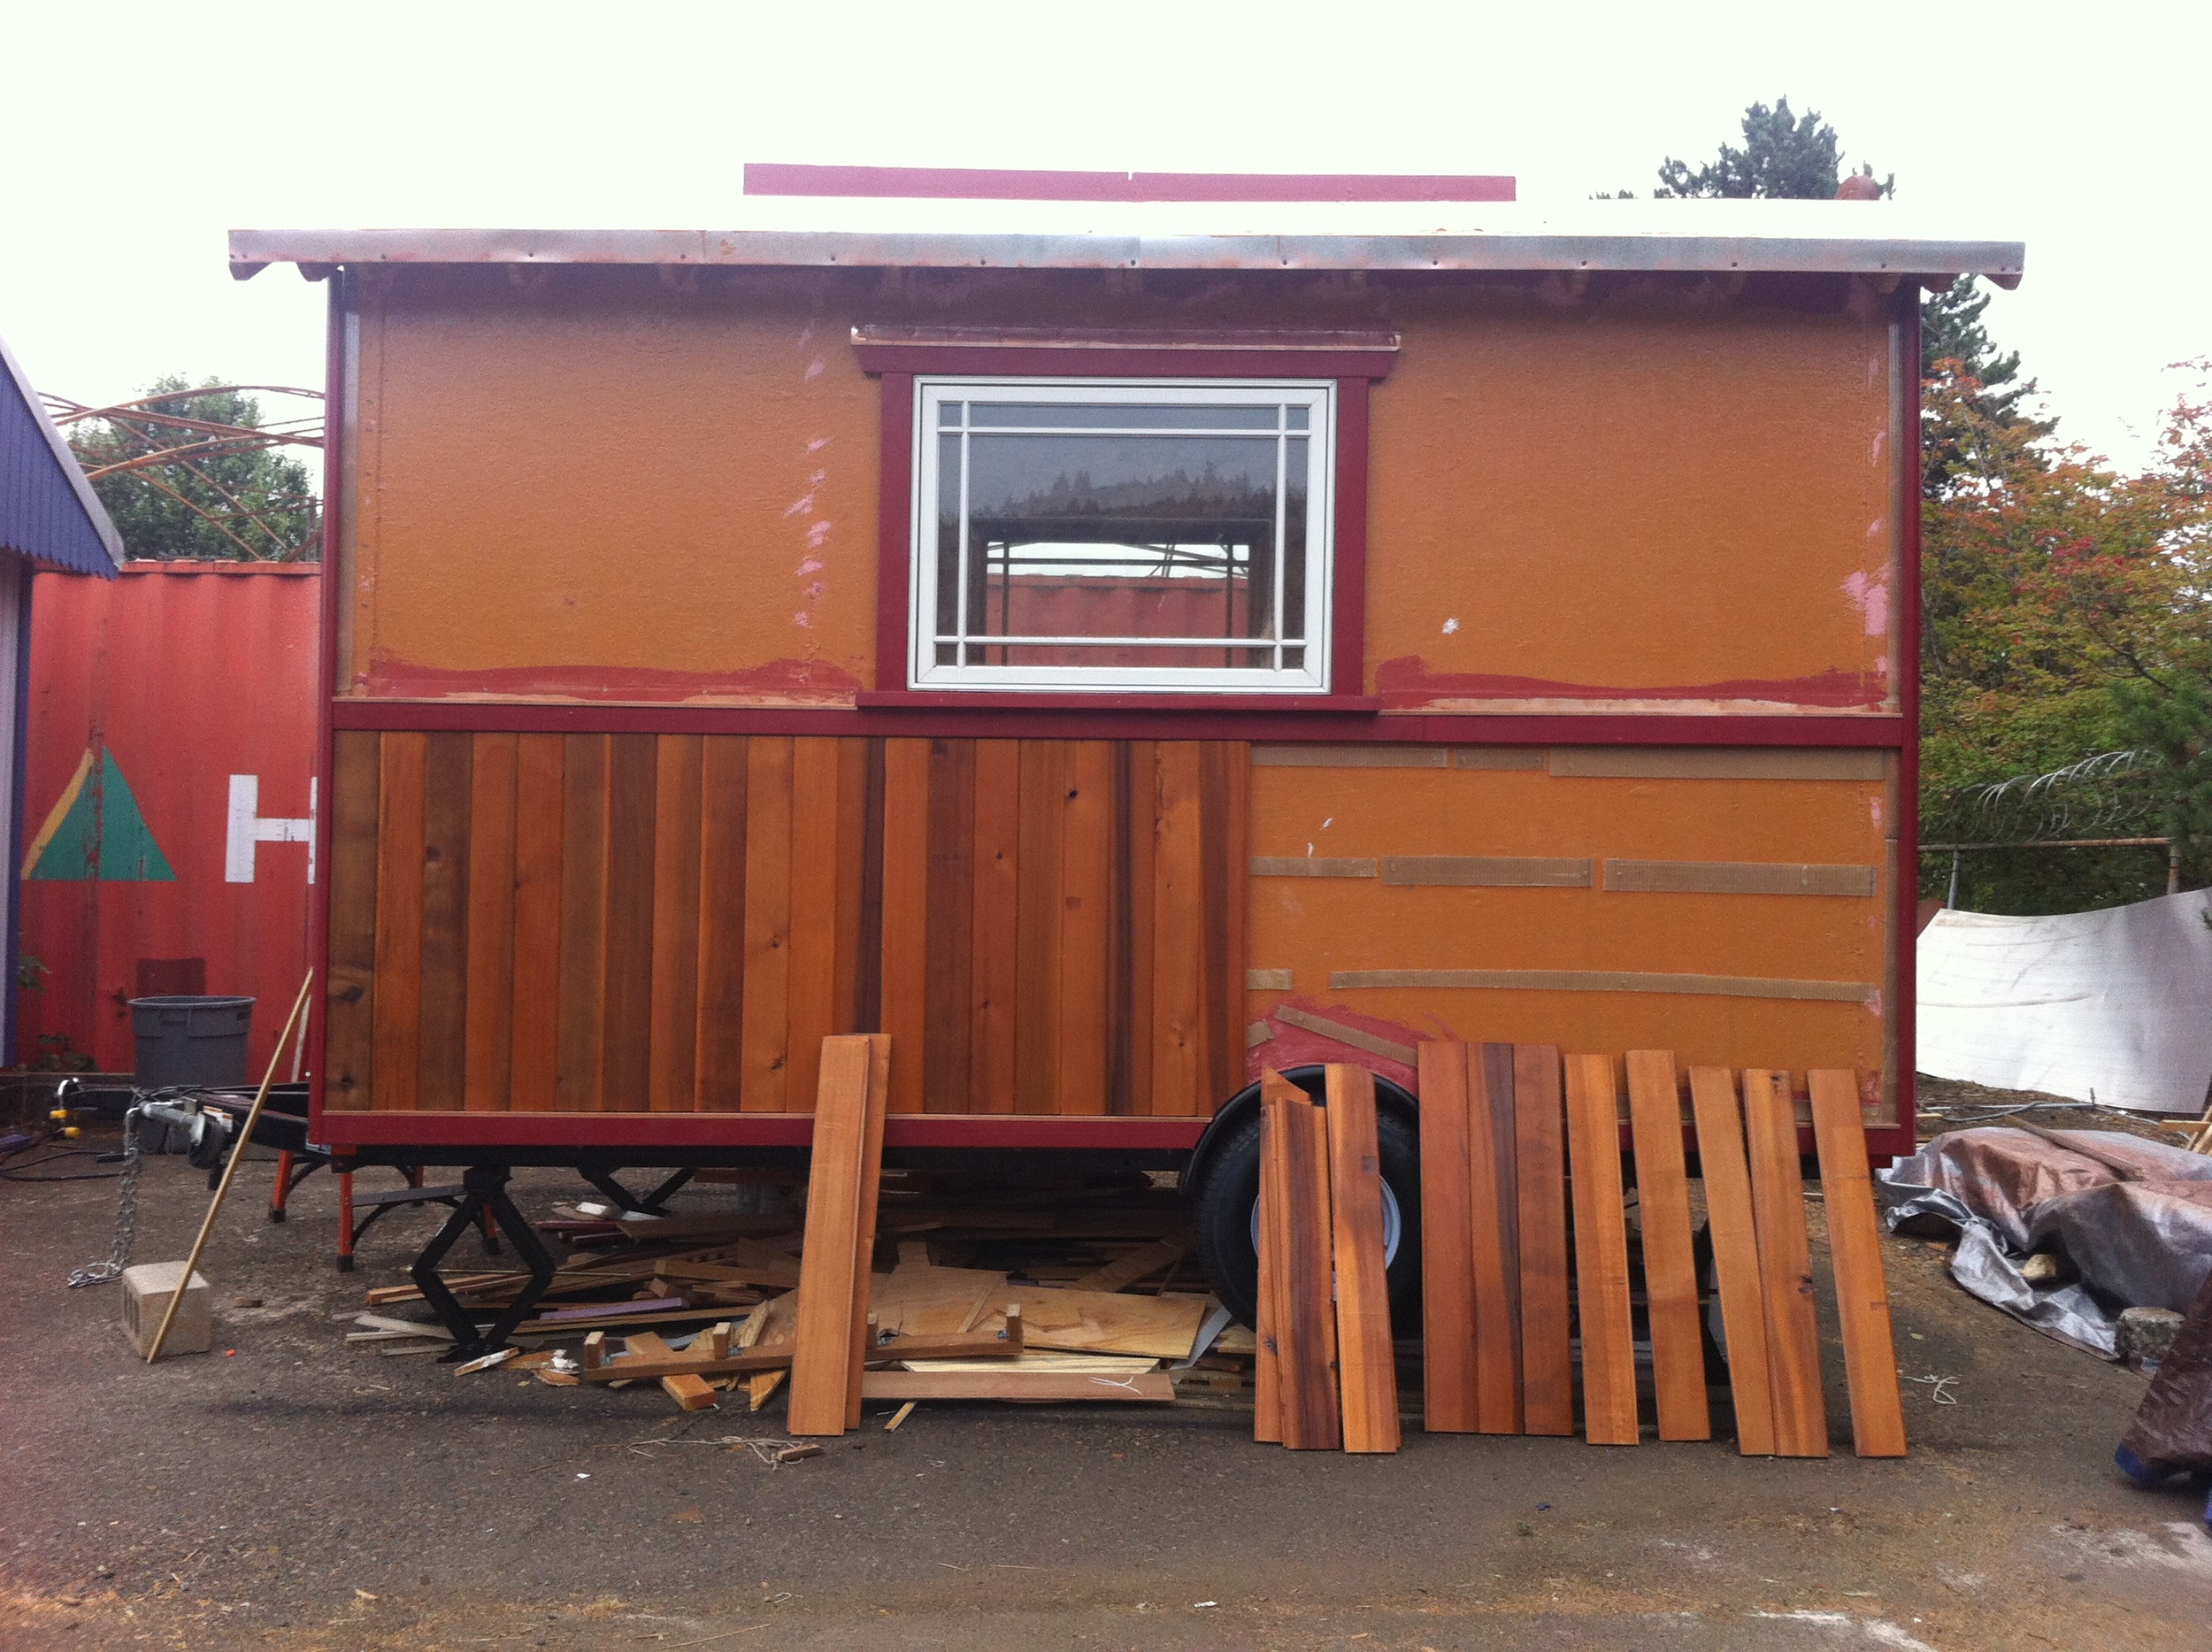 My plan was to cut strips of corrugated plastic (the kind that’s used for lawn signs). But it turns out that the hardware stores don’t stock it and I didn’t want to wait around for a special order. Luckily, there happened to be several sheets of corrugated polycarbonate roofing material left over from another project available at my build site at Green Anchors. After getting the thumbs up to salvage them, I donned my protective gear and set about cutting them into strips.
I really wish I’d realized sooner that I’d need to pre-order corrugated plastic because I would have much rather worked with that than with the polycarbonate. In order to cut the poly I had to suit up in my raincoat, gloves, a face mask, goggles, ear plugs, and a dust mask. As you might imagine, this was an unpleasant task on a hot day!
When Jack showed up, he asked “Are you preparing for the apocalypse?” I laughed and assured him that this is indeed my apocalypse gear. Cutting the polycarbonate was also the death of the blade on my cordless circular saw. But the materials was there and it was free, so I’m pleased I was able to salvage it. (And I’ve treated myself to a new blade as I turn my attention to interior finish work.)
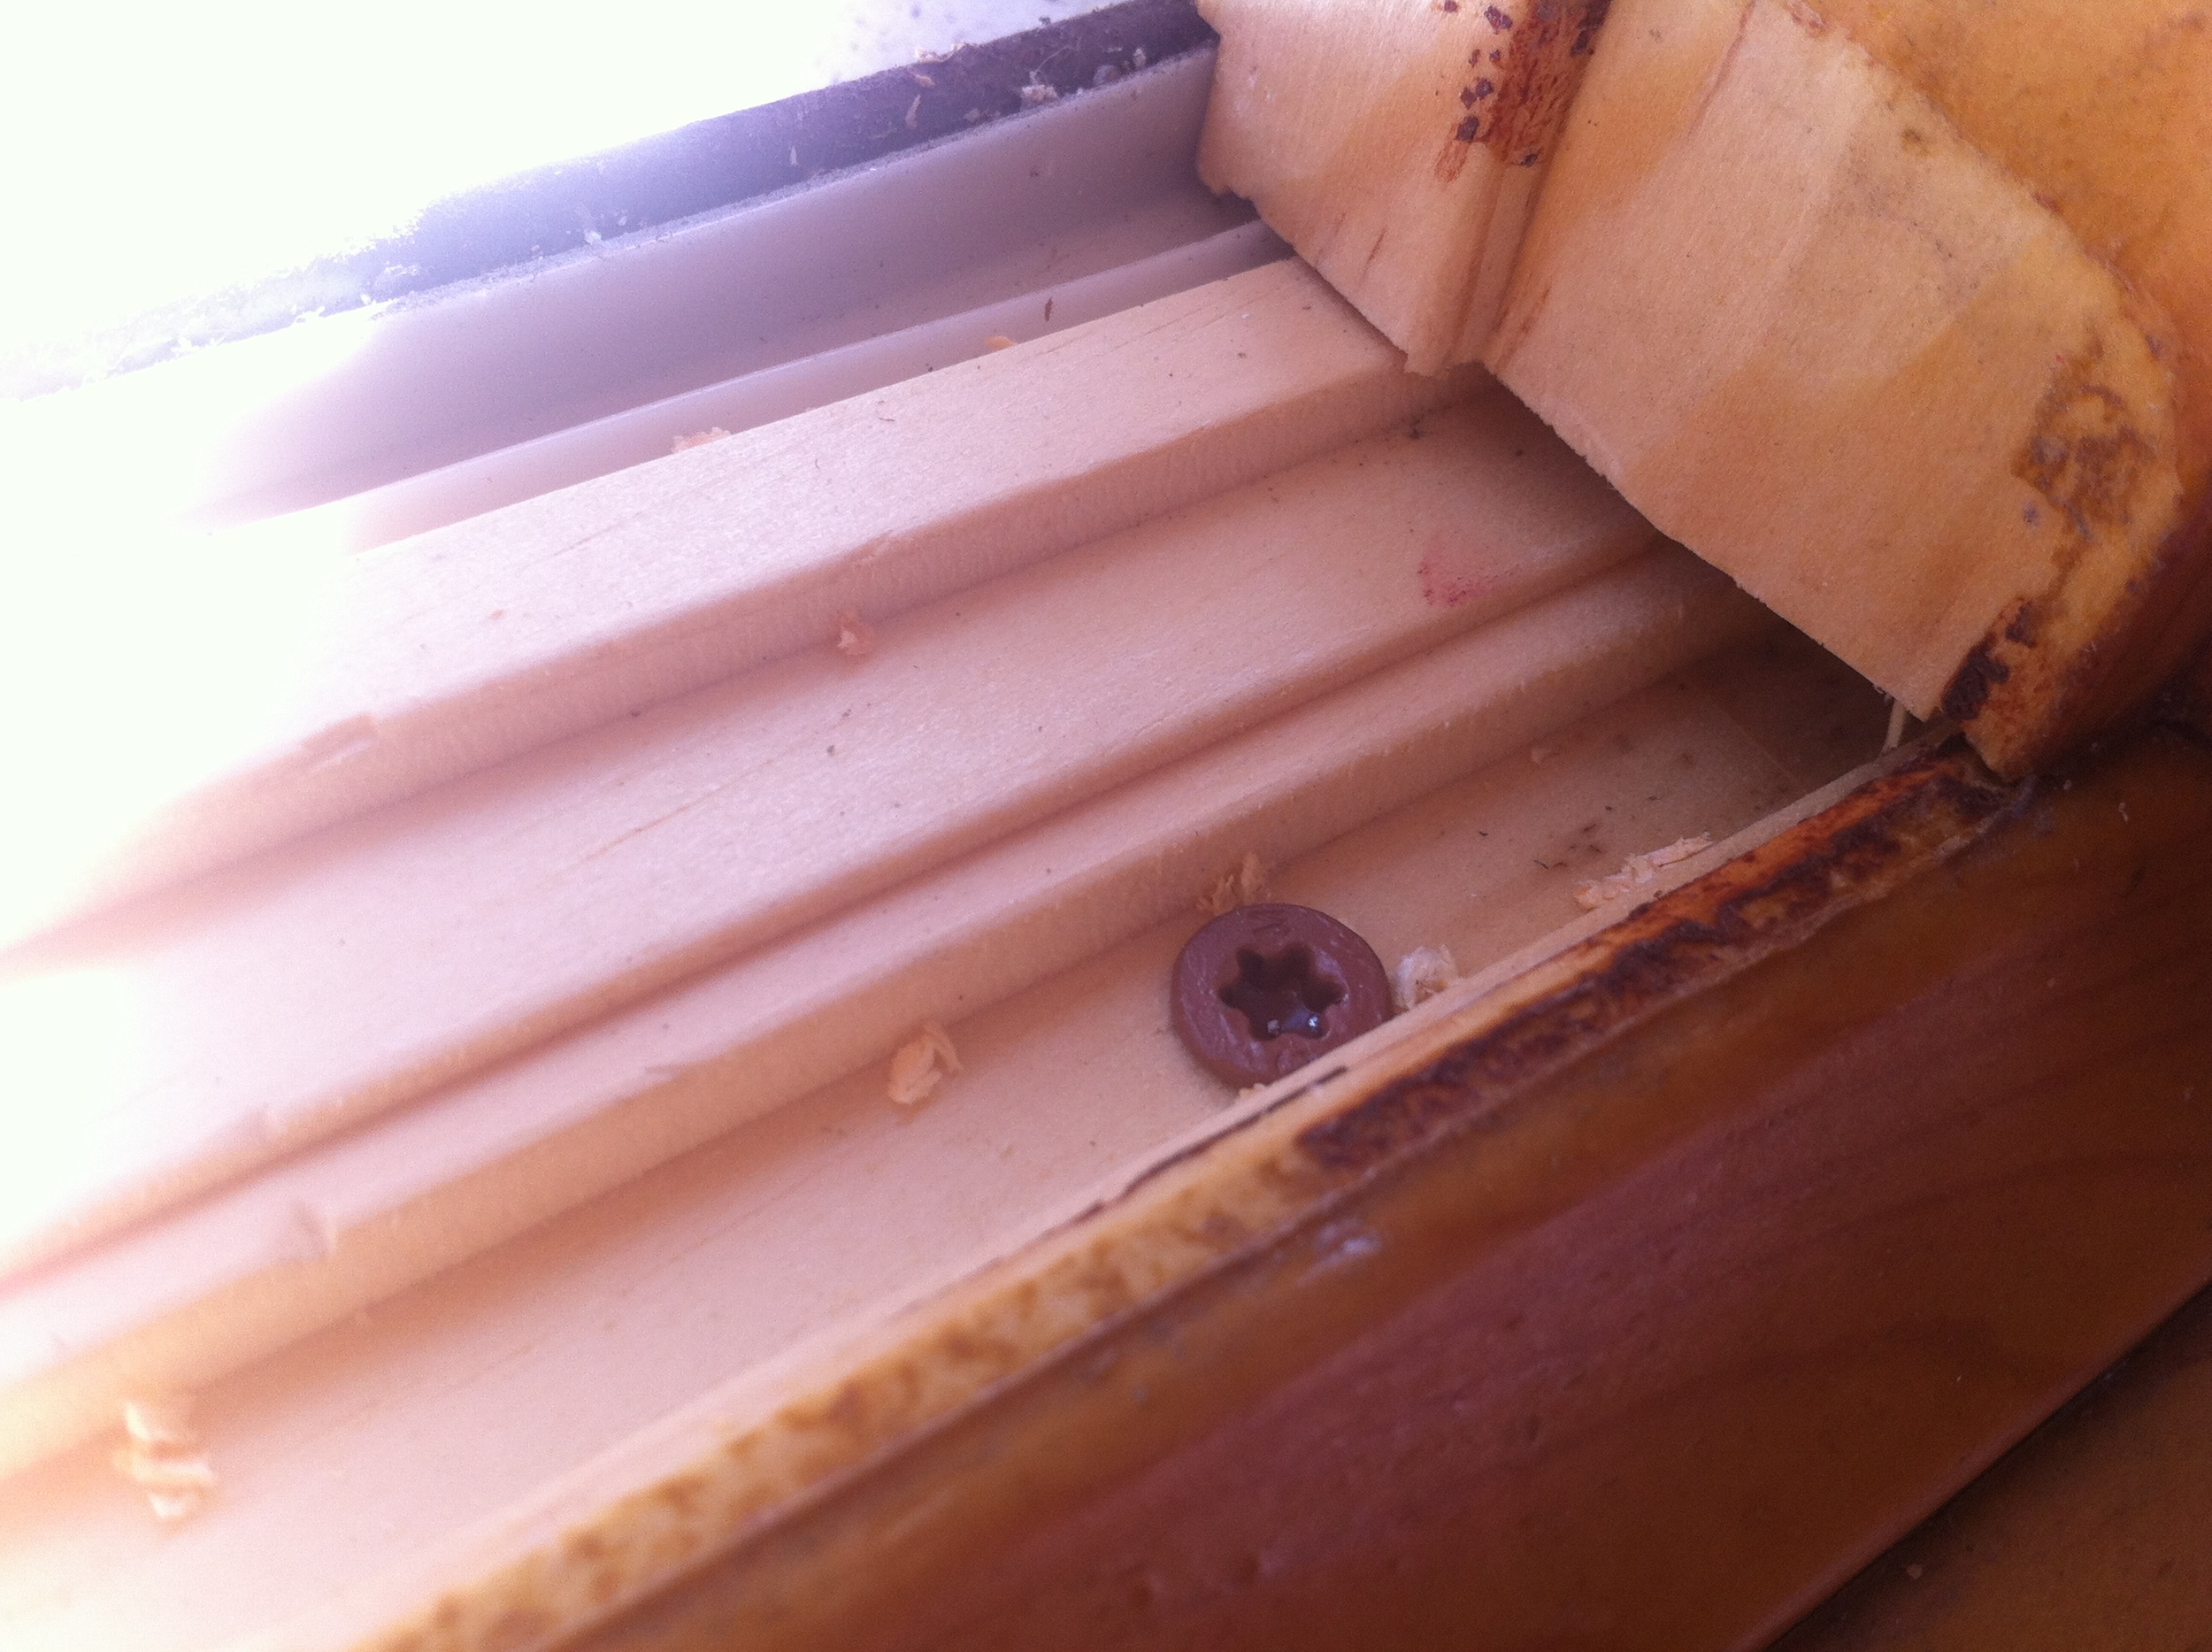
Luckily, installing the rain screen strips is easy. We just tacked them to the walls with 1 5/8” star drive screws every foot or so. Since the purpose of the rain screen is to create a space behind the siding, it doesn’t need to be fussy so it’s a time that you can put perfectionism aside and get some work done. Do be careful though that the rain screen doesn’t sit taller than any horizontal trim pieces because you’ll need to flash over them and the rain screen will get in the way if it’s too tall. (And then you'll have to cut them back which, I've learned, isn't much fun either!)
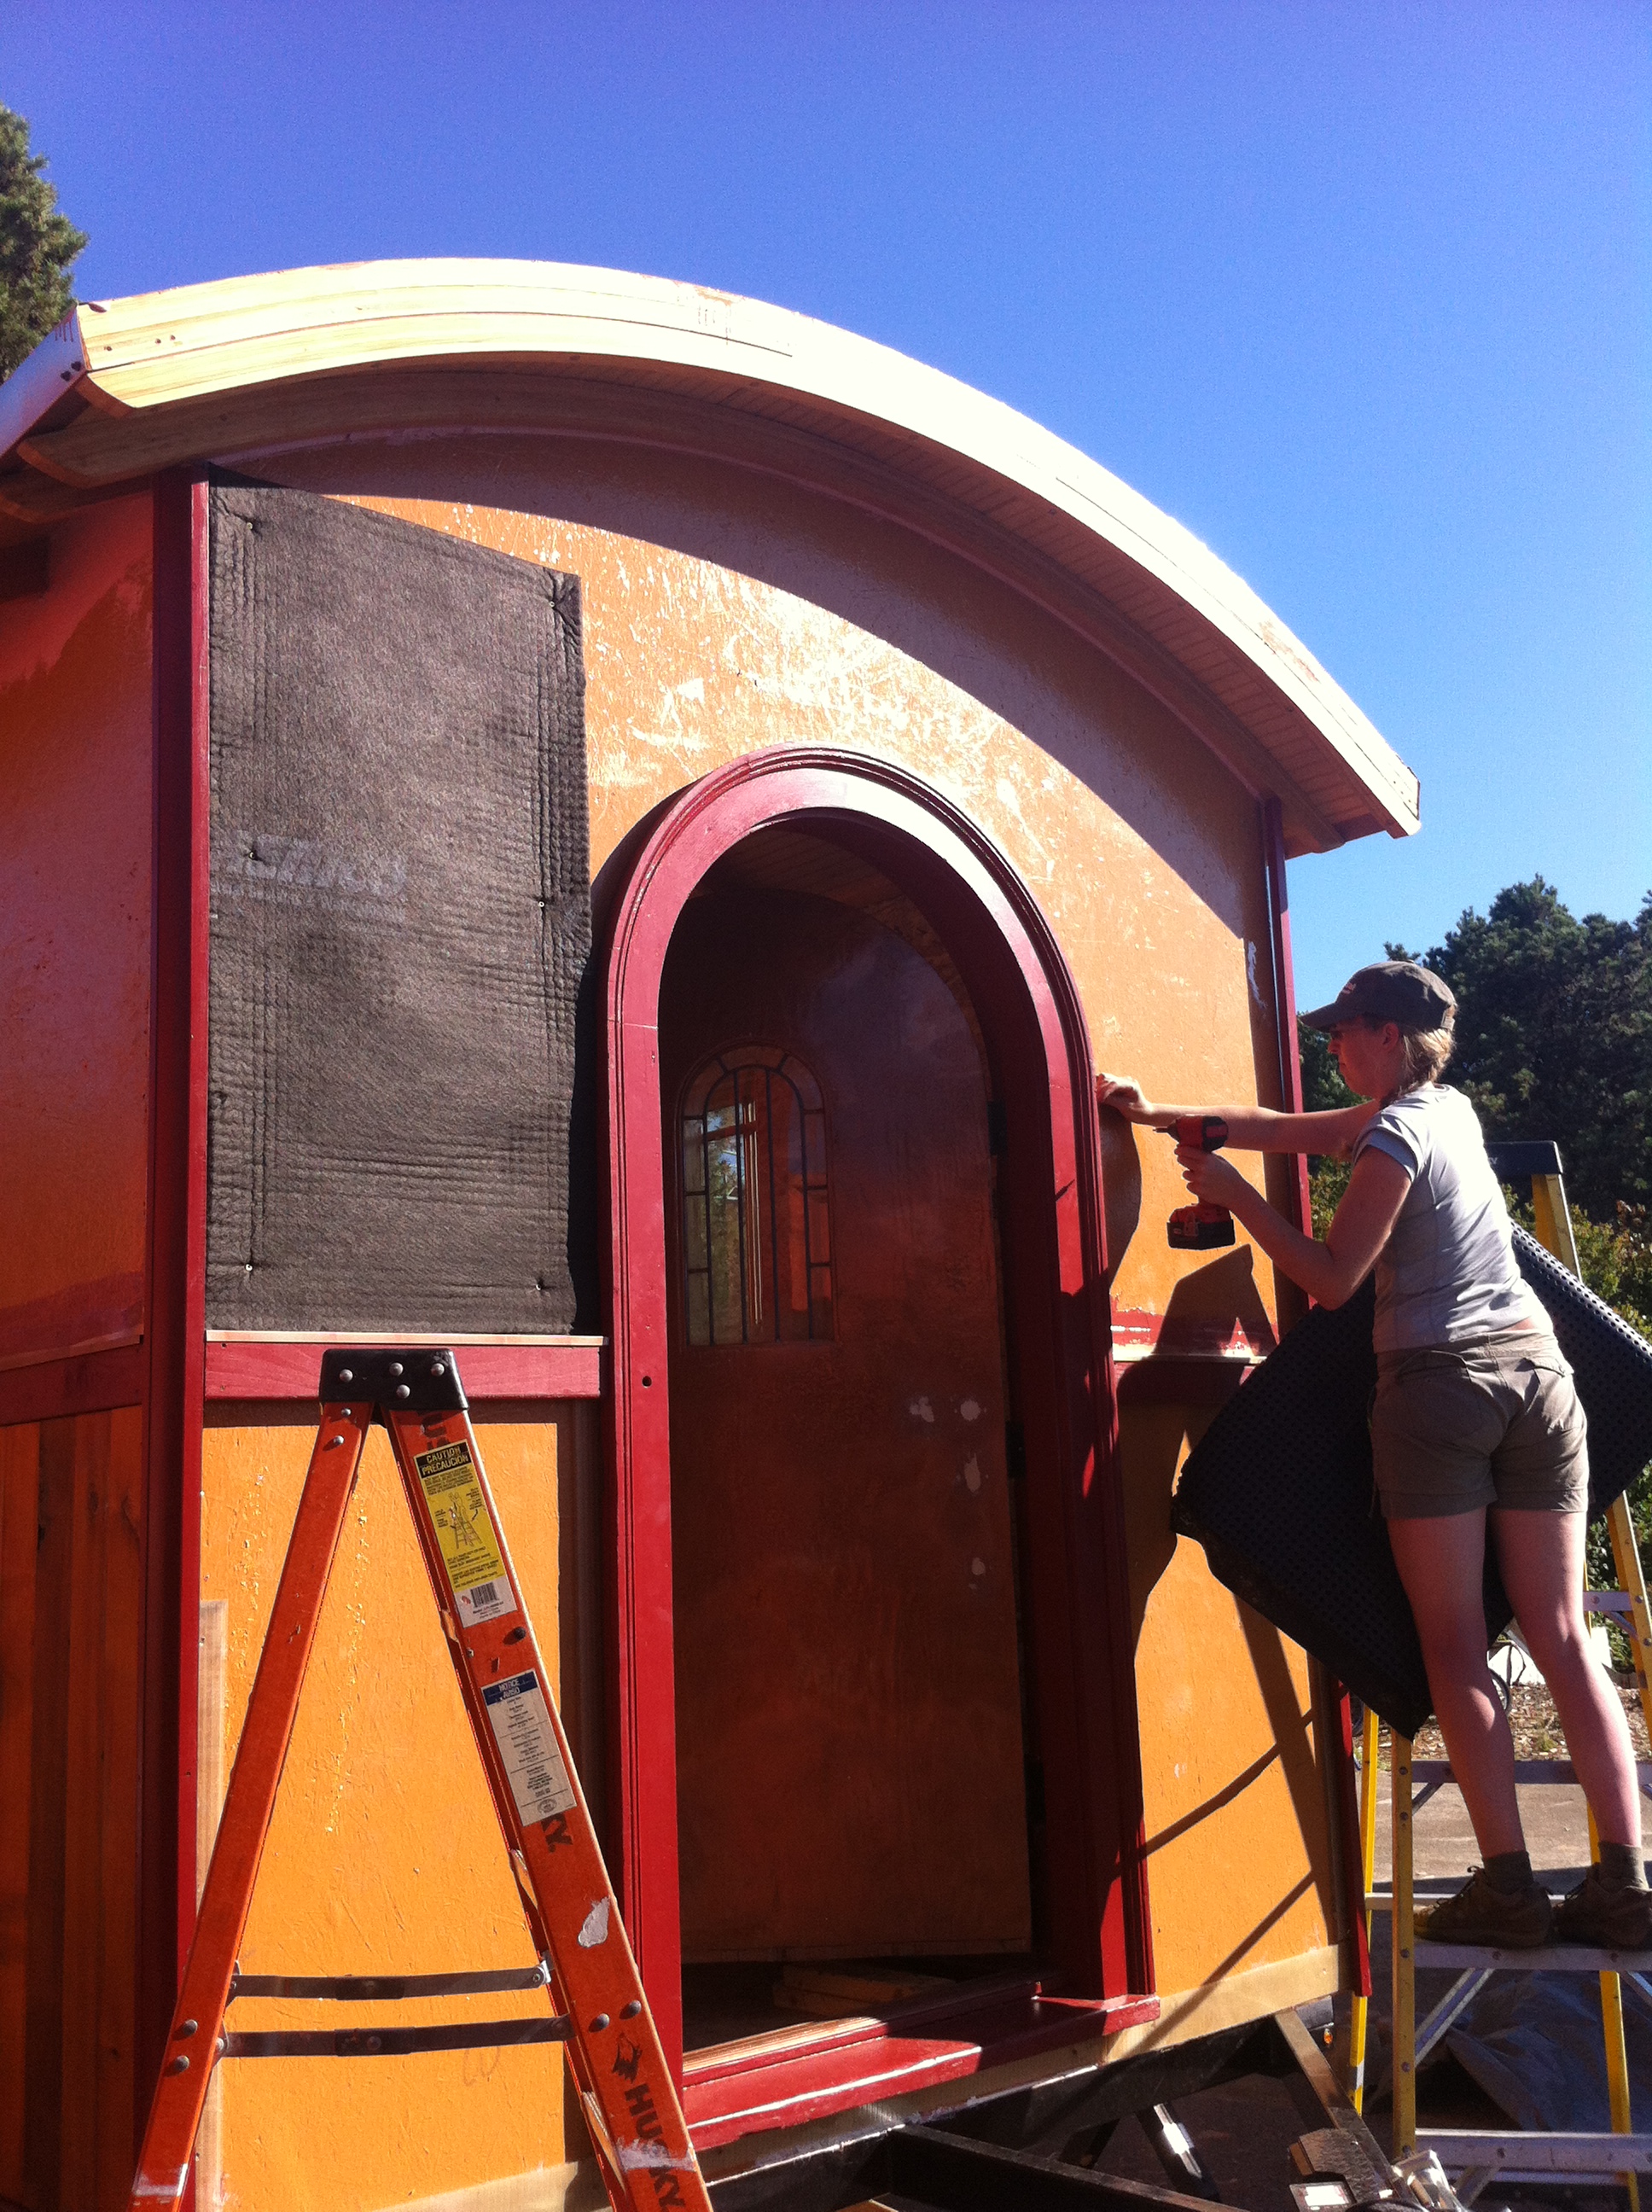
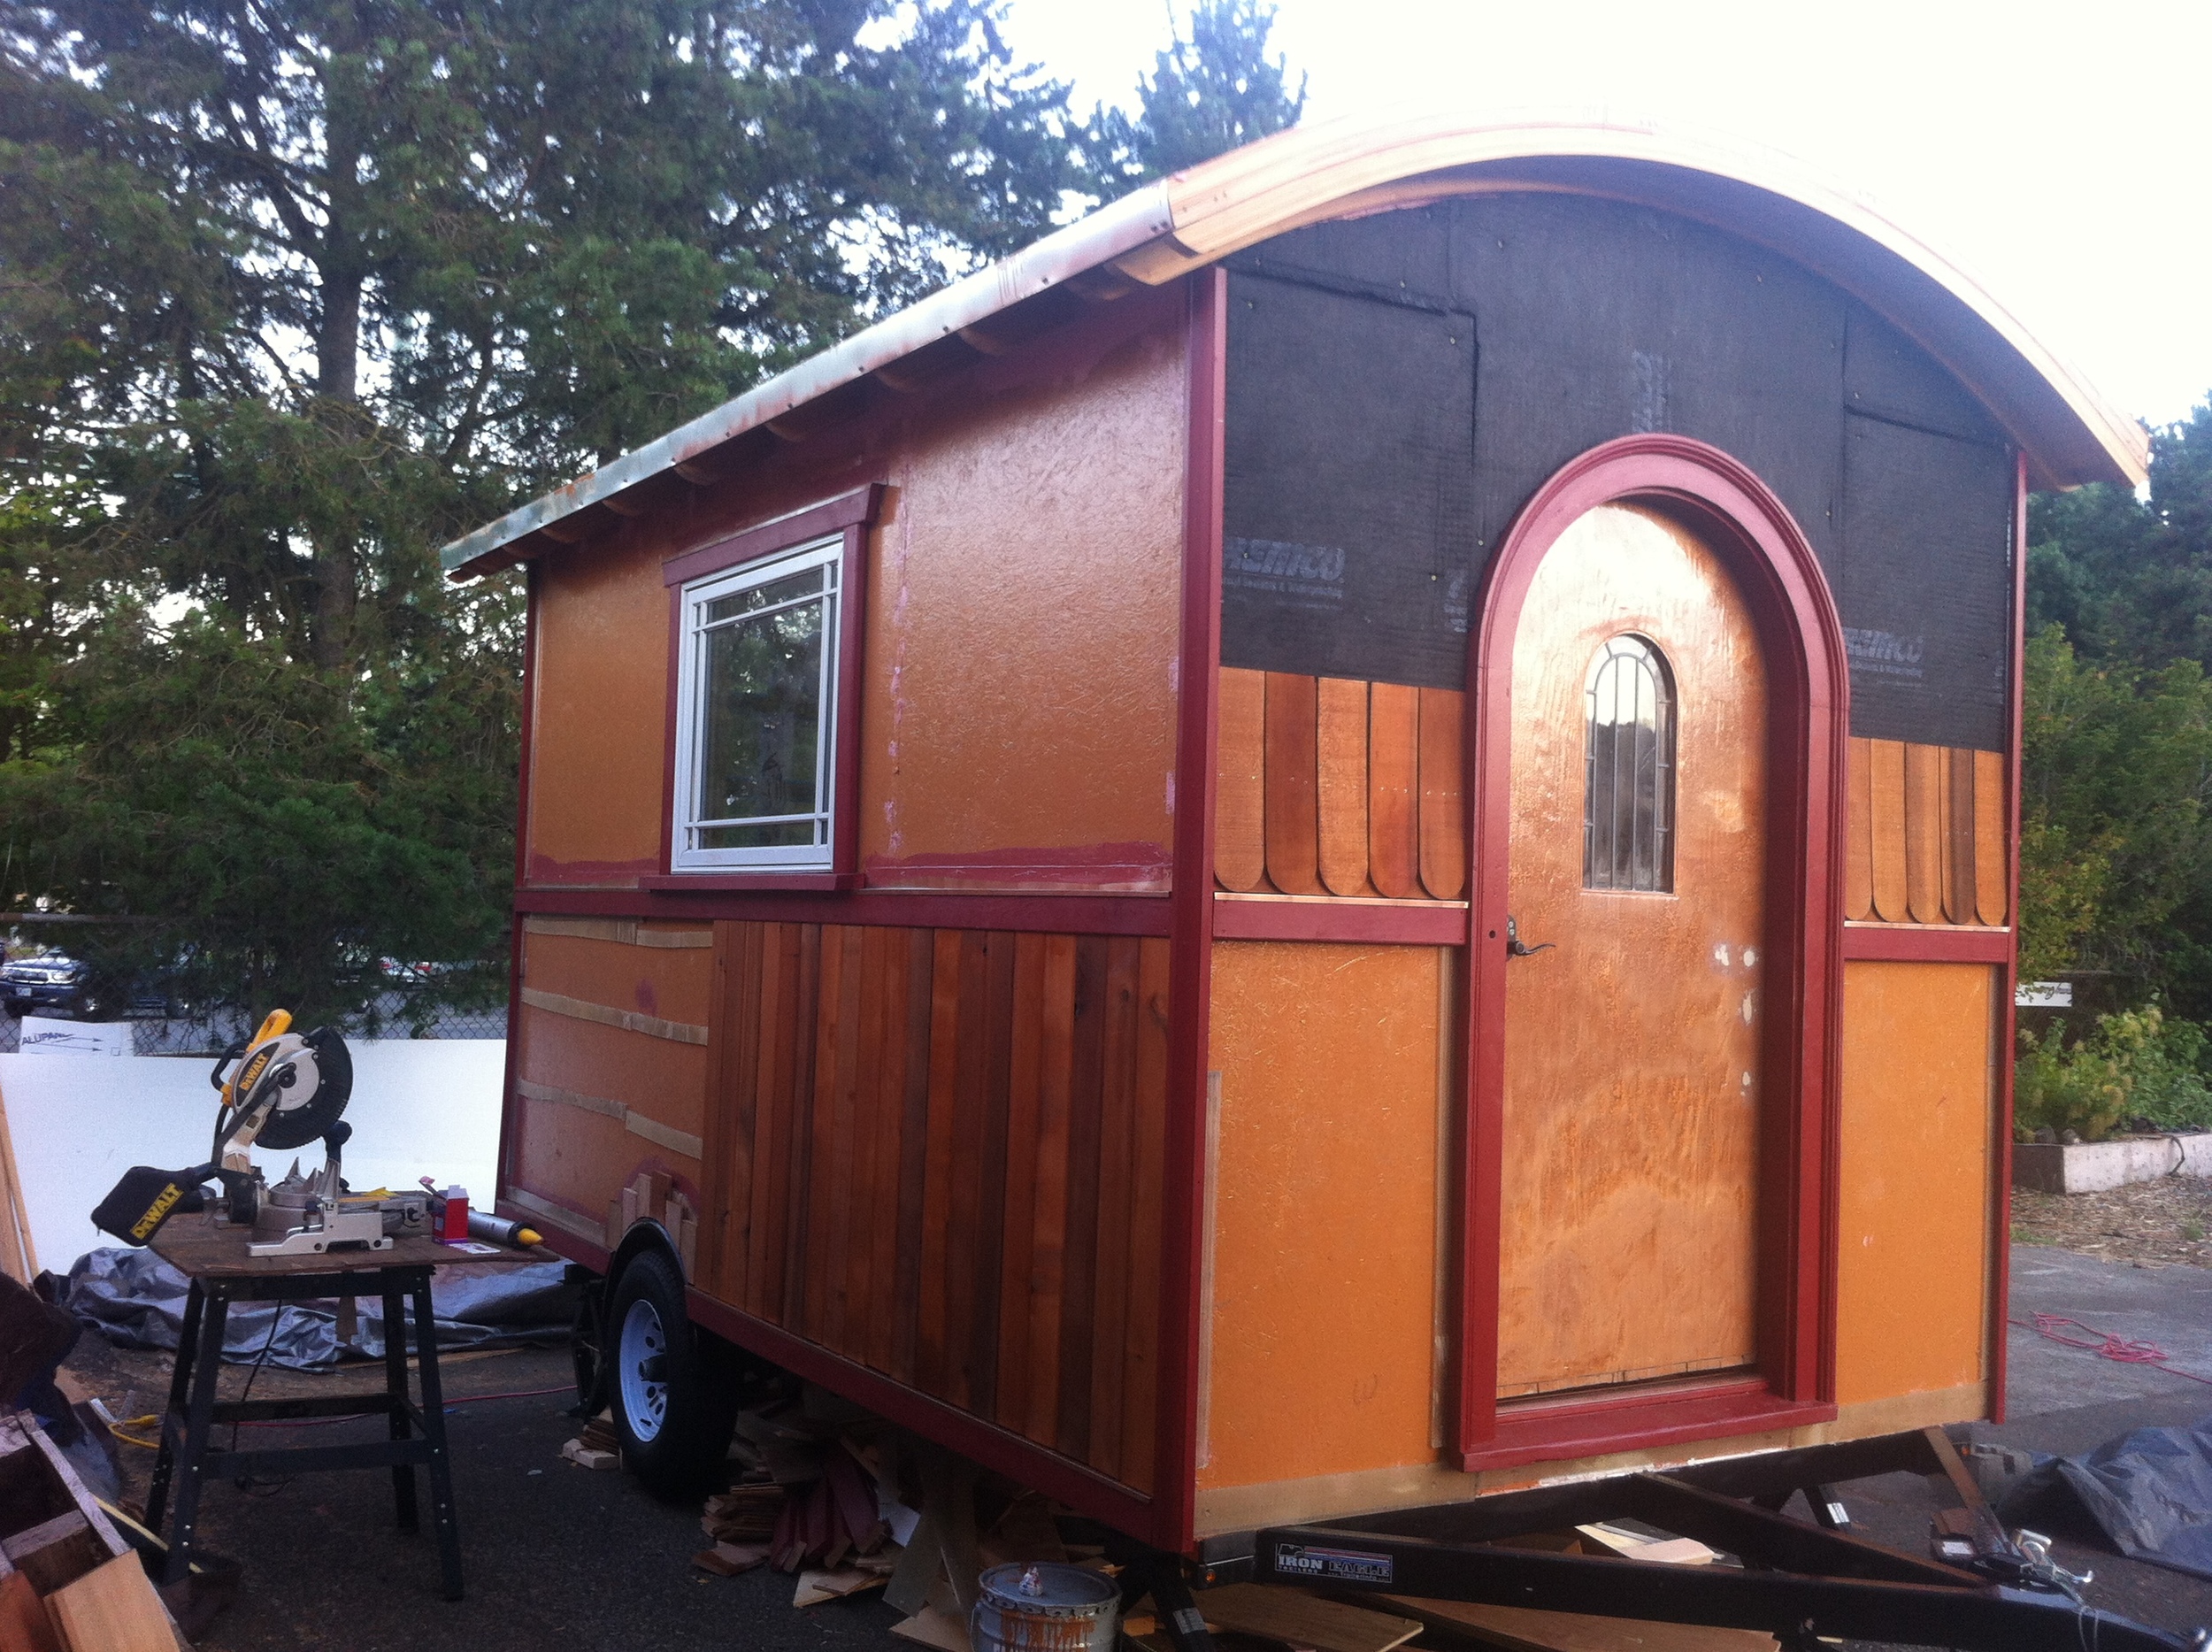 Standard rain screen strips wouldn’t behind my shingles, so in the area above my belly band I installed a different type of rain screen. I lucked out because there were leftover TremDrain 1000 scraps available at the Breathe Building. This material is typically used for below-grade waterproofing, but it has the properties I need: lightweight and dimpled. And, like my polycarbonate material, it was free. Needless to say, I was happy to salvage it! And voila! A rain screen!
Tiny House Trim & Siding
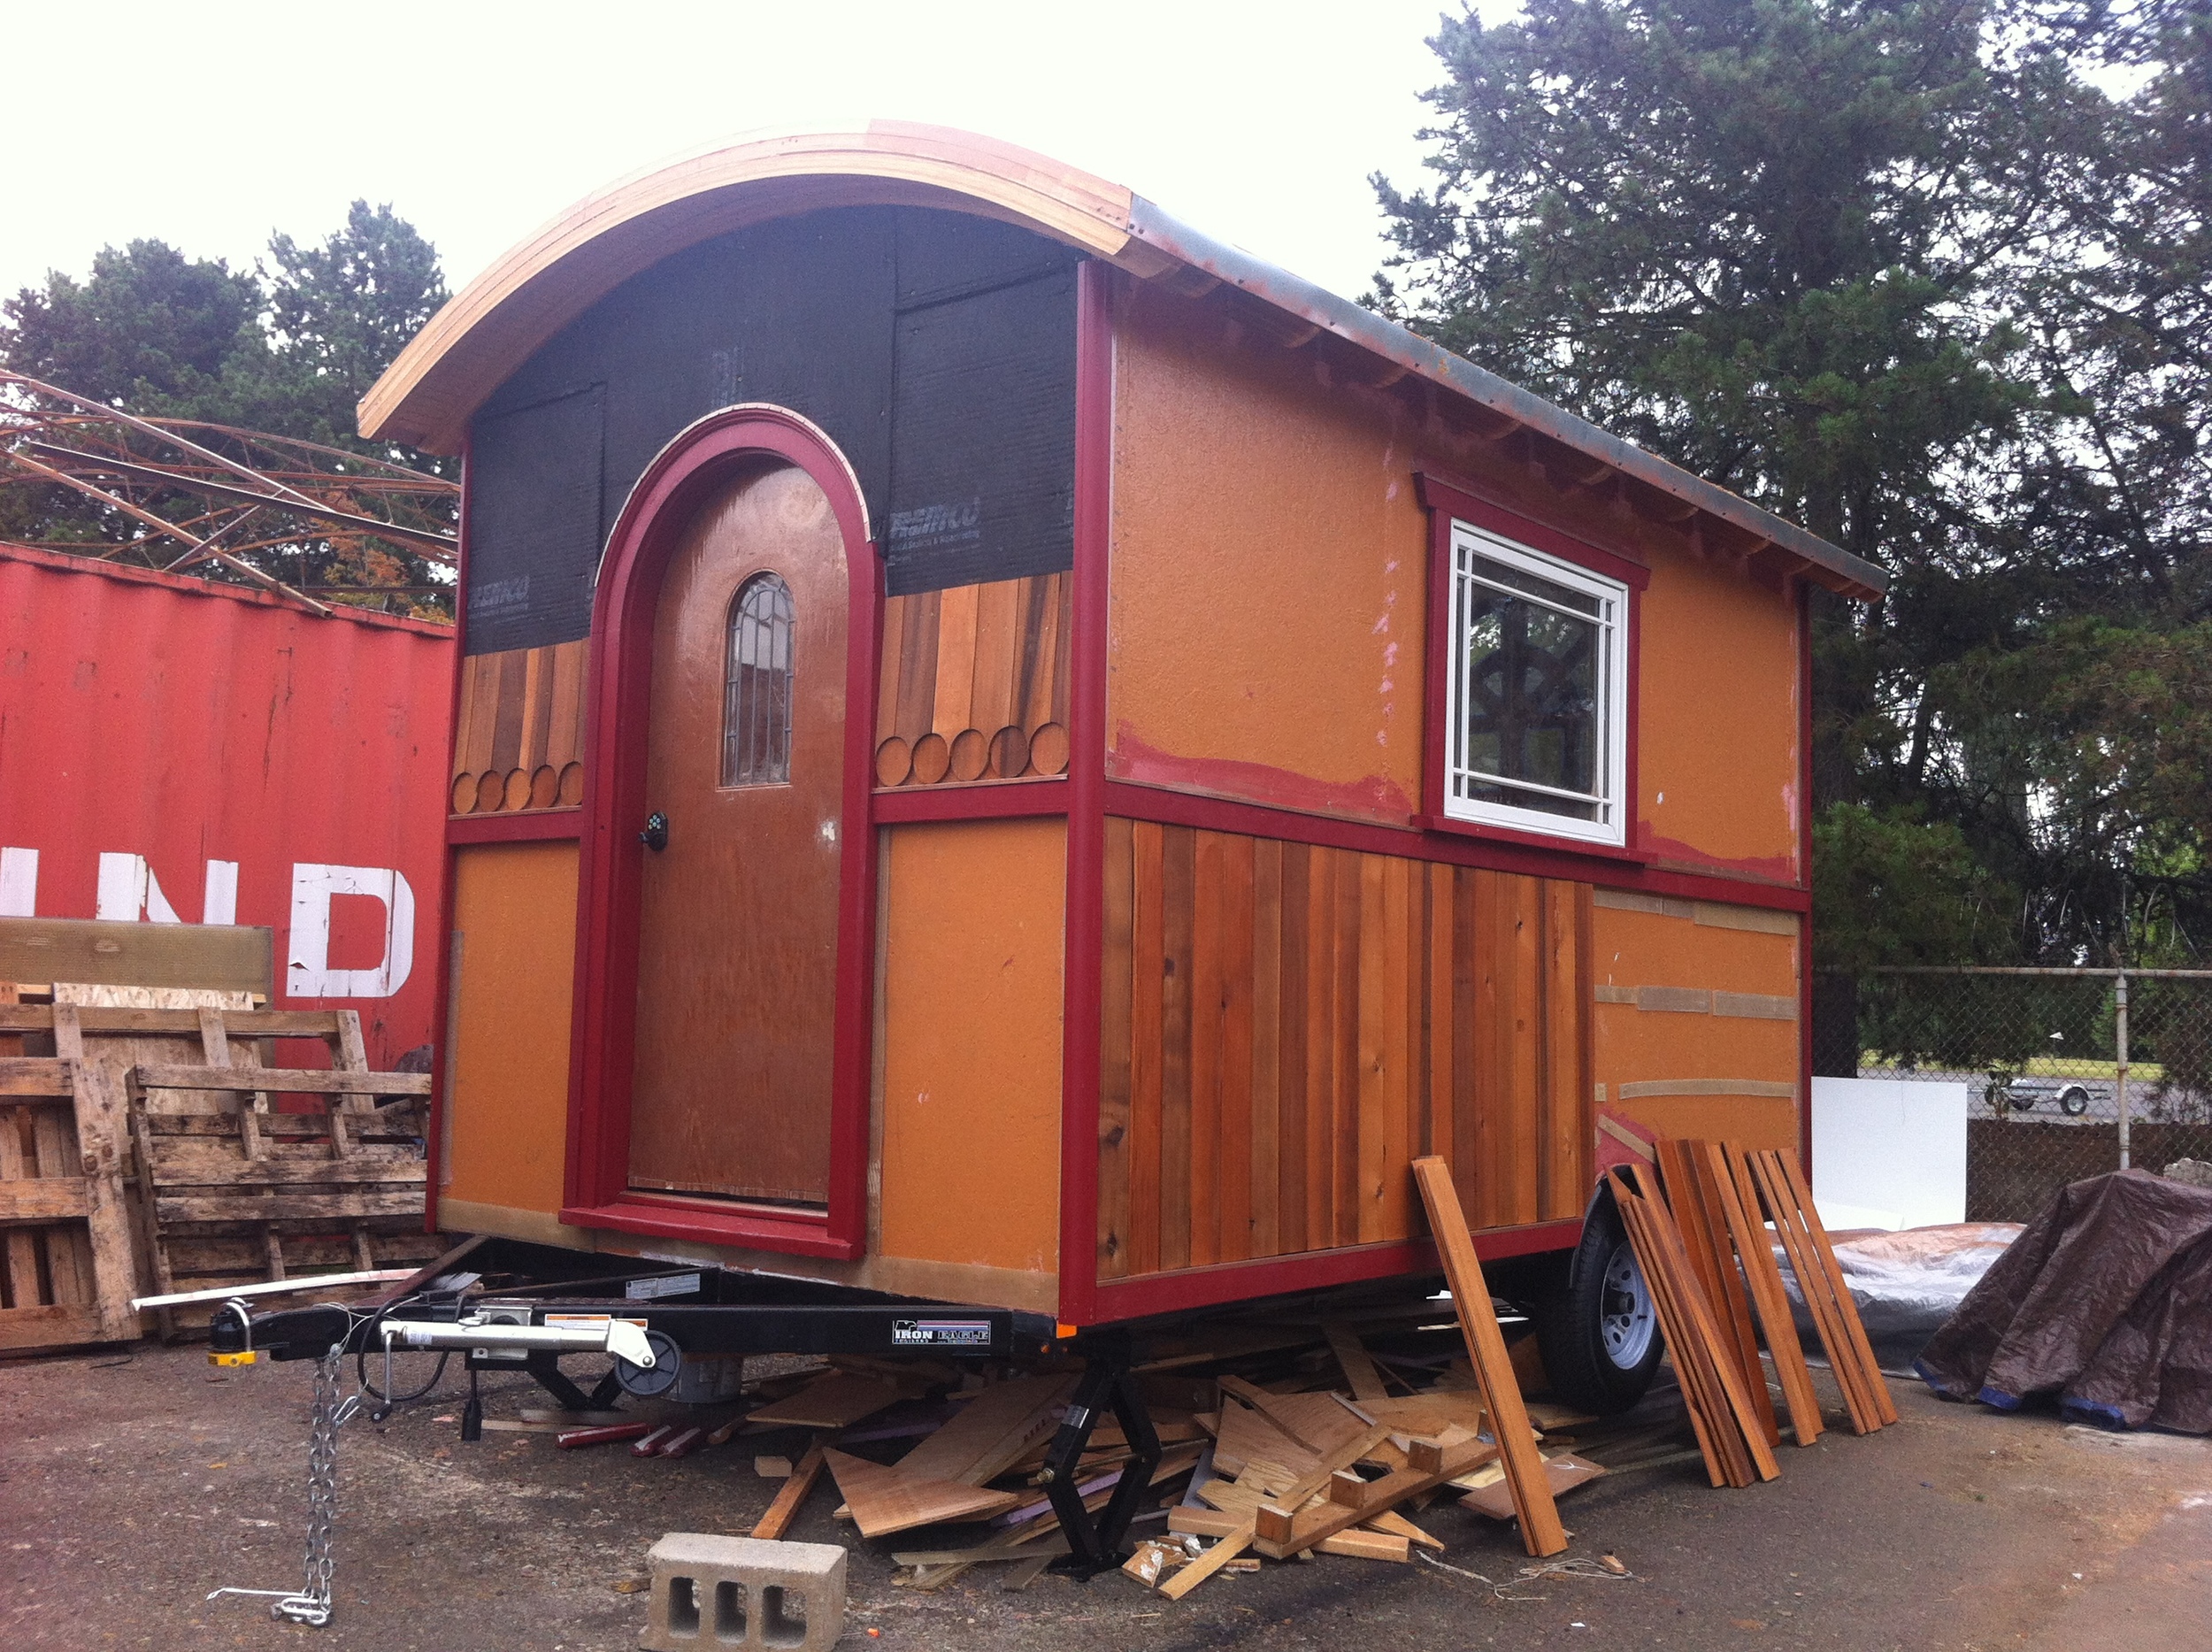
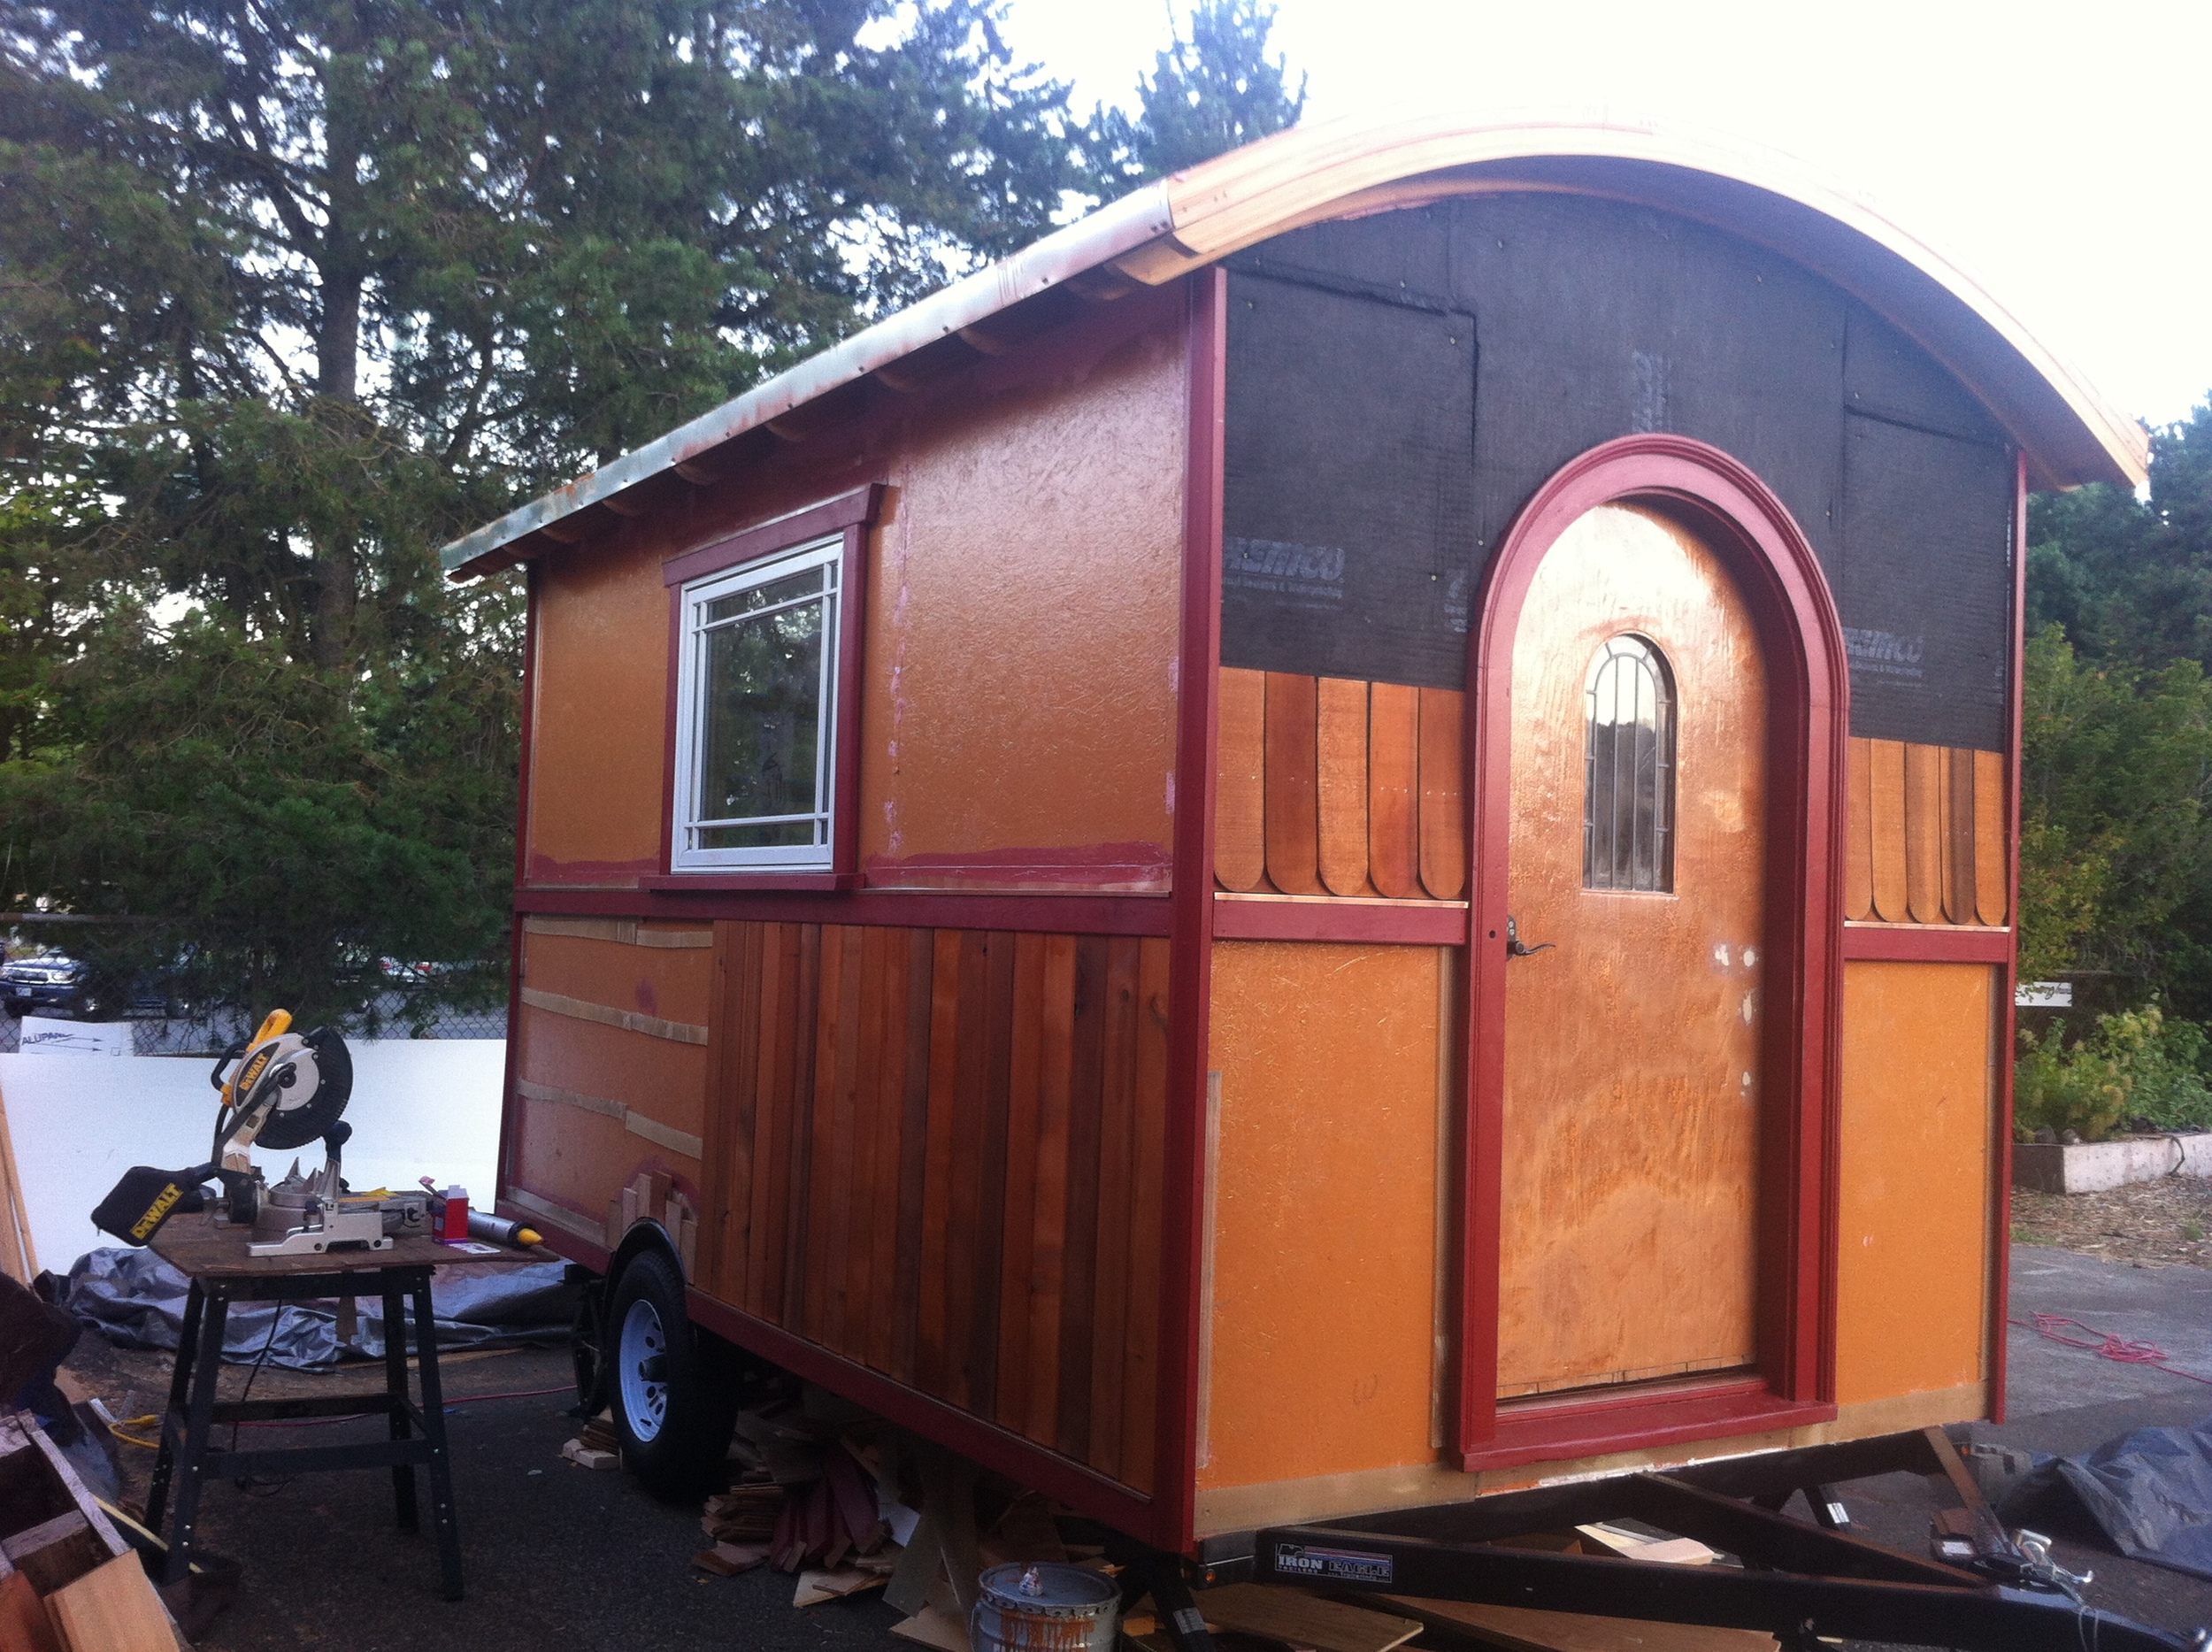
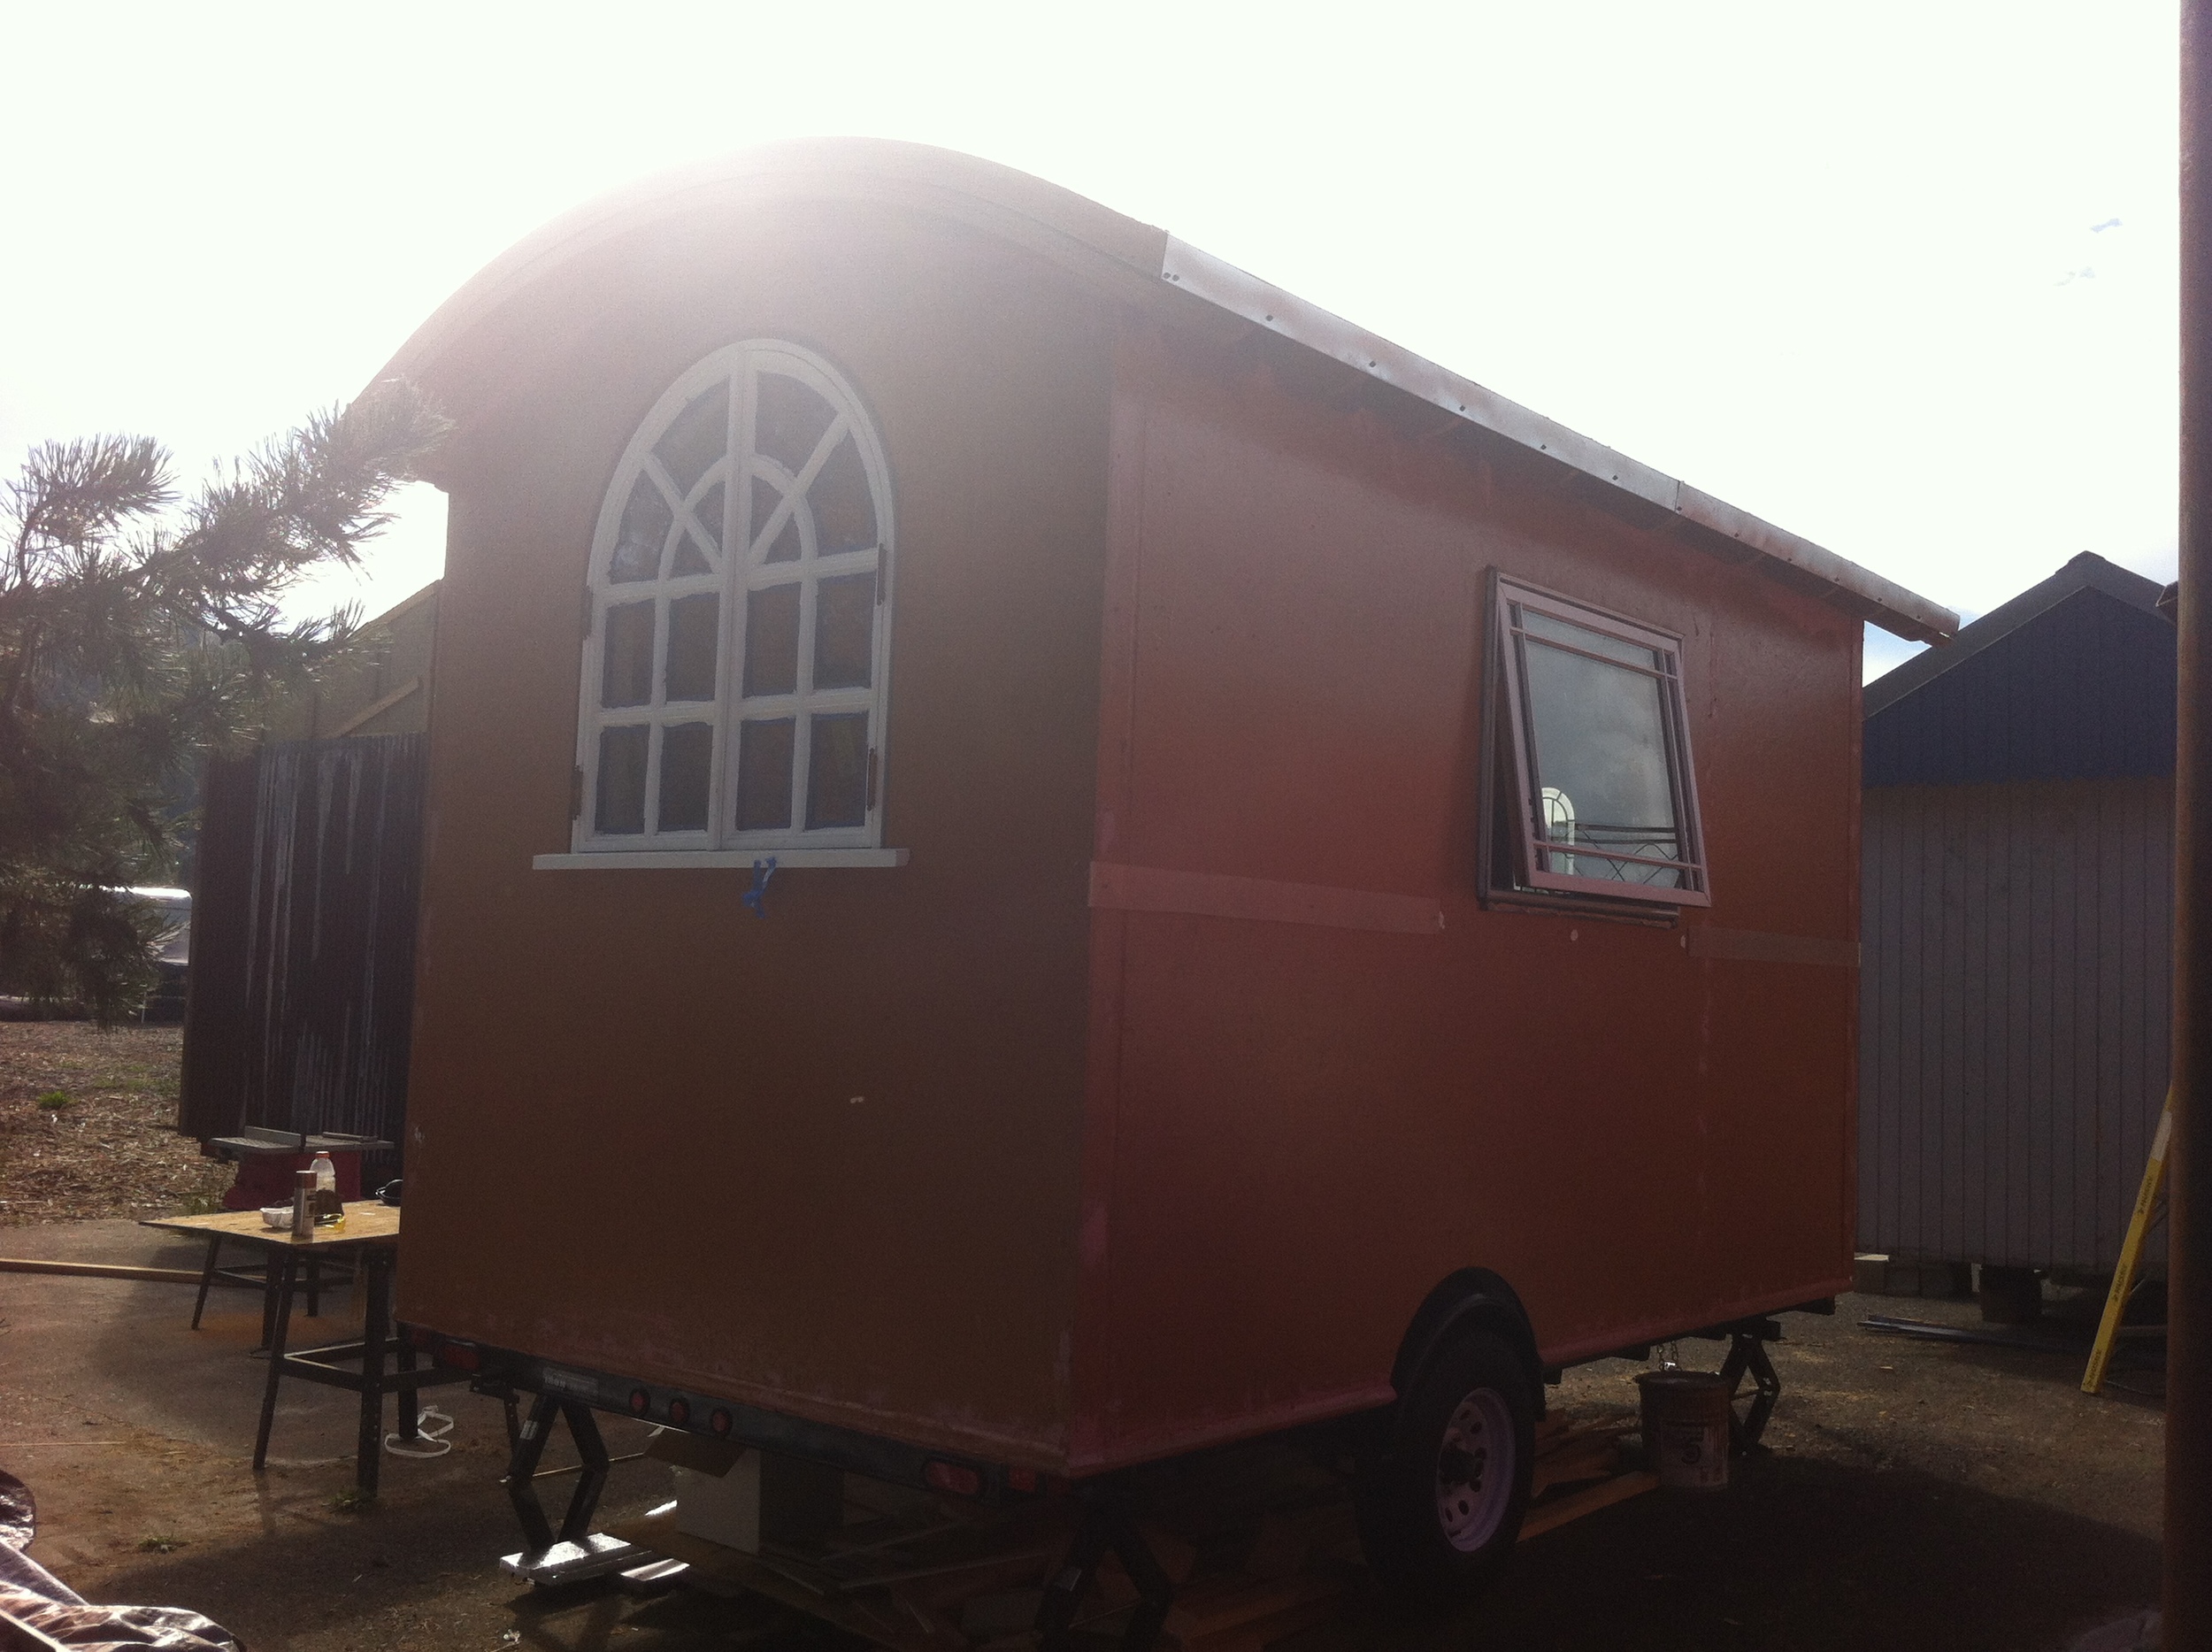
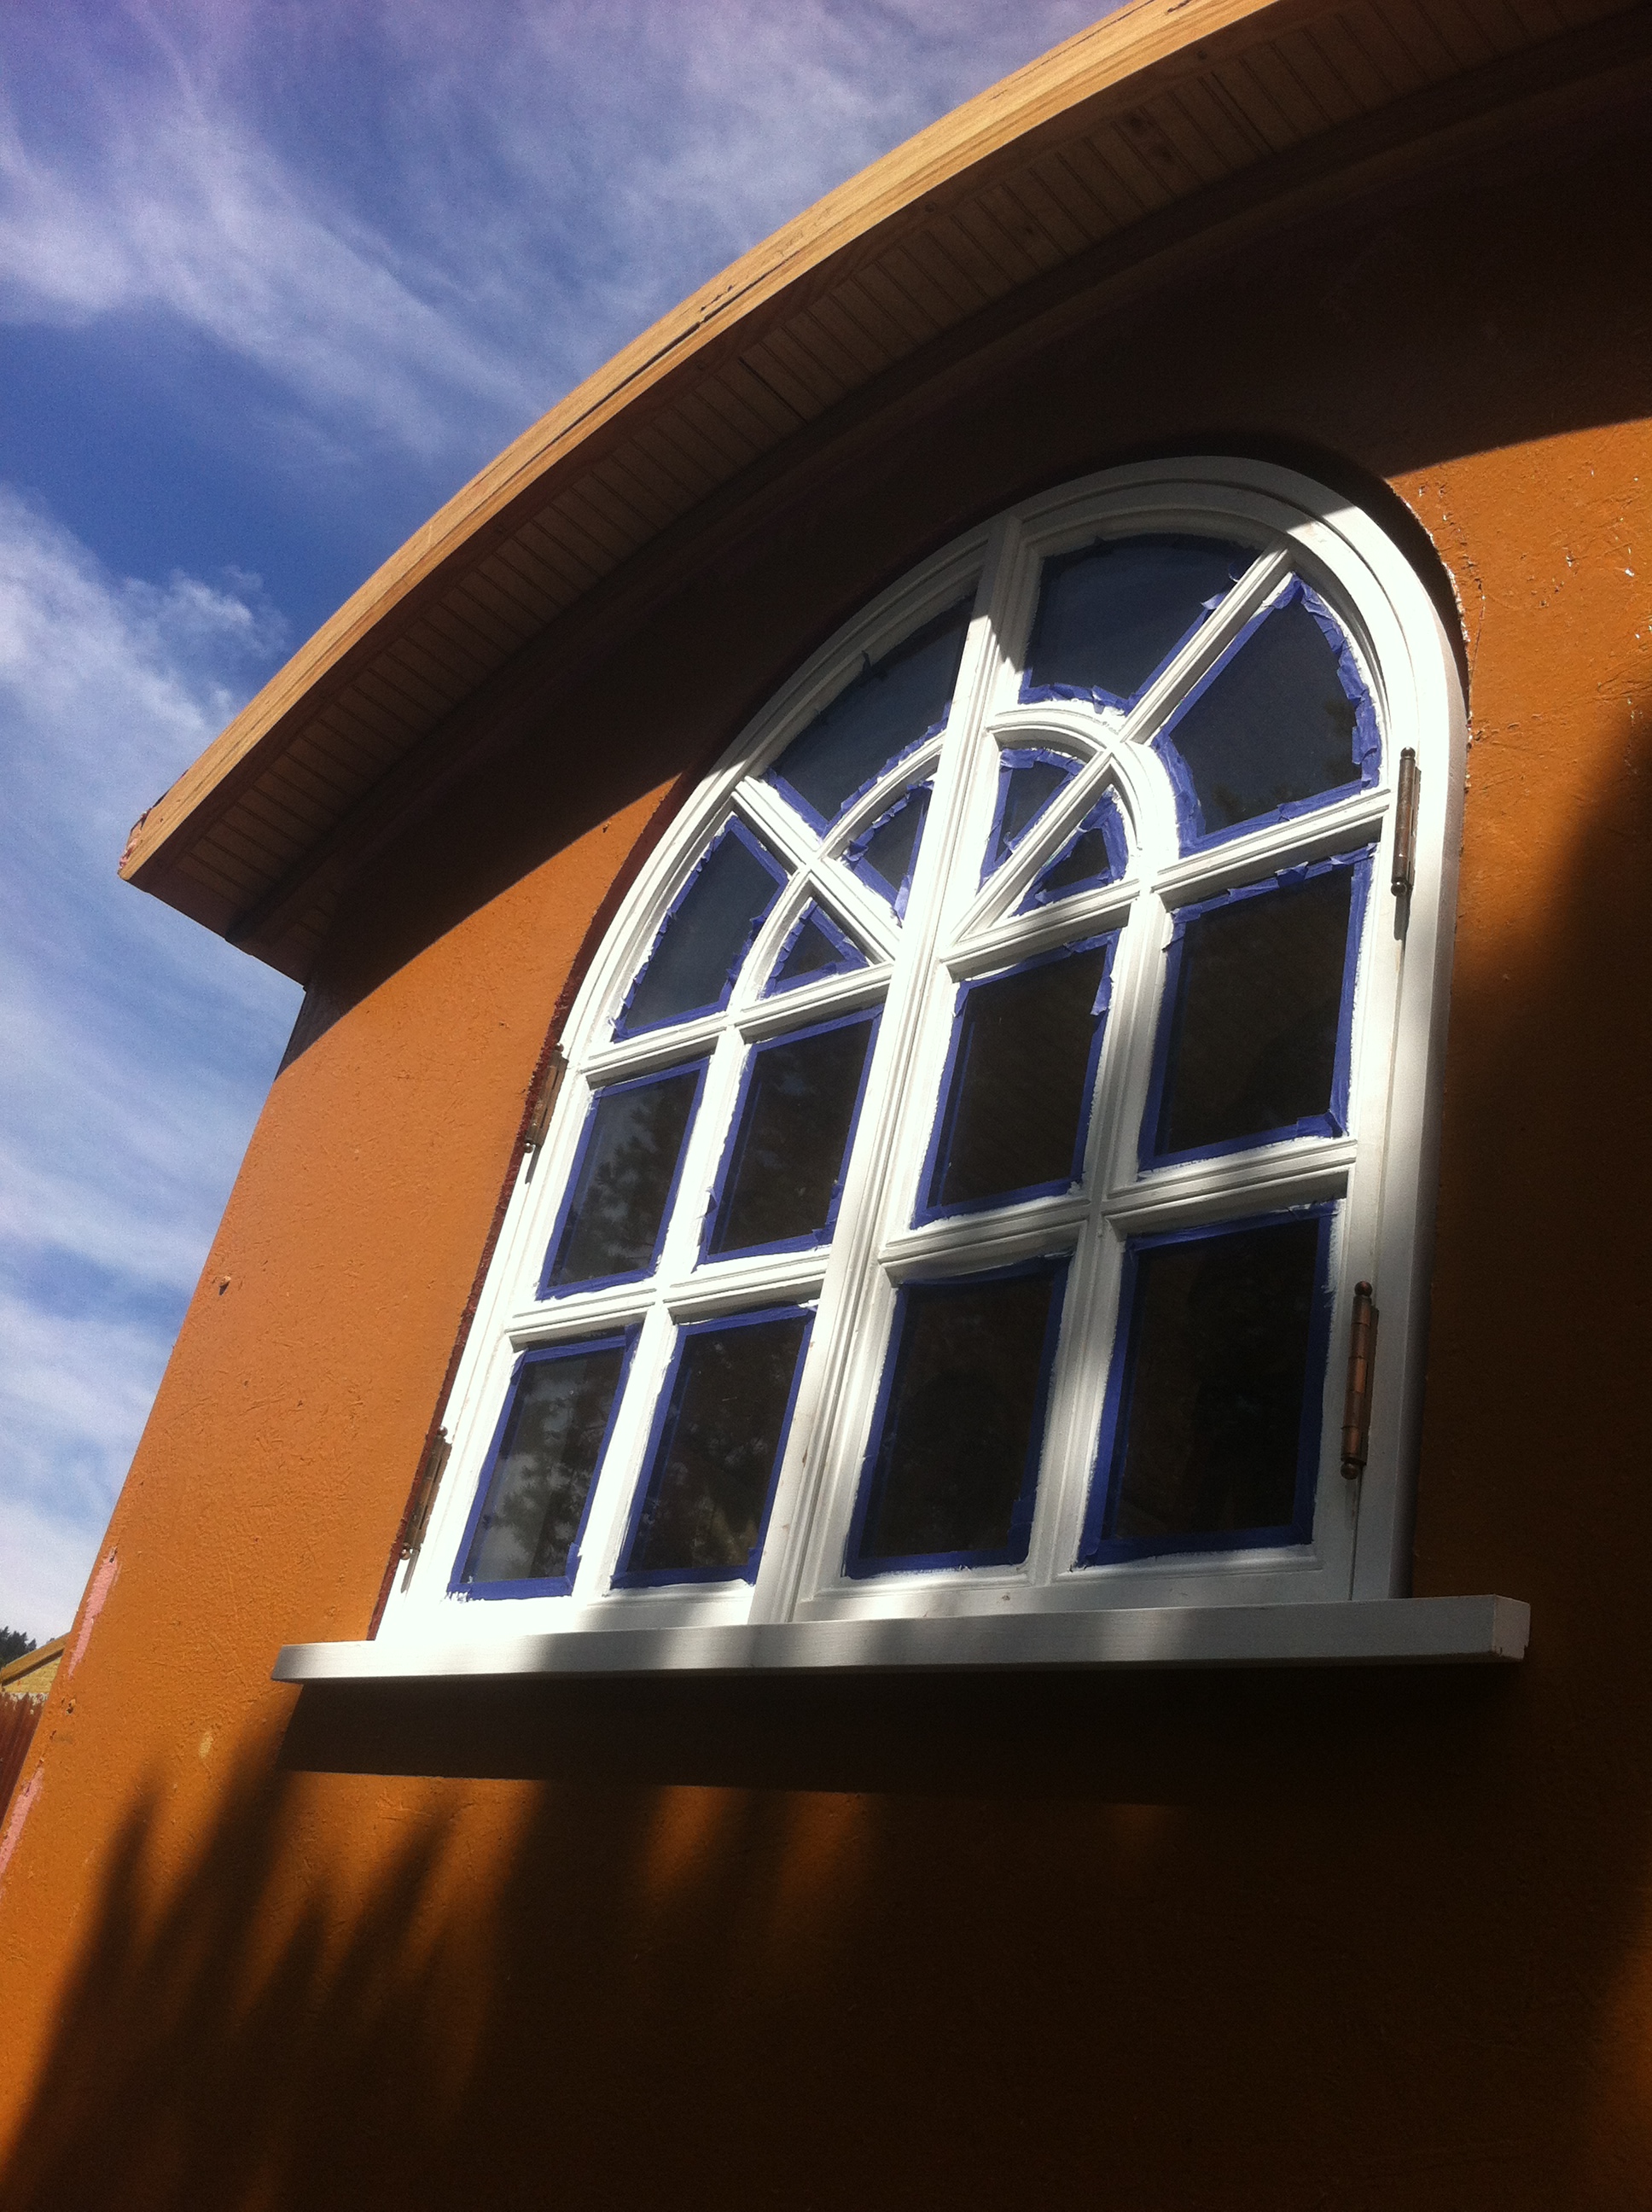
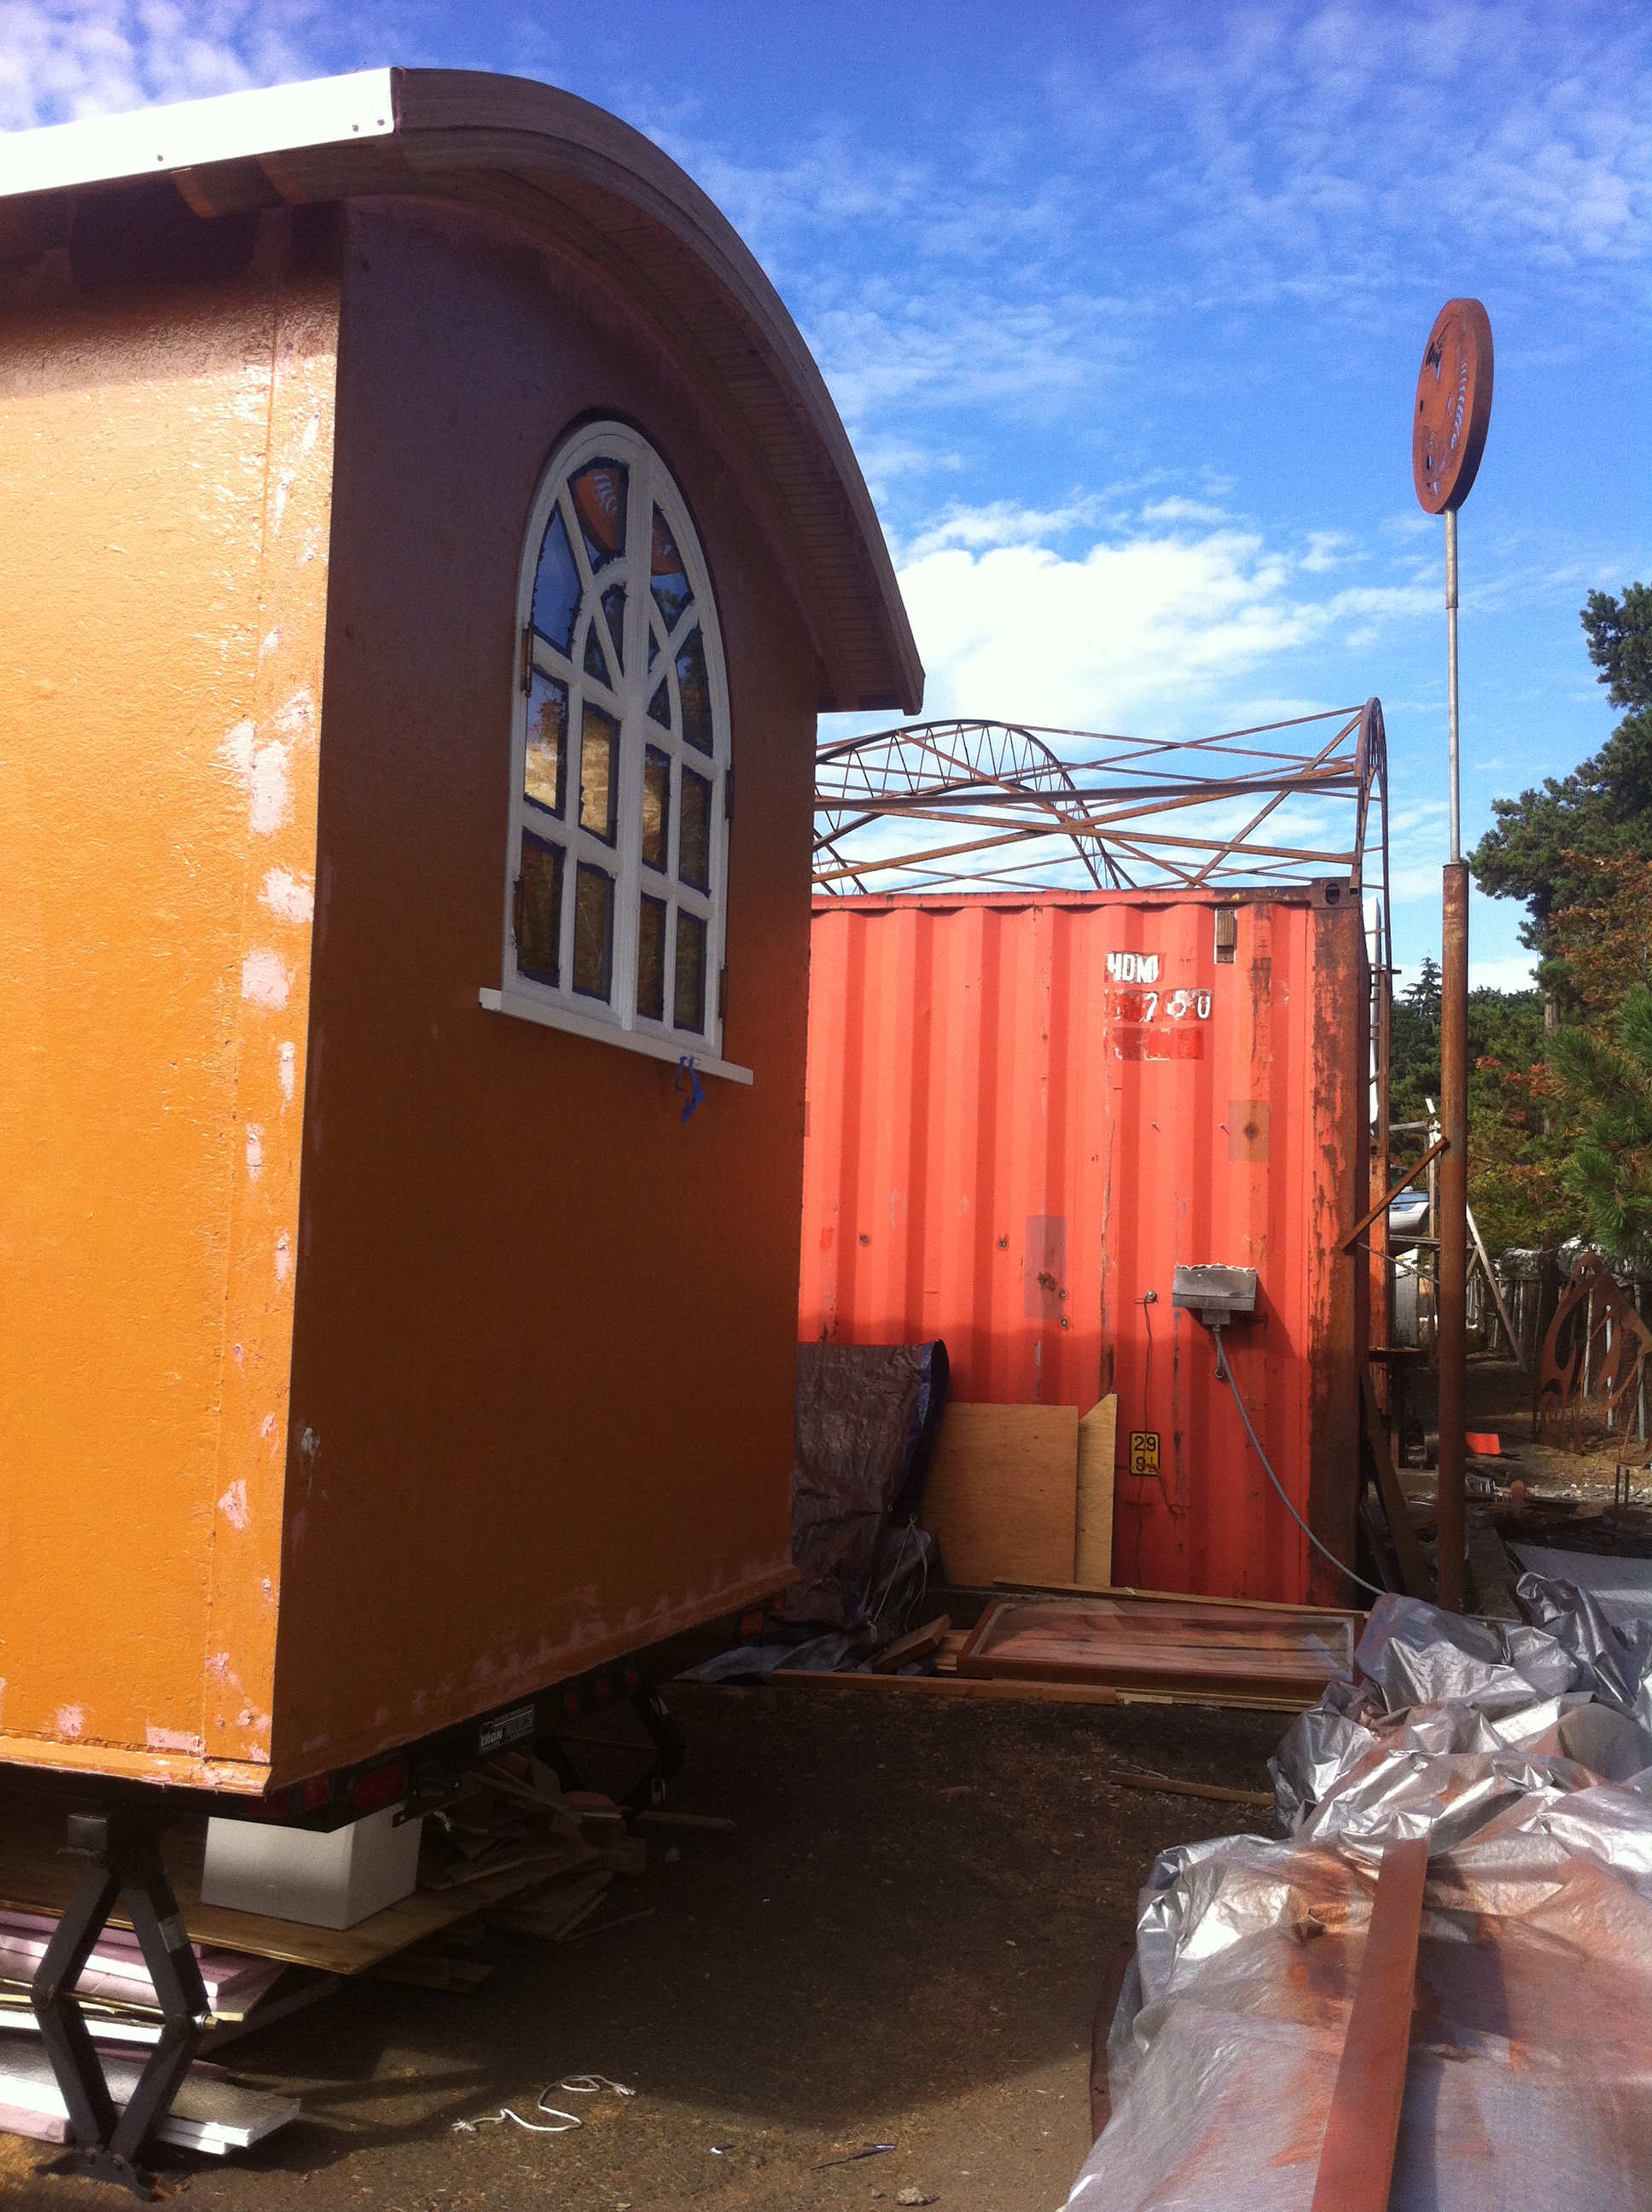
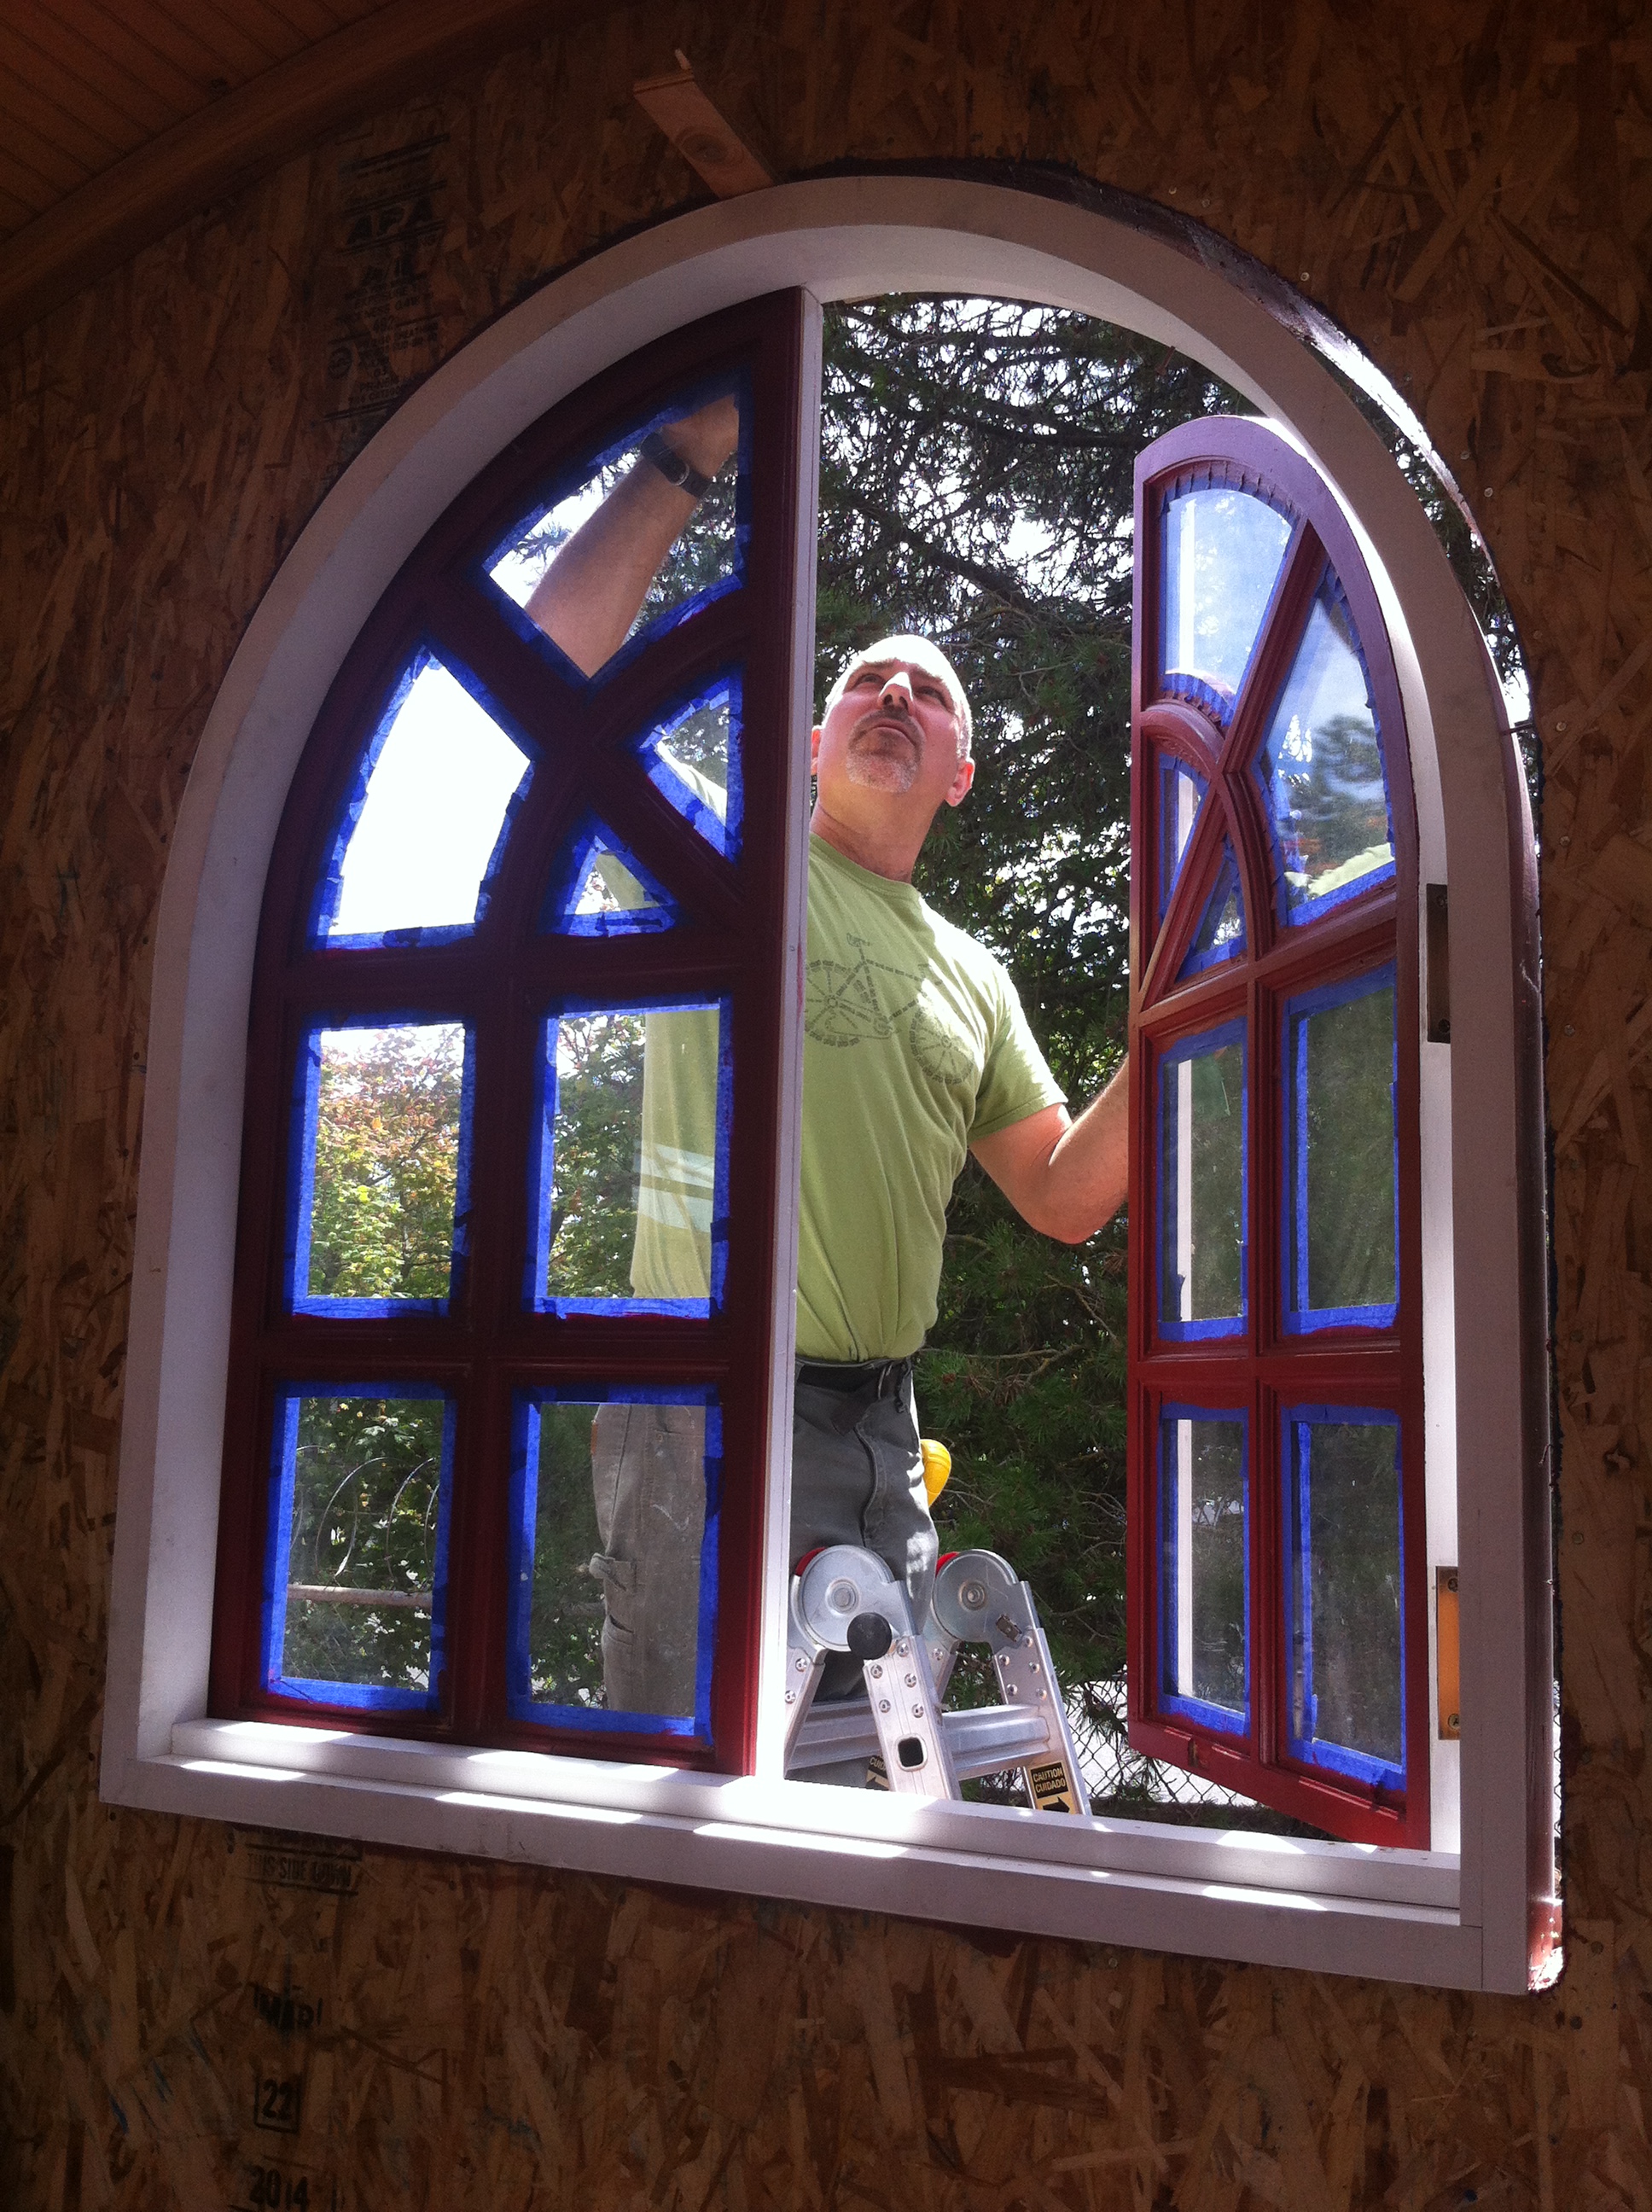
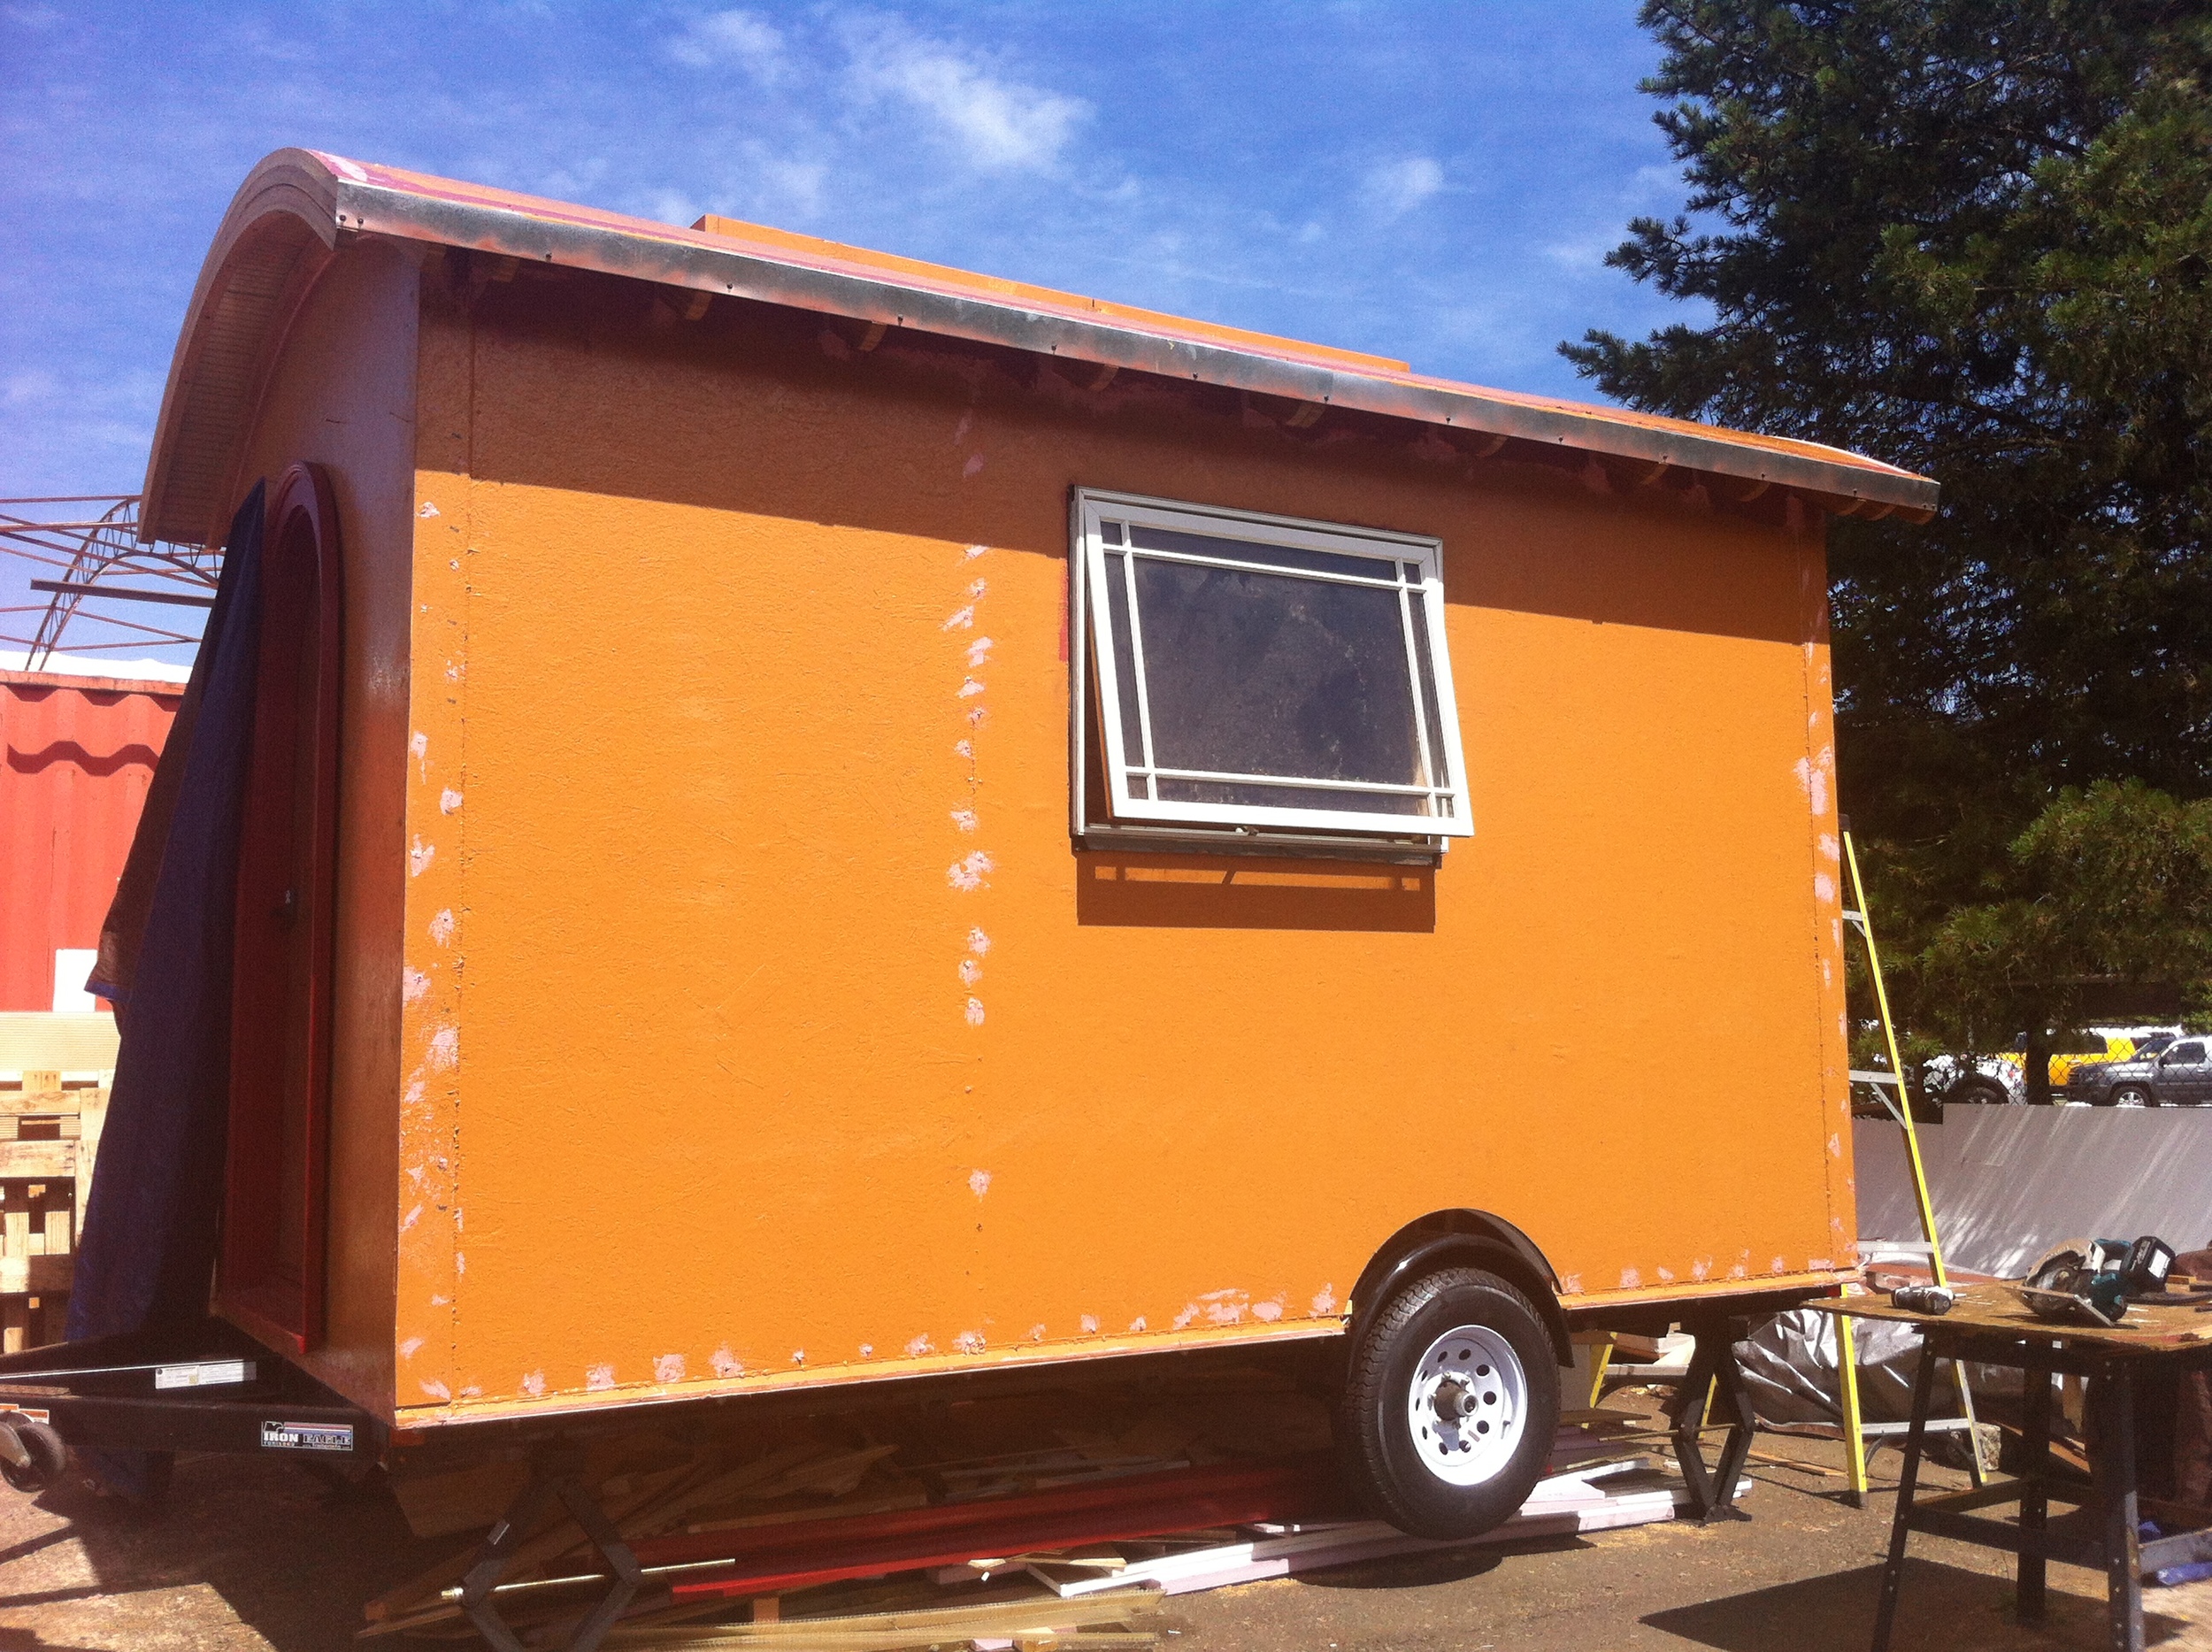
 On Independence Day I celebrated the freedom The Lucky Penny will give me with Tiny House Window Installation. I even had my very own version of red, white, and blue in the form of My Arched Window. The rest of this weekend was dedicated to installing my exterior trim and siding.
On Saturday my friends Karin, Mike, and Eleanor came to help out. The first step was to install the rain screen strips at the corners and under the windows, so Mike tackled that project. (I’ll write up a separate little side post about my Tiny House Rain Screen.)
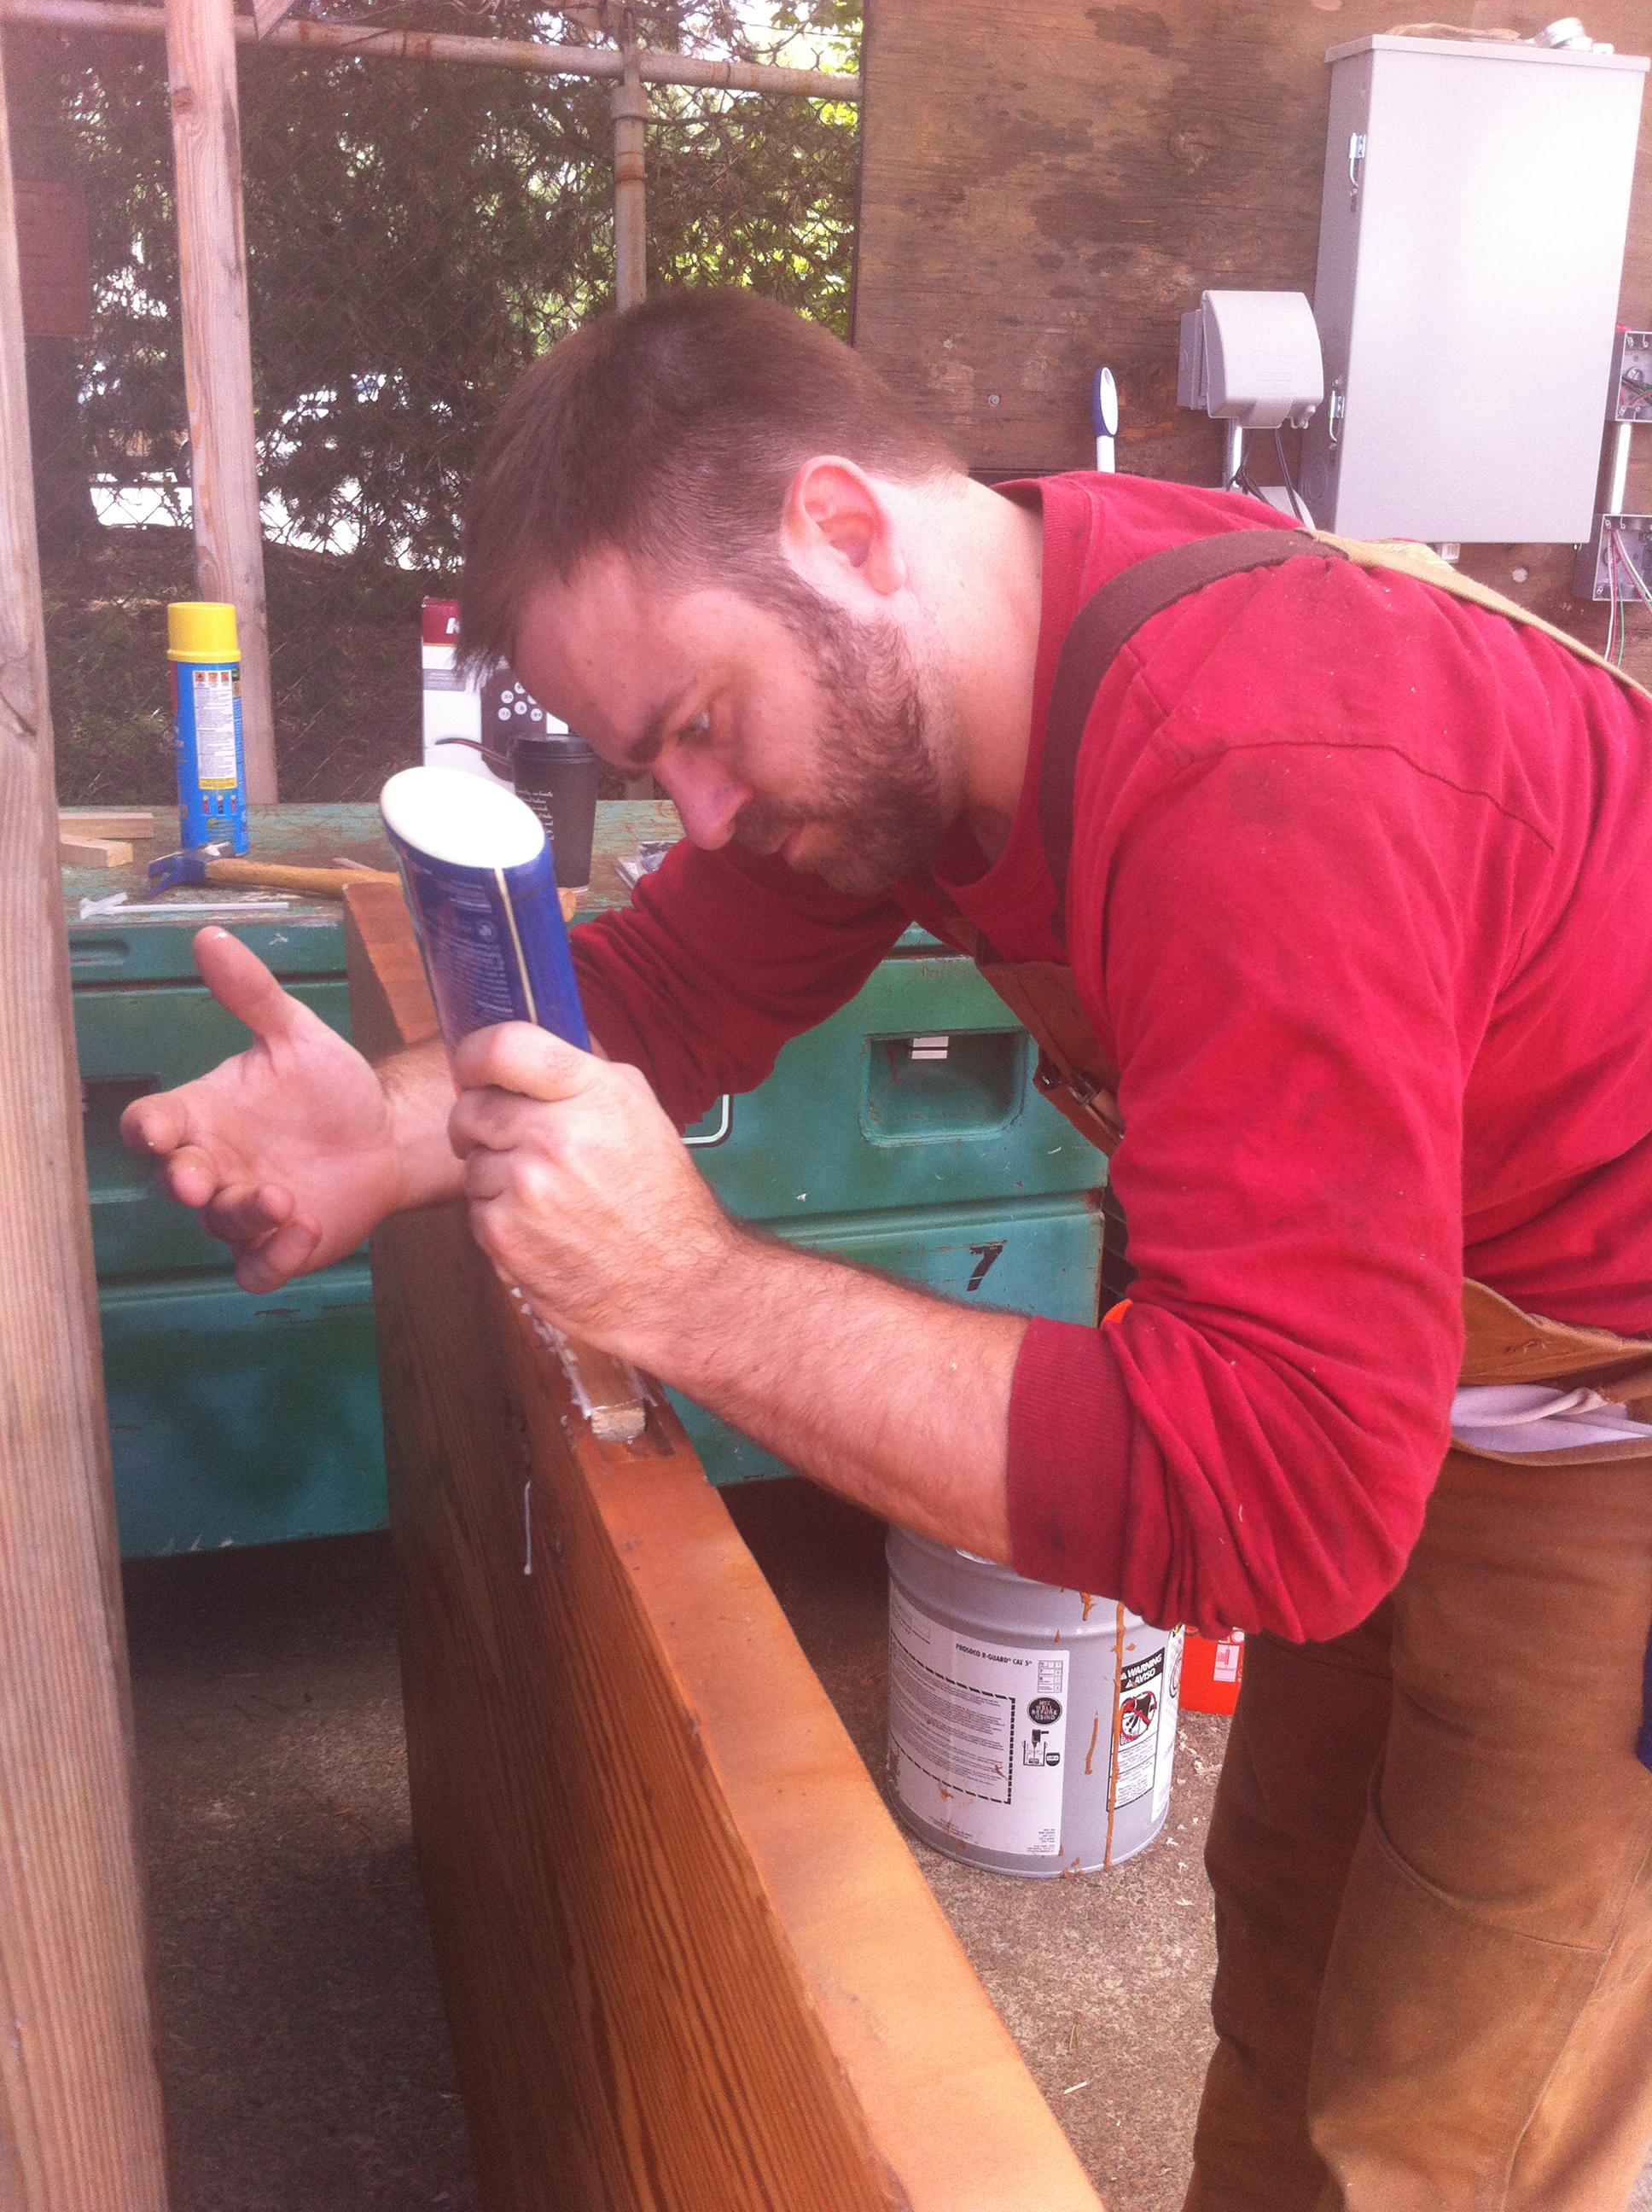
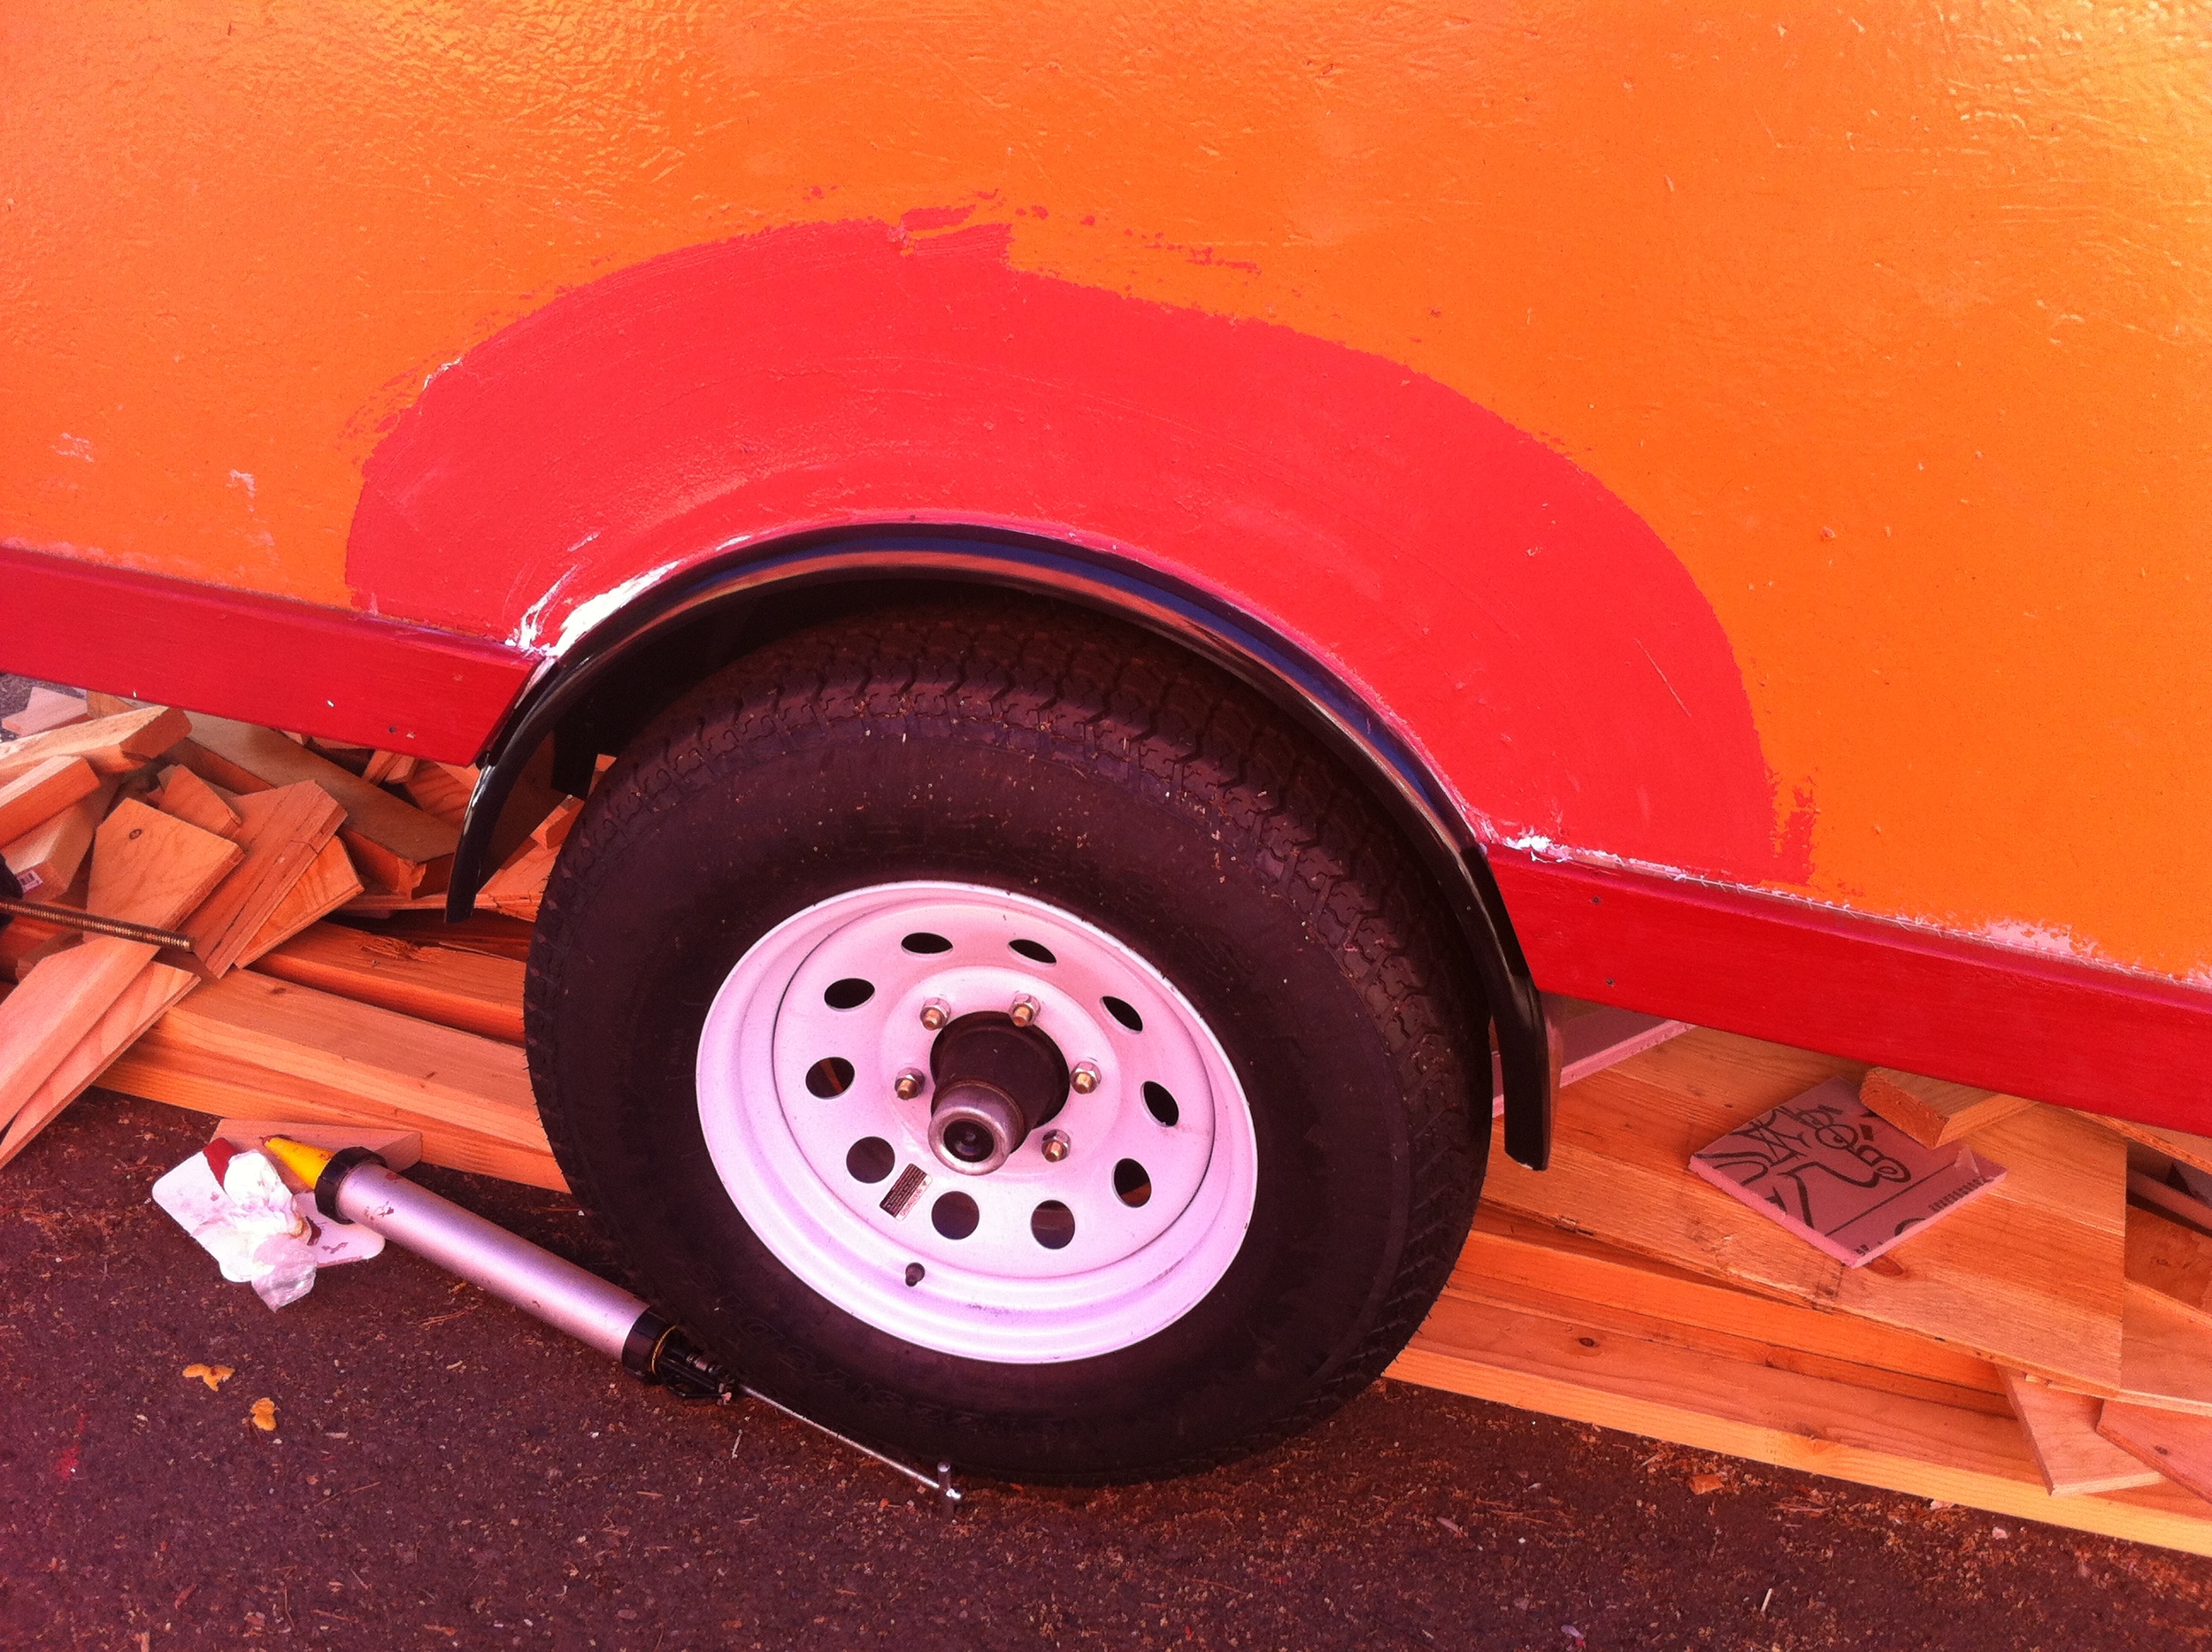
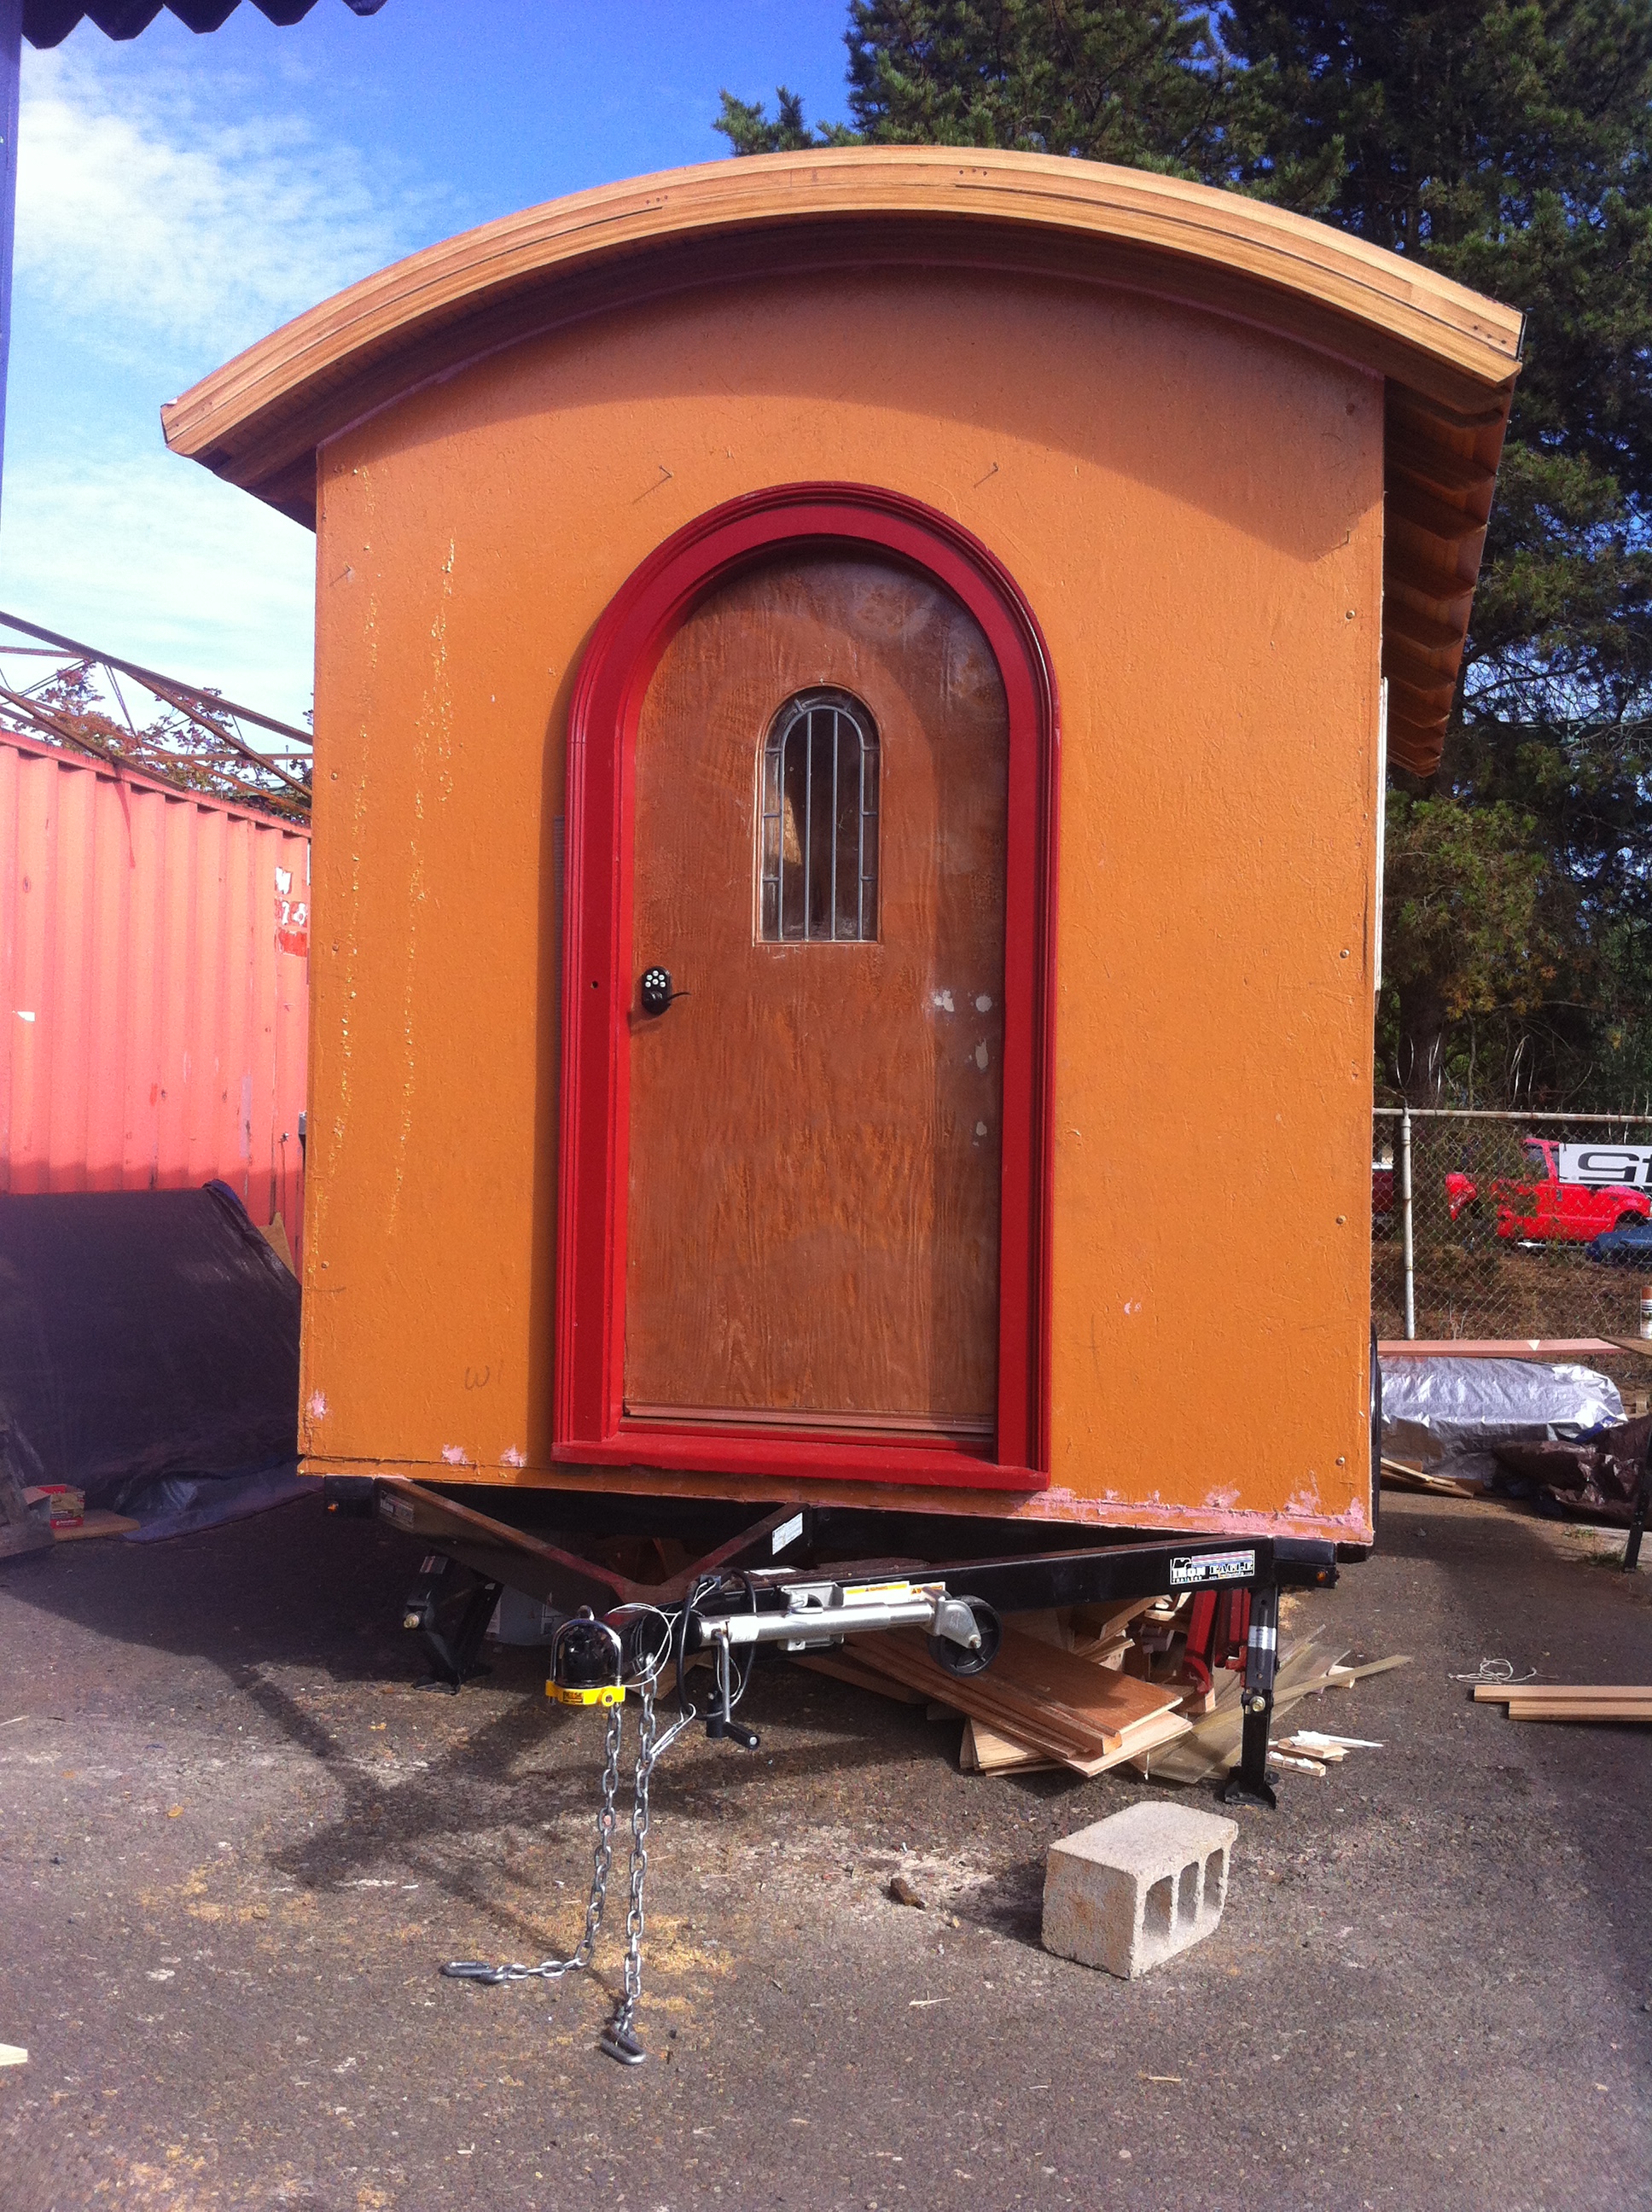
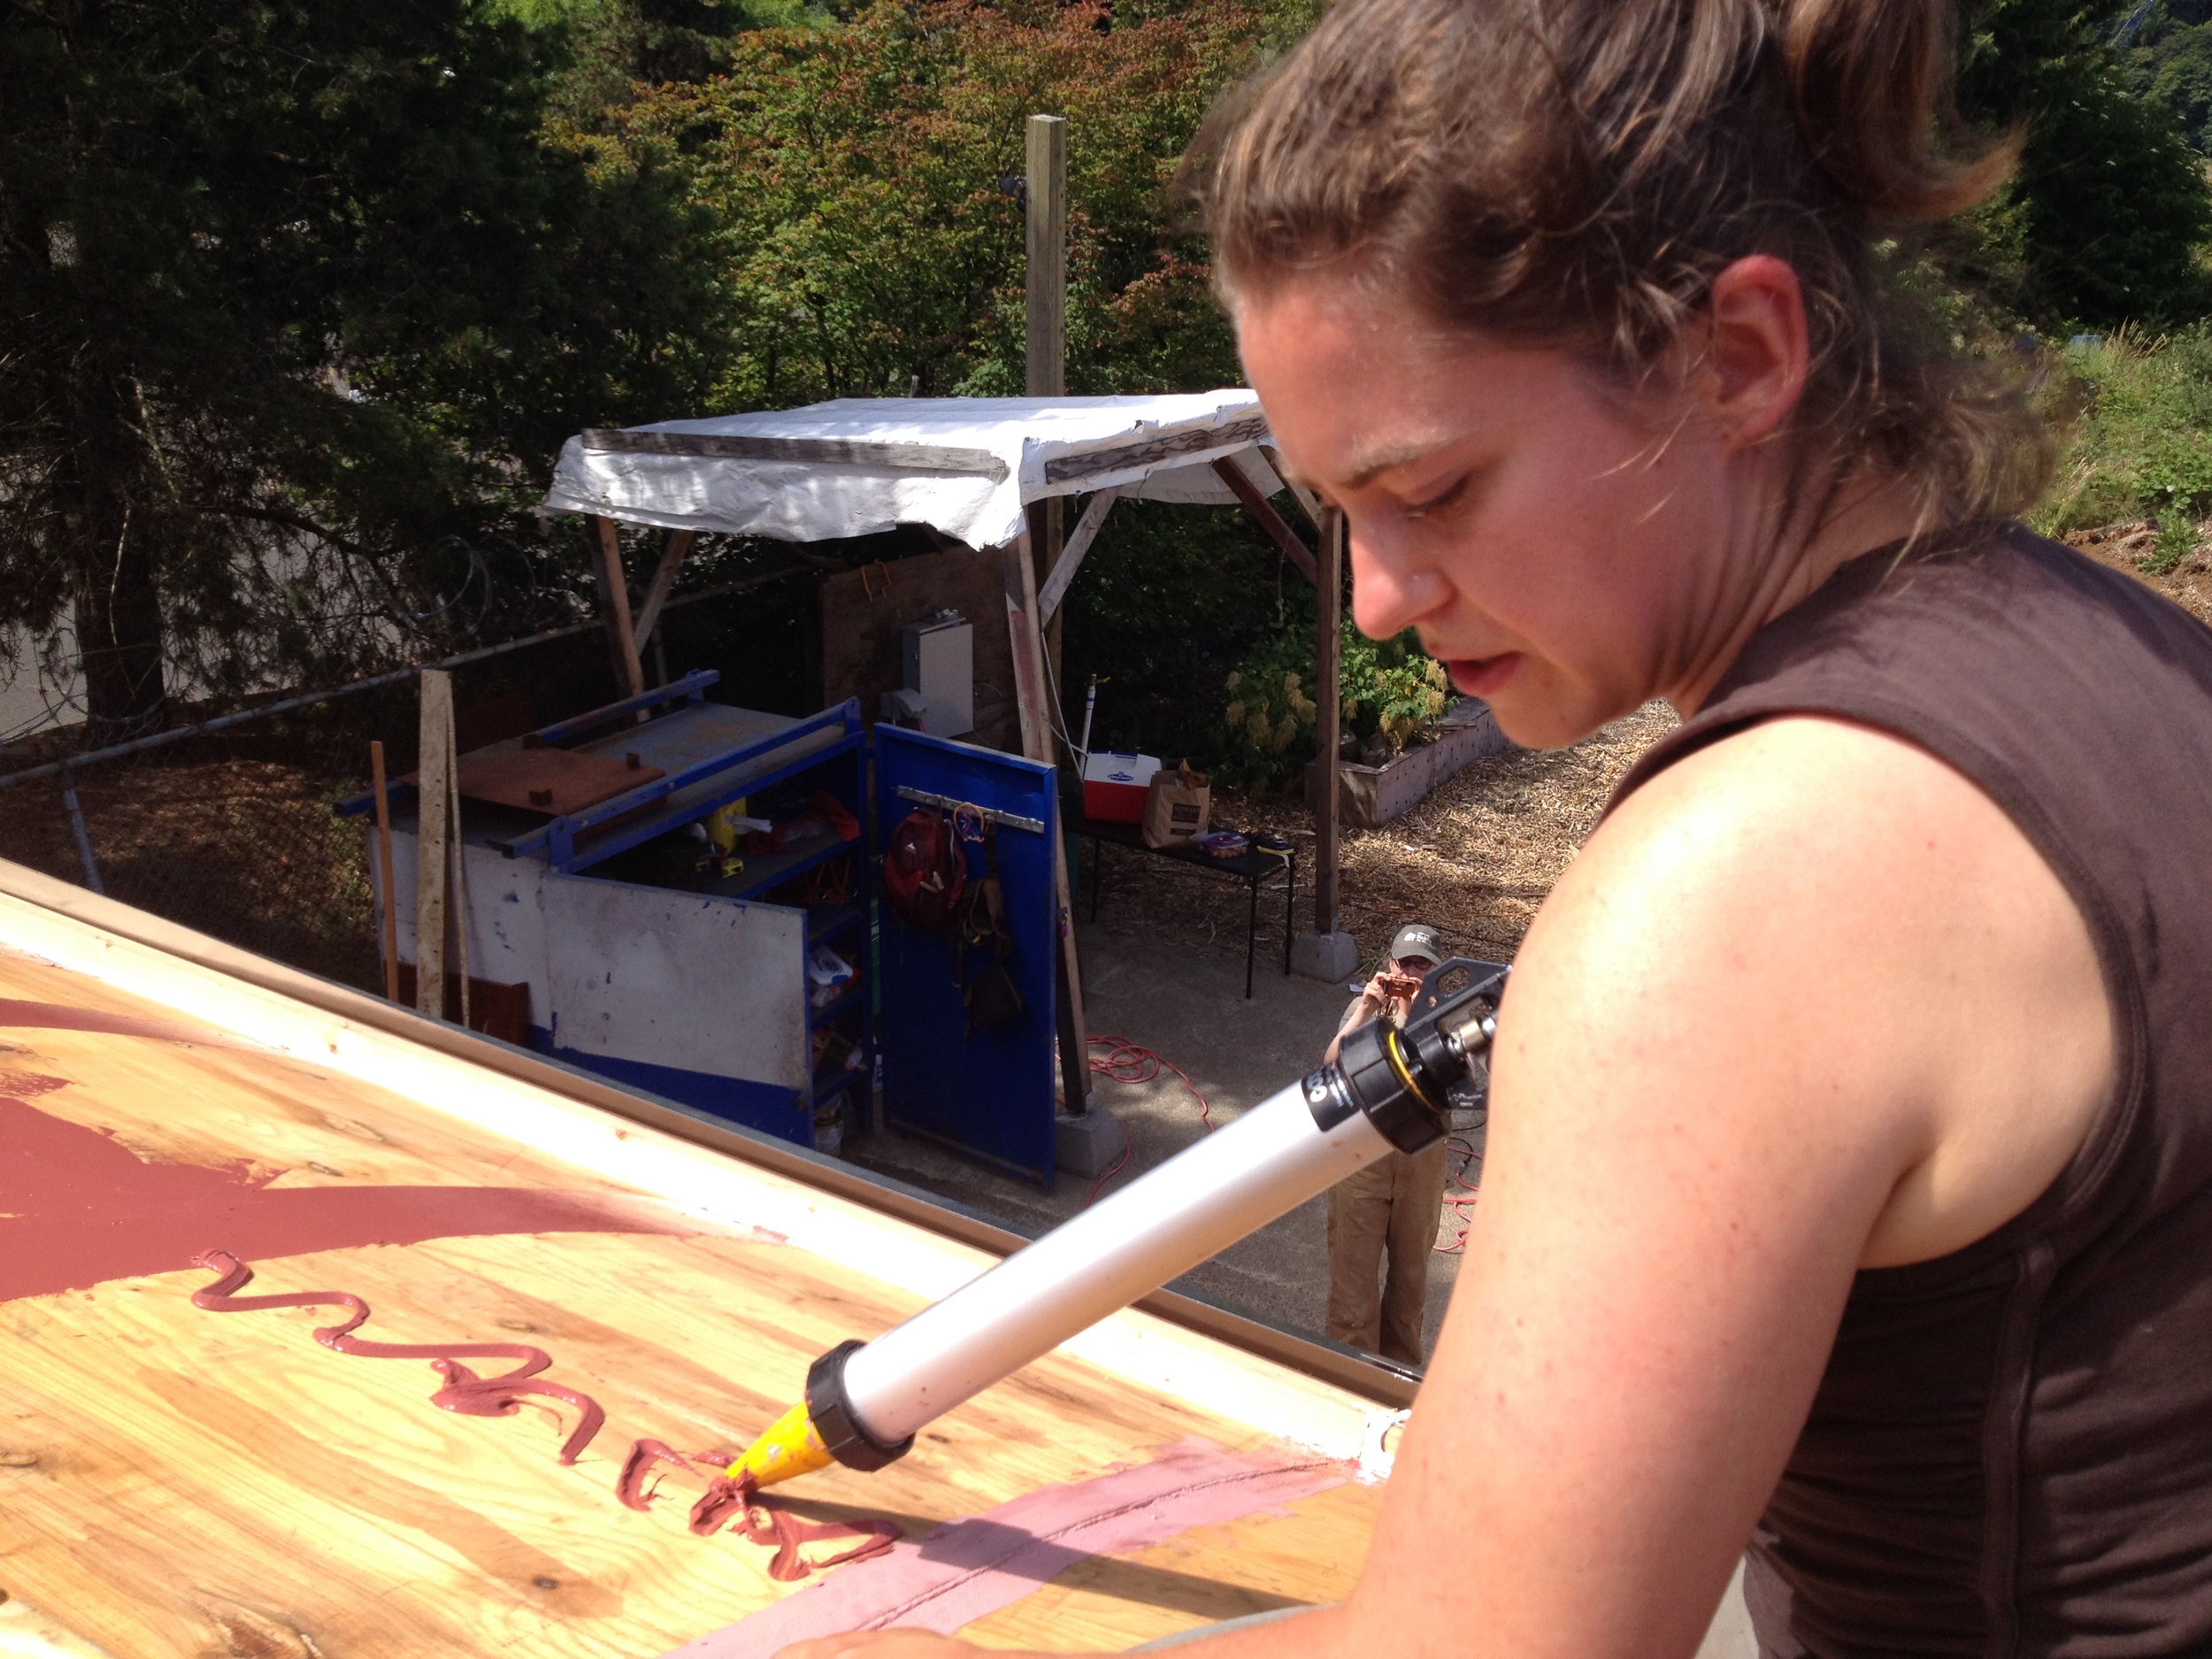
Meanwhile, Karin spray-painted the Z-flashing to go over my bellyband and bottom band. Eleanor is an art teacher so she’s got a way with detailed work. She finished sealing up around My Arched Window and My Arched Door with AirDam from Prosoco’s R-Guard system. Then she helped me noodle through a solution to close up the gap above my wheel well. The gap would have been small enough to seal up with backer rod except that I added an extra plate under my bottom plates. So I had a 2" gap to fill instead of a 1/2" gap. "You know," I said. "What we need is something like a pool noodle..."
So that's precisely what we used. Eleanor cut the pool noodle to fit and we wedged it into the gap and sealed up the edges with AirDam from Prosoco. Then we flashed over it with Fast Flash. It's certainly not how I planned to close up that gap, but I think it will work! Thanks to Eleanor my house is officially dried-in!
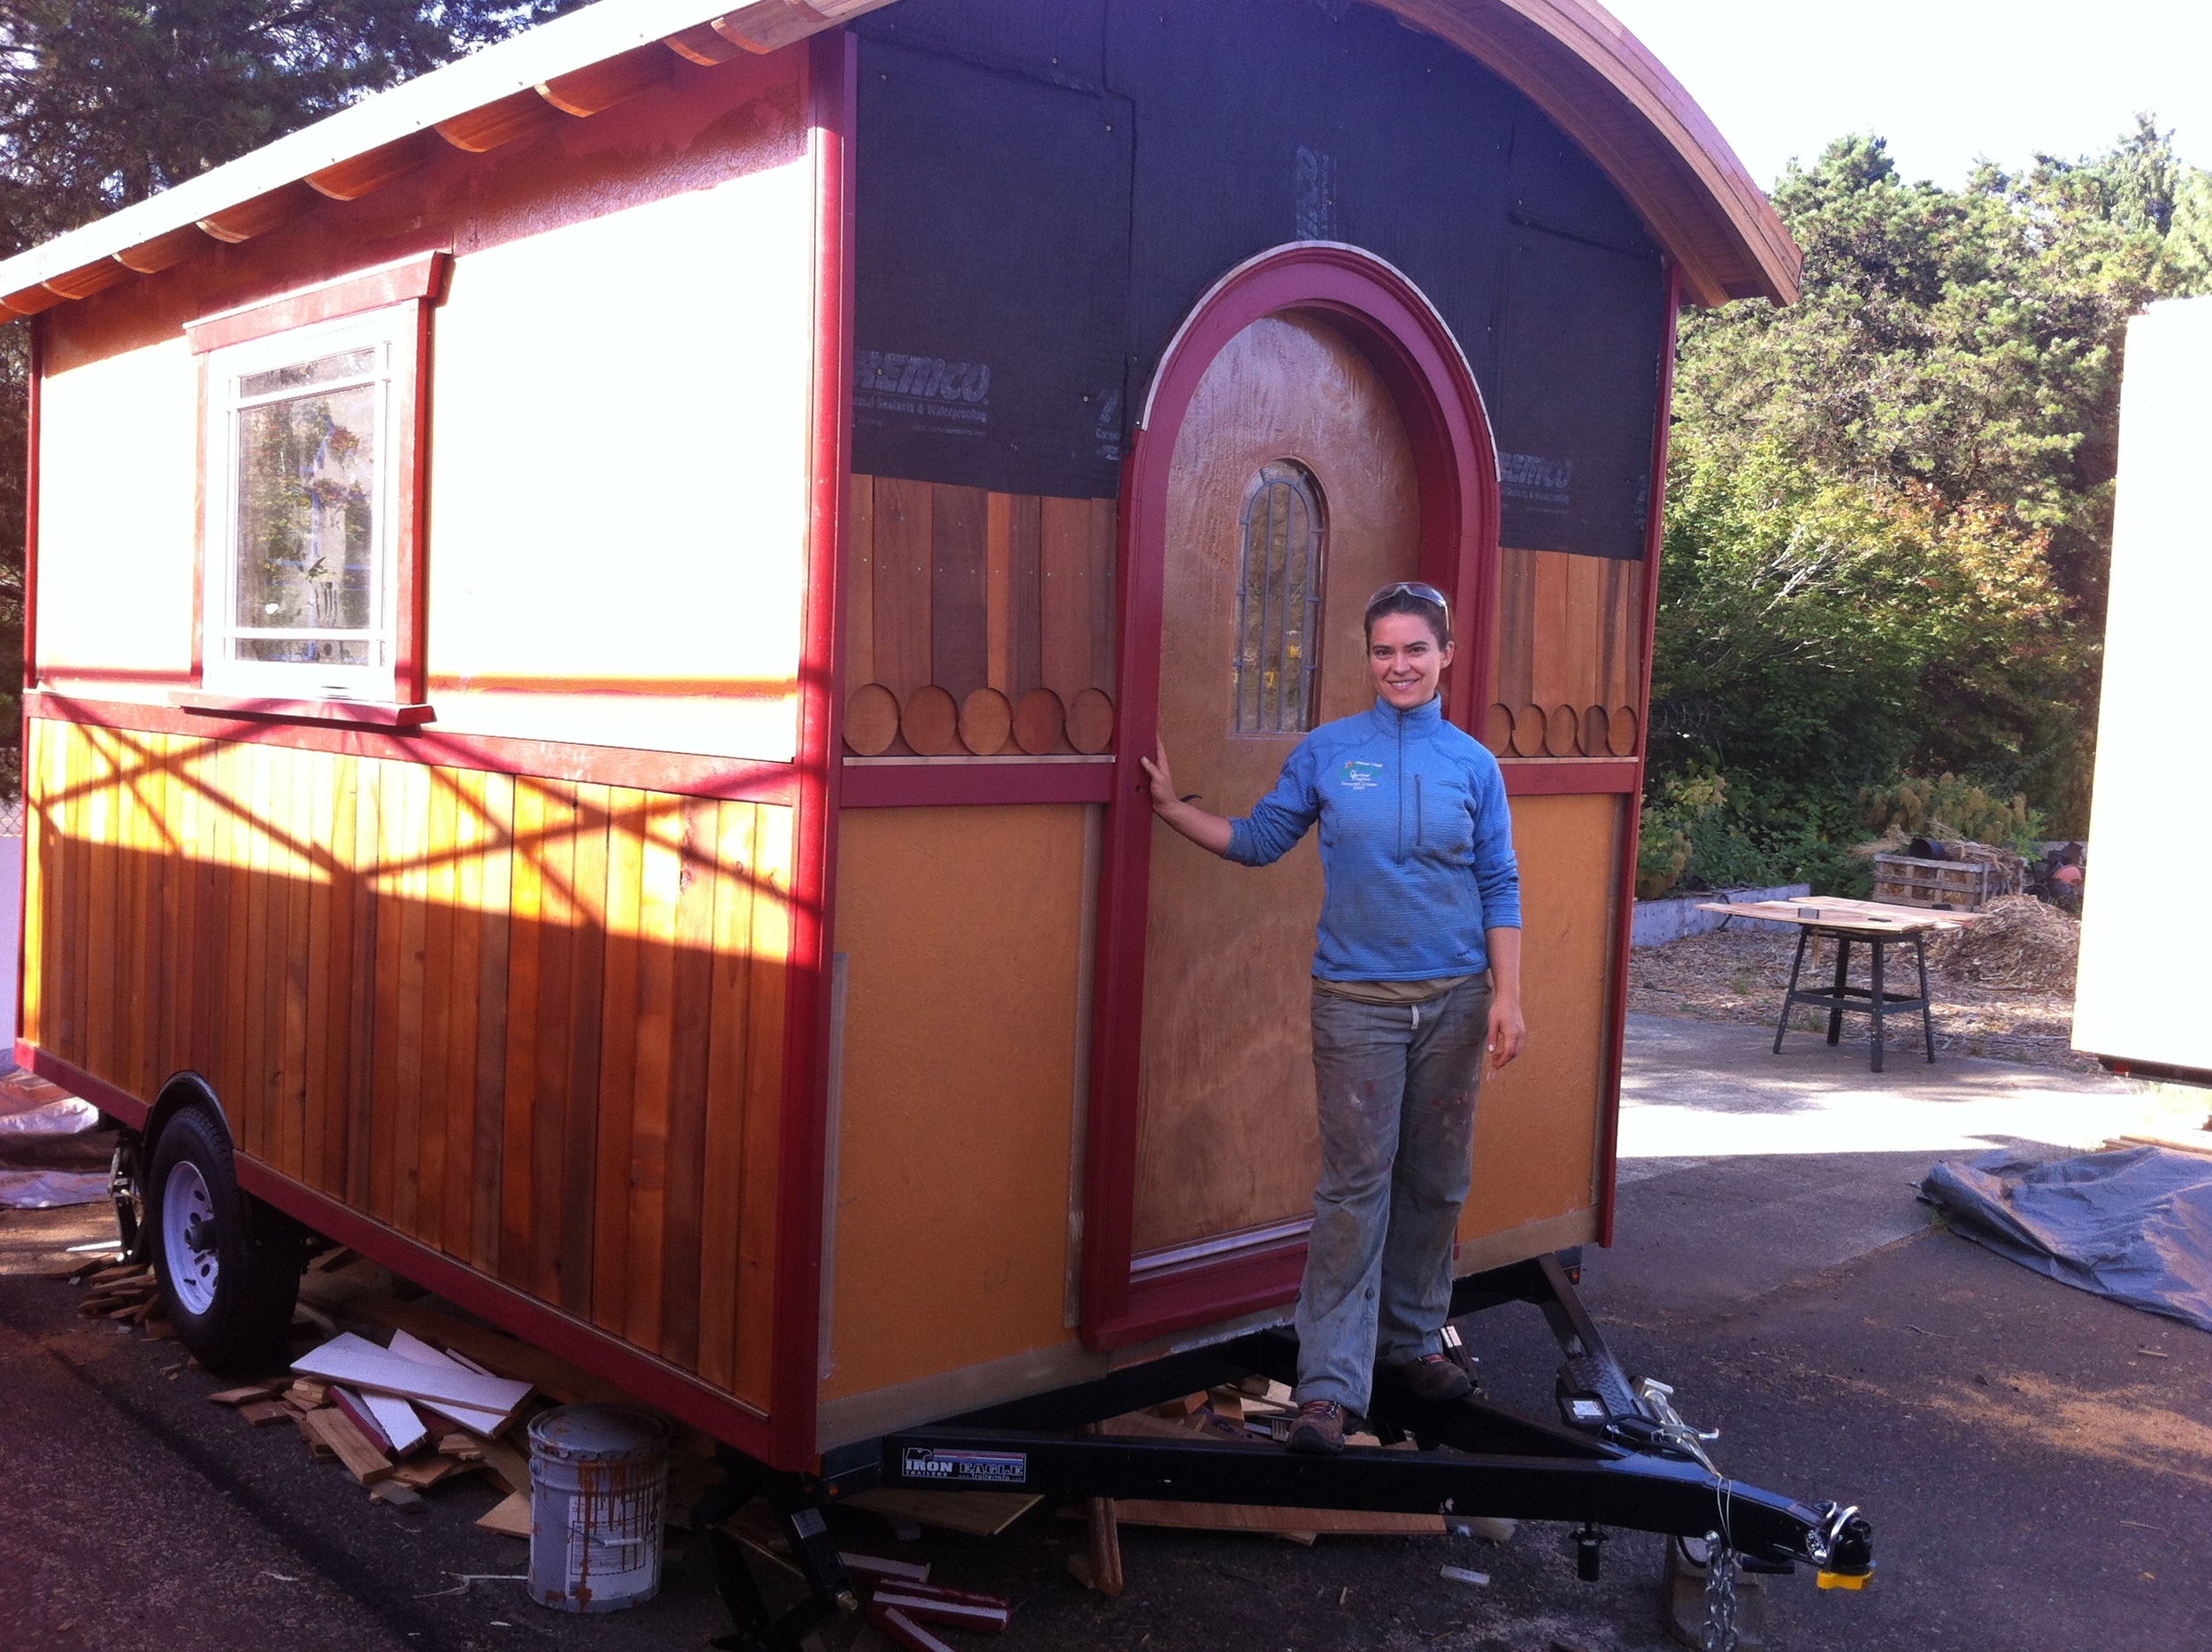
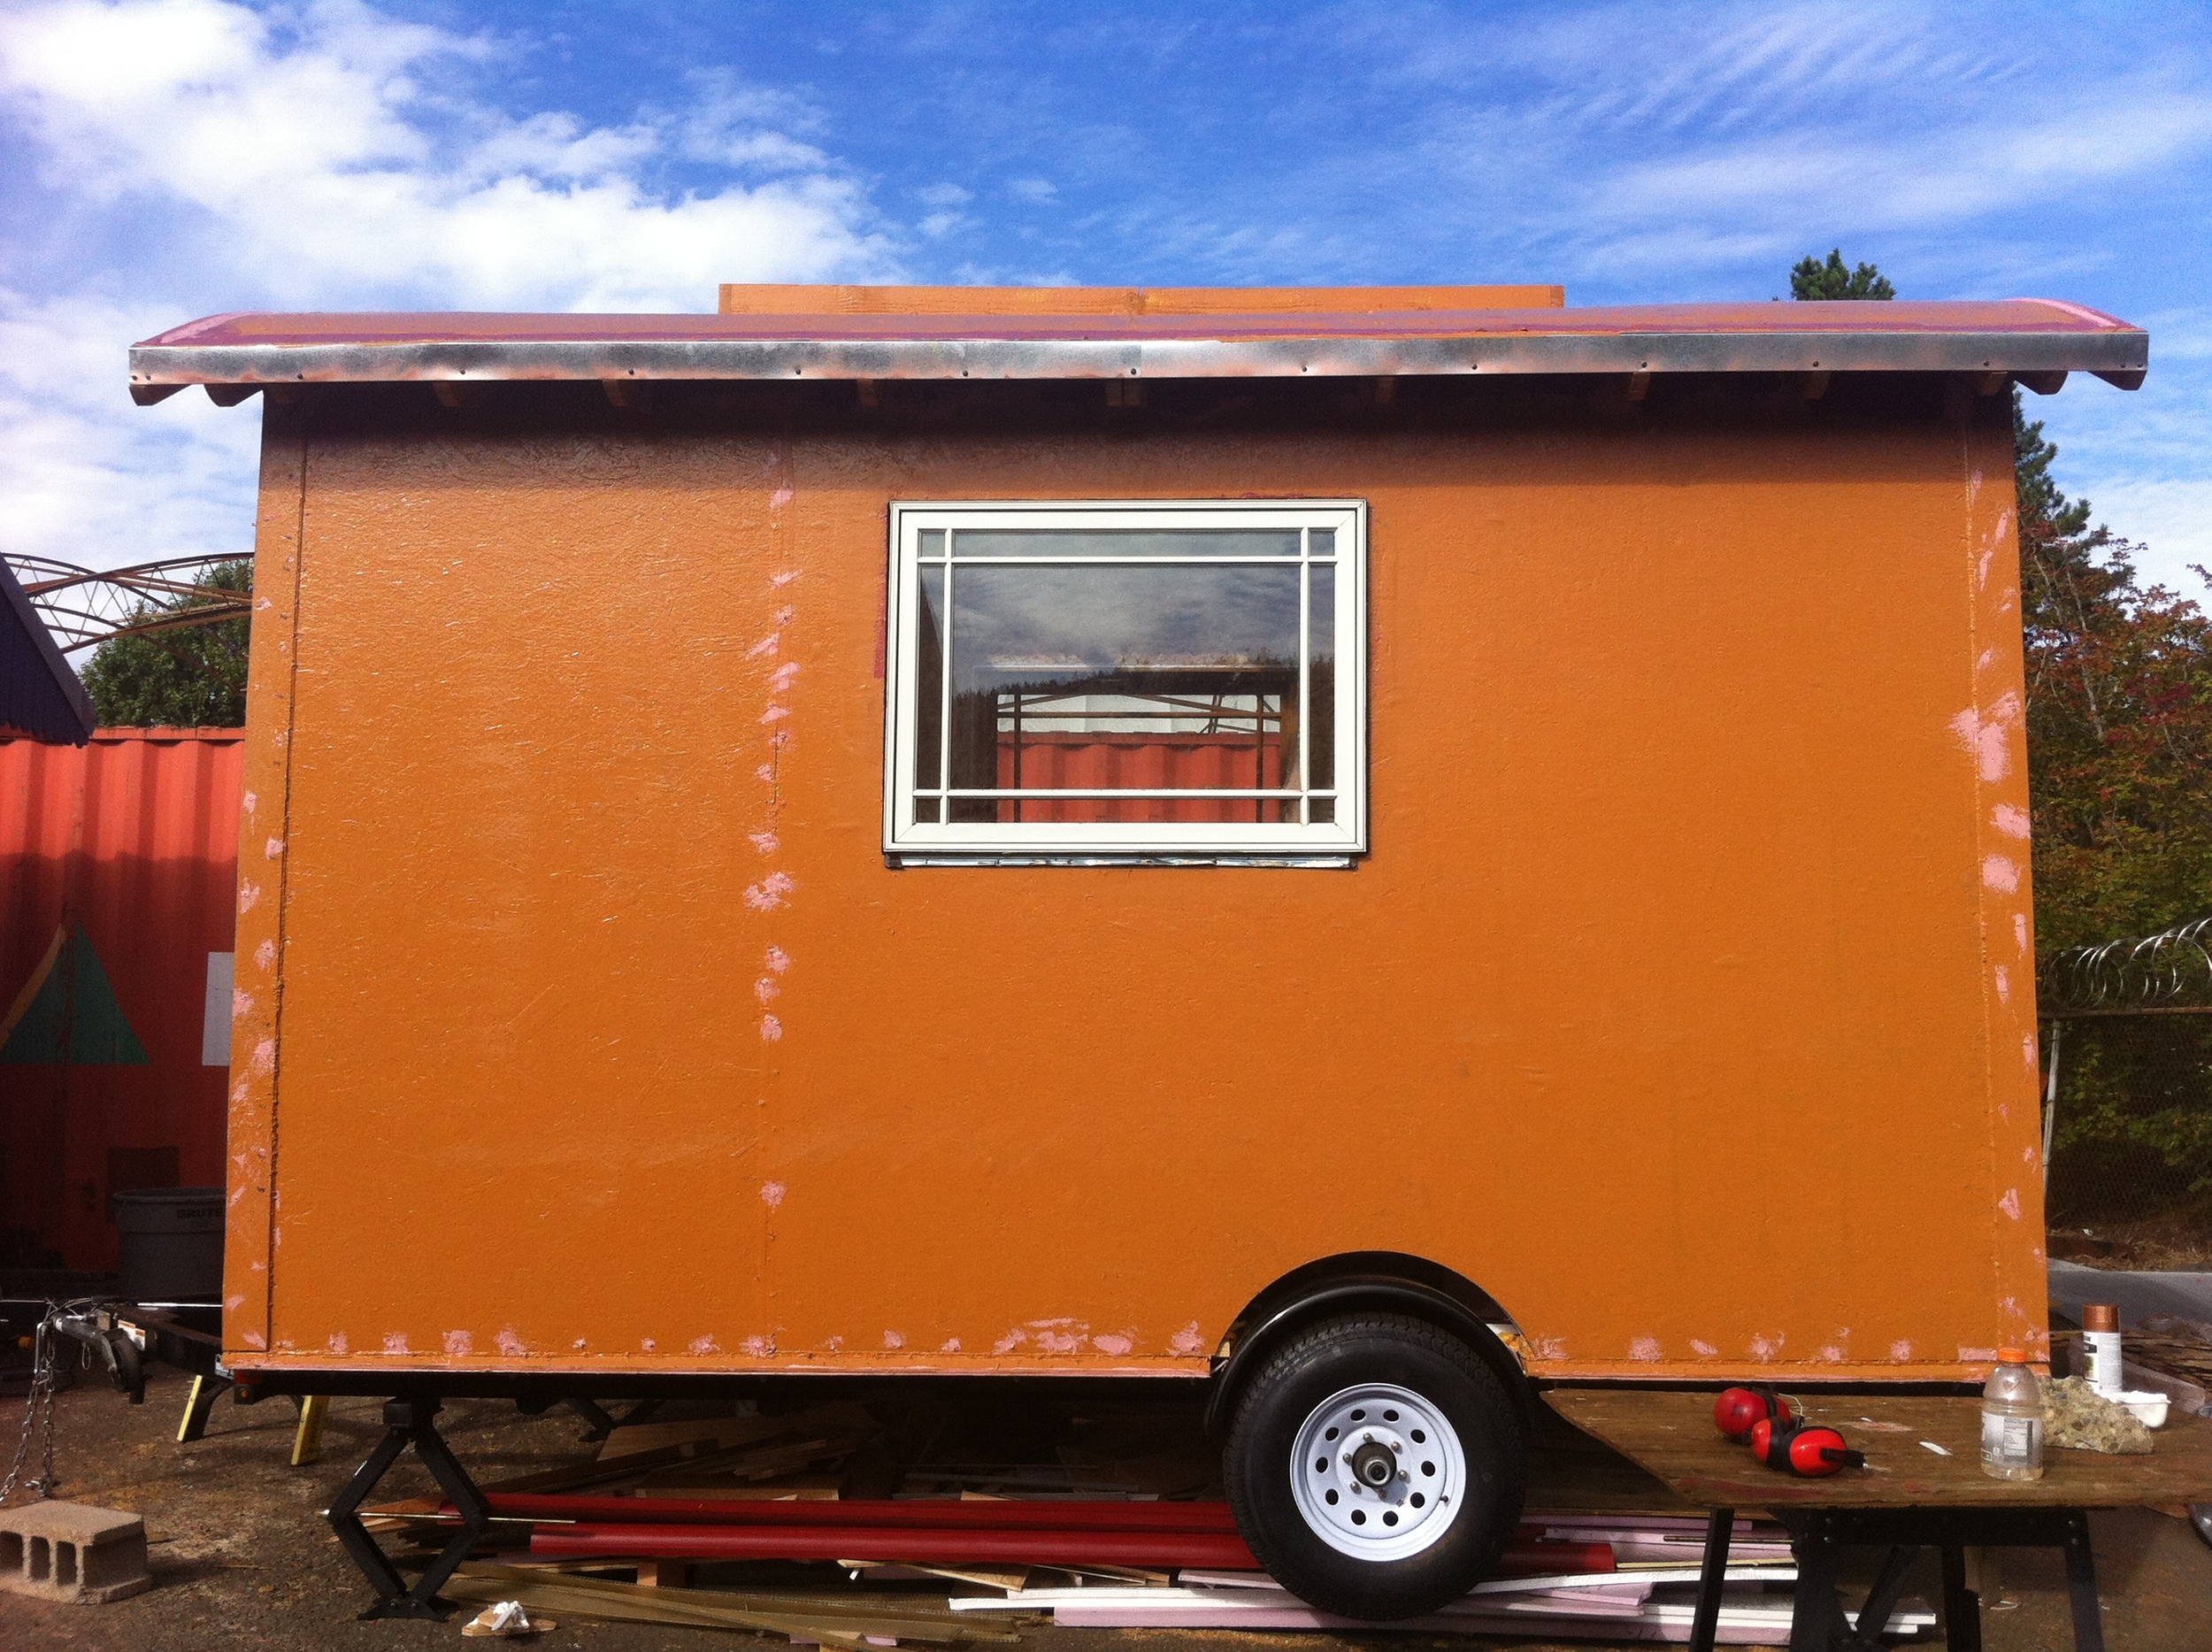
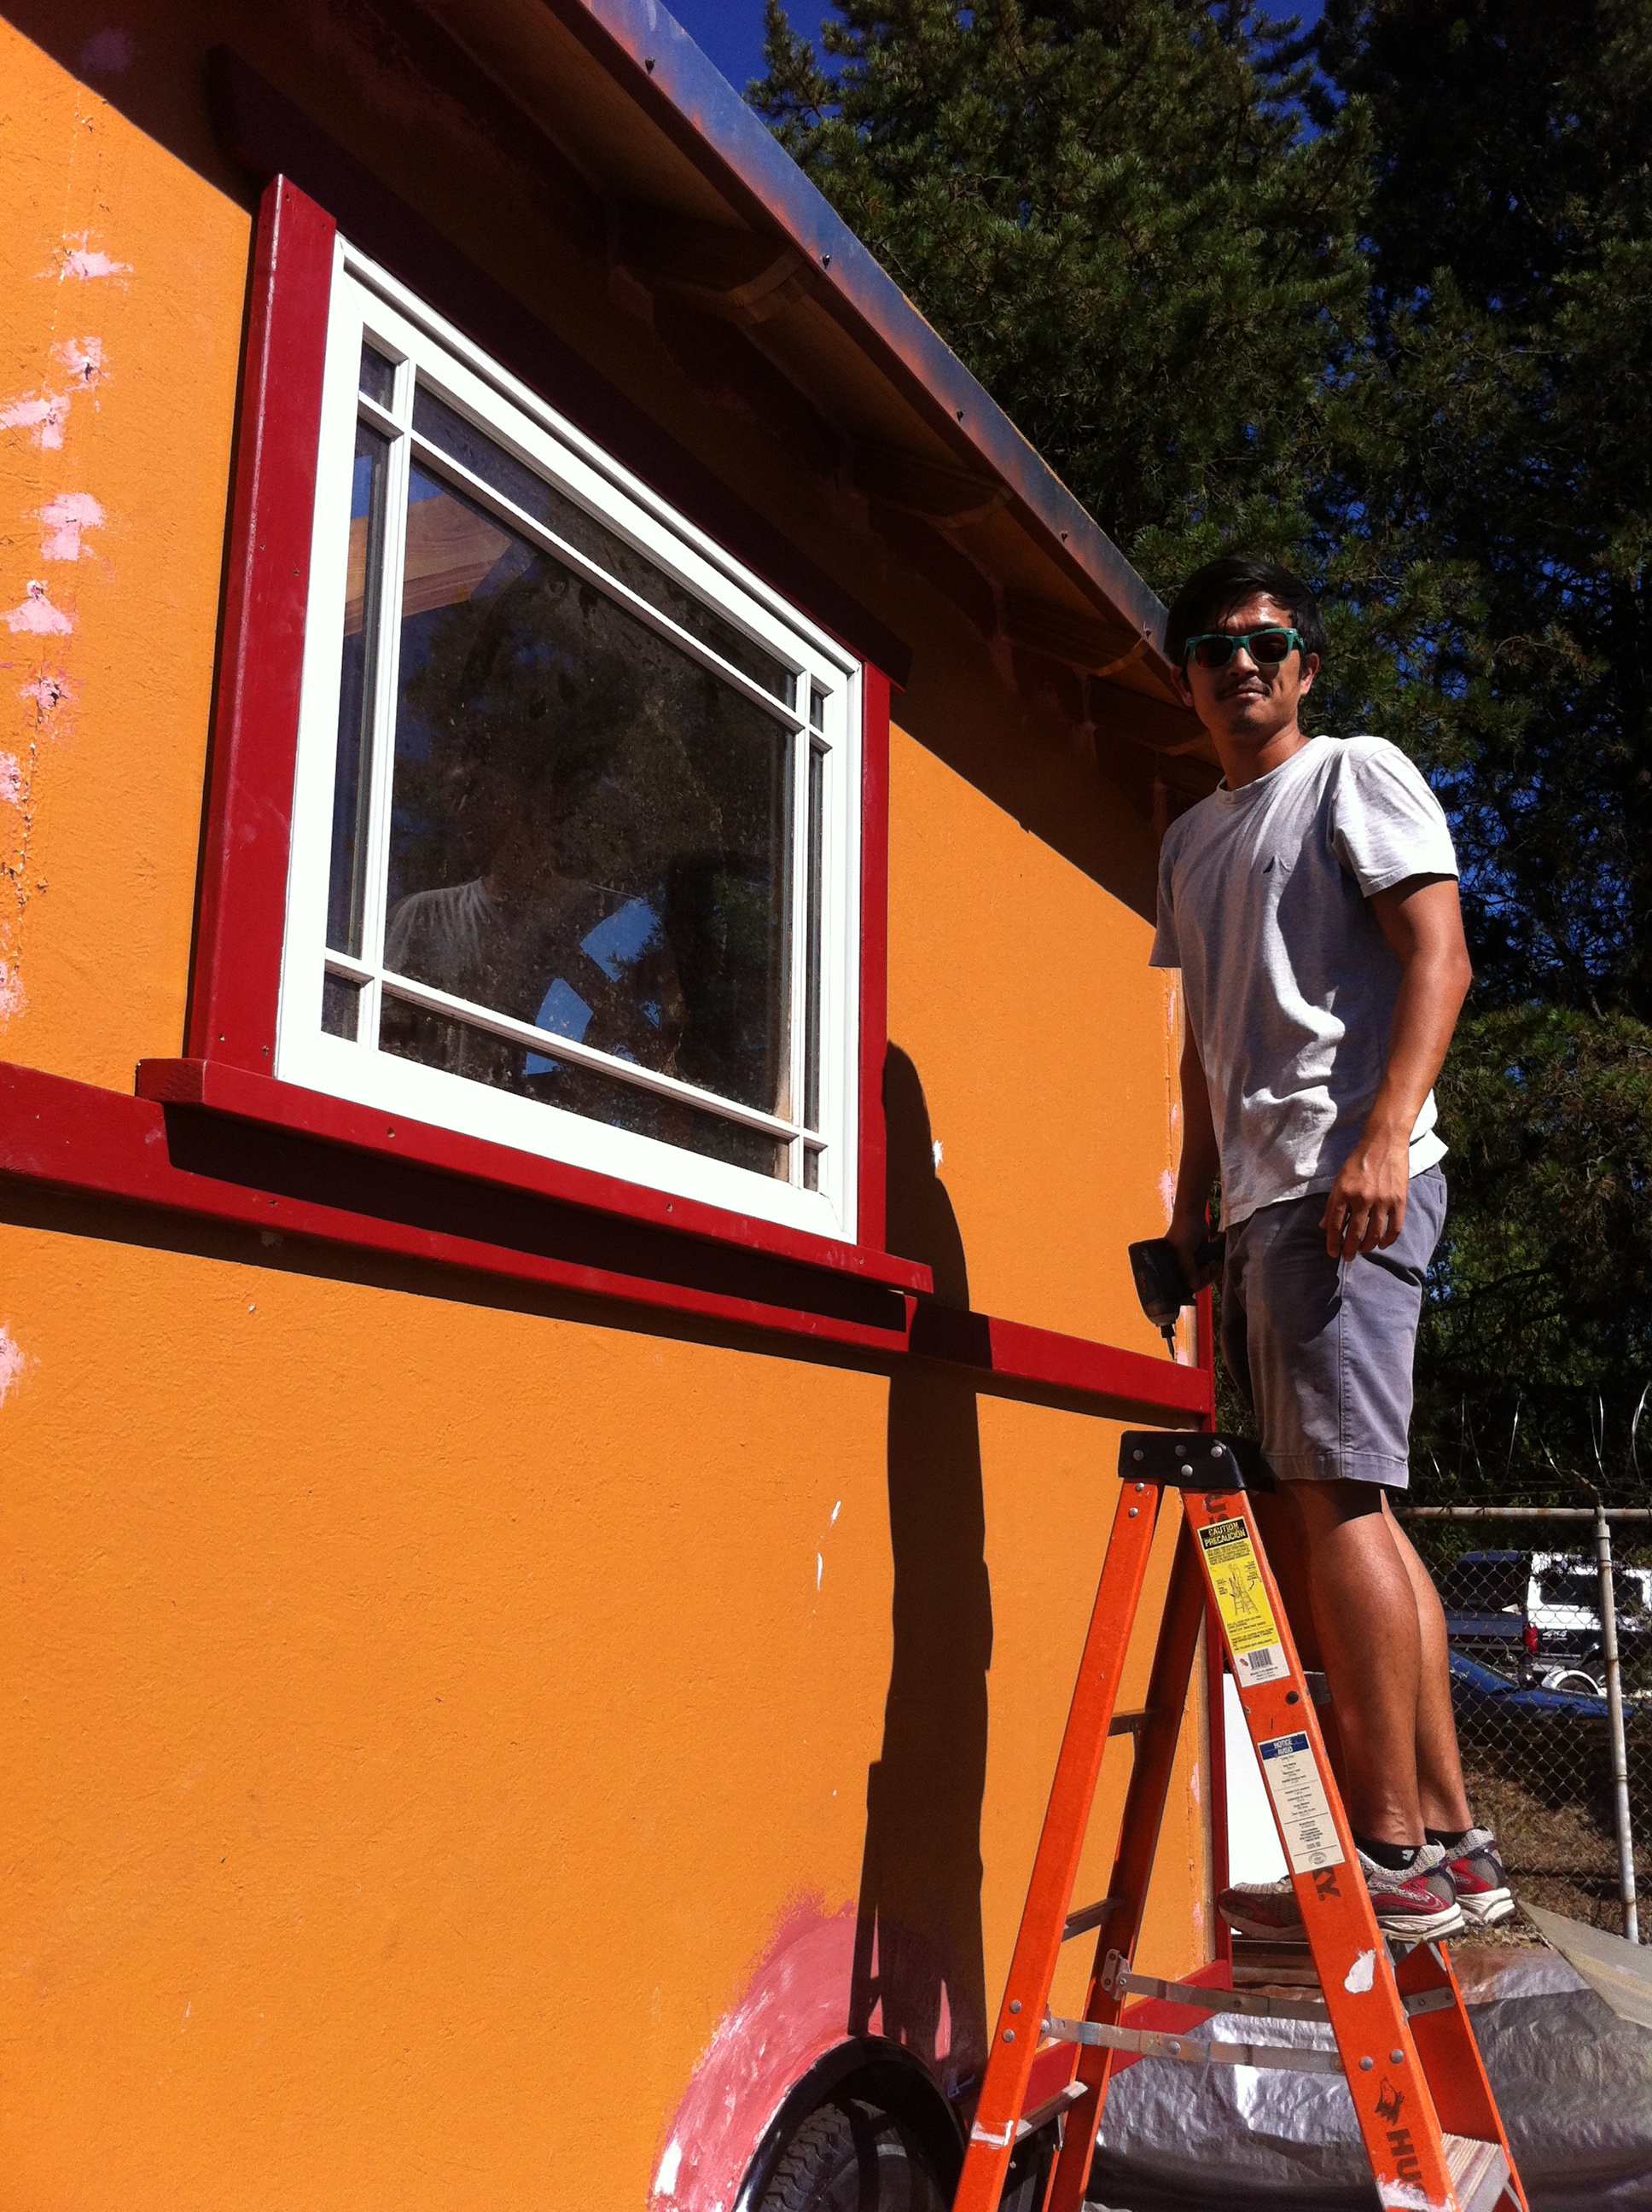 Once the rainscreen strips were in place under the window, we installed the first window sill. Then Mike and I cut the corner boards to length and installed them. When I was Sidestepping with Siding, I picked up some Deco Corners from Lakeside Lumber and they really are a nice touch! Once the corner boards were installed, we could cut the bottom band and the bellyband (which doubles as the skirt for the sill plates). The bottom band had to be cut at an angle to accommodate the fender and we determined that 30 degrees was just right. The bellyband runs the length of the house so we started out with a 10-foot-long piece on each side. We cut the end at 45 degrees so that the next piece can slip behind it and the two will look like one long piece with a little caulk and paint.
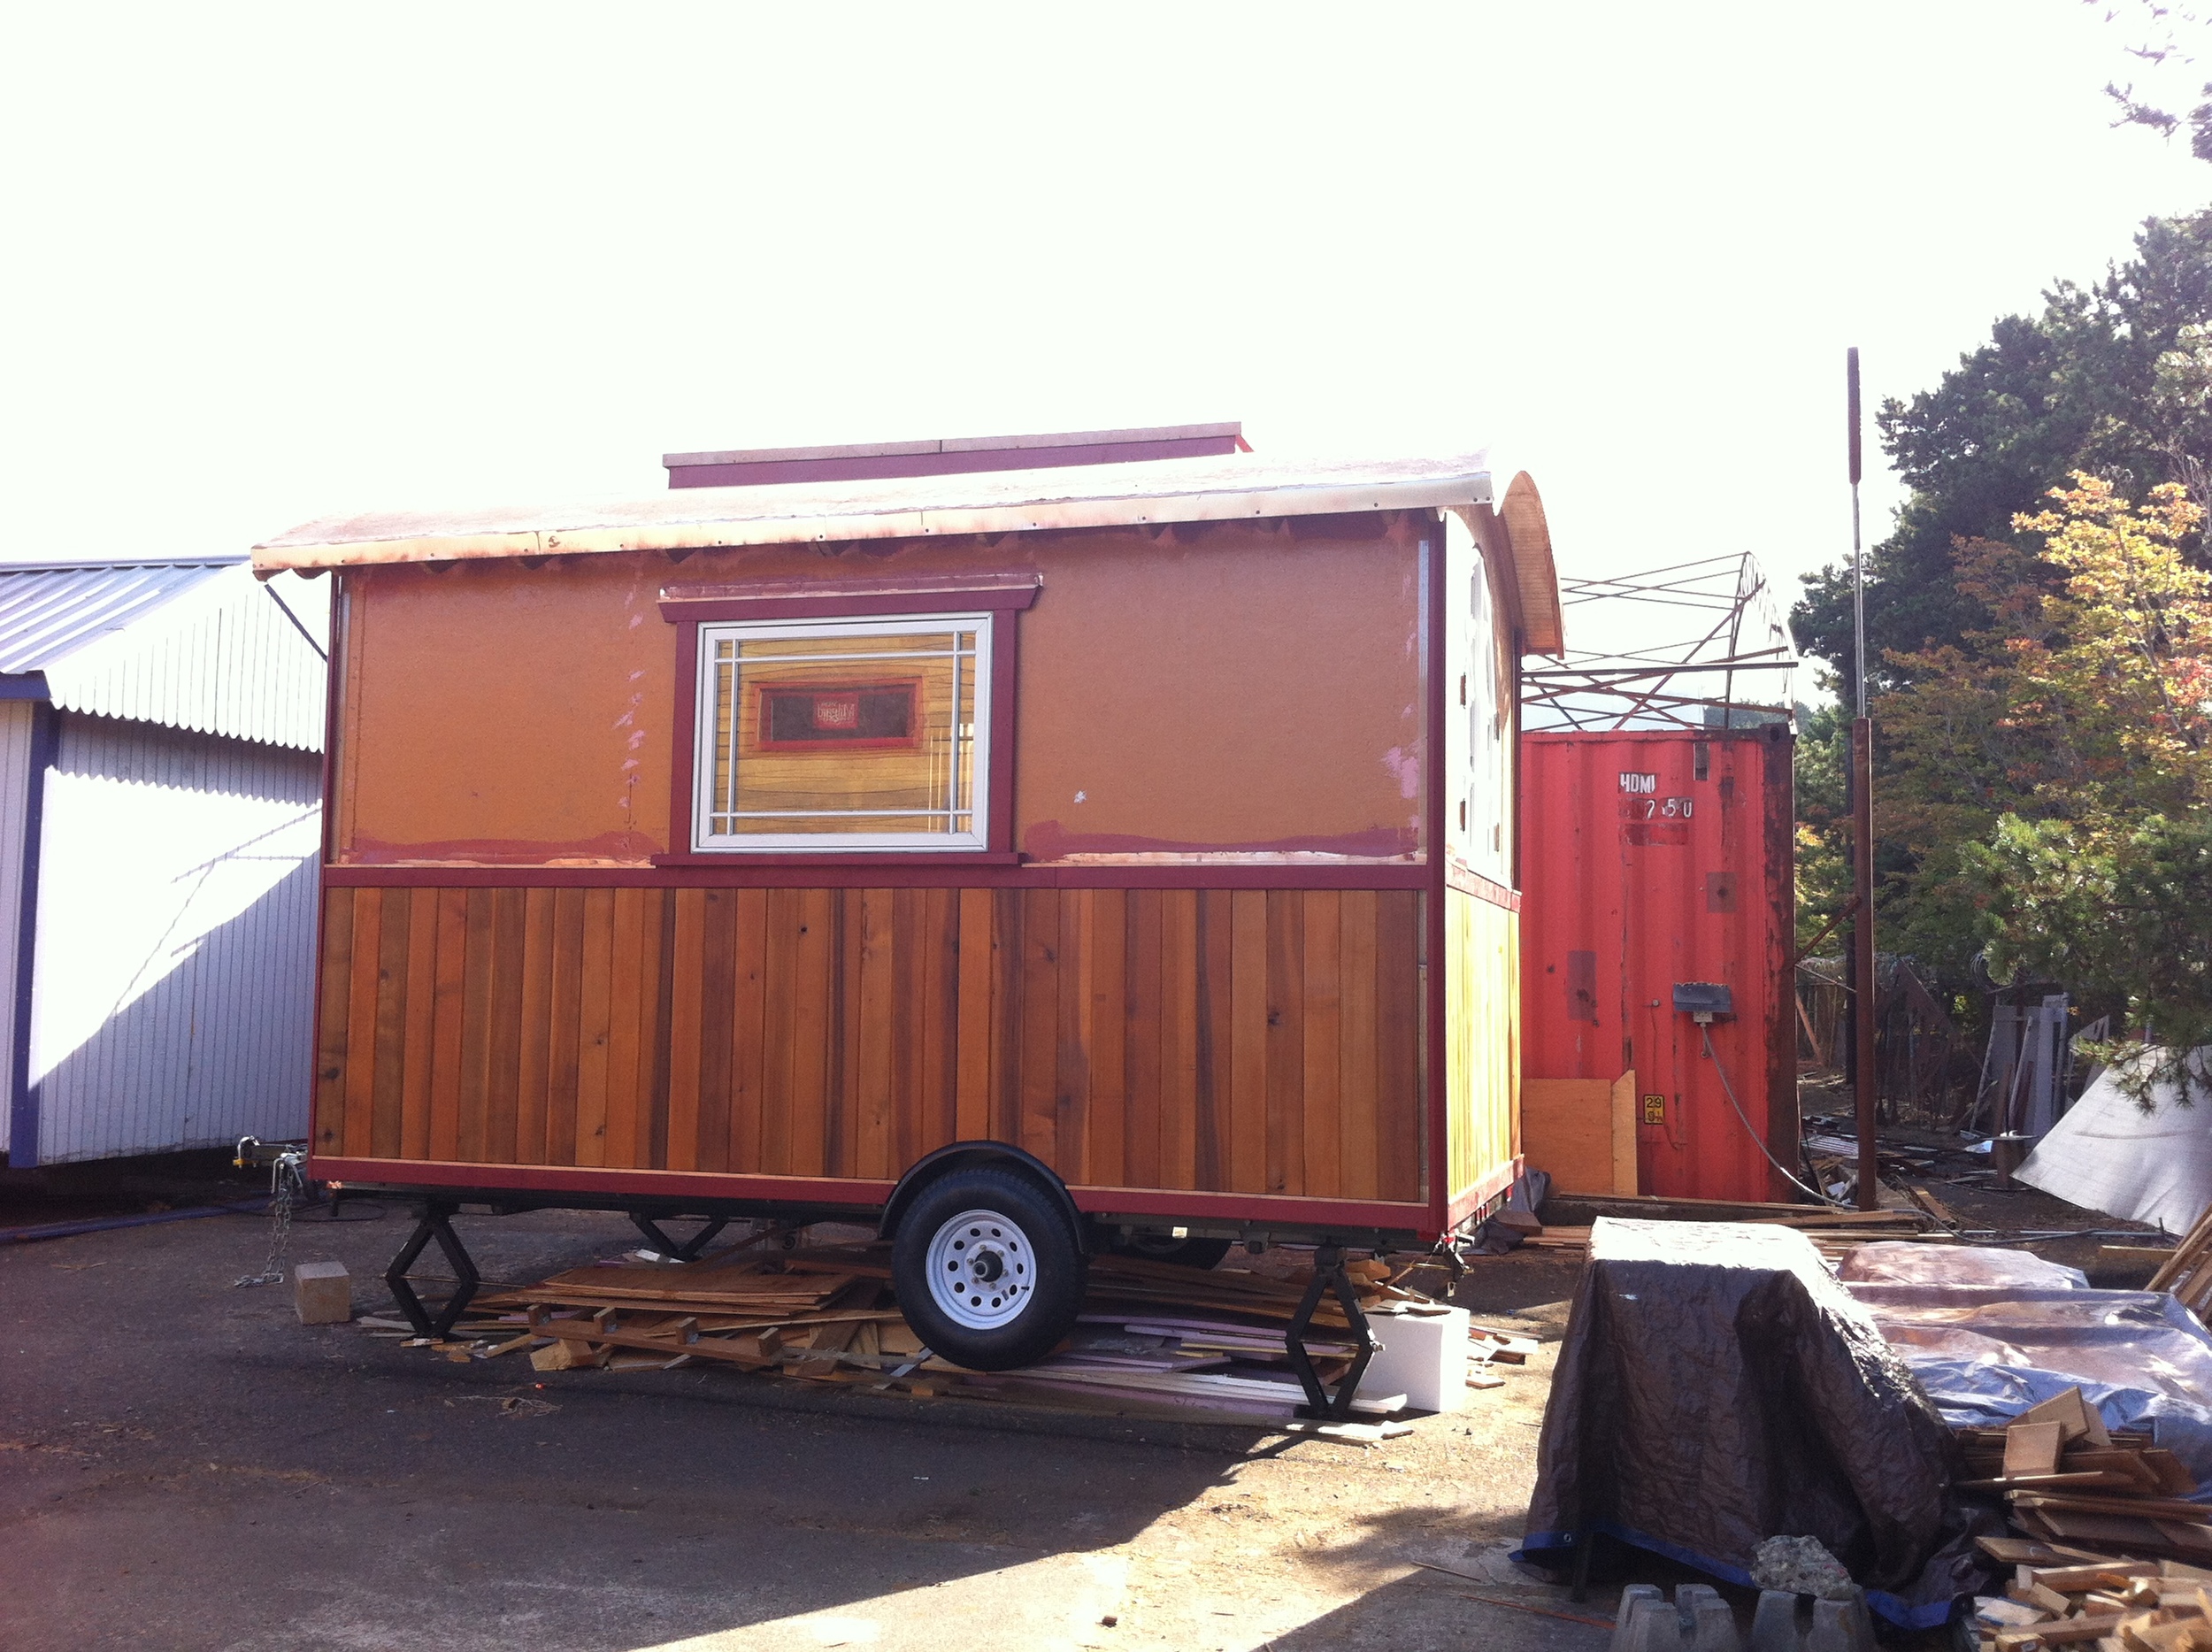
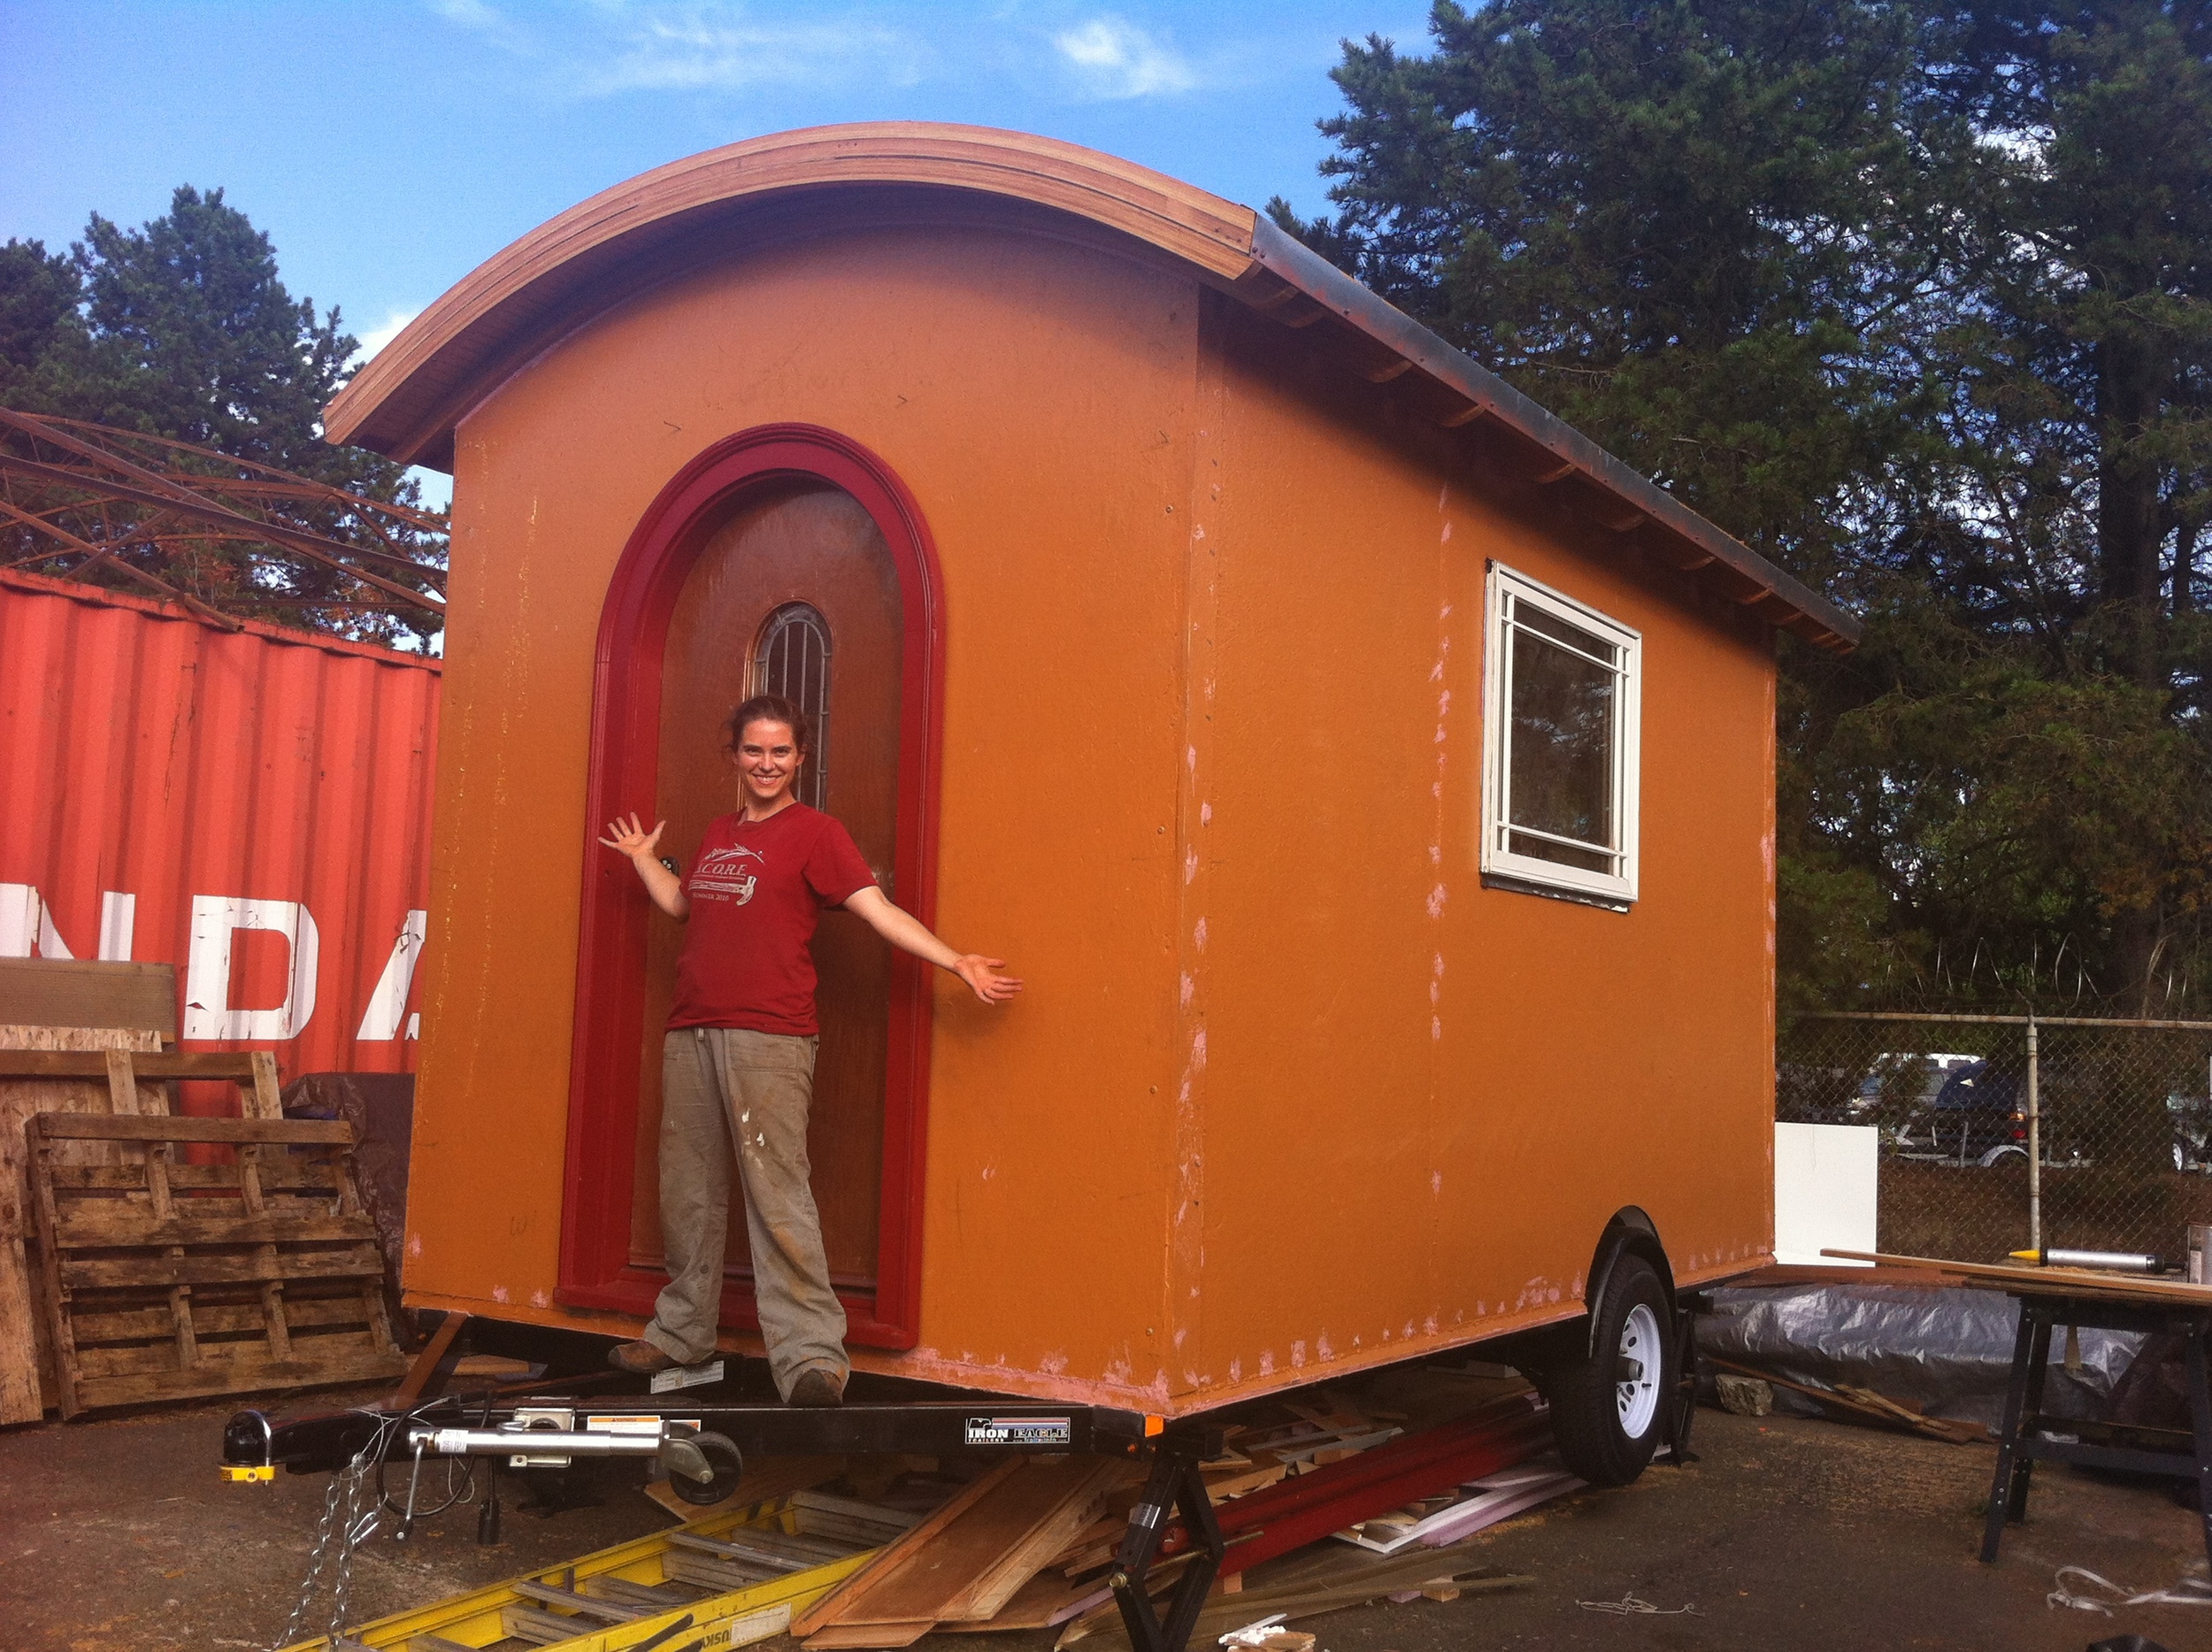
It was great to get the corner boards, sill plates, and bellyband installed all around the house and the bottom band installed on three sides. (We will have to leave the bottom band on the tongue side till later since I still have some figuring to do for My Front Porch. I'm doing a porch at the front of my house because I can't stand Shrinky Dink Porches and I don't want my Tiny House to Turn Its Back on the Street!) Mike, Eleanor, and I celebrated our Saturday accomplishments with dinner at Por Que No.
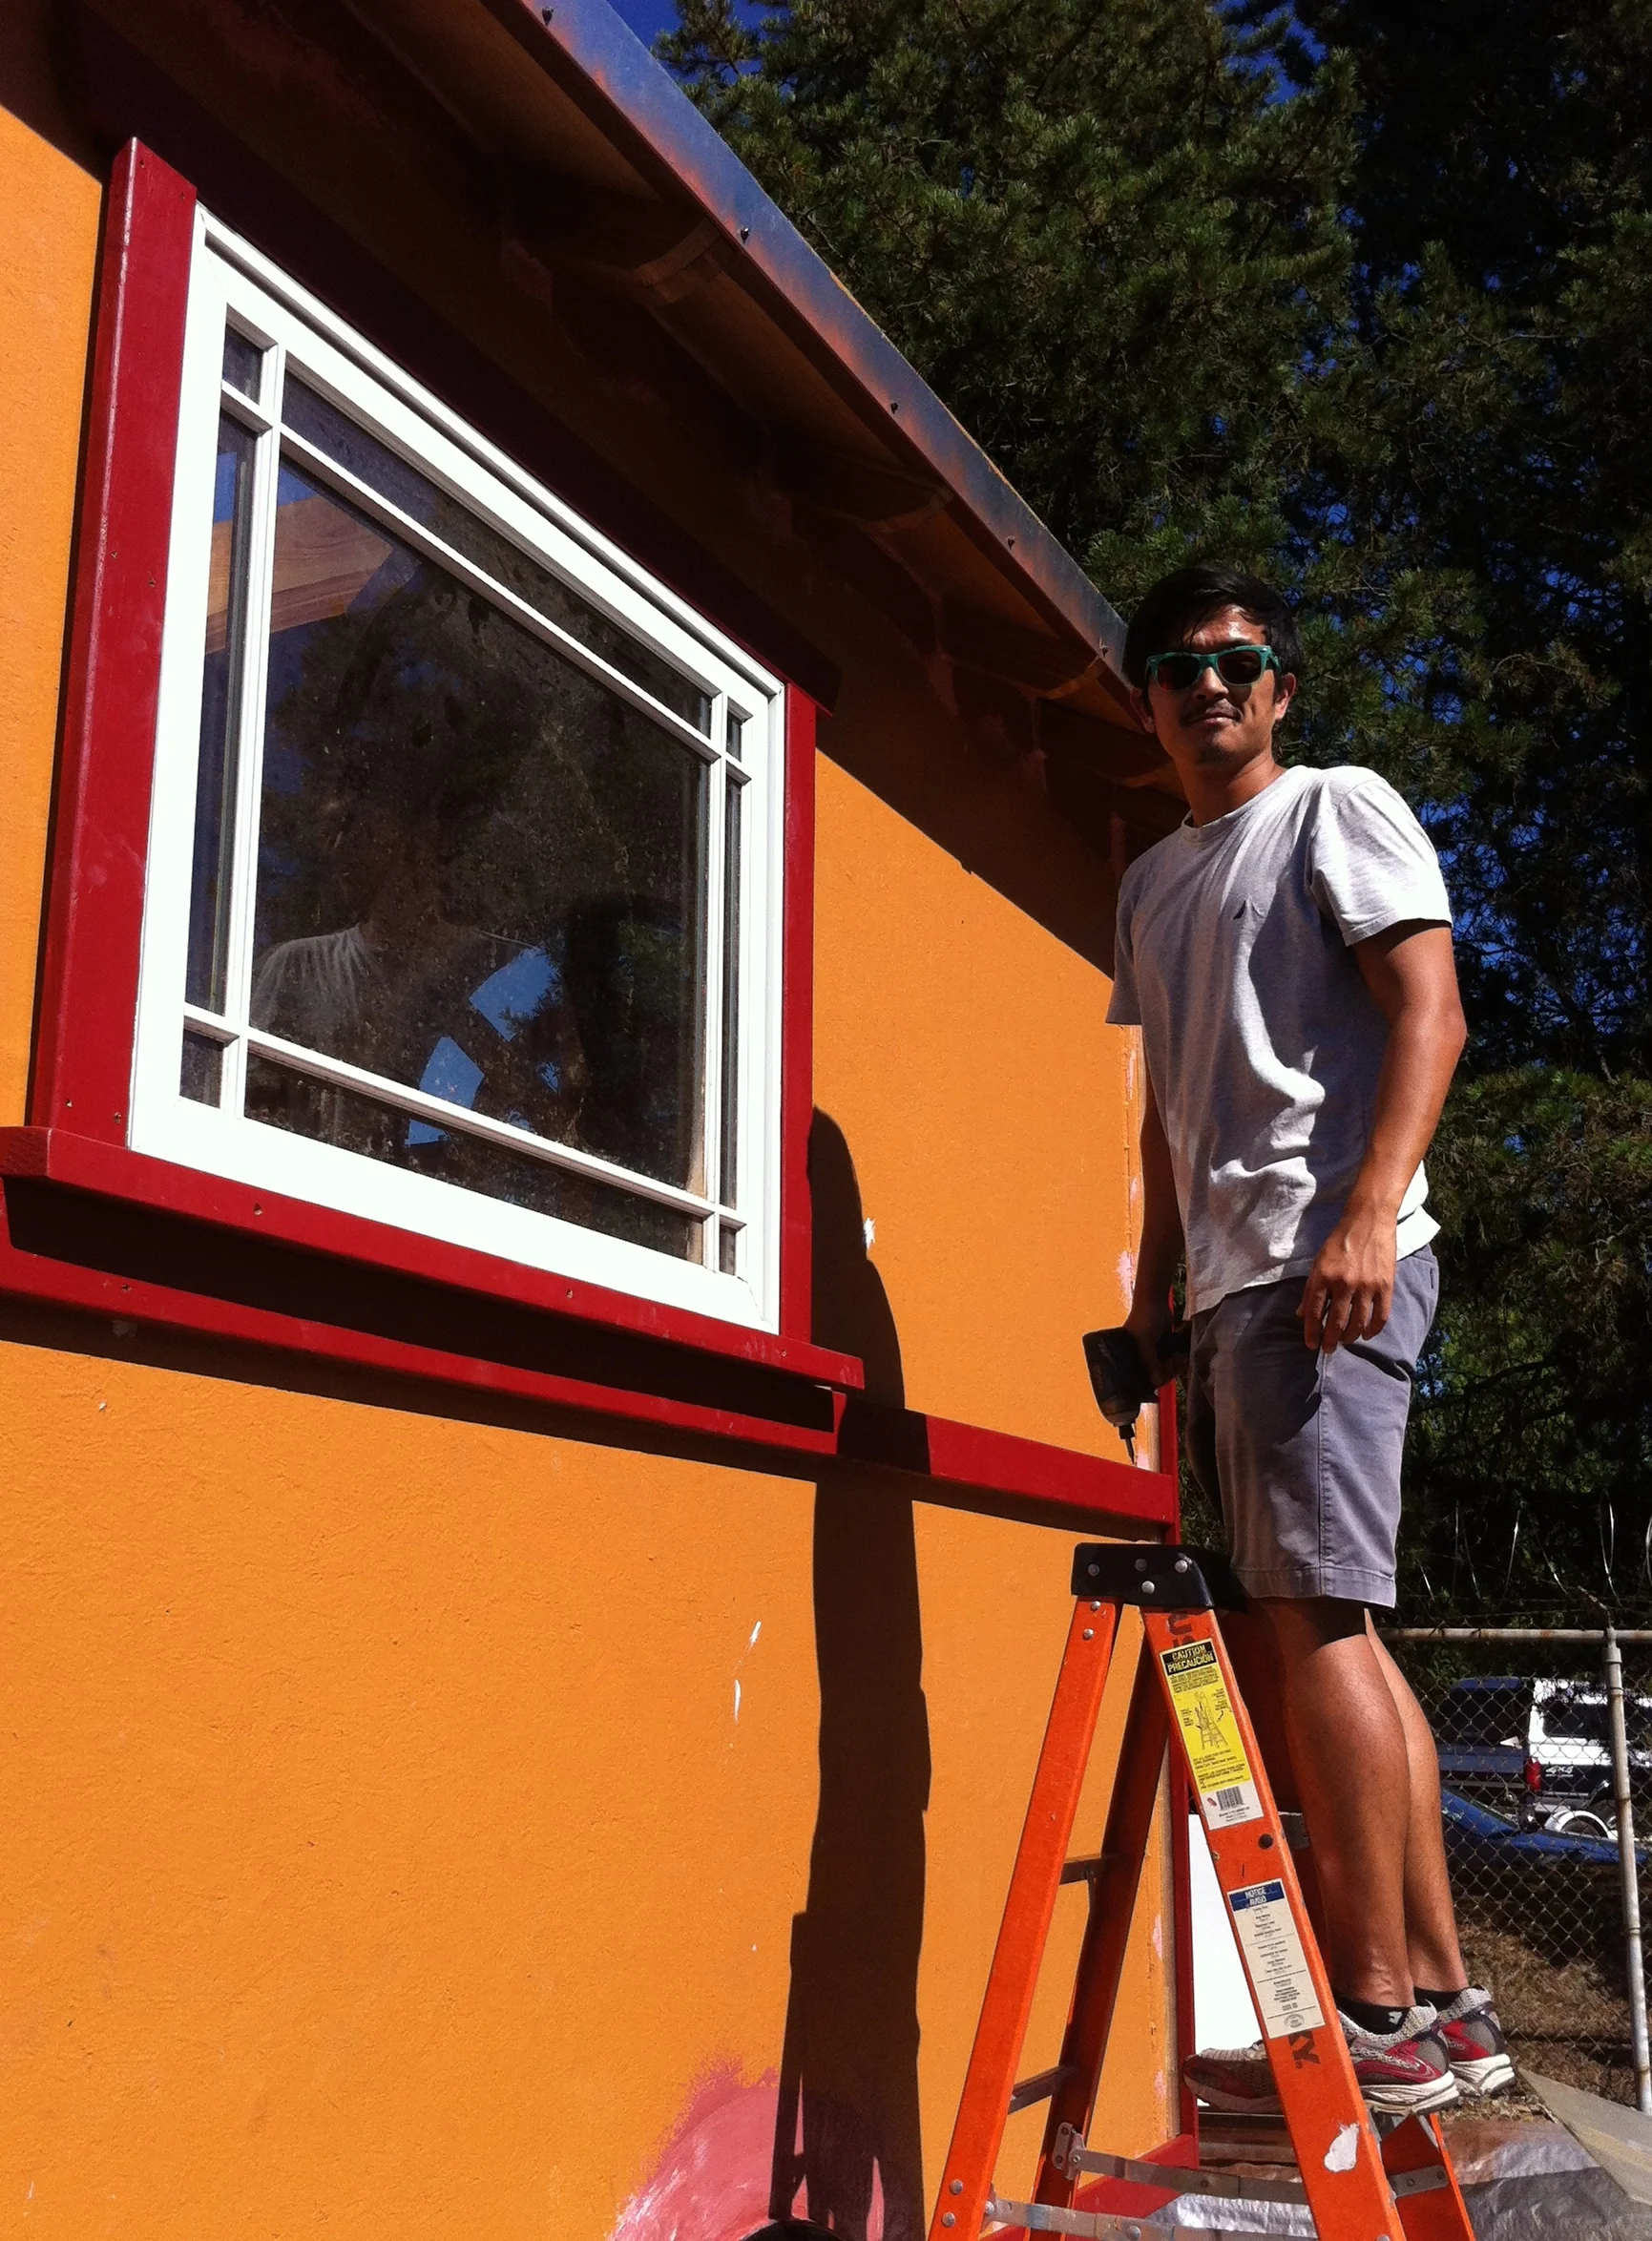
 On Sunday Julie and Jack took turns helping my build buddy Laura and me. I’ve finally caught up to Laura again now that we’re both working on siding, but I doubt that will last long! (Especially since I'm heading out of town for a couple weeks to teach the Tiny House Design-Build class at Yestermorrow!) We installed the window trim around My Kitchen Windows, picking 22.5 degrees for the angle. I thought 30 might be right because that was the angle of the bottom board for the fender, but it was too extreme. So 22.5 degrees it is!
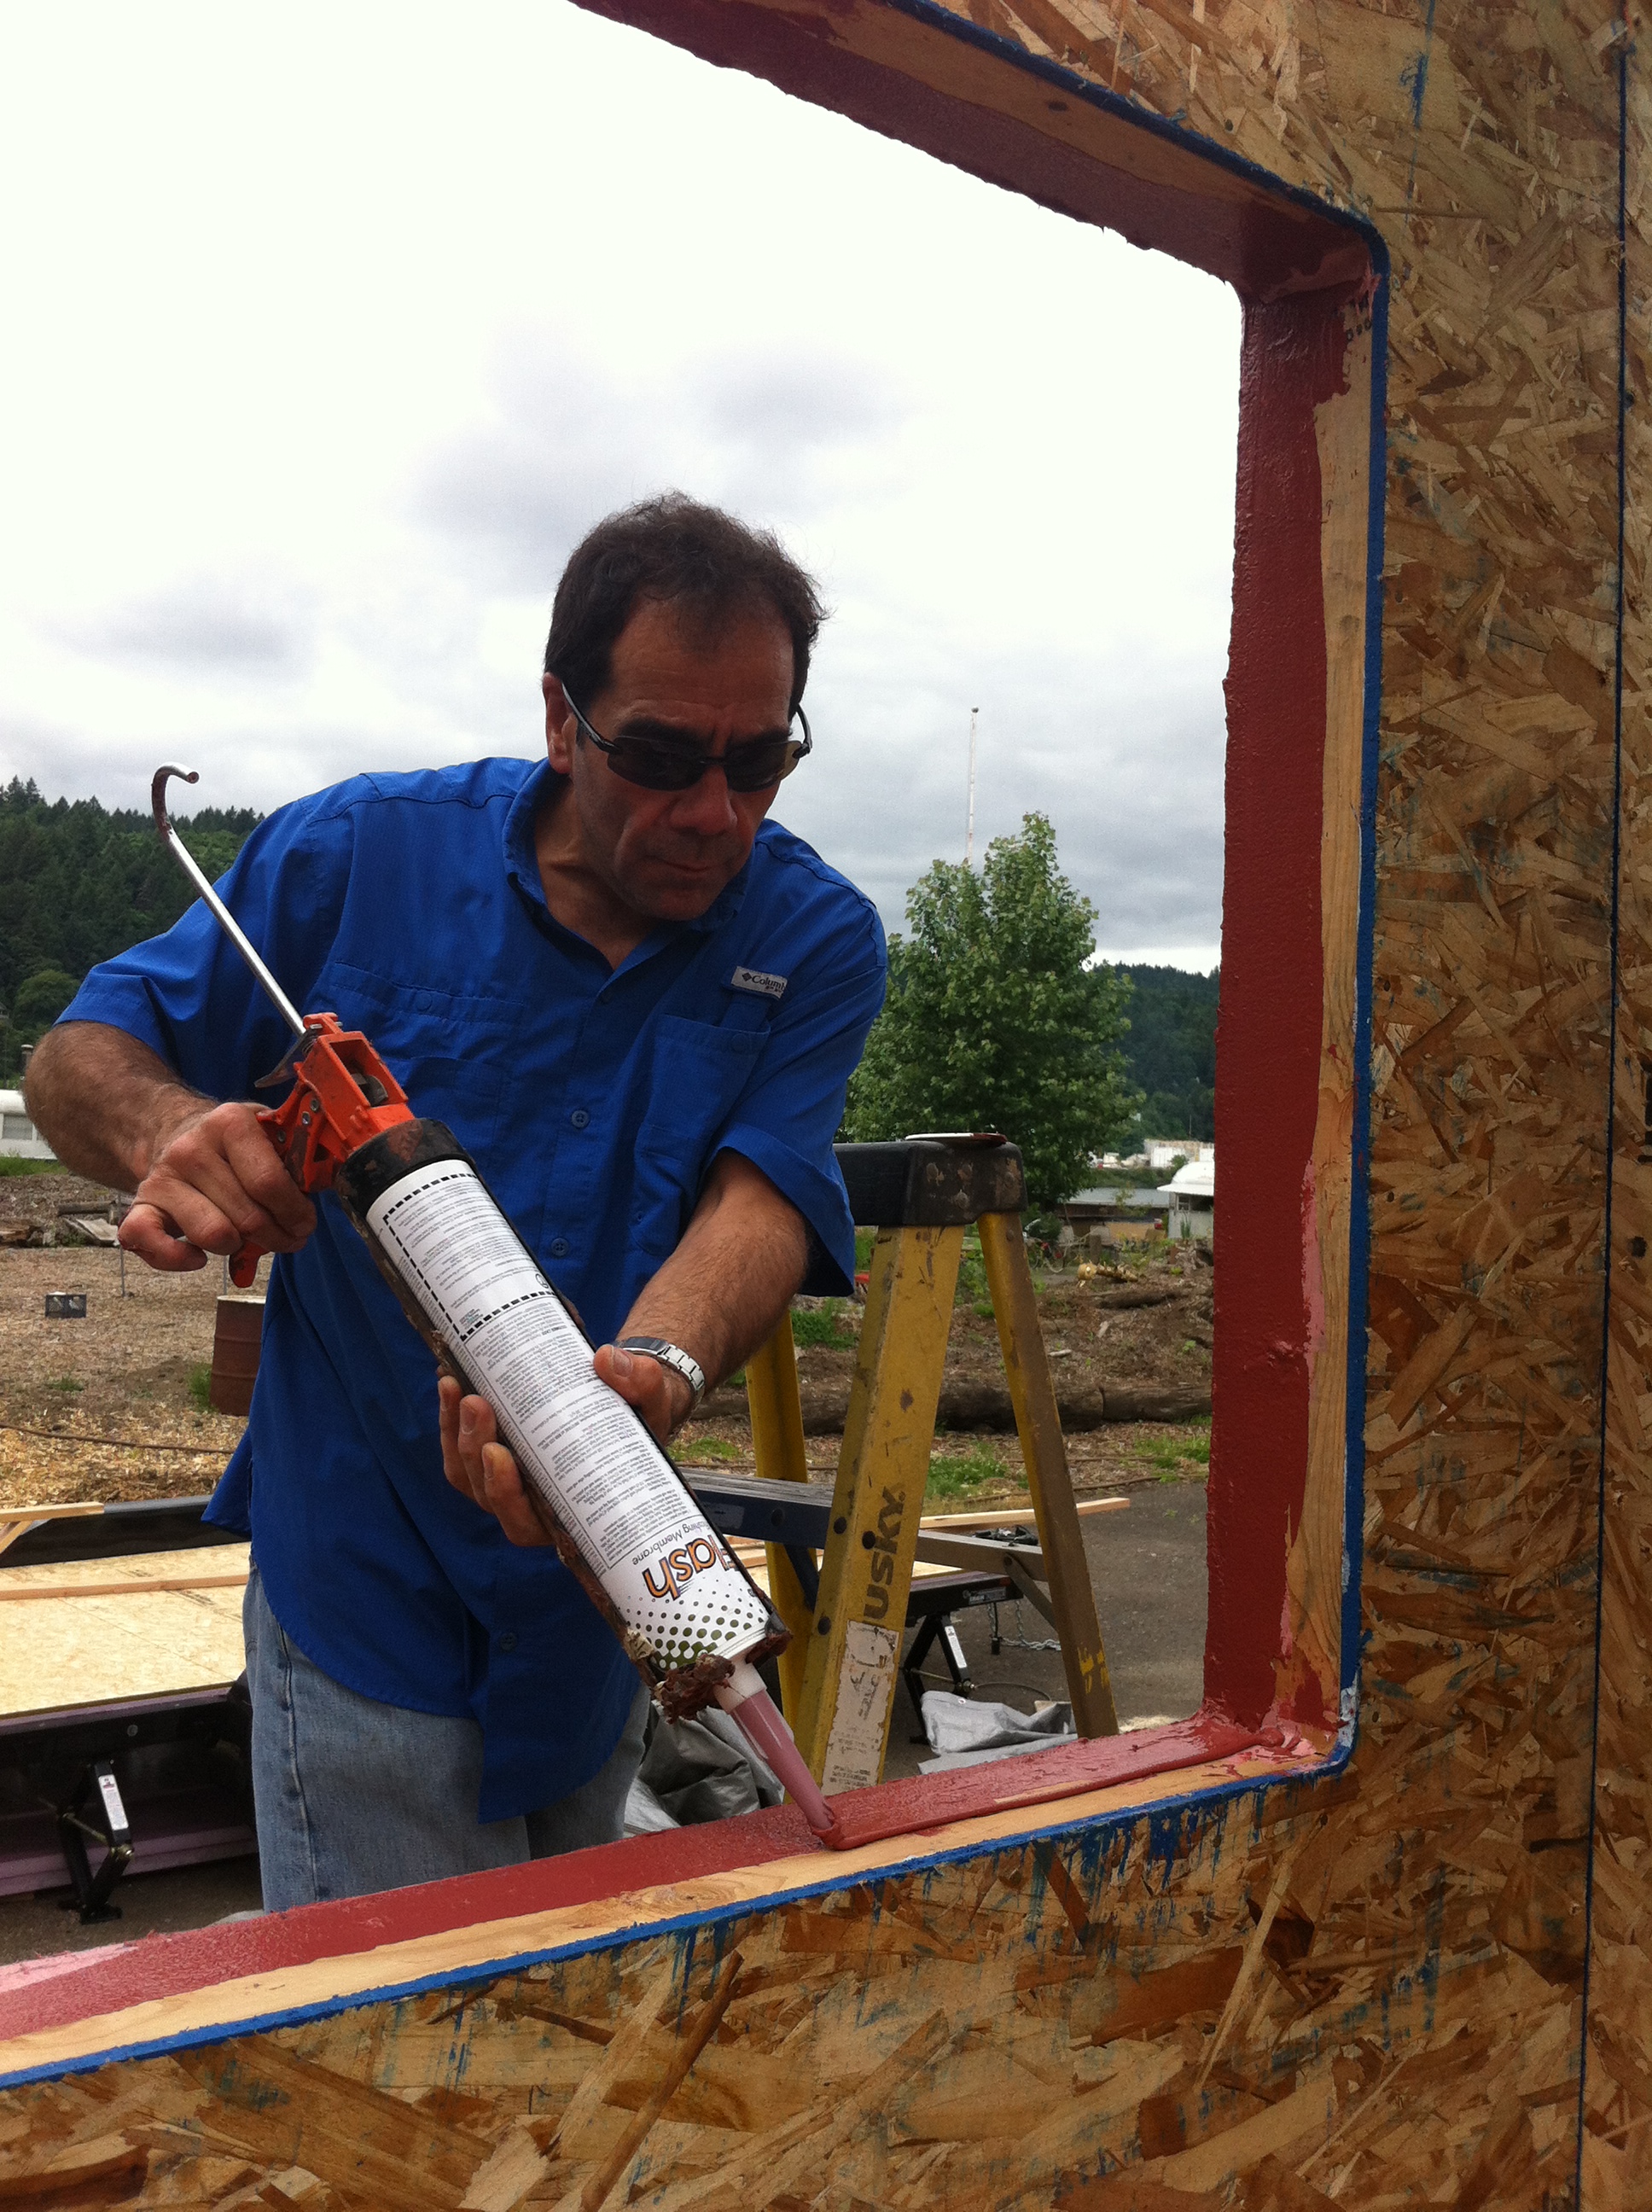
We also installed the Z flashing over the bottom band. This process involved cutting the flashing to length with tin snips, putting a bead of Fast Flash behind it near the top, smoothing out the bead with a spatula, tacking it in place with tiny self-tapping screws, and then tooling the edge again to make a nice seam that will shed water. I’ve always liked playing with substances that are malleable: clay, plaster, frosting, play dough, marzipan, etc. (Perhaps it’s no wonder that when I took an aptitude test as a kid it recommended that I consider becoming a cake decorator!) Needless to say, I’m especially enjoying working with the Fast Flash and Air Dam!)
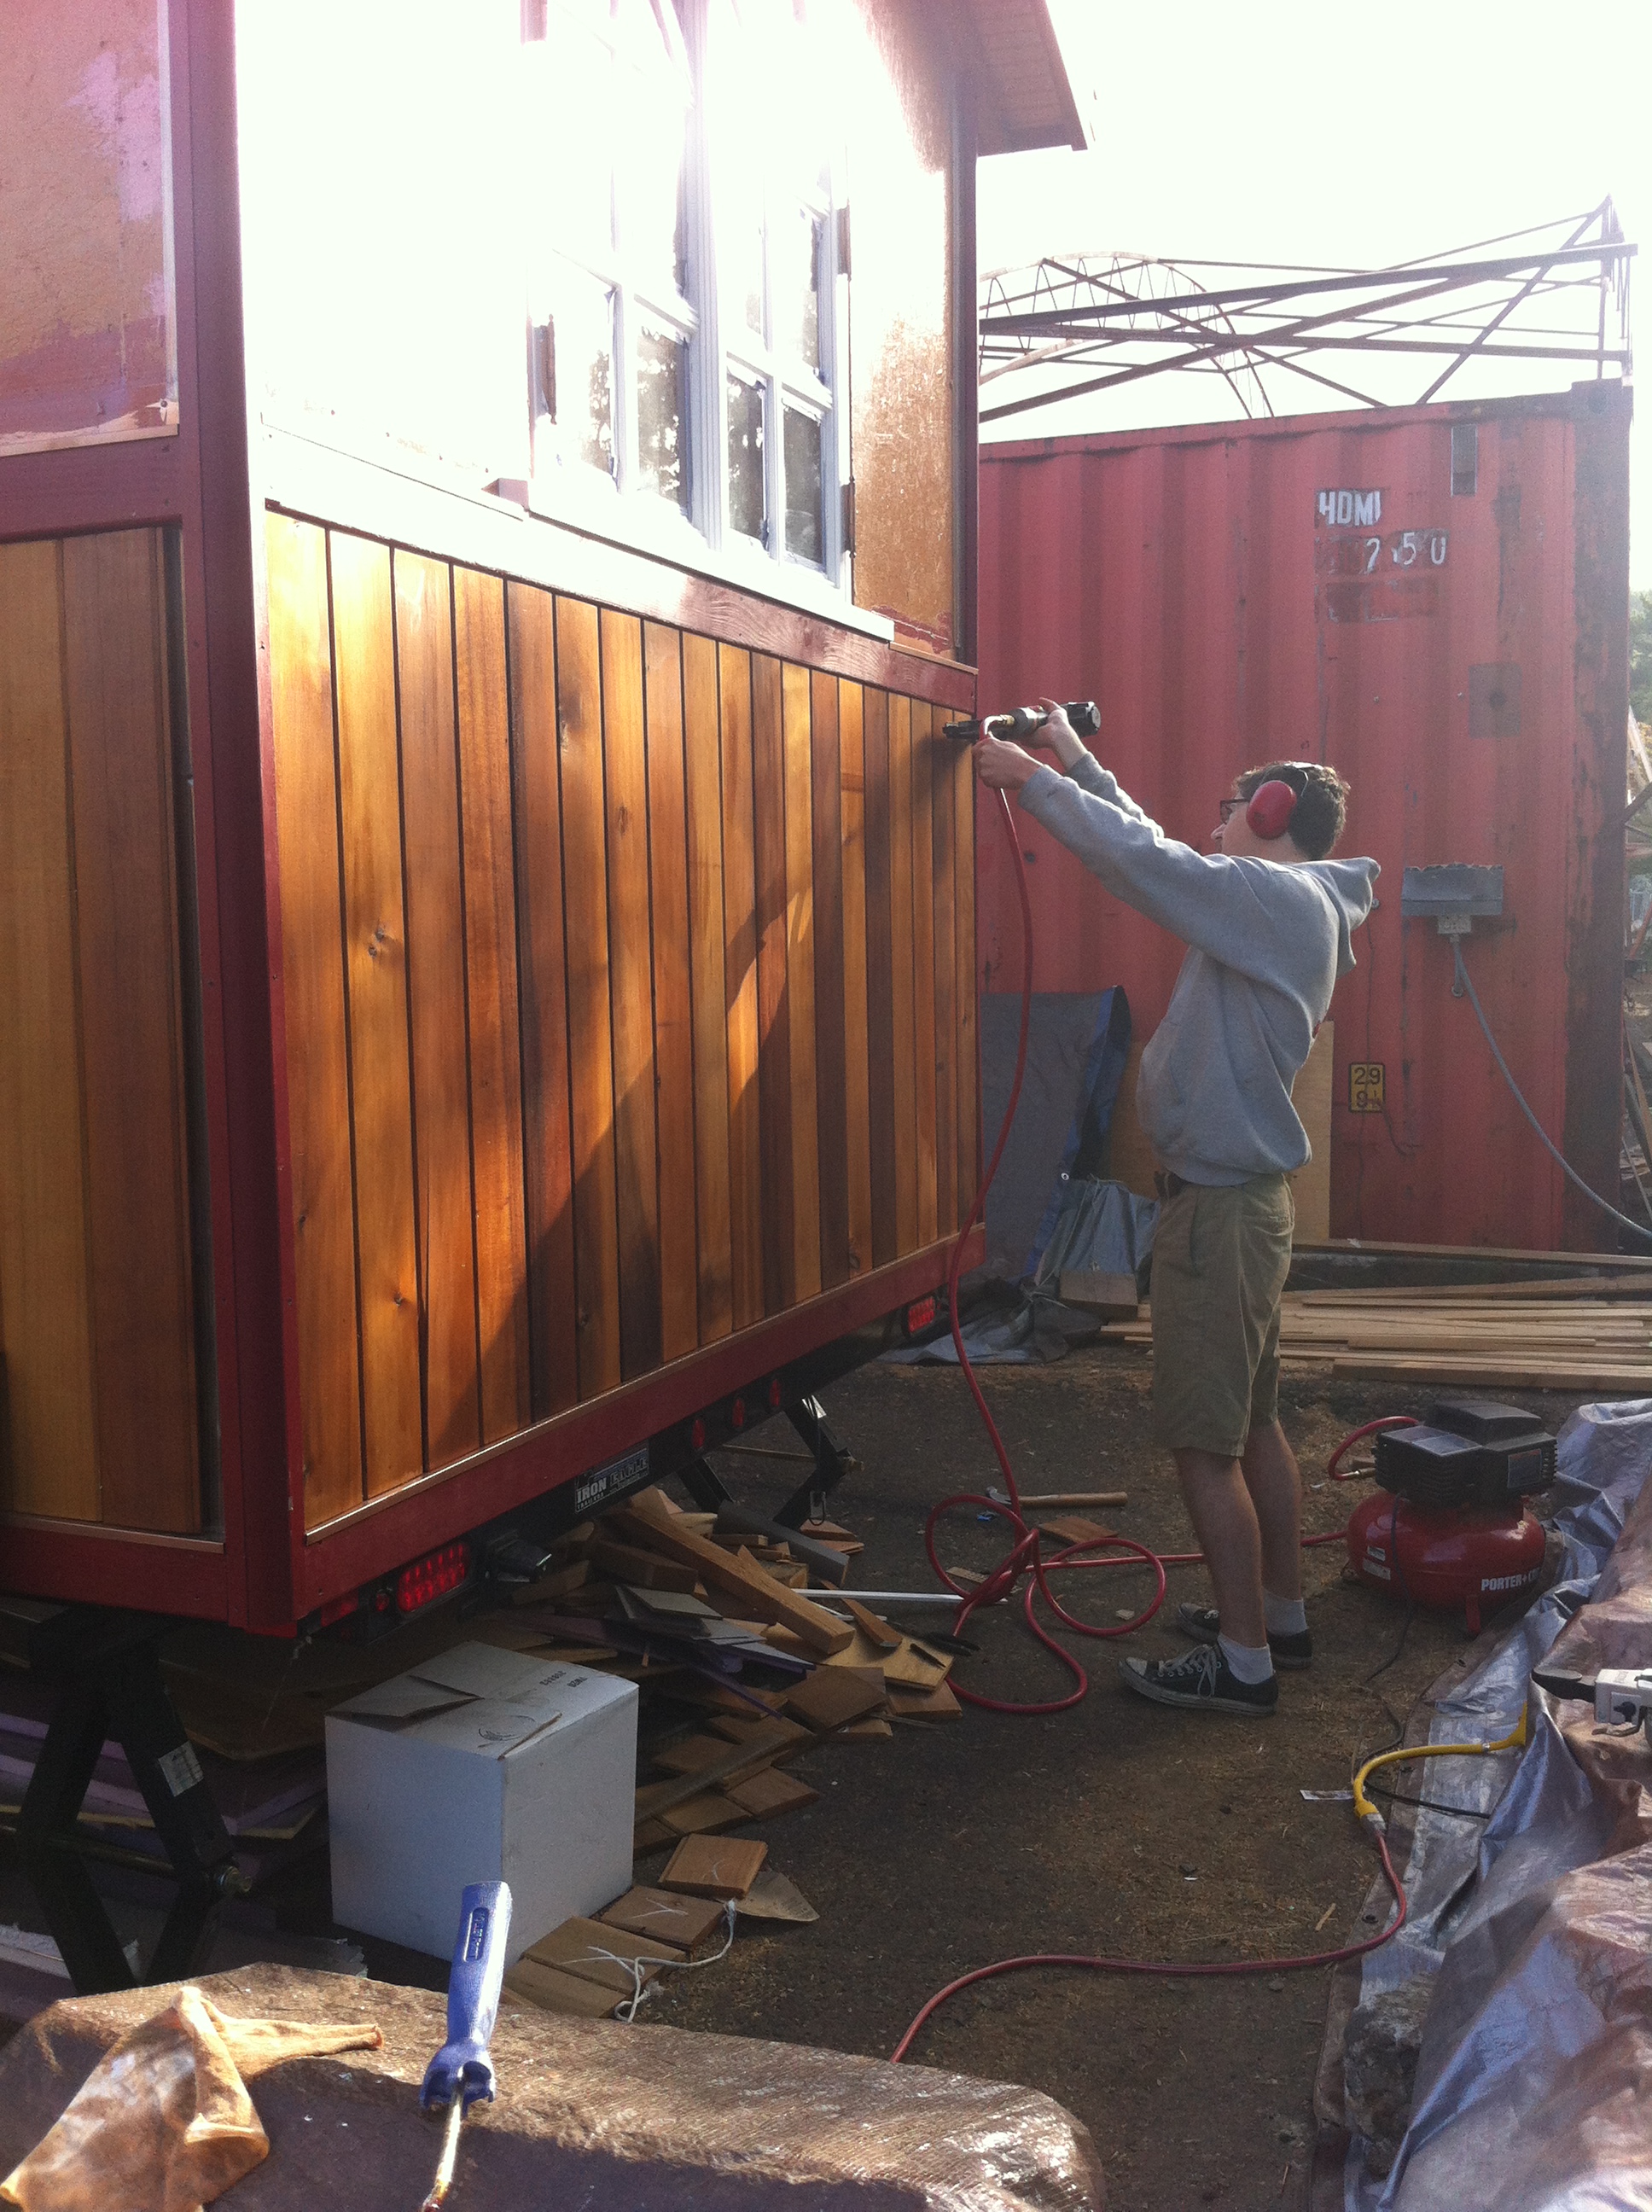
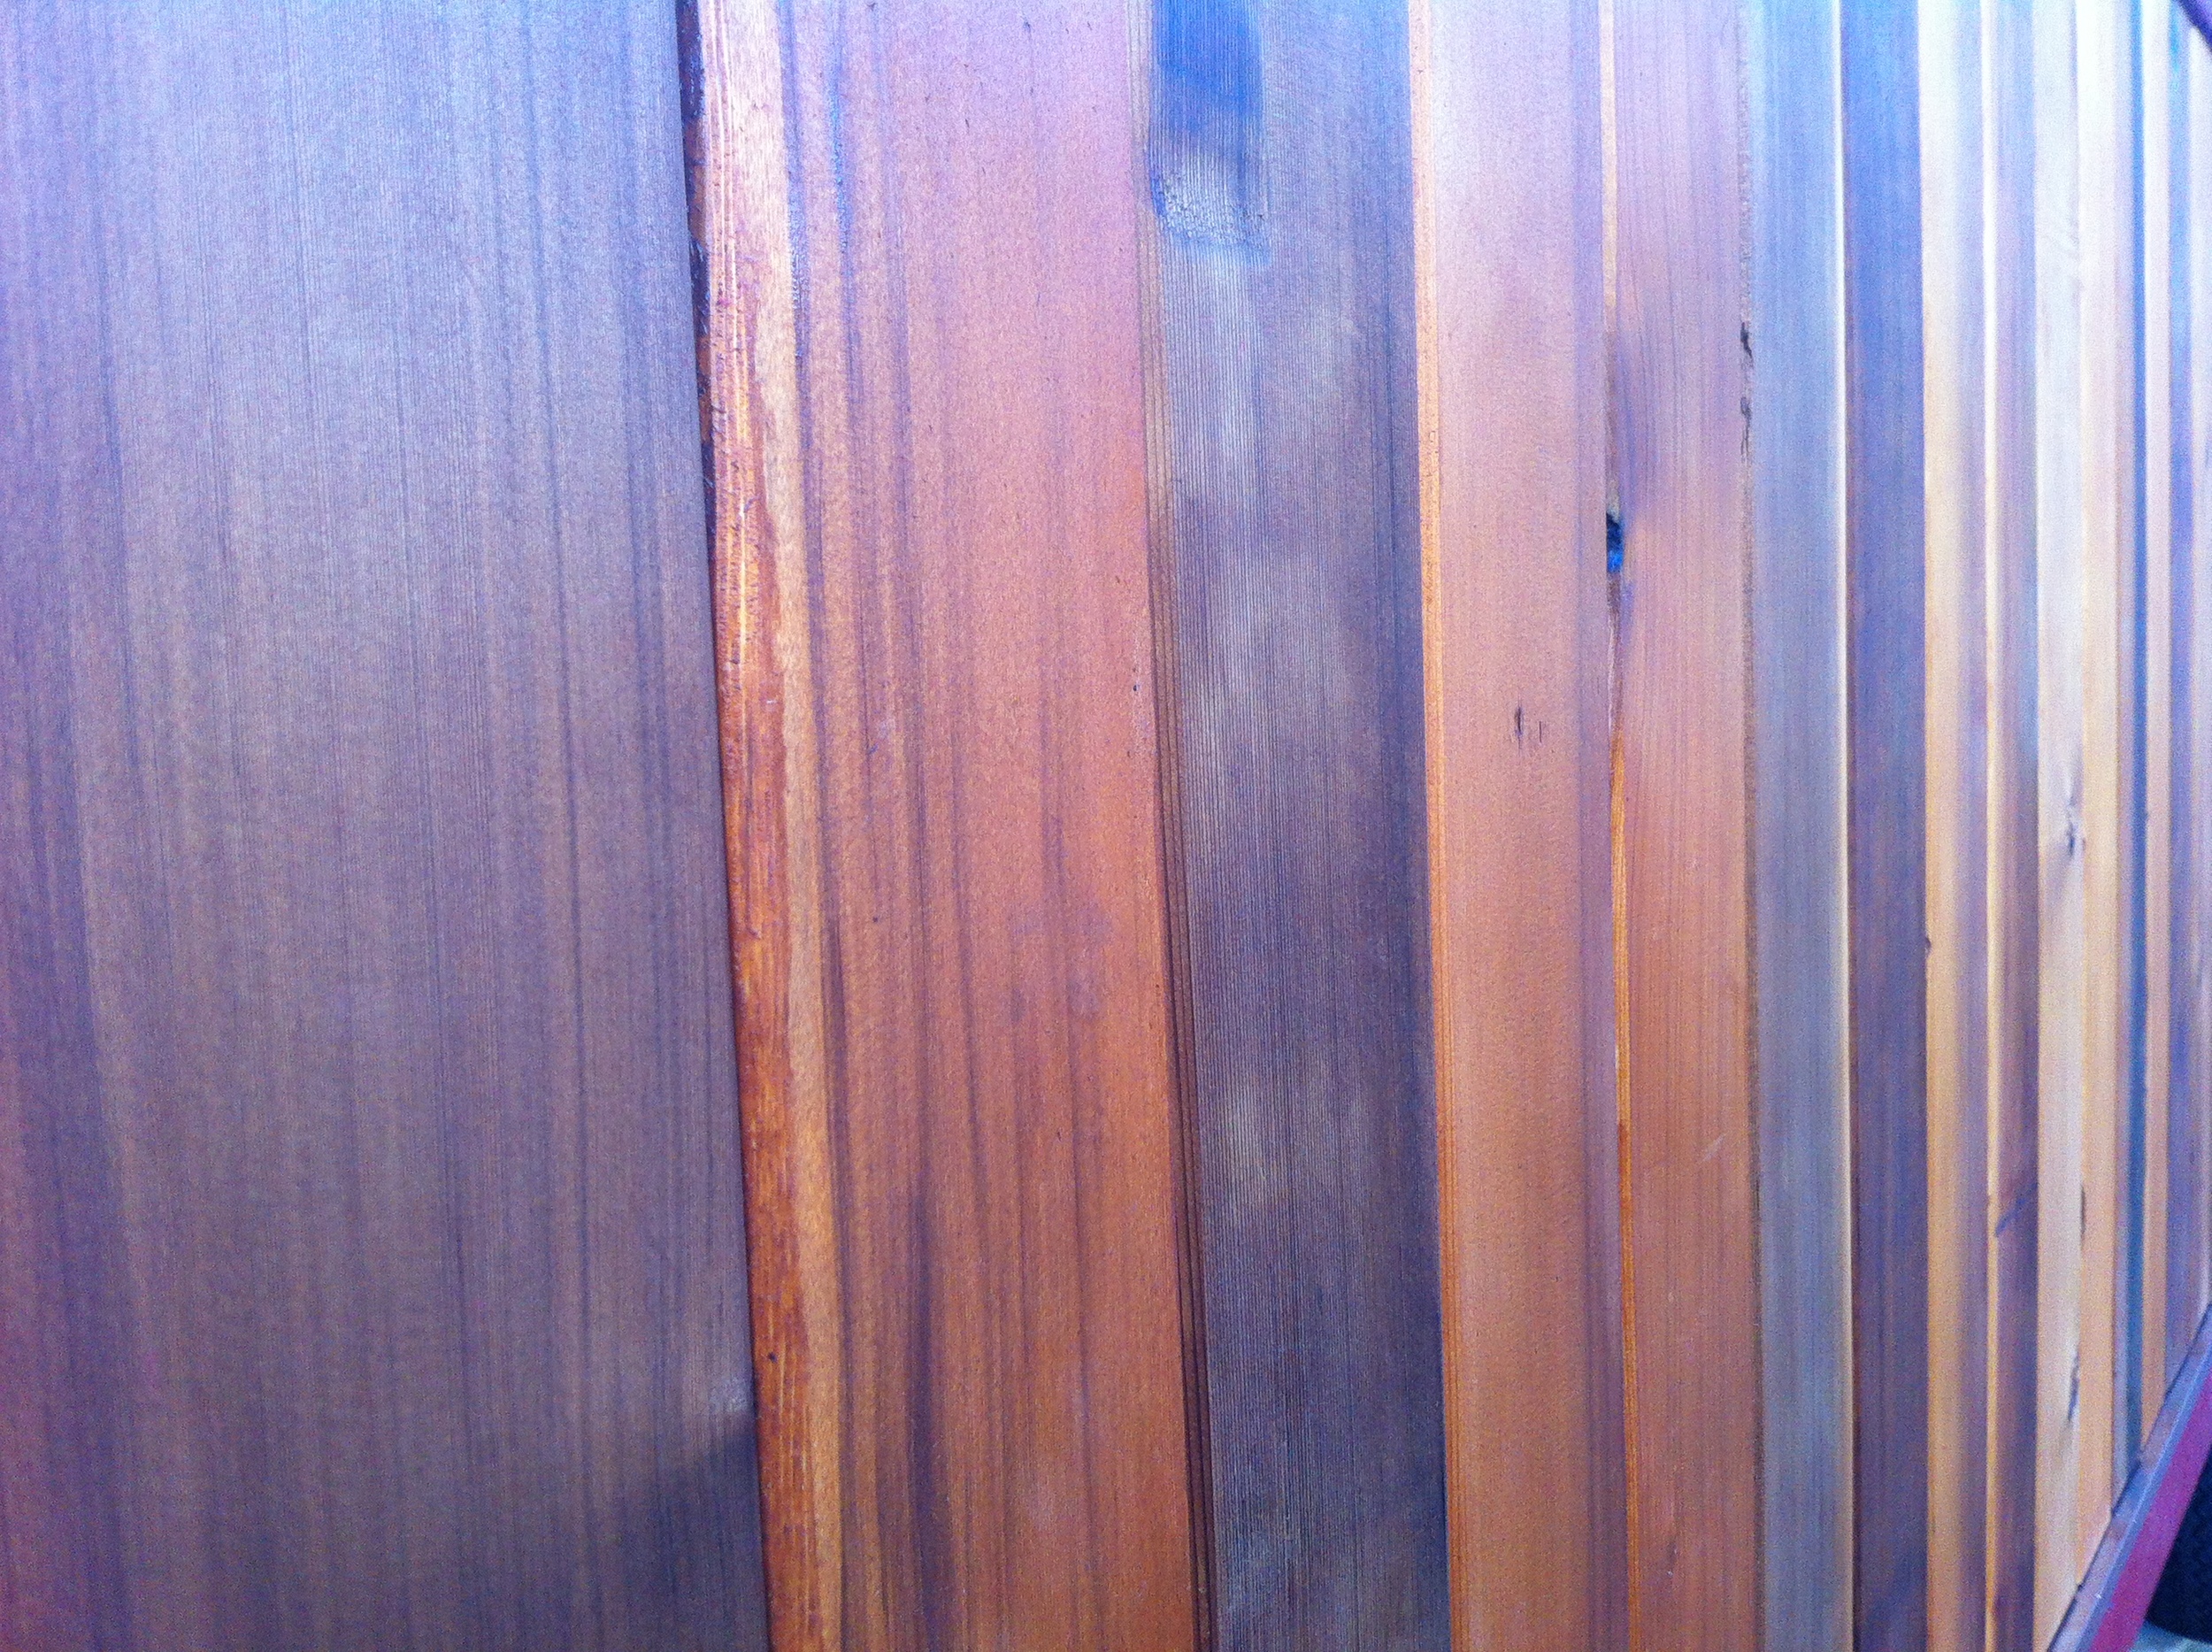
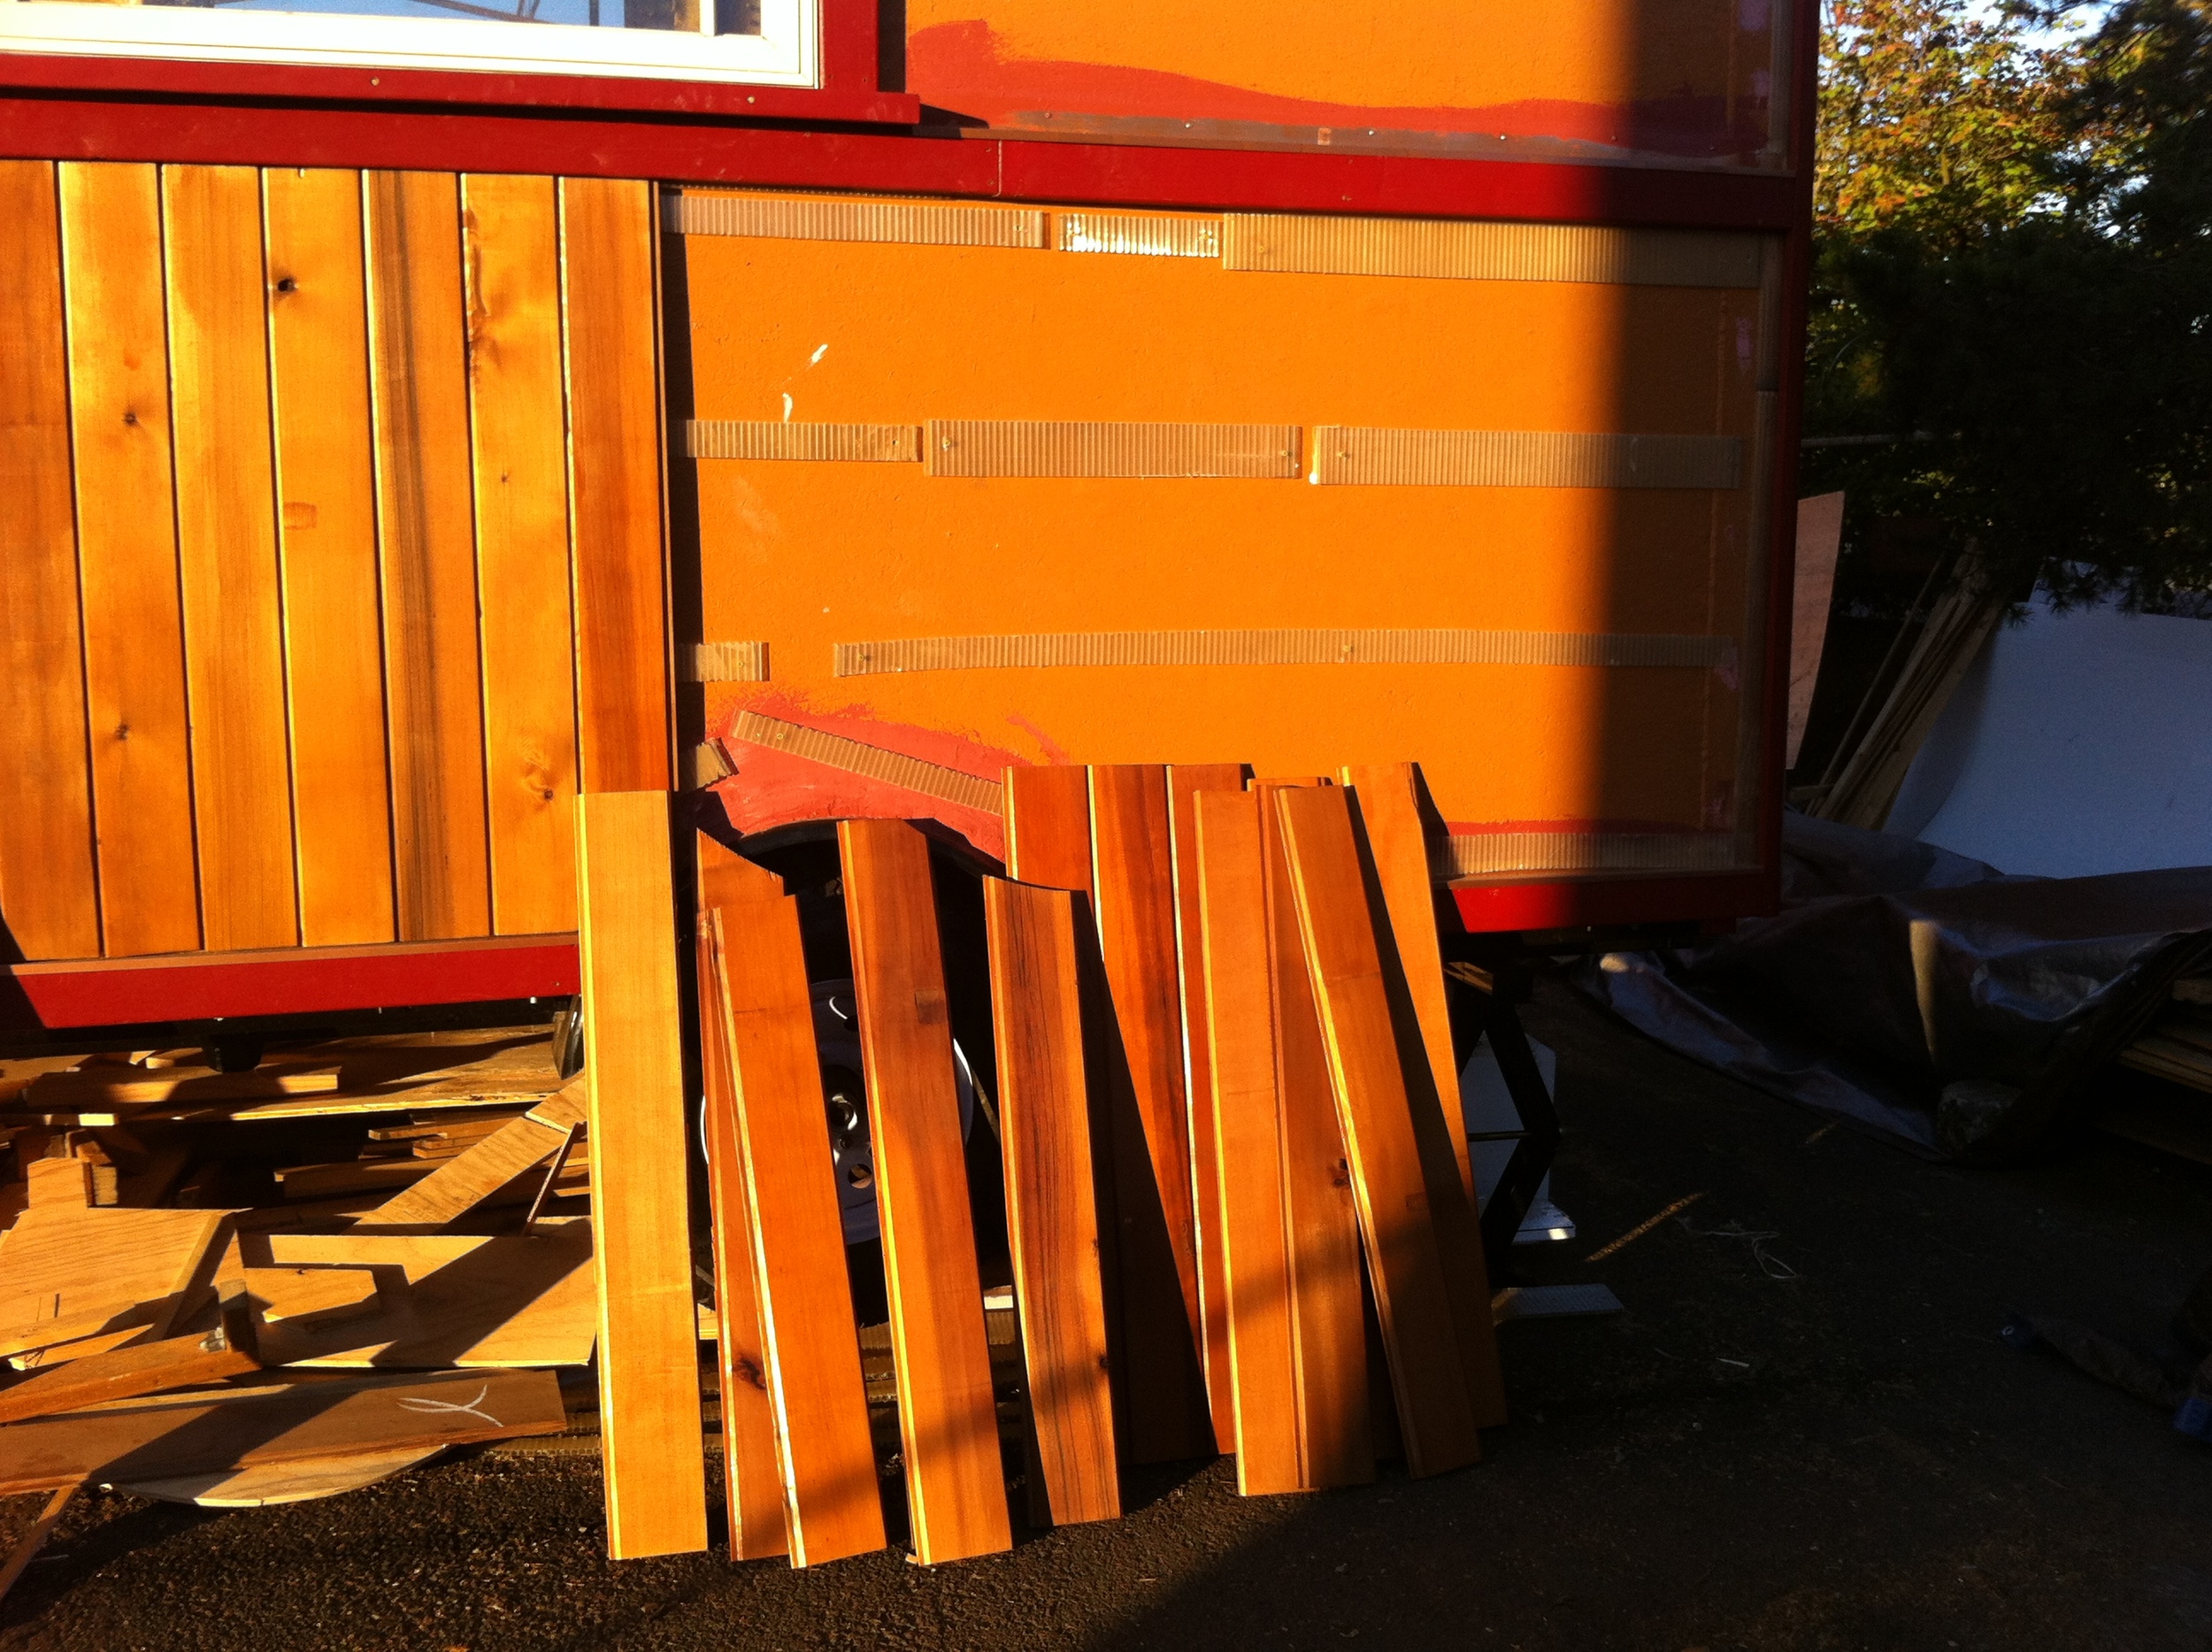 Julie and Jack also helped me get started with staining my cedar T & G siding. And that evening fellow tiny house builder Wade came by, full of fresh energy. He helped me install the first of the siding, working our way to the wheelwells. When we ran out of light we sat at the river to drink a beer and compare notes. How fun it is to talk to three other people currently building their own tiny houses! Living in Portland, OR - the epicenter of the tiny house universe - certainly has its perks!
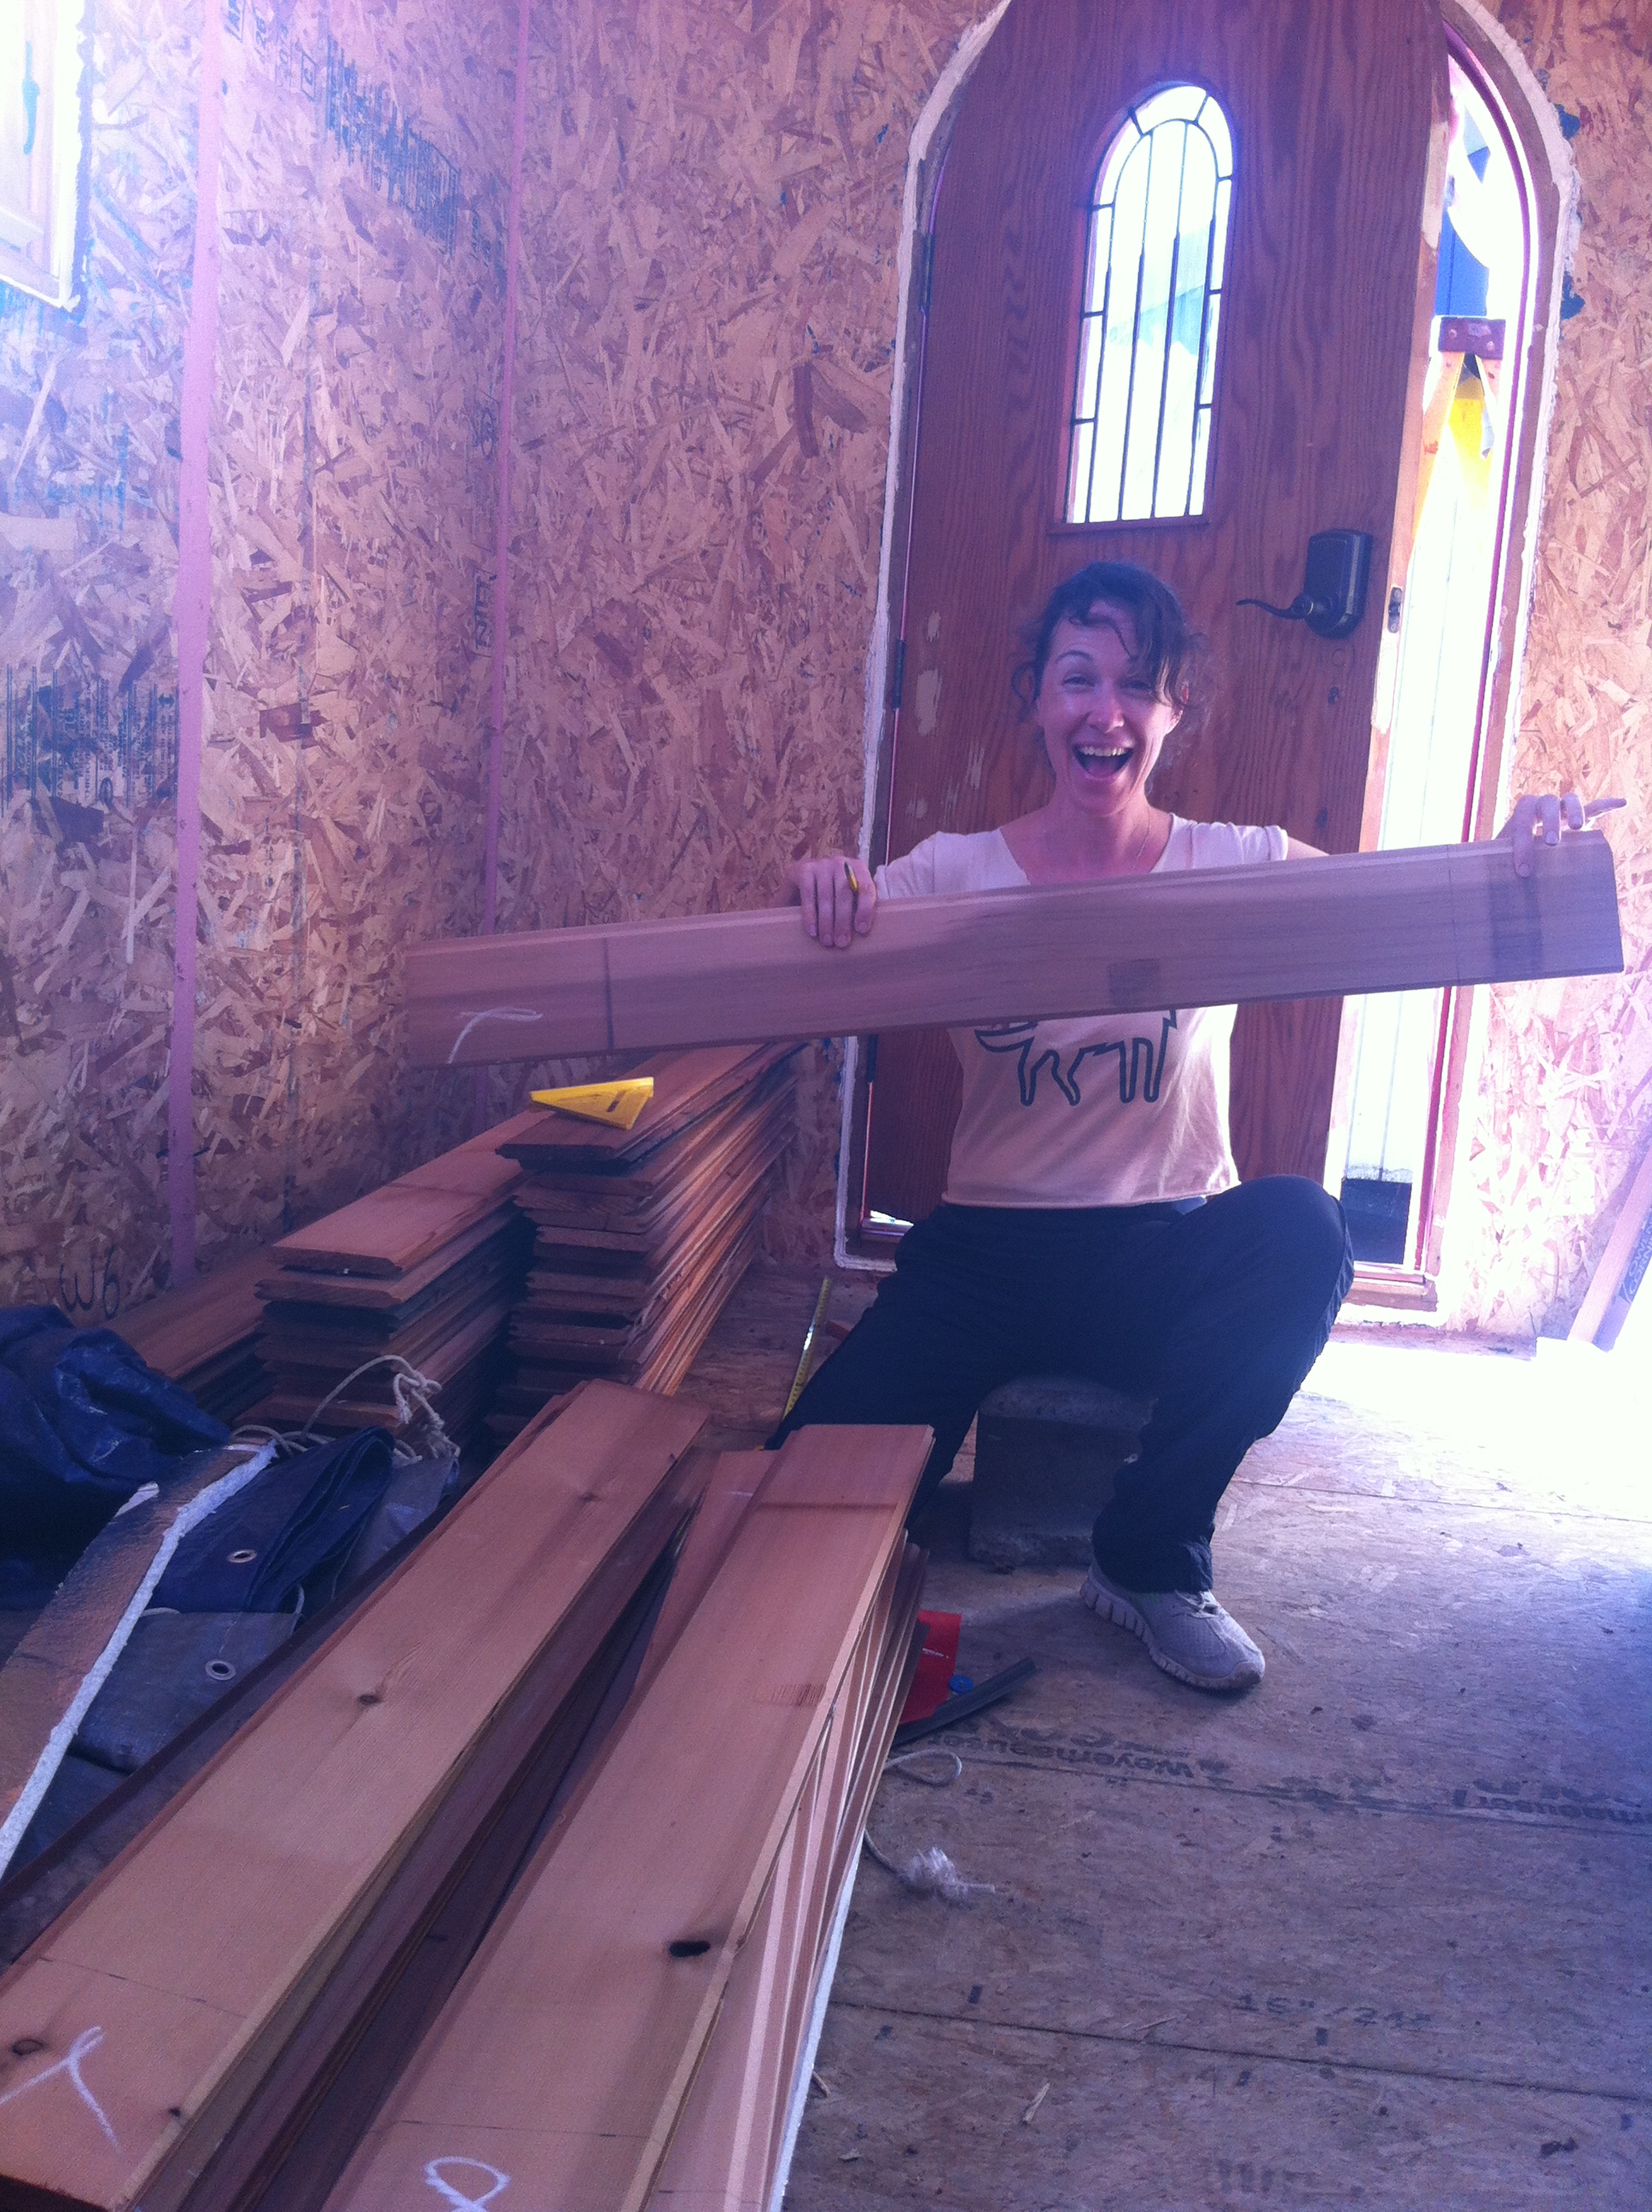
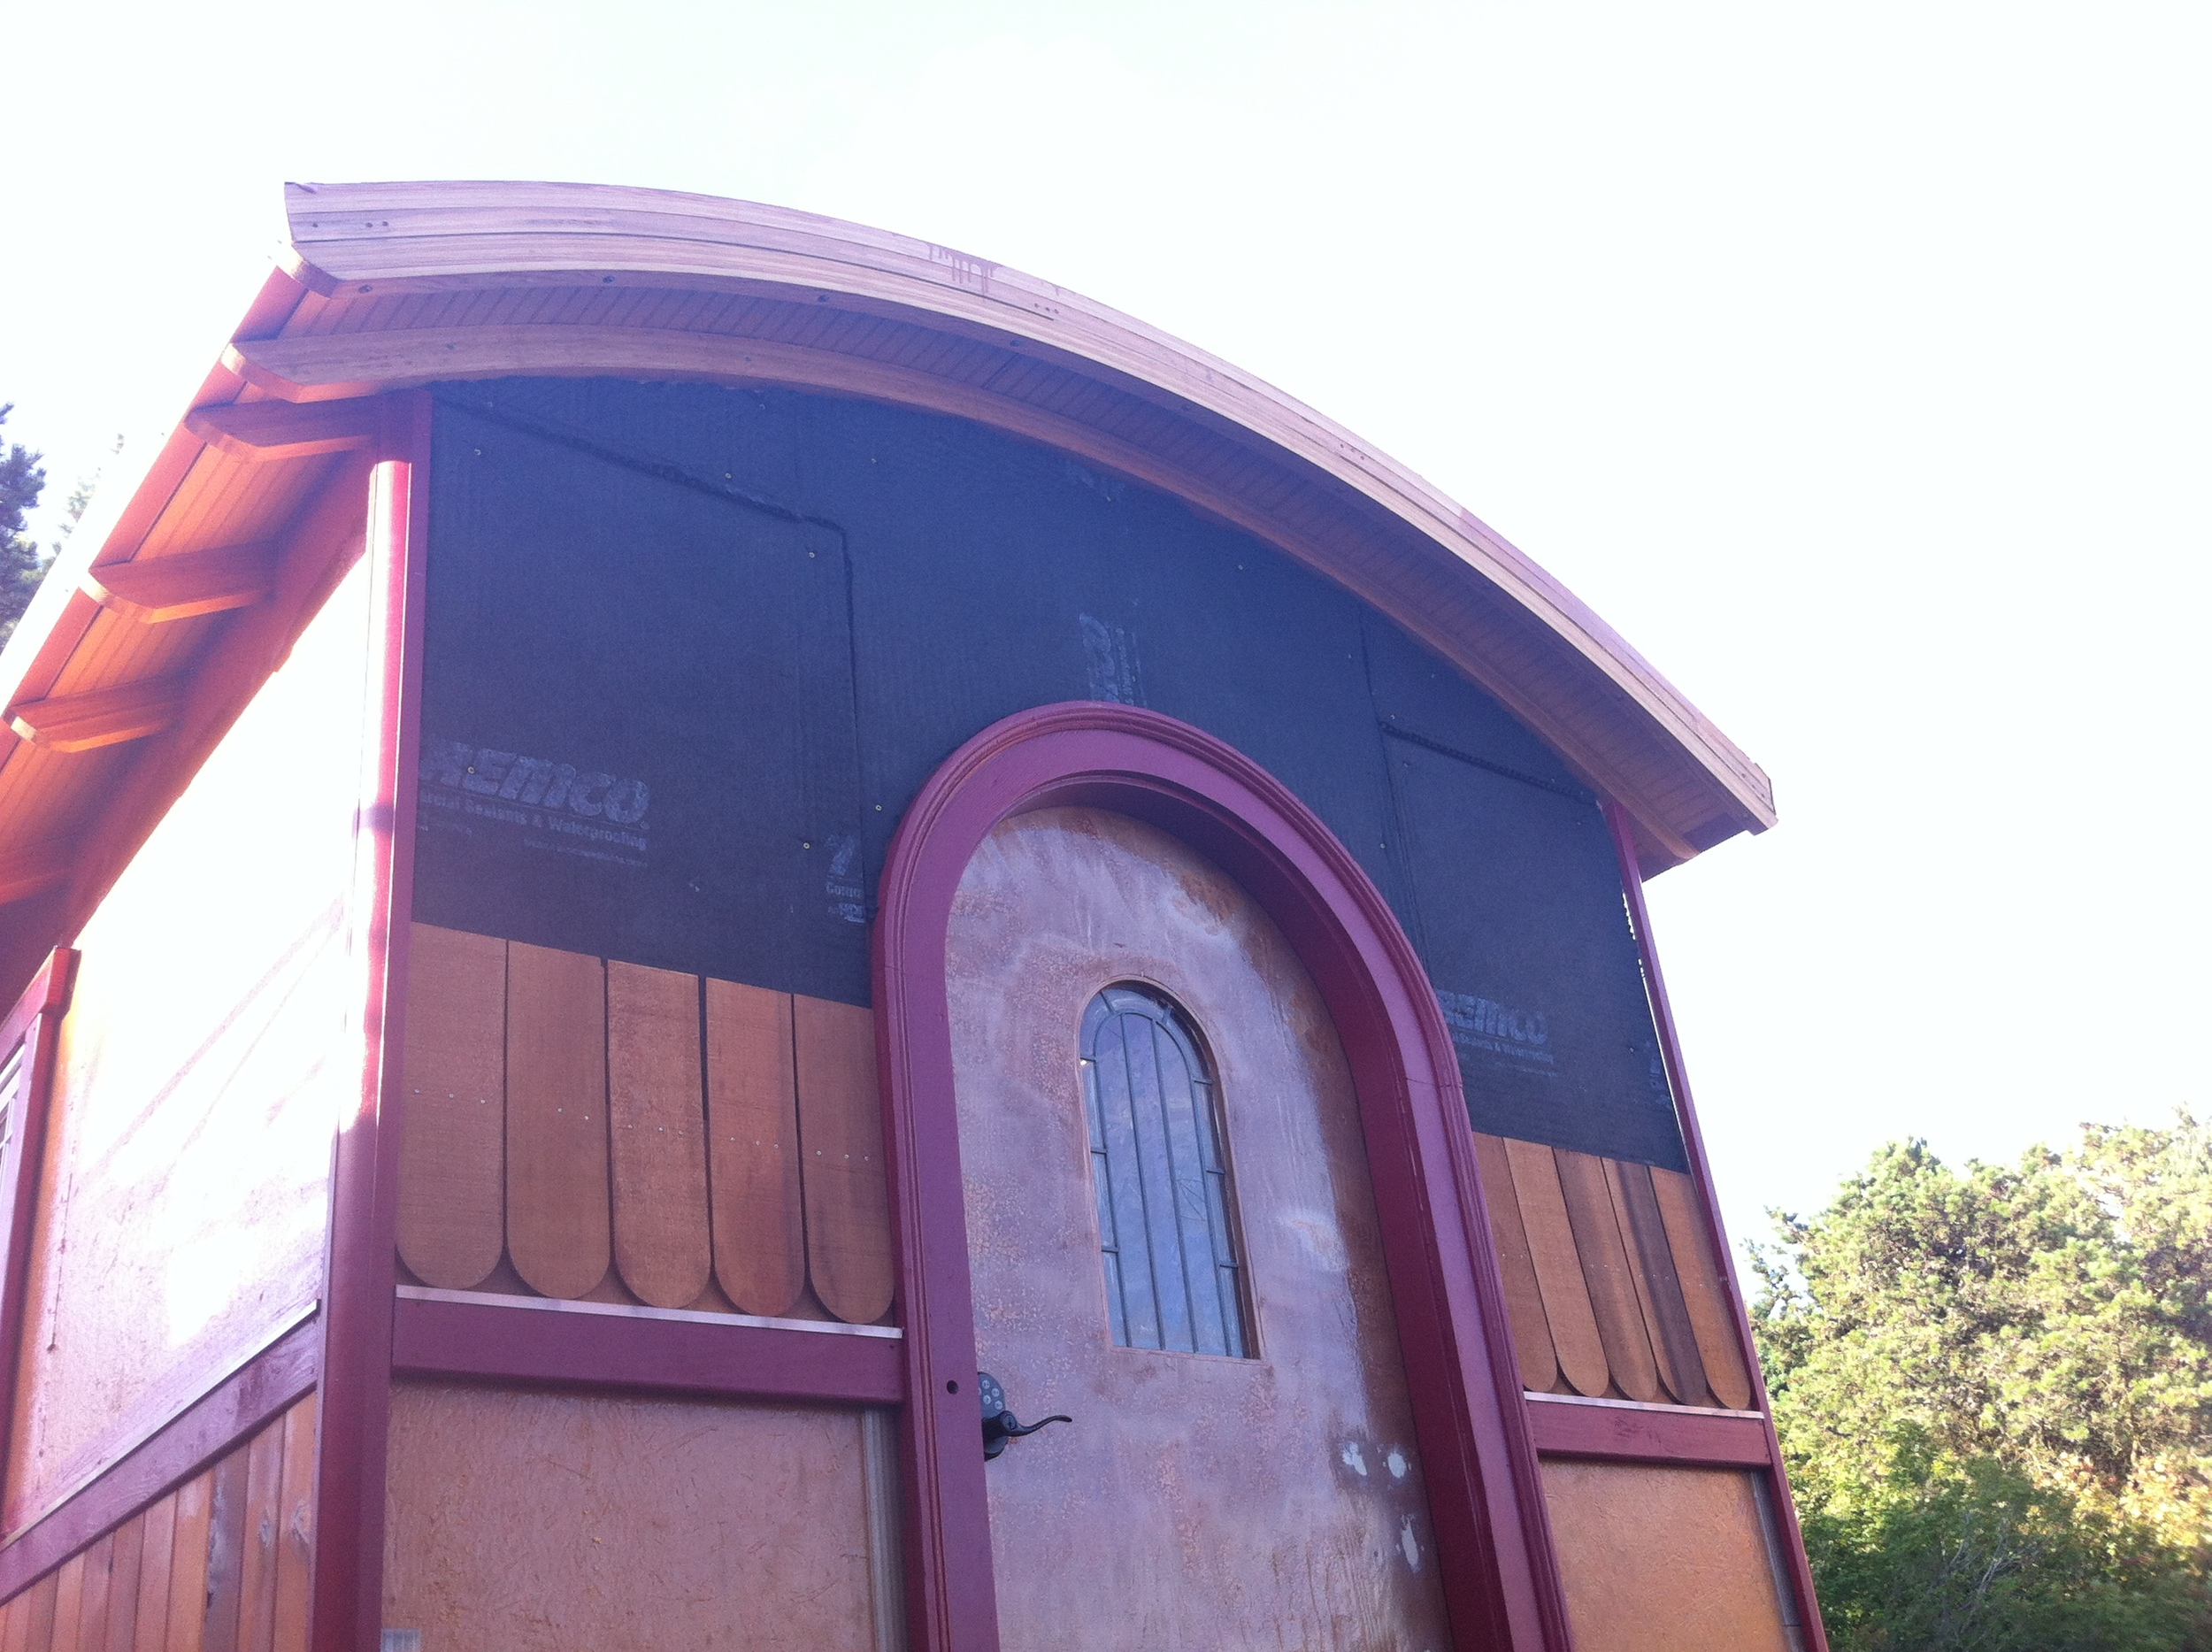
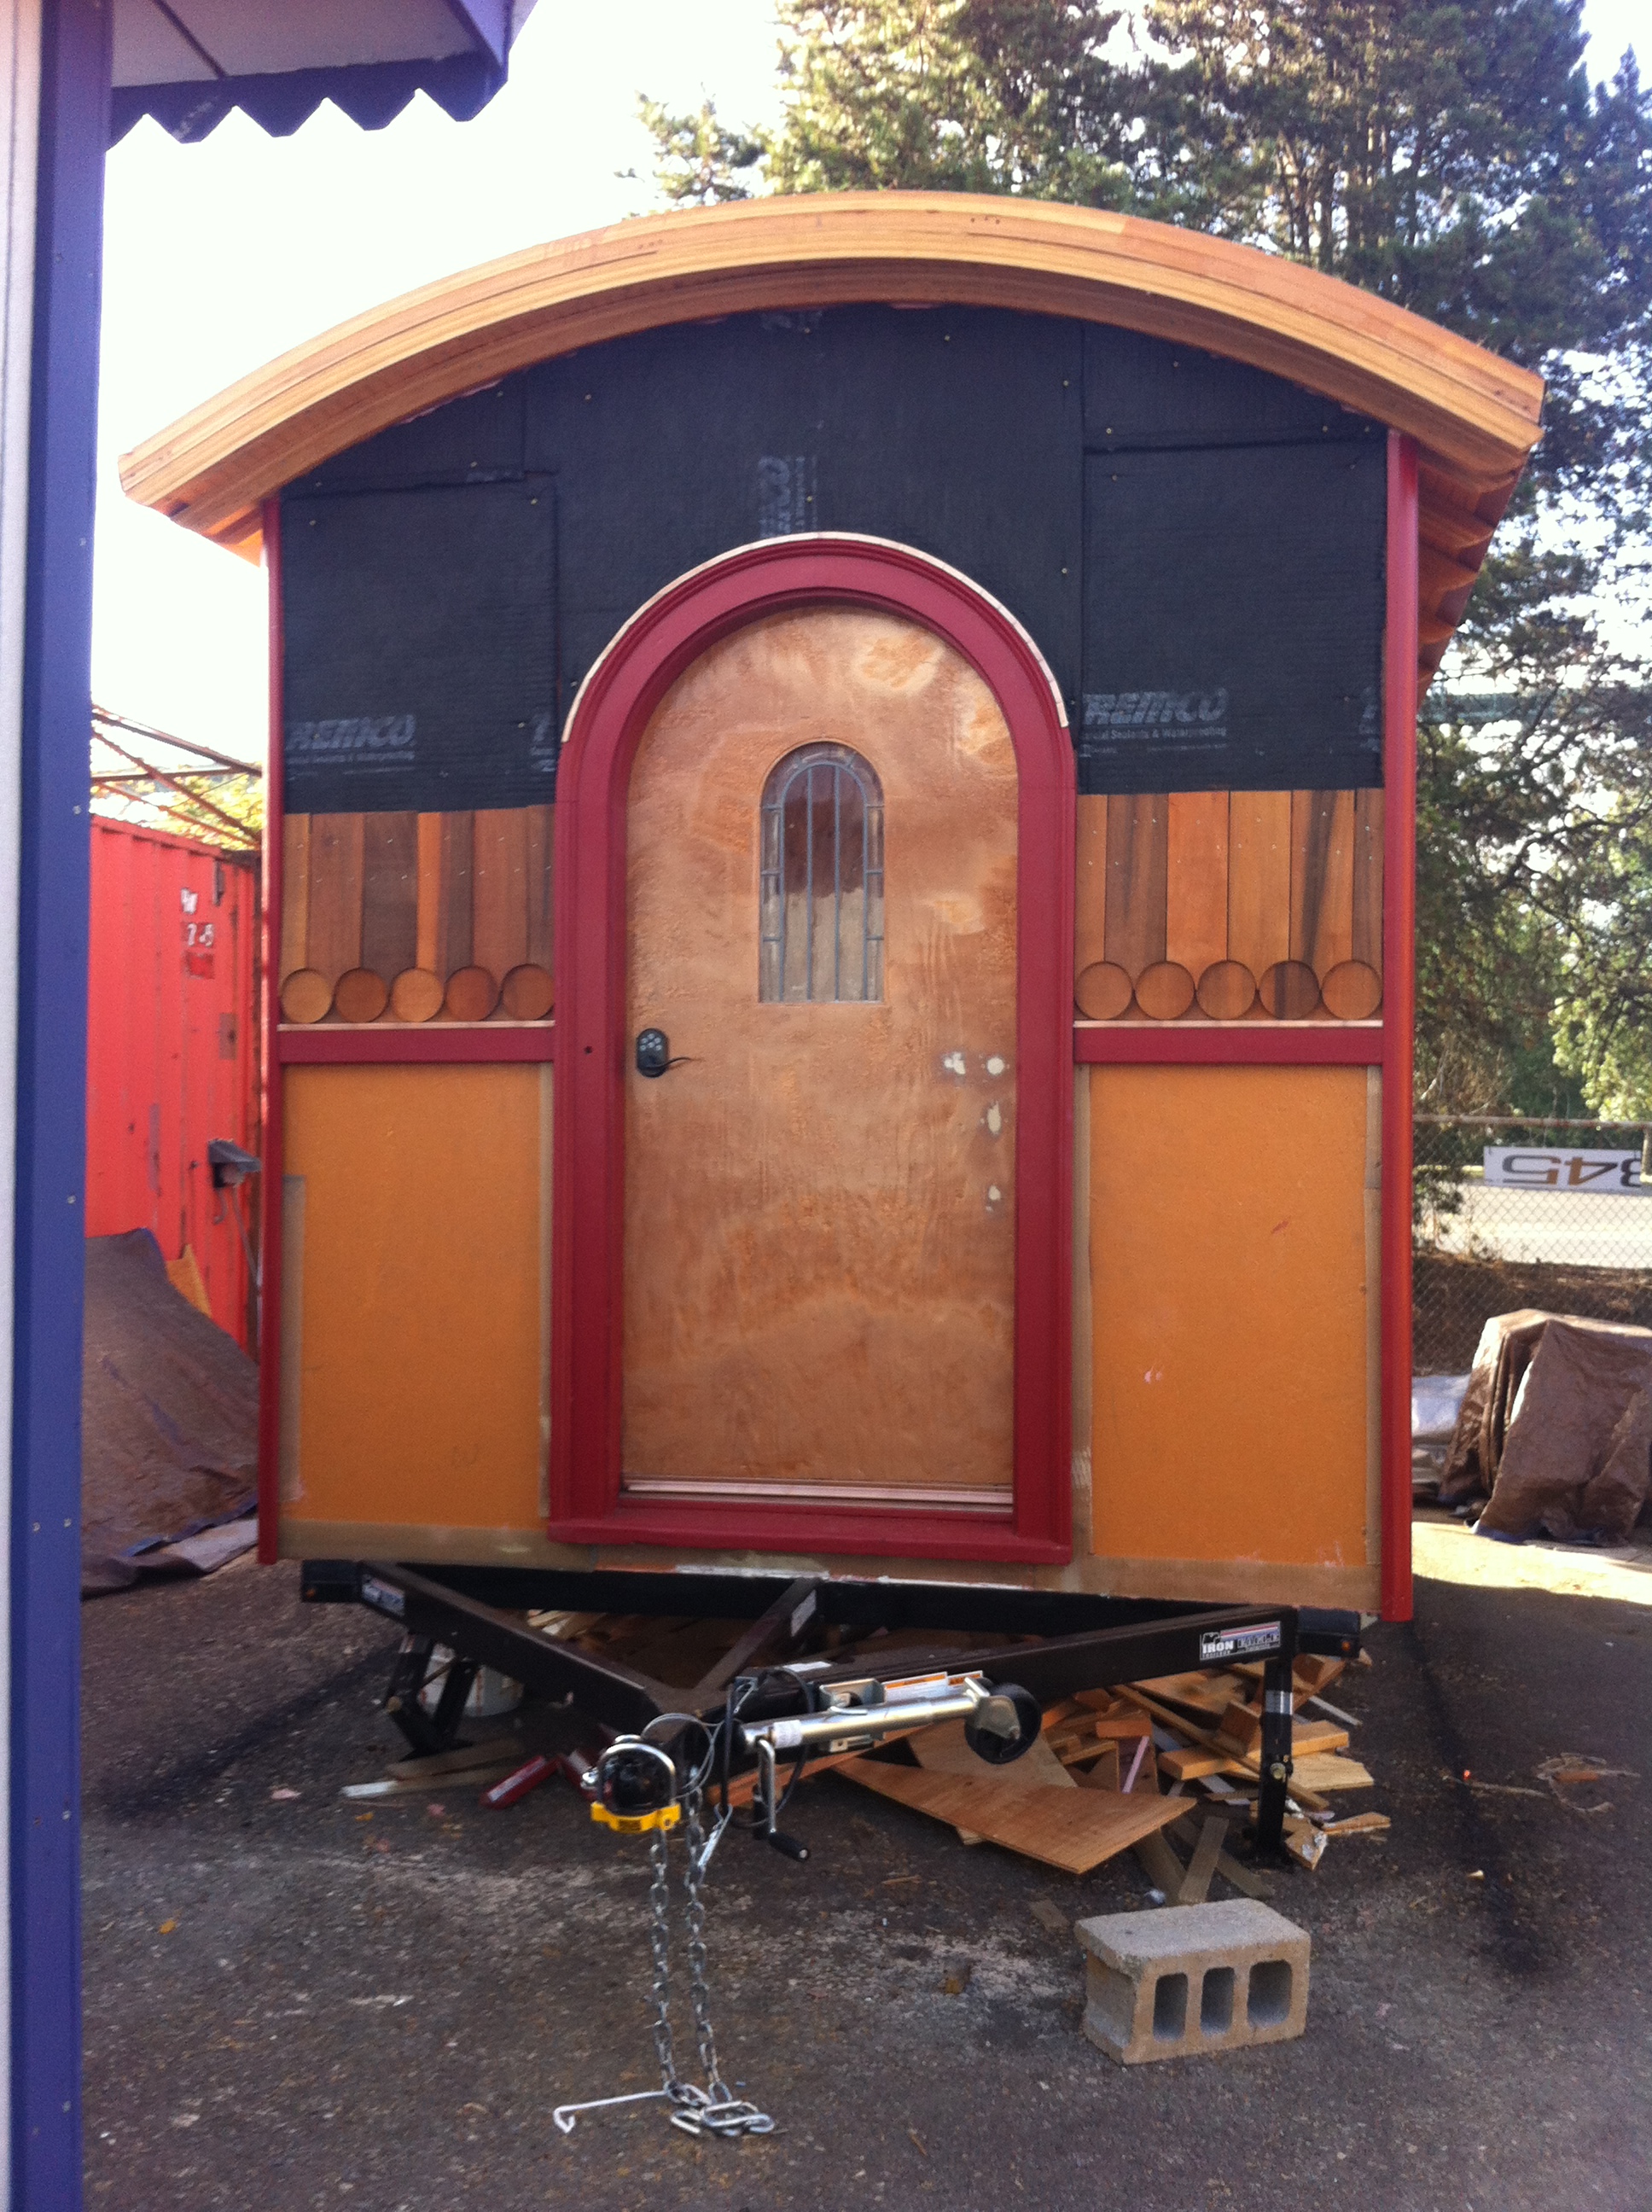
On Monday morning I did a bit more supply sourcing and shopping (including cedar fancy-cut arrow shingles for my end walls from the helpful folks at Shur-Way Building Center). That afternoon Julie helped me paint and install Z-flashing for my bellyband and over my windows. Meanwhile, Laura hit a stopping point with her siding so she came on over to install a different version of my Rain Screen system around my door in preparation for the fancy-cut cedar shingles.
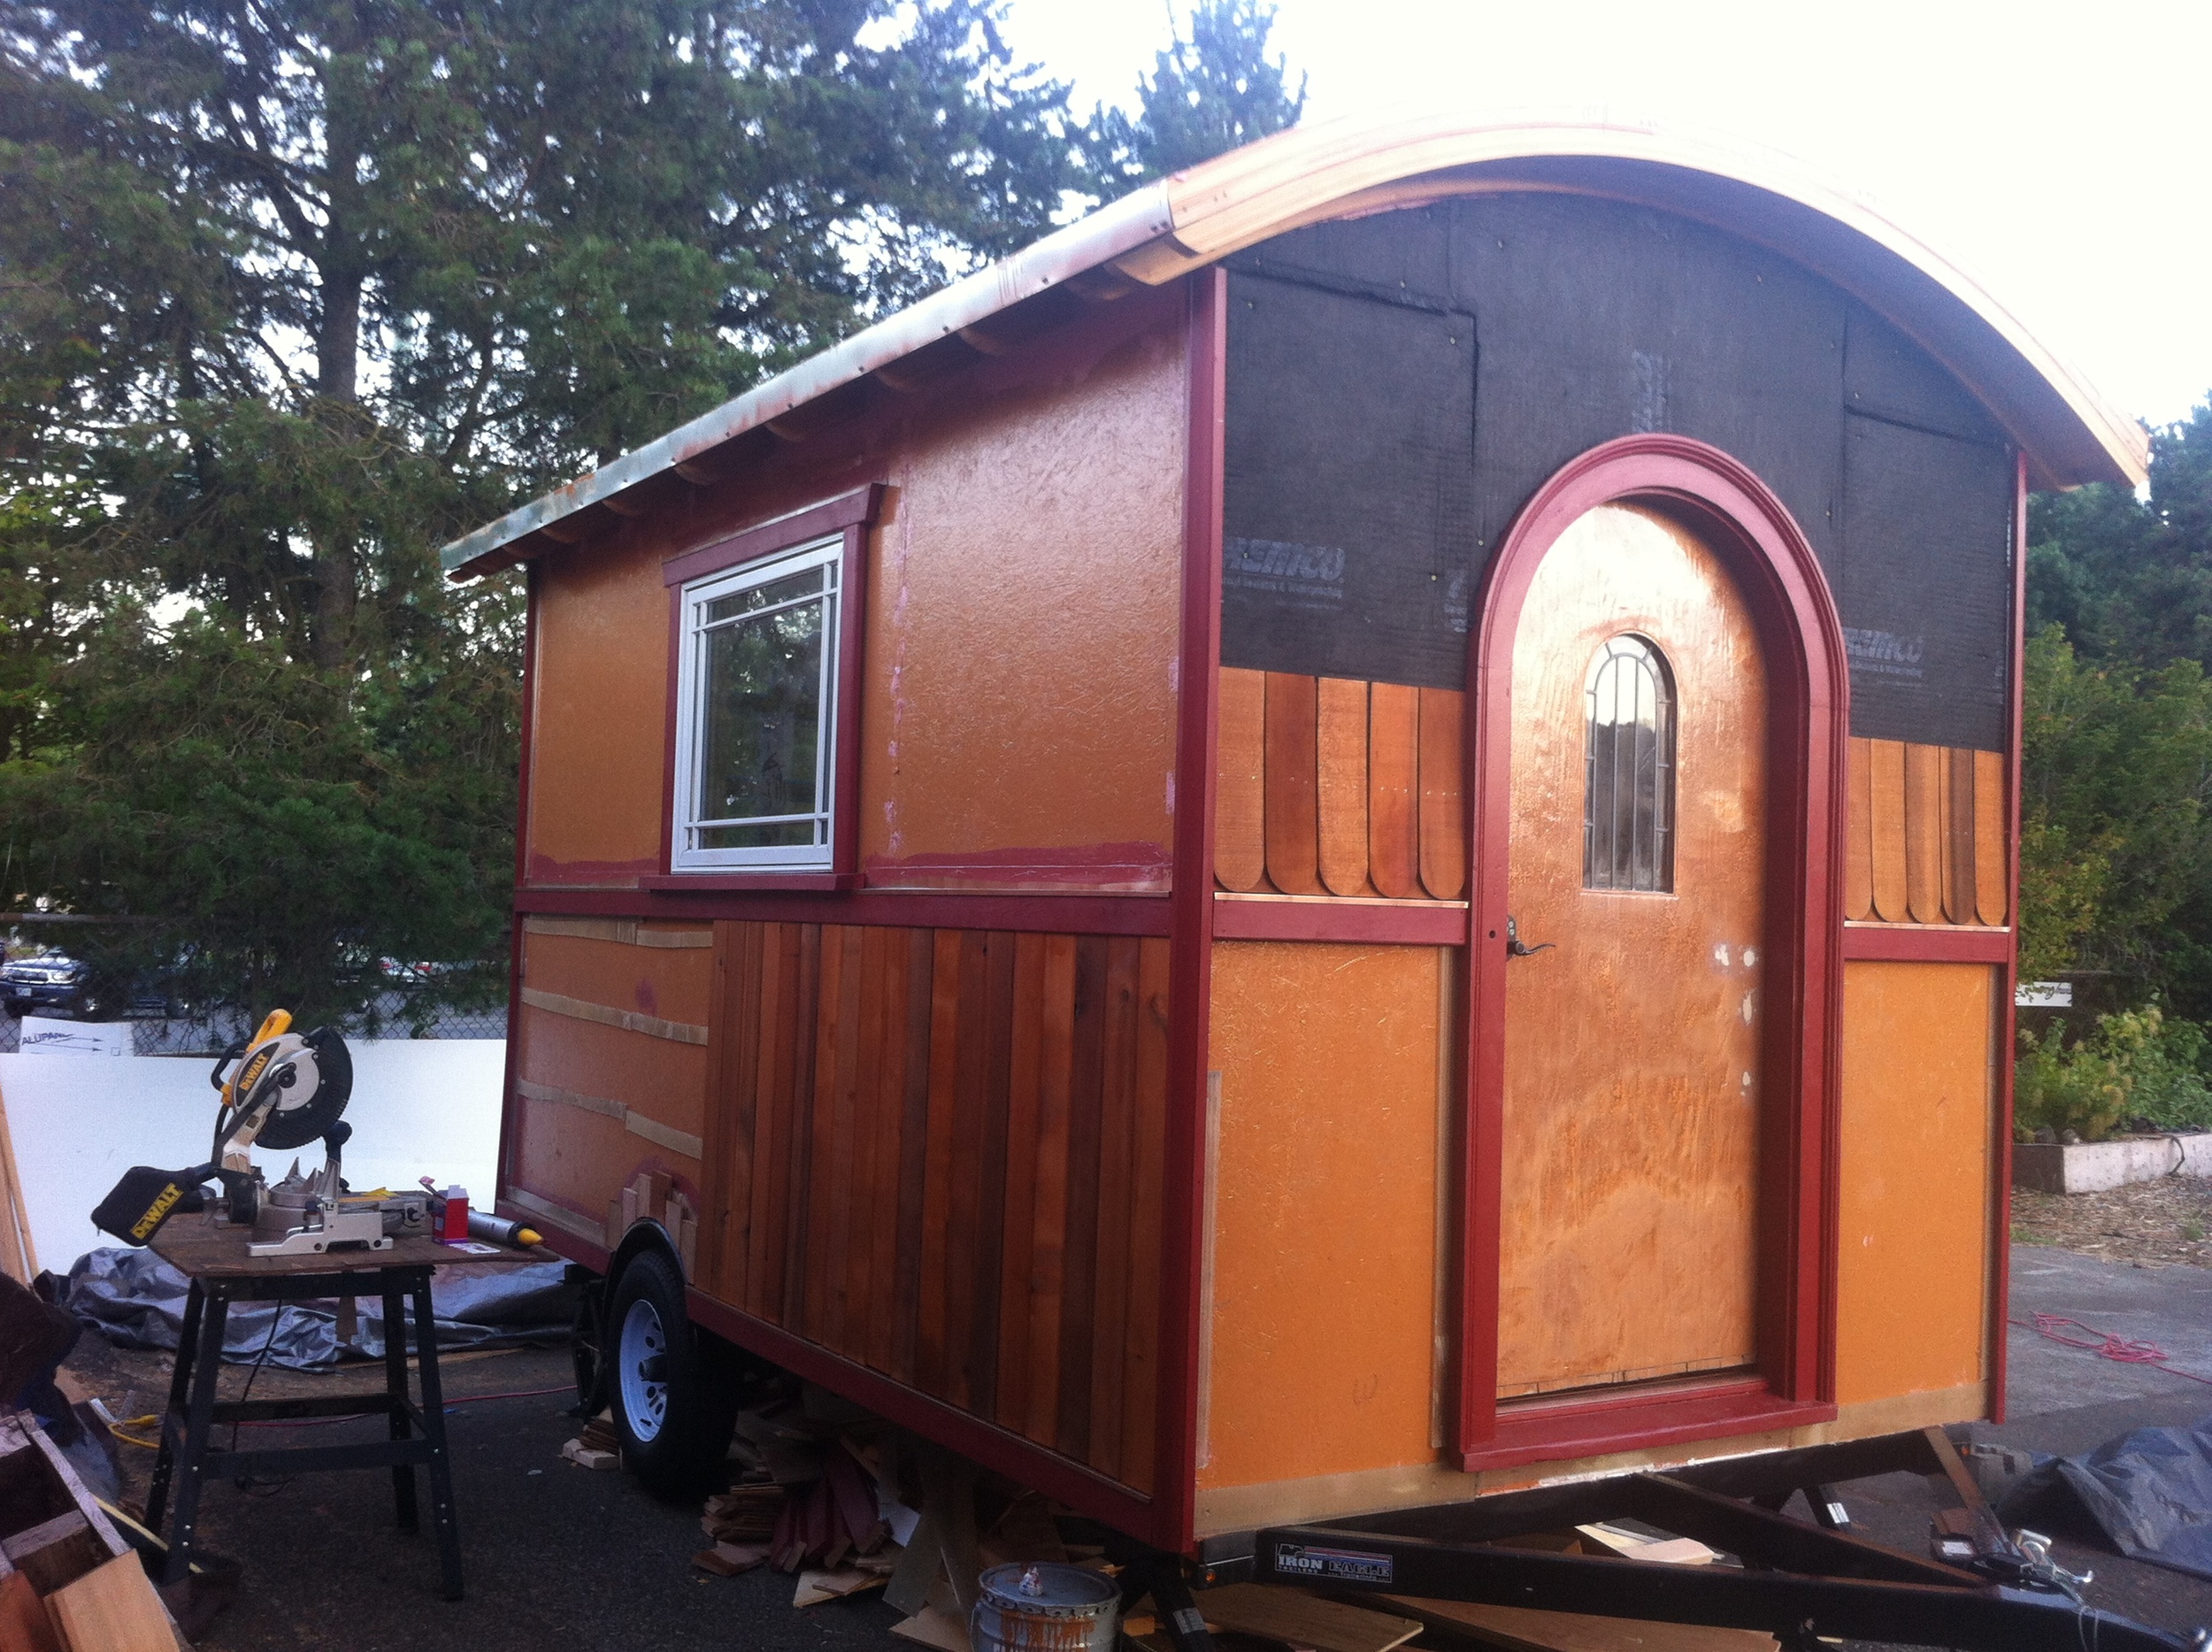
As evening wore on, Laura and Julie helped me stain the cedar shingles and I got the first shingles up. I’m delighted. My house is so darn cute I can hardly stand it!
Tiny House Window Installation
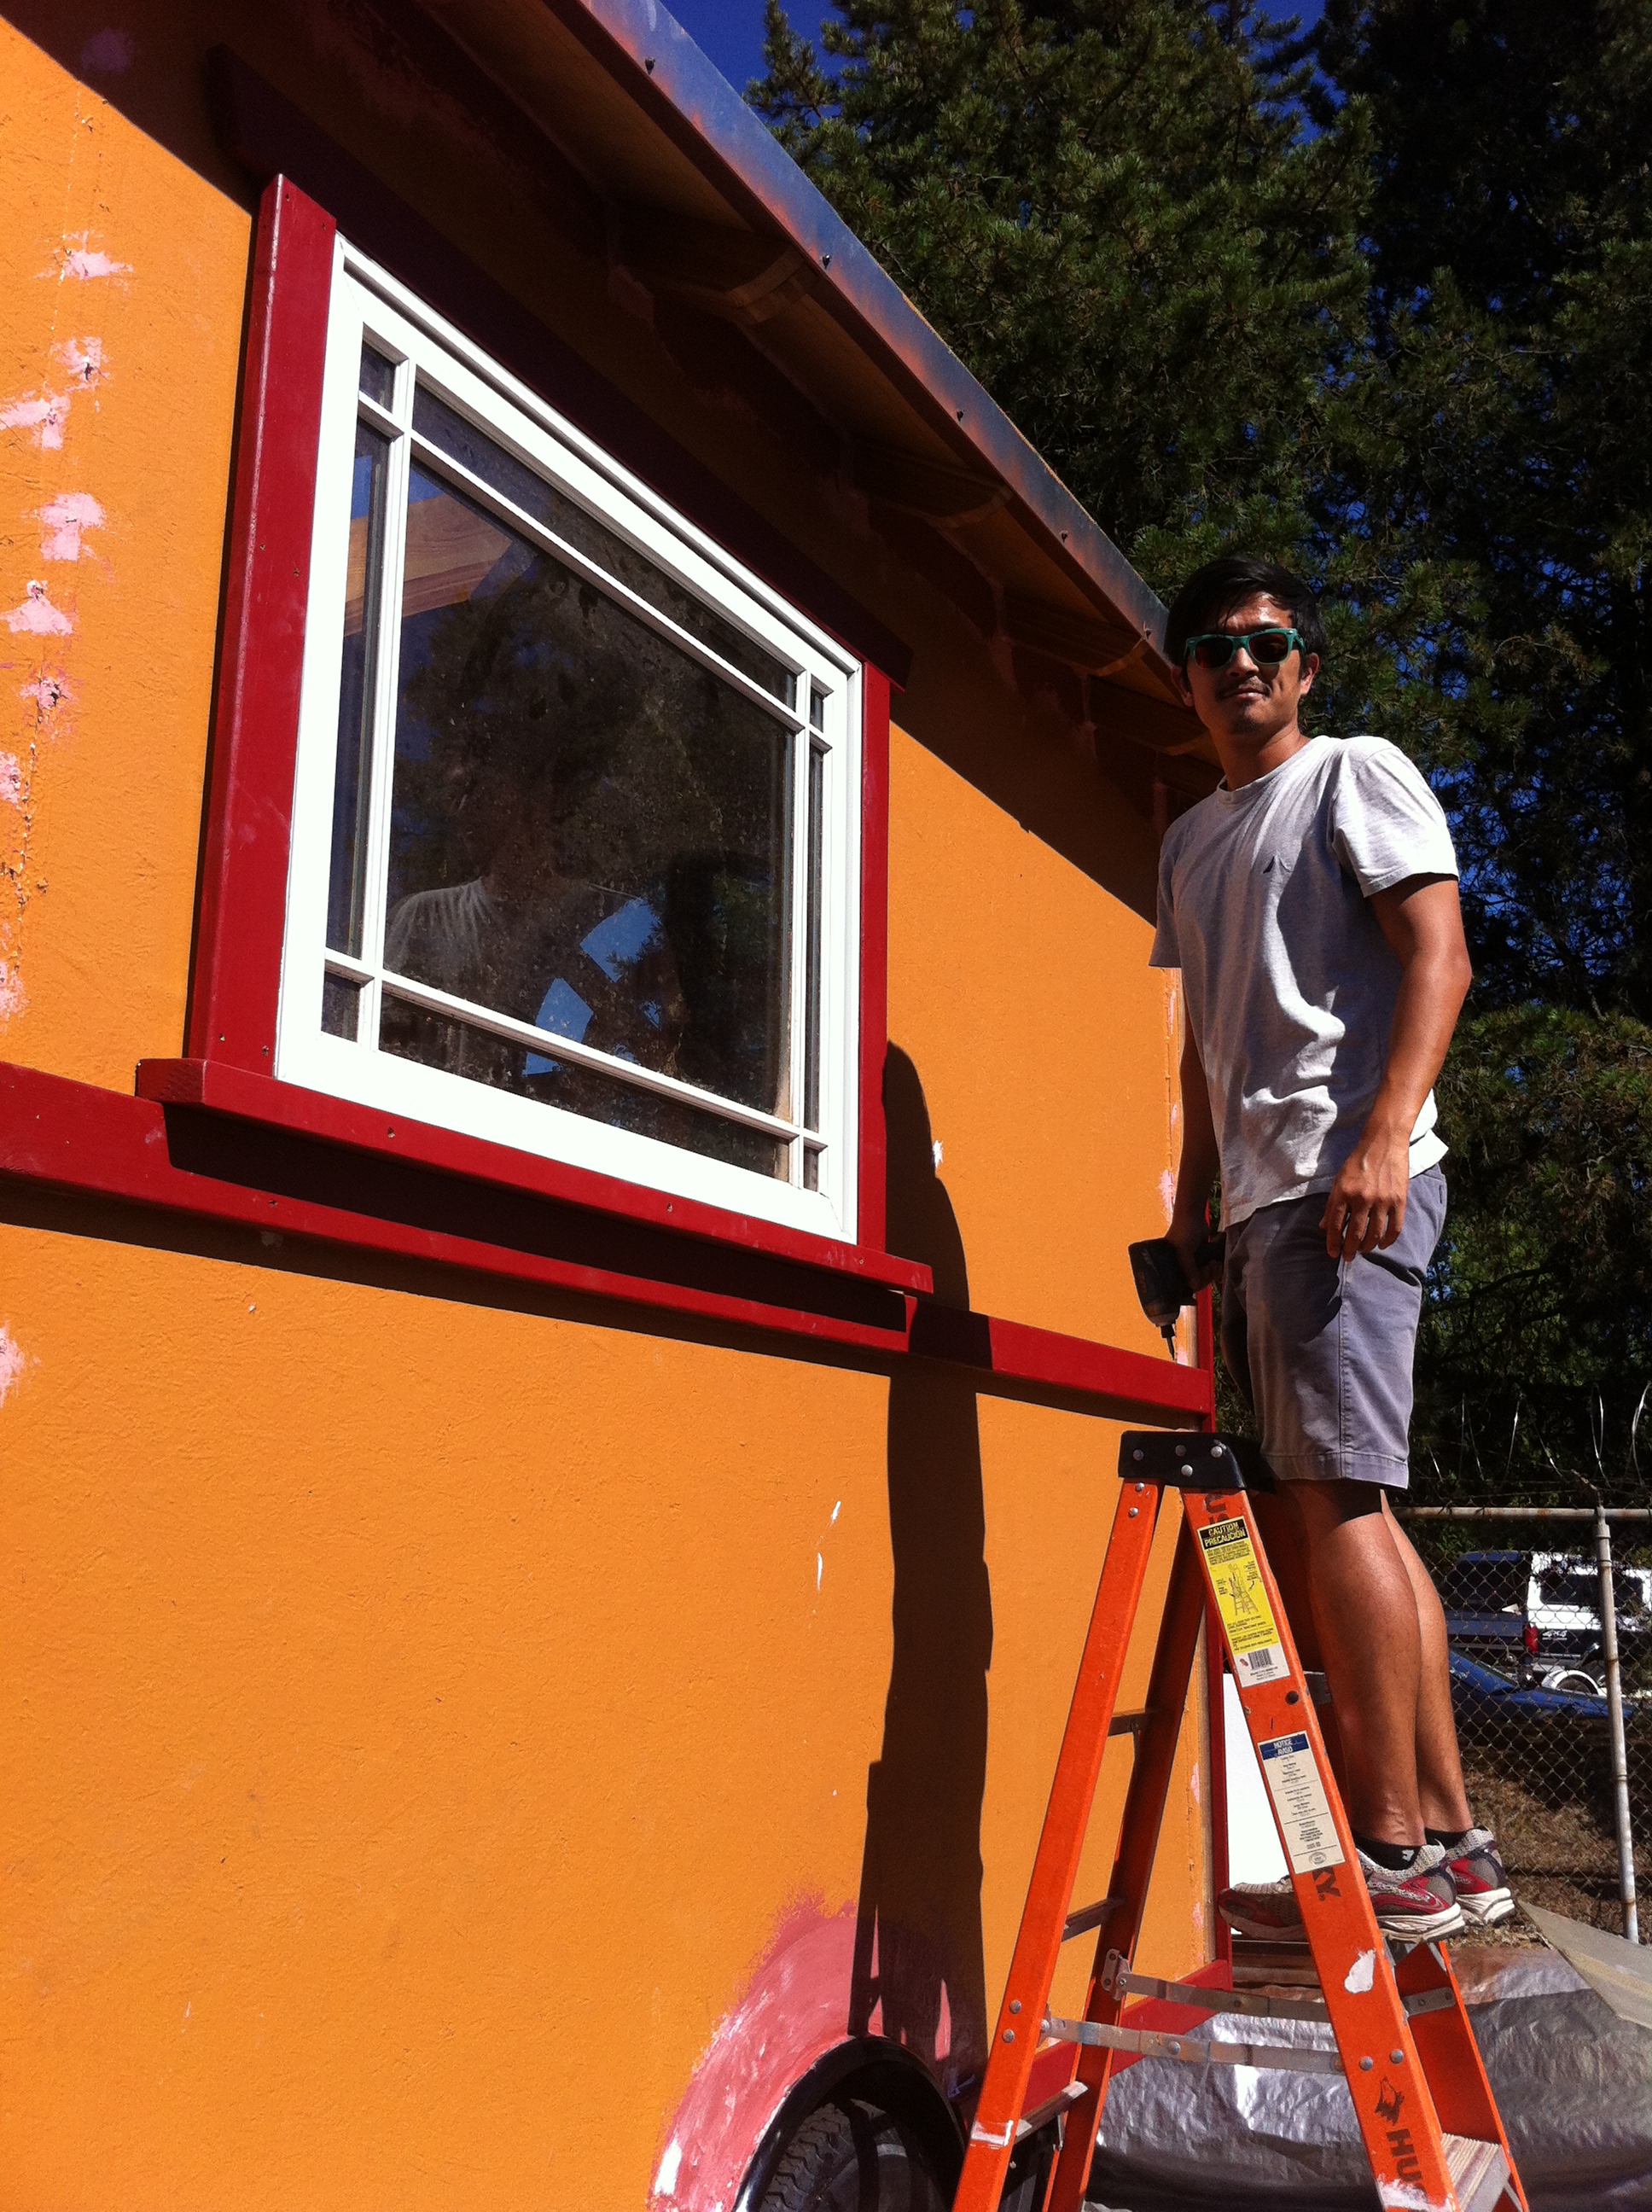
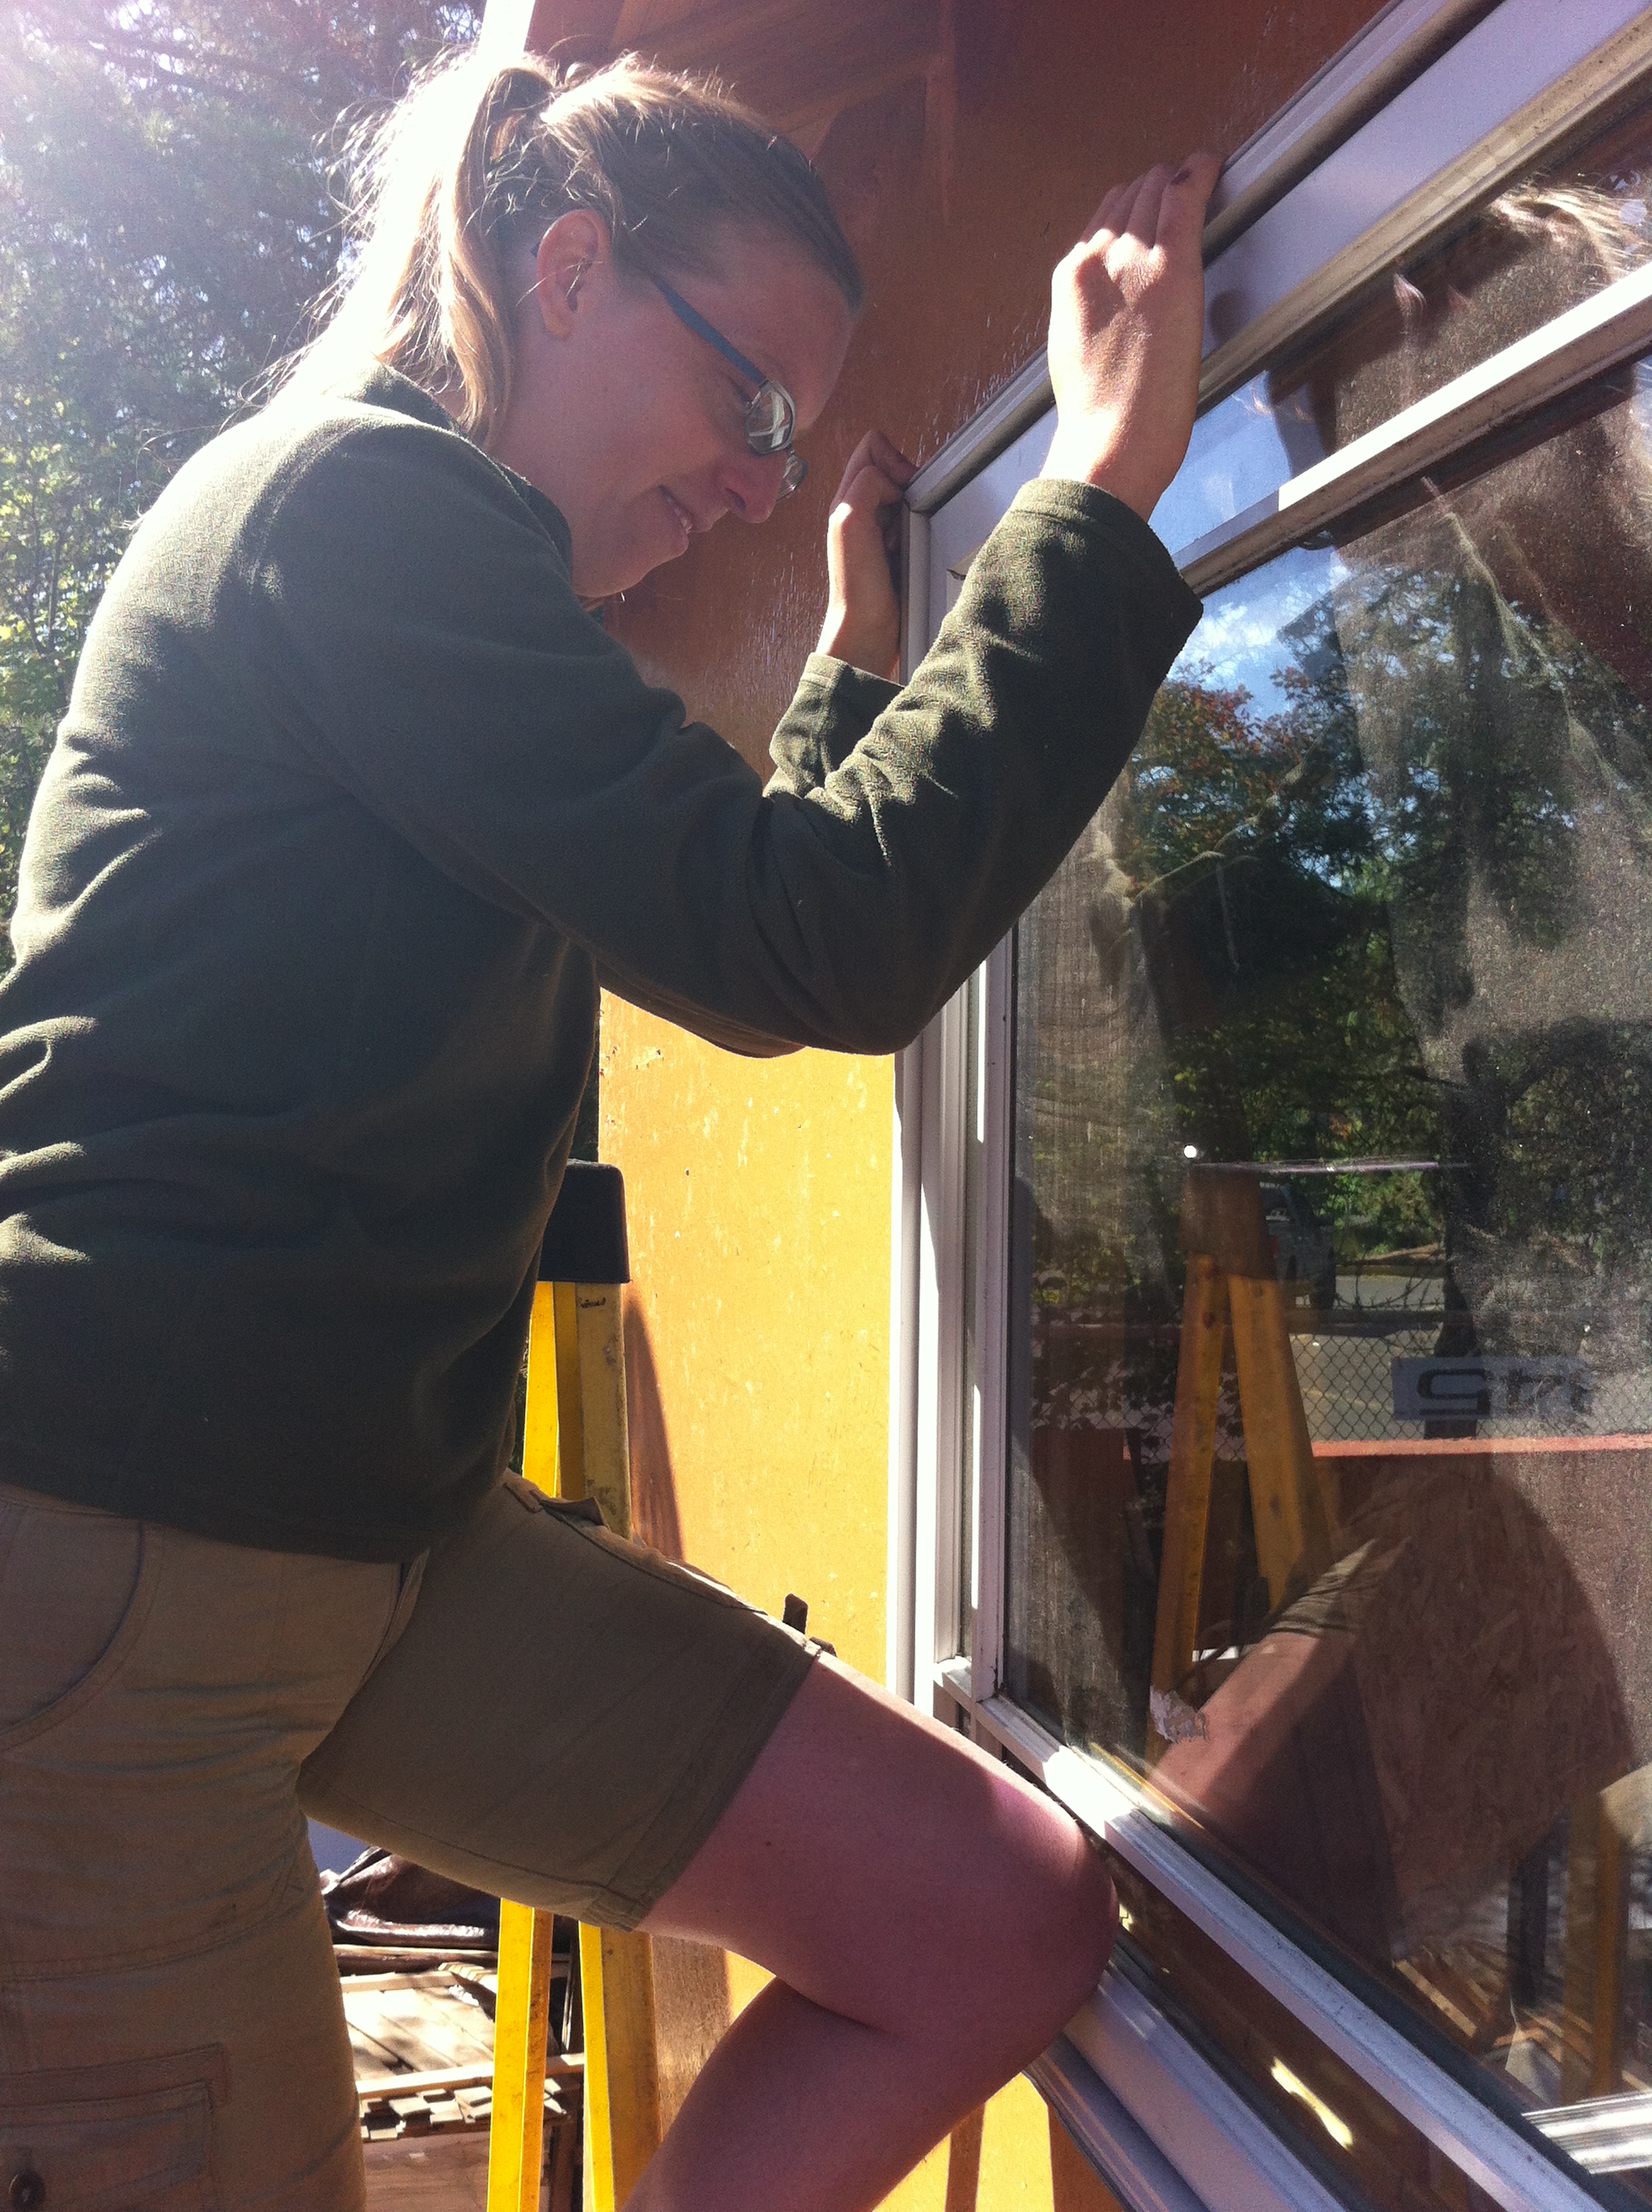
 On Monday we finished Sheathing My Vardo Roof with a great crew of Tiny House Helpers. Yesterday we turned to window installation and I had the two perfect helpers: my build buddy Laura Klement who has installed dozens of windows through her role with Habitat for Humanity and Eric who is a cabinet maker with an eye for detail and great problem-solving skills.
I had picked up the supplies I’d need from Atlas Supply the day before: backer rod, AirDam from Prosoco’s R-Guard System, and a spatula for tooling. Cody Hakala at Atlas is very knowledgeable and familiar with the R-Guard system as well as other liquid-applied air barrier systems.
The next step was removing the shims and inserting backer rod into the space between the window and the frame. We put the join at the top because it’s the weakest point in the system and water will collect at the bottom instead of the top. We used the fat side of a shim to push the backer rod ½” back from the interior wall surface.
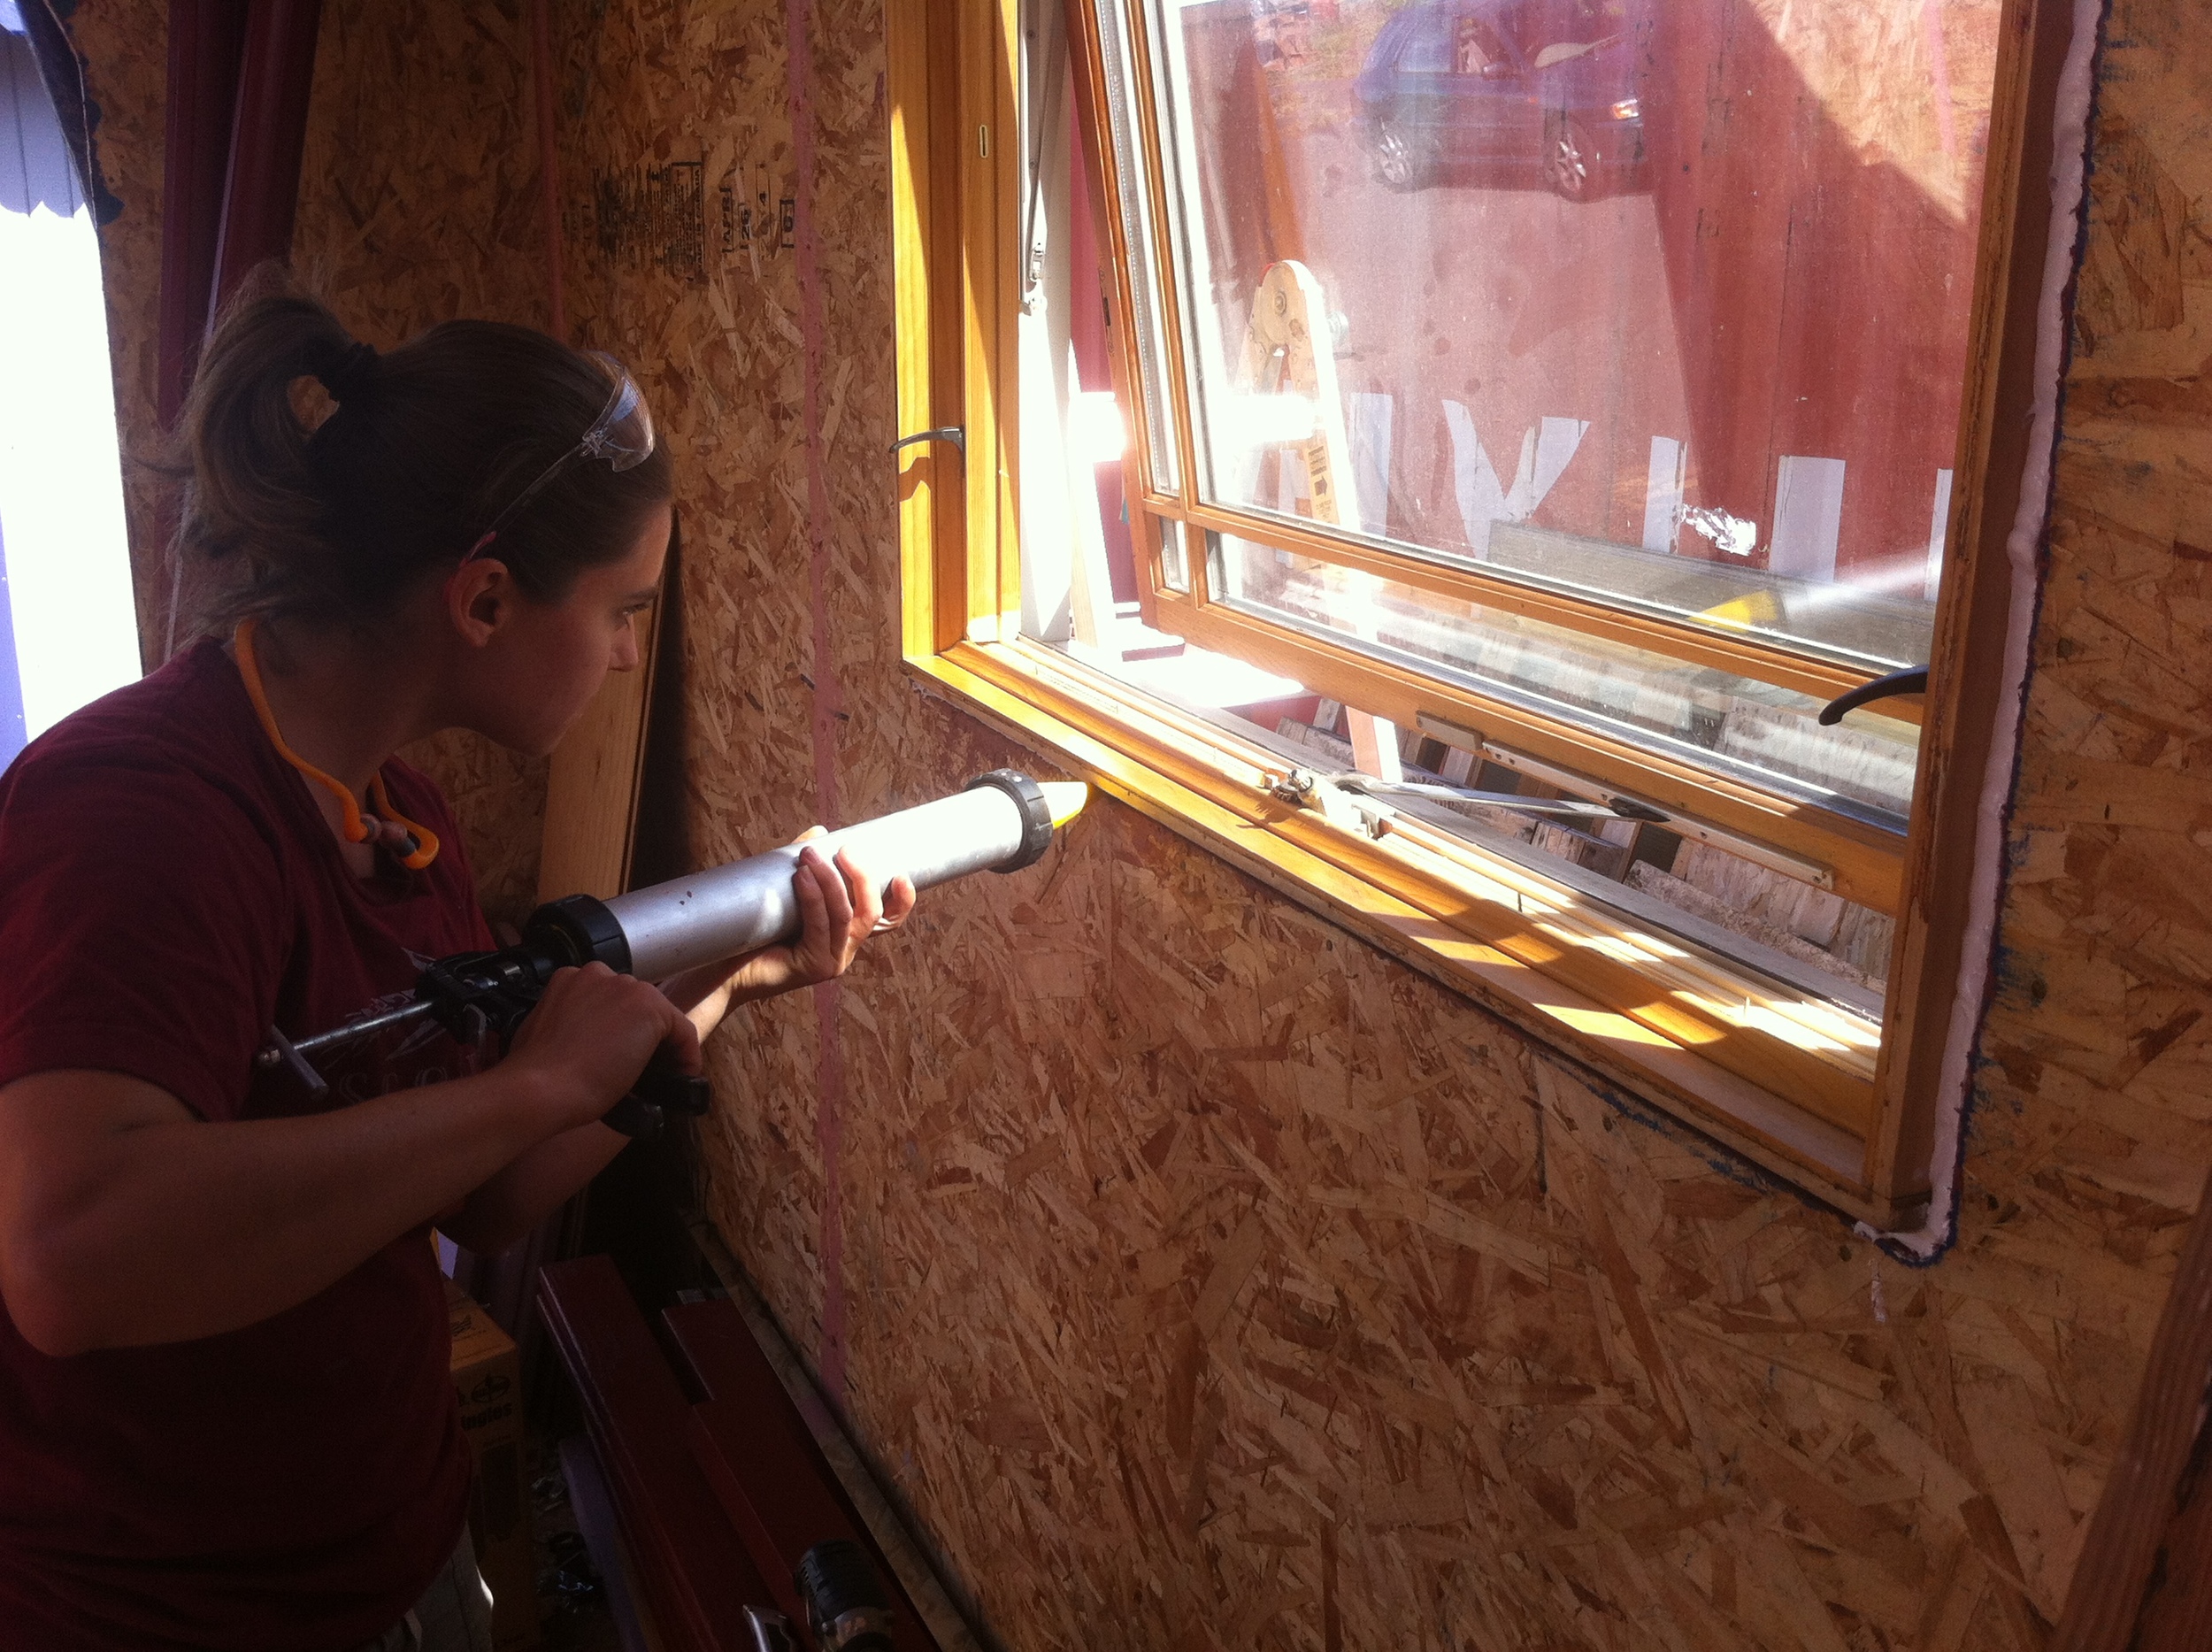
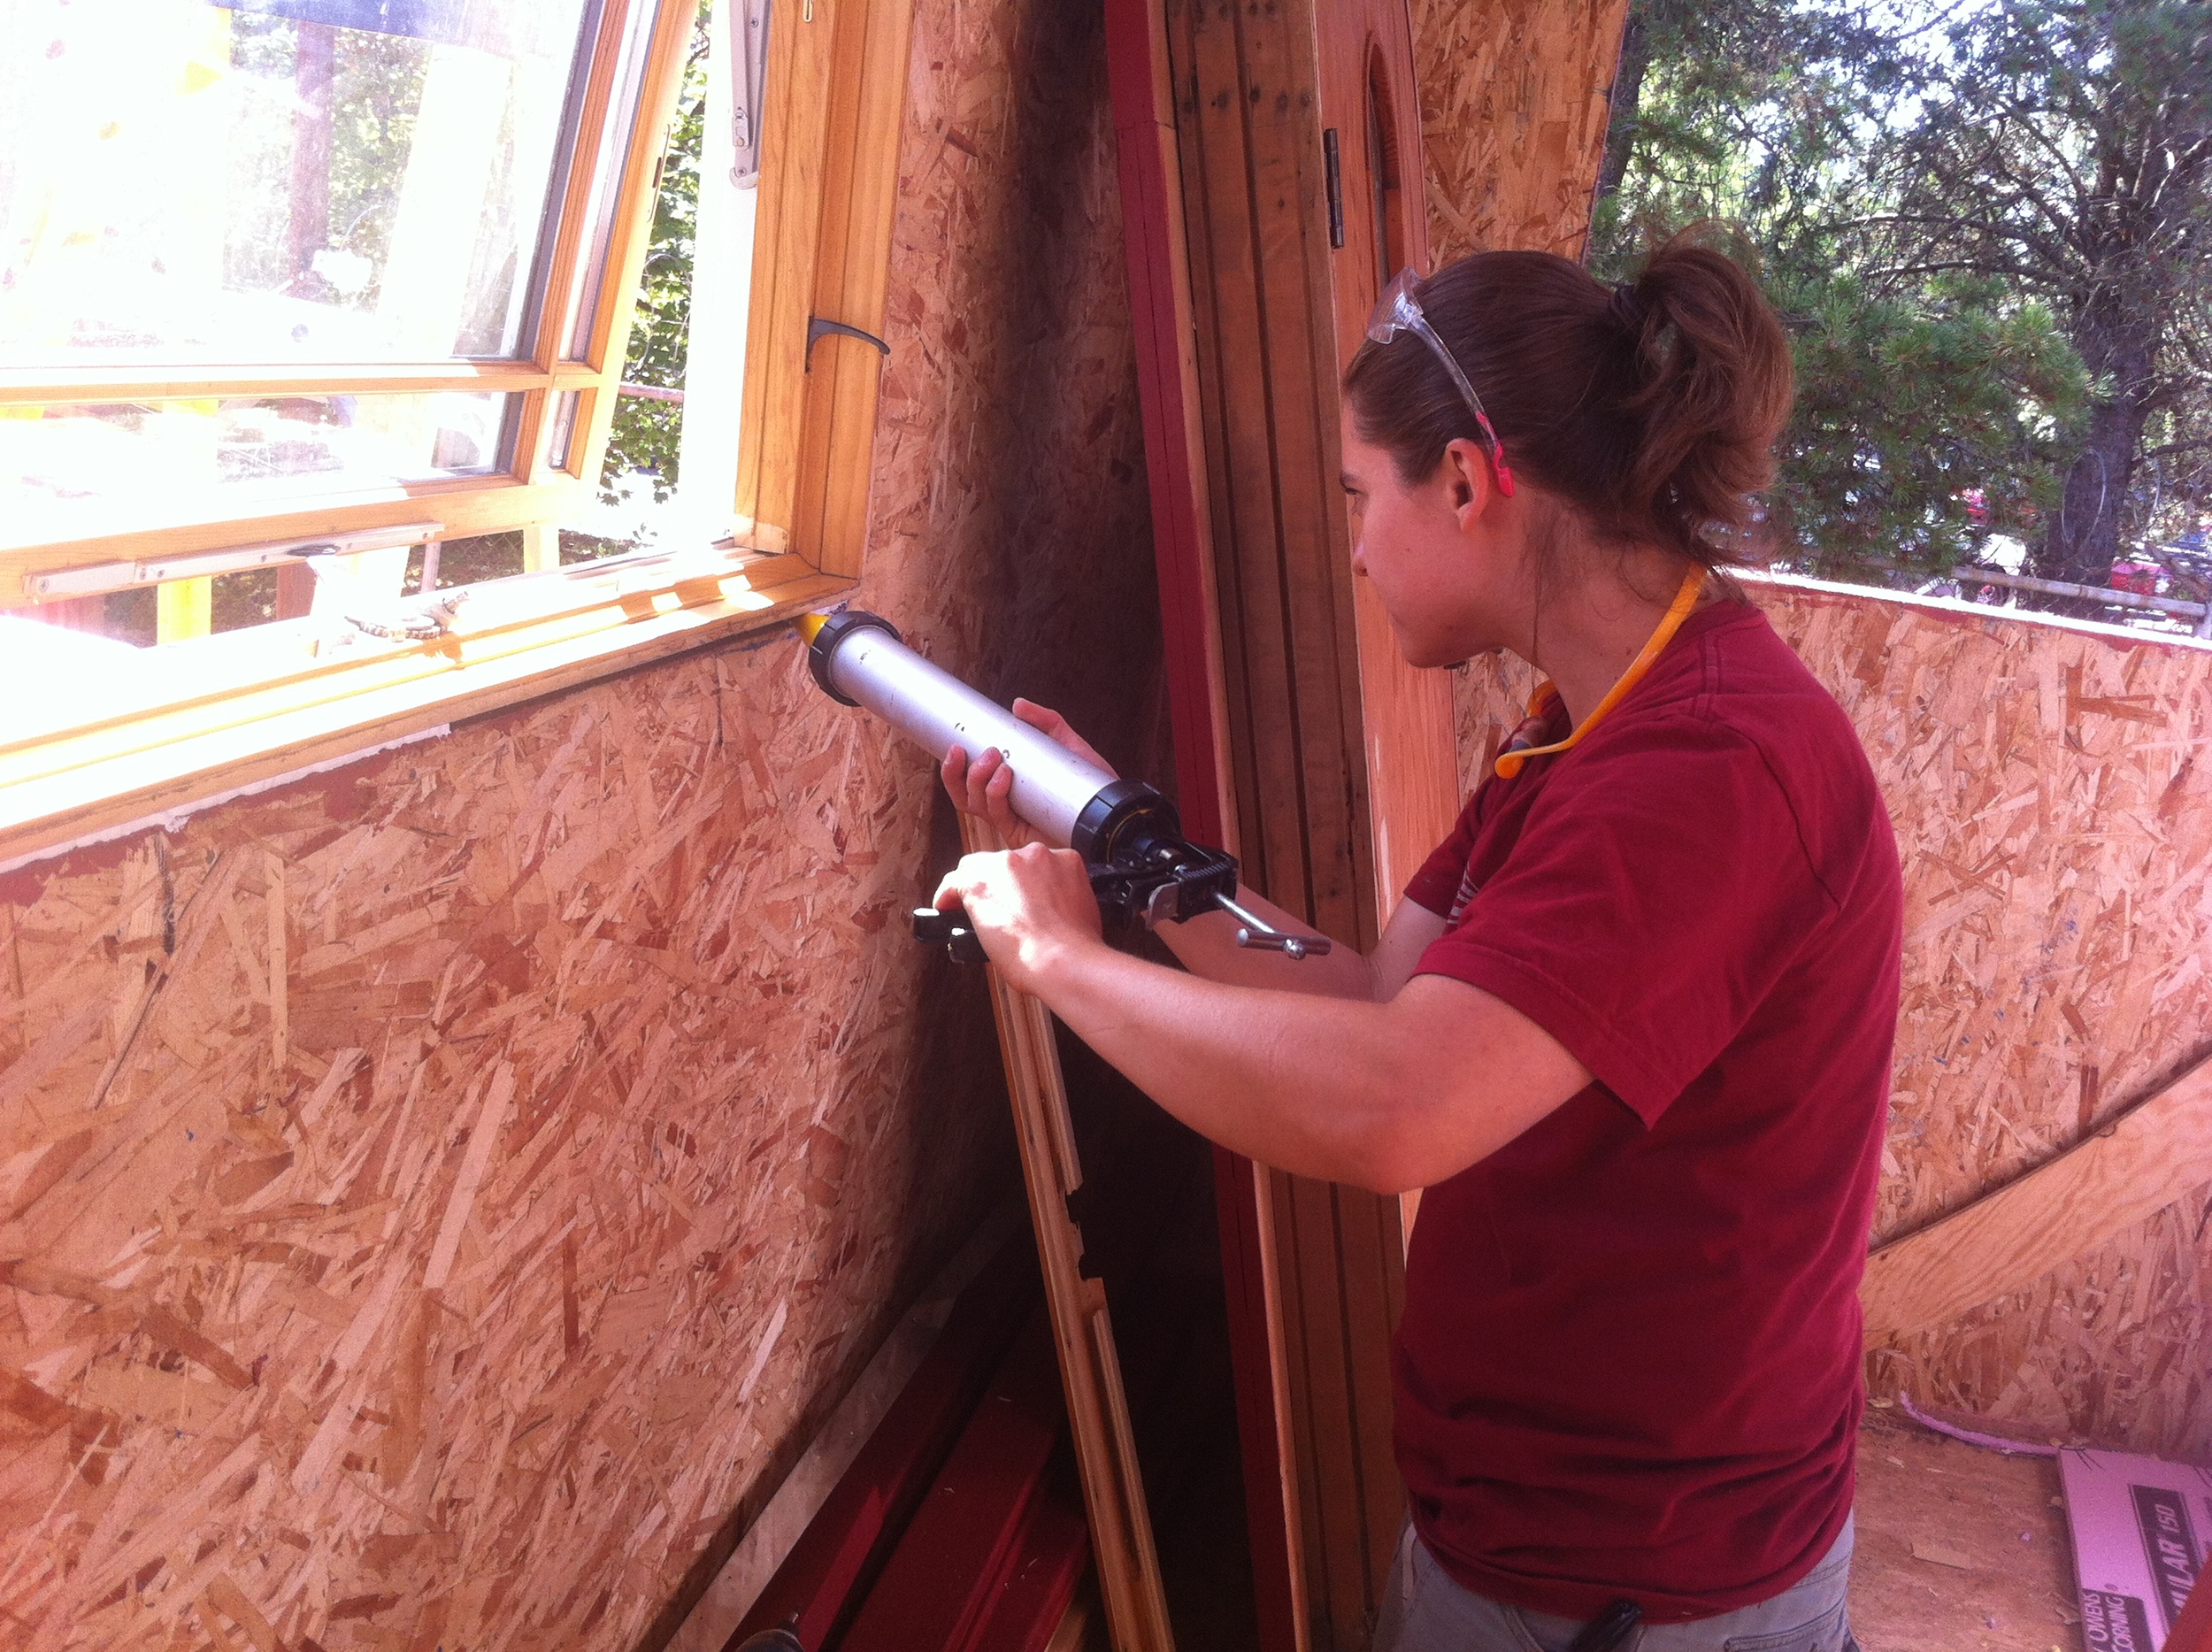
Next we applied a continuous bead of AirDam around the window and tooled it to create an hourglass shape. Voila! A window installed.
(By the way, each of the R-Guard products has a distinct viscosity appropriate to it’s intended use. The Fast Flash reminds me of frosting. The AirDam is just like marshmallow cream!)
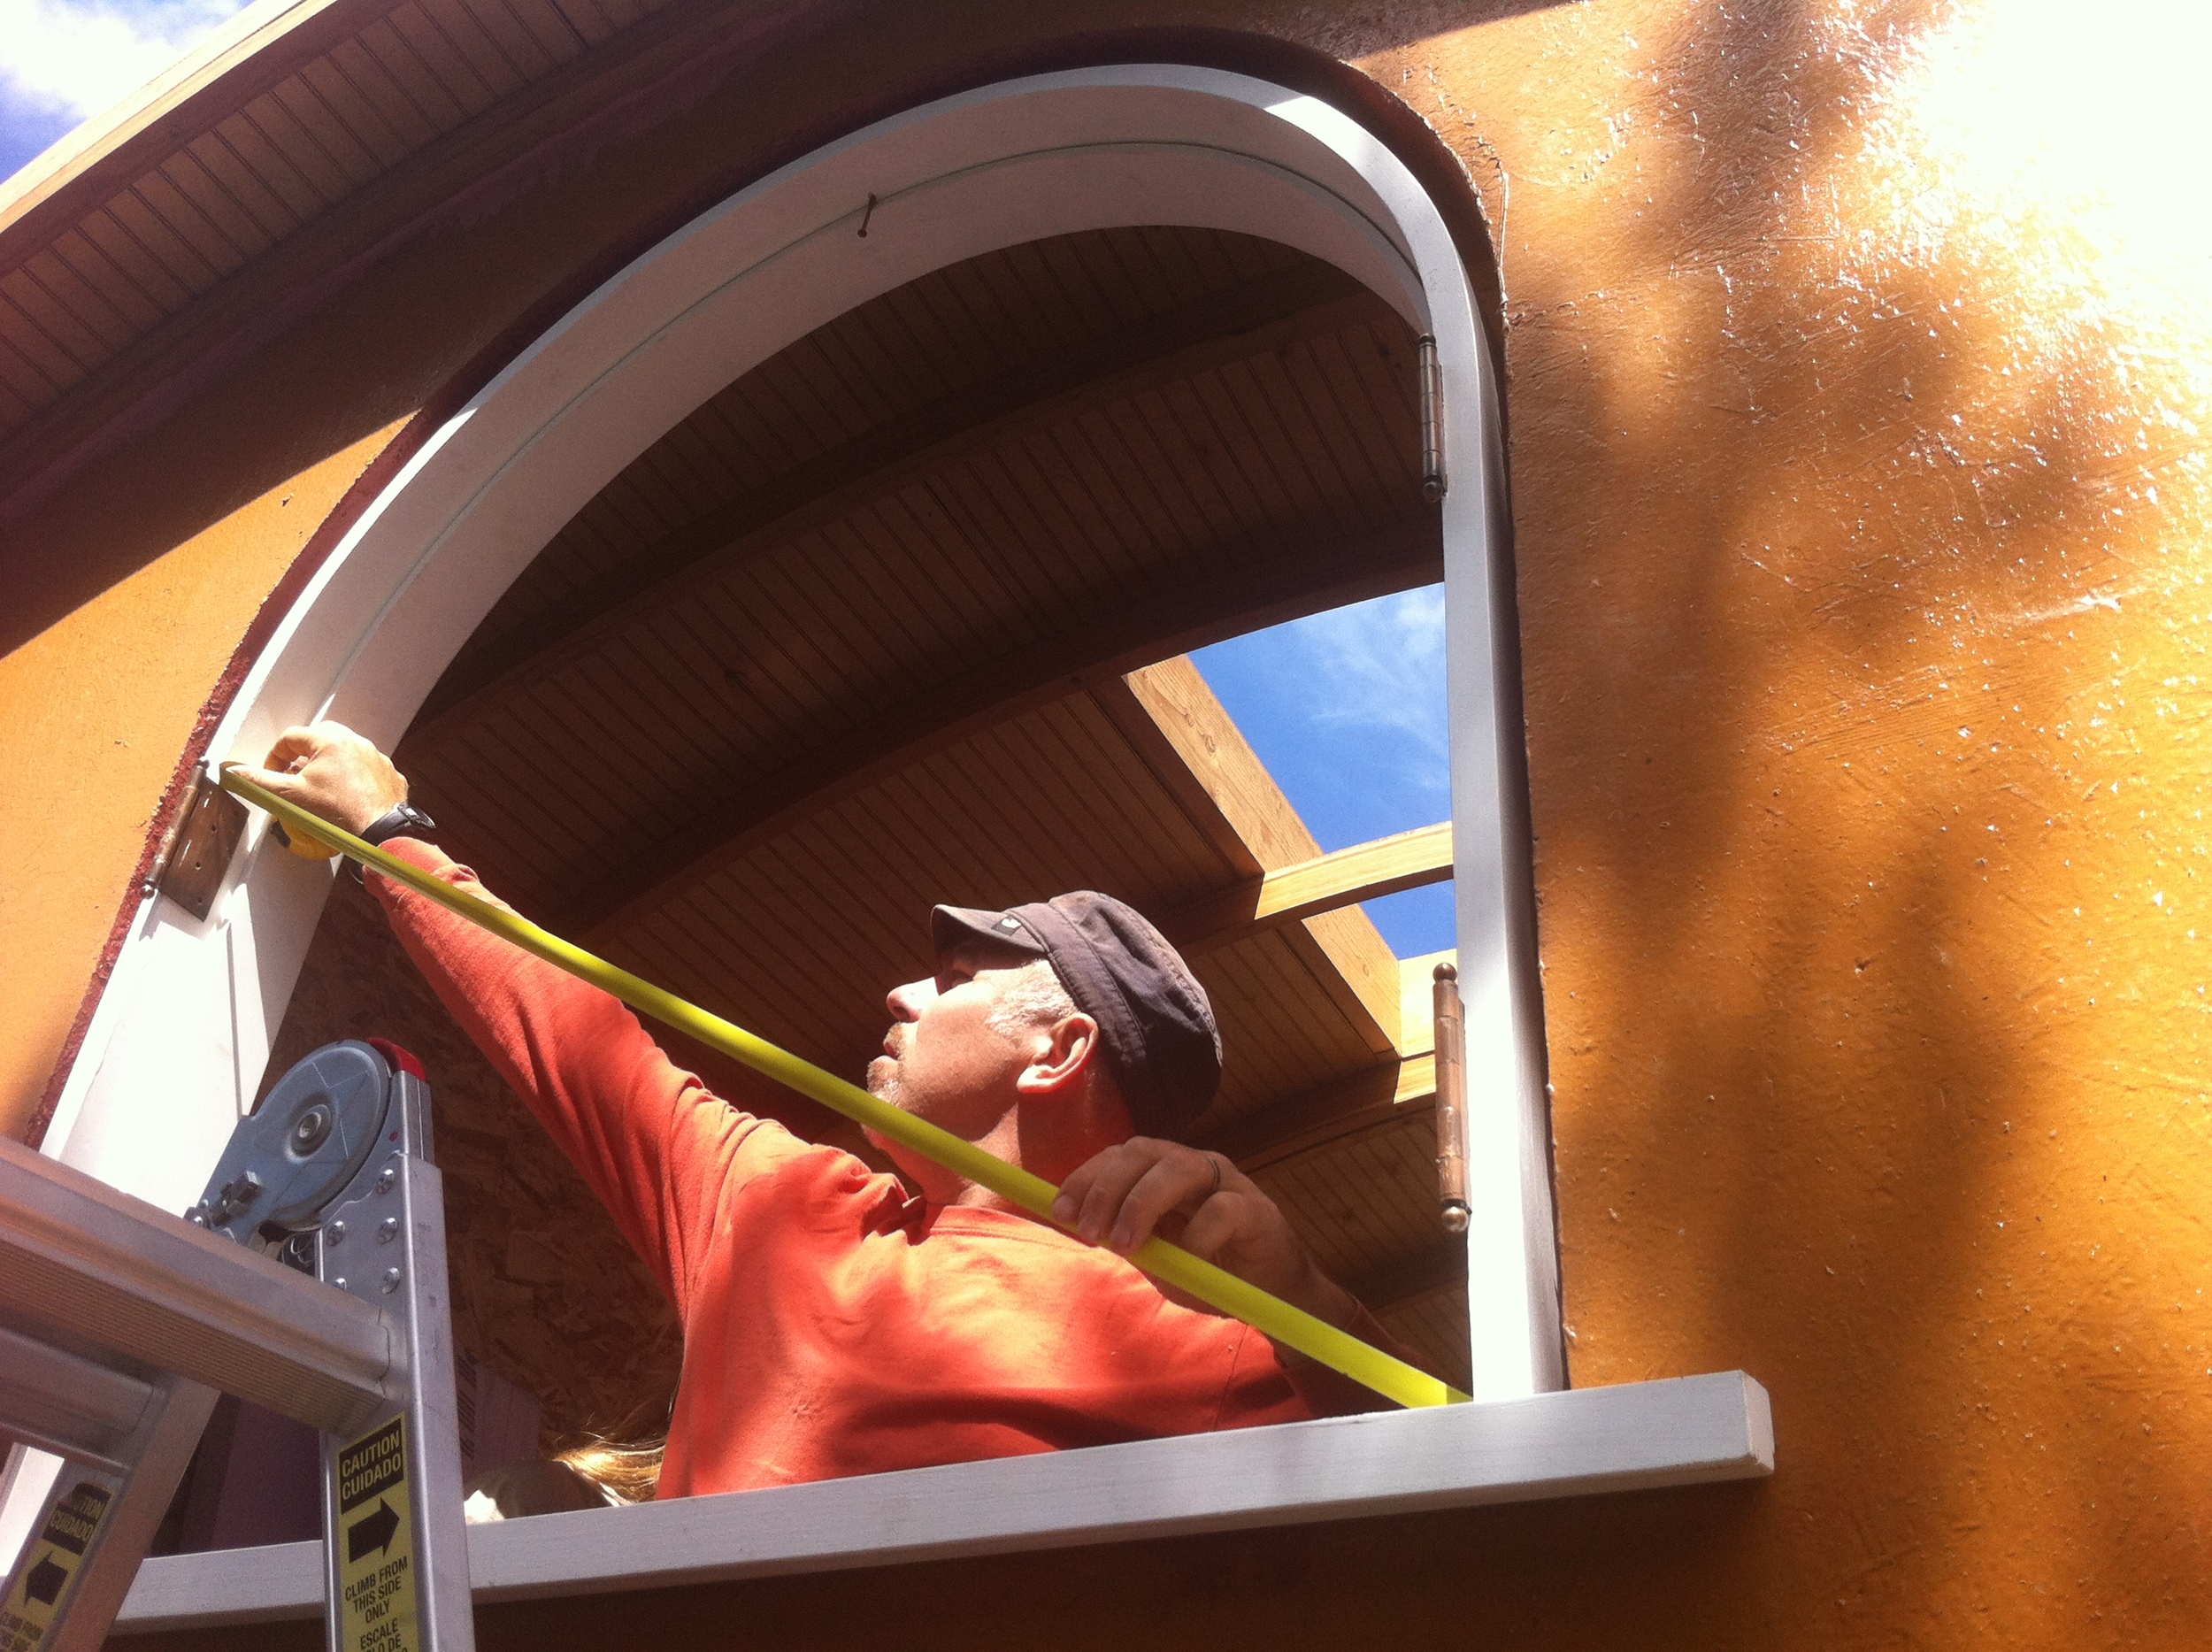
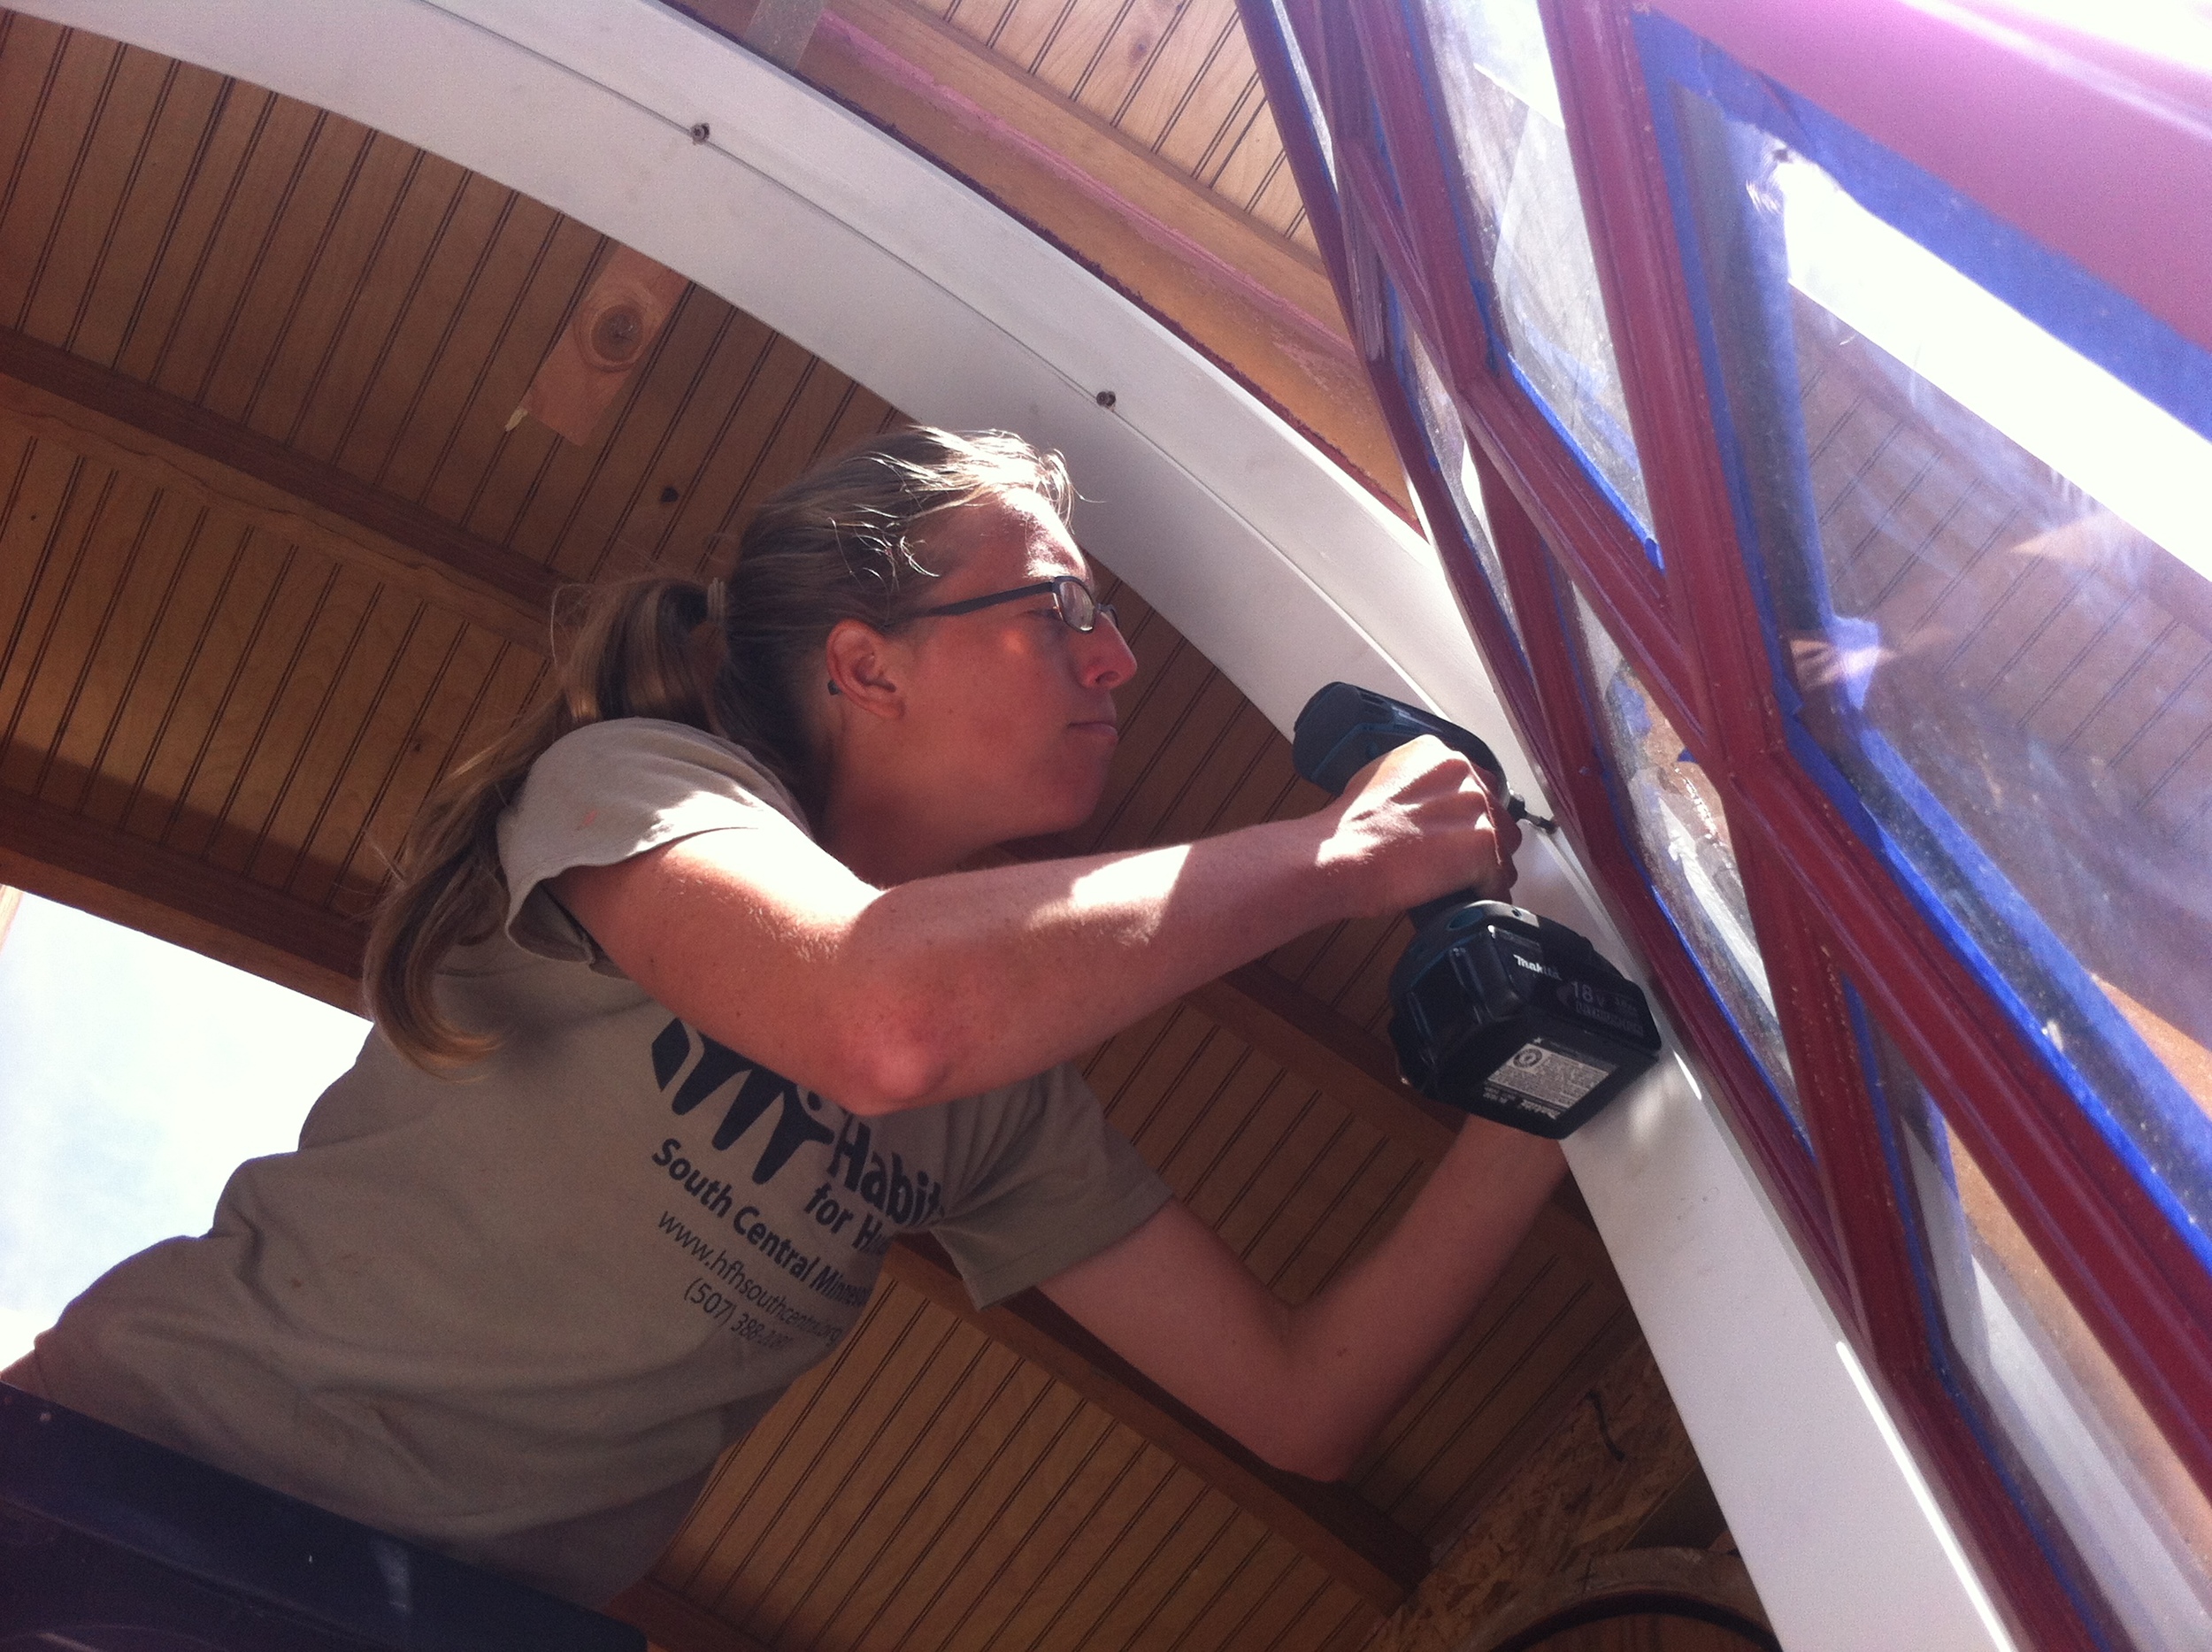
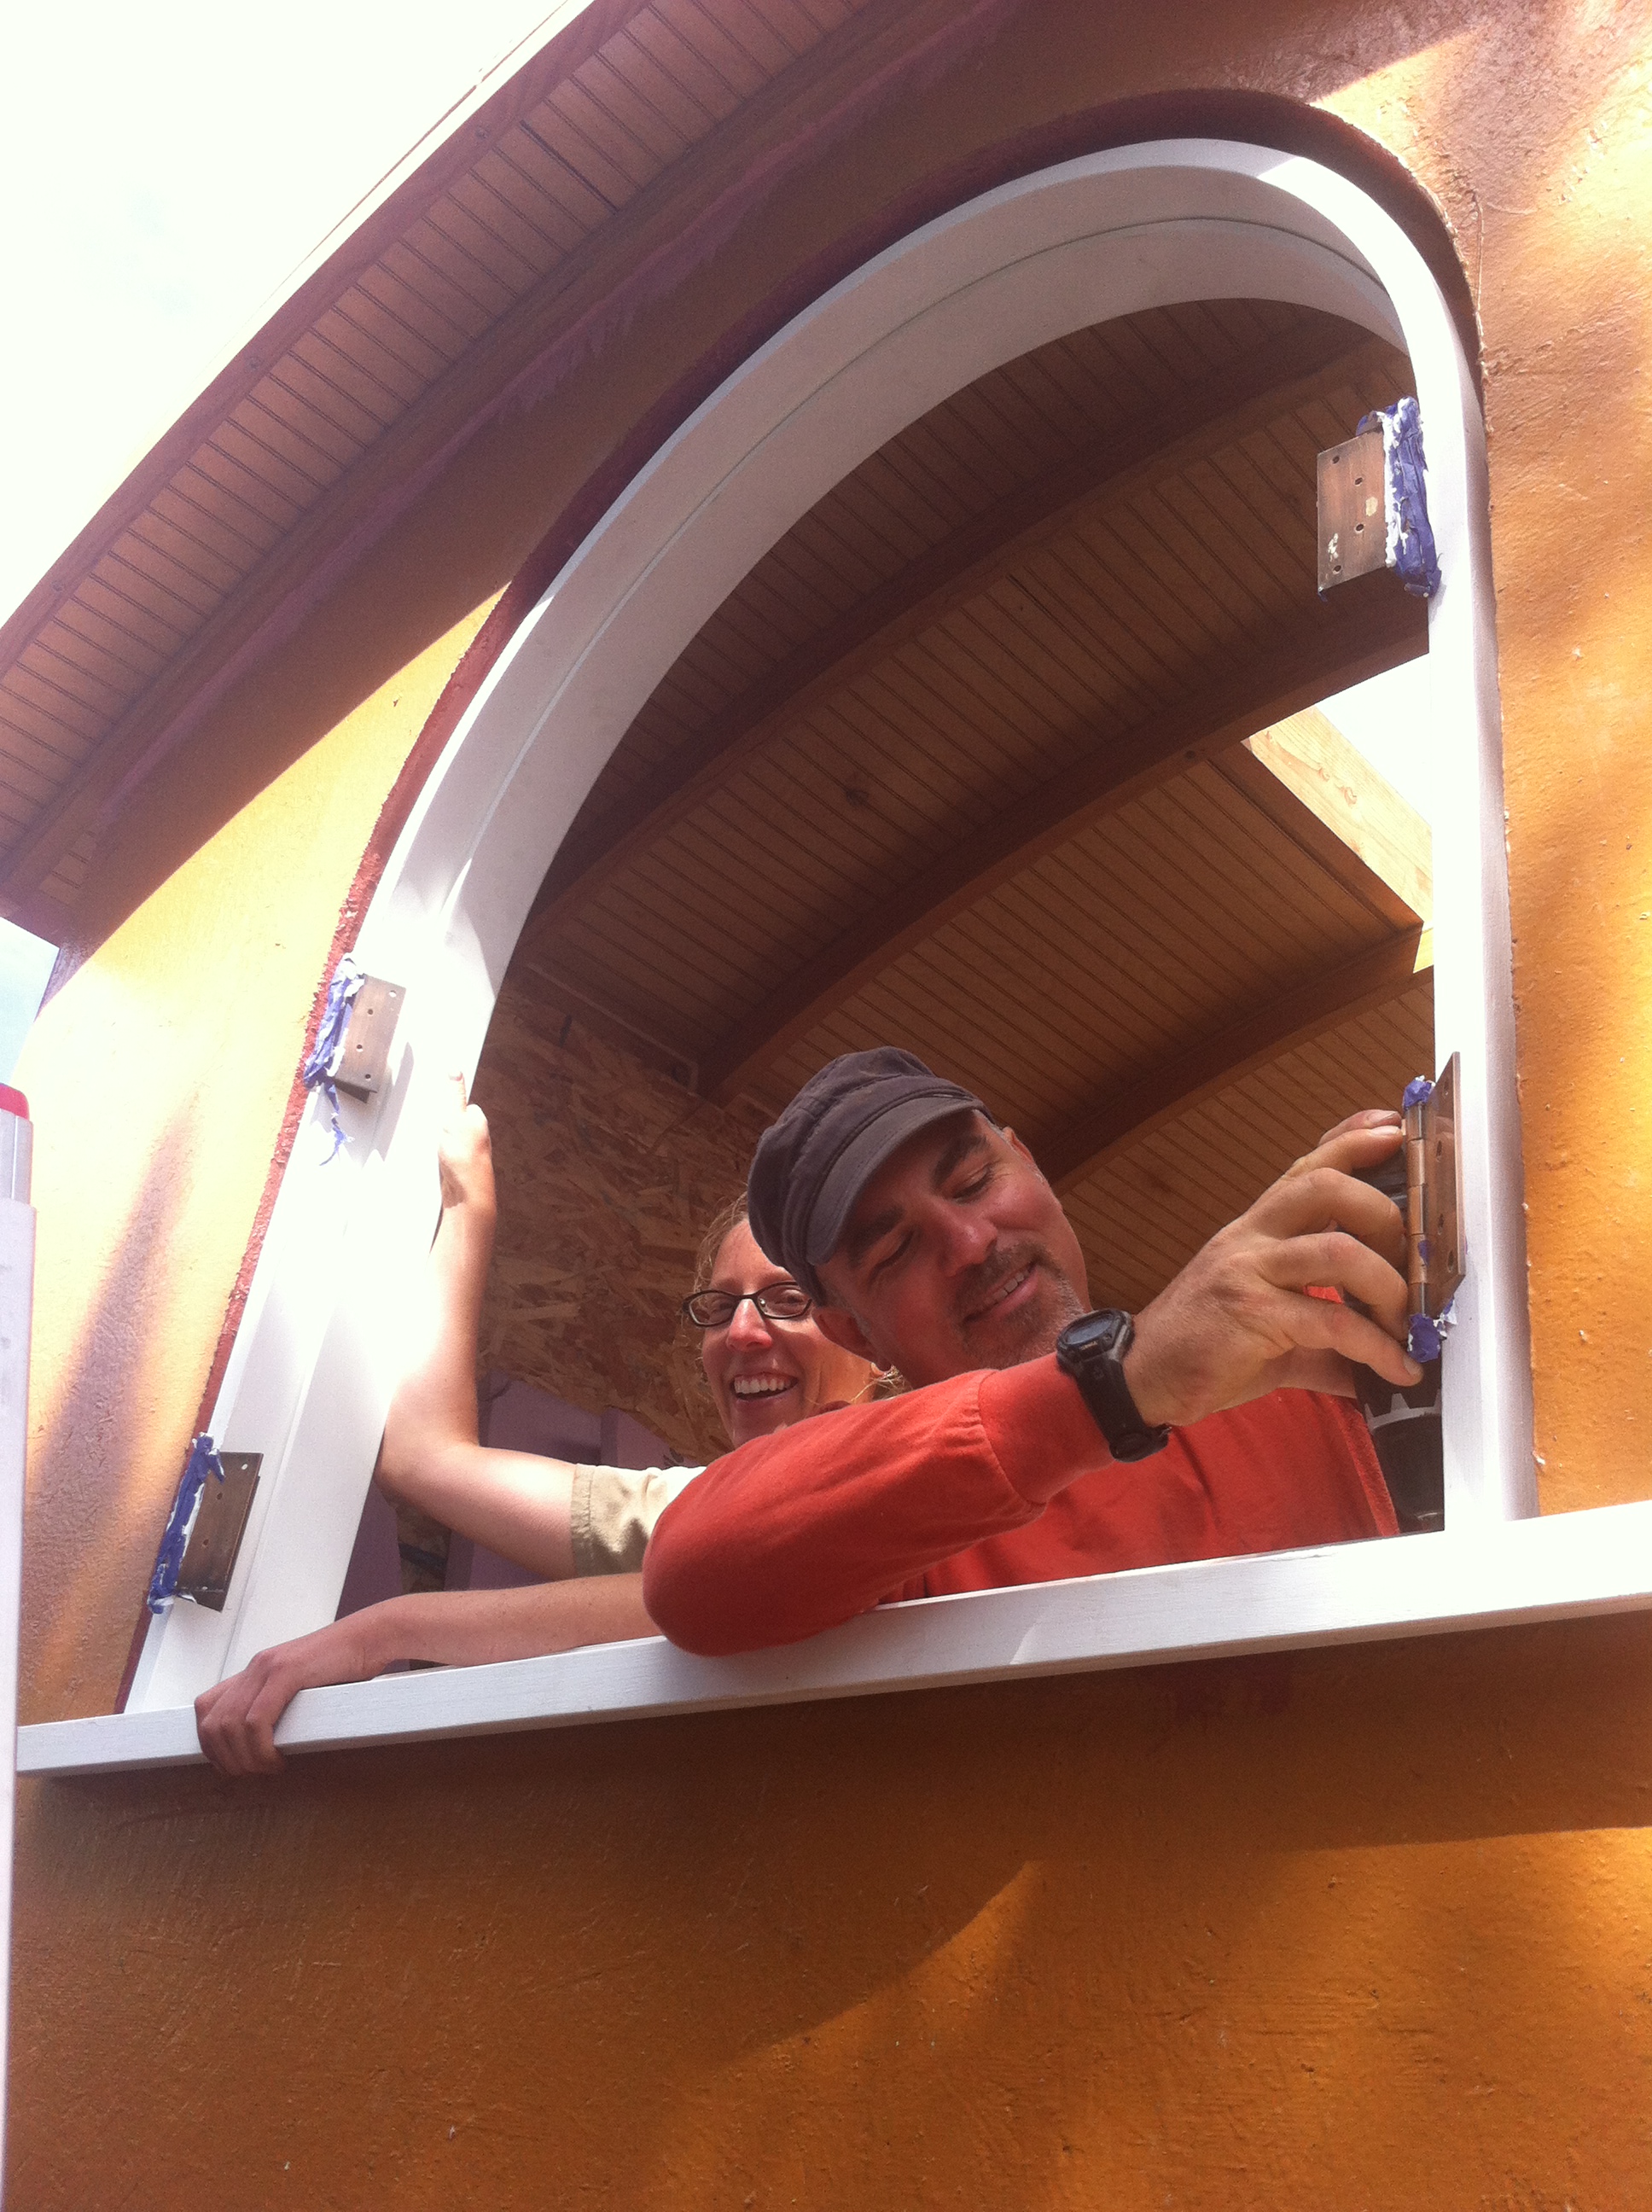
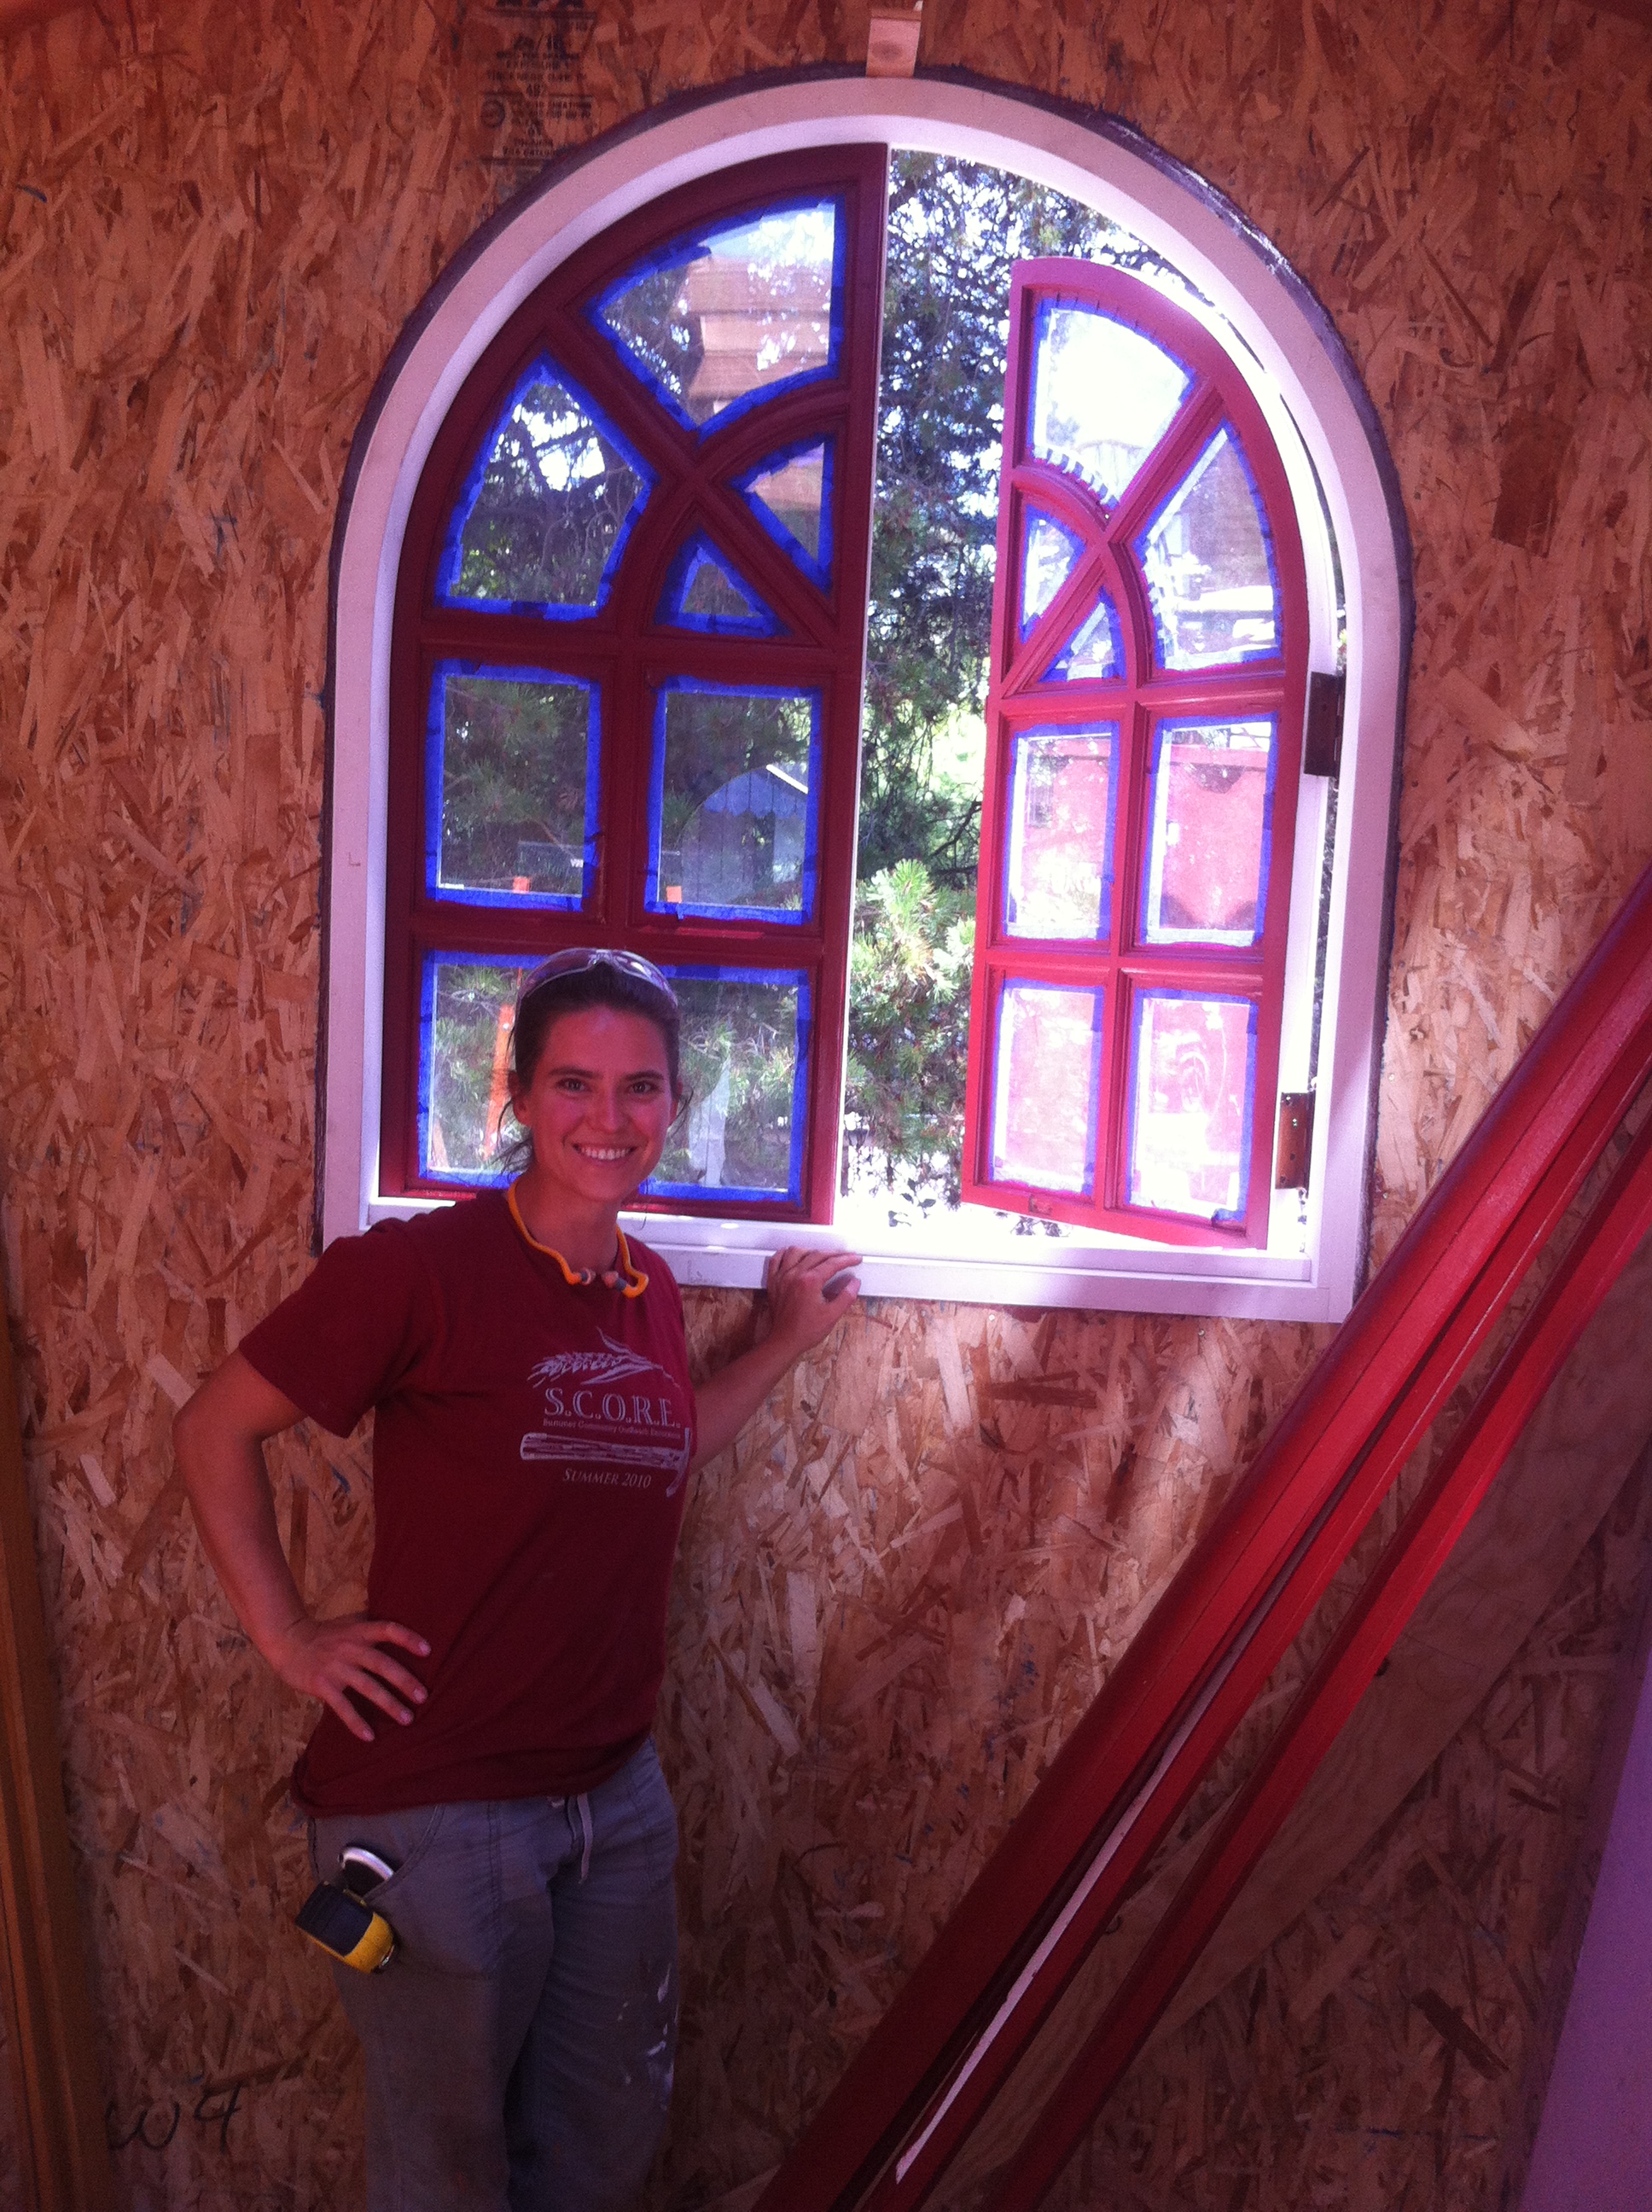
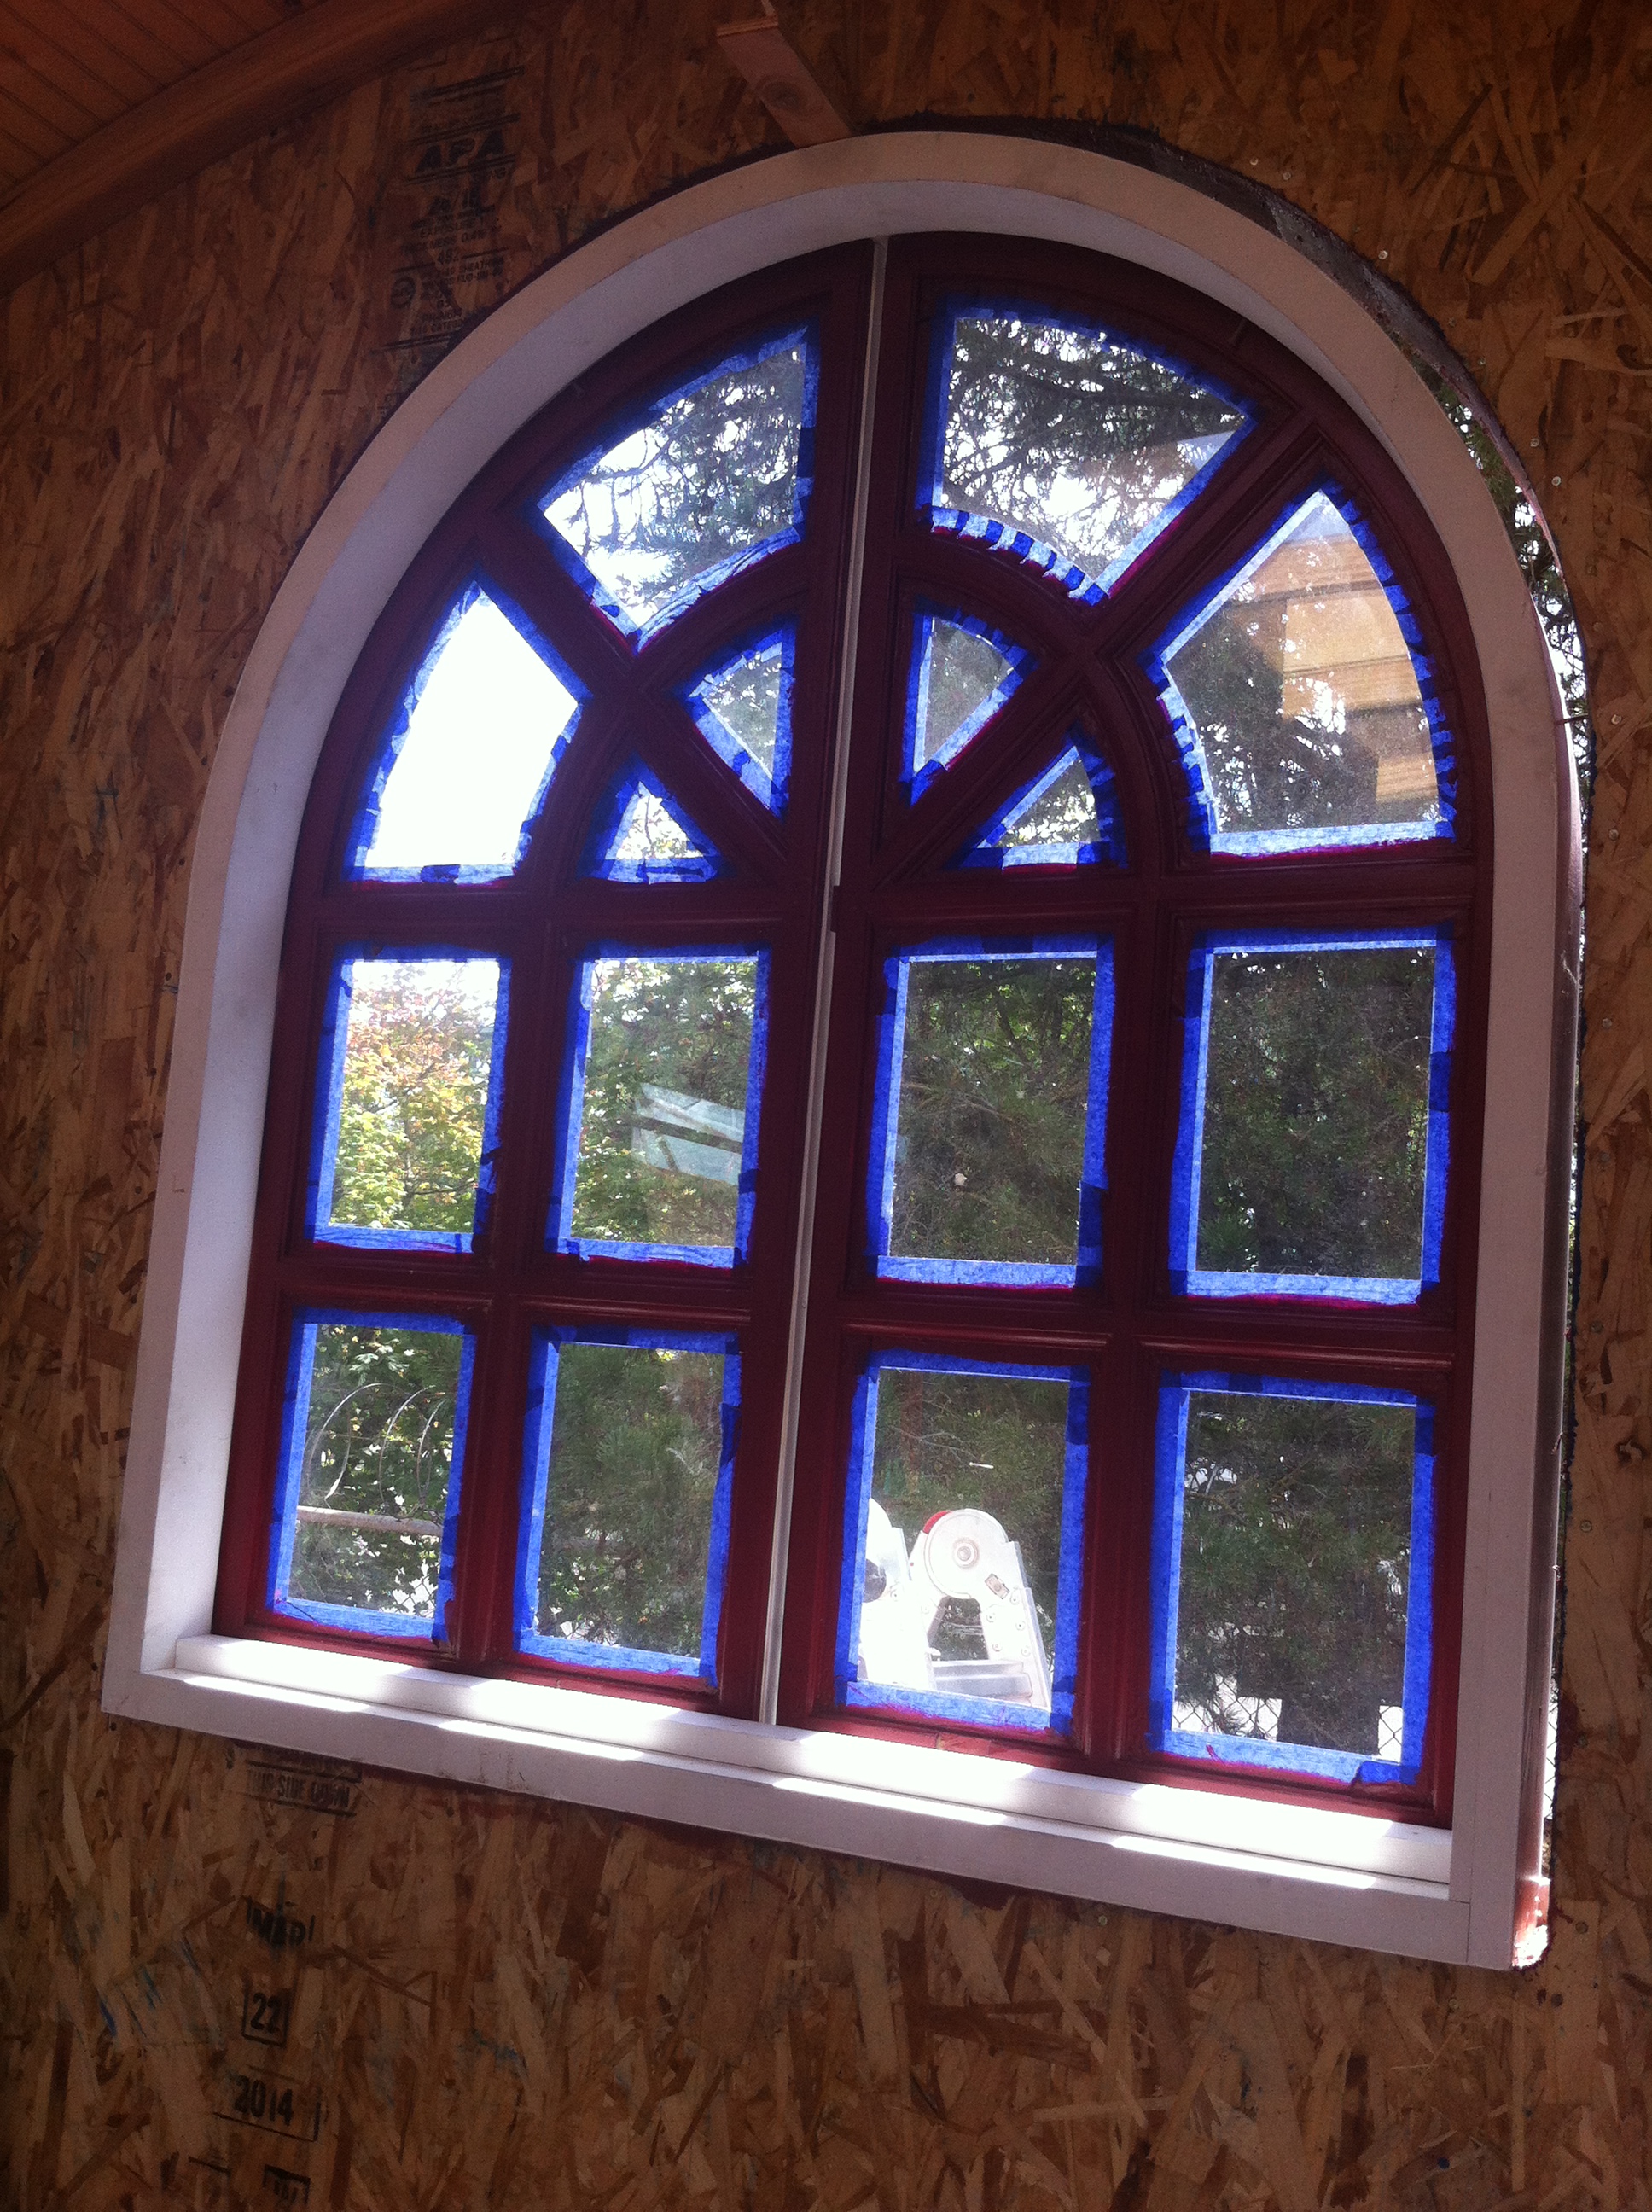
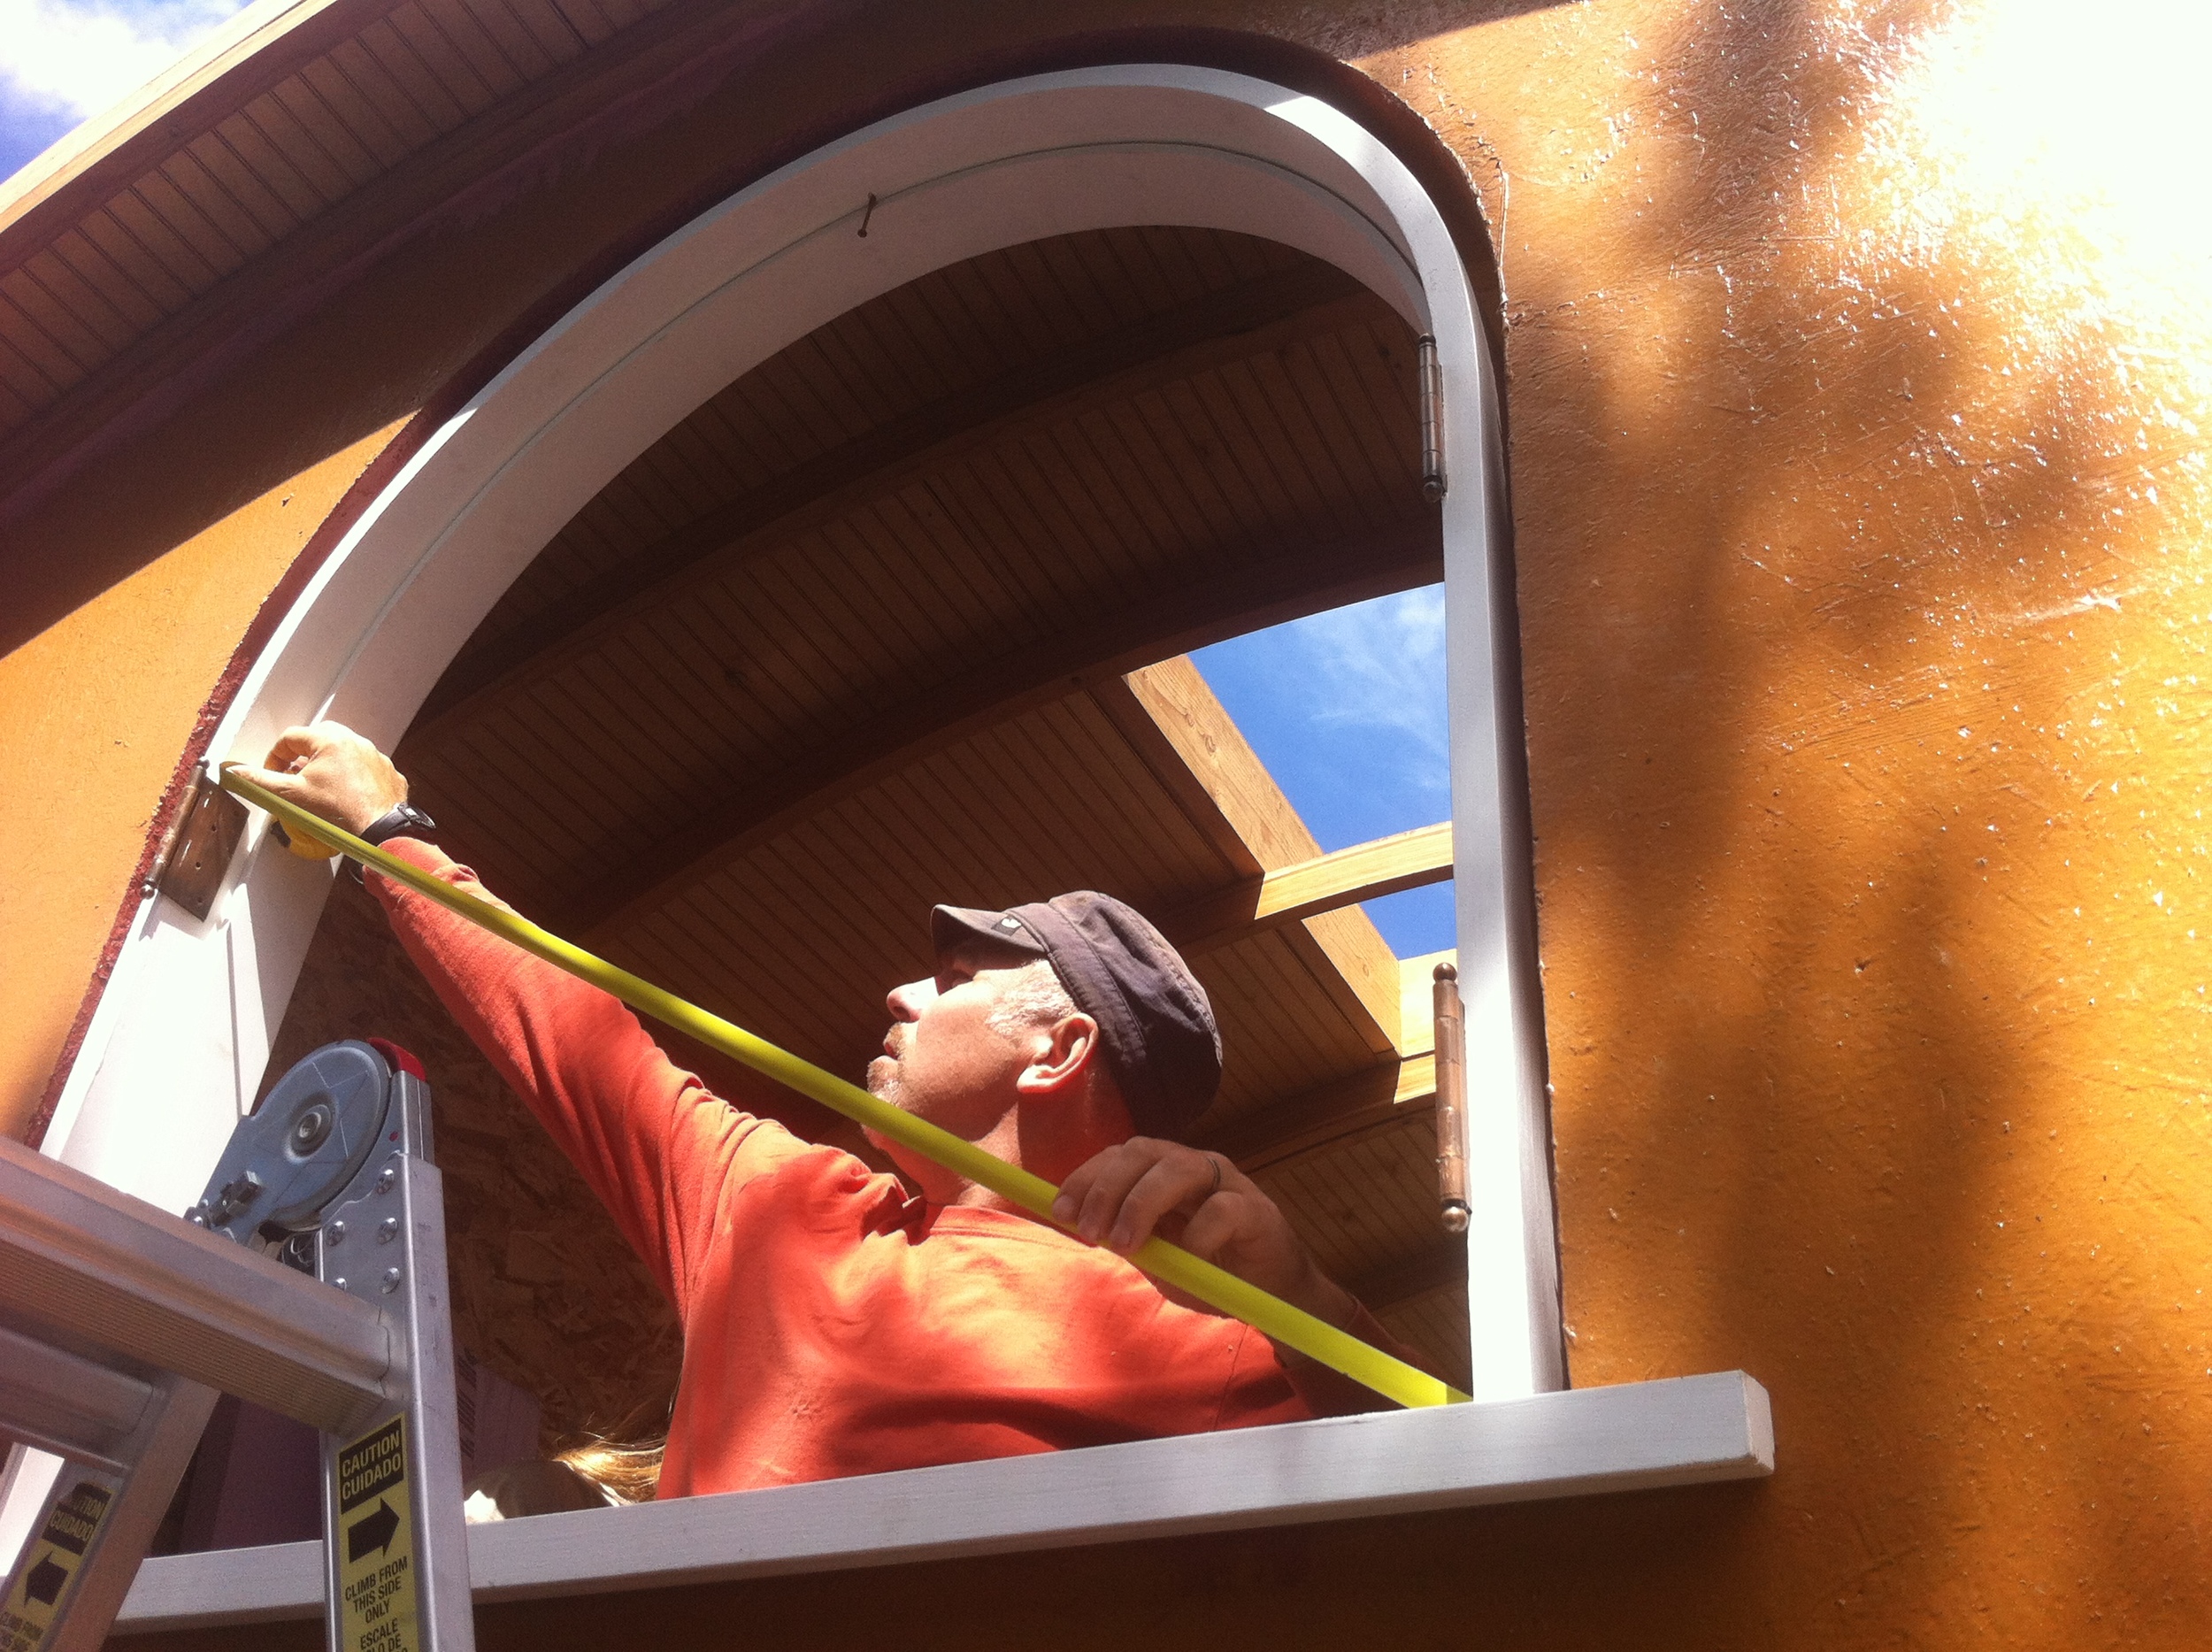
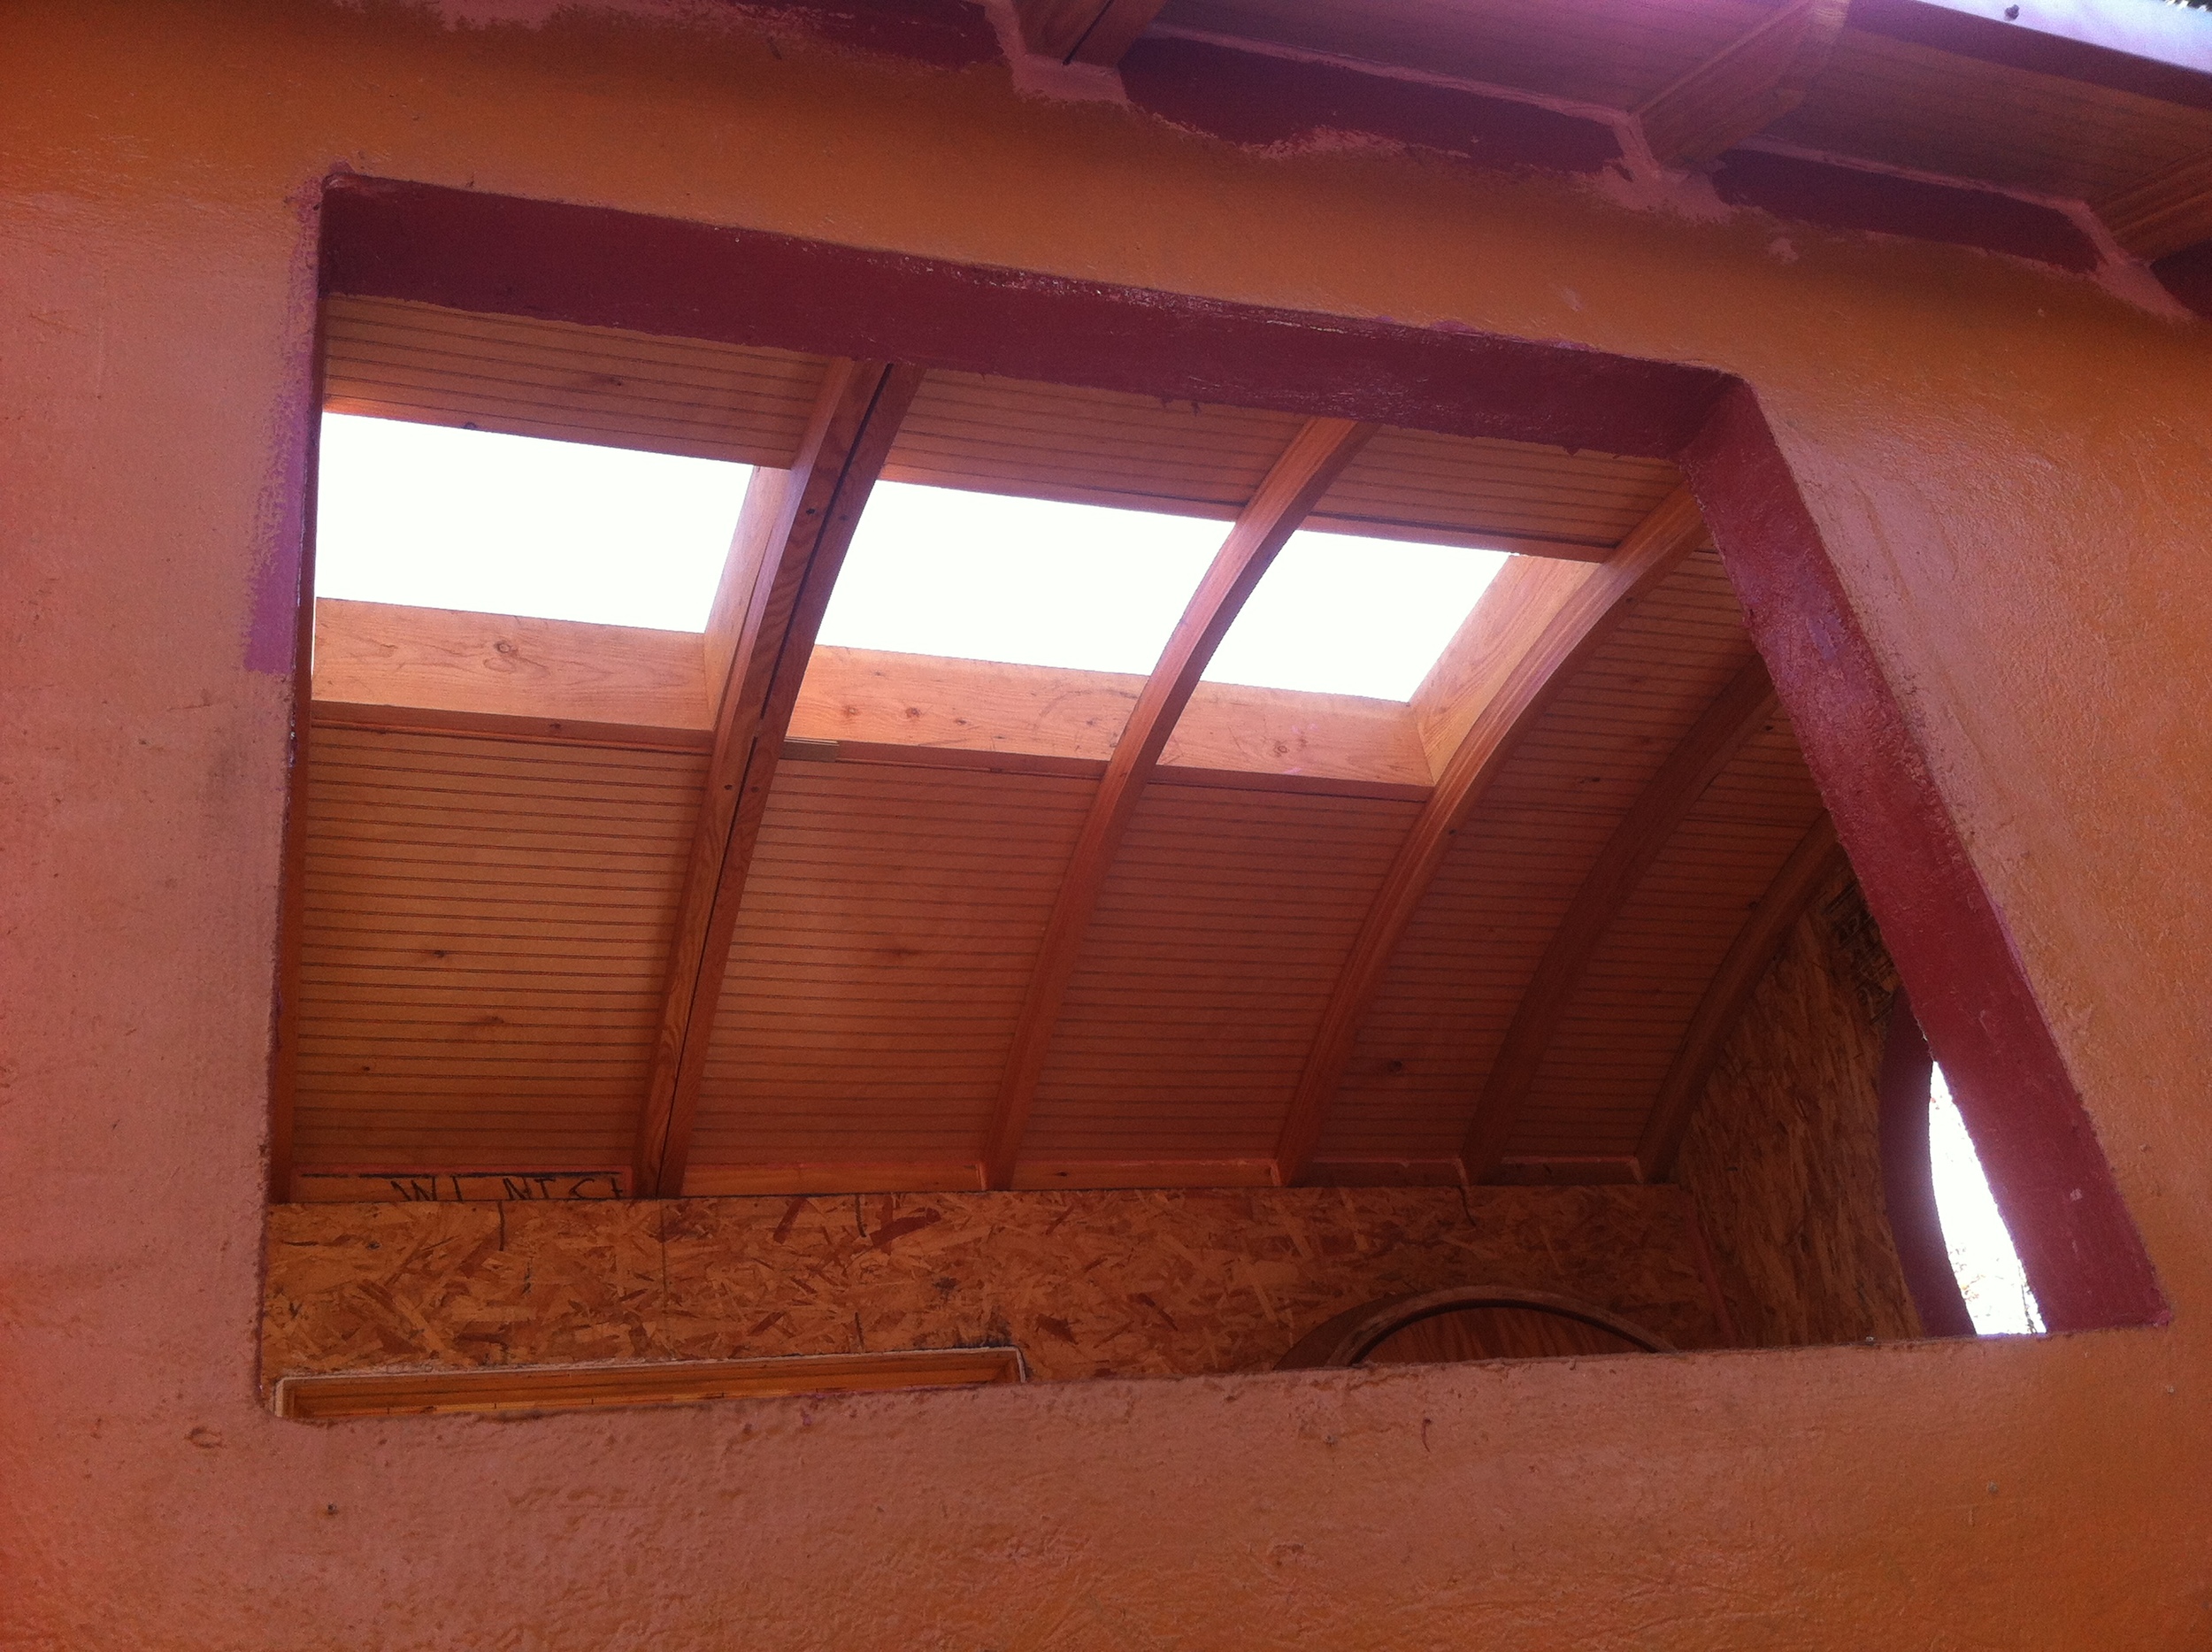
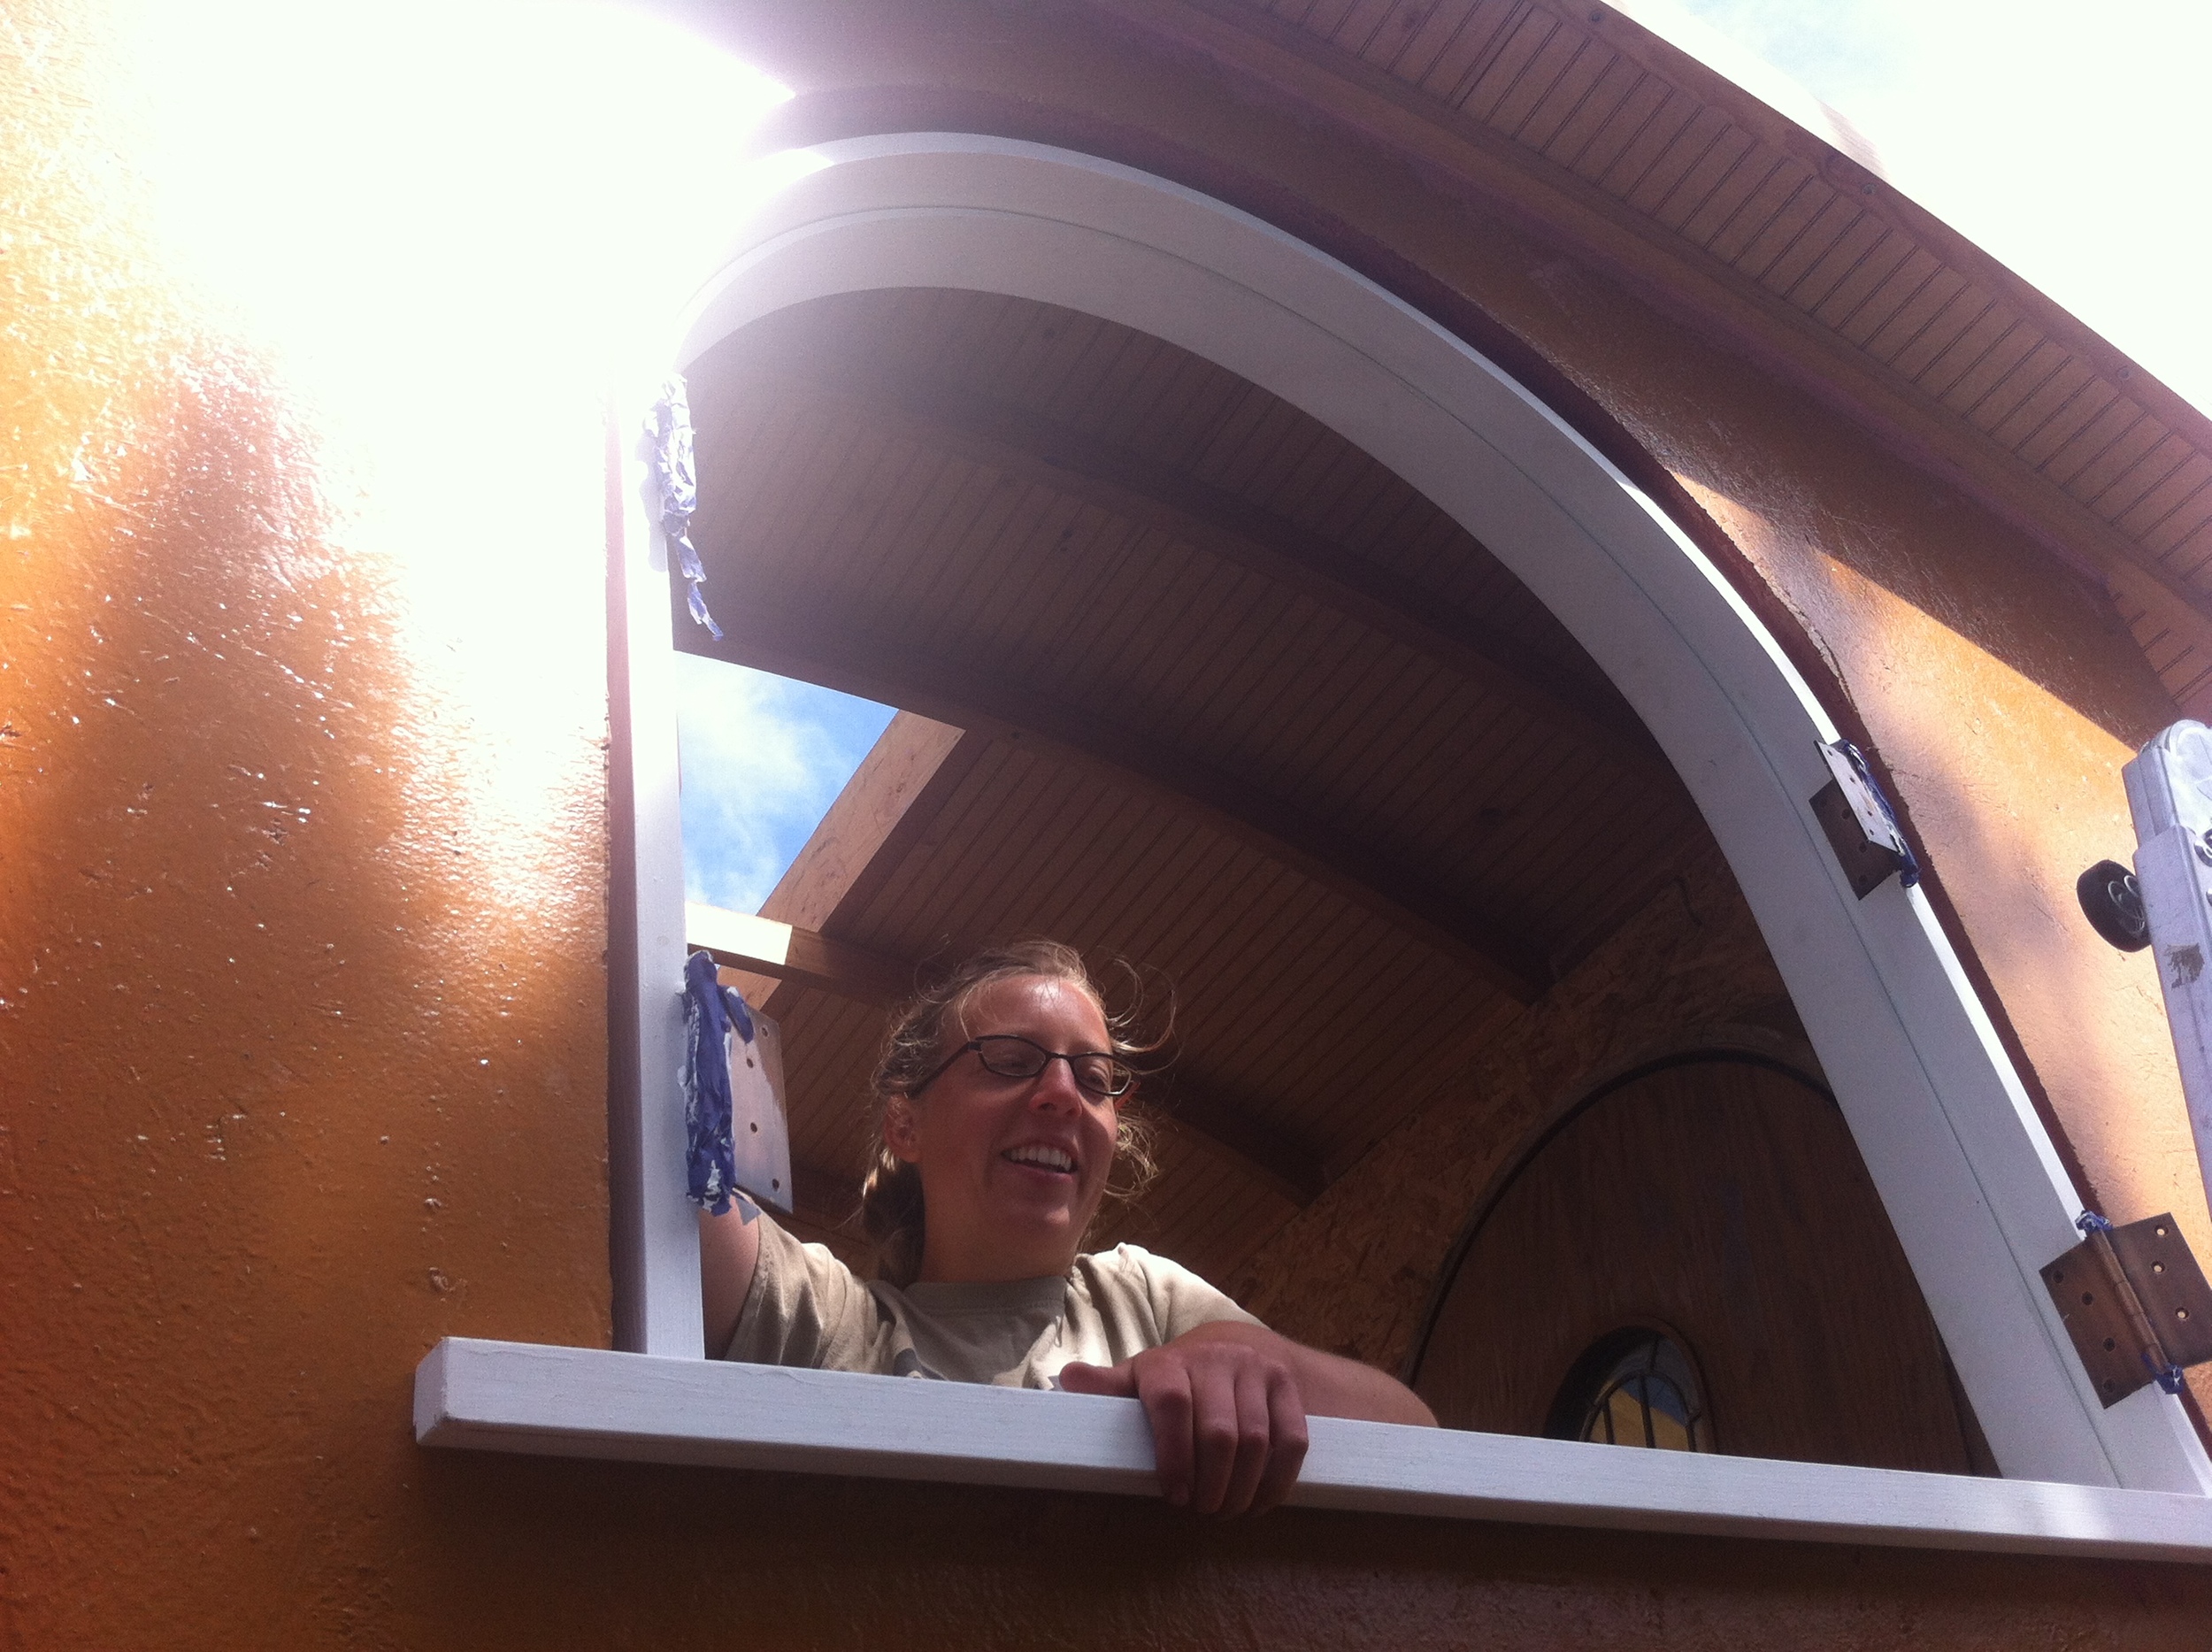
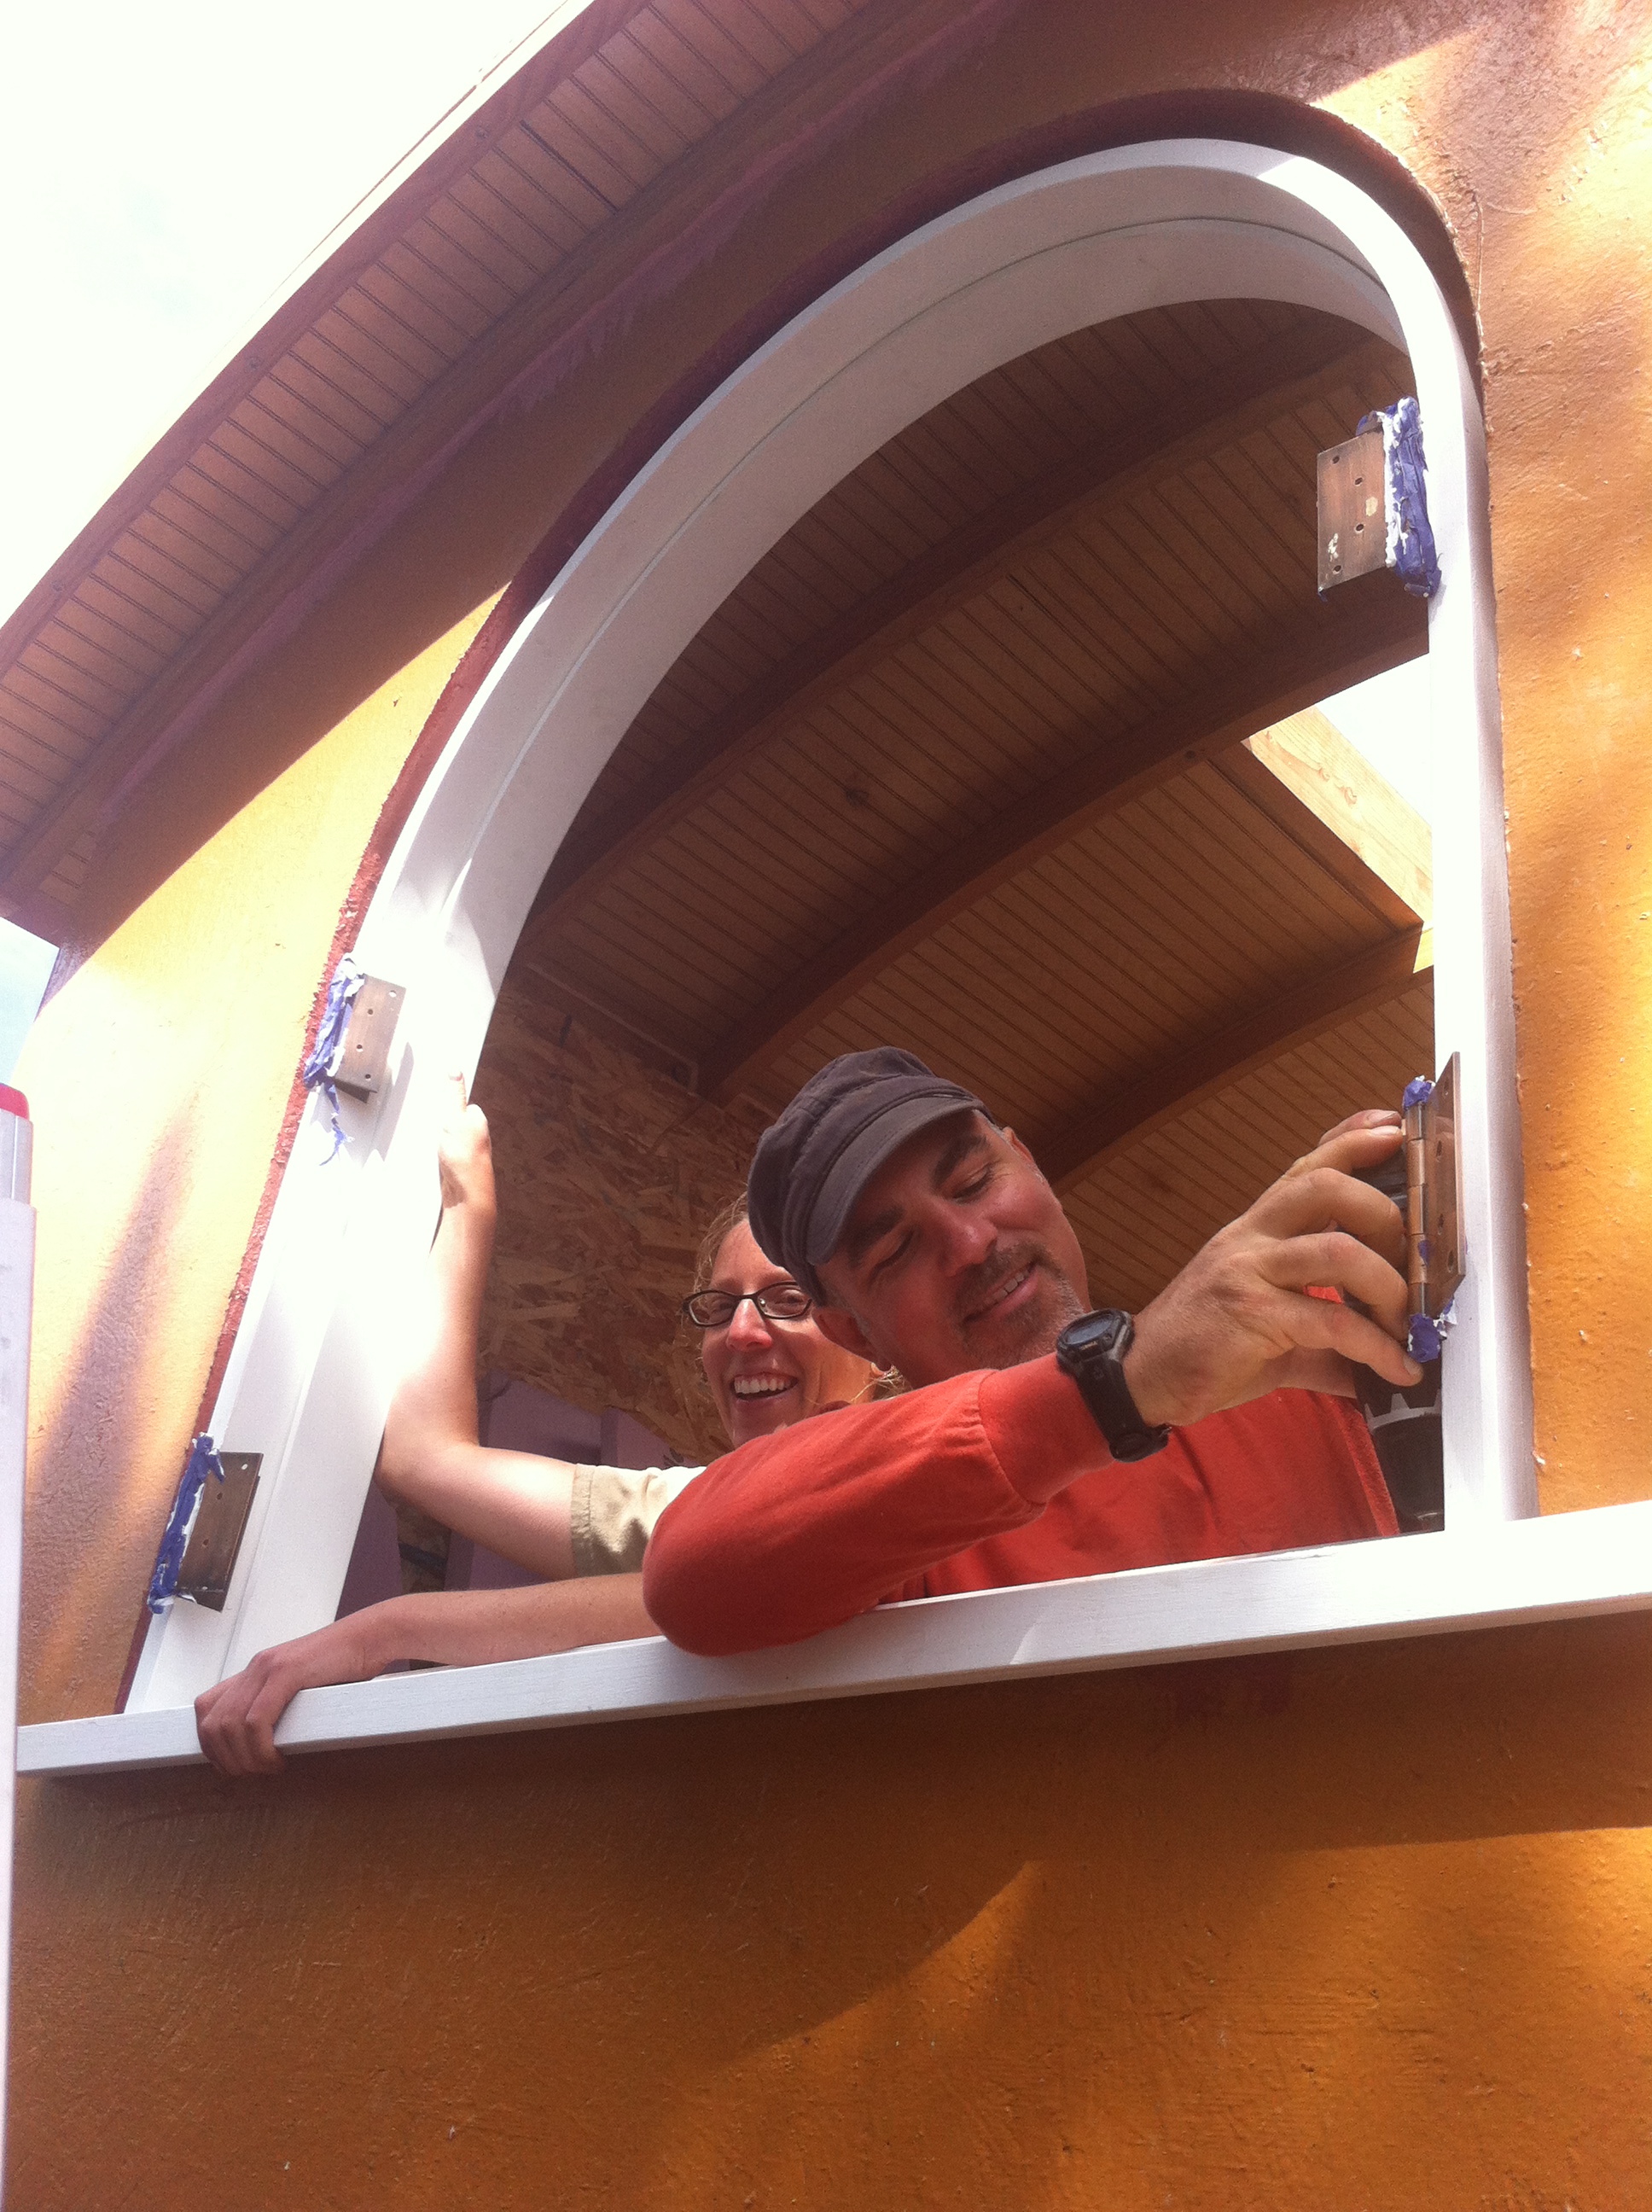
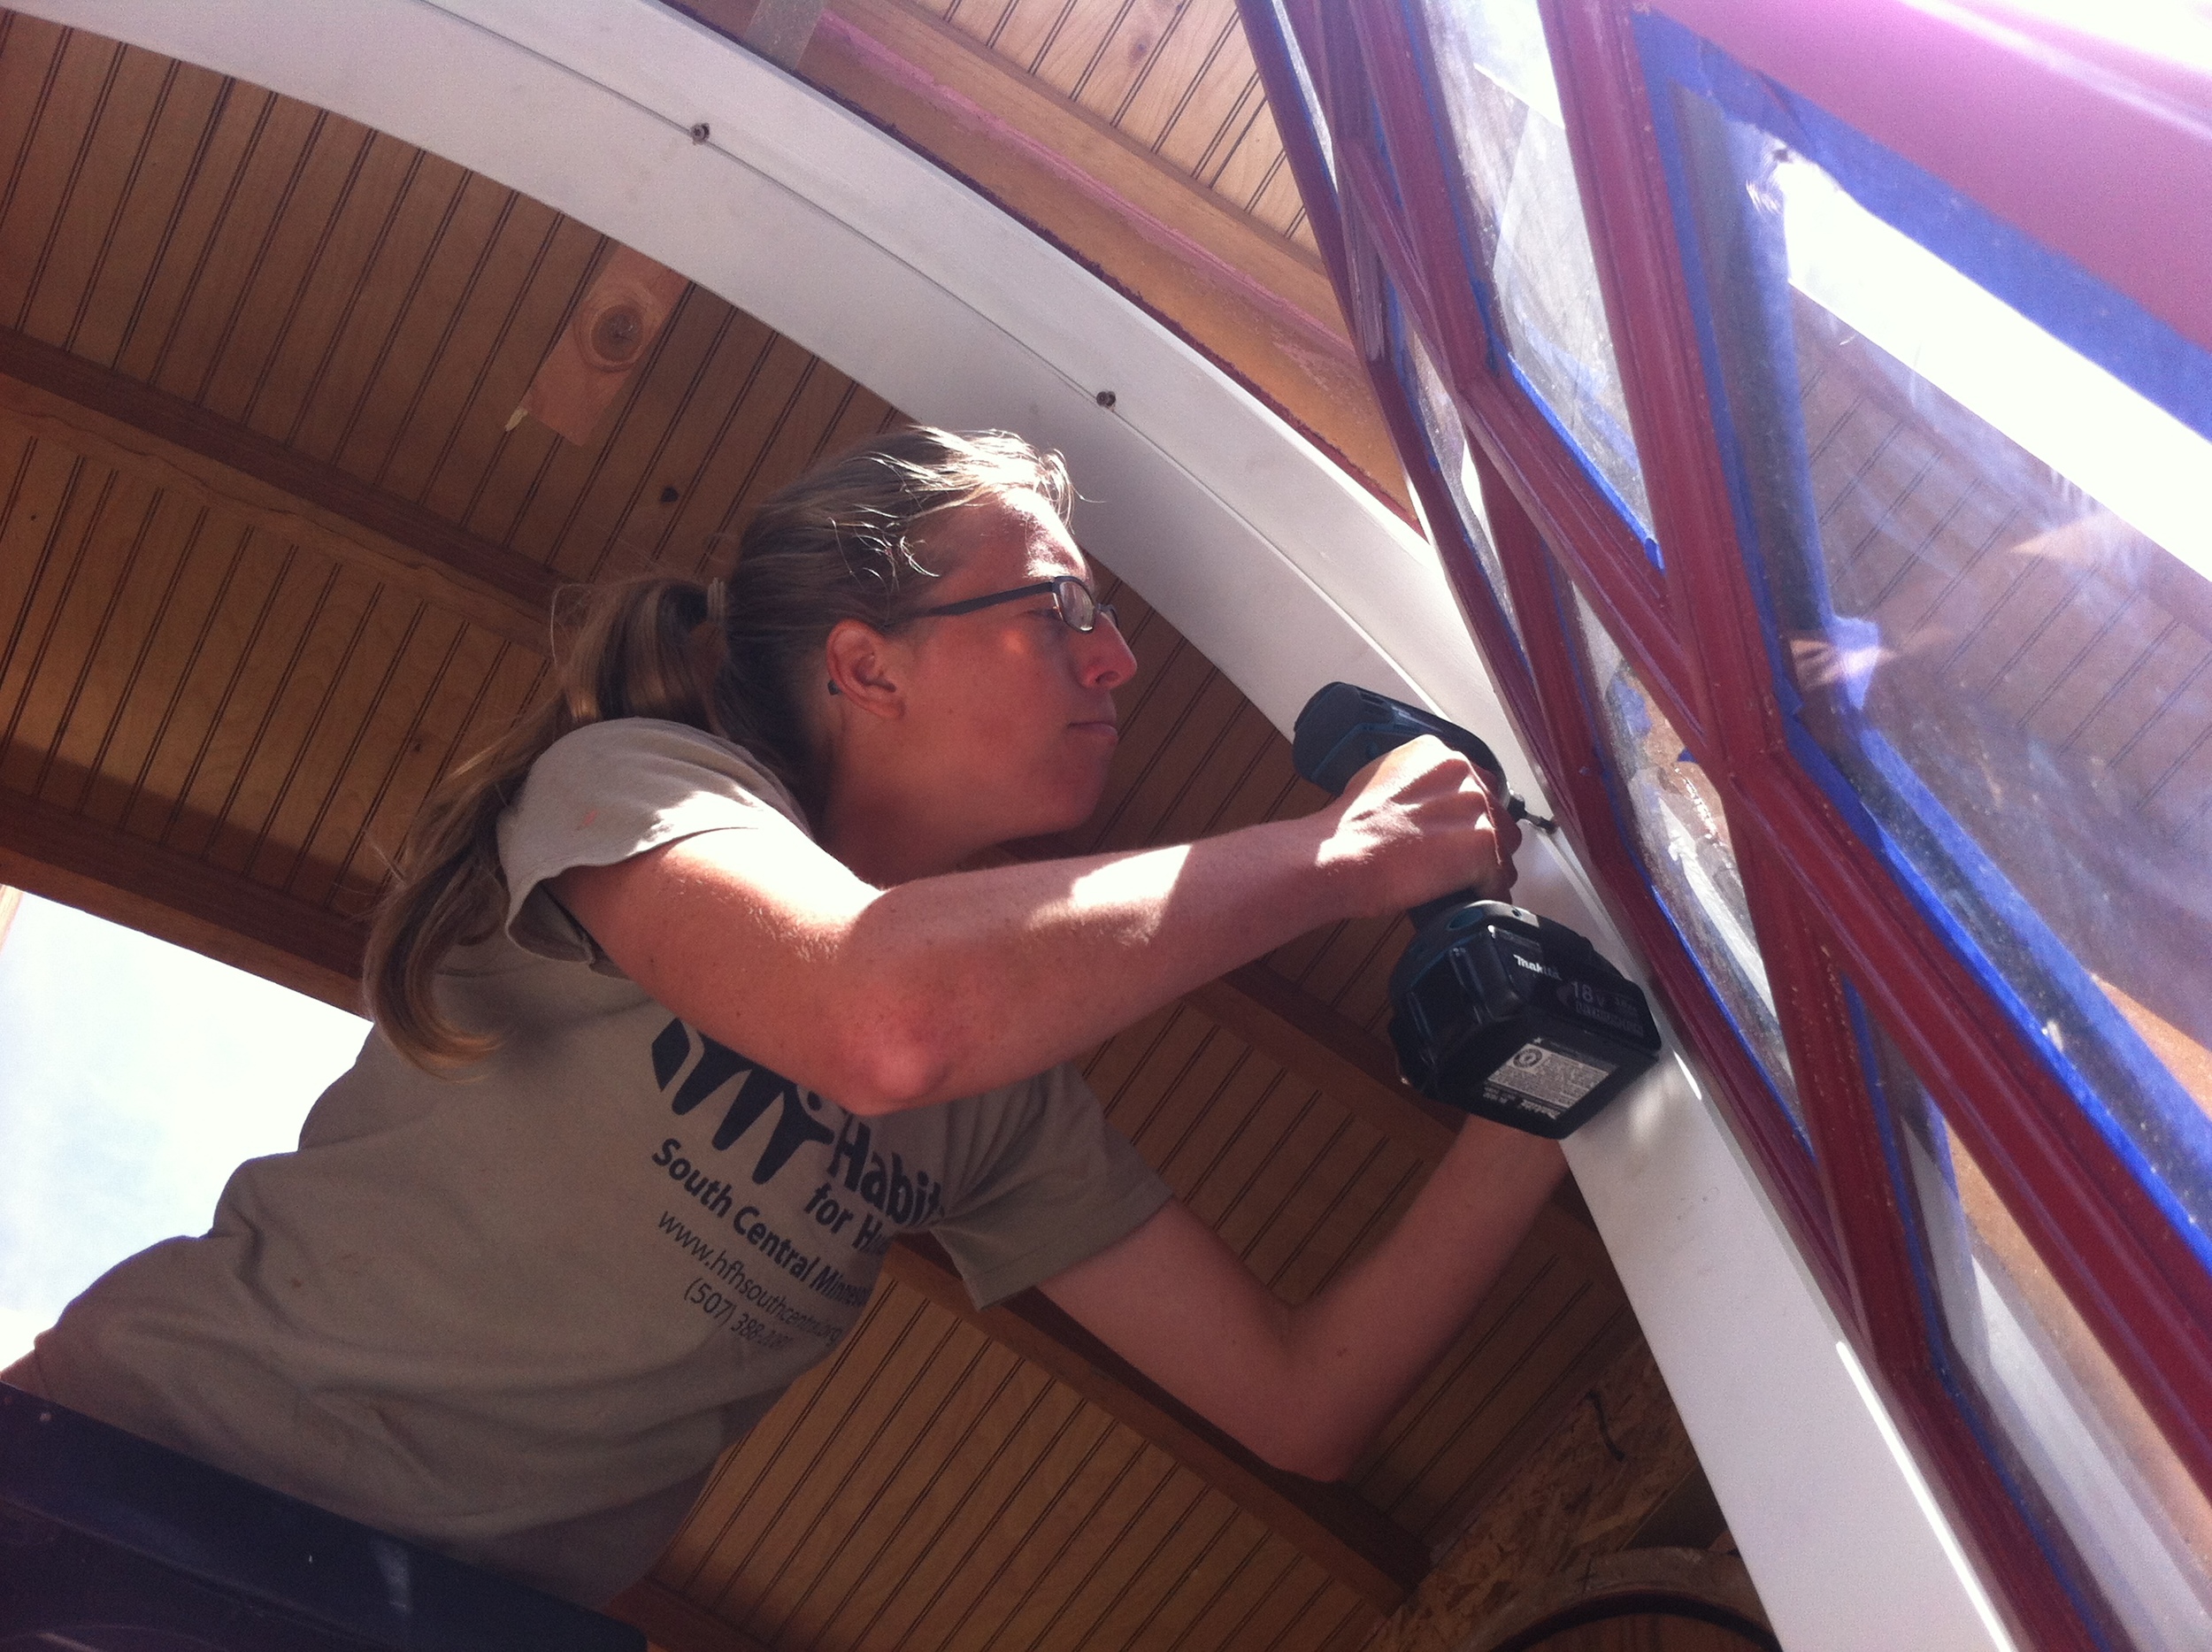
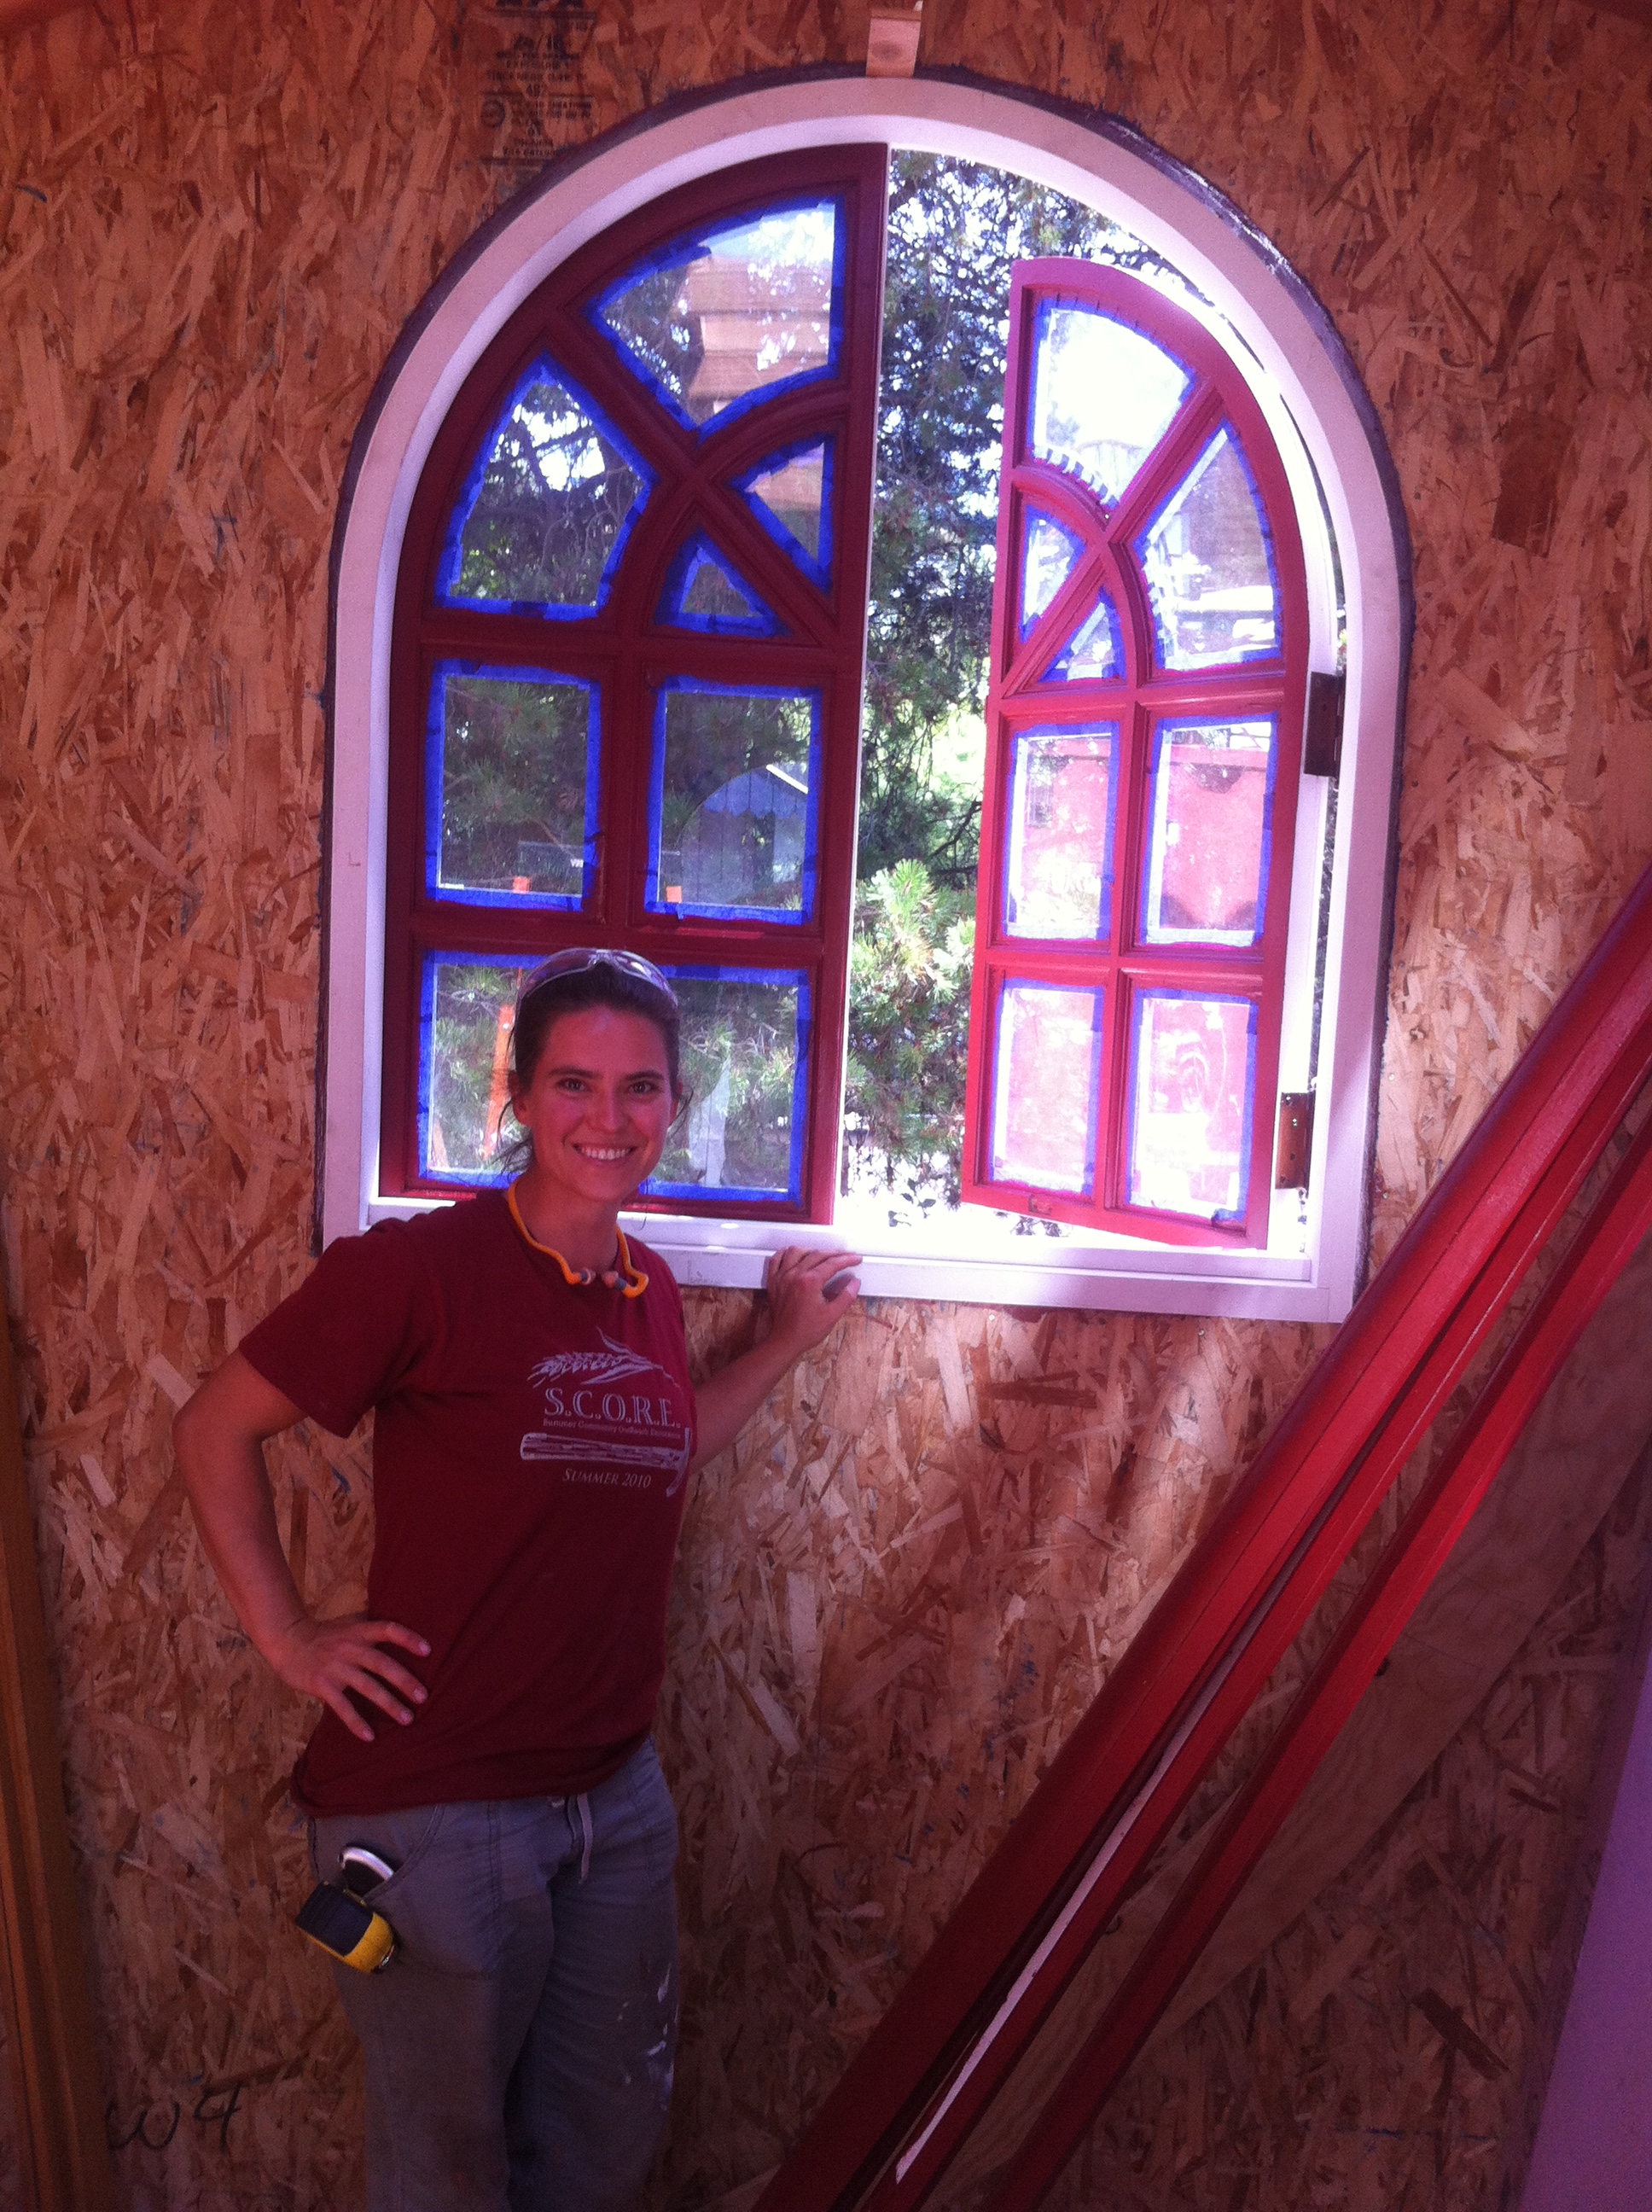
Once we’d done one of My Kitchen Windows the other one went in quickly. Then we turned our attention to My Arched Window. This one took a little more finessing. Luckily, My Arched Window Jamb was built by Dan, a talented finish carpenter. (More about that in a forthcoming blog post!) We started out by inserting the arched jamb in the opening and securing it in place with five screws: one in each of the legs, one at the top, and one on each side where the window starts to curve. Then we hoisted the window sashes into place and screwed them onto their hinges.
Next we fine-tuned the window by tightening and loosening screws just a smidgeon until the window was trued in its jamb. The process reminded me of tuning an instrument and it reminded Laura of truing a bike wheel. Once the window was swinging nicely and the reveals were satisfactory, we installed backer rod around it. The gap was larger here (better too big than too small though!) By now Julie had arrived and Laura switched back to working on her siding. While Eric was installing My Beautiful Arched Door, Julie helped me braid three strands of backer rod together and insert it into the gap. I ran a bead of Air Dam along each edge and let it skin over since this is a larger gap to fill and I decided it would be best to do it in two phases.
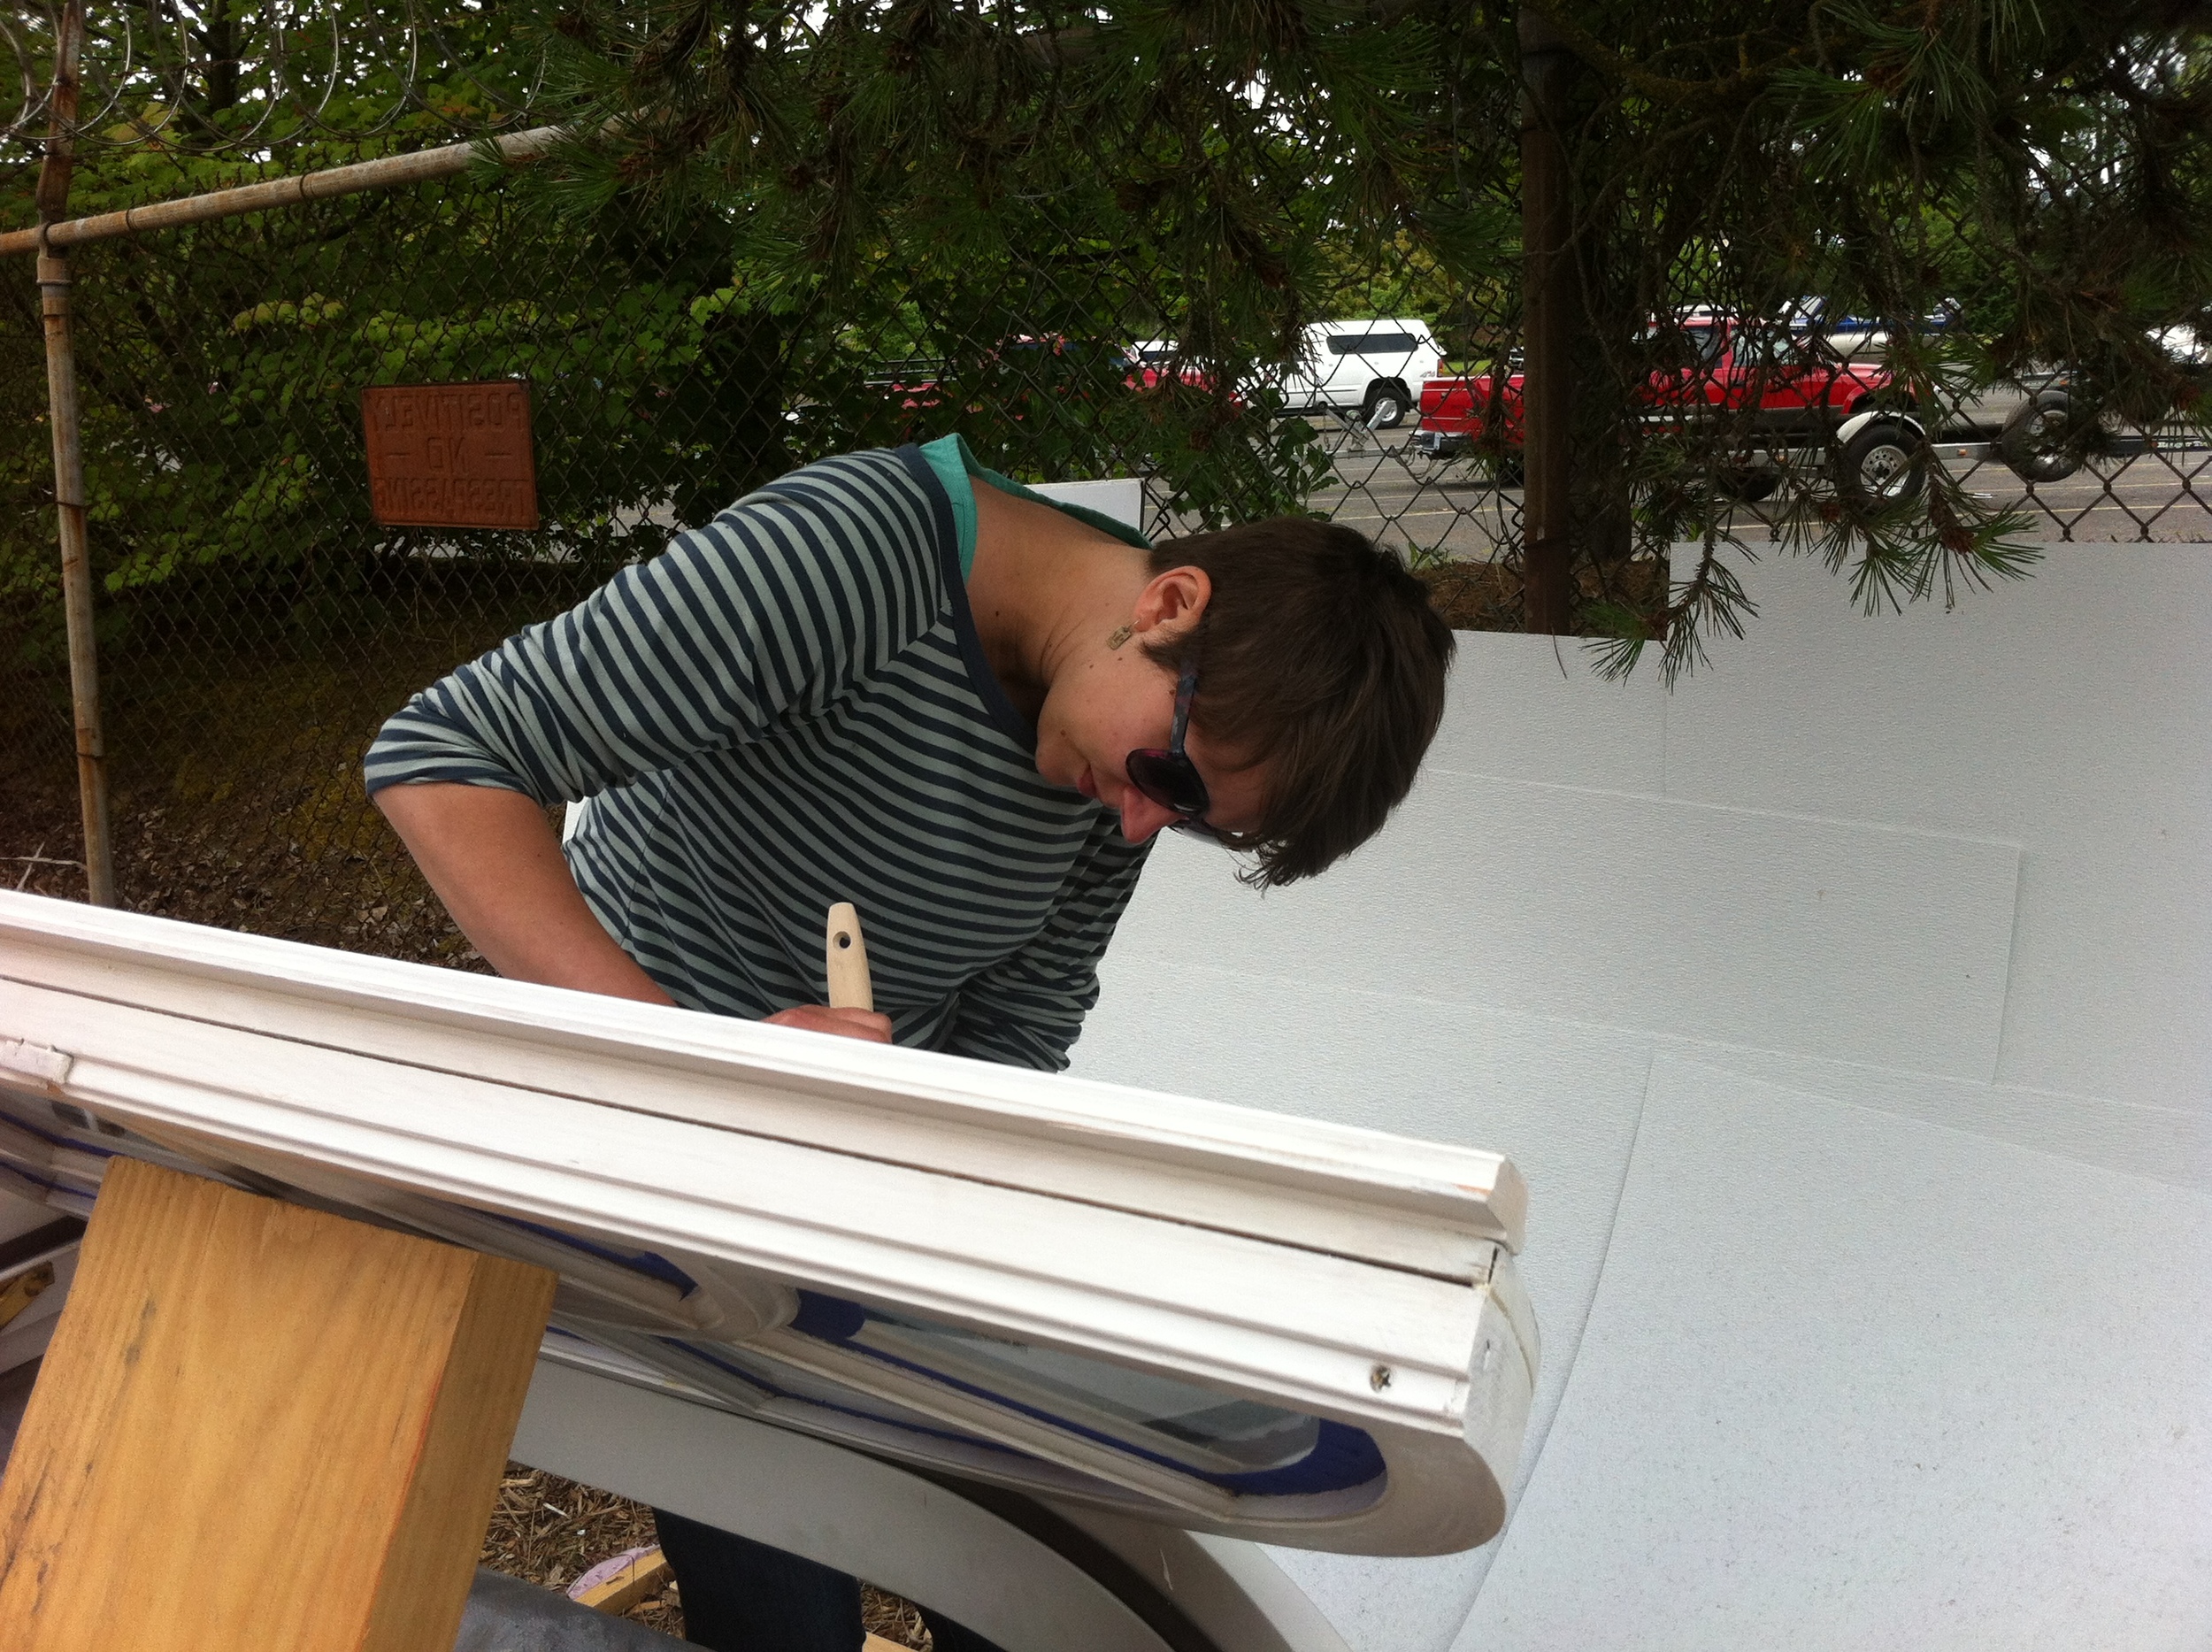
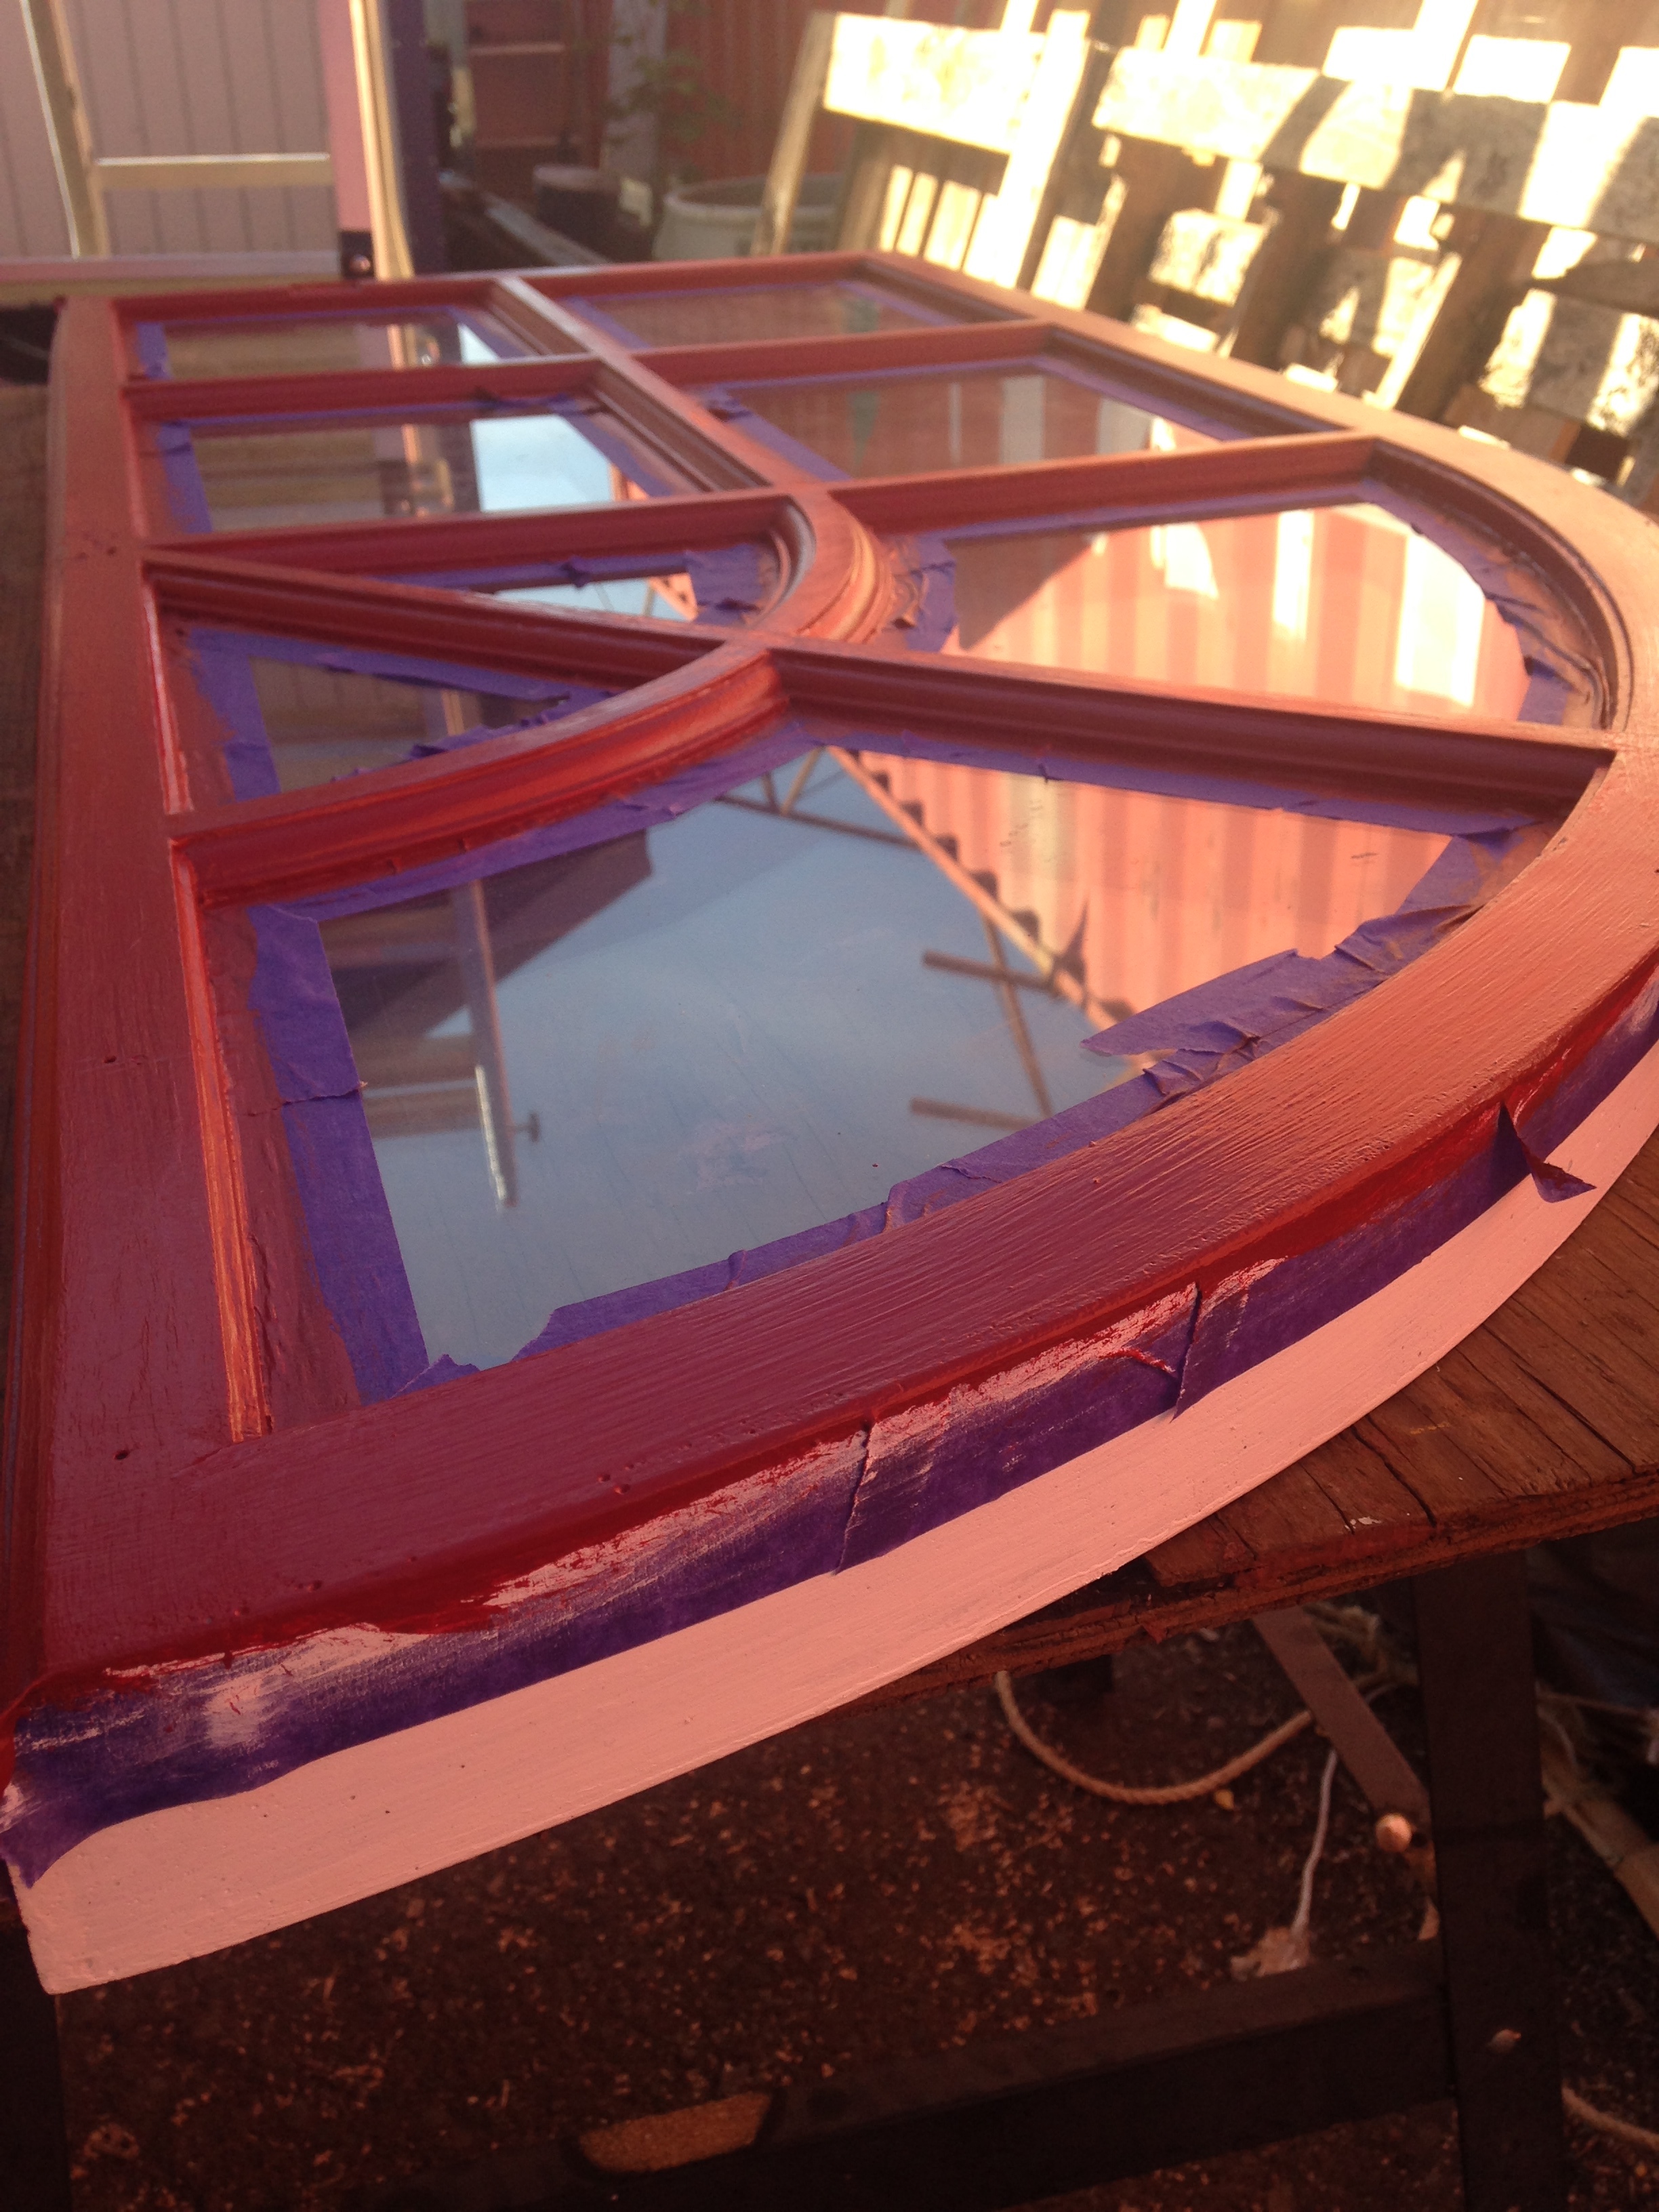
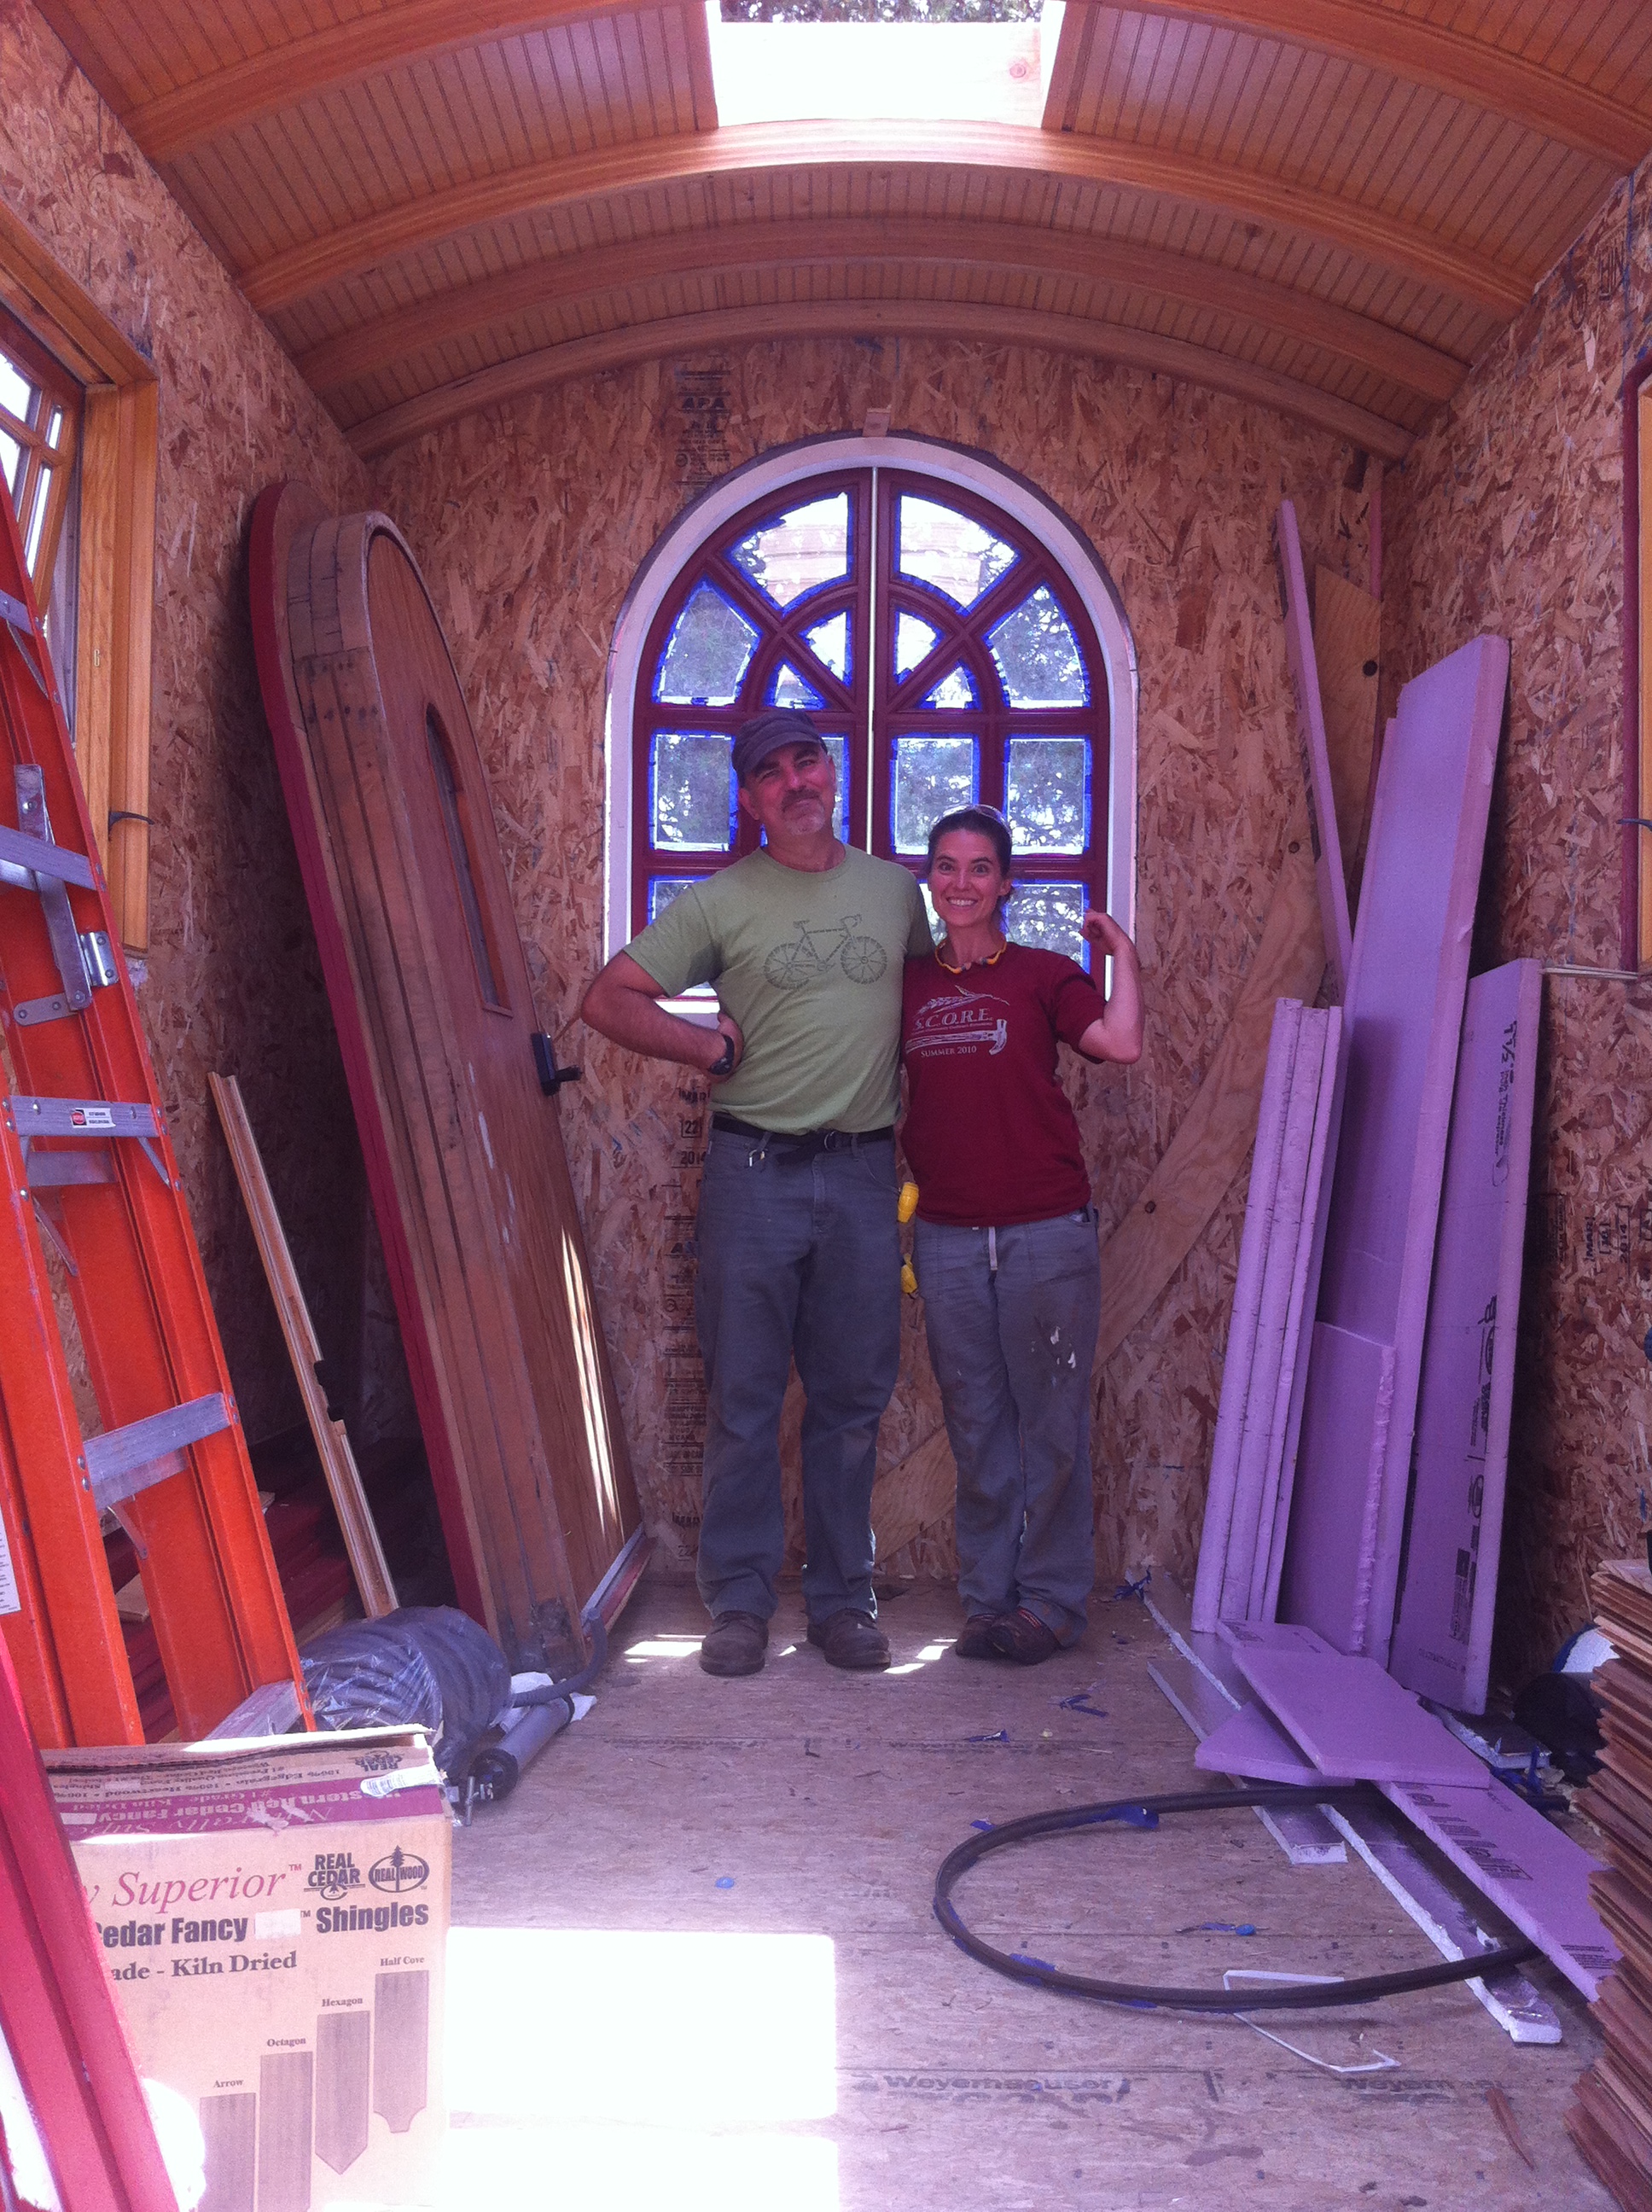
I glanced up at the window at one point and realized that I had my own red, white, and blue. My window is painted burgundy but the jamb hasn’t been painted on the interior yet, so it’s still white. And, of course, the painters tape is blue. This little house will give me freedom and independence, so it seemed fitting to celebrate the installation of My Arched Window, since my tiny house started with this window!
Installing the windows is always one of my favorite parts of a build, but getting the windows in was especially exciting for me because the roof had taken so long to get dried in. (See Plan F: Take 2 for more on that!) I hadn’t installed the windows because it was nice to have the openings while working on the roof. So putting the windows in felt like a reward. Besides, they’re just plain beautiful!
After Eric headed out Julie and I helped Laura with her siding for a couple hours and then headed to a great Fourth of July cook out. I couldn’t be happier with my own version of red, white, and blue!
Sheathing My Vardo Roof
 Yesterday the carpenters came out of the woodwork! (This is a good thing, by the way. Wouldn't be so good if it were carpenter ants, but carpenters coming out of the woodwork is magically good!)
I had just pulled out all the tools we’d need to sheath my roof and I was untarpping the house (for the last time!) and waiting for Kenny to show up when Tony and Aline arrived. They’ve stopped by a few times now to check on my progress and they’ve helped with My Vardo Rafter Raising and Making Ends Meet, too. I hadn’t heard anything from them about helping yesterday. So I hollered out “Hey, did you guys come by for a status update?”
“Nope, we’re here to help!” Tony said.
“And we brought snacks!” said Aline.
Now THAT, my friends, was music to my ears. I was thrilled!
(And what’s better? These people. These people are going to be my neighbors! More on that to come…)
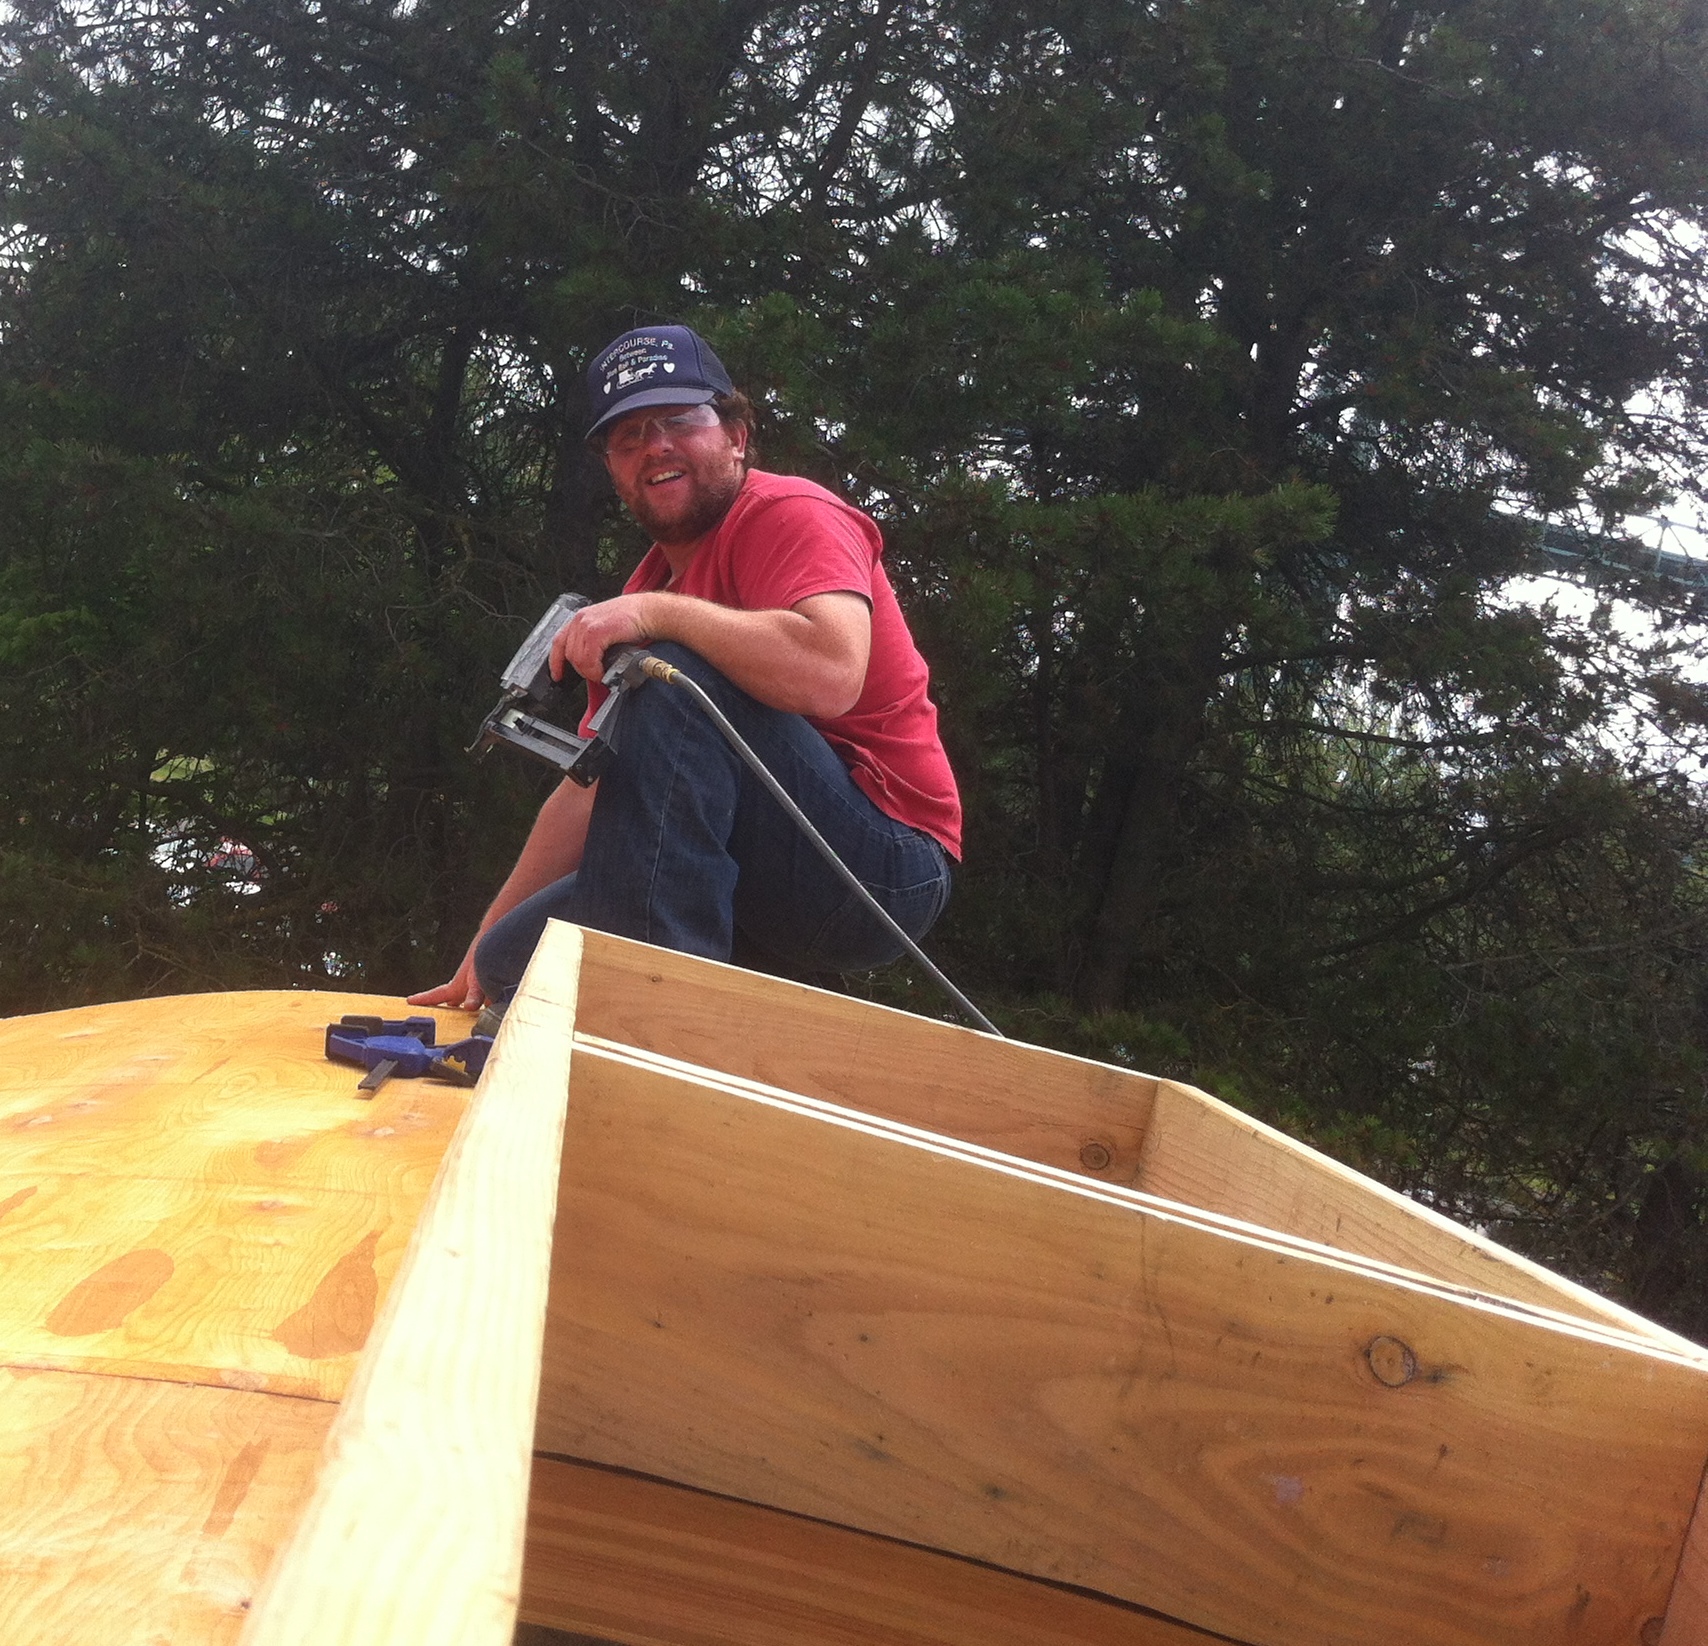
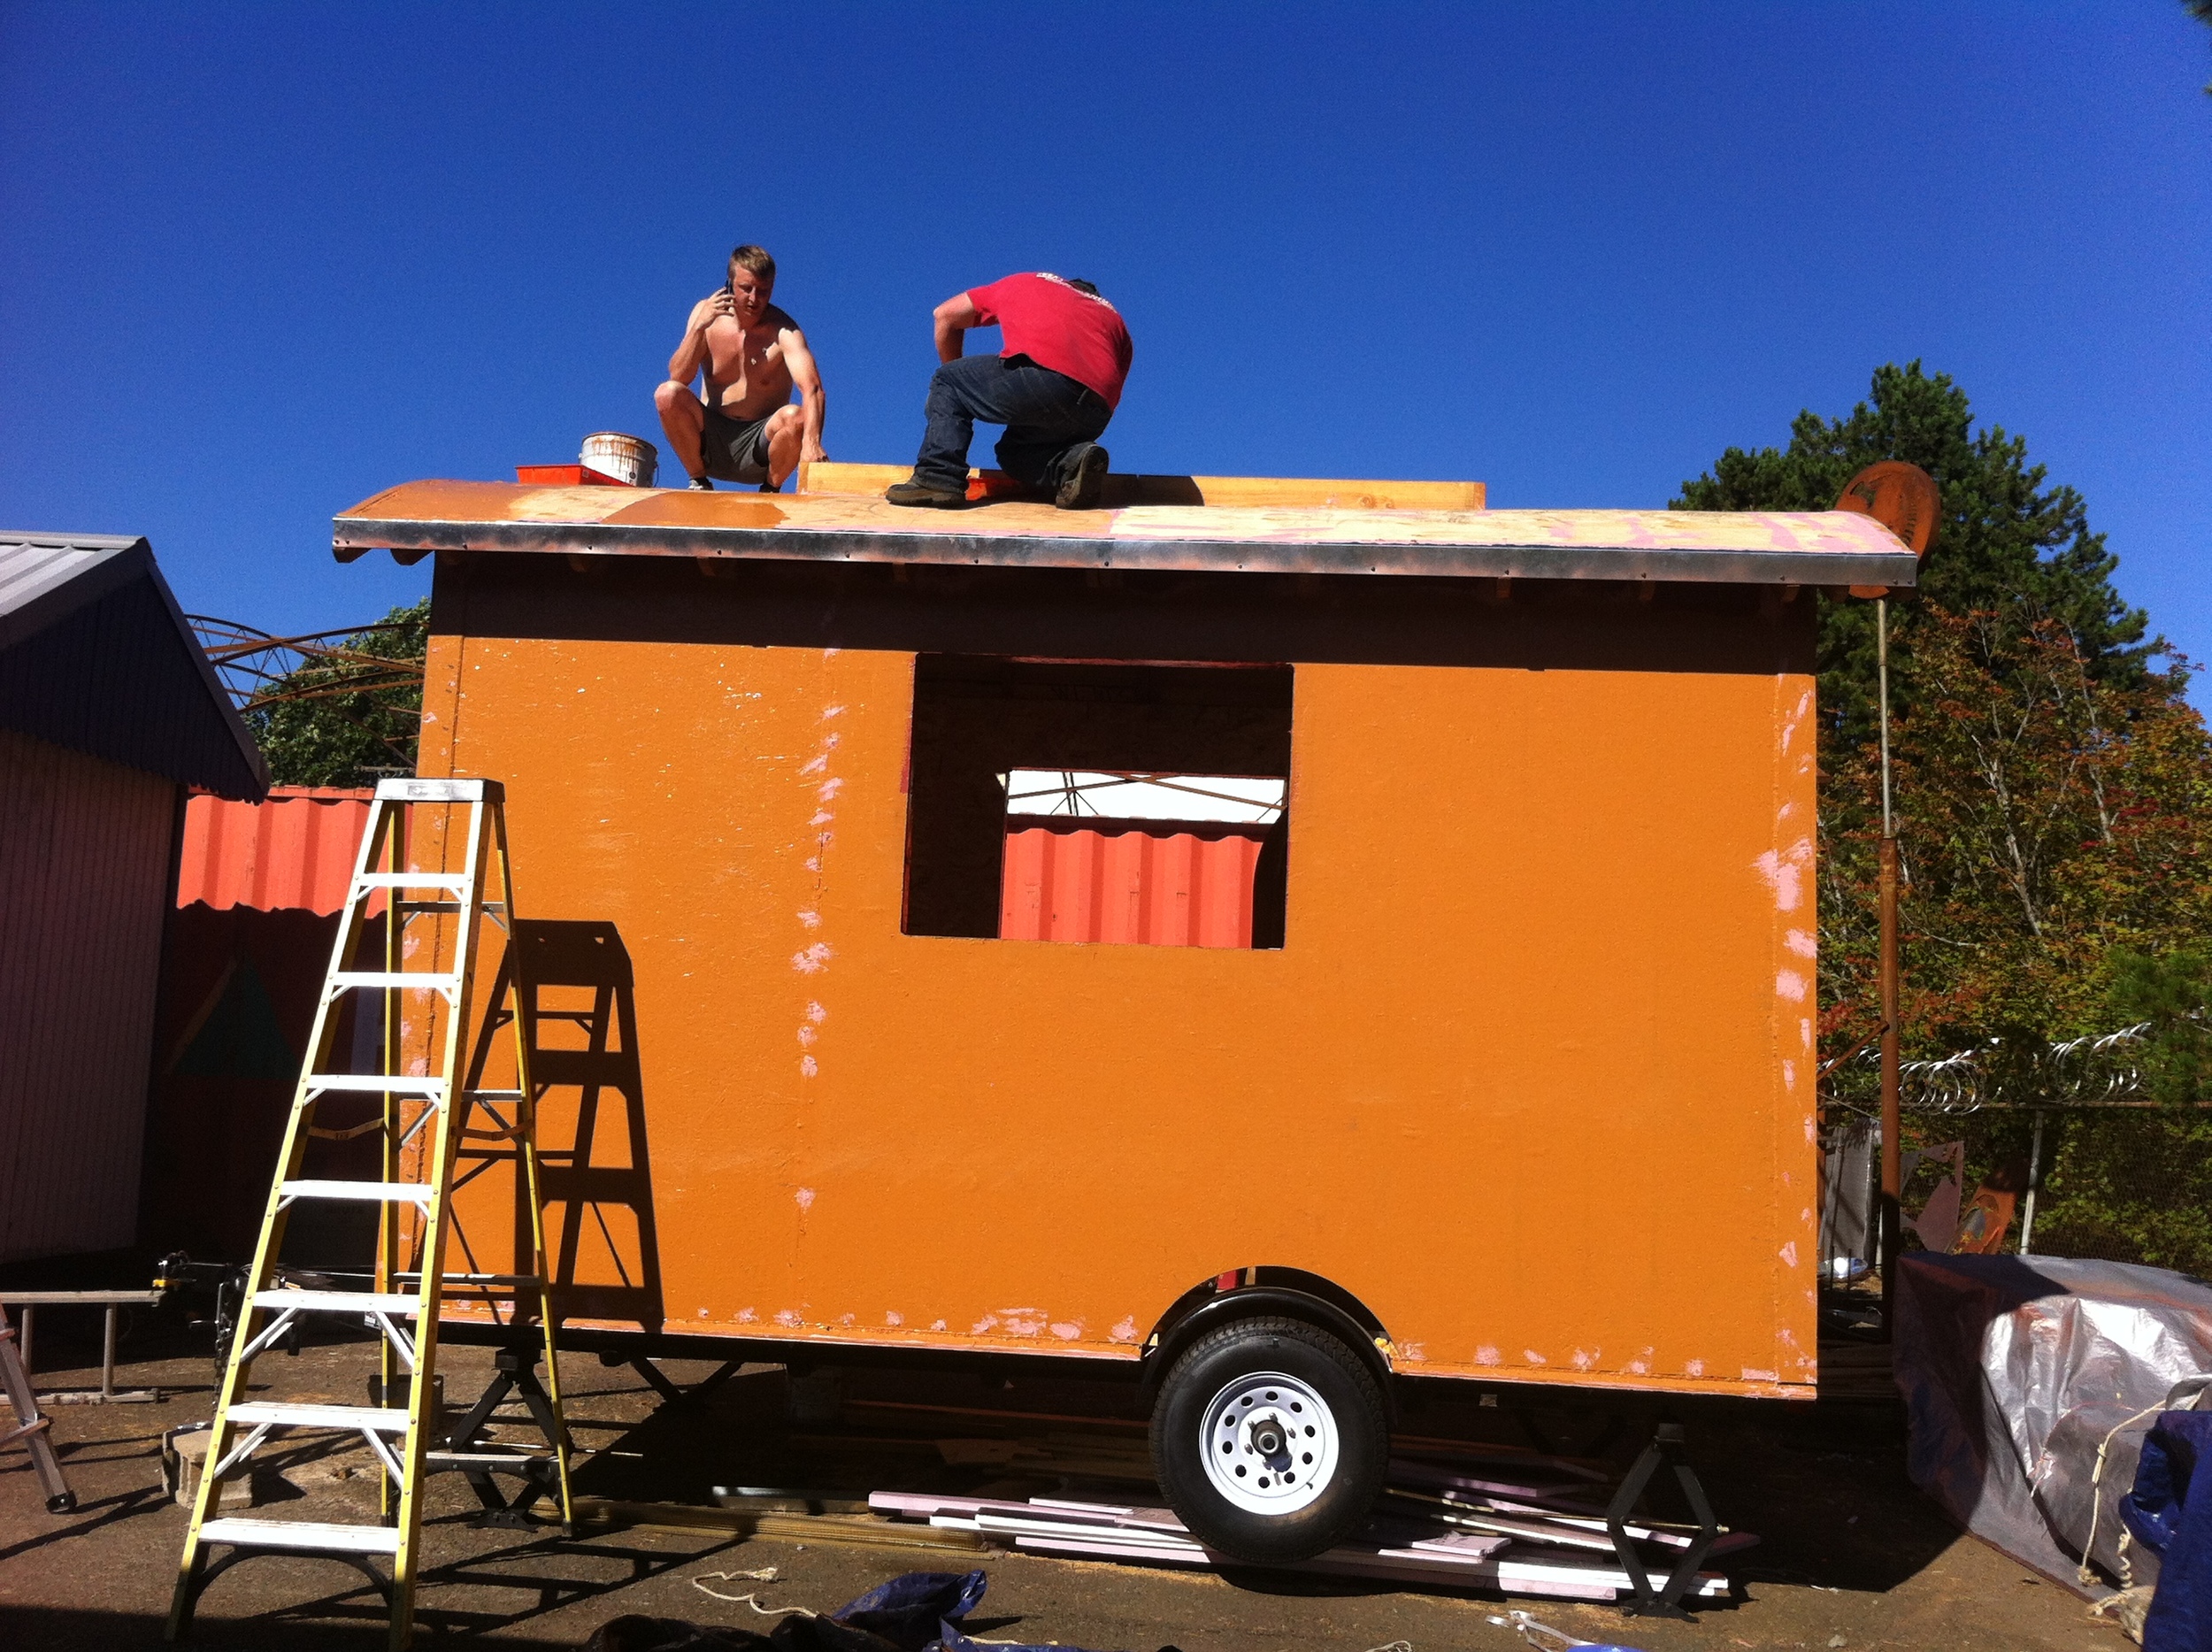
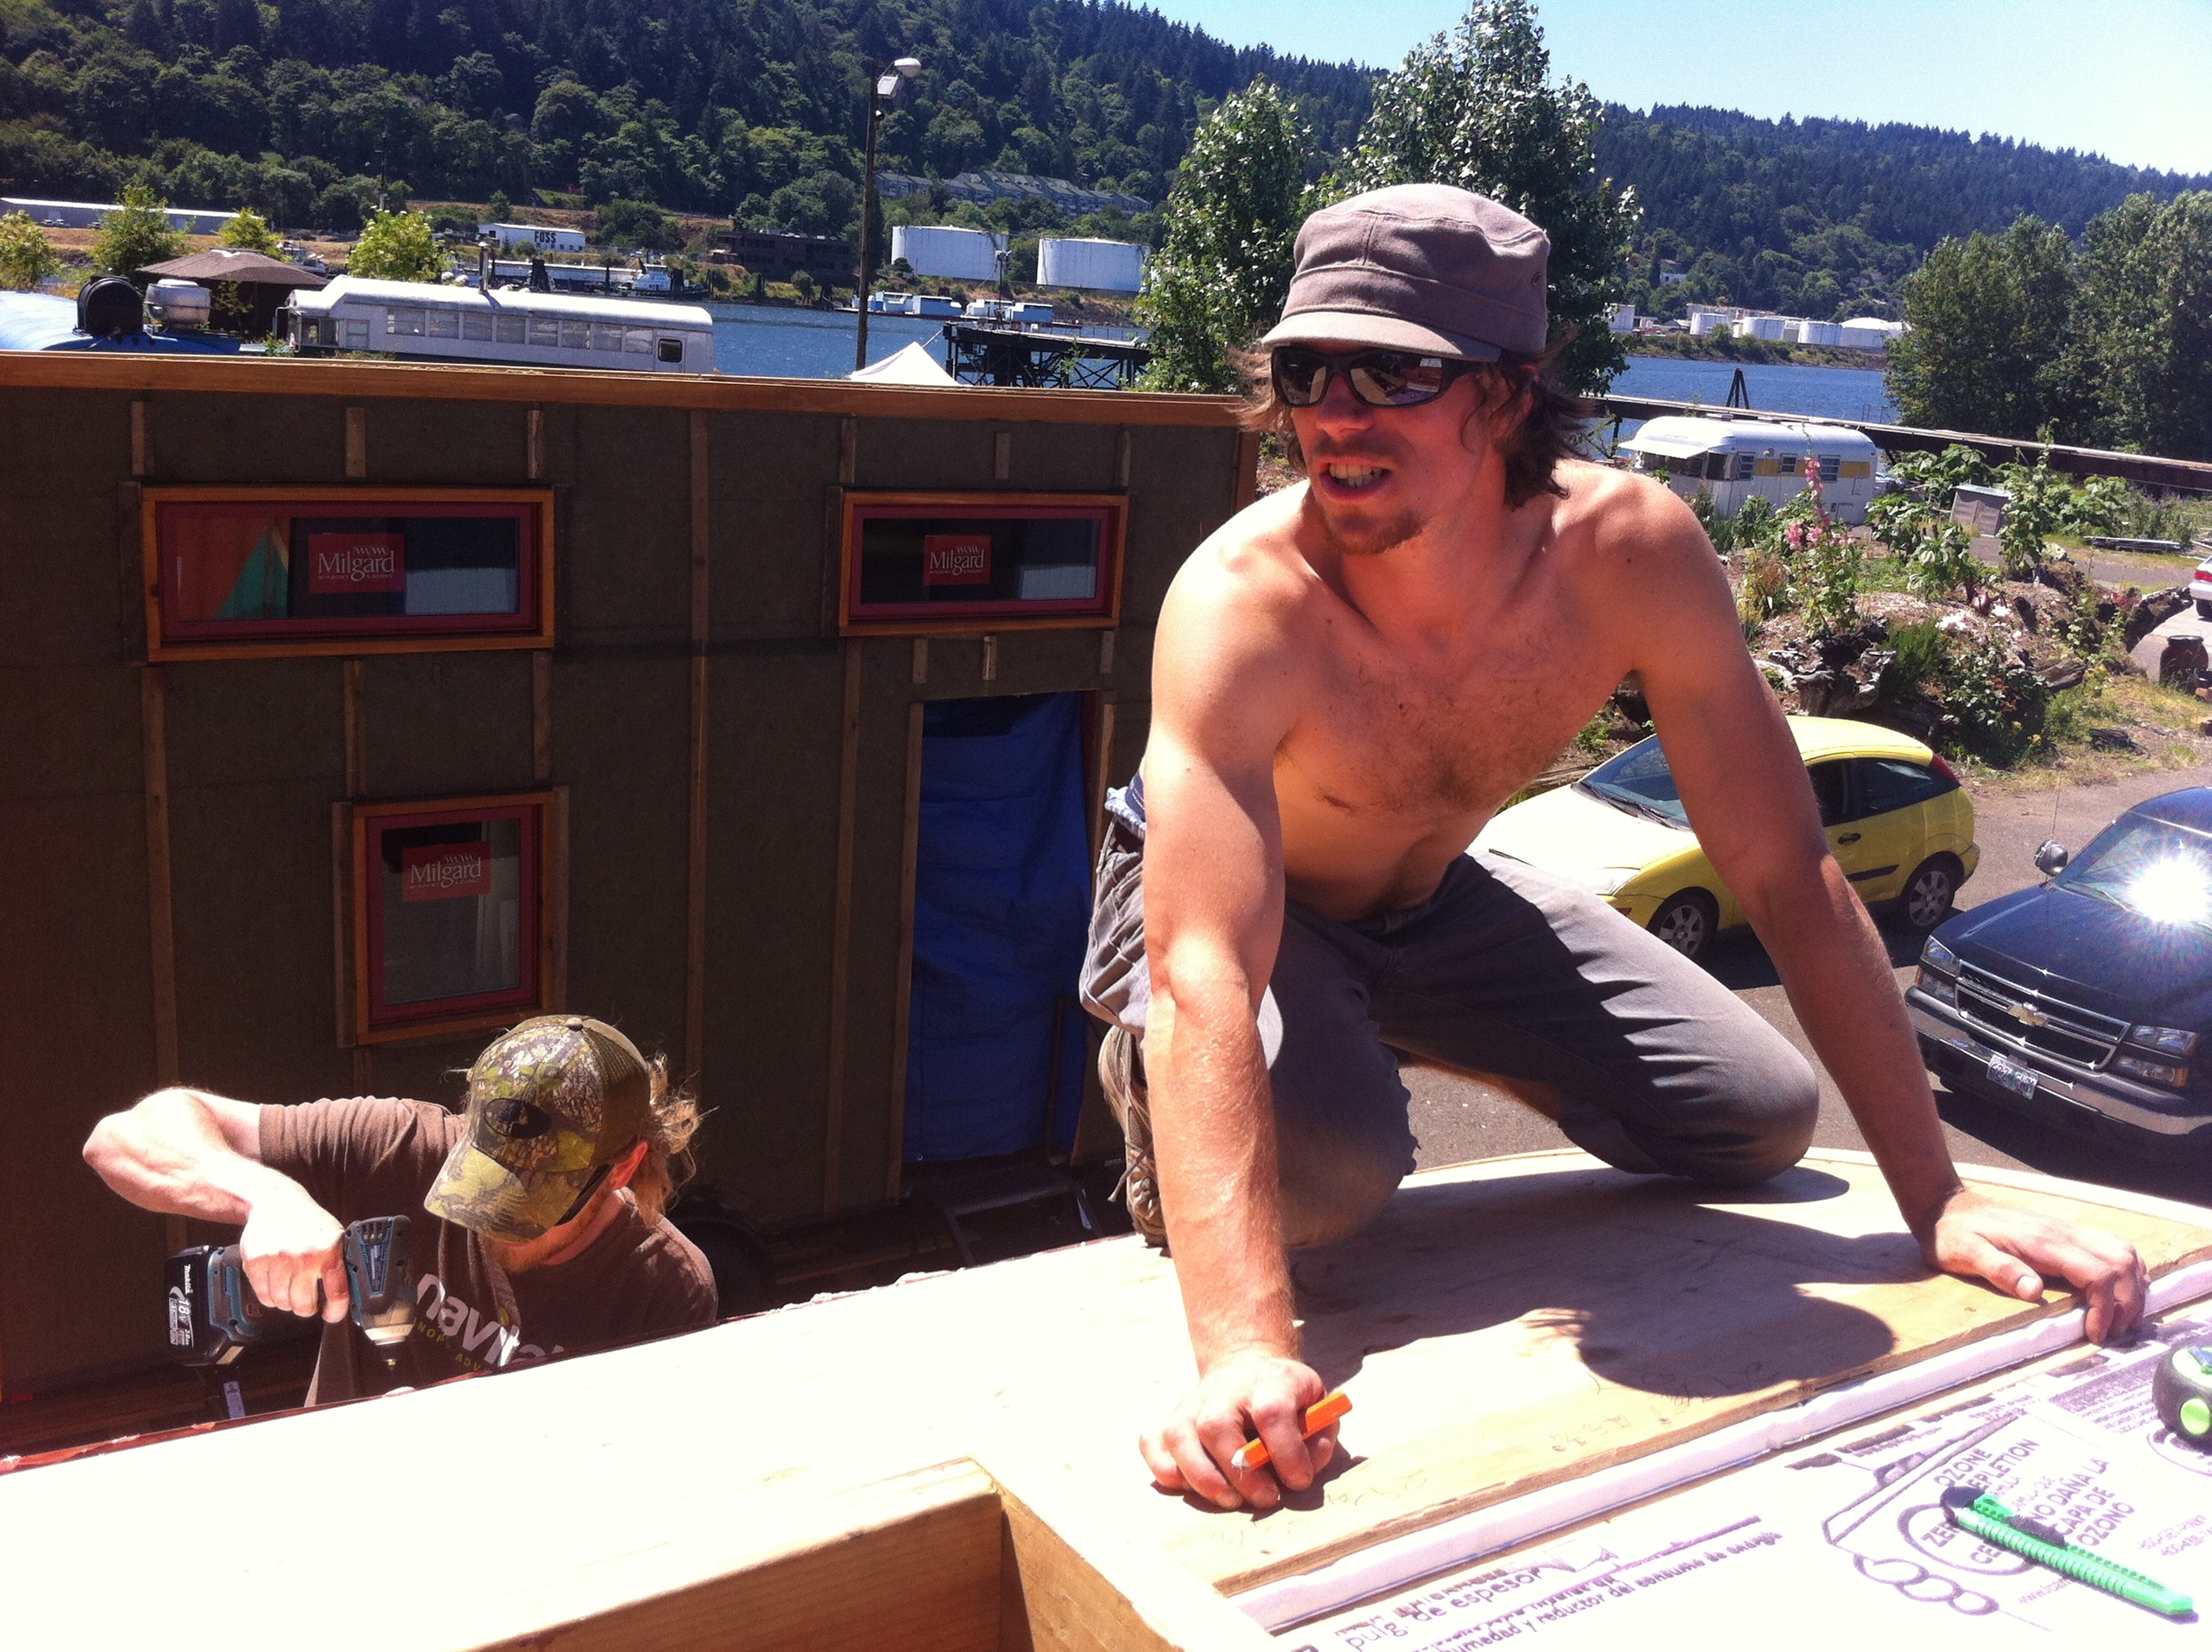
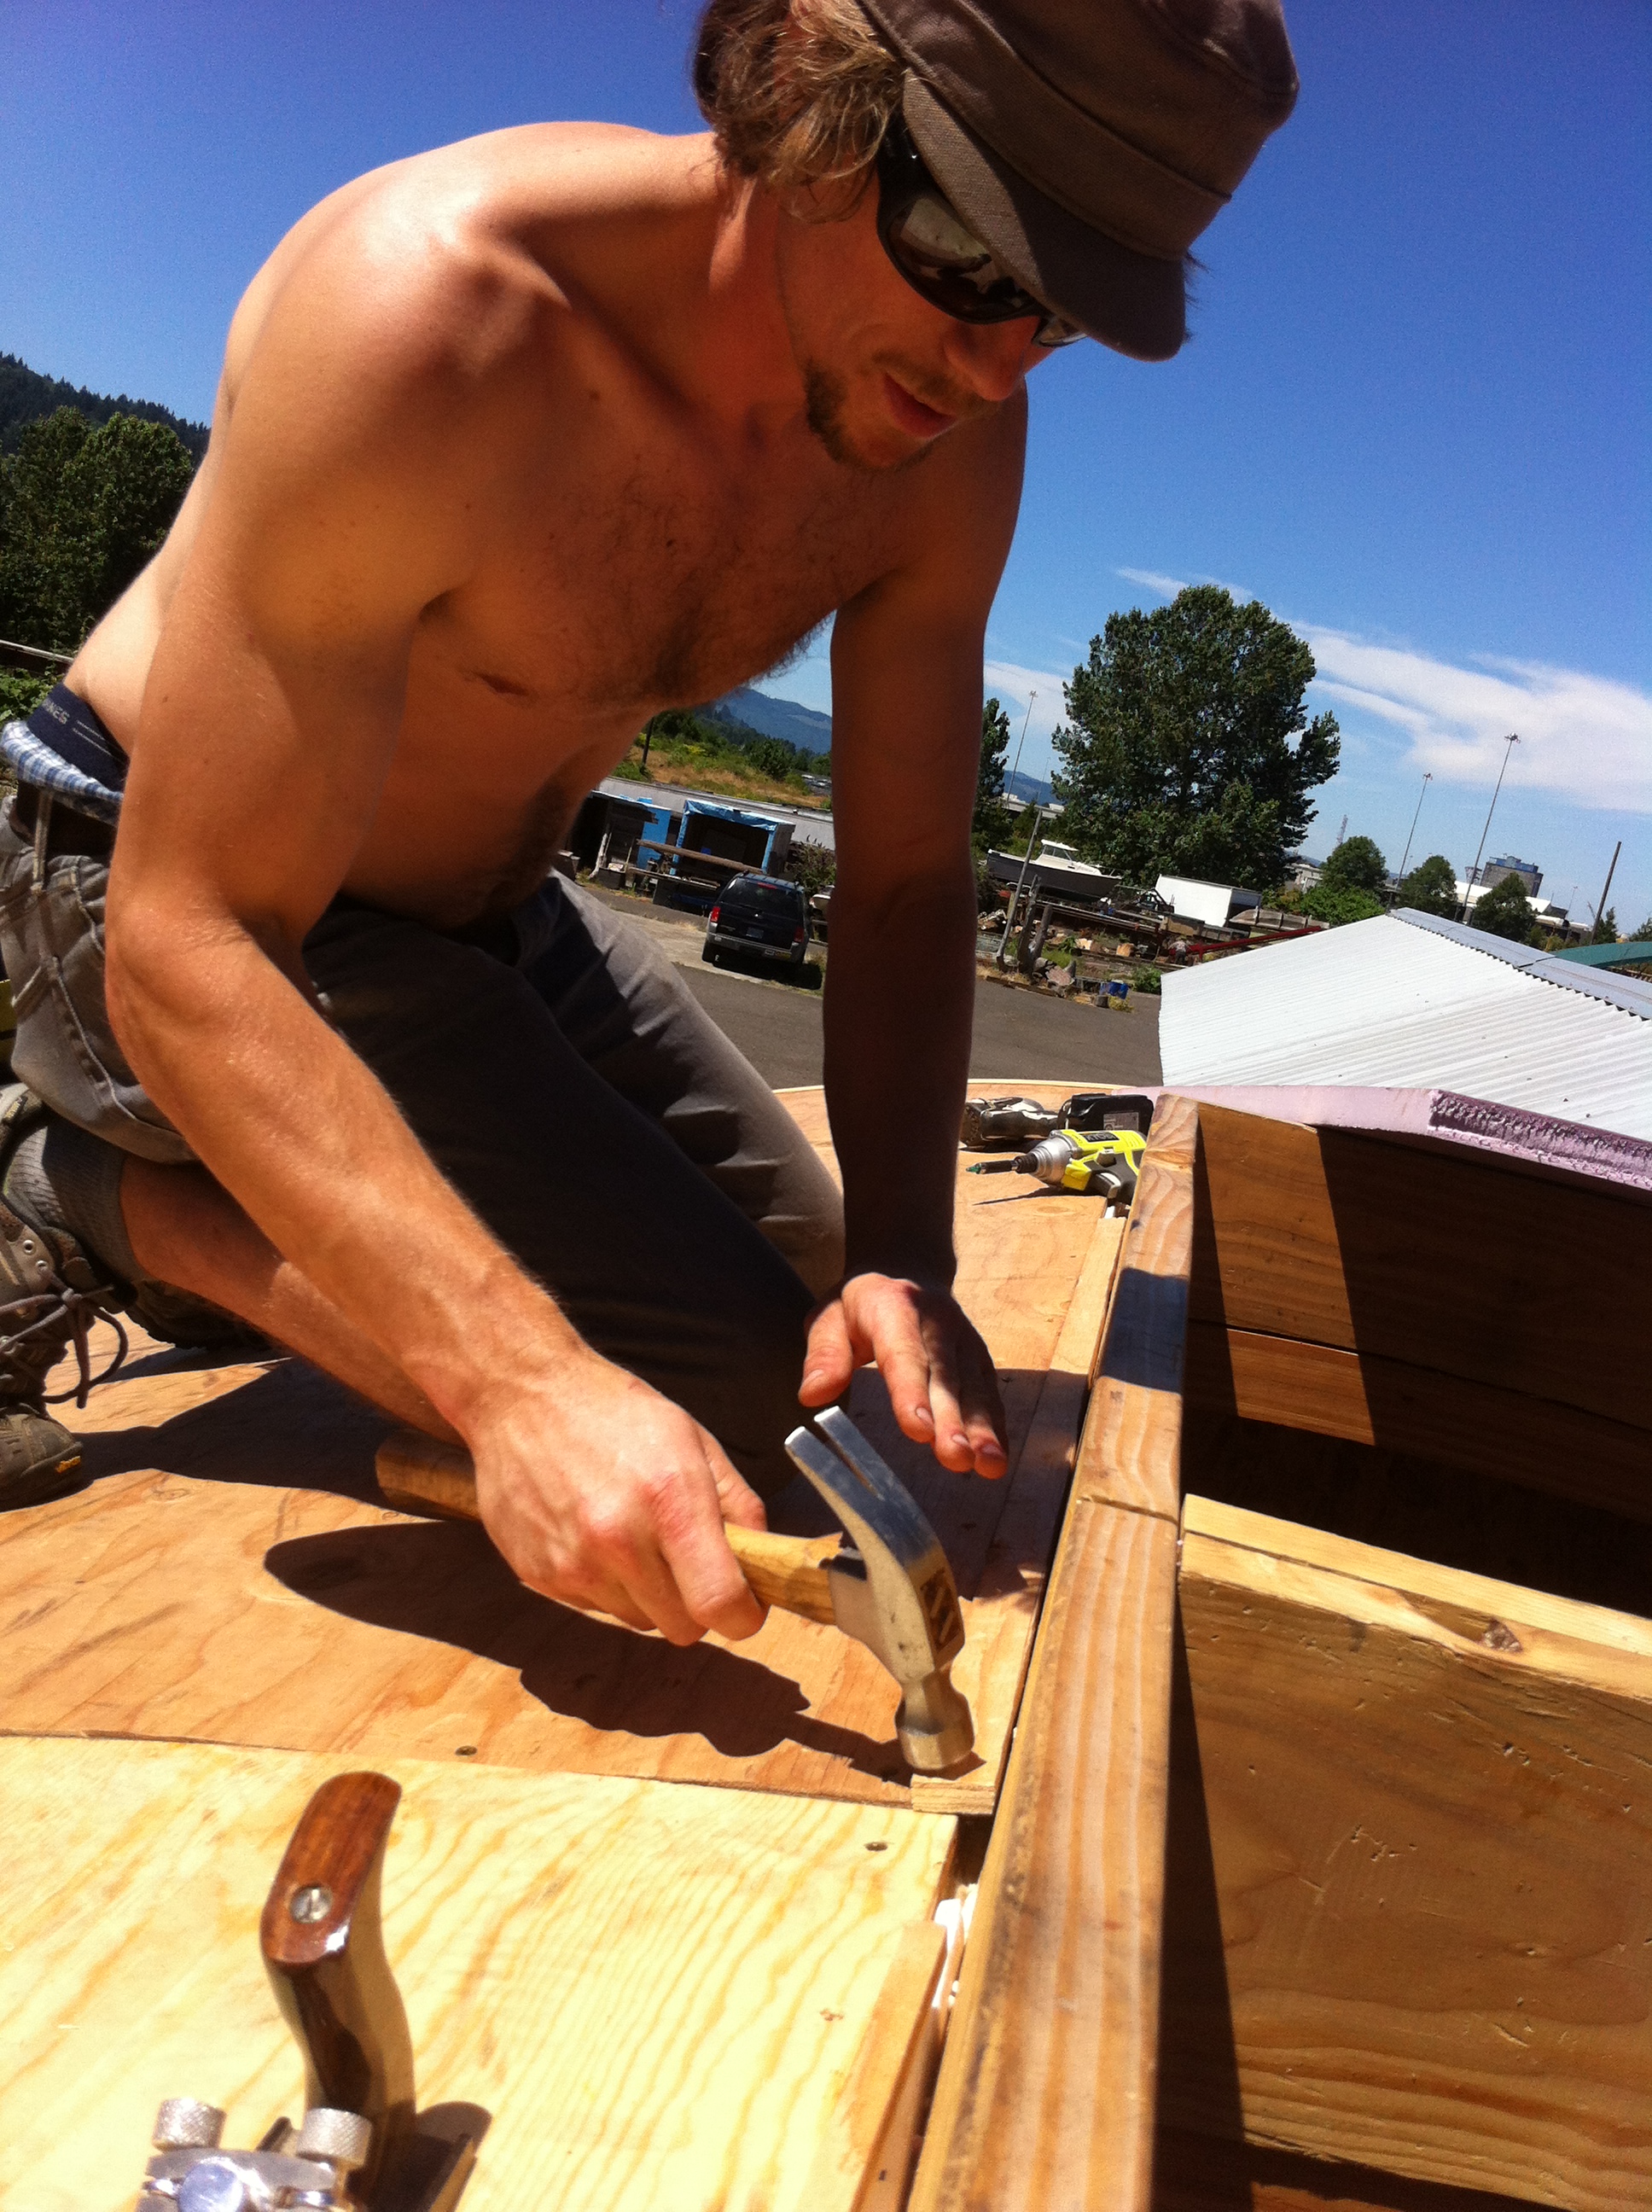
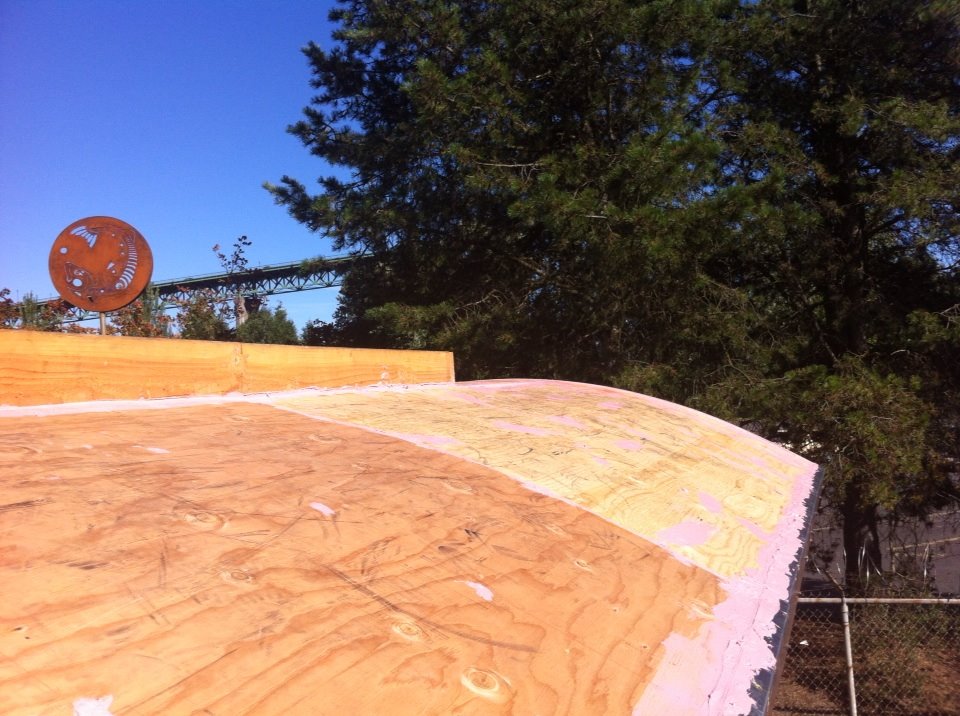
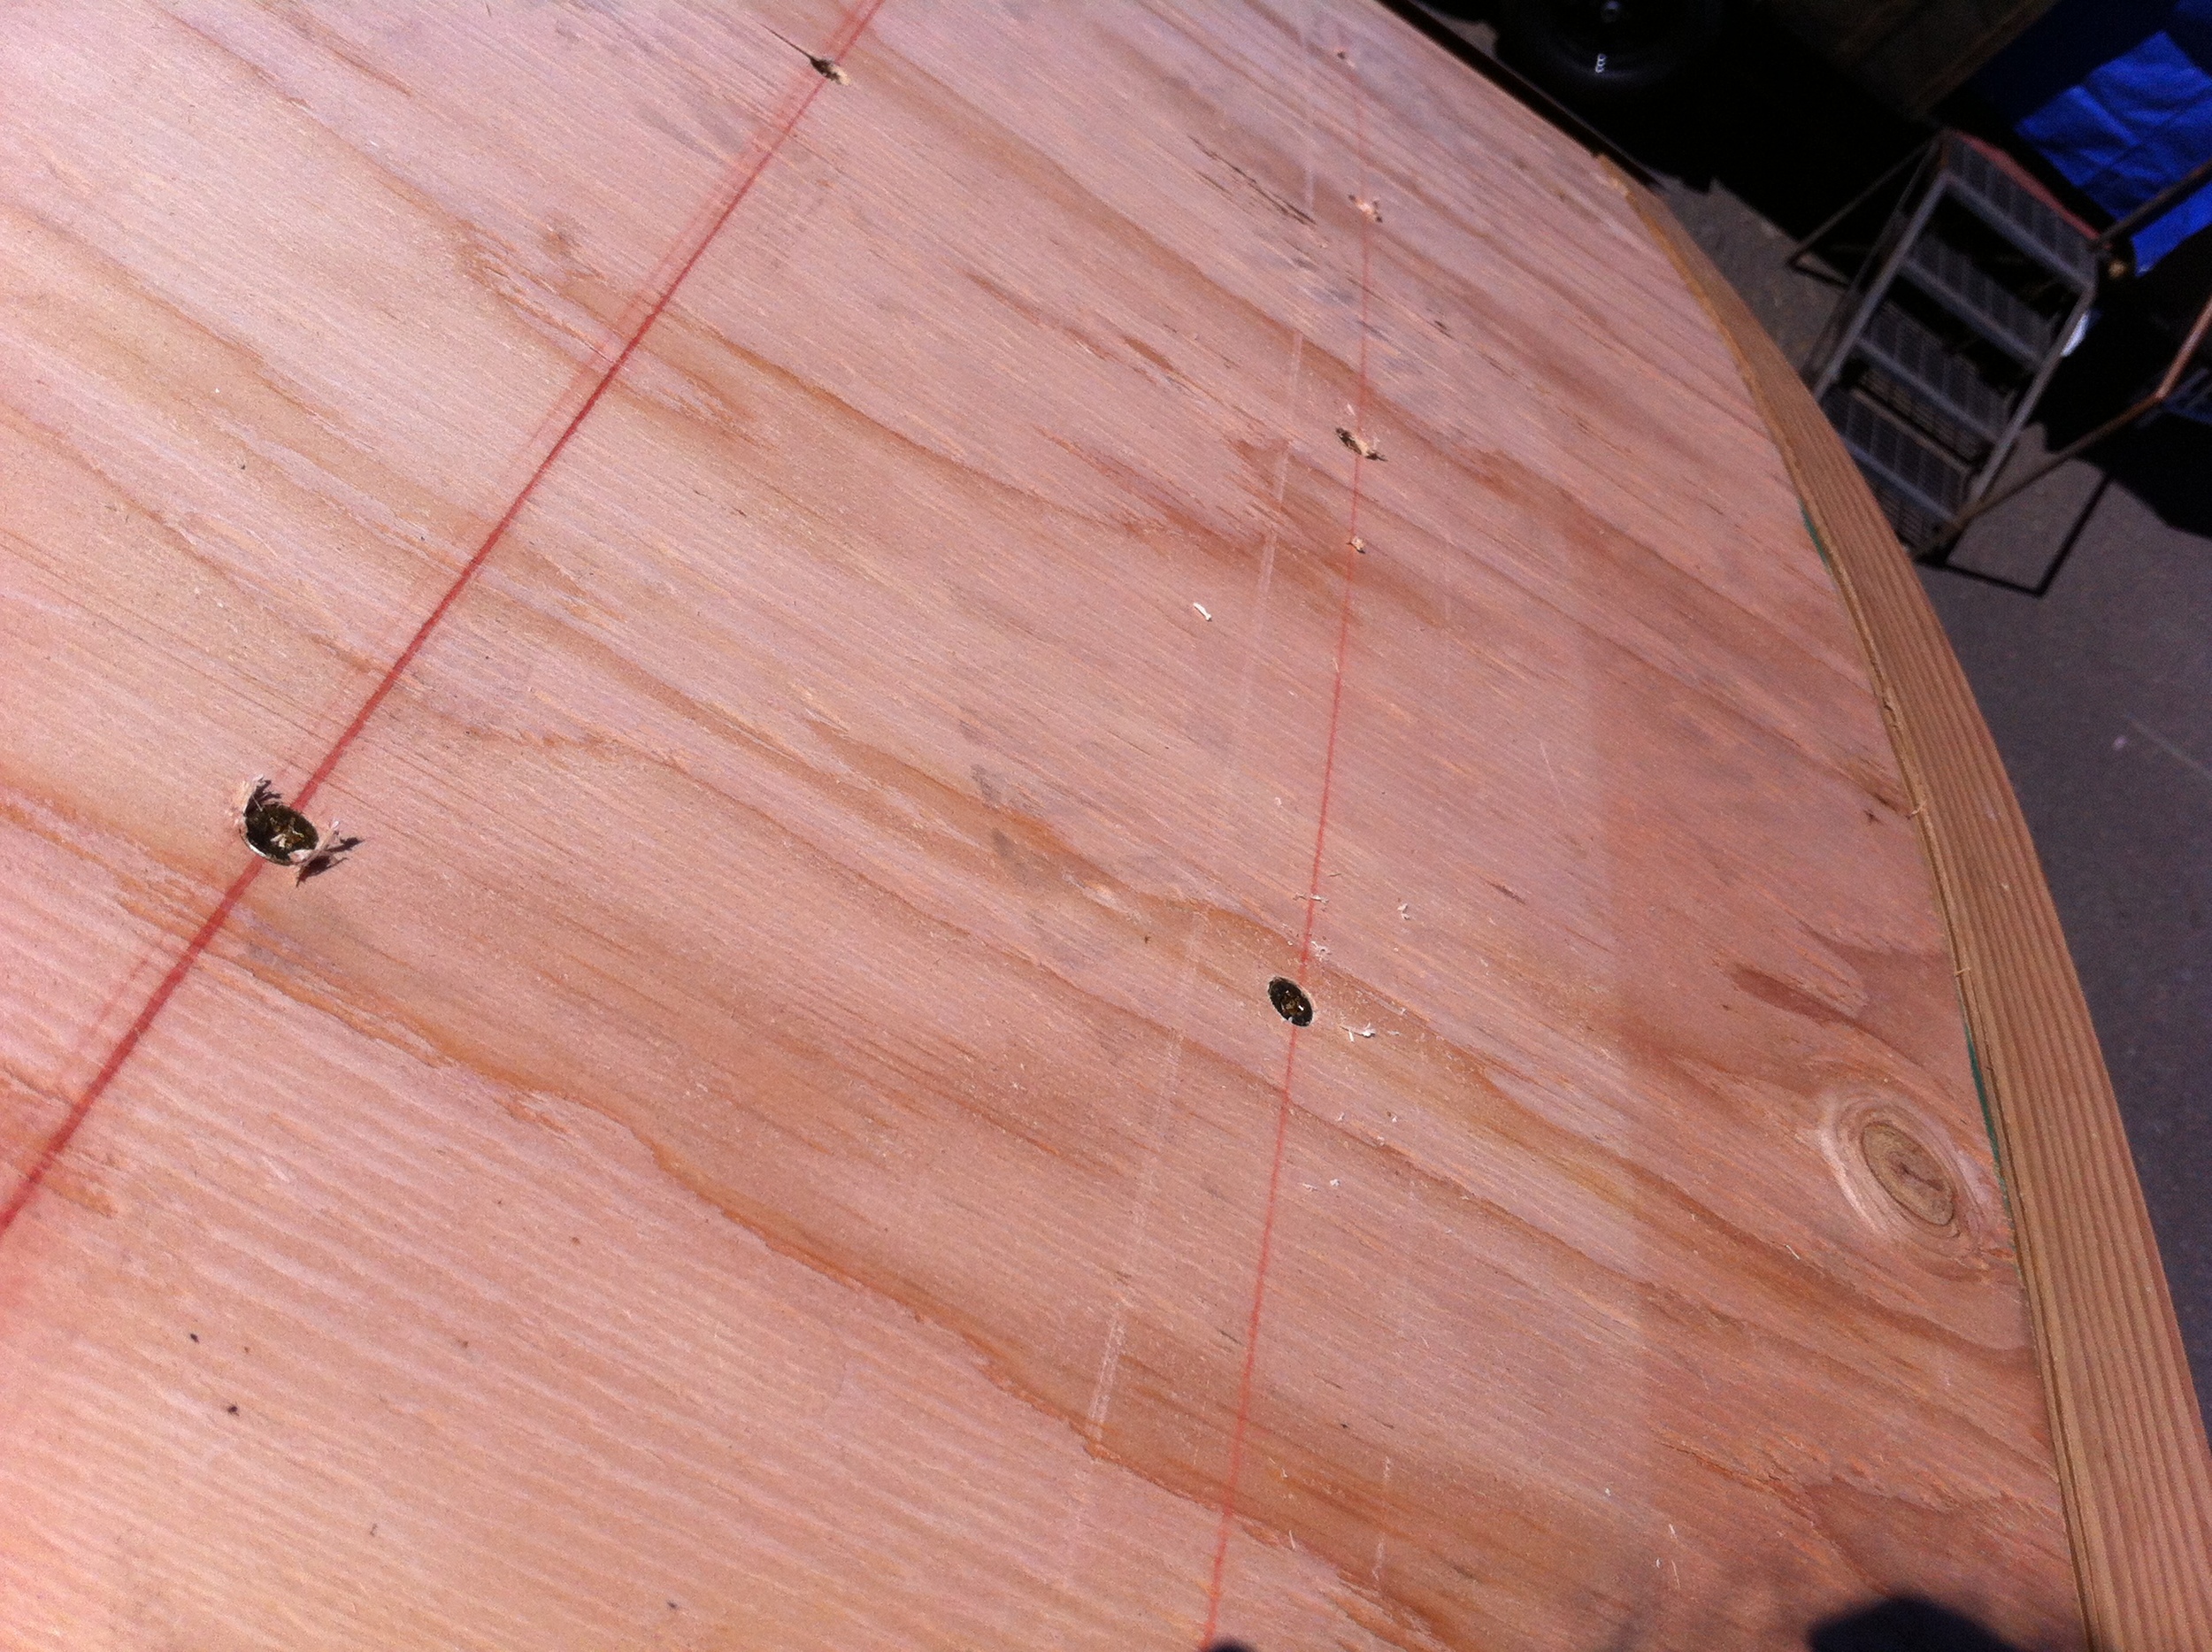
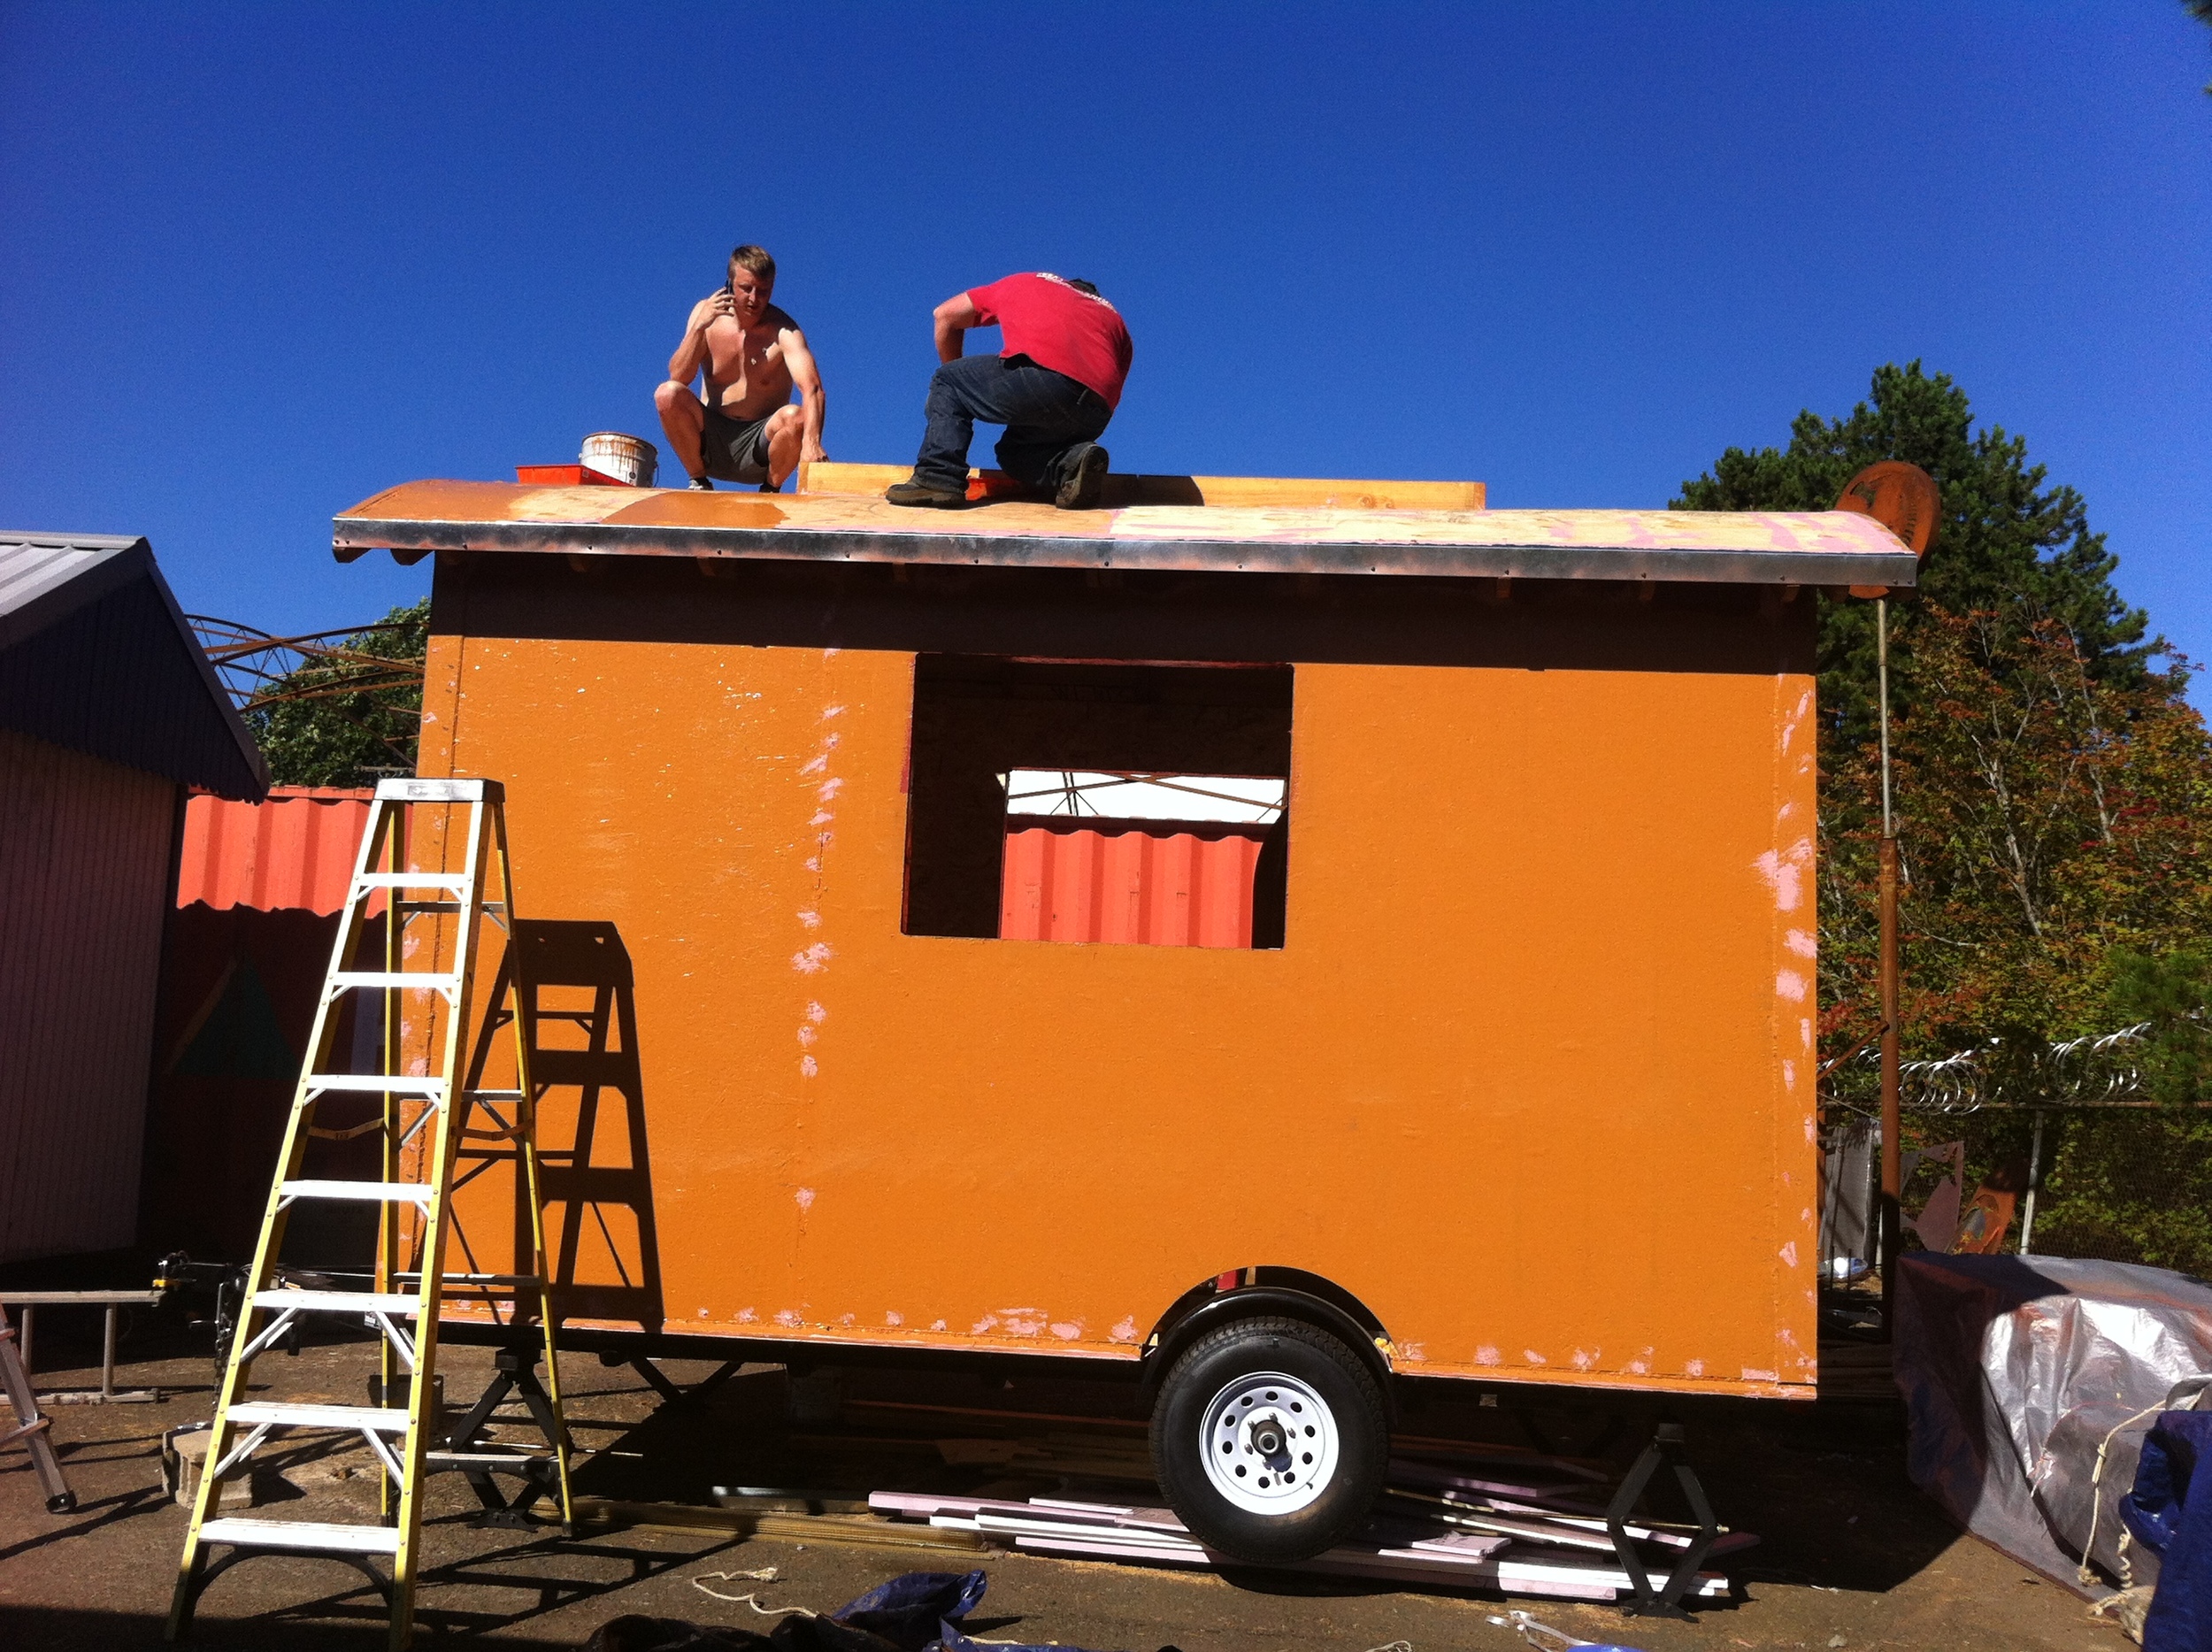
So we got to work. We pulled out the sheets of ½” plywood and checked them to determine right side up (the side with fewer holes to fill!) We’d already put the first sheet up during the Tiny House Mixer, which you can read about in Sidestepping with Siding. So we measured for the second sheet and cut it with a circular saw. We were just about to put it up when Kenny arrived. Together we hefted the plywood onto the roof and marked our rafter lines with a chalk line. Then we fastened the sheathing to the rafters with 4” GRK fasteners (one of my new favorite tools!) When my co-workers Evan and Jesse showed up, we really hit our stride. Kenny has worked in commercial roofing, Jesse is a carpenter, Evan does rigging on the side, and Tony and Aline built a tiny house. This was the perfect crew to have helping me sheathe my vardo roof!
We took a break for fish tacos and horcata at Super Burrito Express, one of my favorite St. John’s lunch spots. And then we went back to work, finishing the insulation at the ends of the skylight box and getting the last of the sheathing up. In the evening Kenny and Tony put the first coat of Cat 5 from the Prosoco R-Guard system on the roof. I’ll do another layer first thing Friday morning.
After a quiet weekend Sidestepping with Siding, it was such a productive day! Tony and Aline even managed to do the touch ups with Fast Flash in my window openings and get My Kitchen Windows cleaned up. Now that my windows and ROs are prepped and my roof is weatherized, I’m ready for Tiny House Window Installation on Friday!
I haven’t been sleeping well because I’ve been anxious about not being dried in. But last night, I slept like a rock all night long.
Hip, hip, hooray! Three cheers for my amazing Tiny House Helpers! I have a roof!
Sidestepping with Siding
Last weekend I got in three good building days. On Saturday we worked on Plan F. Sunday was Plan F: Take 2. And on Monday we were Insulating My Vardo Roof. I was looking forward to another four-day weekend of building so I could get my house dried in (finally!) I haven't been sleeping well because I'm anxious about the rain.
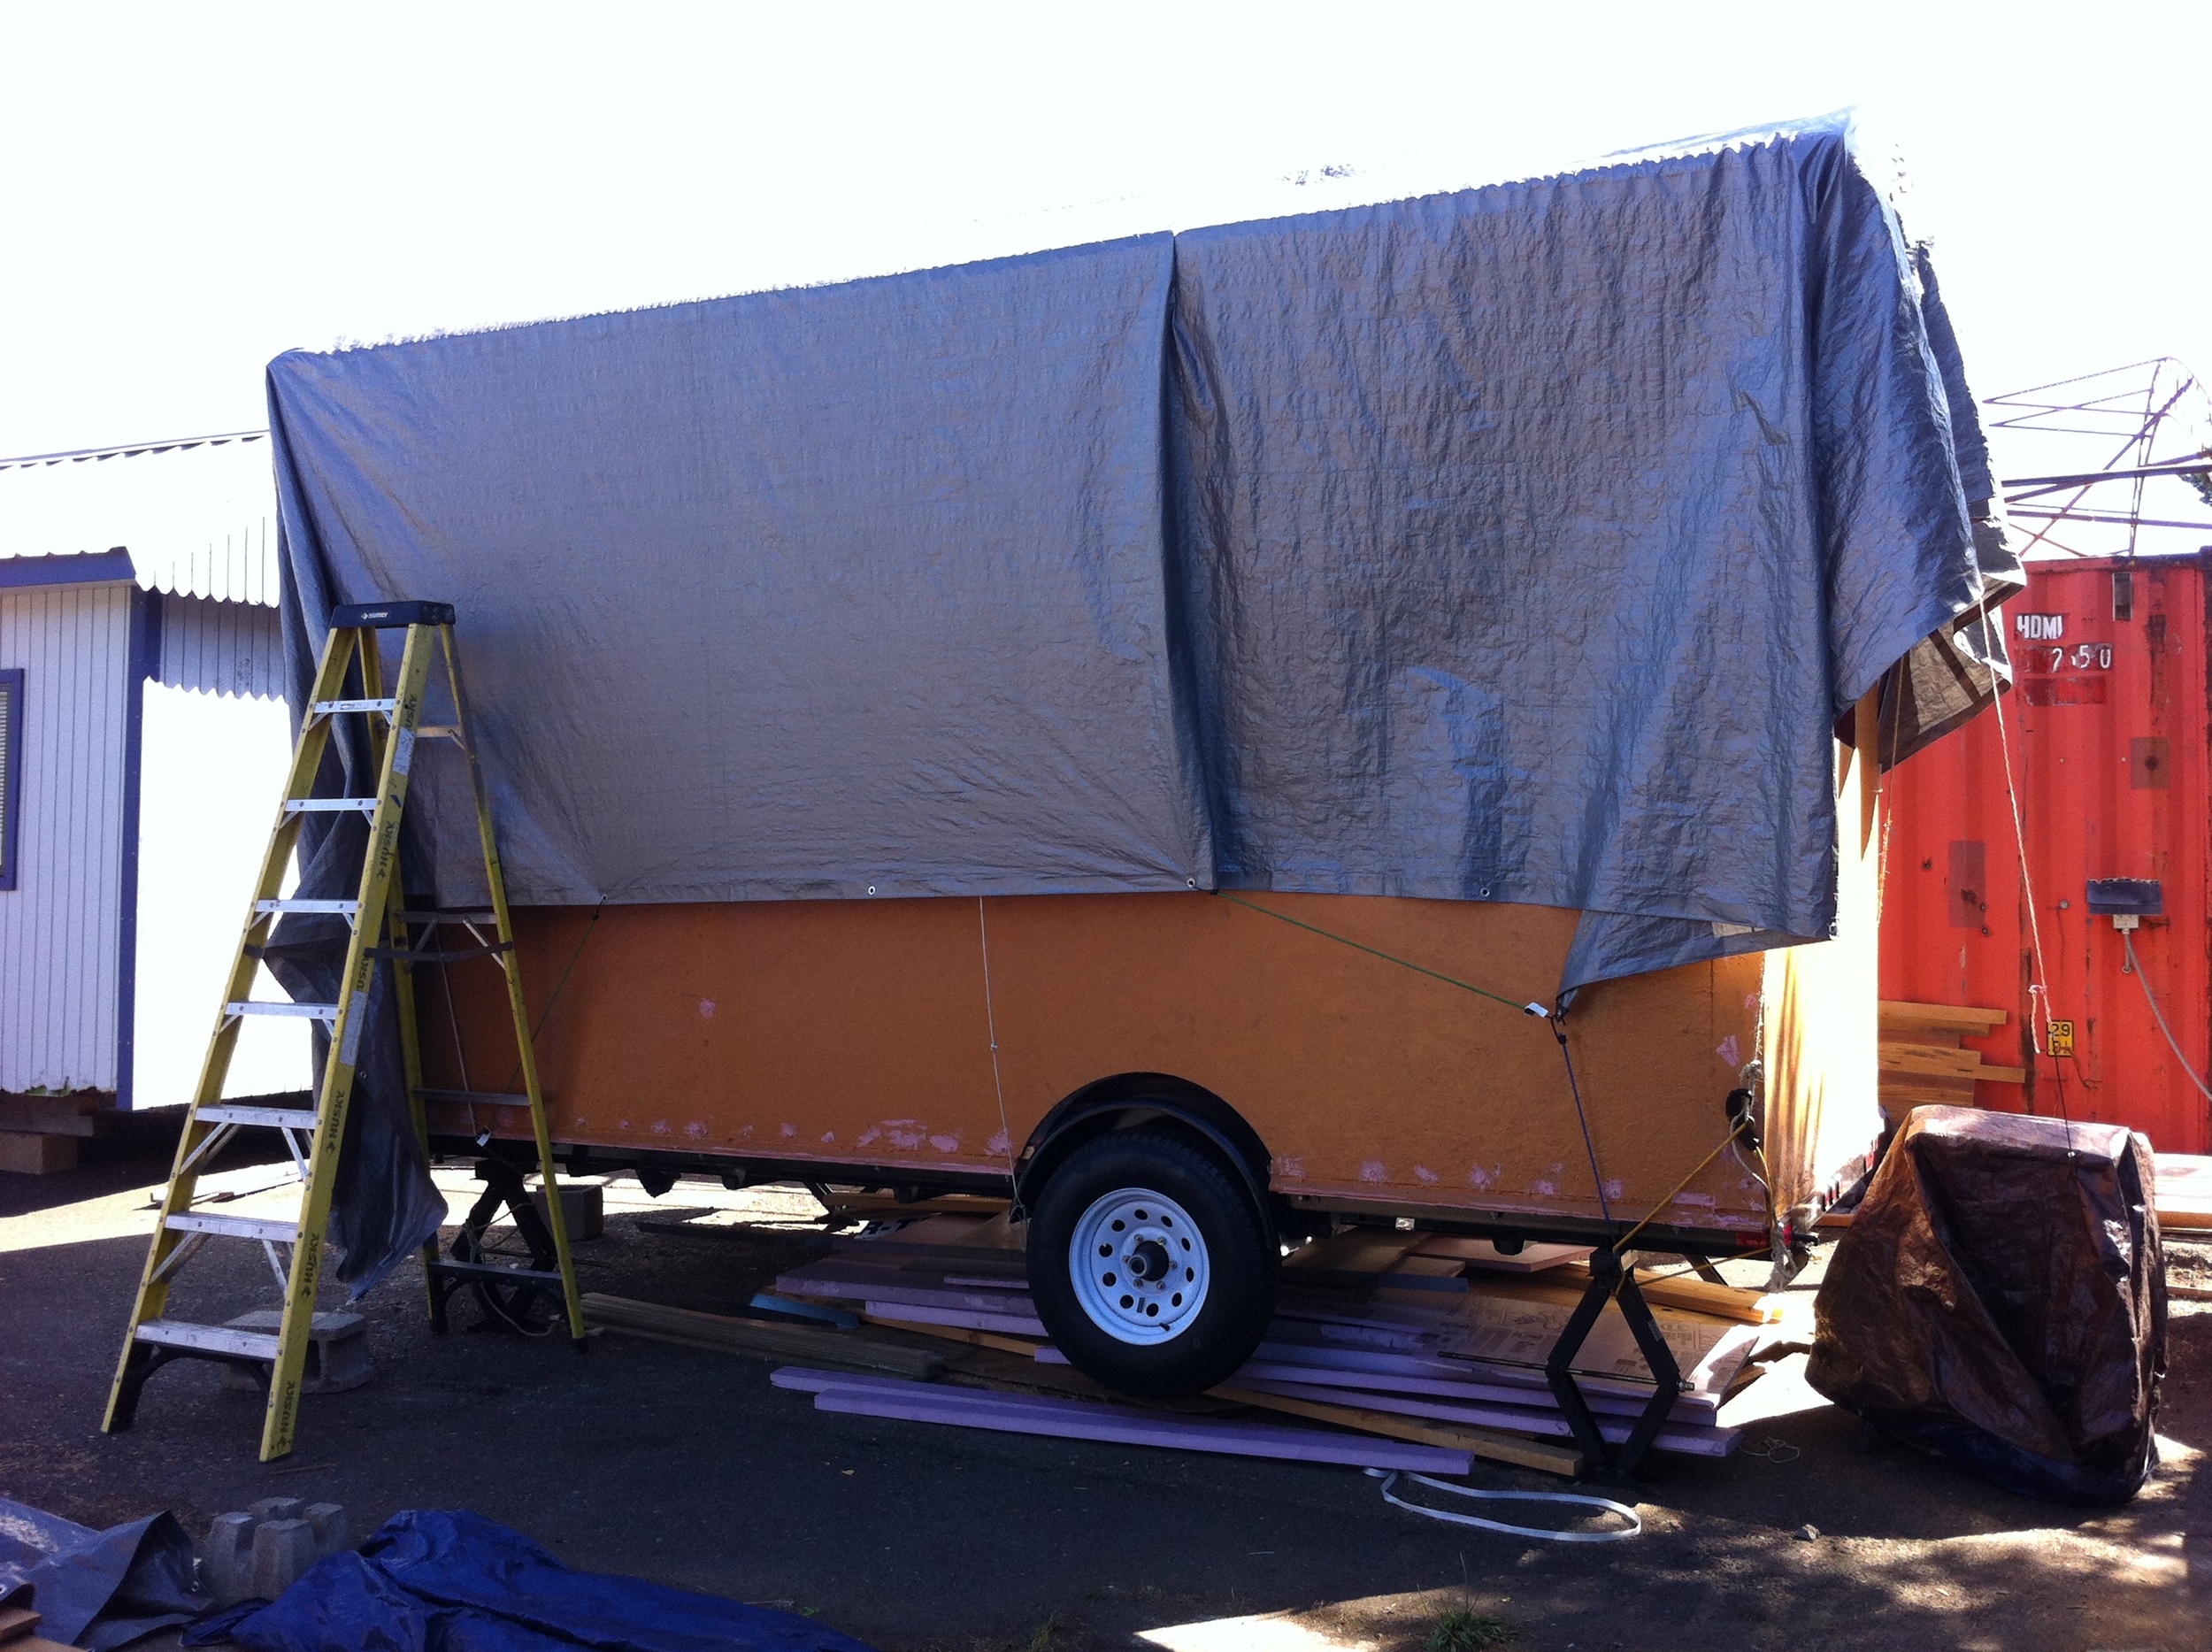
Last Monday we tarpped my house after we'd finished Insulating My Vardo Roof. When I arrived at Green Anchors on Thursday evening for PAD's Tiny House Mixer I was loving the chance to mix and mingle and show off my house. And then I noticed that the rain that had fallen mid-week was pooling in my roof. So I spent the last bit of the event up on my roof - in my dress, mind you - hacking a temporary fix. Fortunately Kol Peterson of Caravan - The Tiny House Hotel, Ben Campbell of Ben Builds a Tiny House, and Benn Kovko who built the Kangablue were all there. In about 10 minutes they helped me get one of the pieces of sheathing up in a critical location so that the tarp can't sag and leak a pool of water into my roof there. That one piece of sheathing went up really quickly. Now if we could just do that six times over...
On Friday it rained buckets. (I'm starting to notice a trend here: it's rained the past three Fridays!) And the roof is definitely the next step. But I just couldn't work on it because of the rain. On the other hand, I didn't want to stall out. So instead I worked in the morning and then decided to sidestep my unfinished roofing project by sourcing my siding. I spent my afternoon at Building Material Resources to hunt for cedar siding and trim for my exterior. I rented a truck through Getaround, one of Portland's wonderful car sharing programs. (Stay tuned for my forthcoming flow chart about how to decide which car access system to use if you're not a car owner!)
I may have had a little too much fun at Building Material Resources. I'd been fantasizing about tongue and groove (T & G) cedar siding for the lower portion of my exterior walls, but didn't think I'd find it at a price I could afford. I'd found a good price on pre-primed T & G somewhere else, but that would mean I'd have to paint it and I really wanted stain-grade. So I was on the look out for cedar fence boards, figuring I could replace the siding in a couple years to what I really want. And then I had a stroke of good luck, just as I did the day I found My Kitchen Windows. I found a pallet of the T & G cedar in varied lengths. Most of it was too short and some of it was too beat up to use. So I sorted out the pieces that would be long enough and ended up taking everything that was salvagable. Building Material Resources also had 5/4 cedar boards which I snagged for my trim. And, as I was checking out, I also discovered that they sell round-tipped cedar shingles at half the retail price of other suppliers, so I bought a box of those, too. On my way out of Sherwood, I stopped at Lakeside Lumber on a tip from tiny house builder extraordinare Katy Anderson to pick up Deco Corner - curved corner trim boards. My house is going to come together even more beautifully than I'd hoped!
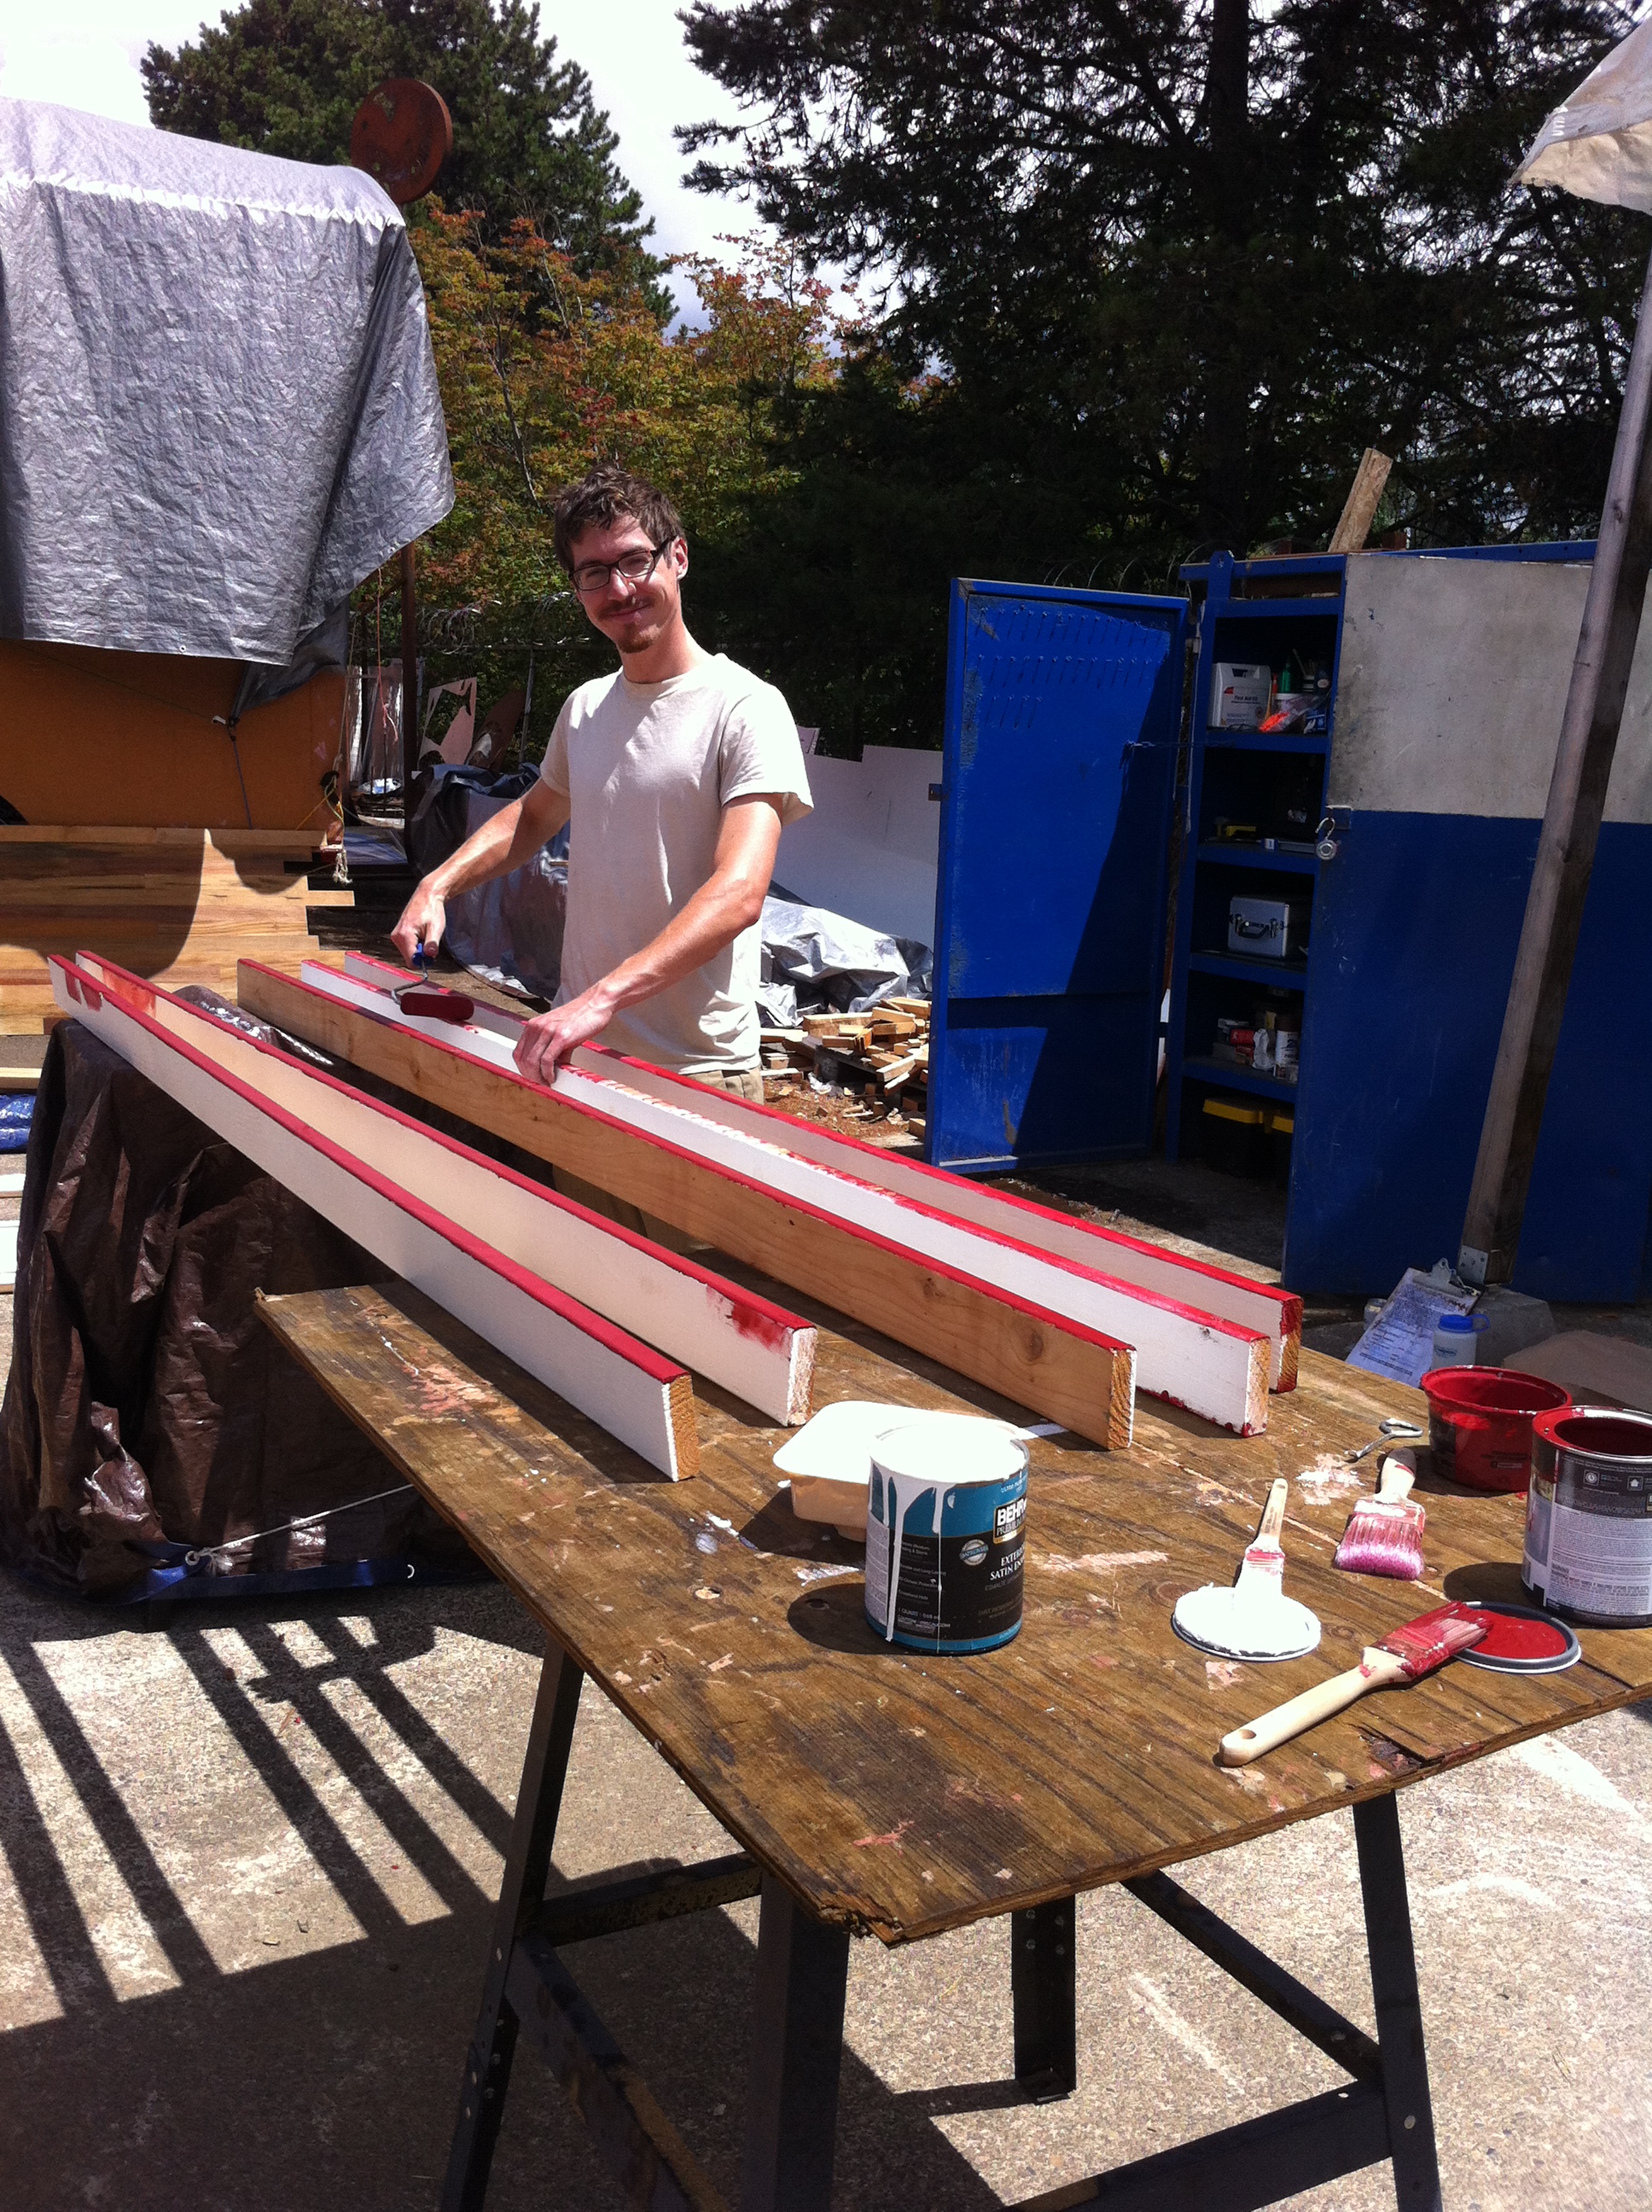
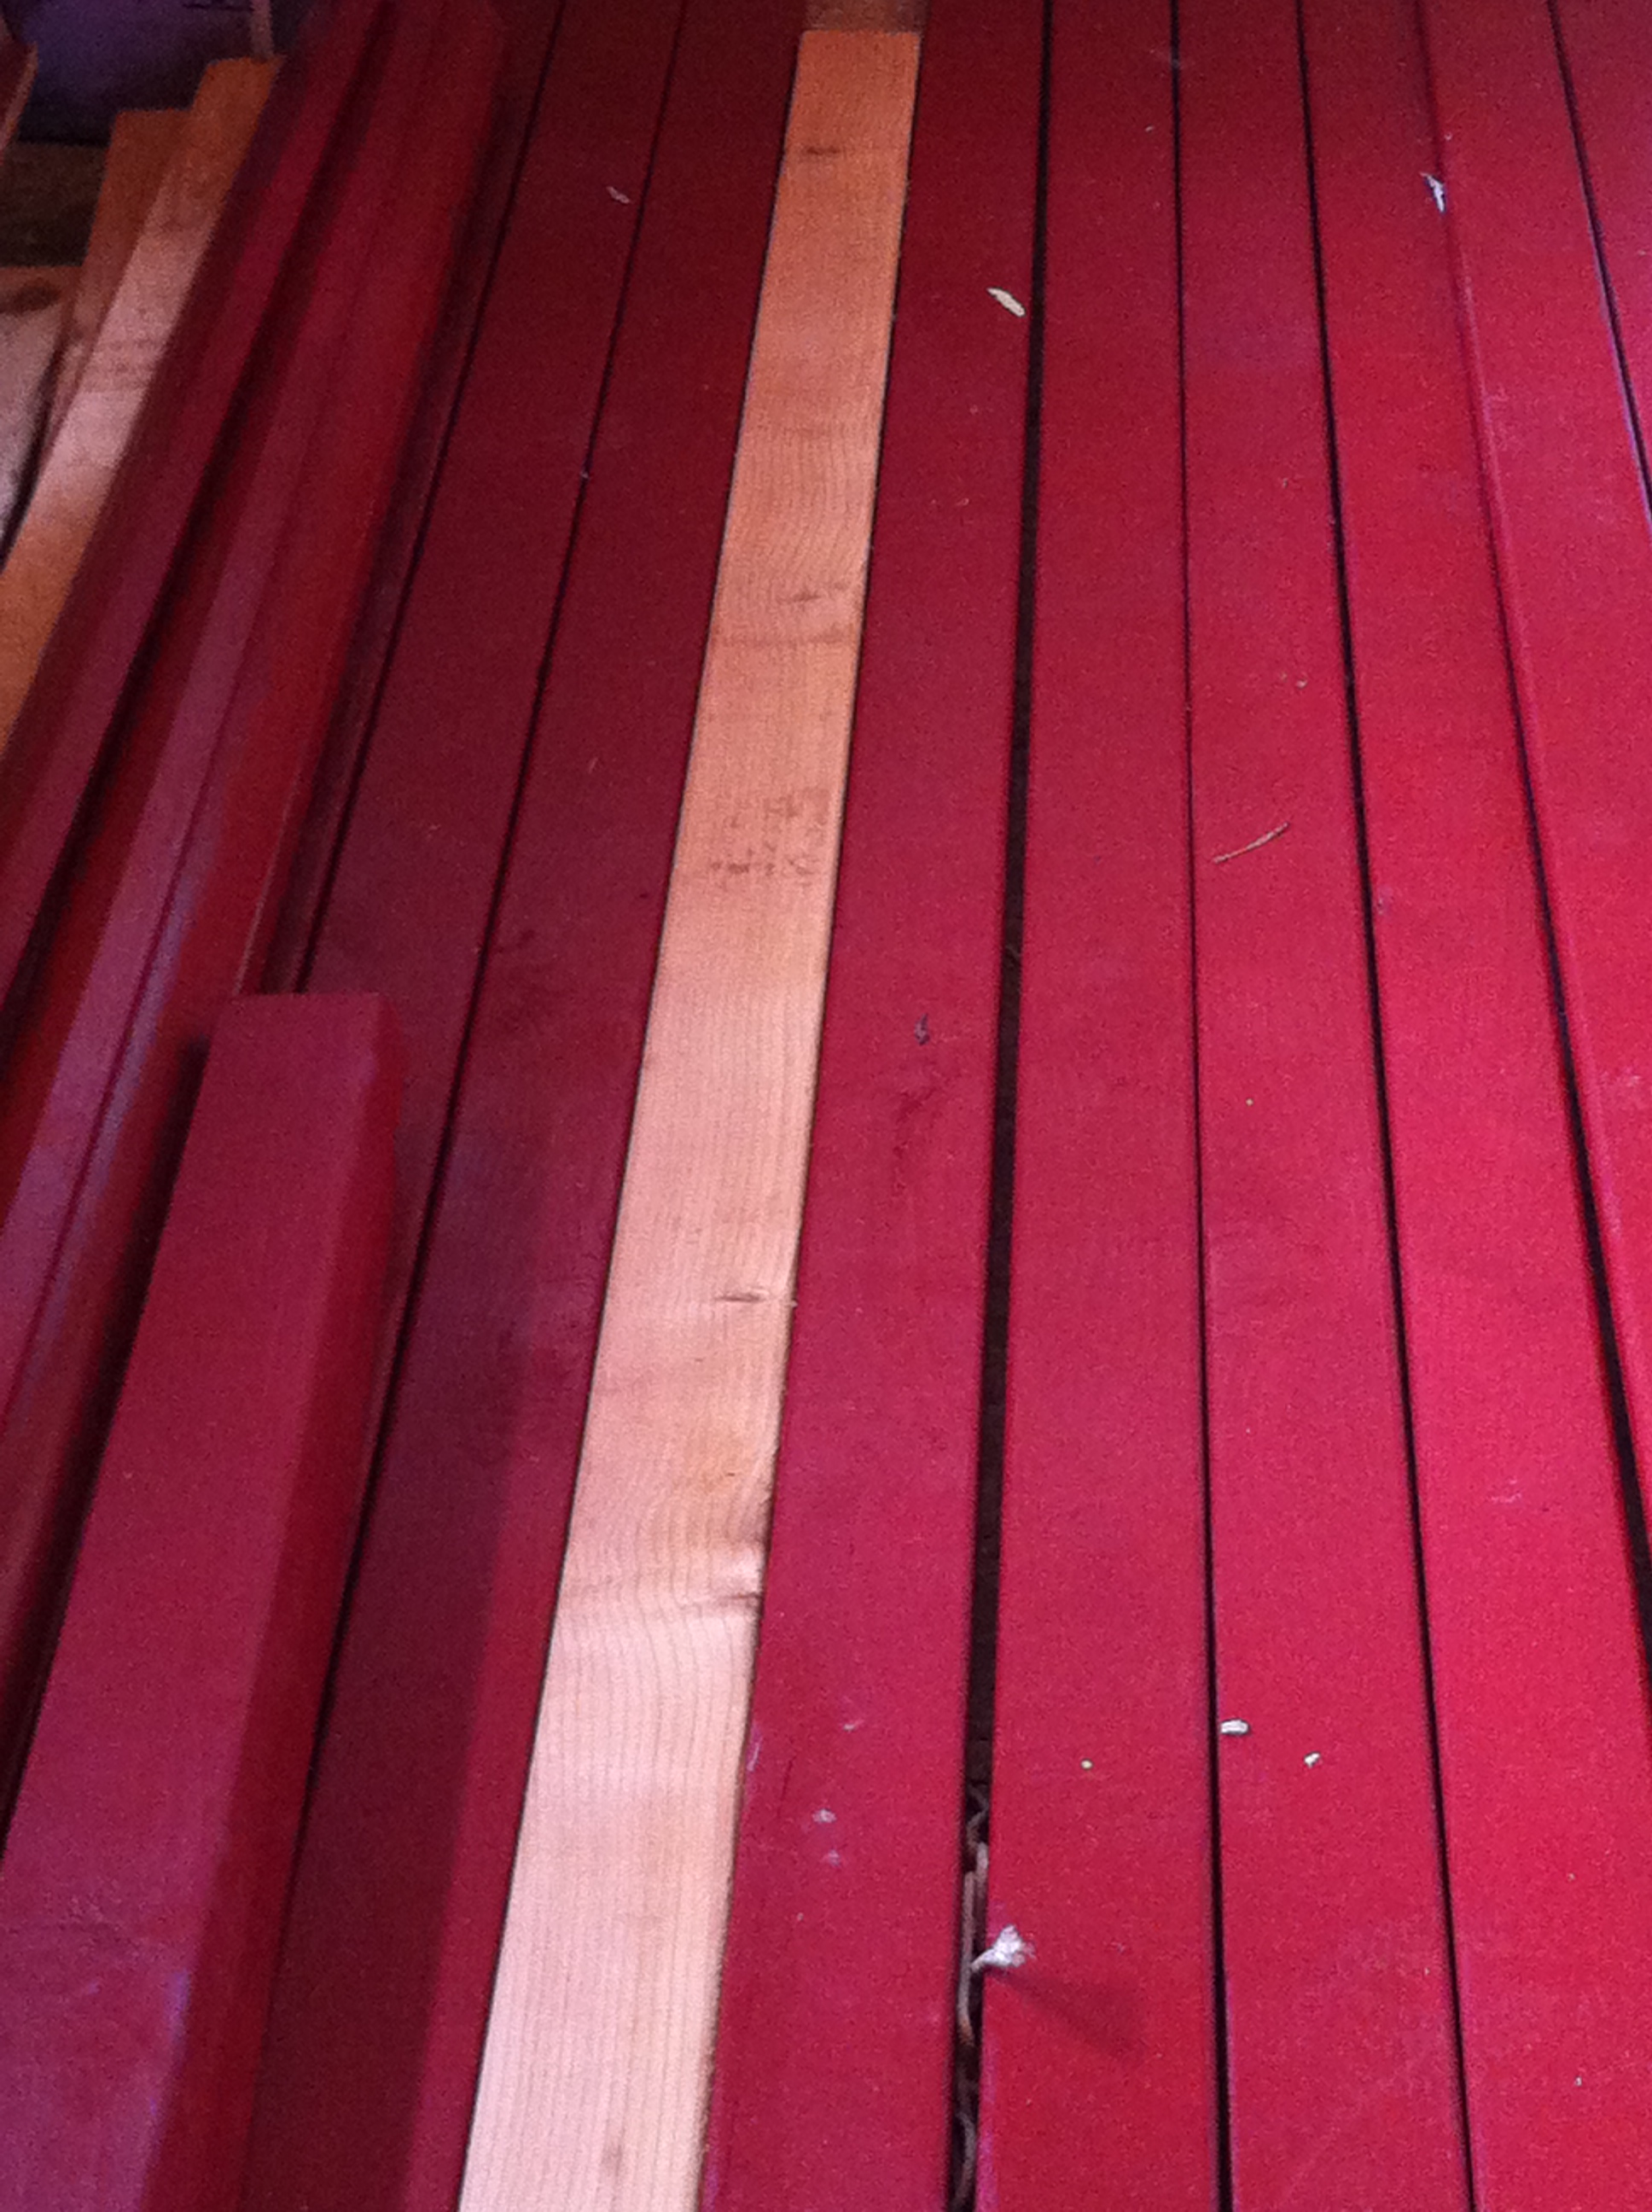
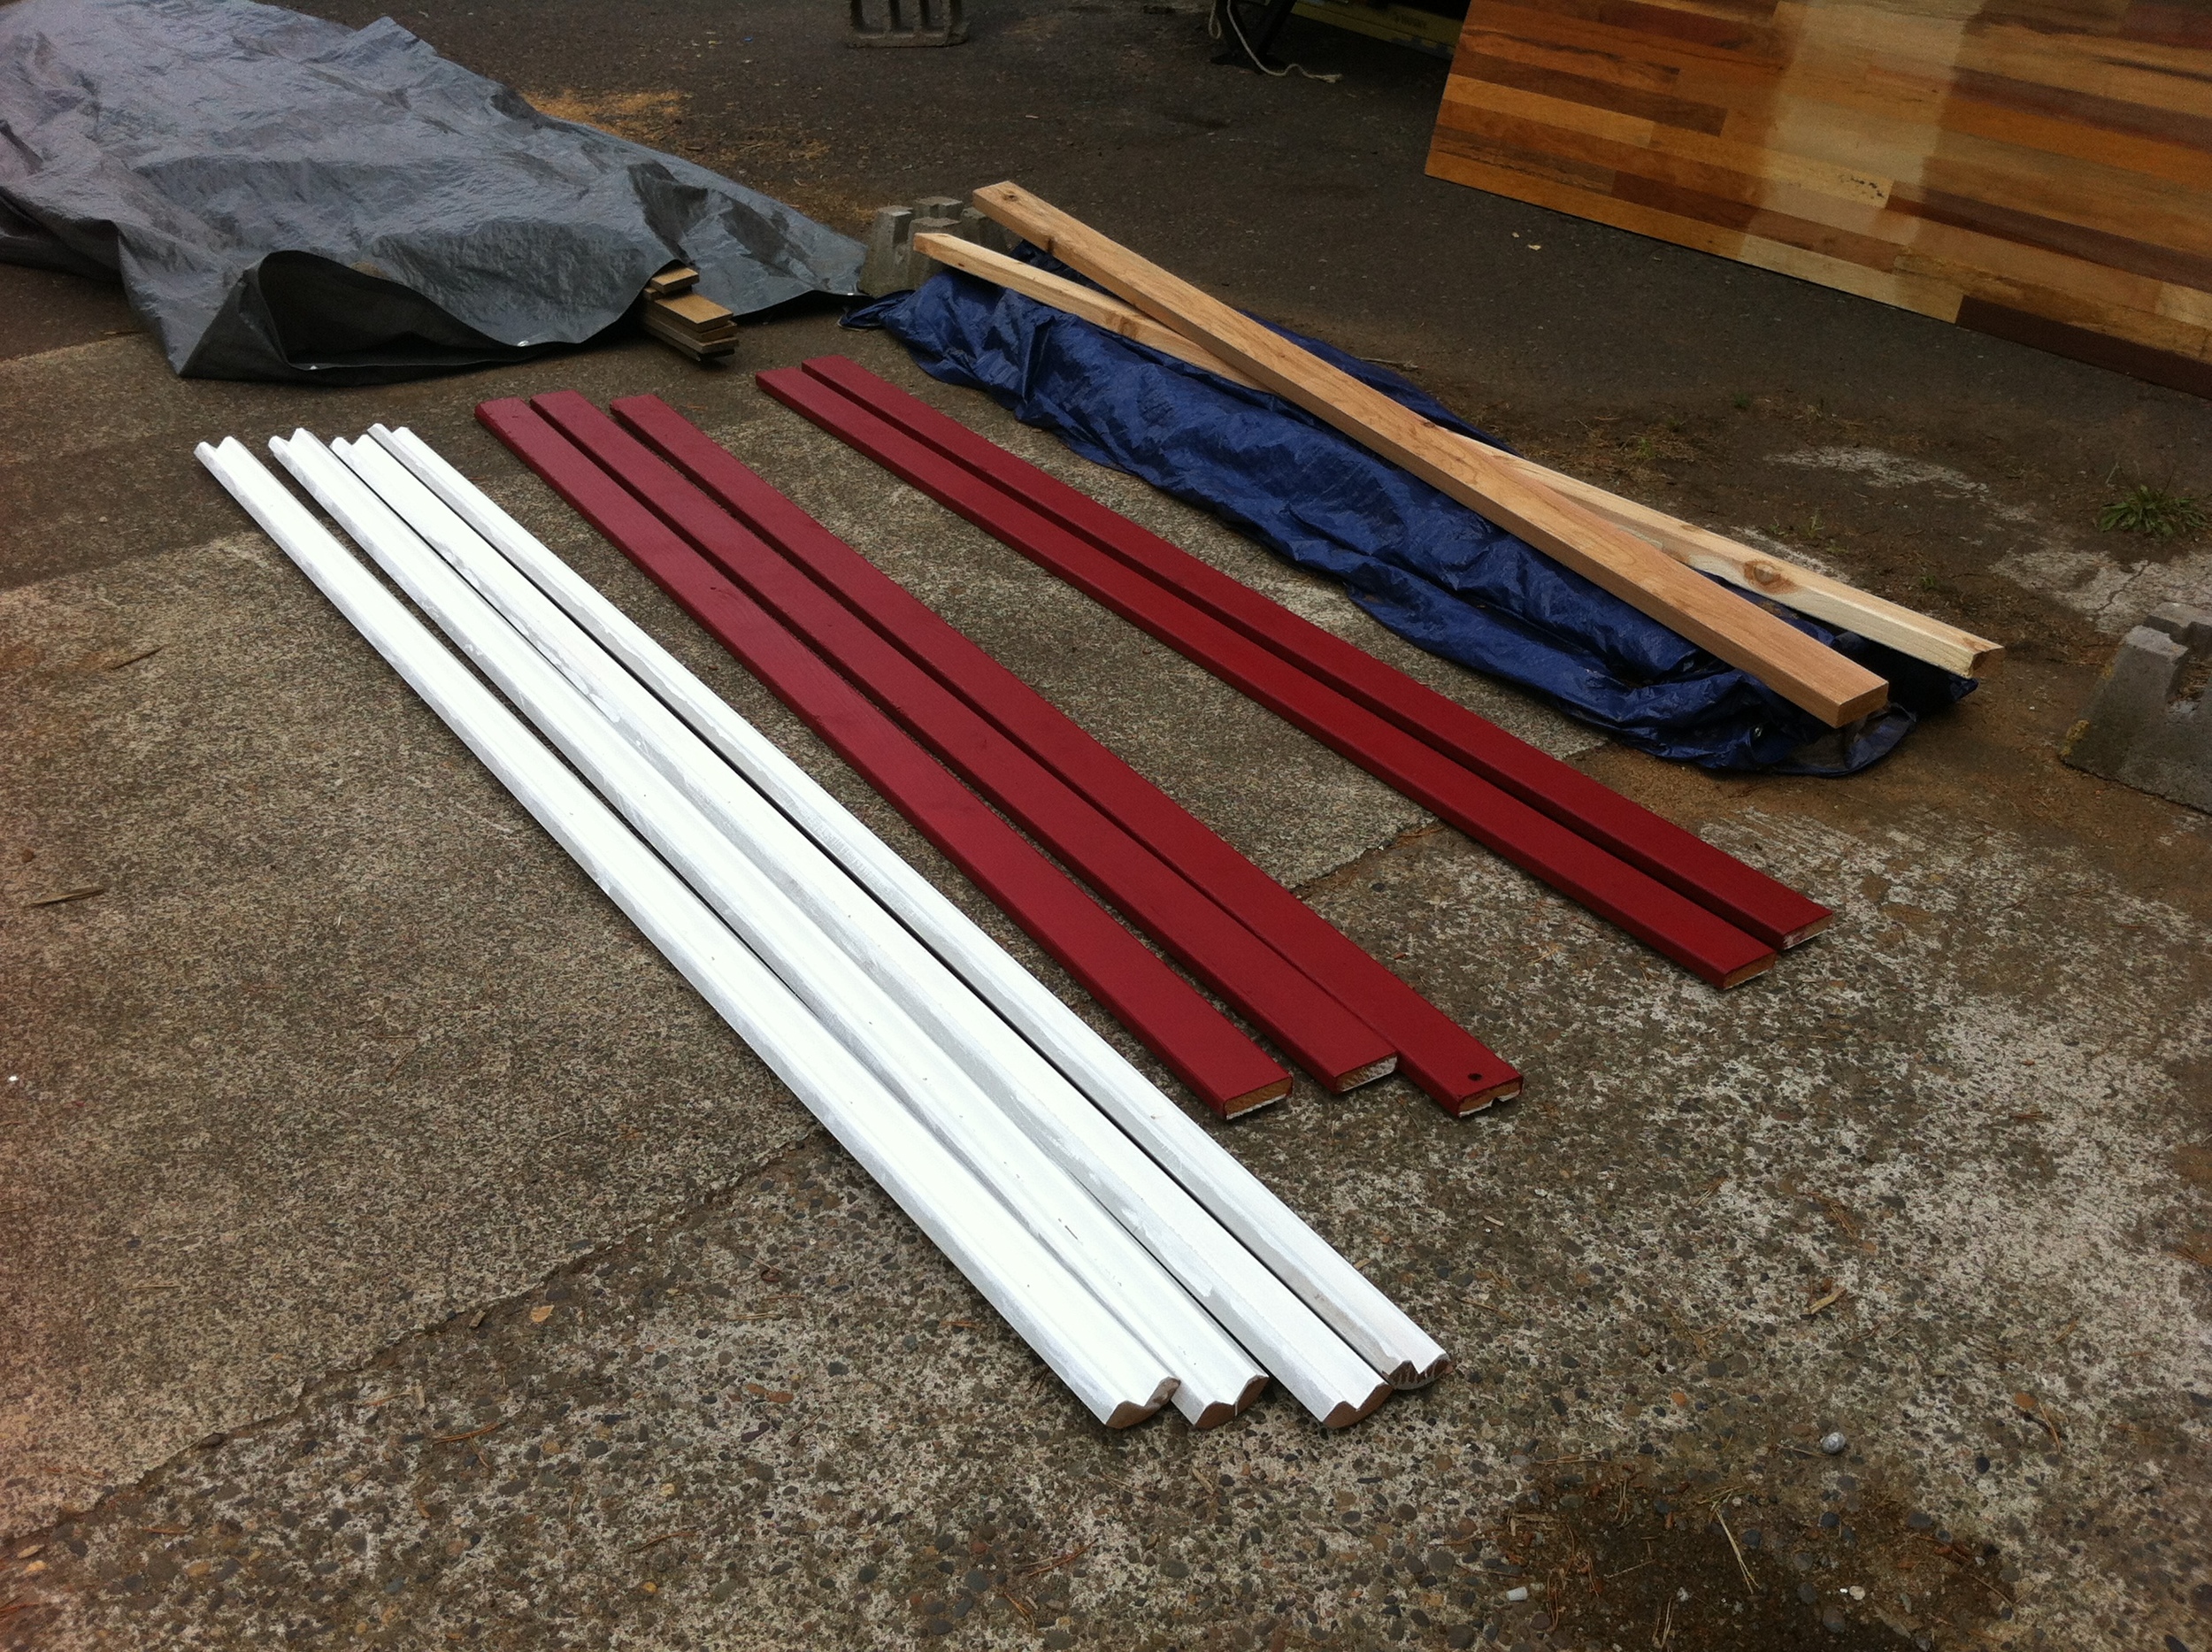
Saturday the weather was iffy again so my friend Chris helped me paint the trim and prep the sill plates for My Kitchen Windows. We painted the backs of all the boards with white paint because it's cheap and easy. Then we painted the visible sides with the same beautiful burgundy I'd picked for my door jamb. I'm in love with this paint color!
I also sorted out my tool cabinet, which had become fairly disorganized after a month of weekend work parties. I hauled out everything I no longer needed and made a trip to the hardware store to return it. I hate being one of those people returning a cart full of stuff, but really I'd rather have more than enough and return it than have to make a fourth trip to the hardware store to pick up more. Besides, I had a truck and it was a great time to return the insulation sheets I wasn't going to be able to use after Insulating My Vardo Roof. I ended up returning over $400 worth of materials. Yay! More money for the next steps!
Today was lovely, but my Tiny House Helpers were all otherwise occupied. Sheathing My Curved Roof is definitely not a one-woman-show for me (though if you want to be really impressed with a do-it-herselfer, check out this post from NajHaus where Kate describes doing most of her sheathing solo!) So I decided to switch gears and help my build buddy Laura with her siding. Afterwards she treated me and her other helper Nicole to a Maibock at Occidental.
Tomorrow my friend Kenny of TinyHomes.com will be coming out to help and a couple of my co-workers might be able to join me, too, so we're going to get this roof sheathed, darn it!
I've been doing a rain dance backward all weekend for good weather tomorrow. Wish us luck!
Insulating My Vardo Roof
 Friday I picked up Eave Caps for My Vardo Roof and Saturday we worked on Plan F. Yesterday we worked on Plan F: Take 2. And today we (finally!) insulated my roof box!
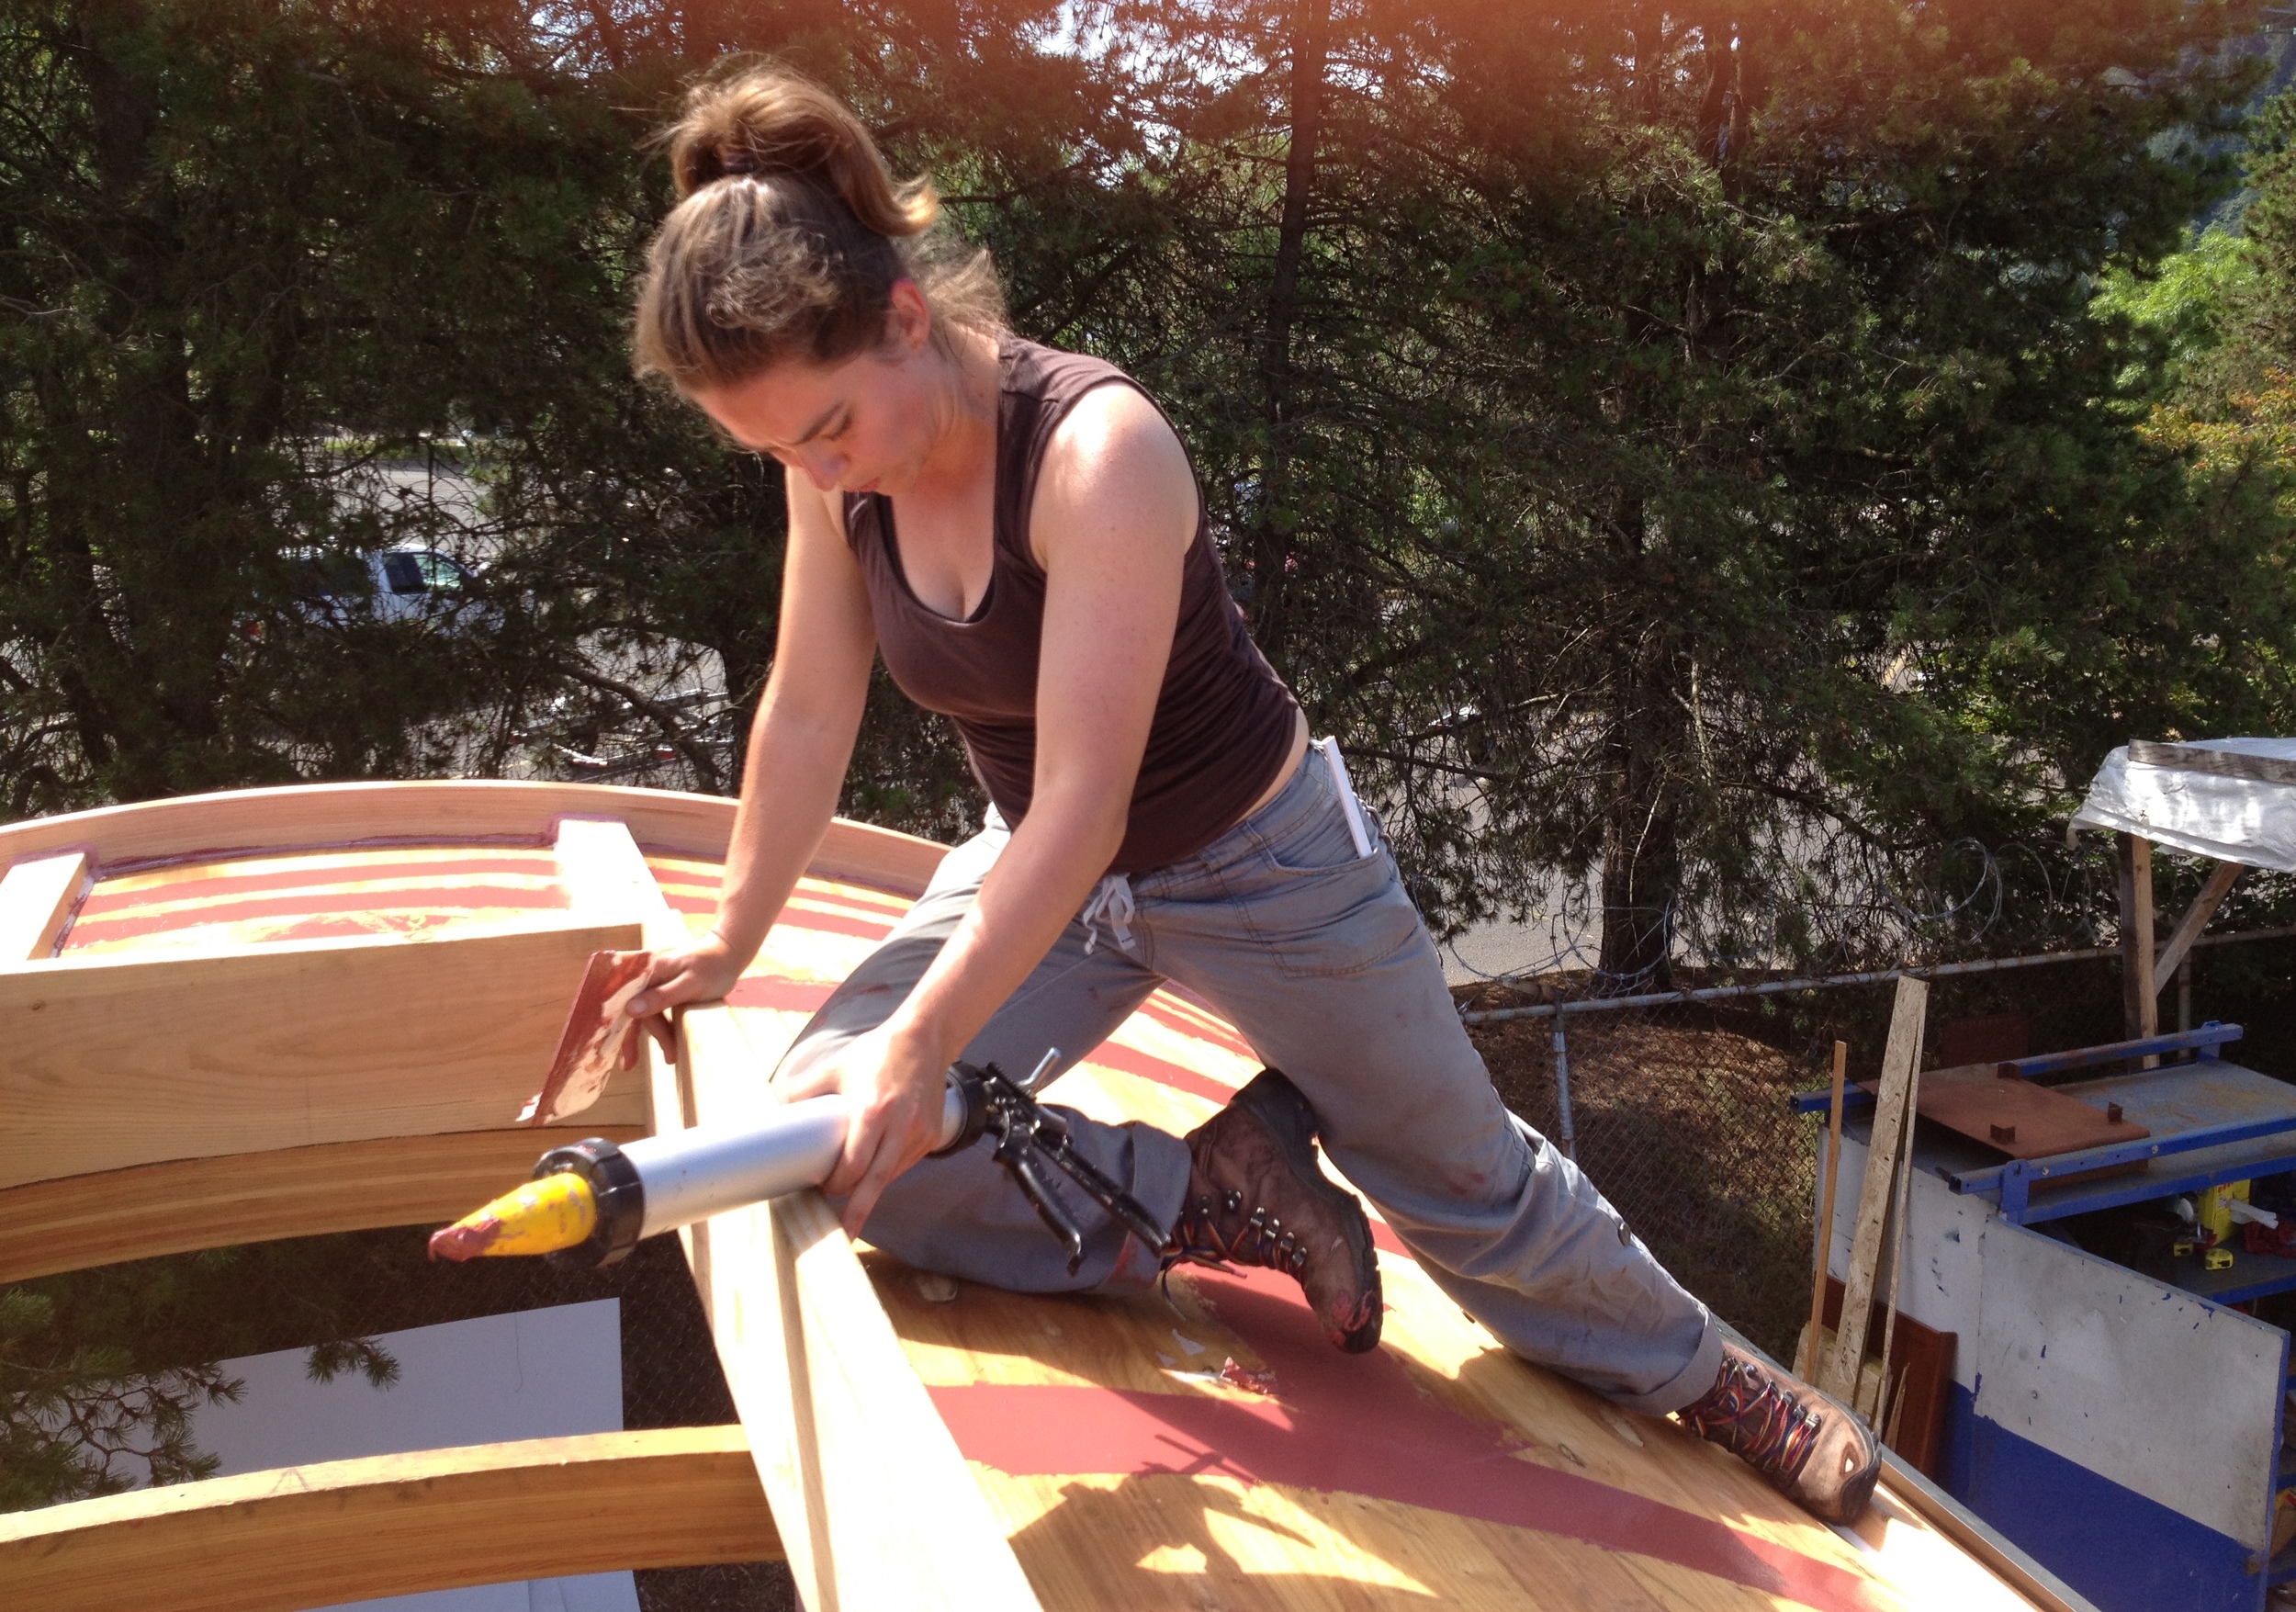
In the morning Matthew helped me air seal the ceiling. This involved running Fast Flash from the R-Guard system by Prosoco over all of the seams where we’d nailed the ceiling bead board. (You can read about my bead board ceiling in Ceiling Up My Vardo.) Matthew also helped me find the weak points in the ceiling panels by standing inside the house and looking for the spots where the ceiling was translucent. I was on the roof so I tested to see if I had the right spot by covering up the area with my hand. If I blocked the light I knew I’d found my target. (Though I had to remember to not block the area with my shadow since it was so sunny!) I covered these areas with Fast Flash, too. Once the roof was no longer see-through we were ready for the insulation.
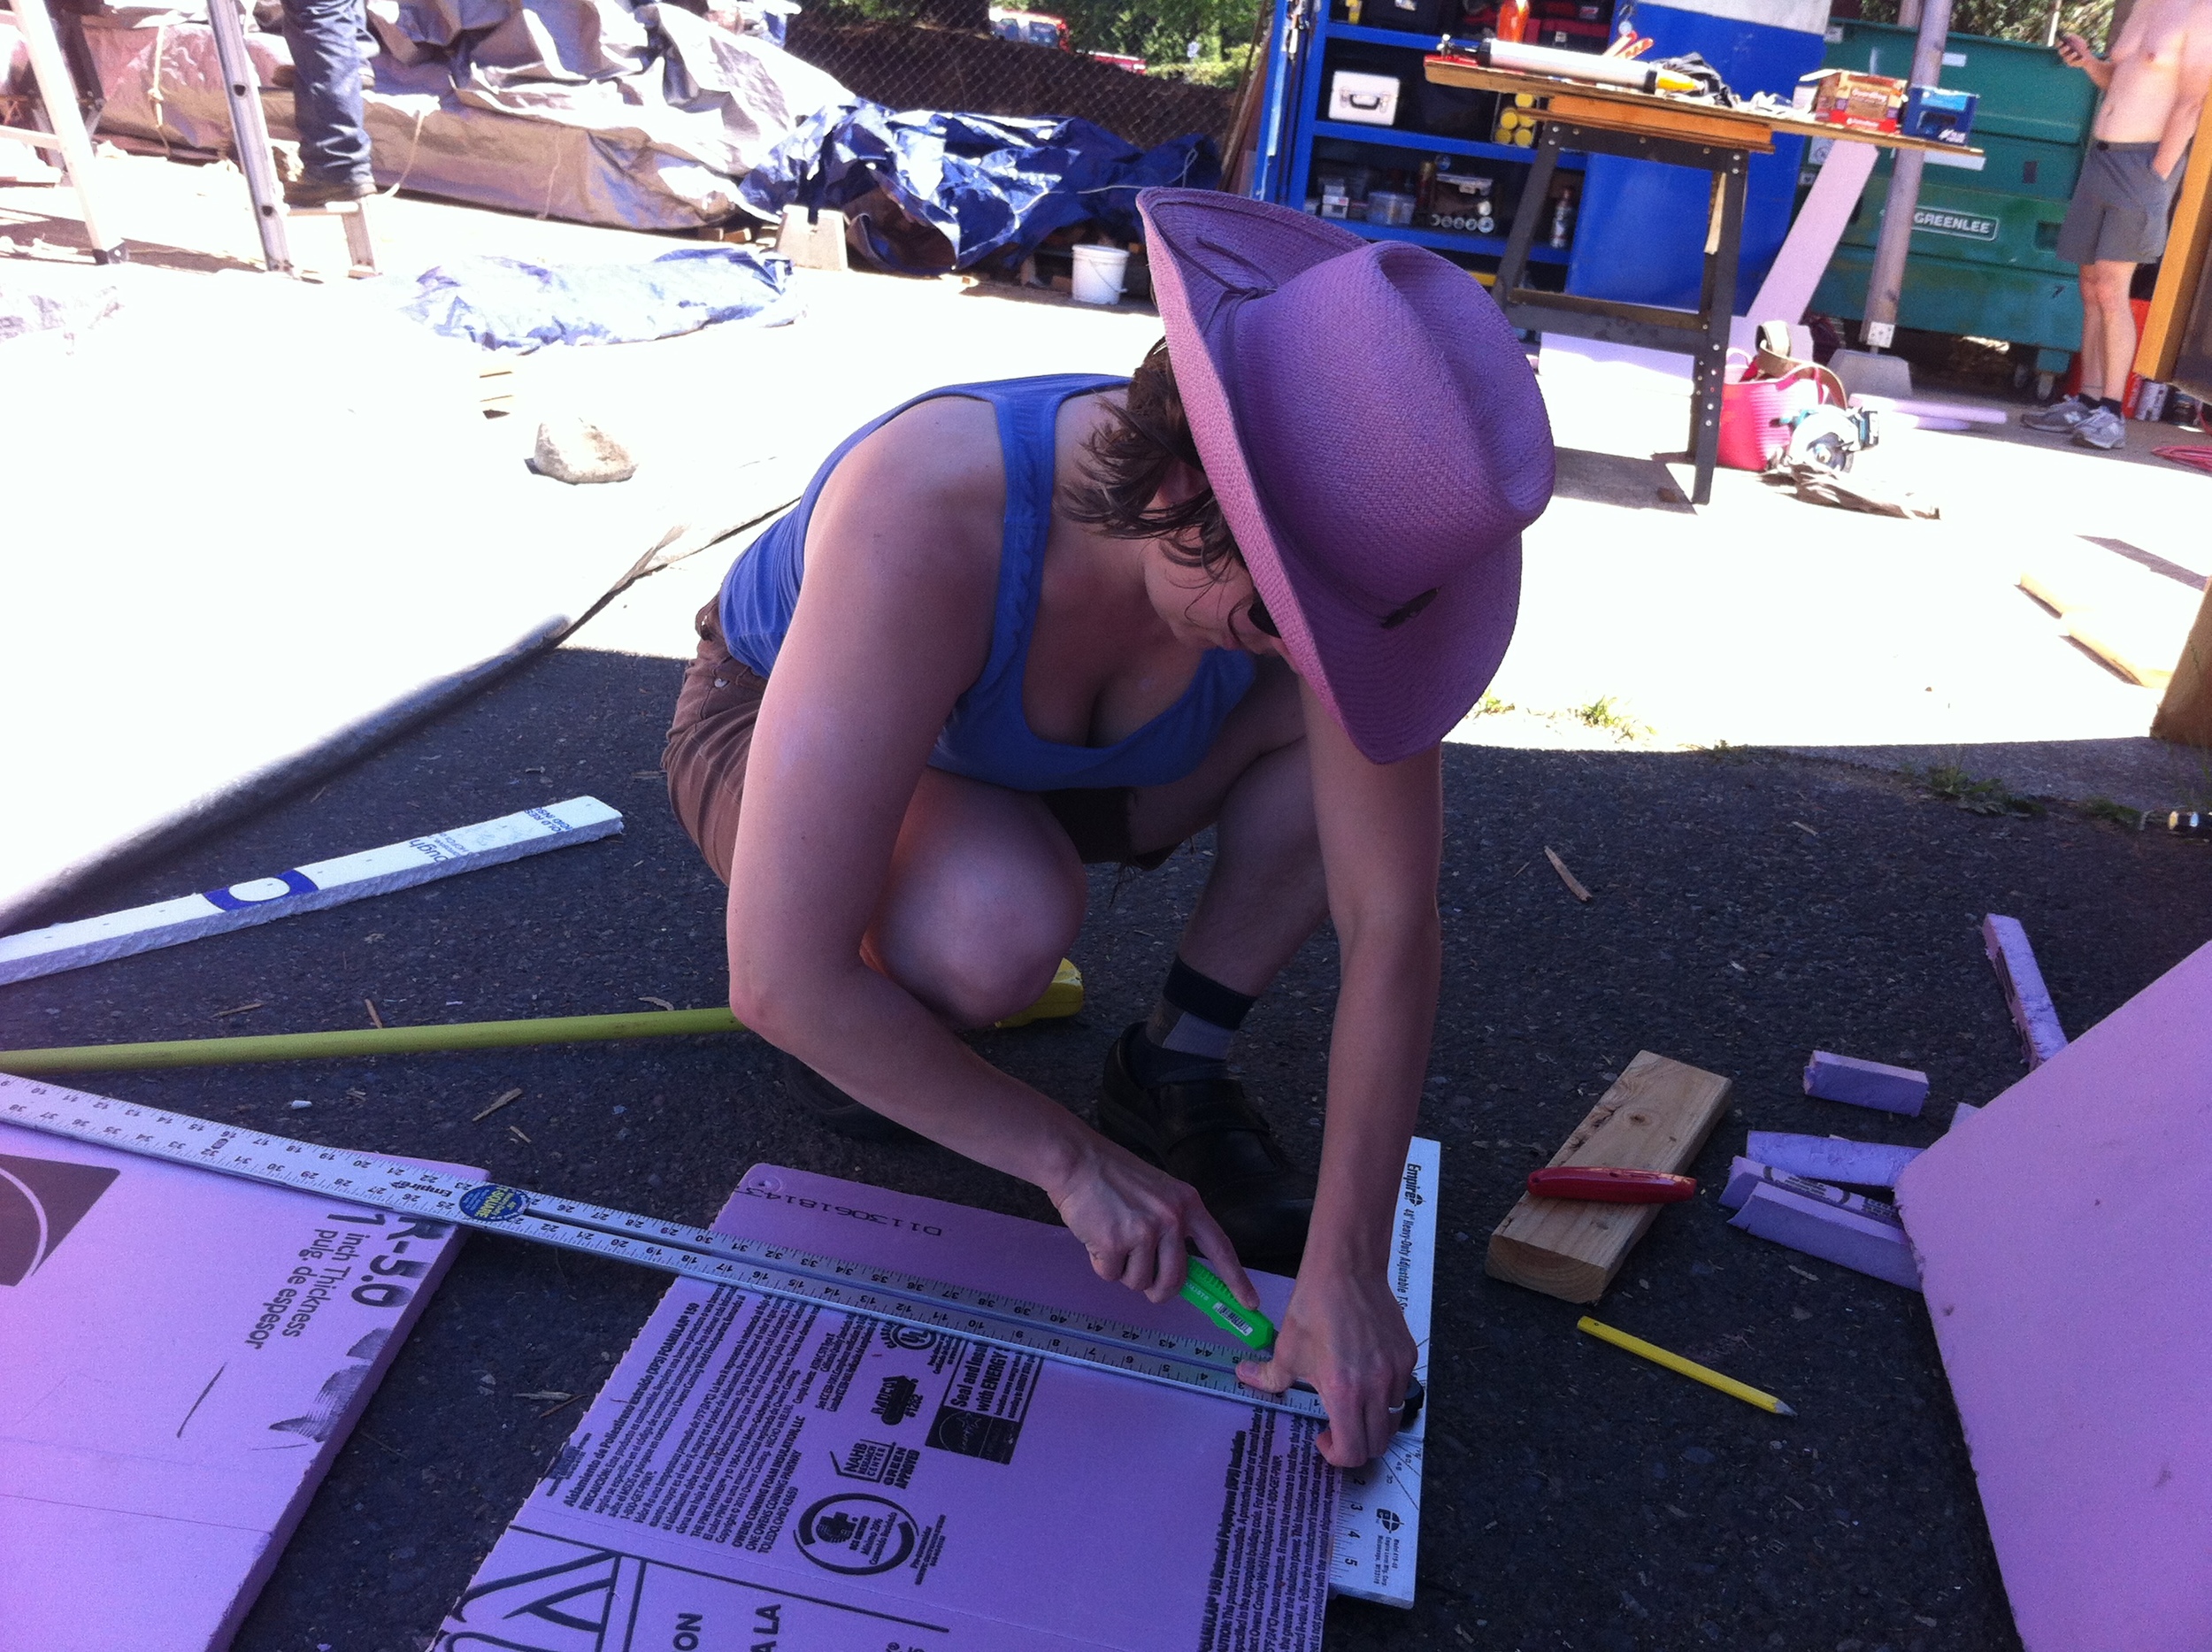
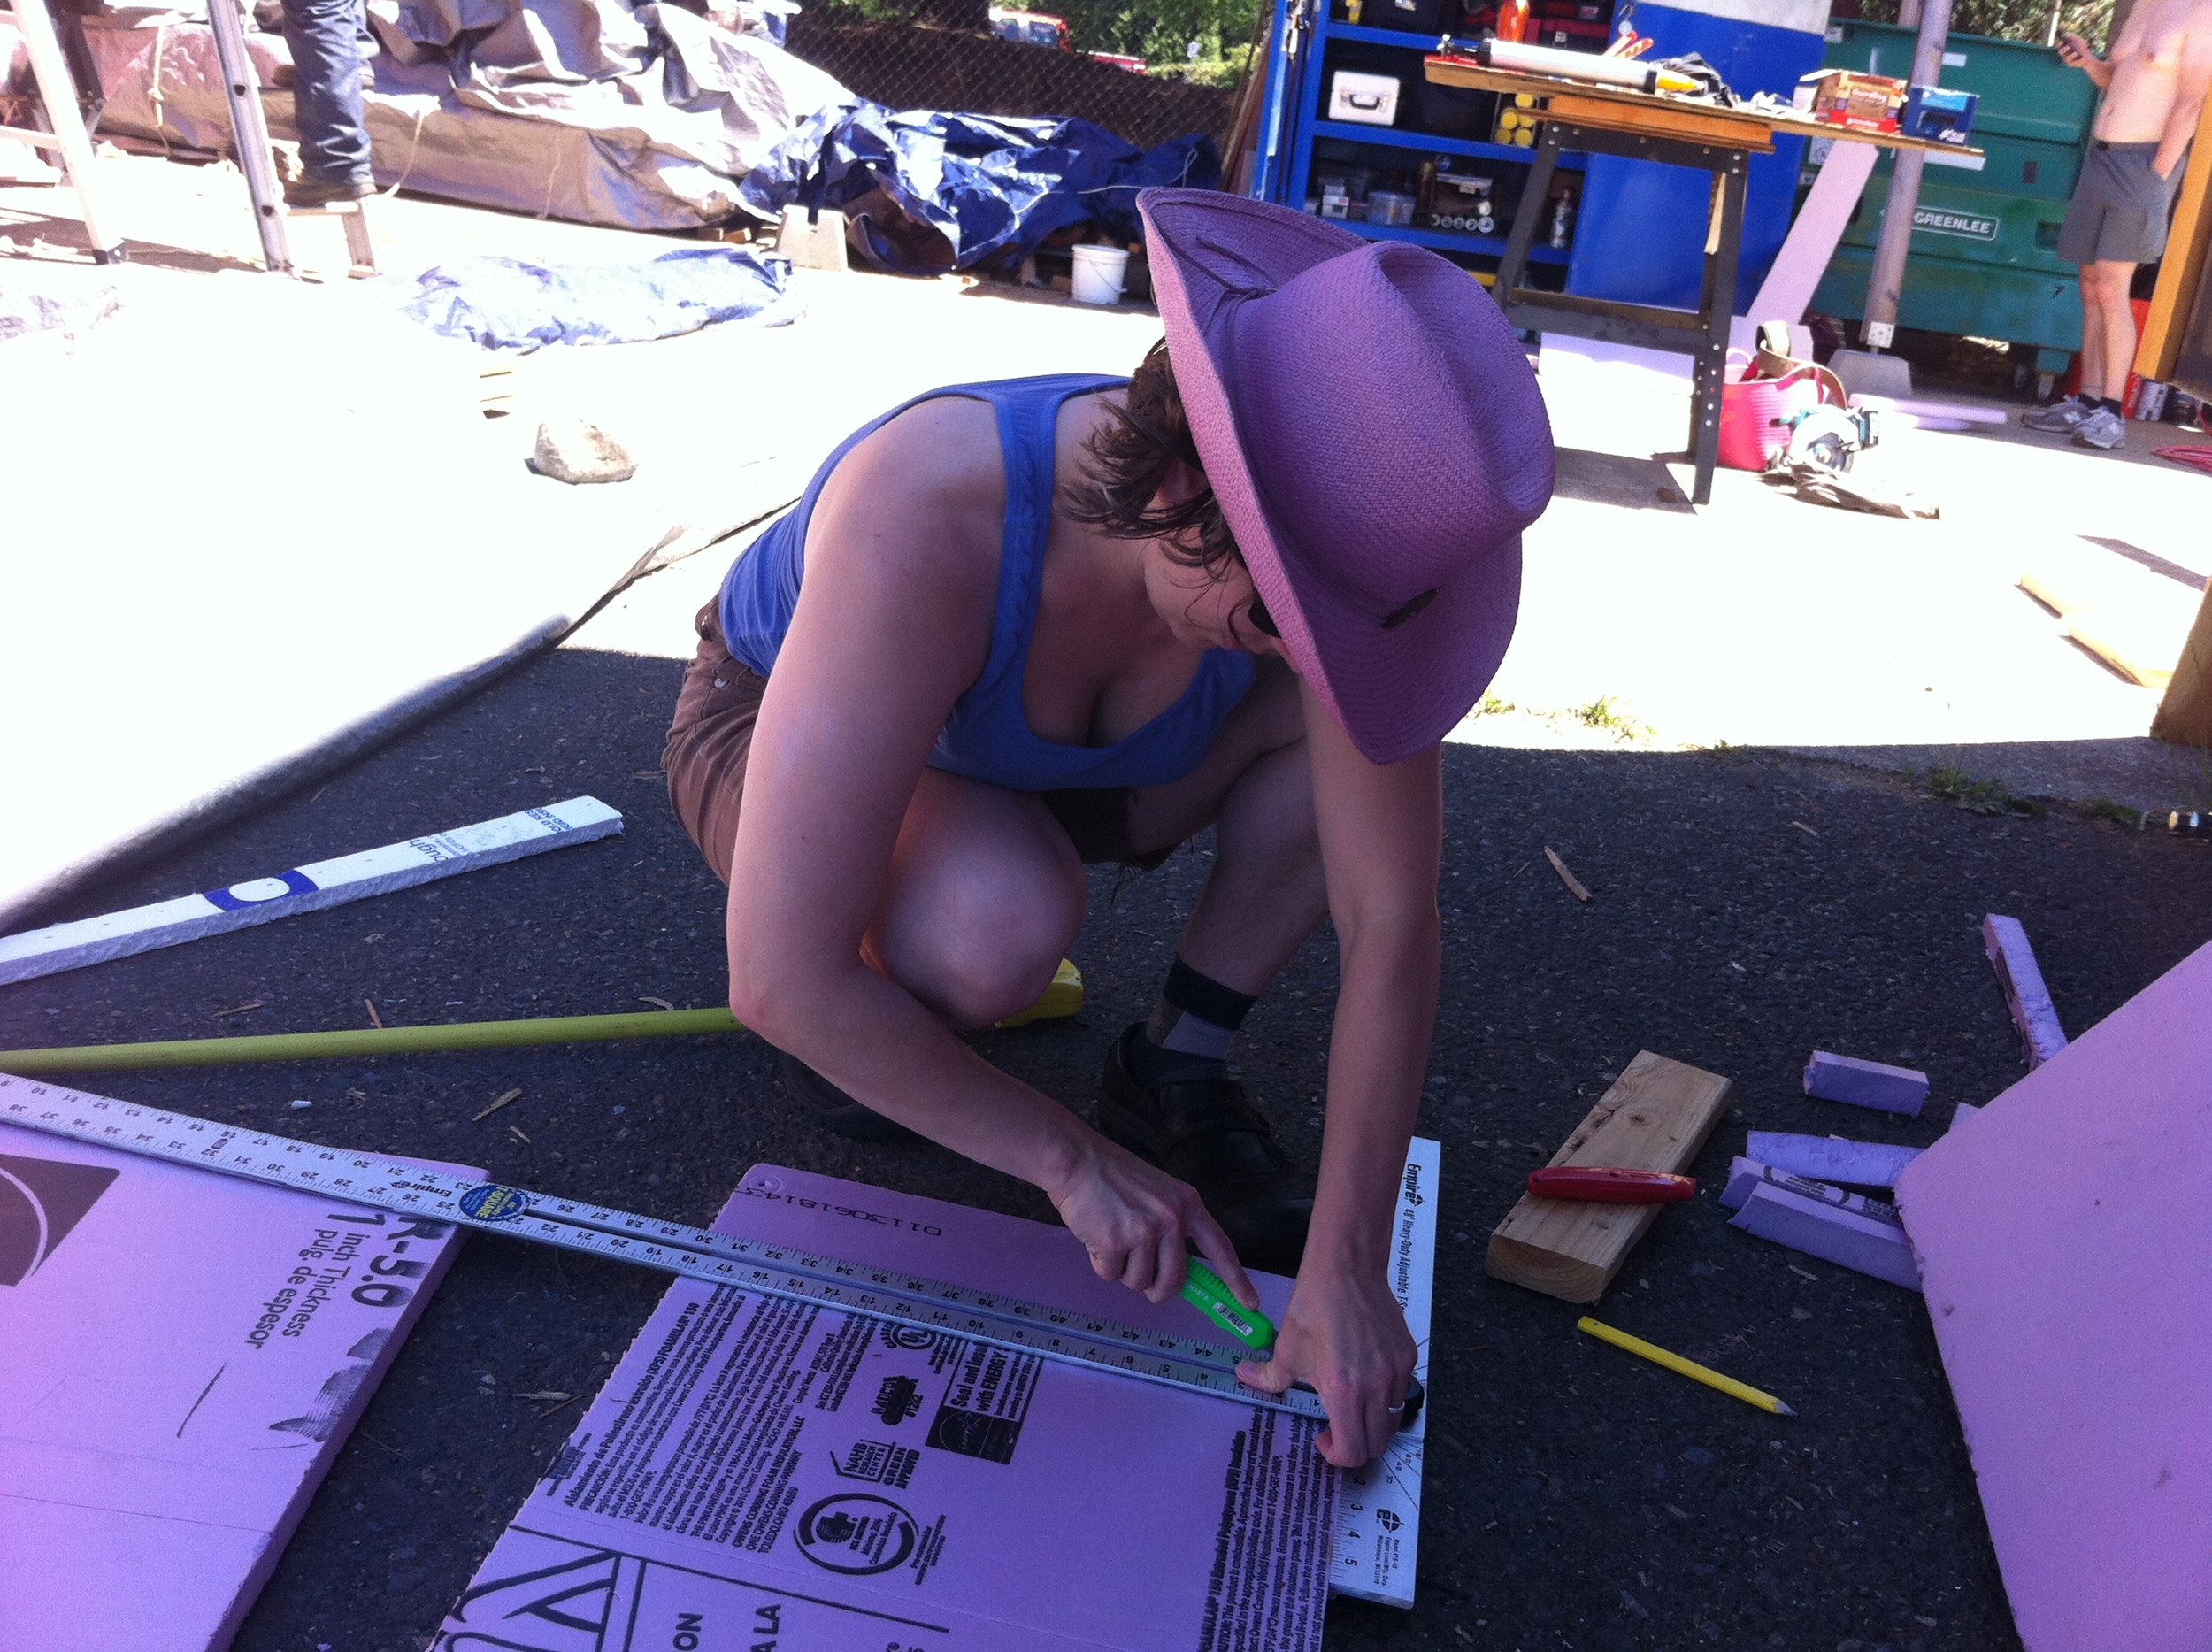
This afternoon Tony and Grae helped me install the insulation in my vardo roofbox. We cut 4’ x 8’ sheets of 1” expanded polystyrene (EPS) foam board to fit between the 2x6 at the eves and the outriggers surrounding the skylight box. We decided to leave the spots on either end of the skylight box at the front and back of the house till last because it’s such a nice place to sit and store tools without them slipping off the roof!
Once we’d dry-fitted the foam we removed it and spray foamed the edges. Then slipped the sheets of insulation into place. Once the first piece was in place we put in another 1” sheet of EPS on top of it. Fortunately, these sheets didn’t need to be cut, just tacked down onto the nailers and spray foamed at the edges. As we installed the insulation we discovered we’d installed the skylight box slightly askew, so we cut a couple long strips to fill in the gap. We’ll need to do the same for the sheathing.
My walls have 3 ½ of EPS insulation in the SIPS and my floors have 5 ½” of XPS (extruded polystyrene) insulation because I hate having cold feet. Ideally I would have had at least as much insulation in my roof as in my walls. So I ordered the Eve Caps for My Vardo Roof to be 3 ½” tall – 3” for foam and ½” for the sheathing. Unfortunately, I didn’t account for the losses created by the angles. So once we got the second piece of 1” foam into the roof we realized we wouldn’t be able to get more than 2” of foam inside the eve caps with the sheathing in there, too. (The fellow at Vinje’s mentioned when I picked up the Eave Caps for My Vardo Roof that he’d read my blog and he wasn’t sure I’d be able to get 3” of insulation in there. Glad he thought of it, but I wish I’d talked it through with him sooner!)
I am bummed that my roof isn’t better insulated, but as my fellow tiny house builders/energy auditors remind me, my decision to put skylights right in the top of my house pretty much negates the insulation I put in the roof. So I don’t have the best insulation to prevent conductive heat transfer. I’m going to count on that air sealing to help with convective heat transfer. My New Custom Skylight (which will replace the one I broke on my day of Hail and High Water) will help with radiant heat transfer.
I was hoping to get the sheathing up today, too, but the breeze tends to pick up in the evenings on our site and it seemed precarious for Grae and I to be lugging sheets of plywood up ladders, only to have the caught by the wind. Besides, I, for one, was getting pretty tired by this point. It was hot today! But it's expected to rain over the next couple days, so we decided to tarp the house up (again! But hopefully for the last time!)
As evening approached I took a break to get milkshakes for me and my build buddy Laura and then helped her with her siding a little bit before calling it a day. You can read more about Laura’s siding on and A Little Bit of Everything else on her blog.
Plan F: Take 2
 Yesterday evening were working on Plan F and just placing everything together so we could decide whether to assemble the system on the ground or in the sky when I discovered that 2 x 6s are sold in "dead-on" pre-cut stud length.
Now it makes perfect sense, really. If your sill plate is 1 1/2" and you have a double top plate that's 3" and you're doing a drywalled ceiling and a finished floor you would, of course, want to just use stud length 2 x 6s that are already cut to 92 5/8."
I just had no idea they existed. So I didn't think to make sure I was buying anything other than 96" studs. In fact, I remember looking at the label for the 96" studs. It just happened to be the label for the studs above it, not the ones I bought.
So as we discovered this, I began giggling. Then I began laughing maniacally. Then I fell on the ground laughing and crying. Then I just cried for a couple minutes. I was so exhausted. And so frustrated I hadn't thought to measure. And so annoyed with myself for wasting the time of the people who came to help.
This was my first melt down of the build. I was warned it would happen and yesterday was the day. I was embarrassed my Tiny House Helpers saw me in such a state.
But Karin was right. It was bound to happen. No one was hurt. No permanent damage was done. It wasn't even a very big cost. And my friends seem to still love me anyway.
I was feeling tempted to abandon the plan entirely when Angela and Randy convinced me there was no need for a plan G. Plan F was a good one. I just grabbed the wrong materials. Christian and Angela agreed to come back in the morning and help get the eve caps installed.
Angela coaxed me back into the car and we went to the hardware store to pick up 4 brand new 96" 2x6s. We got them back to site and decided it was time to call it quits for the day. We tidied up the site and headed to Signal Station Pizza for dinner and unwinding.
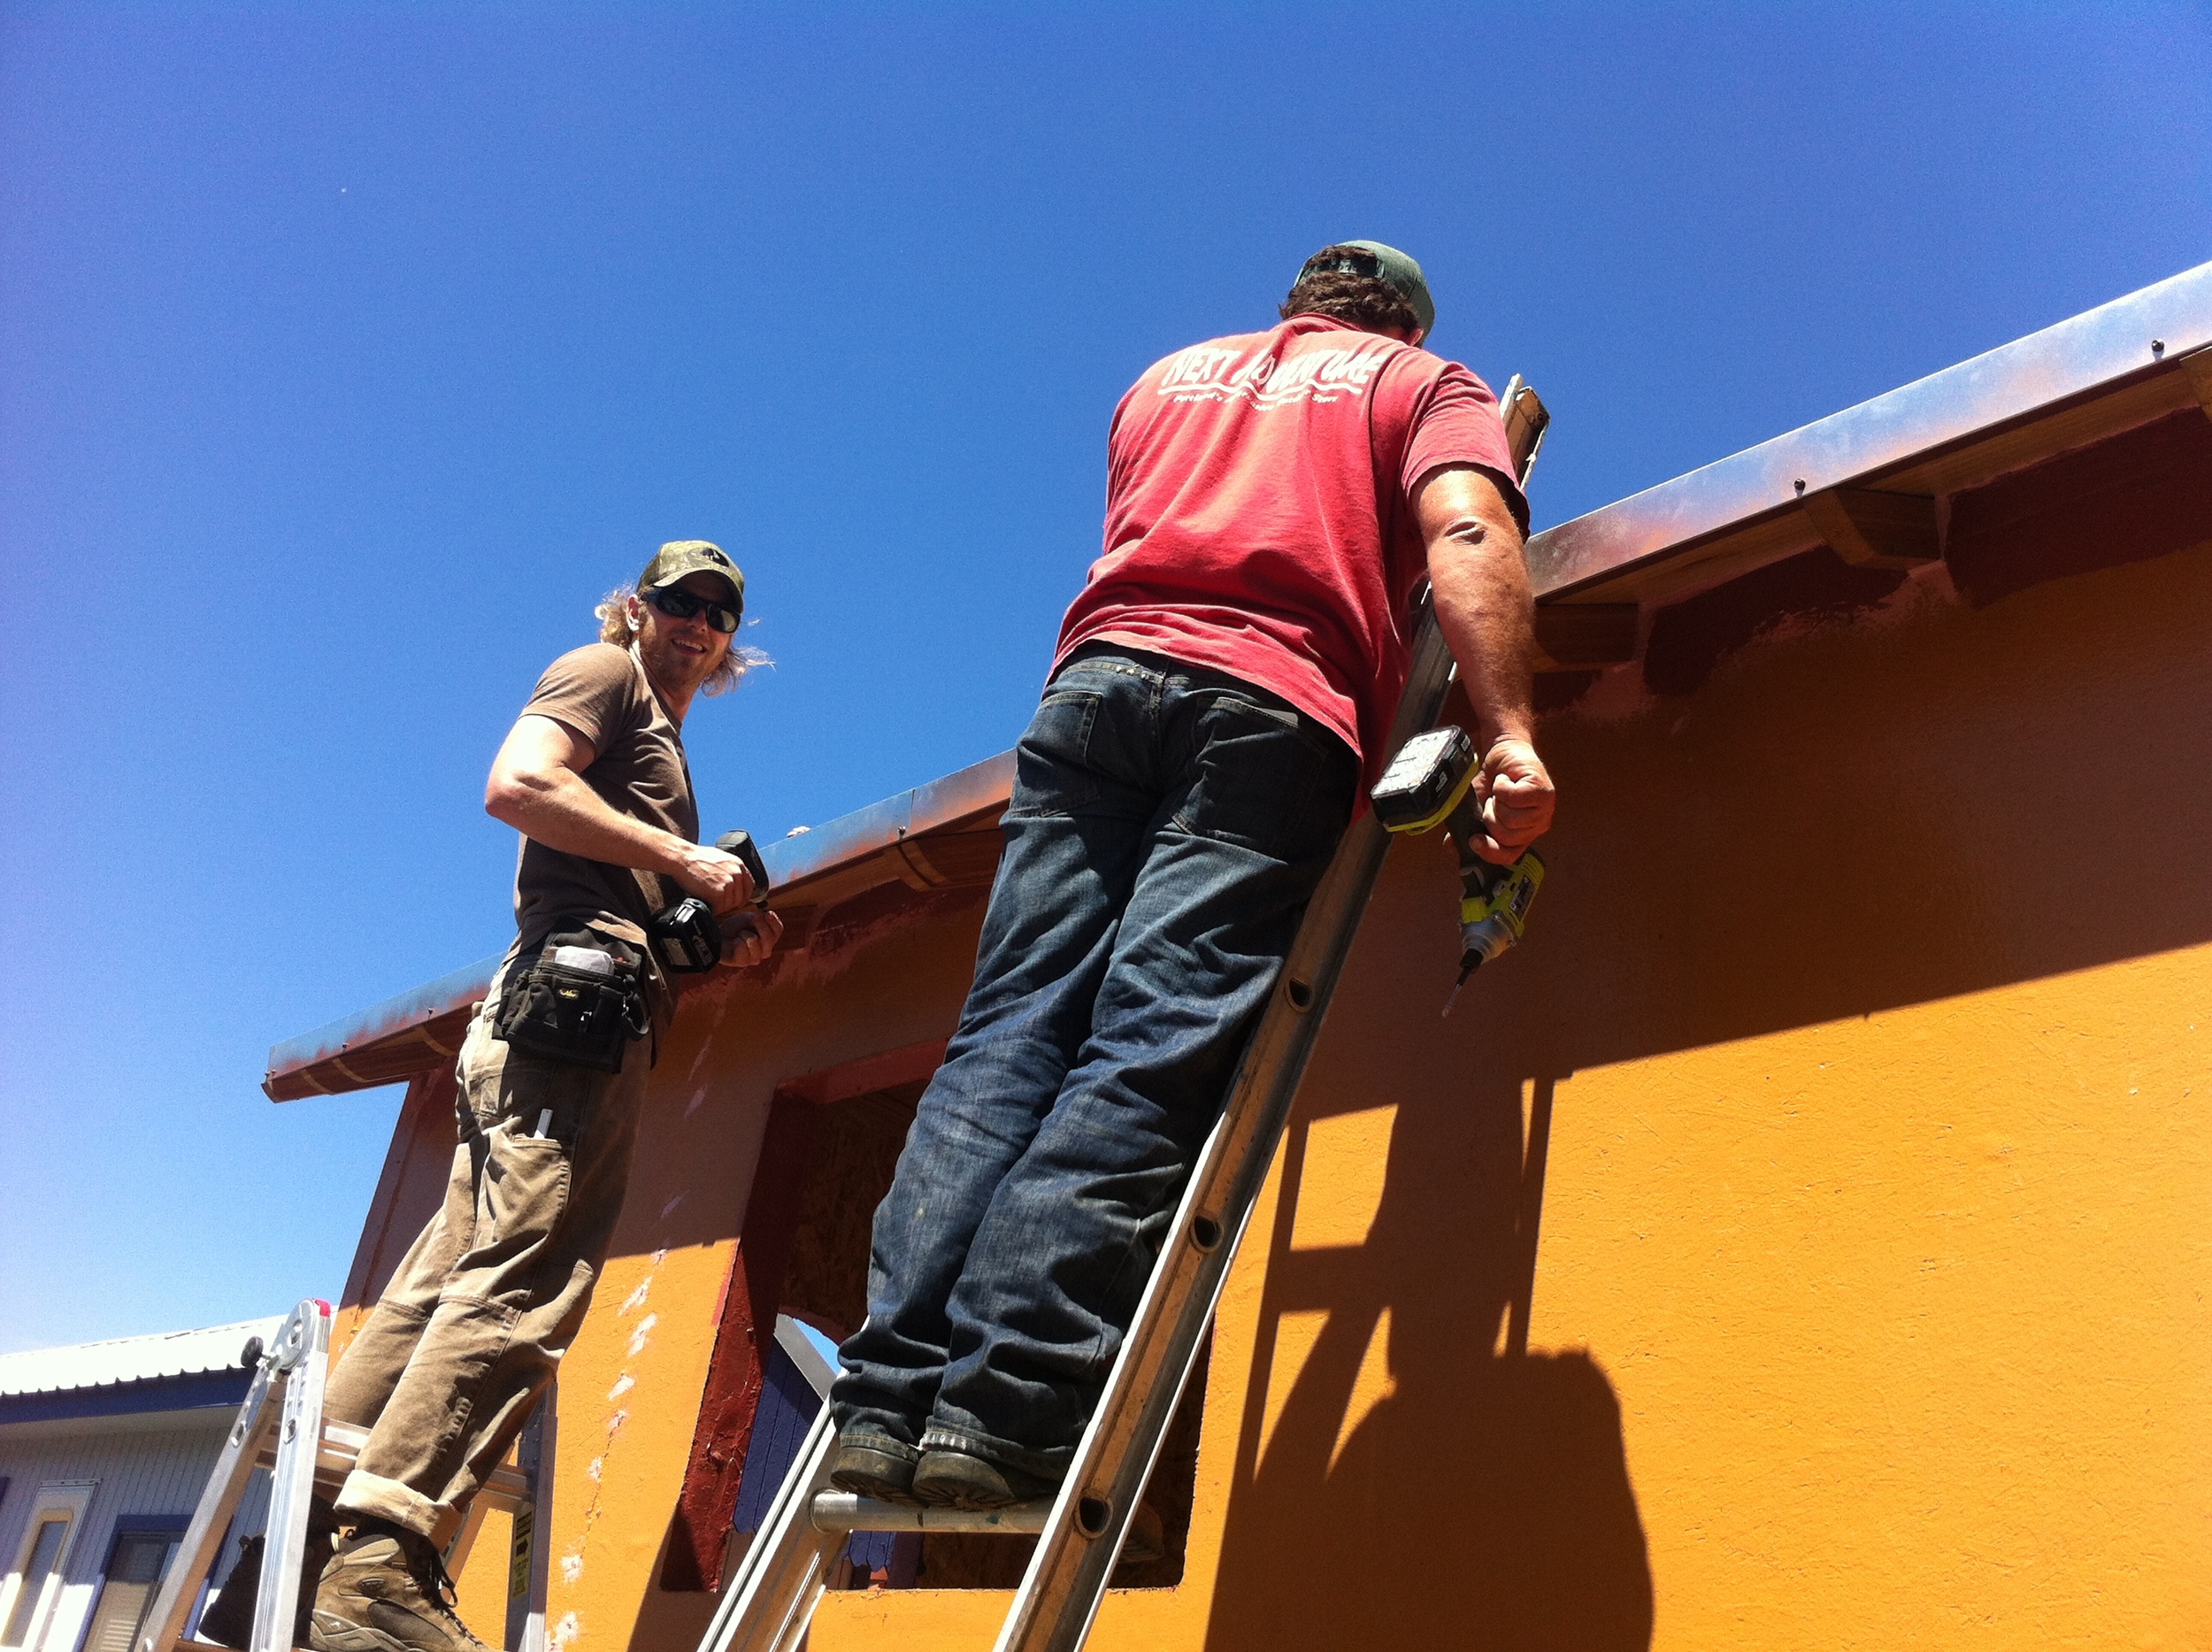
This morning Christian and Angela helped me get the eve caps up. It took longer than we anticipated since we had to pry the bead board up to slip the eve caps in place, but it worked. Plan F was ultimately successful. As Angela and Christian ducked out, Amy, Melissa, and Love arrived.
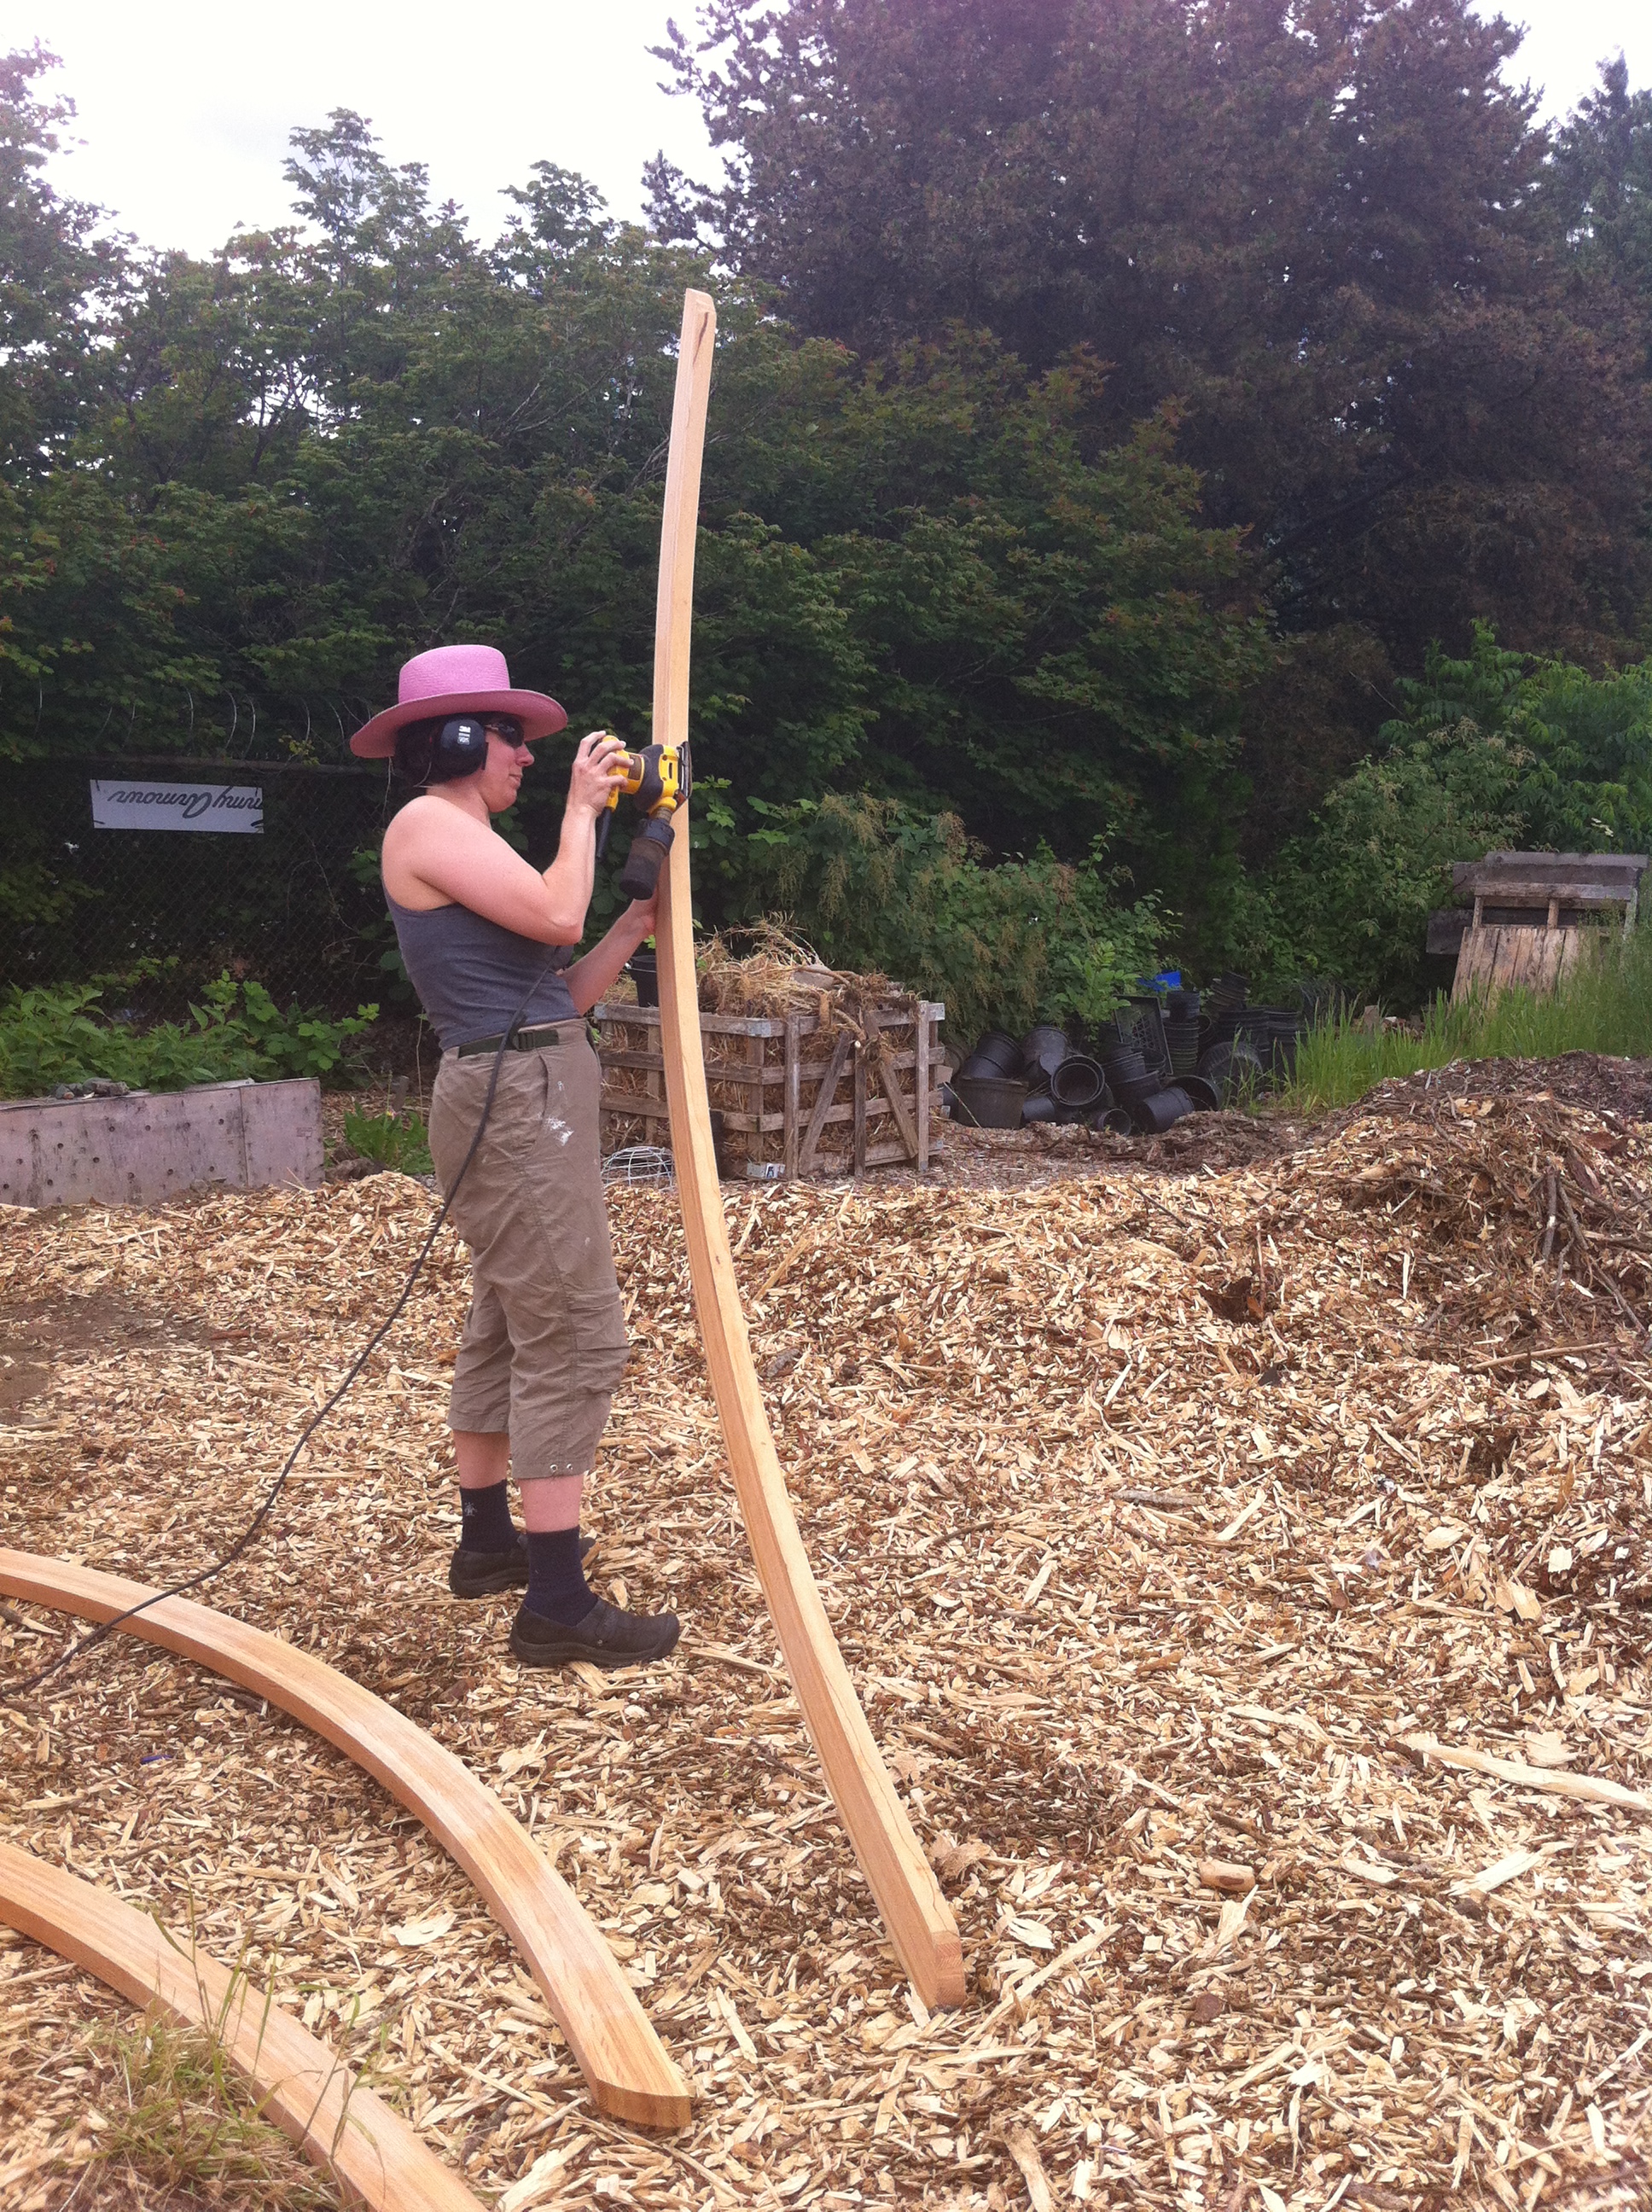
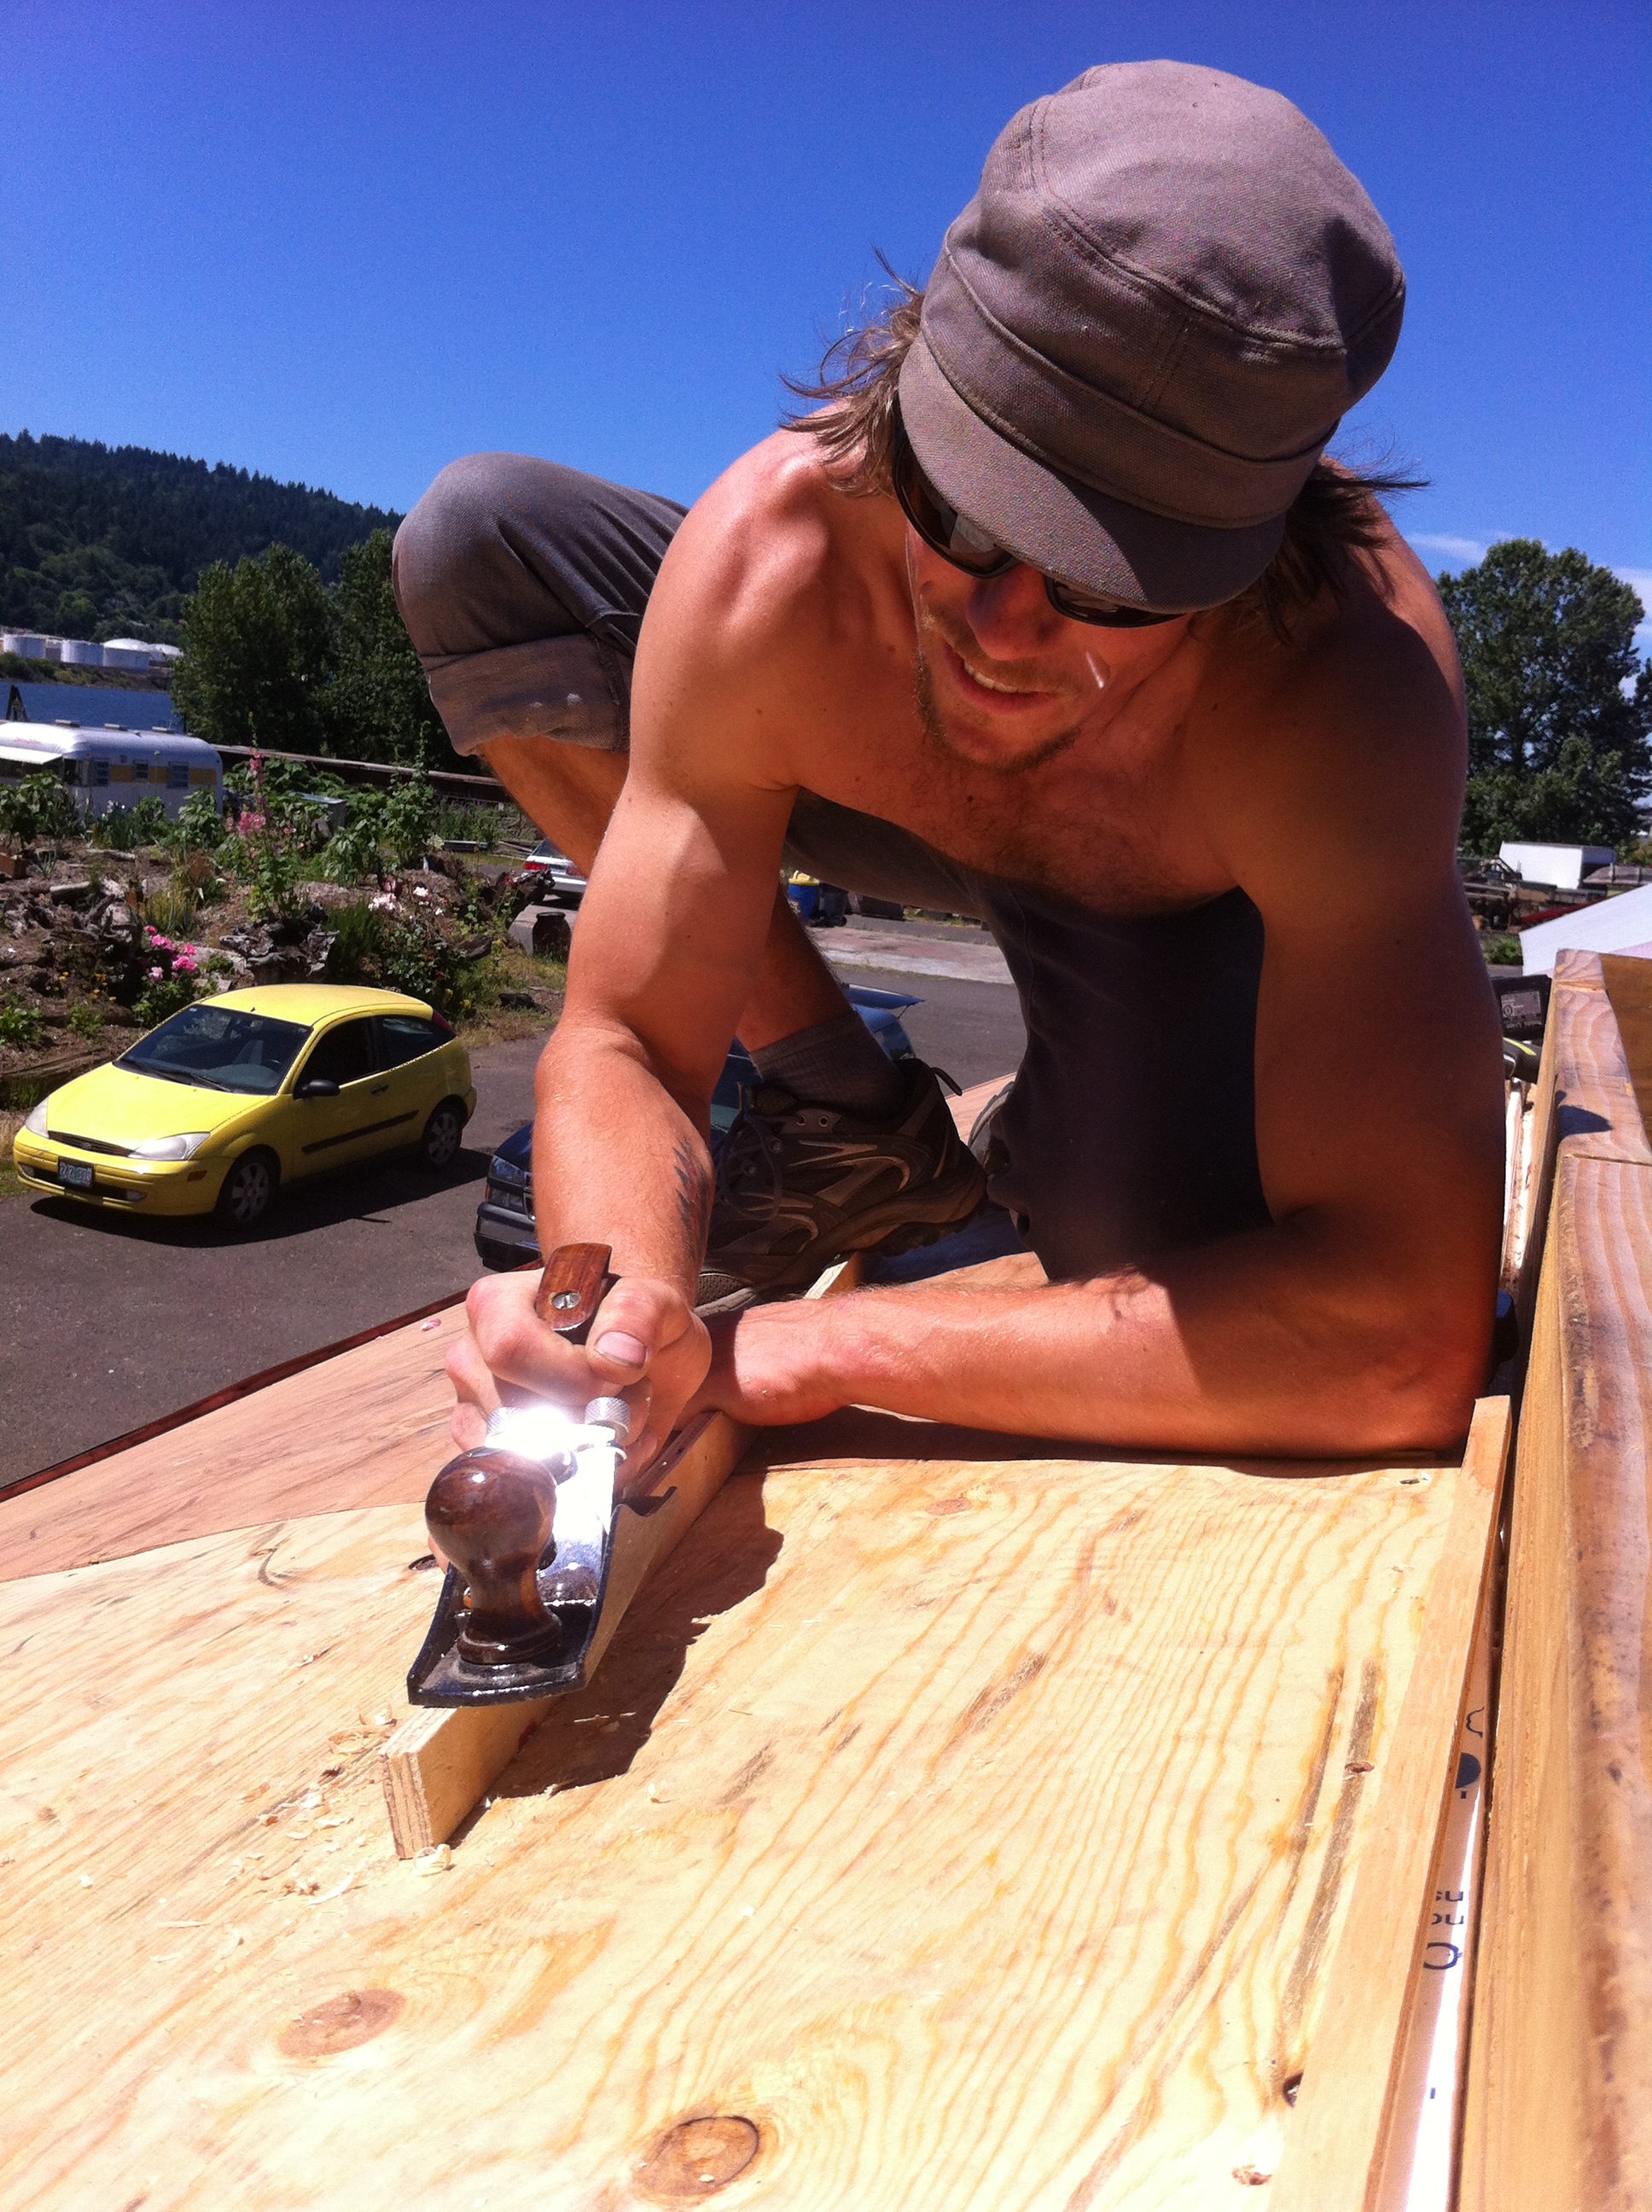
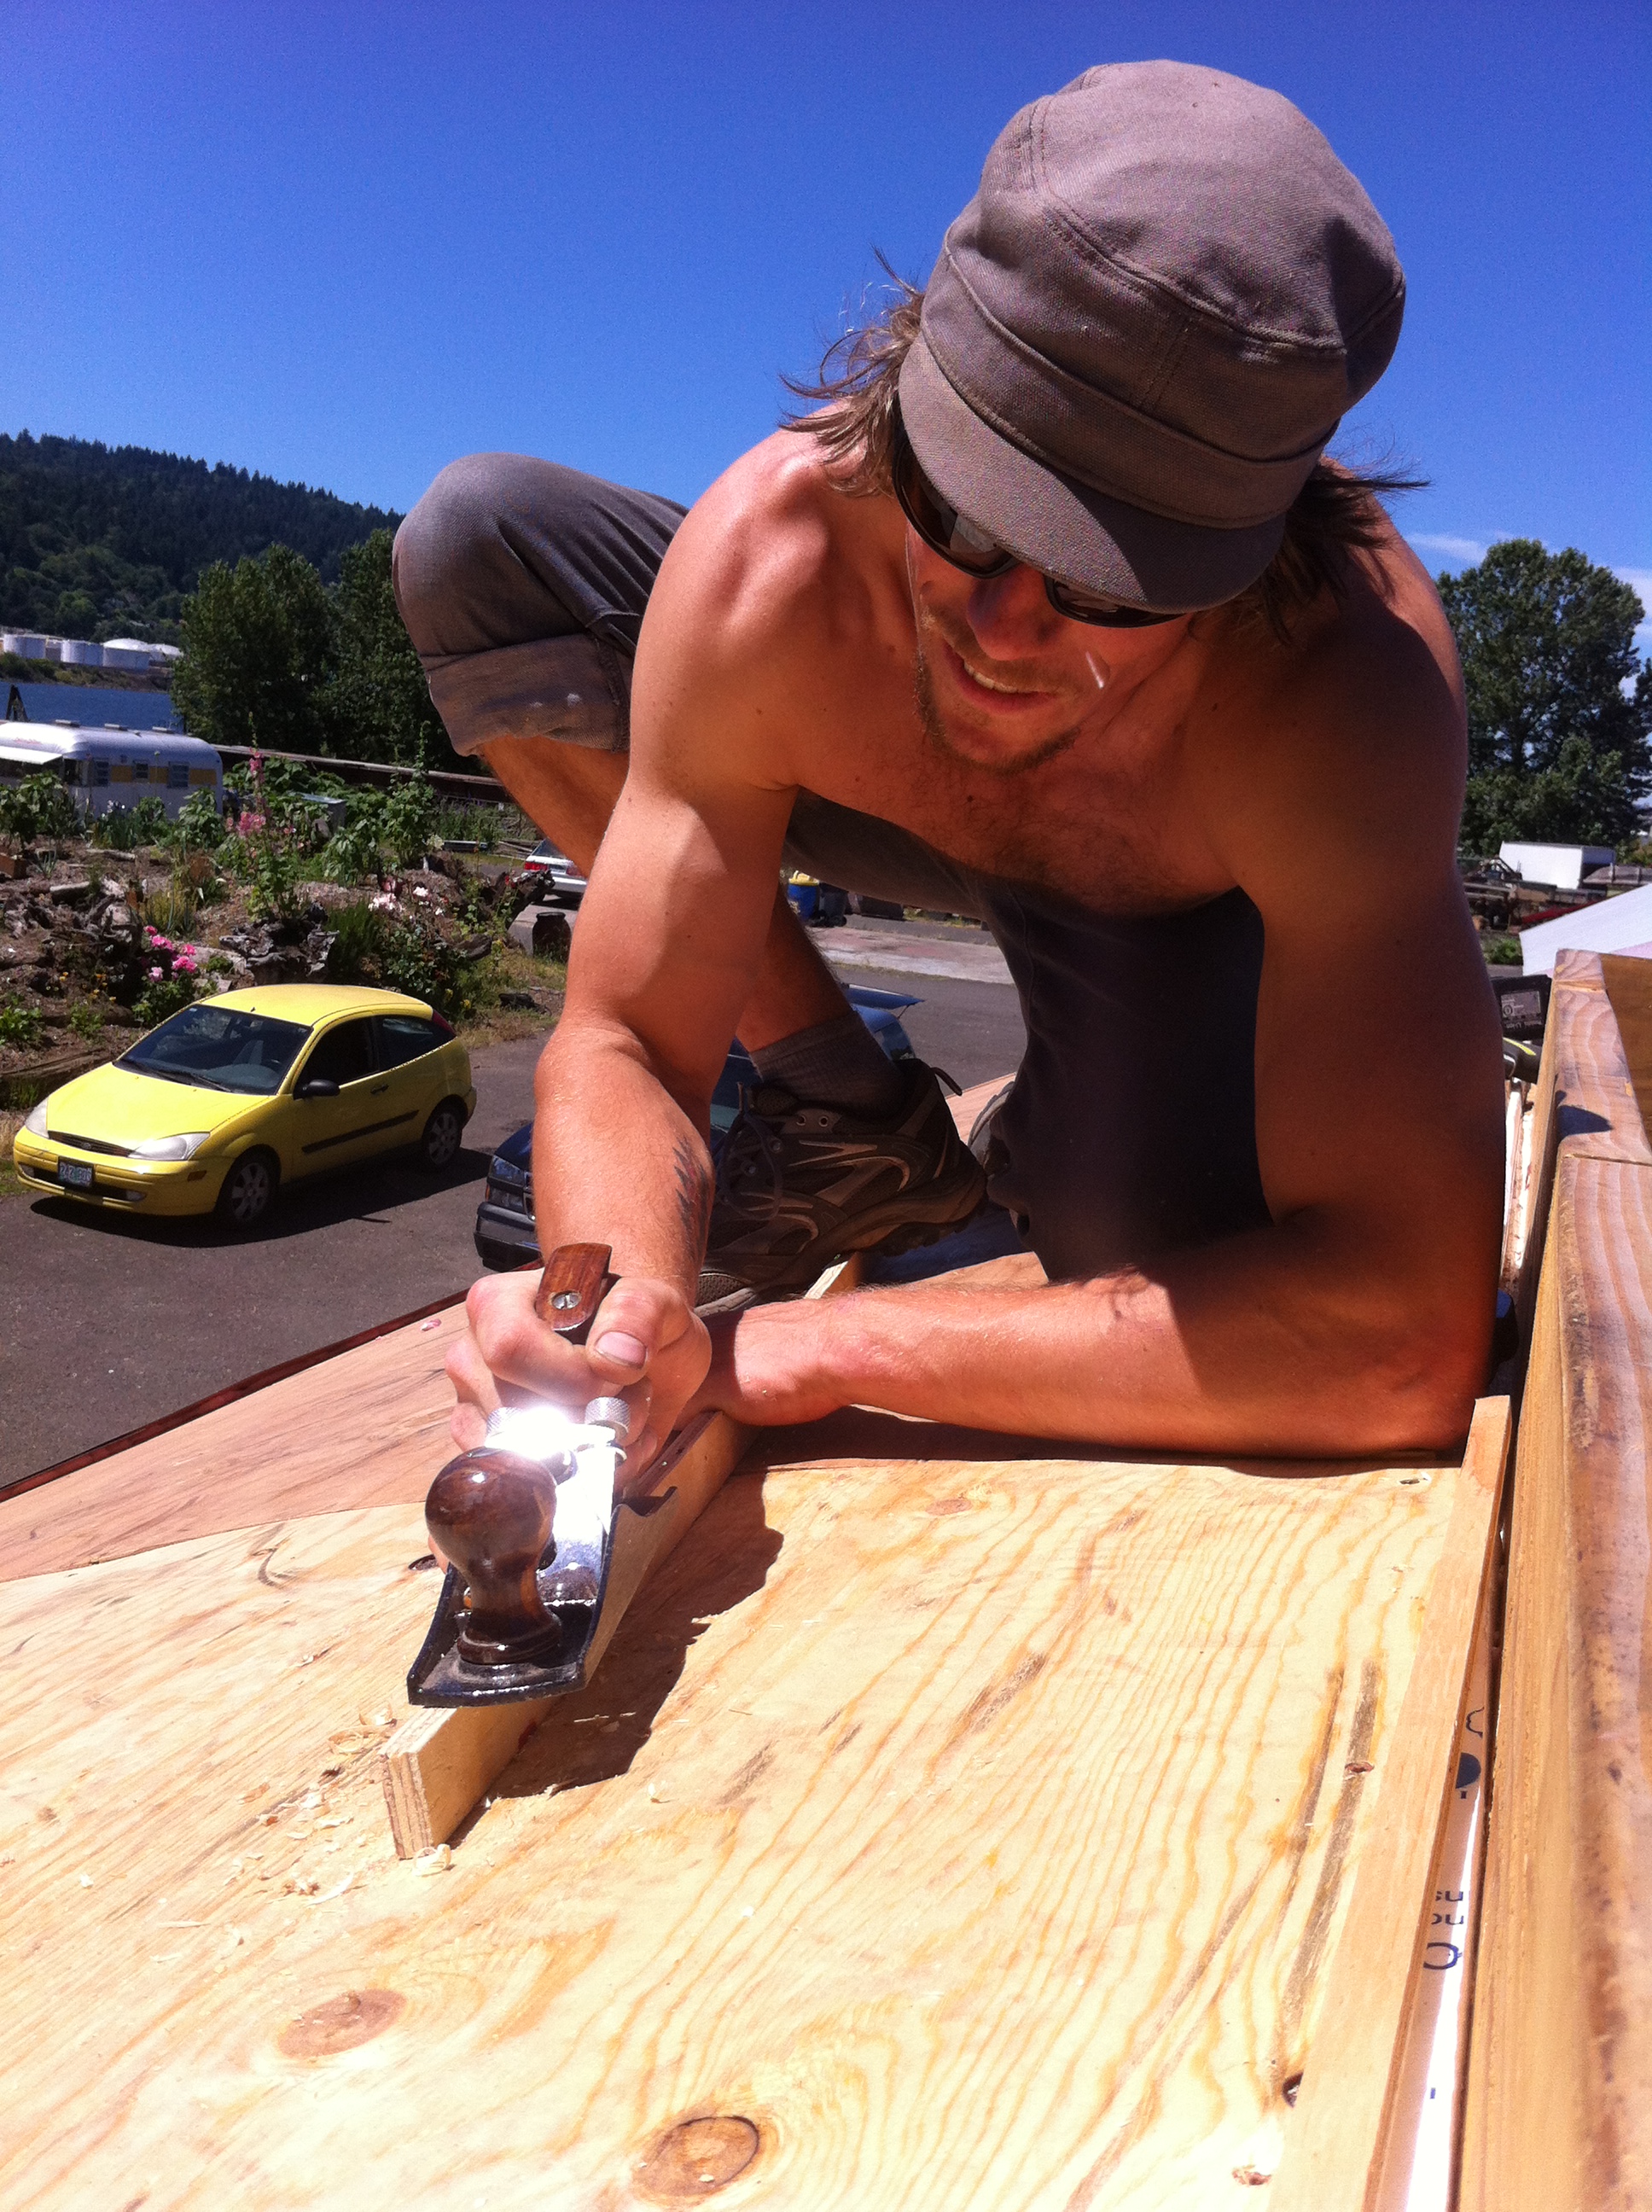
Today we cranked out great work all day since the prep was done already yesterday. In addition to getting the Eave Caps for My Vardo Roof installed, we installed the outriggers on either side of the skylight box. We also planed and installed the curved ends of the roof box and installed the barge rafters at the front and back of the house sandwiching them around the ceiling panel, which had been running wild. (This is the first tiny part of my house that looks finished and it's so rewarding!) We even got the front of the arched window painted!
I'm so grateful for all My Tiny House Helpers! My roof box is now ready for insulation!


