Building

T42 Rainscreen & Bottom Trim

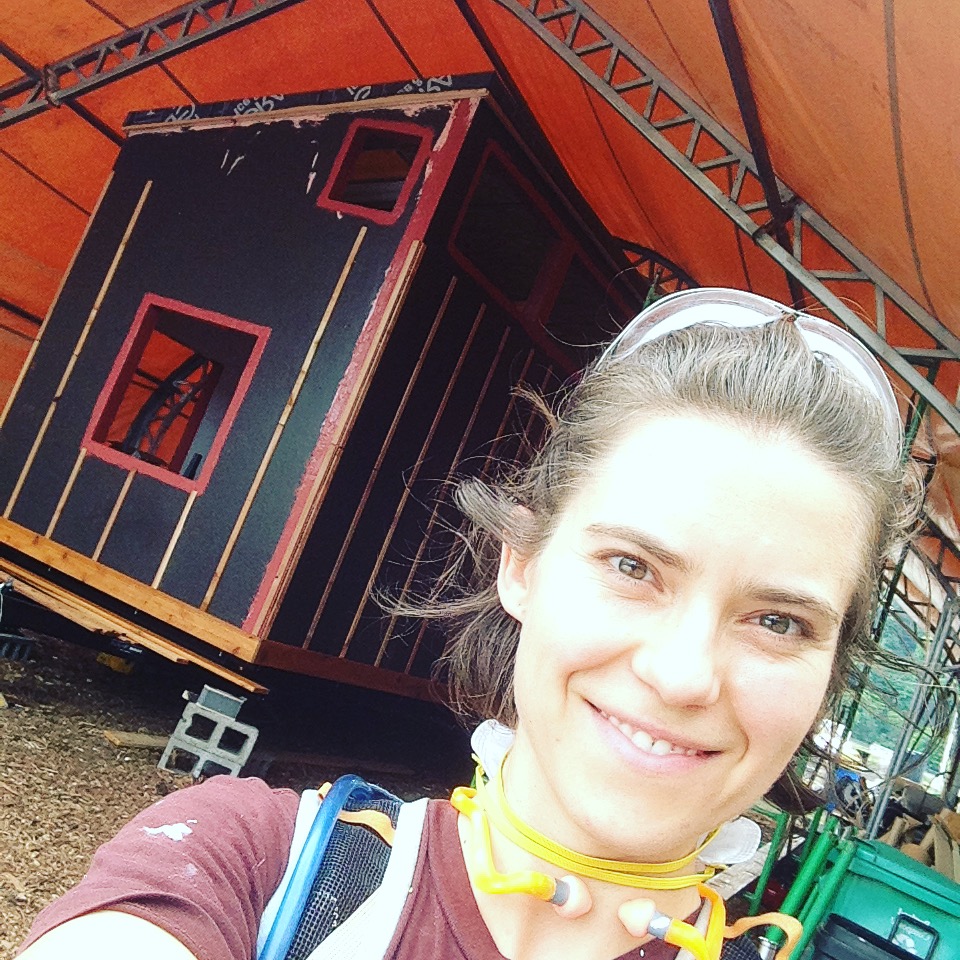
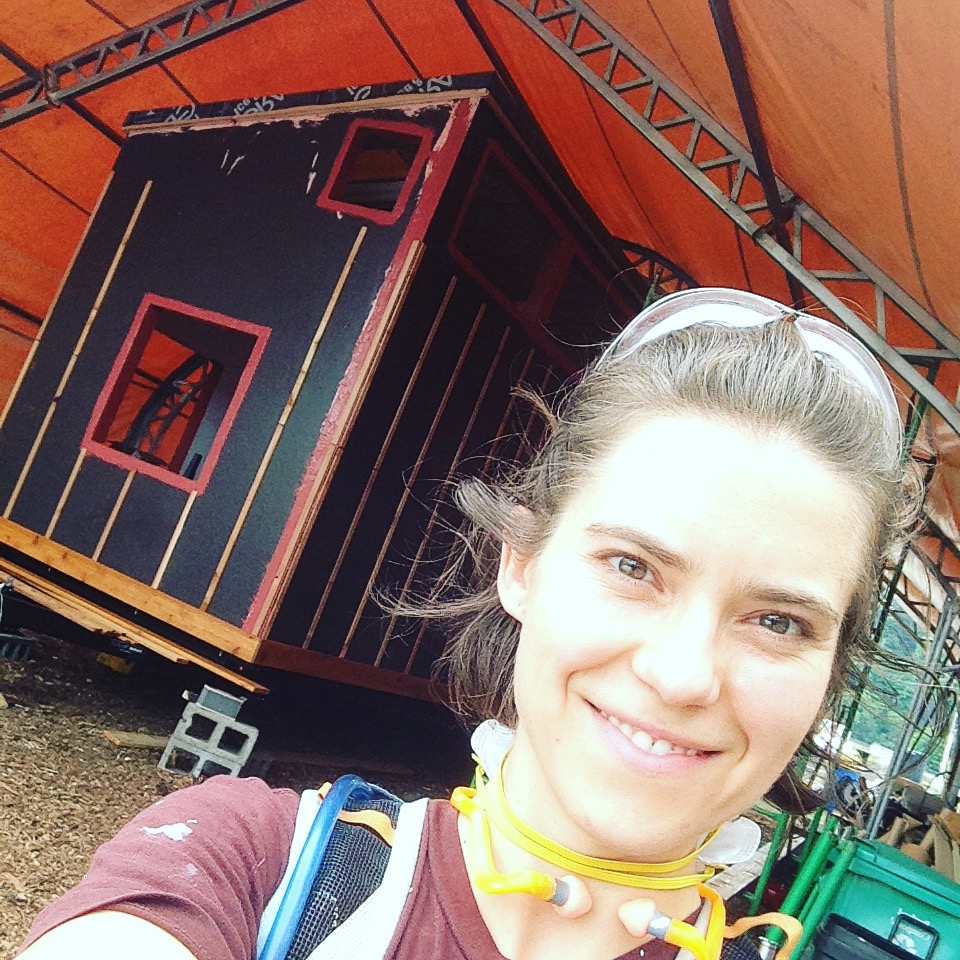
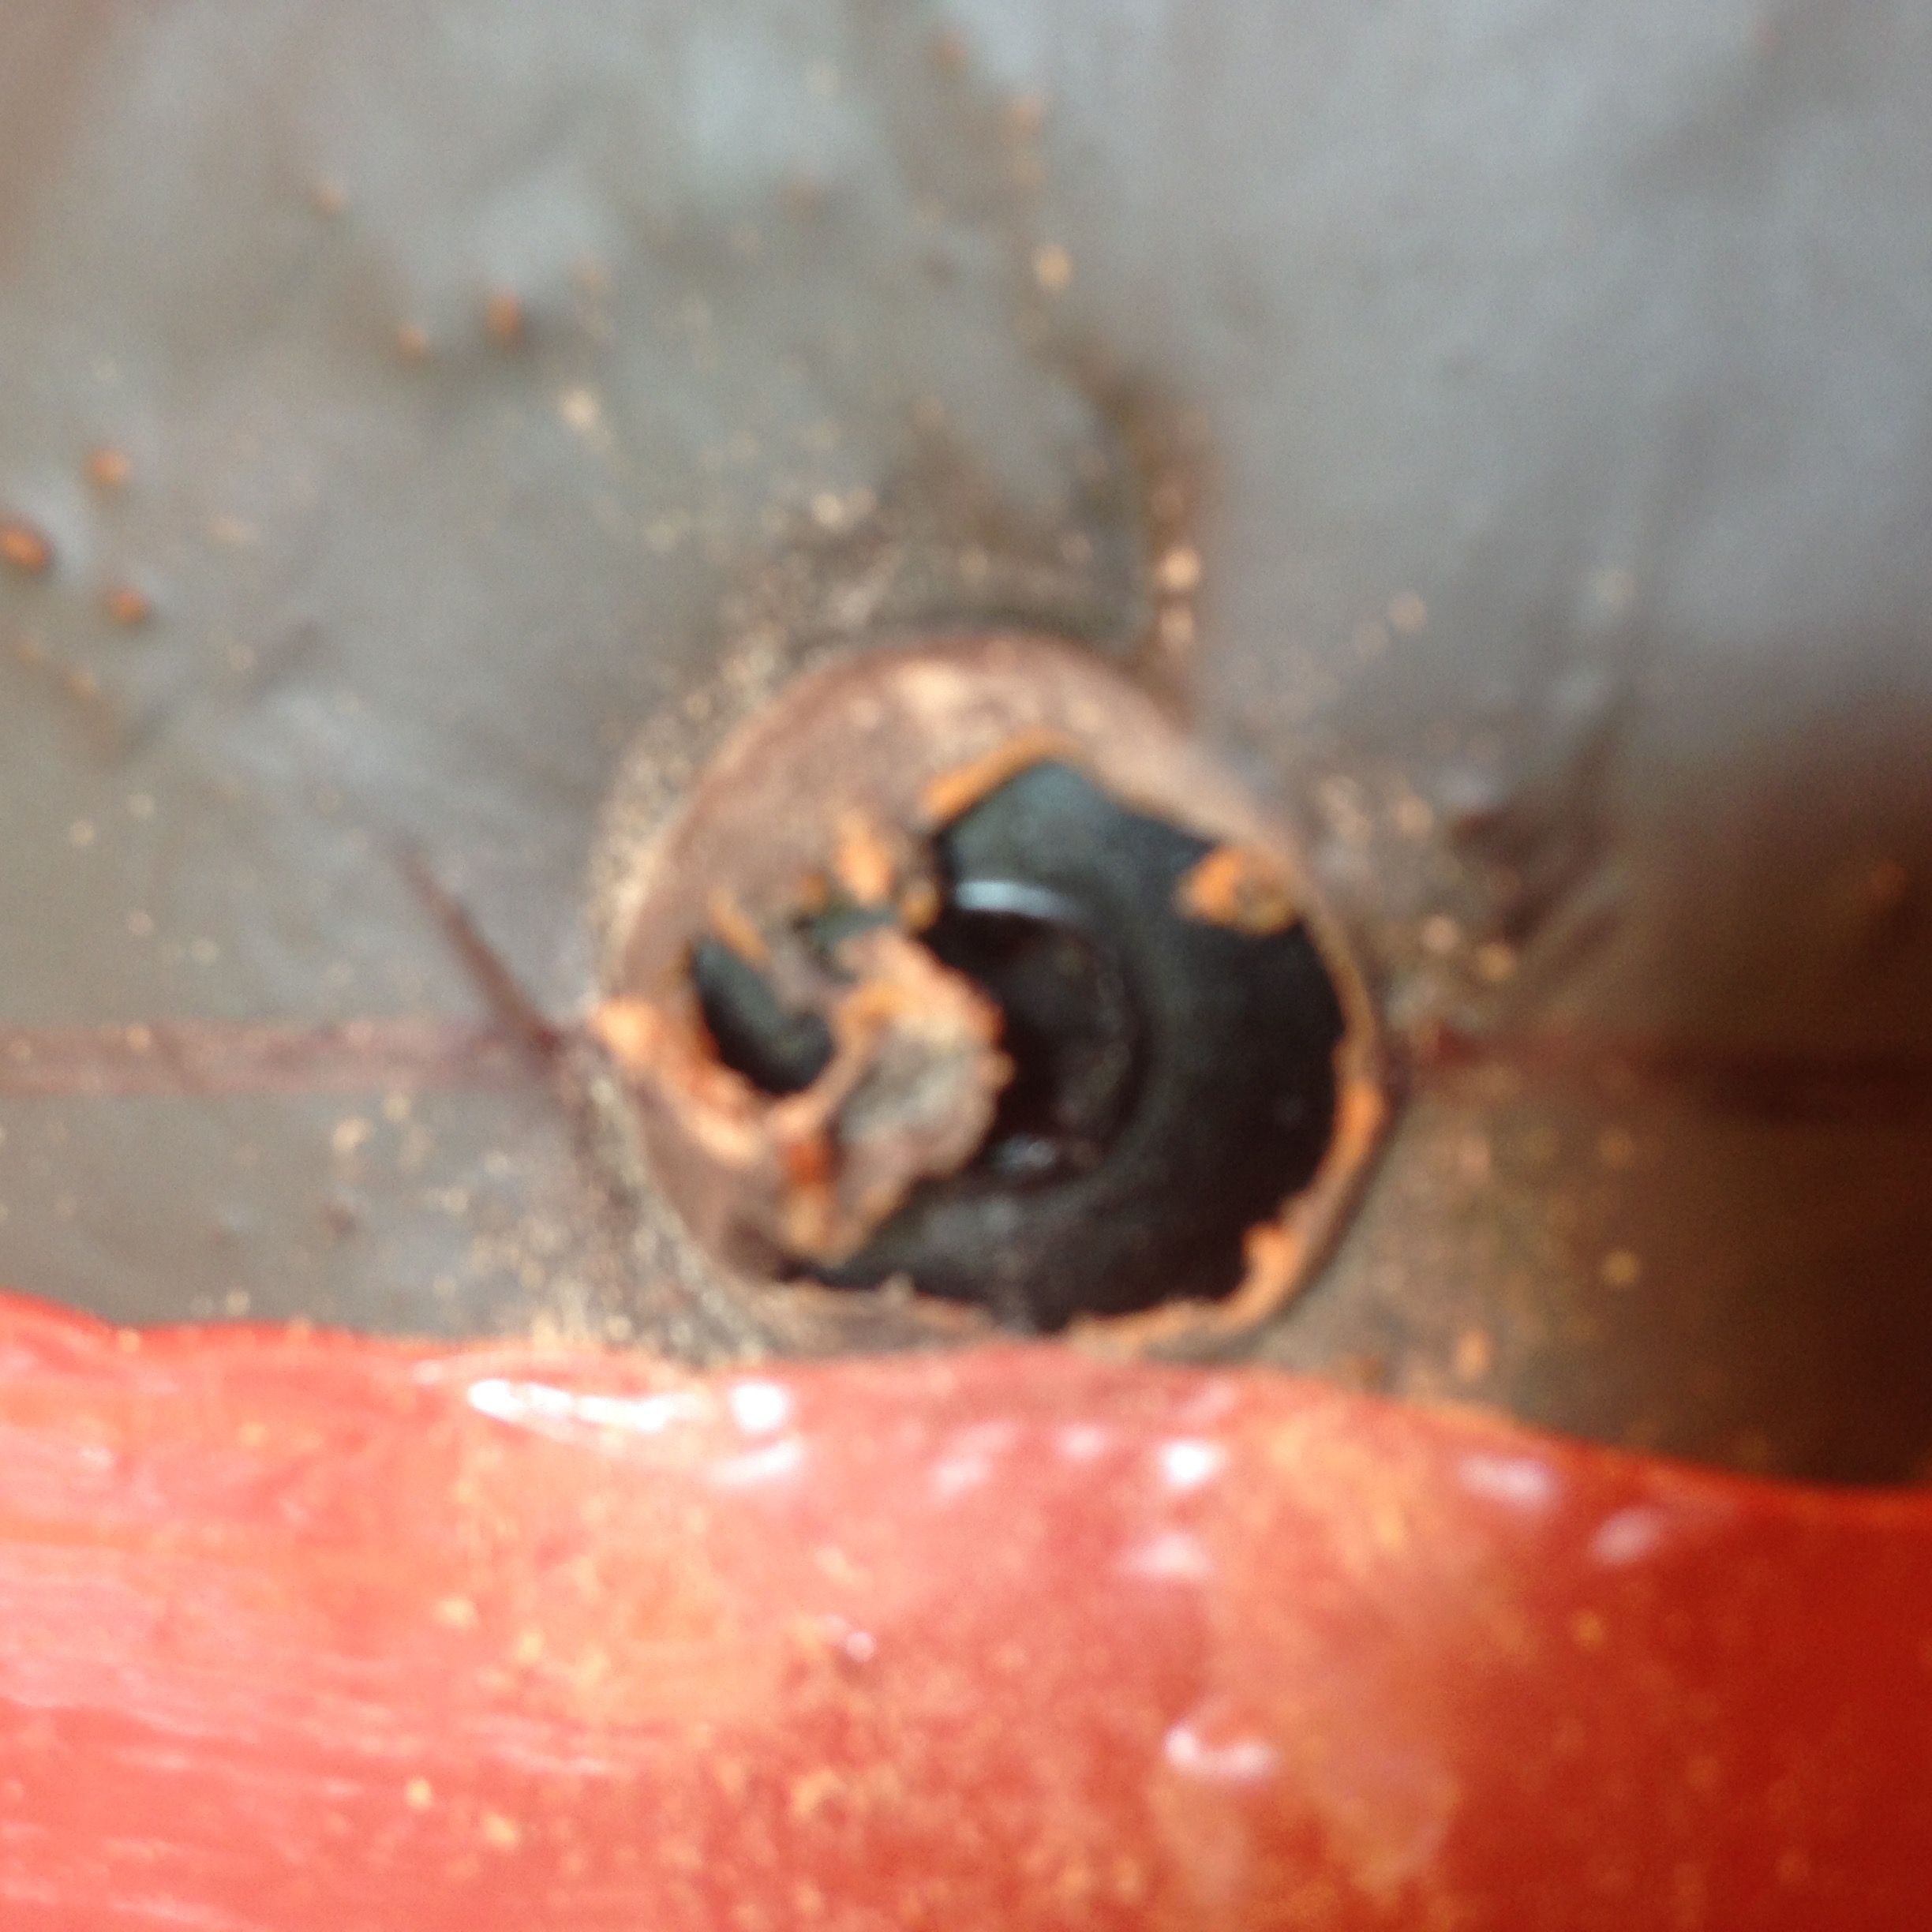
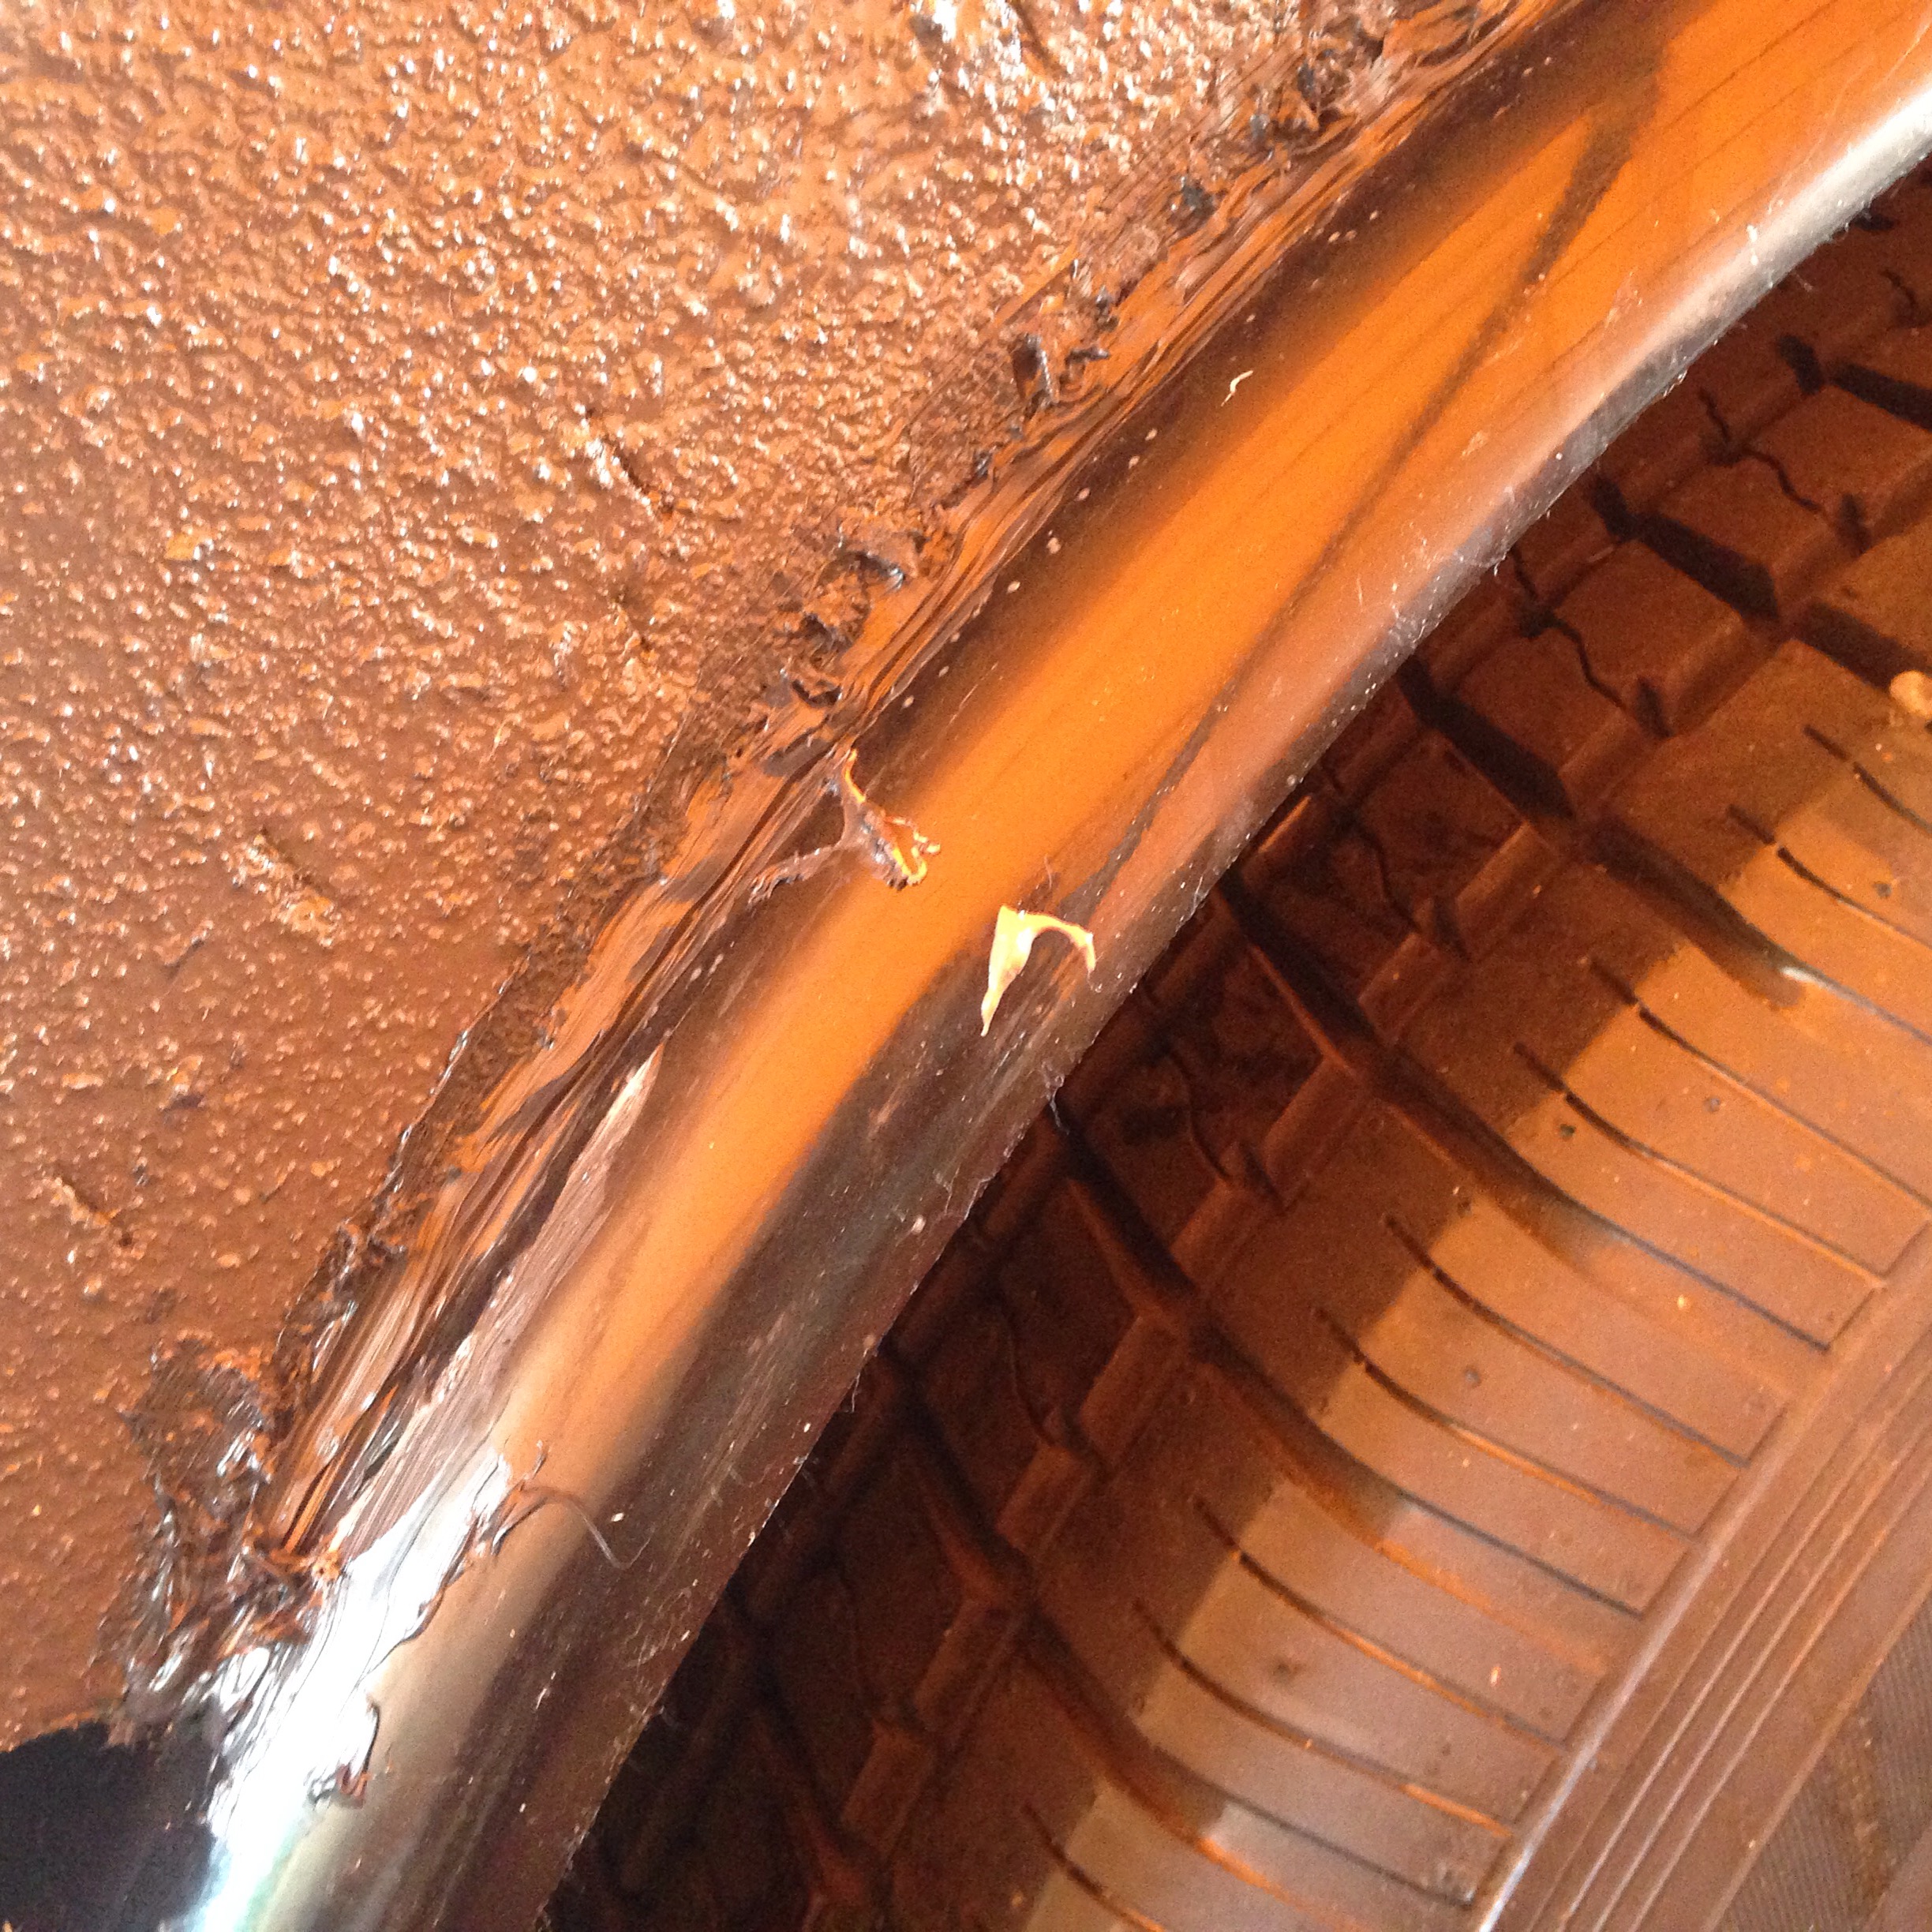
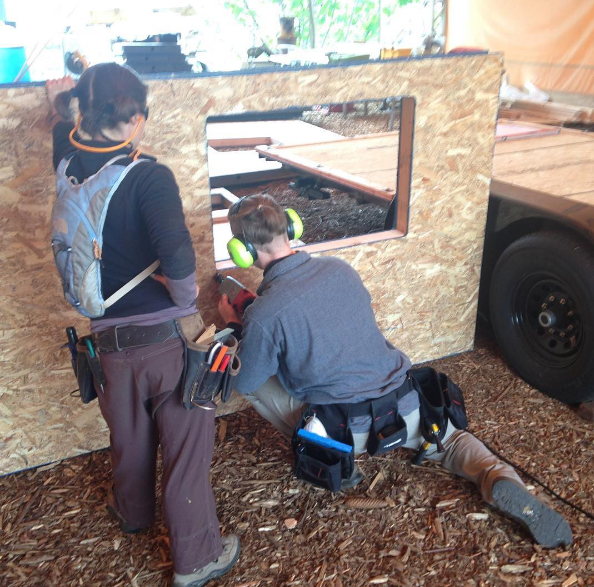
Our rainscreen system is important in the Pacific Northwest On Wednesday, which was Build Day #14, we continued our exterior work with waterproofing quality control, instilling our rainscreen, and installing the first of our exterior trim. Our day started out with sealing up the space between the SIPs and the fenders with backerrod and a liquid-applied sealant. Air sealing is important for energy-efficiency and moisture management so it's nice to have this little step done. We also installed a few SIPs screws from the exterior through the SIPs and into the ledgers that hold up our storage loft. Now it's secured into the wall SIP from both sides. These were two little steps closer to being dried in. Once the windows and door are in we'll be able to be actually dried in and that's really exciting!

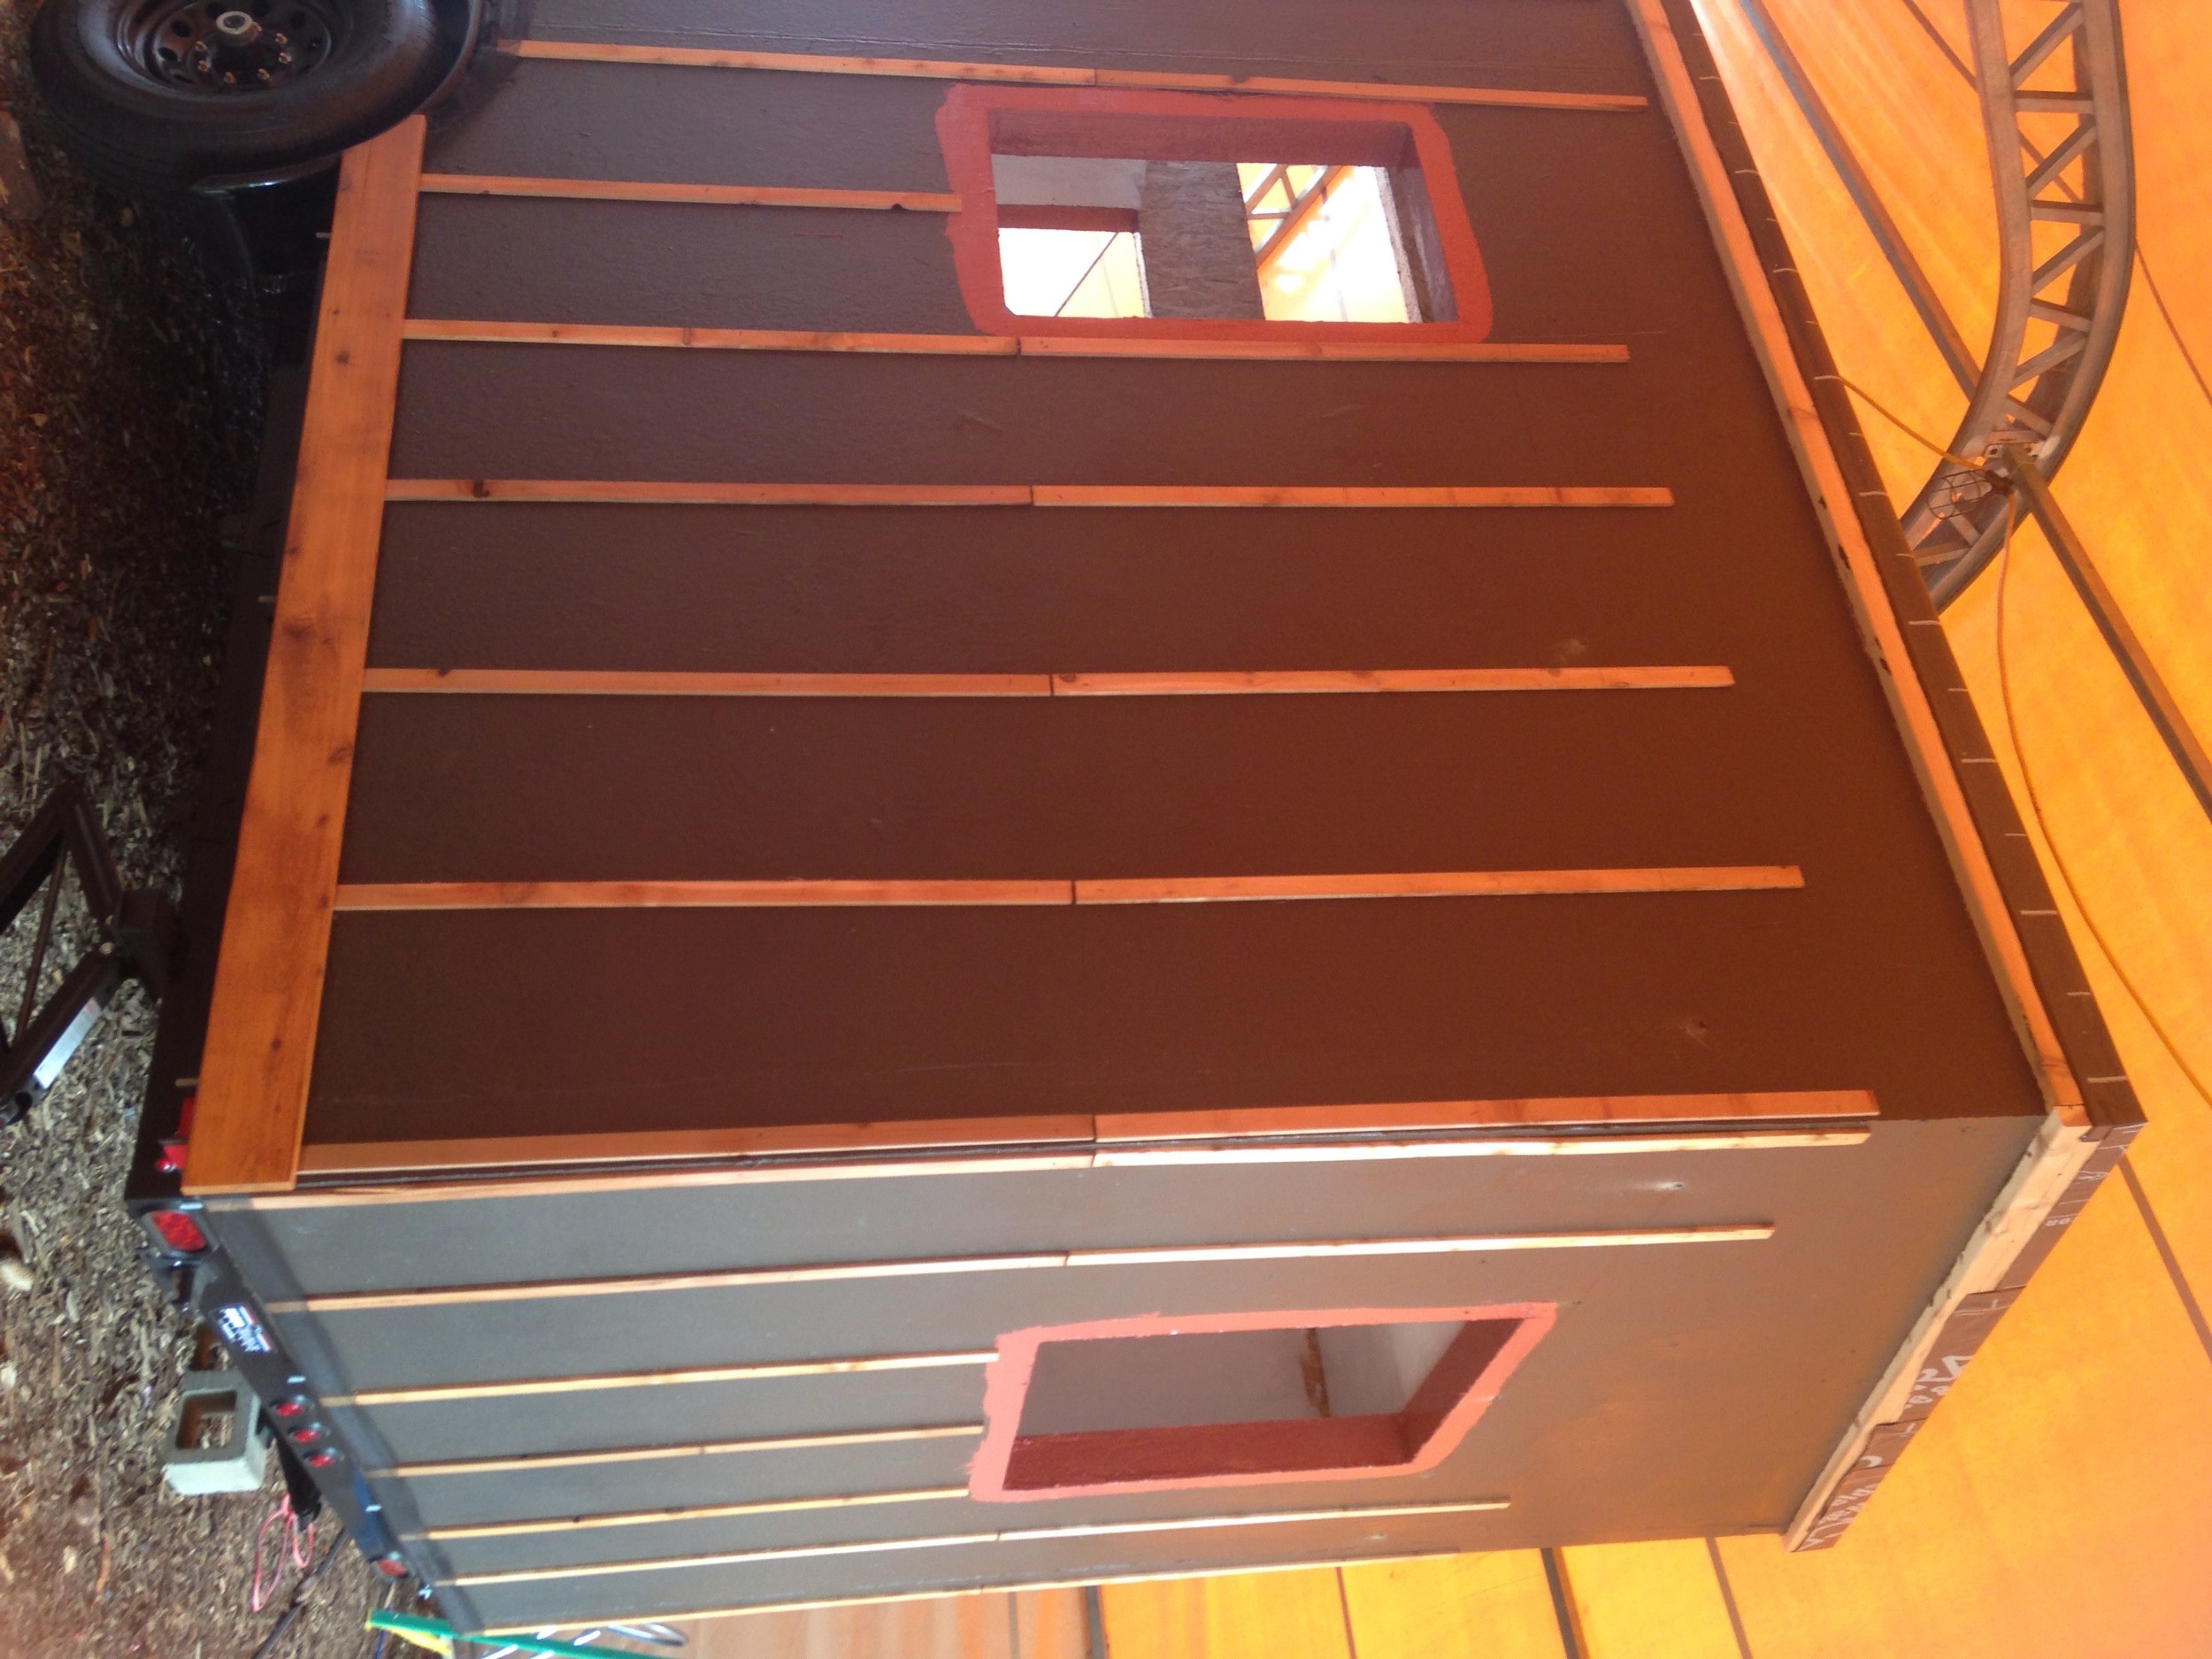
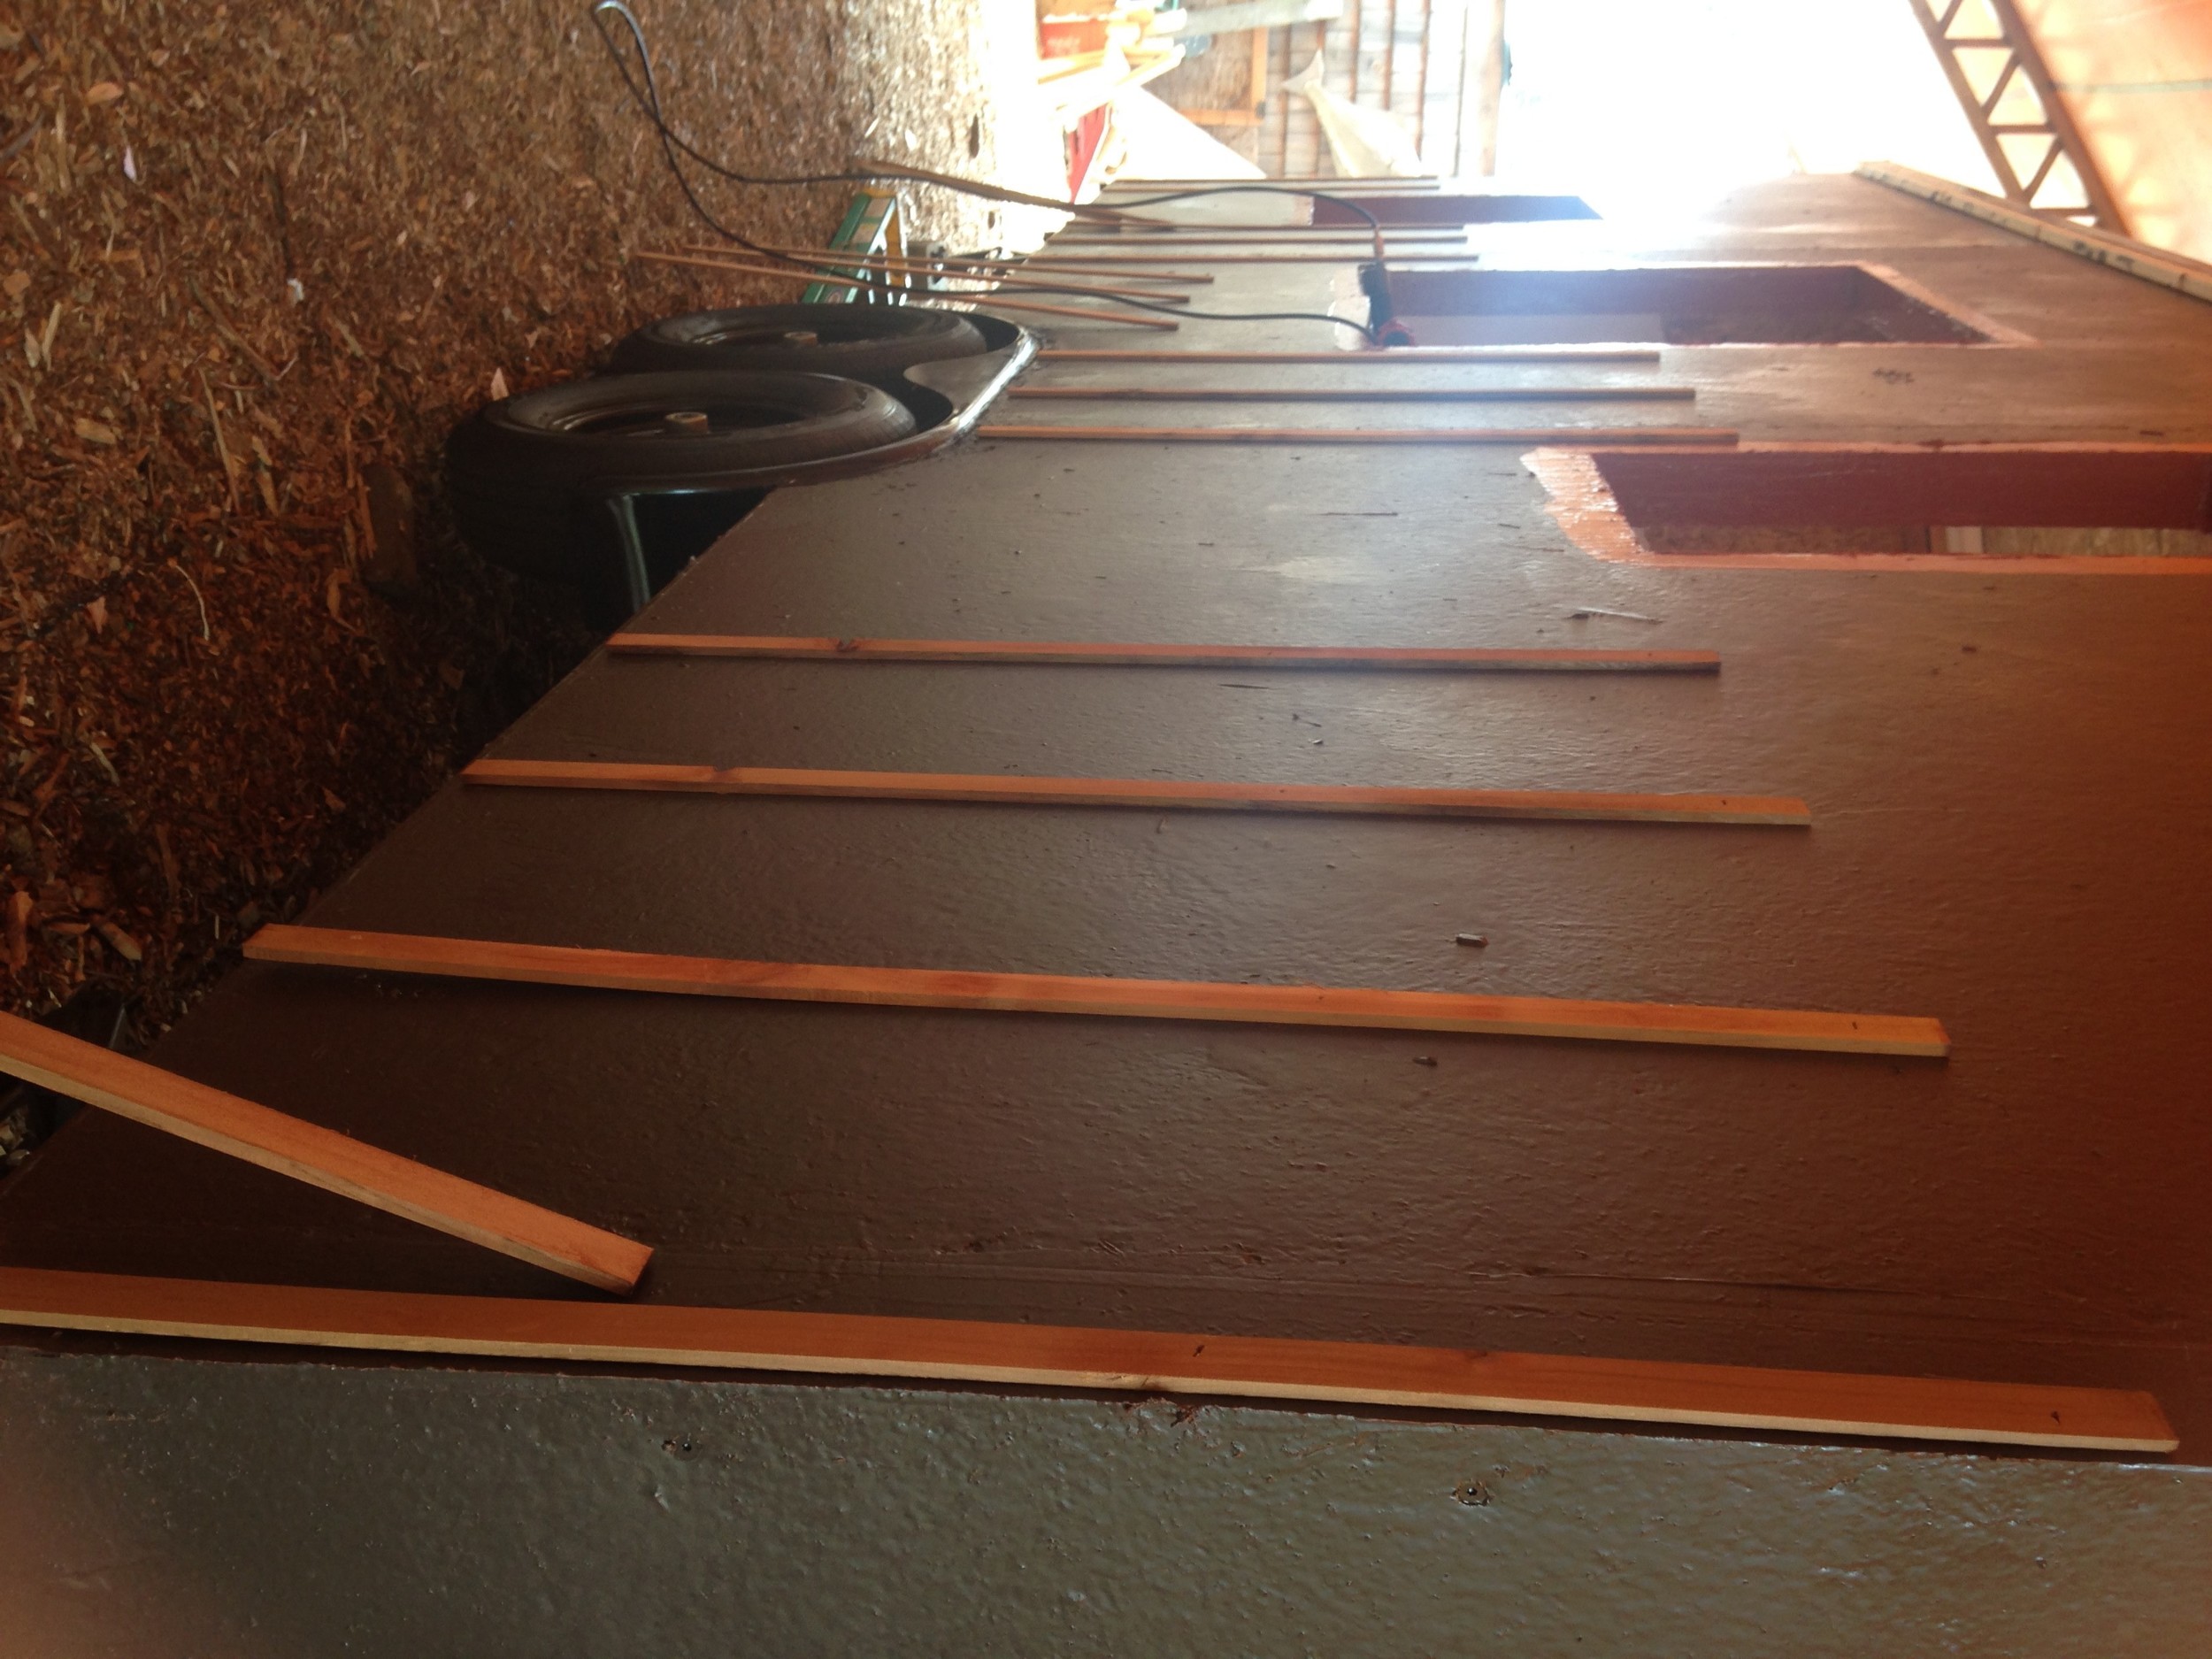
Next we started putting up our rainscreen system. "Rainscreen" is a tricky term because it makes it sounds like you're adding some sort of screen to the house to protect it from rain. The reality is that a rainscreen is almost a lack of things. It's negative space. Basically, a rain screen system - which is designed to protect your house from getting waterlogged and rotting - is a gap created between the exterior siding and the water resistant covering your sheathing. Unfortunately, linguistic matters get a bit more complicated by the fact that there is often bug screen involved in a rainscreen system! I'll try to break it down. Here we go!

Day 14 = Done!

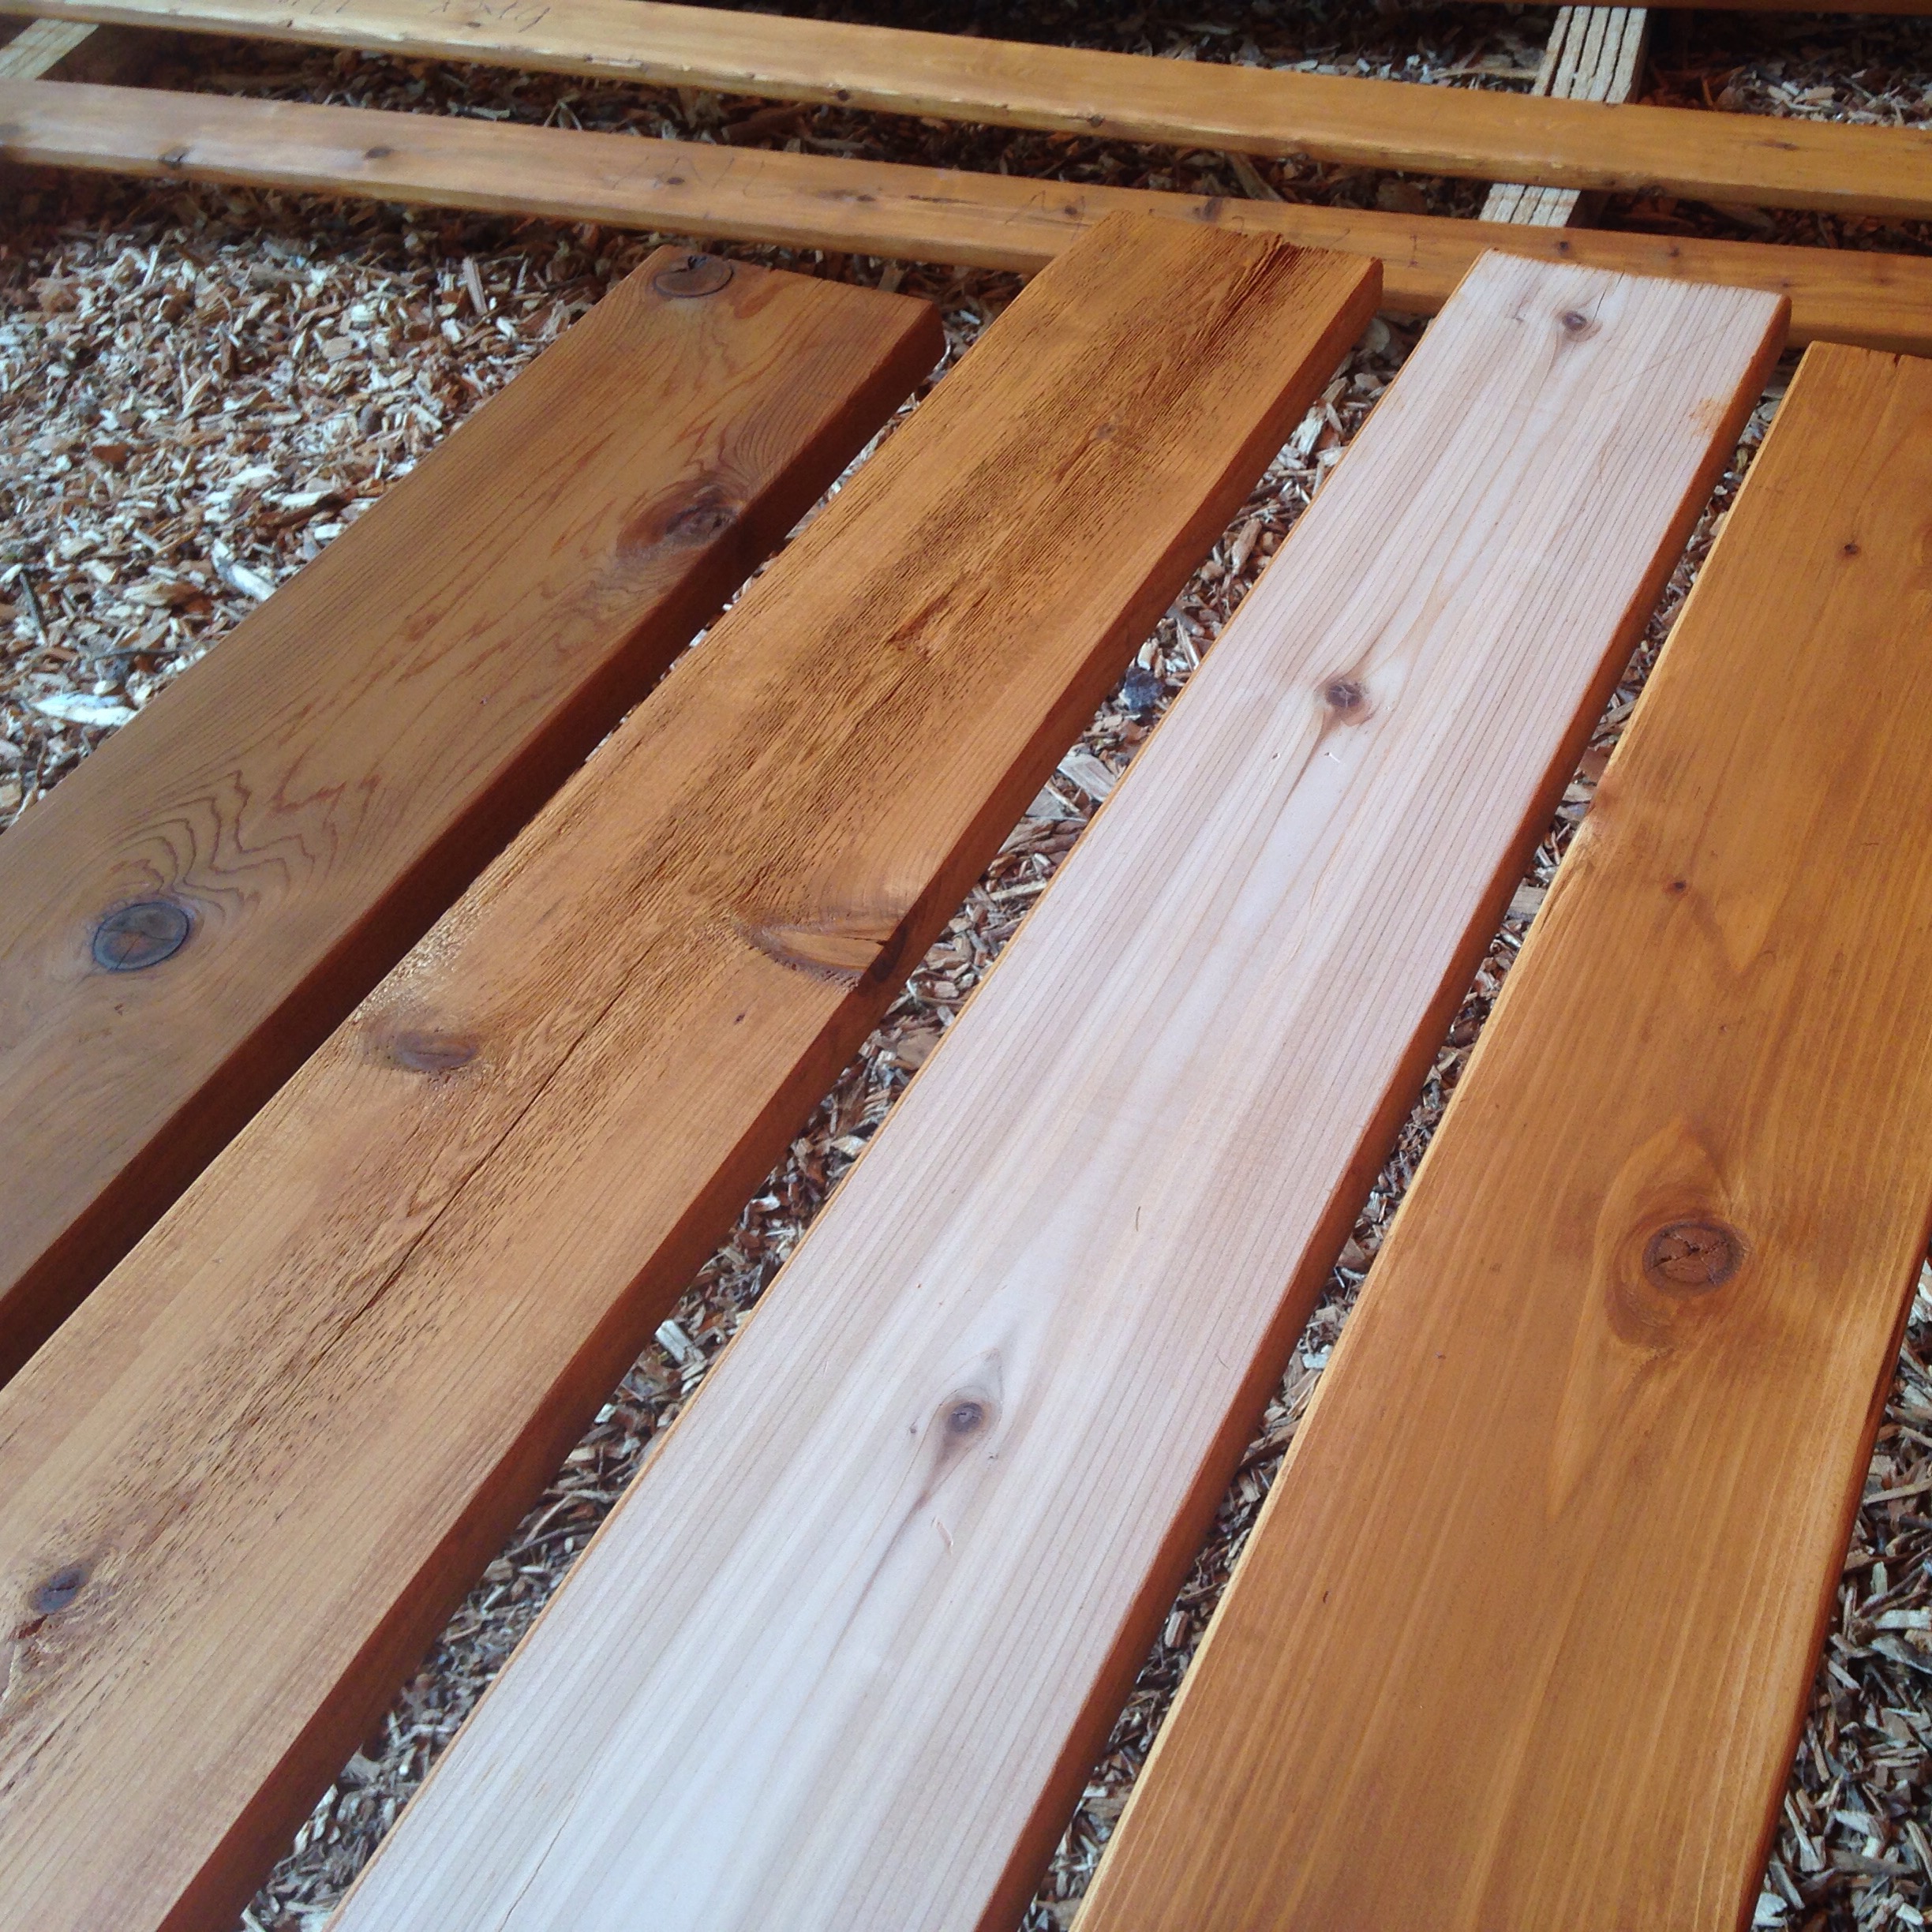
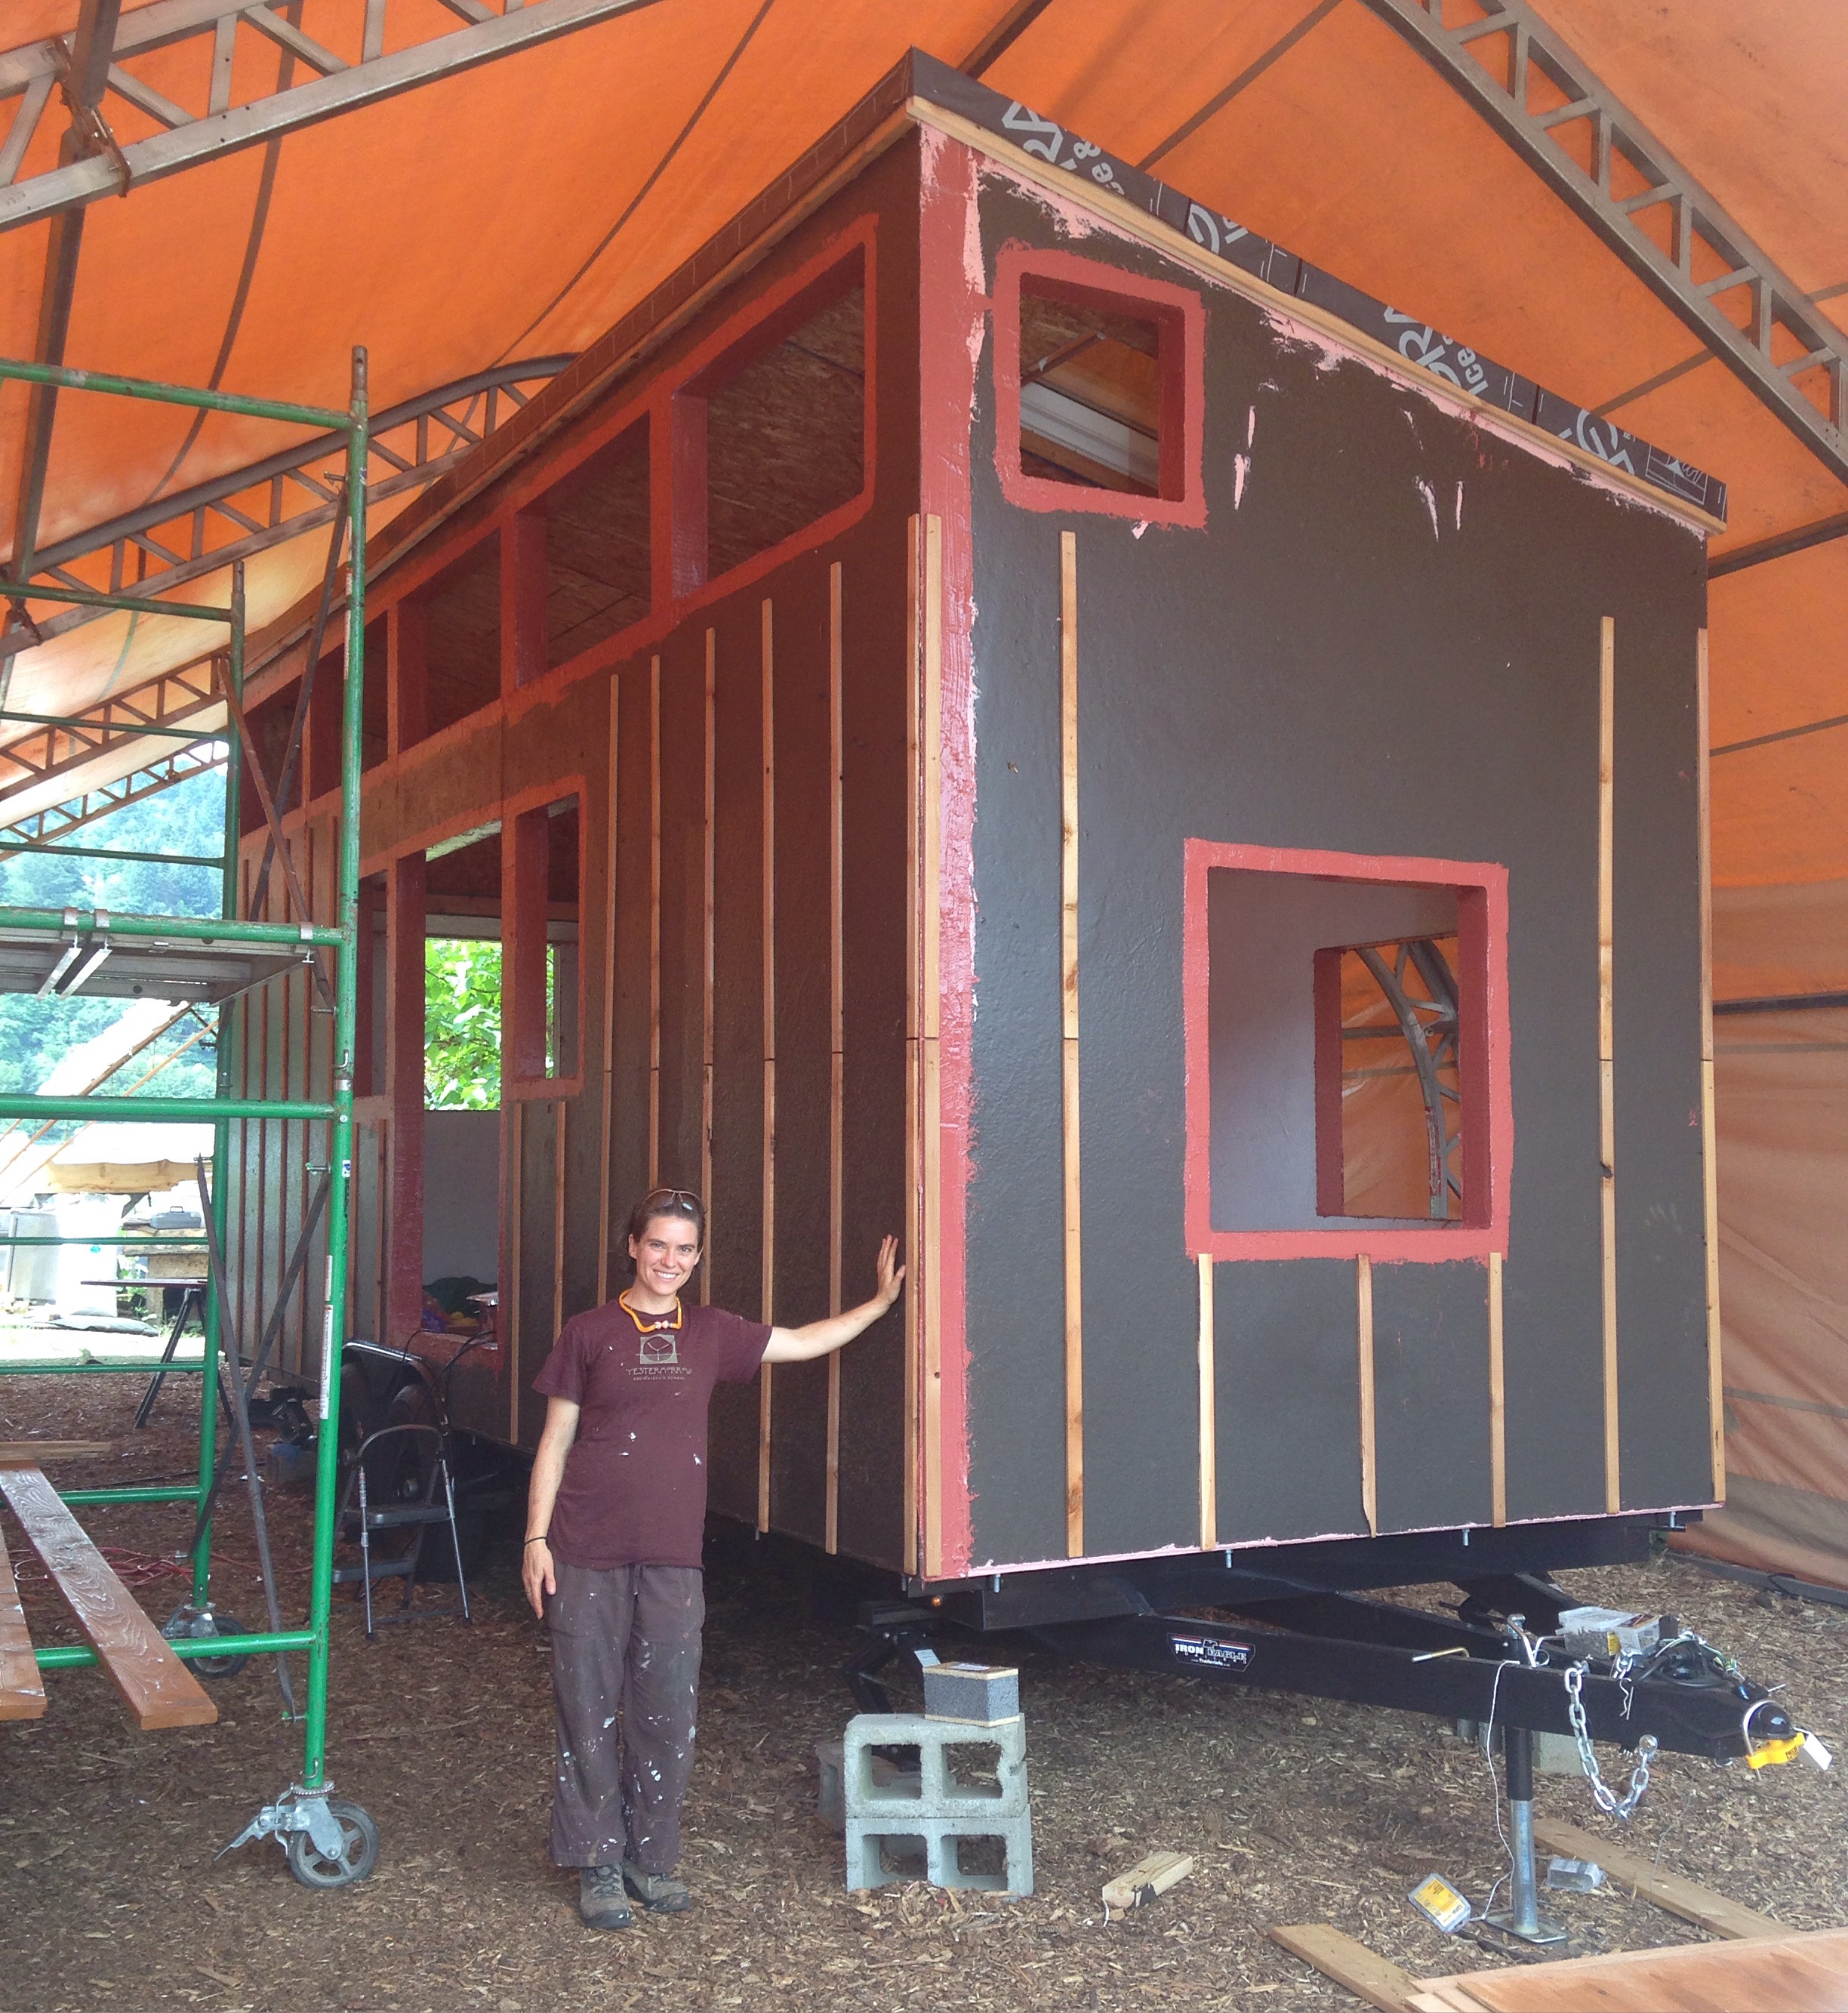
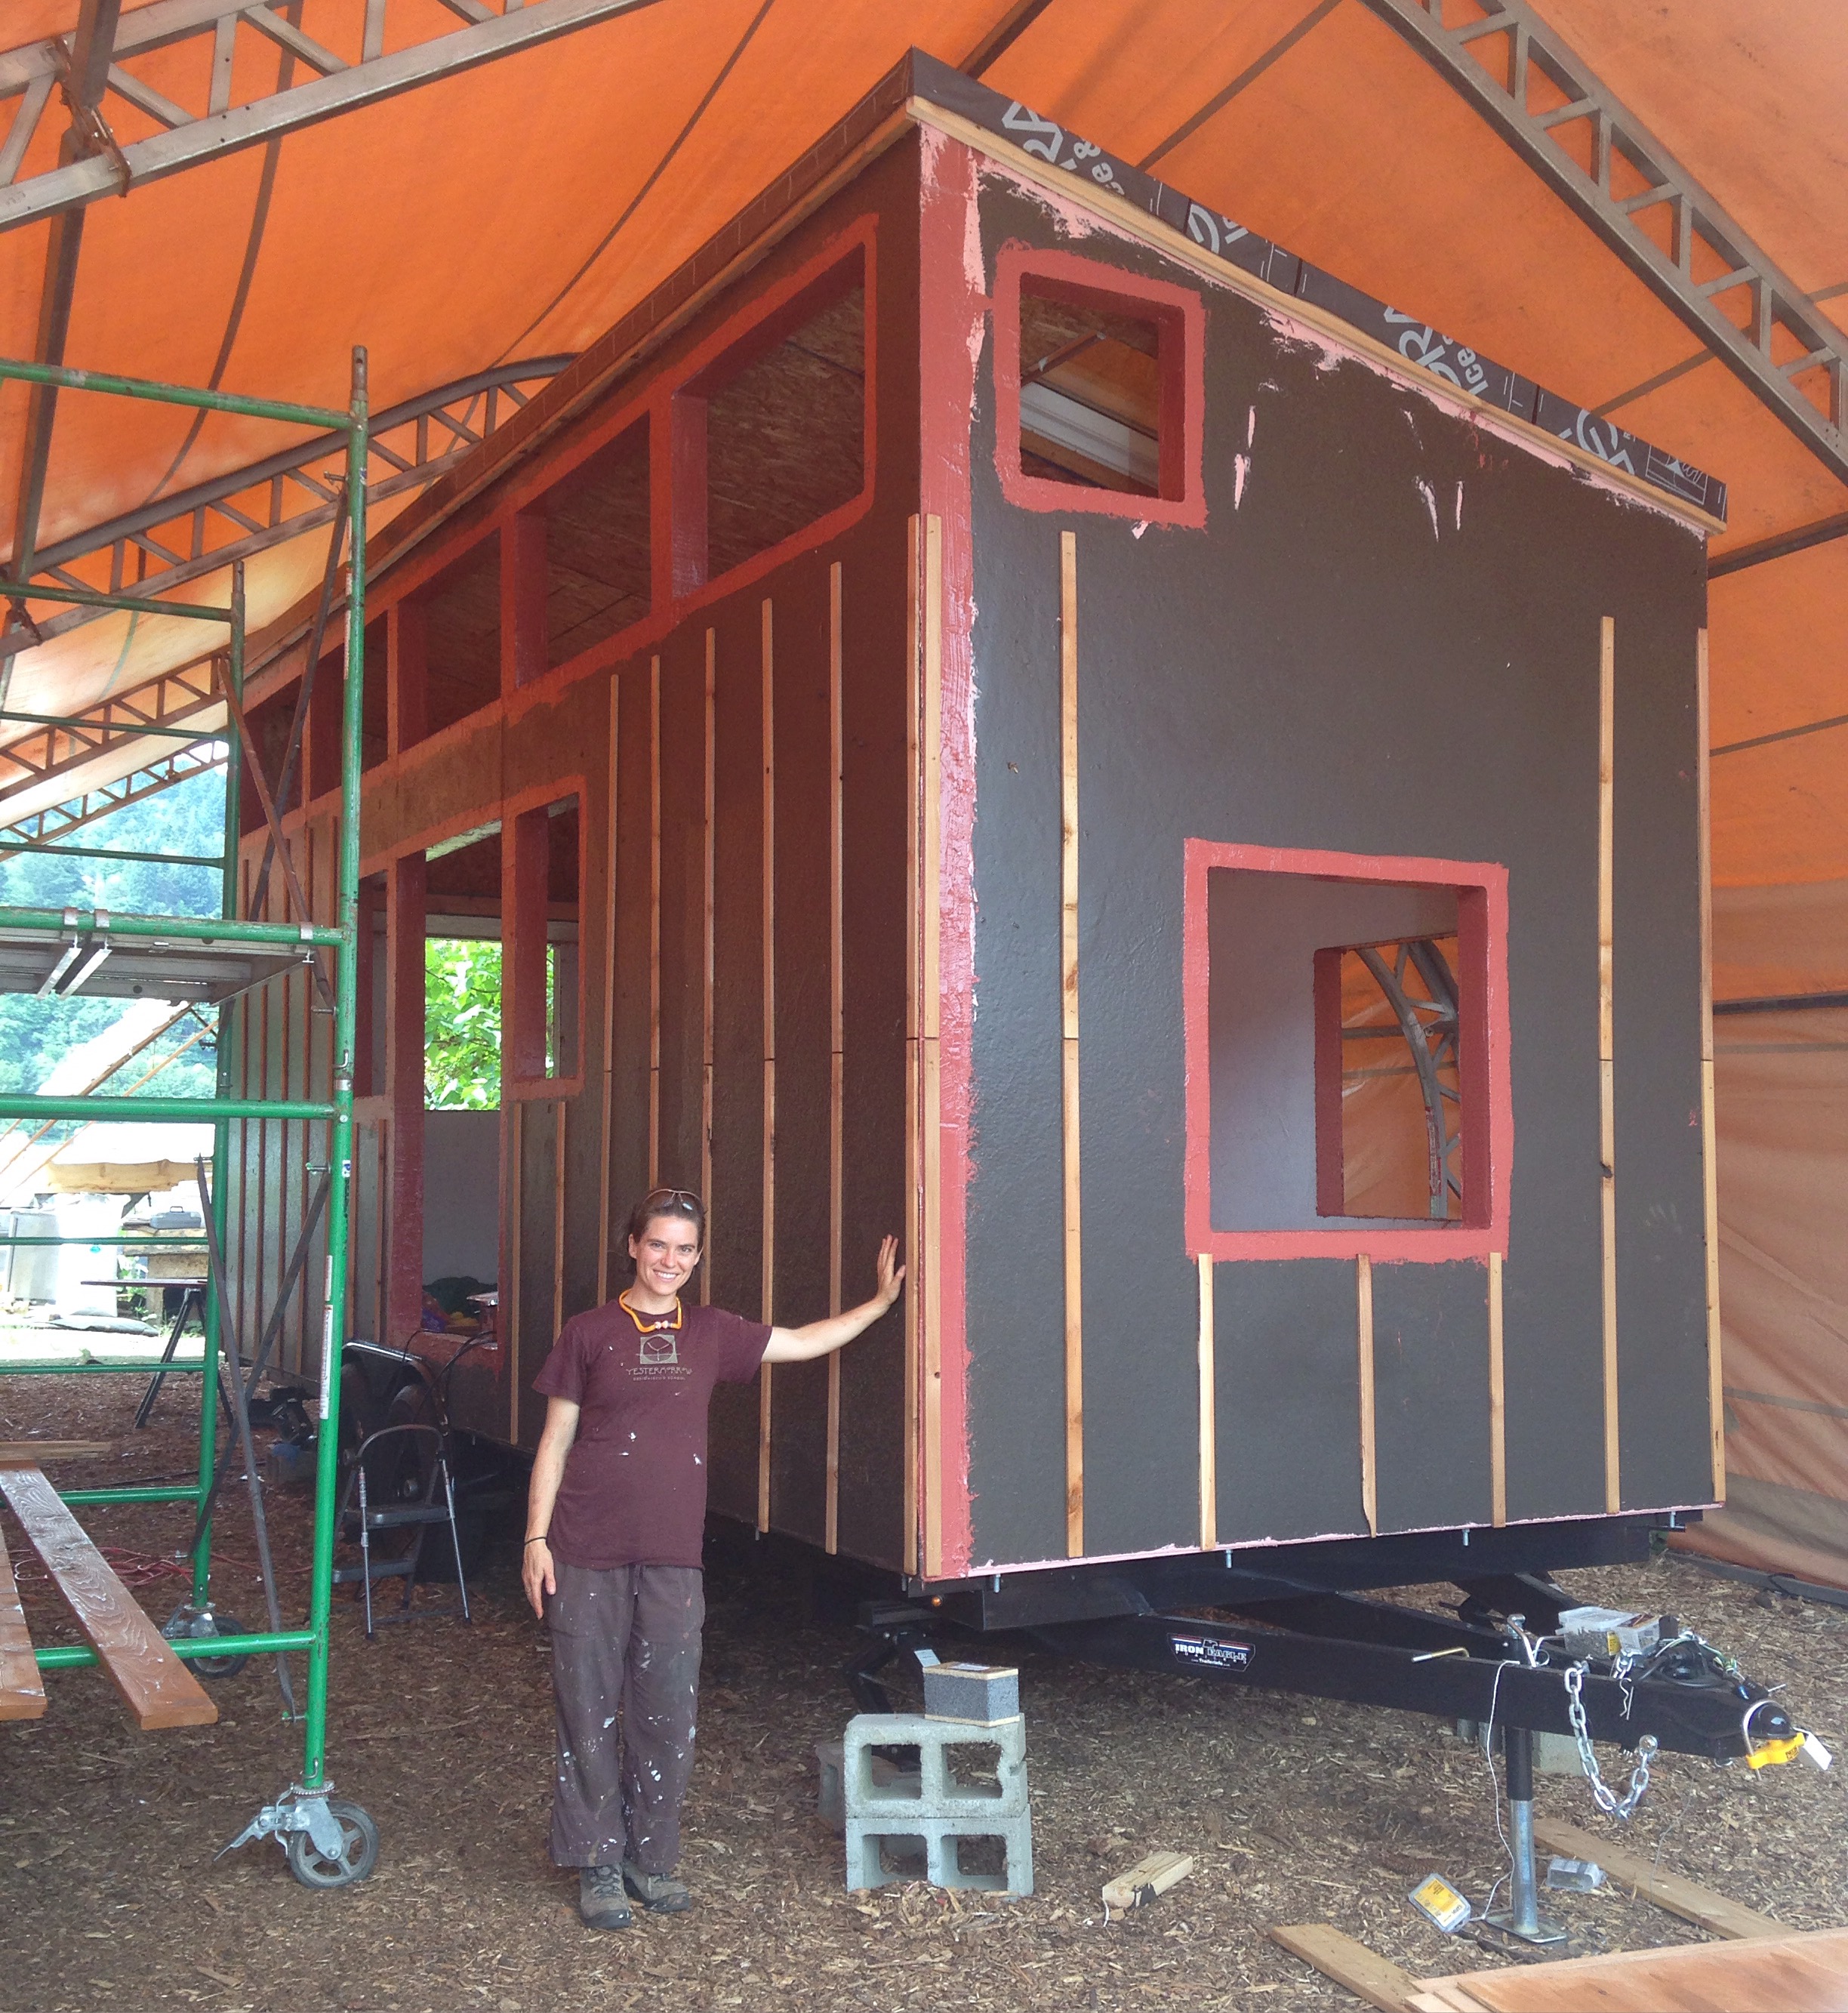
In our case the wall system is structural insulated panels (SIPs) covered in a layer of R-Guard Cat 5, which is a liquid-applied water resistant barrier. We then stapled 3/8" cedar lath over the waterproofing layer, leaving the bottoms loose so we could add bug netting at the bottom. When we're ready to put the siding up we'll attach it to the lath strips and into the sheathing. (Since we're using SIPs we don't have to line up with studs, but if you're doing stick framing you do want to line up with the studs!) Installing the lath gives us a gap between the siding and the water resistant barrier so that any water that might get behind the siding can drain away. This provides a little breathing and airing out space which makes your siding more durable and protects the structure of the house from having waterlogged siding boards sitting right against it.

After the lath was up we picked up some bug netting (the fiberglass kind you'd use to make a screen for a window or screen door) and cut it into long strips. We tucked these under the bottoms of the lath, wrapping up a few inches on both sides, and then stapled the bottoms of the lath into place to hold the netting in place, too. We now have a screen at the bottom of the house behind the bottom trim board so that water can drain out but bugs can't get in!

Once the rainscreen was up we could install our bottom trim boards, so we wrapped up the day by installing our first trim boards. Woohoo! It's starting to come together!

The windows didn't arrive today as anticipated and they're now a couple weeks late. Fingers crossed that they come tomorrow!


T42 Window Flashing & Staining Trim

This week I am working with a fabulous woman named Meg who has come all the way from Boston to participate in our T42 Build Blitz to work on exterior tasks like waterproofing, rainscreen, windows, trim, and siding. Meg plans to build her tiny house, starting this fall, with her dad who has been building most of his life.

T42 Sealing & Priming

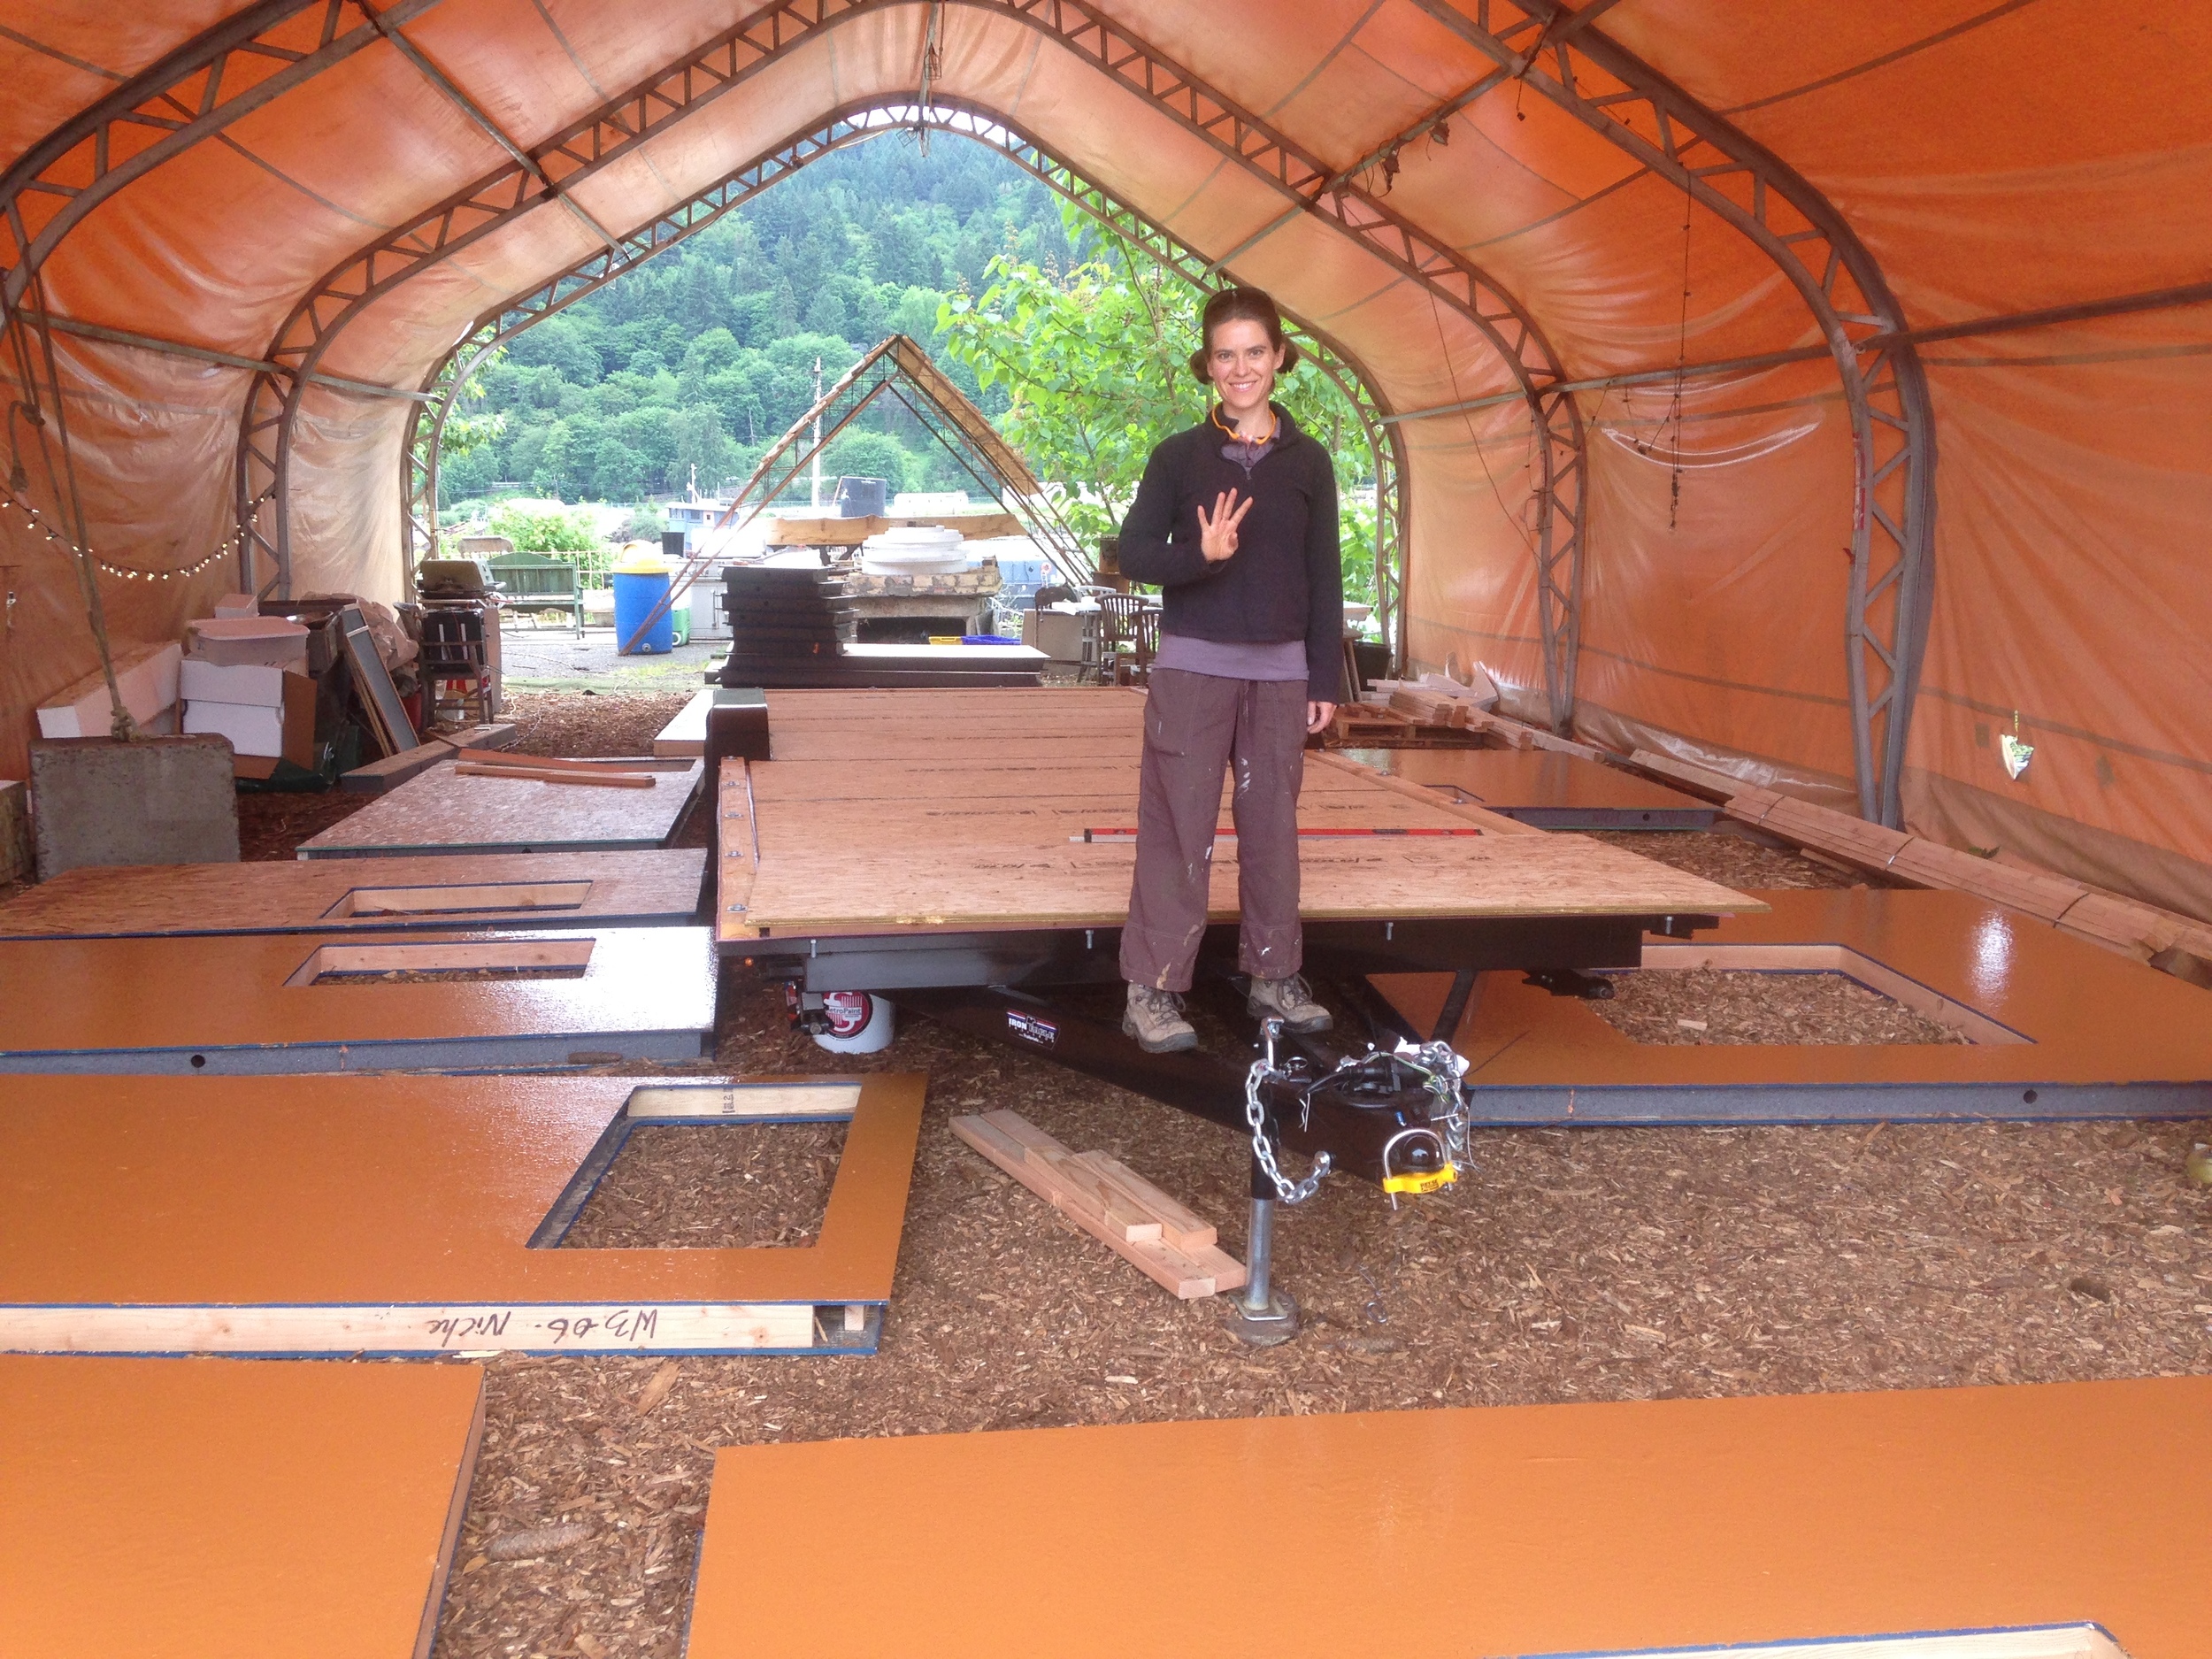
When we wrapped up the second T42 Build Blitz a week ago, we'd put in 8 build days and we'd completed all of the following:

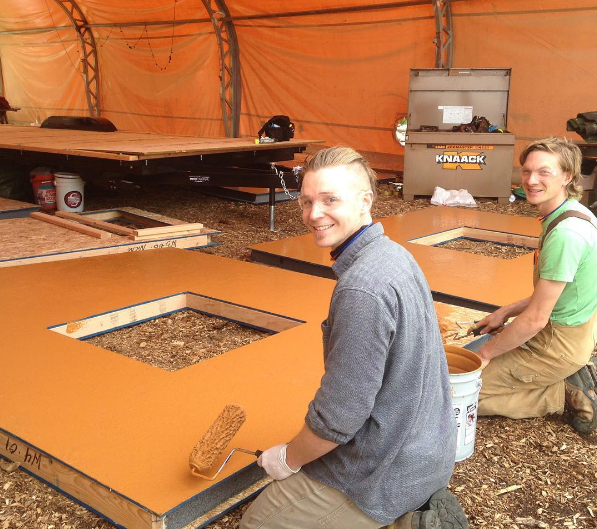
Priming with bare hands

Over the past week, we've slipped in a couple half-days of building in amongst the project management and design work I've been doing for my two Package Deal clients and prep for the upcoming Tiny House Collaborative Tiny House 101 Workshop in July.

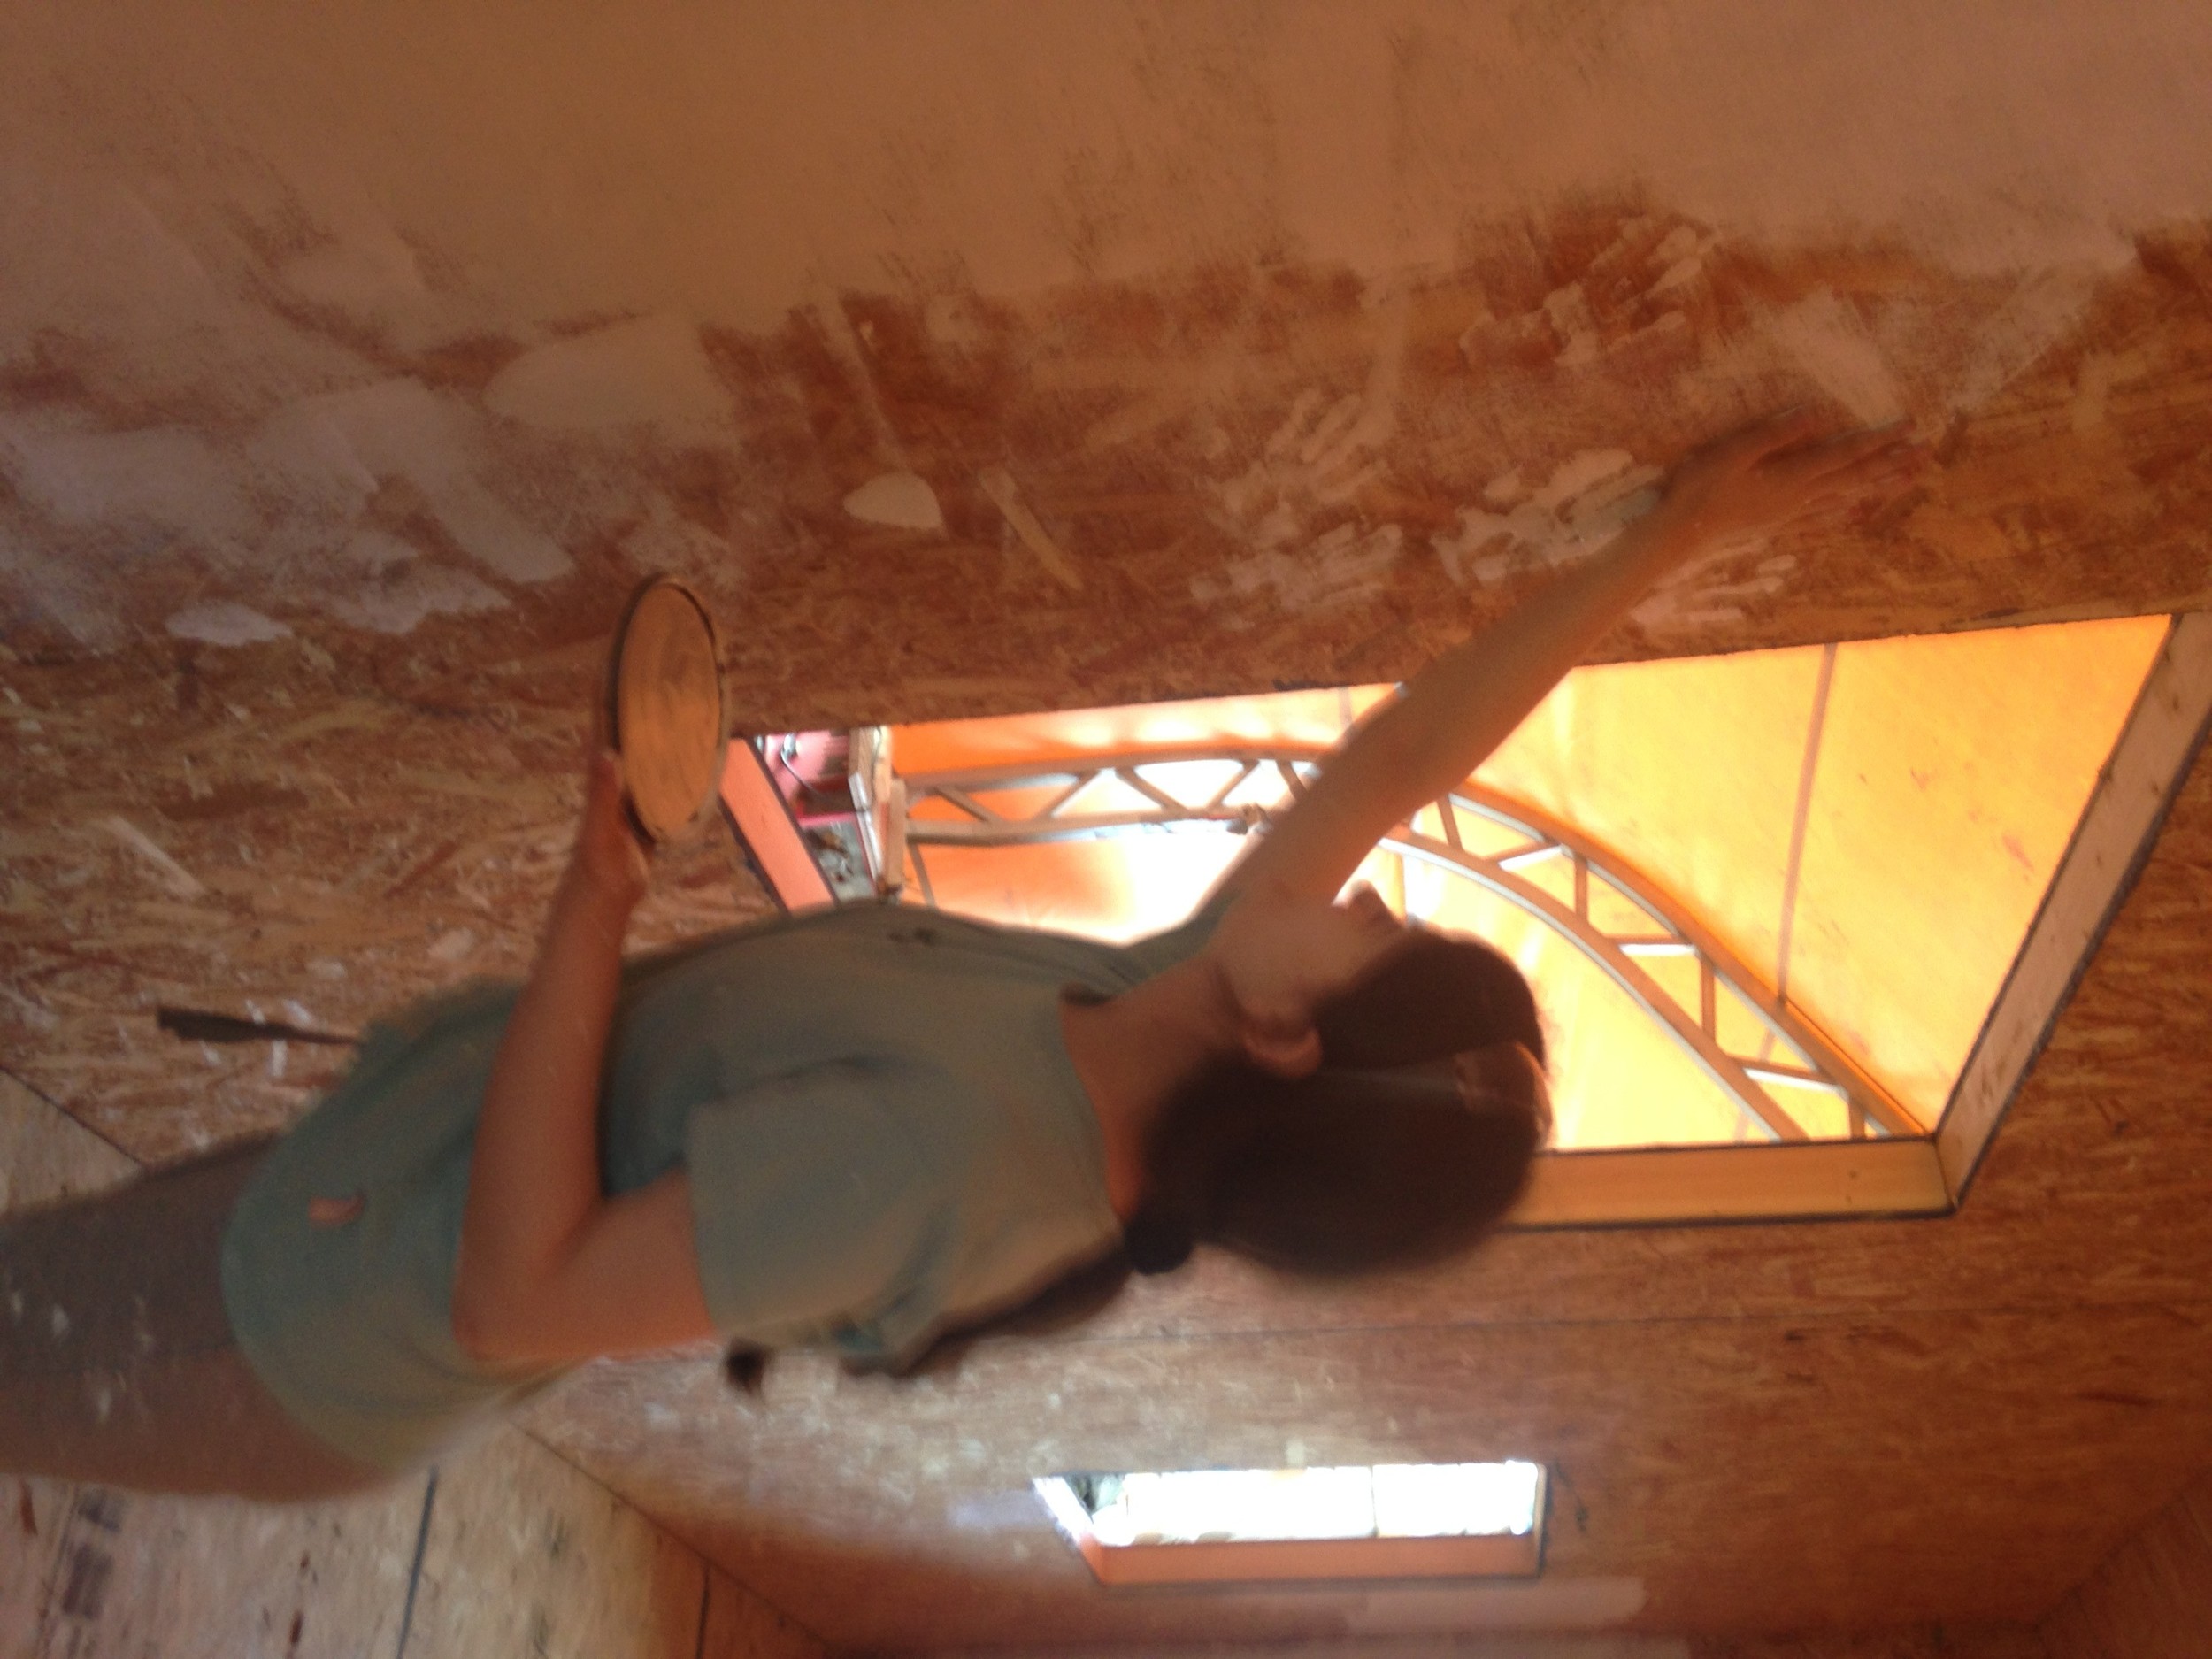
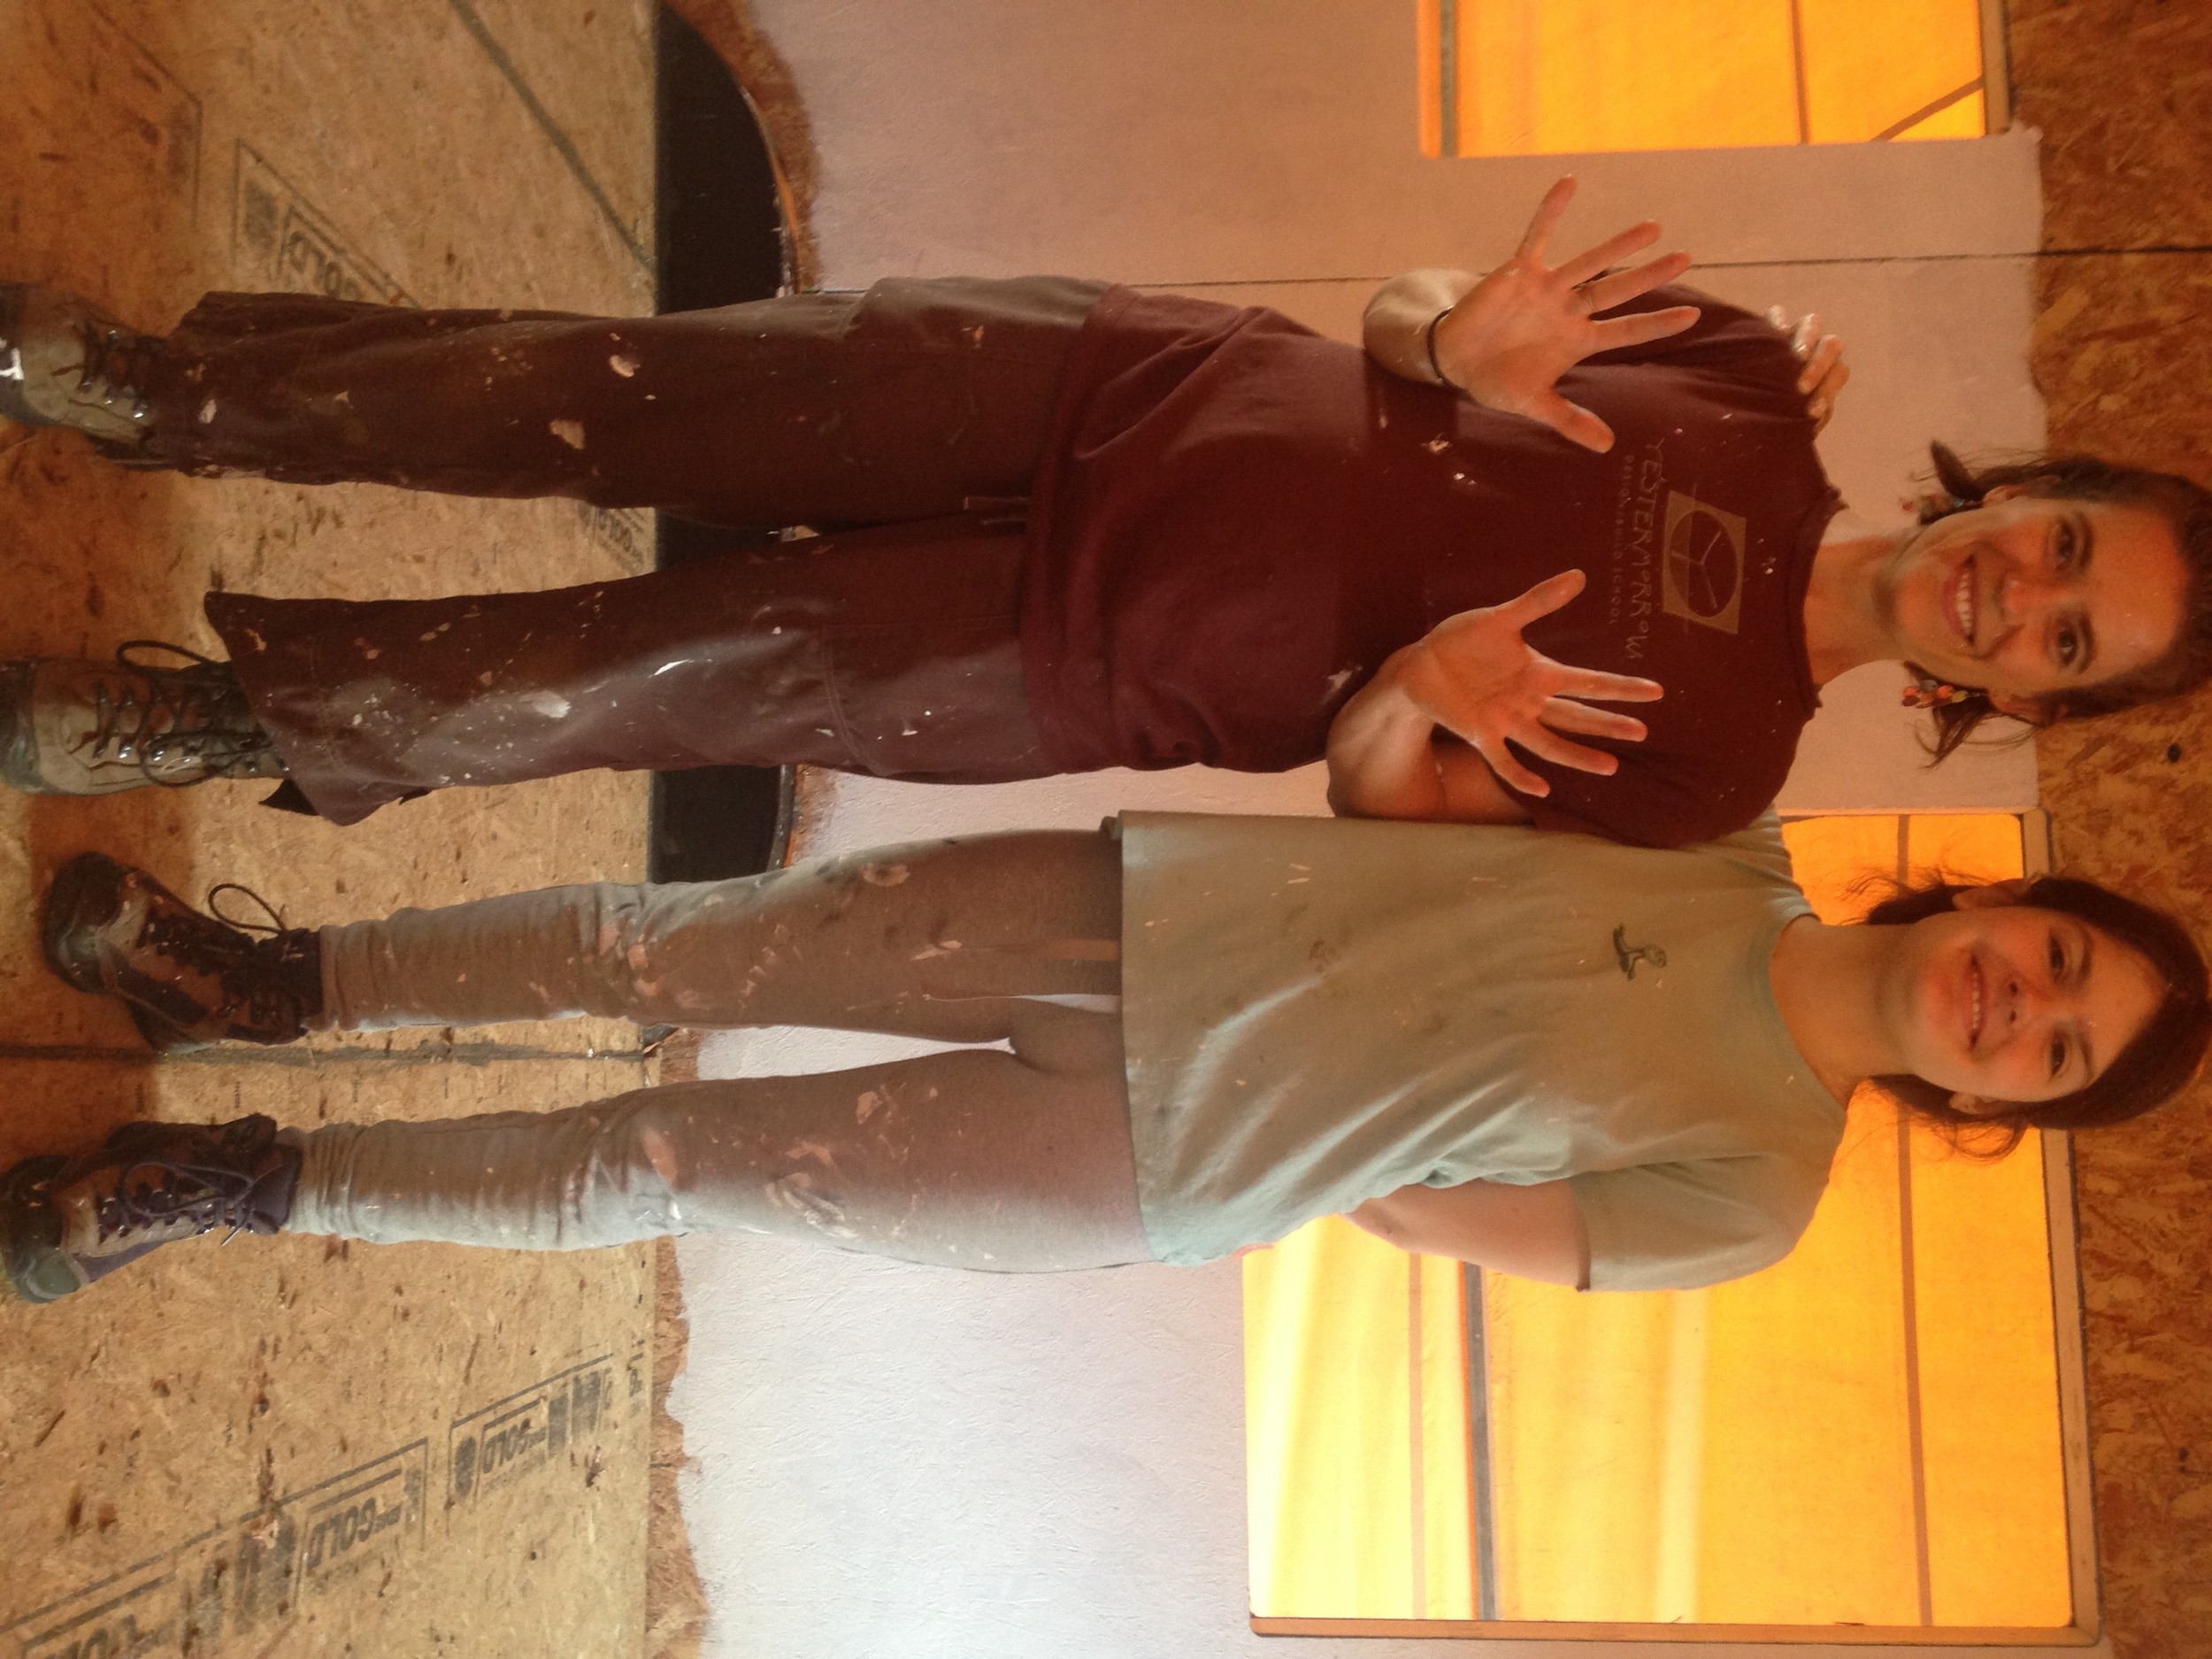
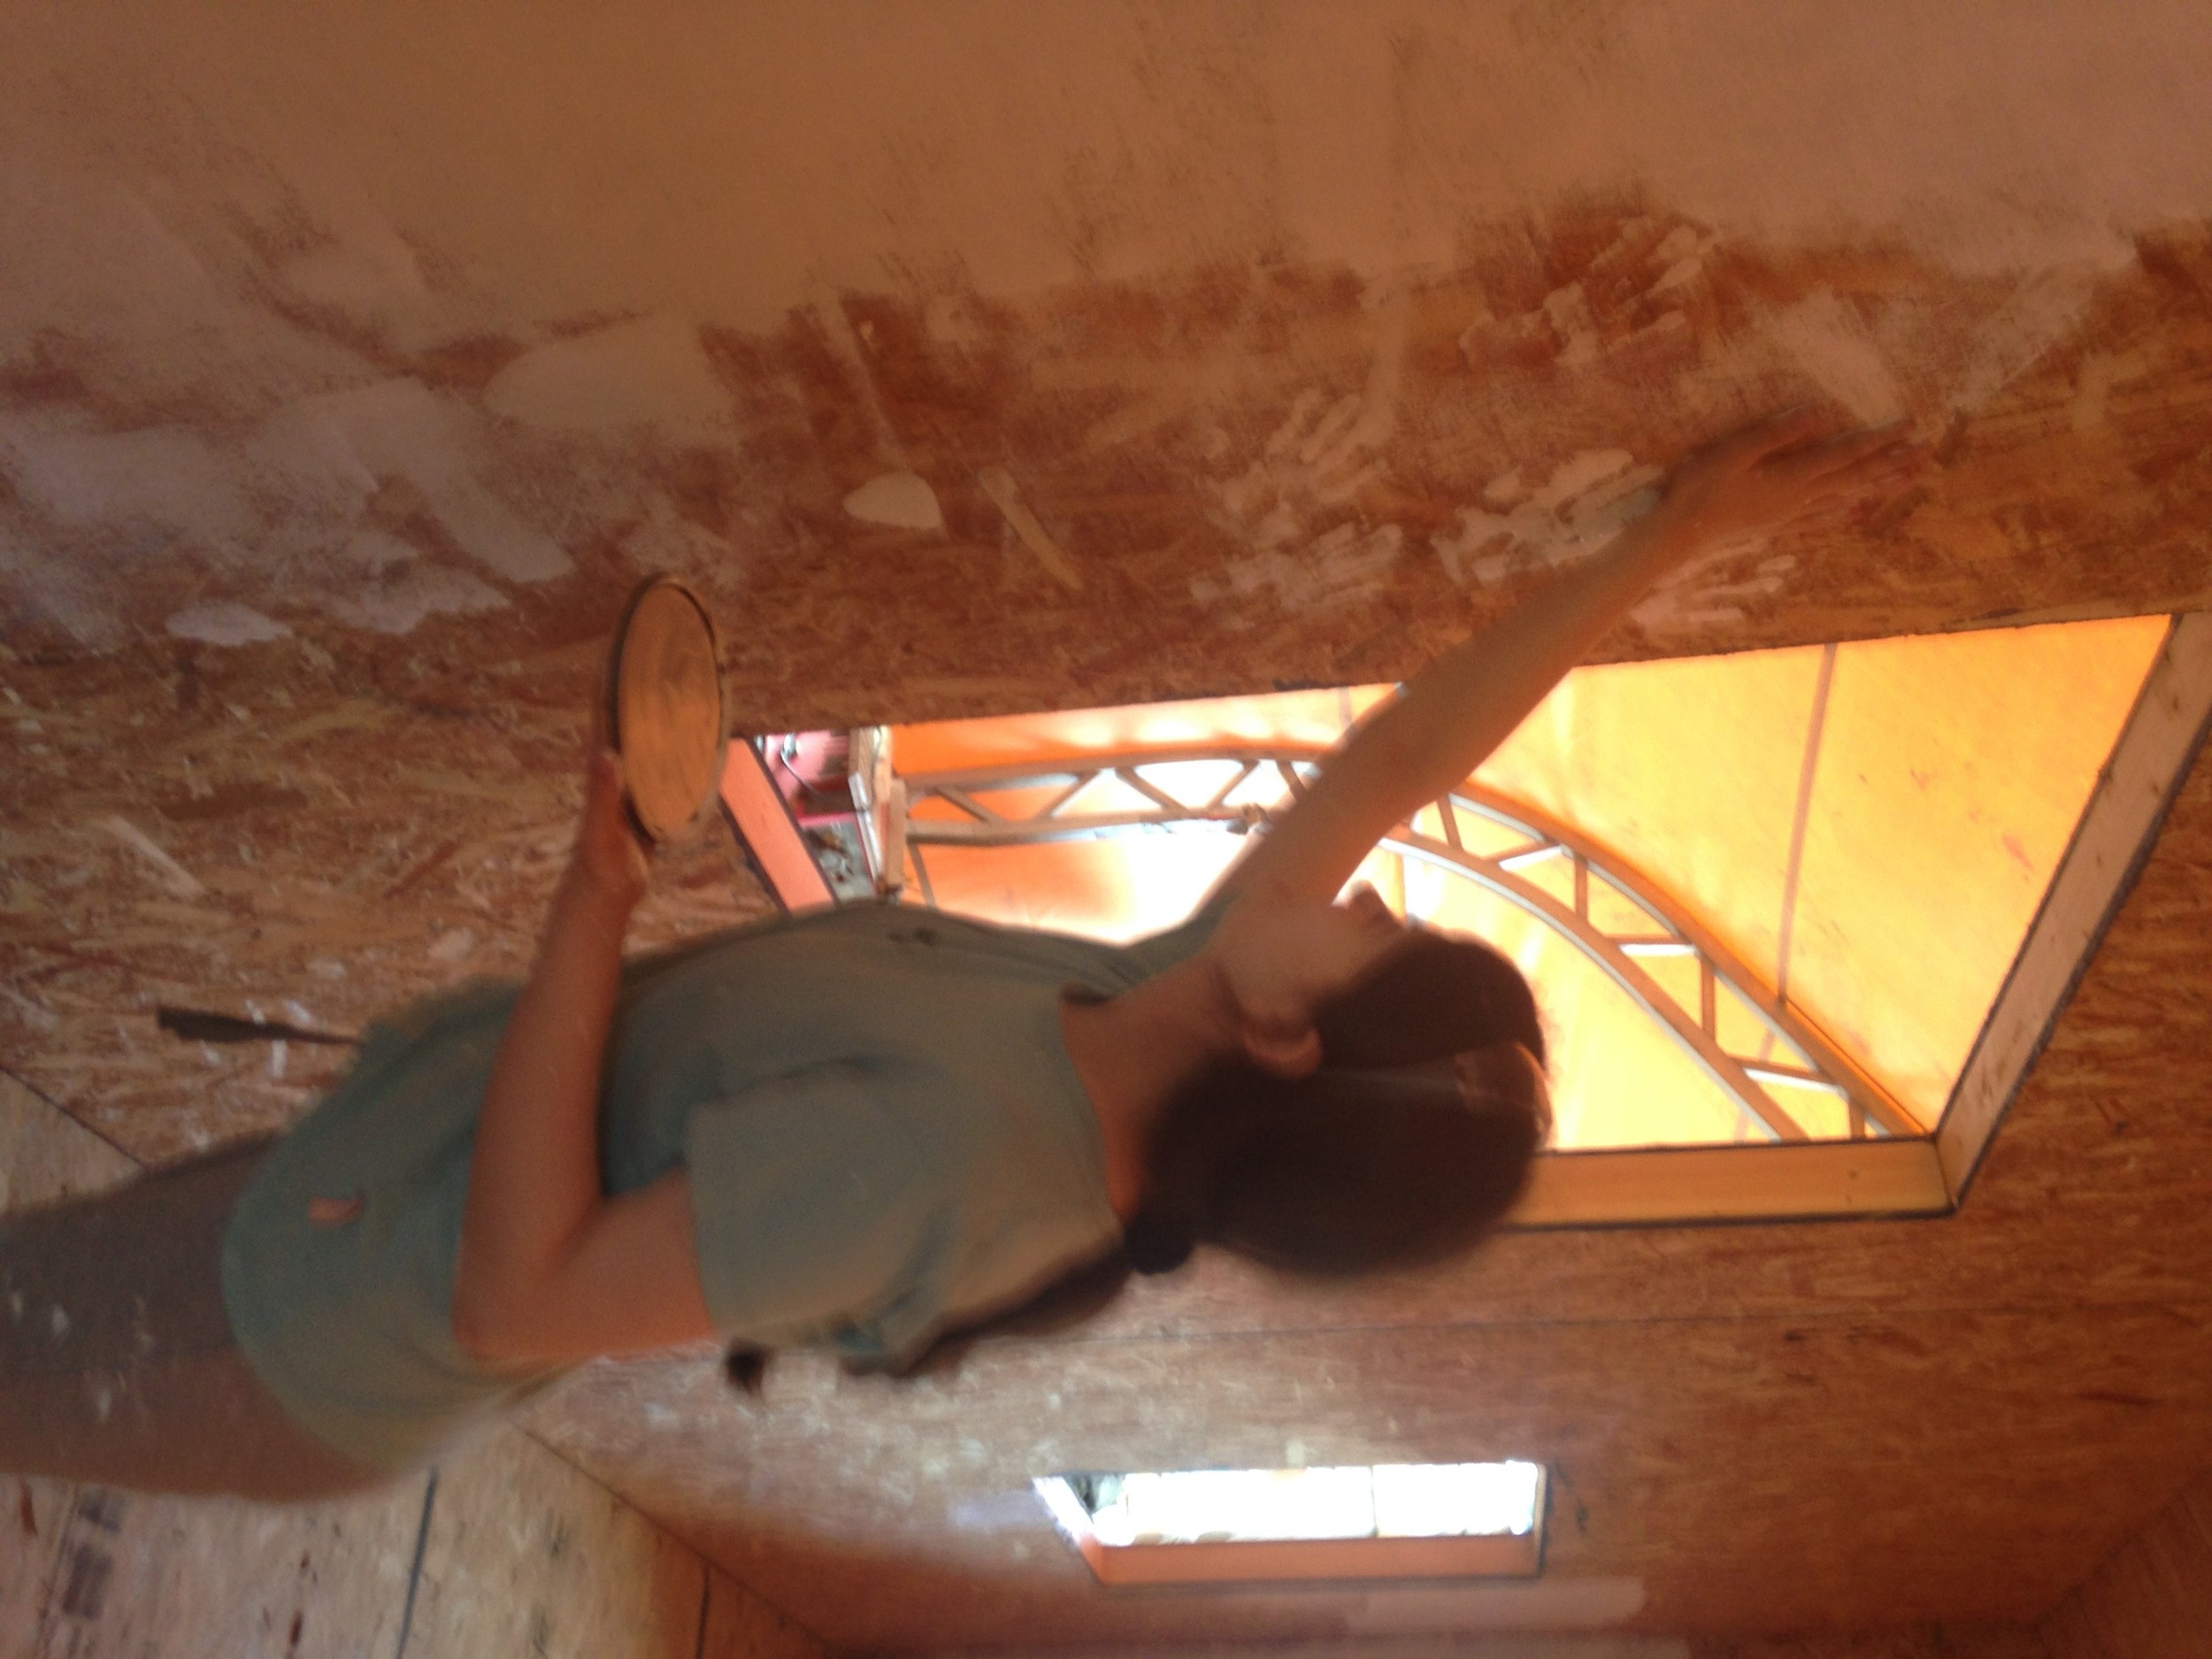
Early this week we had a fabulous visit from my aunties and my baby cousin (technically a first cousin, once removed, but "baby cousin" is easier, even if she is 14 now!) My lil cousin was eager to help out with my tiny house (though I'm starting to think it's bribery to get me to come help her with her tiny house someday!) She's an incredible artist so I'm hoping she'll be up for helping when we get to finish work, but meanwhile, priming the interior seemed a good next step, so that's what my baby cousin helped me out with this week! She quickly declared that priming is boring, but she stuck with me until we had the walls primed as high as we could reach. (And she also thoroughly enjoyed exploring our build site Green Anchors.) Additionally, she has proven that it really is more fun (albeit slower) to apply primer with bare hands! (Good thing we're using Safecoat, right!?) We also had a bunch of fun designing her tiny house the next morning before they left town!

Isha sealing up the roof box

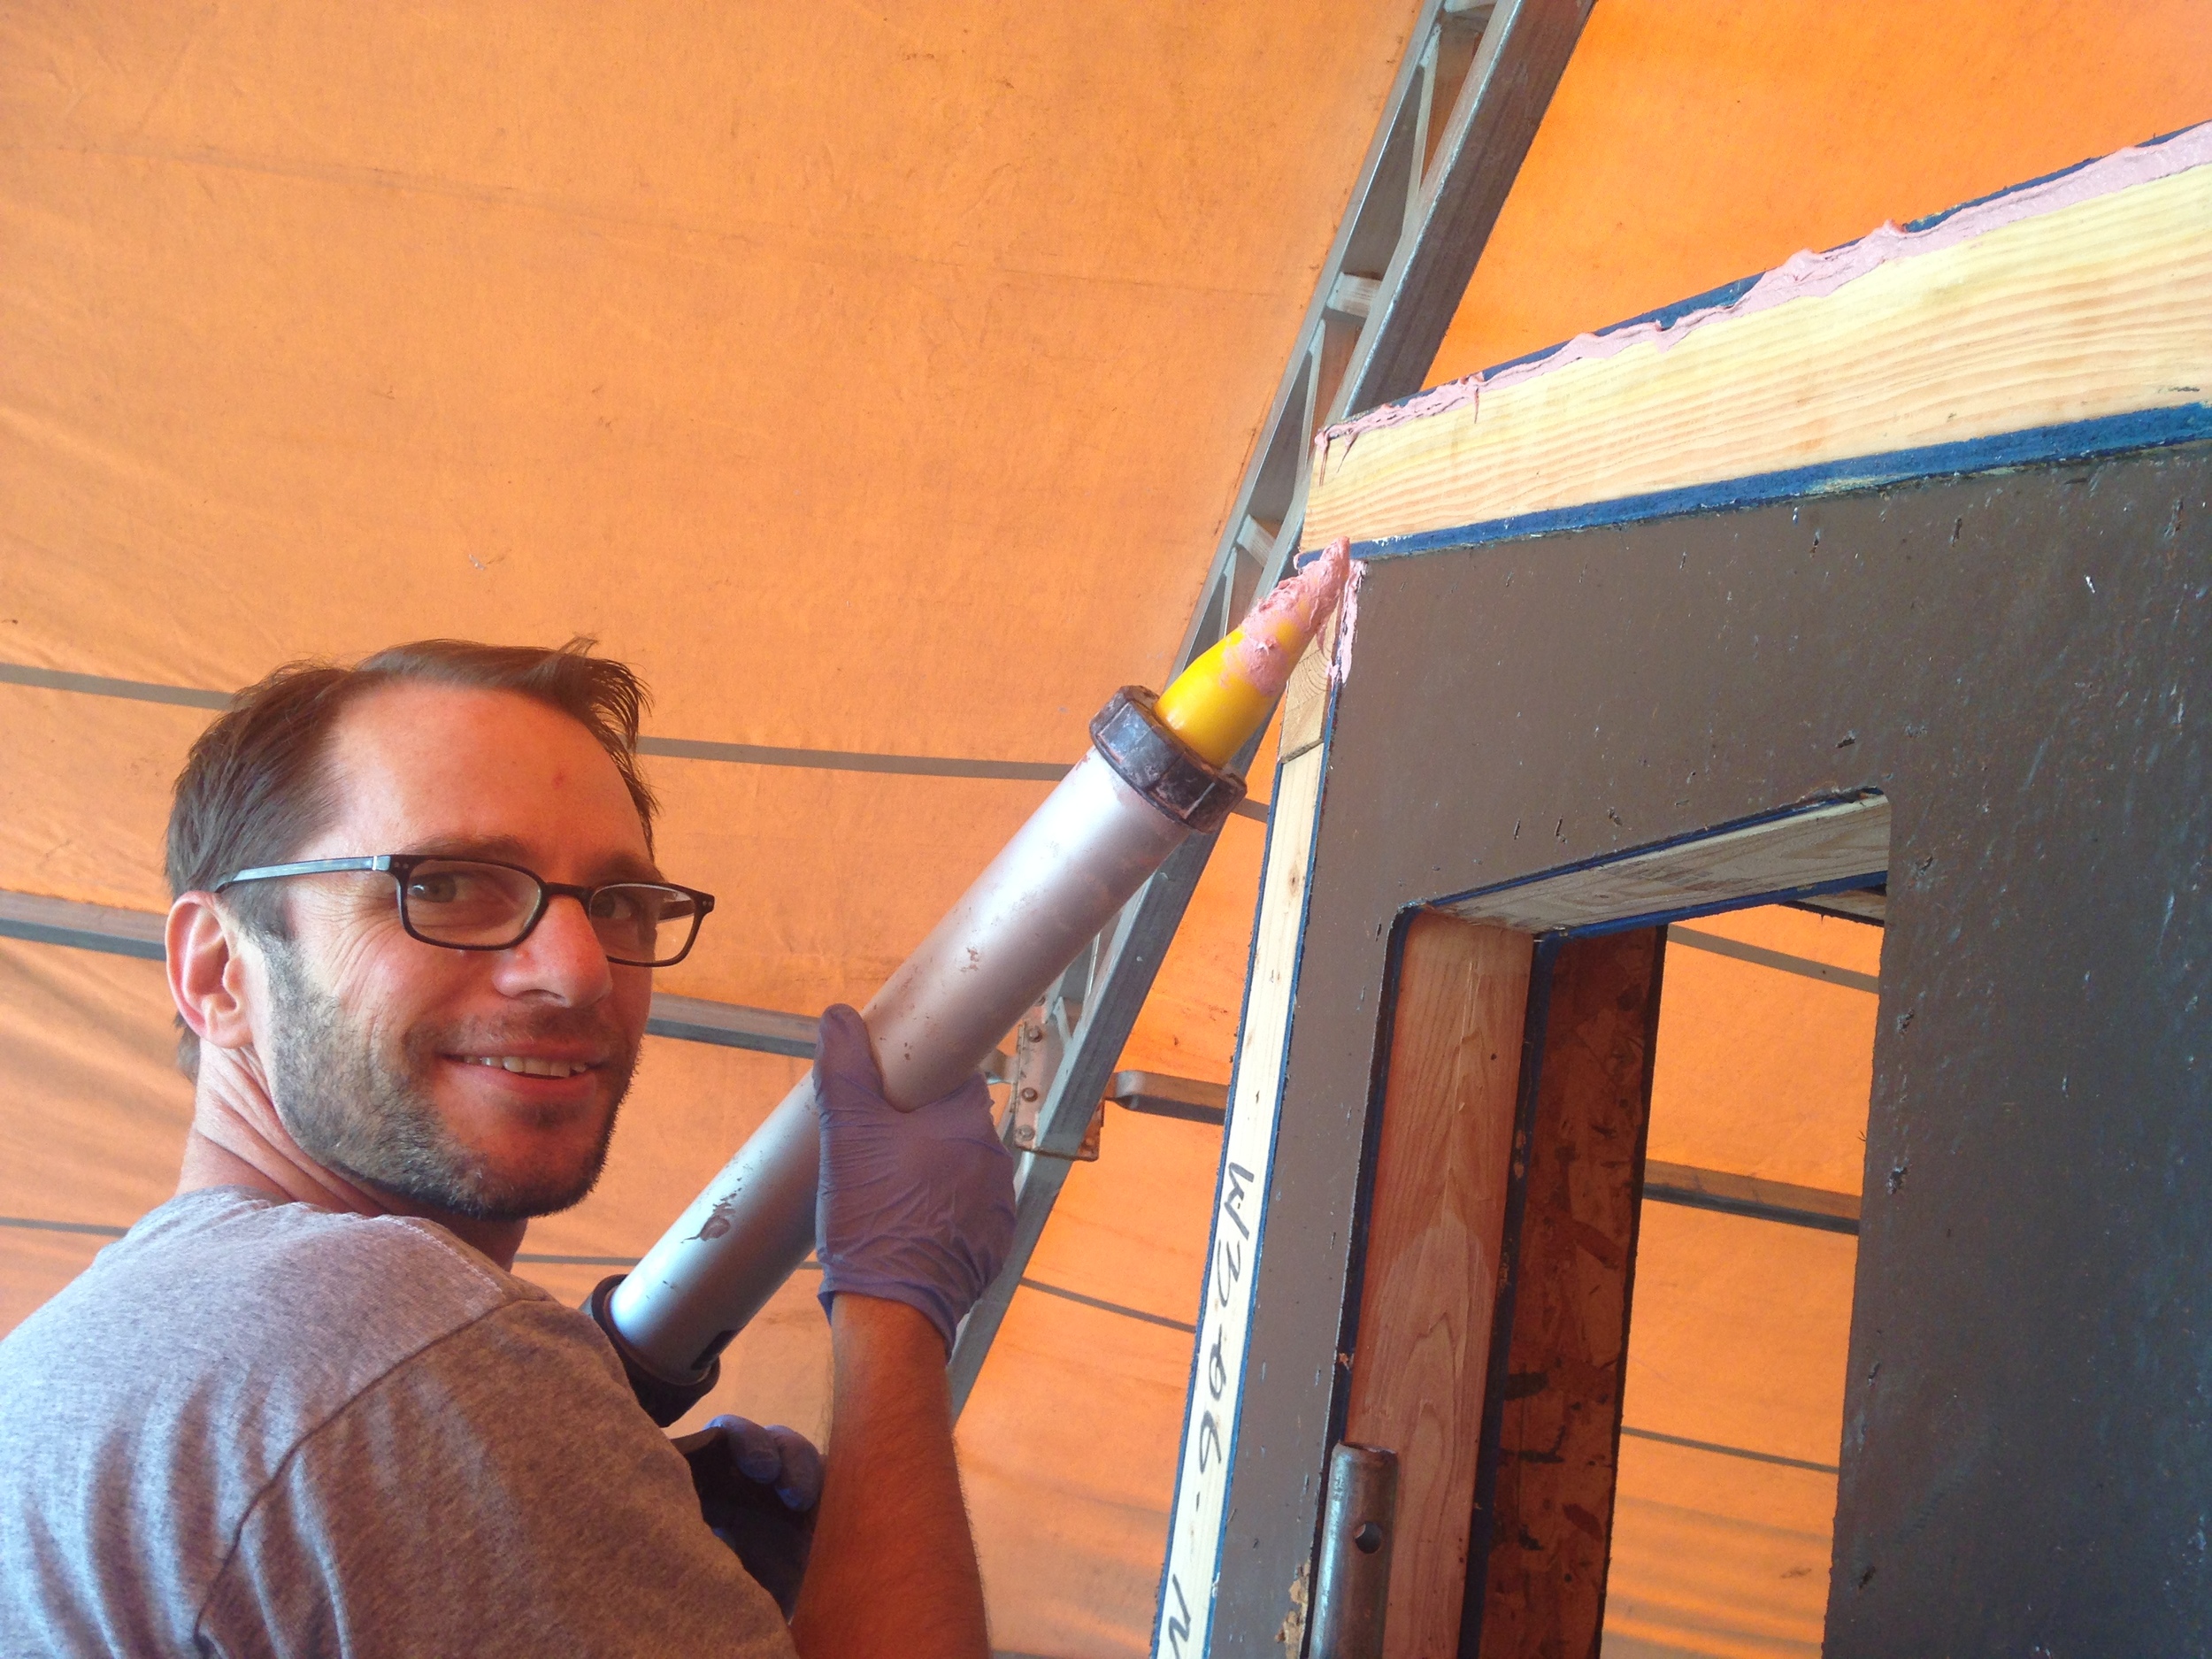
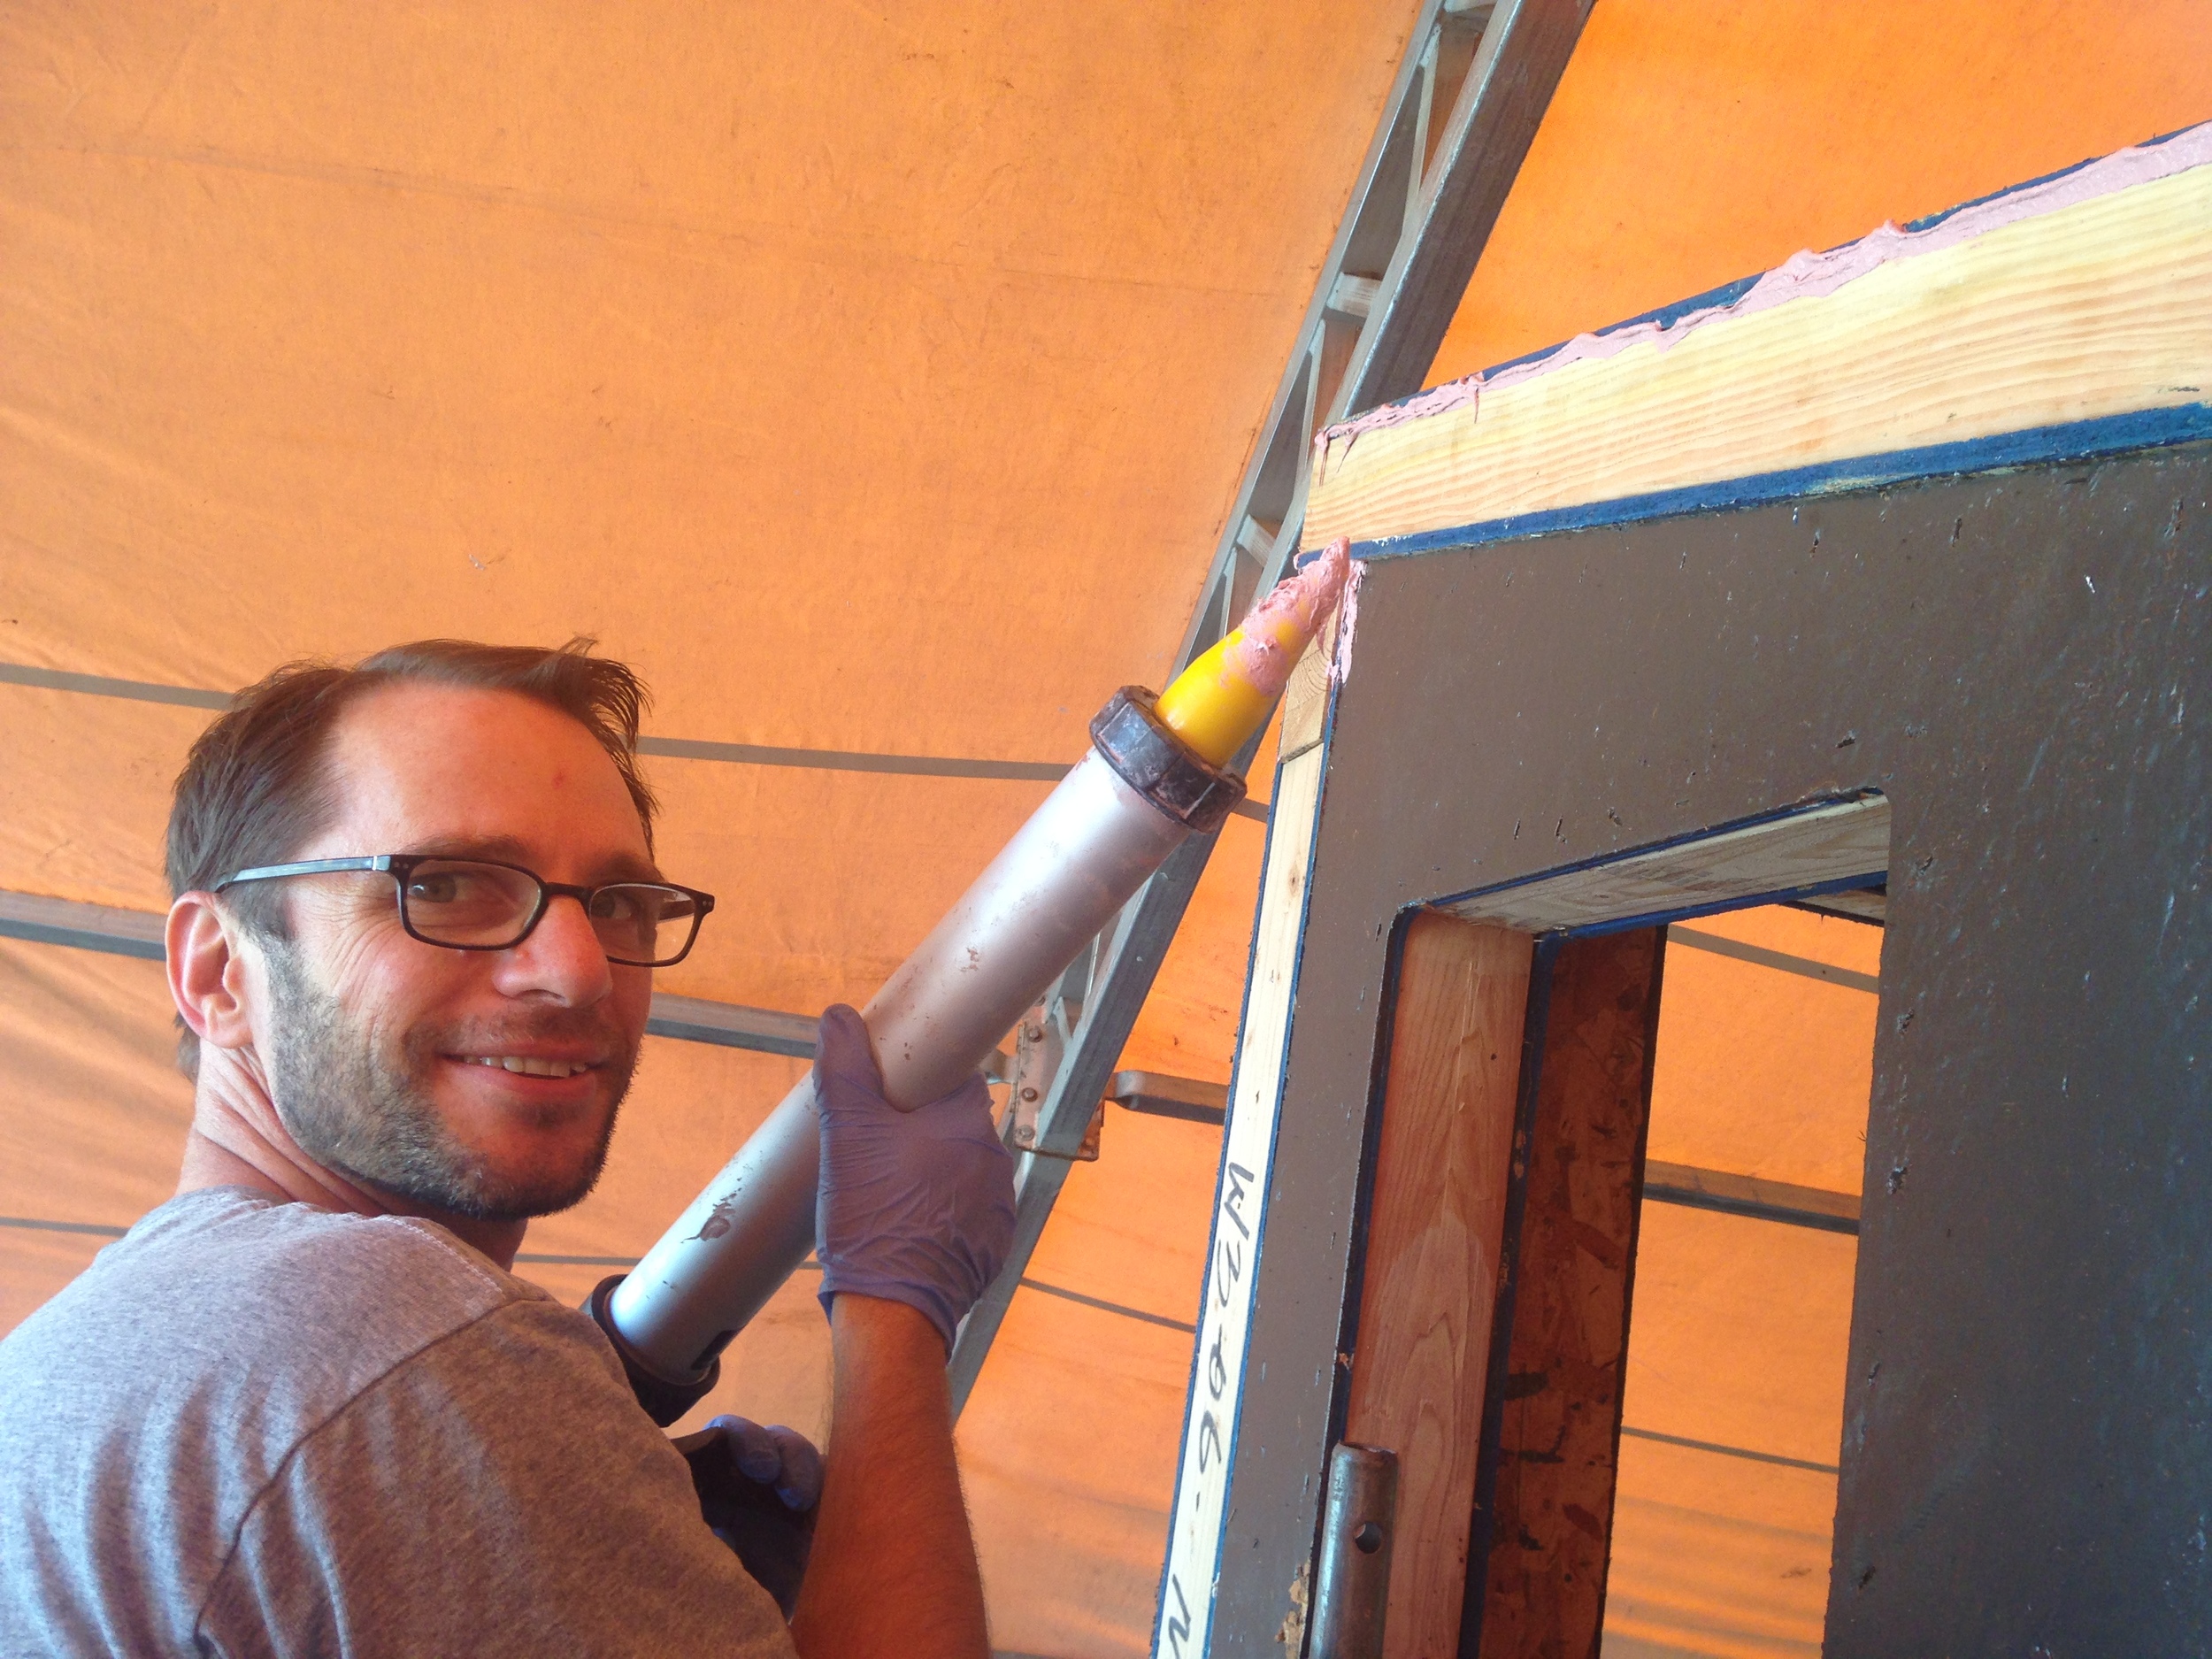
Additionally, this week Isha and I added more staples to the roof seams and sealed up exposed framing with R-Guard Fast Flash. Once the sealing around the top of the SIPs roof box was done, we were able to install cedar roof extensions, which are important since the roof of the house matched up with the walls on our SIPs kit. The extensions will enable us to add a rain screen and siding without dumping water from the roof right into the siding! Our windows, which we ordered 10 weeks ago, were supposed to be here 2 weeks ago, but they've been delayed three times now. They're now scheduled for Wednesday of next week.

Our next Build Blitz will kick off on Monday with preparation for installation of our windows and siding. Join us if you can or follow along virtually on Instagram!

T42 Roof Raising & Storage Loft


Day 8 = Done.

On Friday we wrapped up our second Build Blitz and our eighth day of building on T42, the tiny house I'm building to live in with my sweetheart Isha (who also happens to be The Guy Next Door). Monday we did T42 SIPs Prep and Tuesday and Wednesday we had our T42 Wall Raising. I anticipated that the roof might give us some challenges, so we'd set aside Thursday and Friday for Roof Raising. Fortunately, the roof went together quickly and easily with the brawn, brains, and good humor of two Tiny House Helpers, Kelly and Andy.

We got into a nice rhythm of building our skylight panels, hoisting our panels onto the scaffolding then guiding them up onto the roof, sliding them on the panel before them, and then slipping them into place and anchoring them with SIPs screws in all the corners. We had the last roof panel up before taking a late lunch so we went to celebrate our success with warm bowls of Hawaiian noodle soup at Big Kahuna's. (It was, of course, raining on roofing day, so we were darn thankful for the covered build spot!)

After lunch Andy and I installed the perimeter blocking in the roof and the rest of the SIPs screws, while Kelly worked on sealing up seams between the SIPs panels with R-Guard Joint & Seam Filler. We were at a good stopping point by the time that was done so we cut out a little early and I jumped on a conference call for the Tiny House Collaborative.

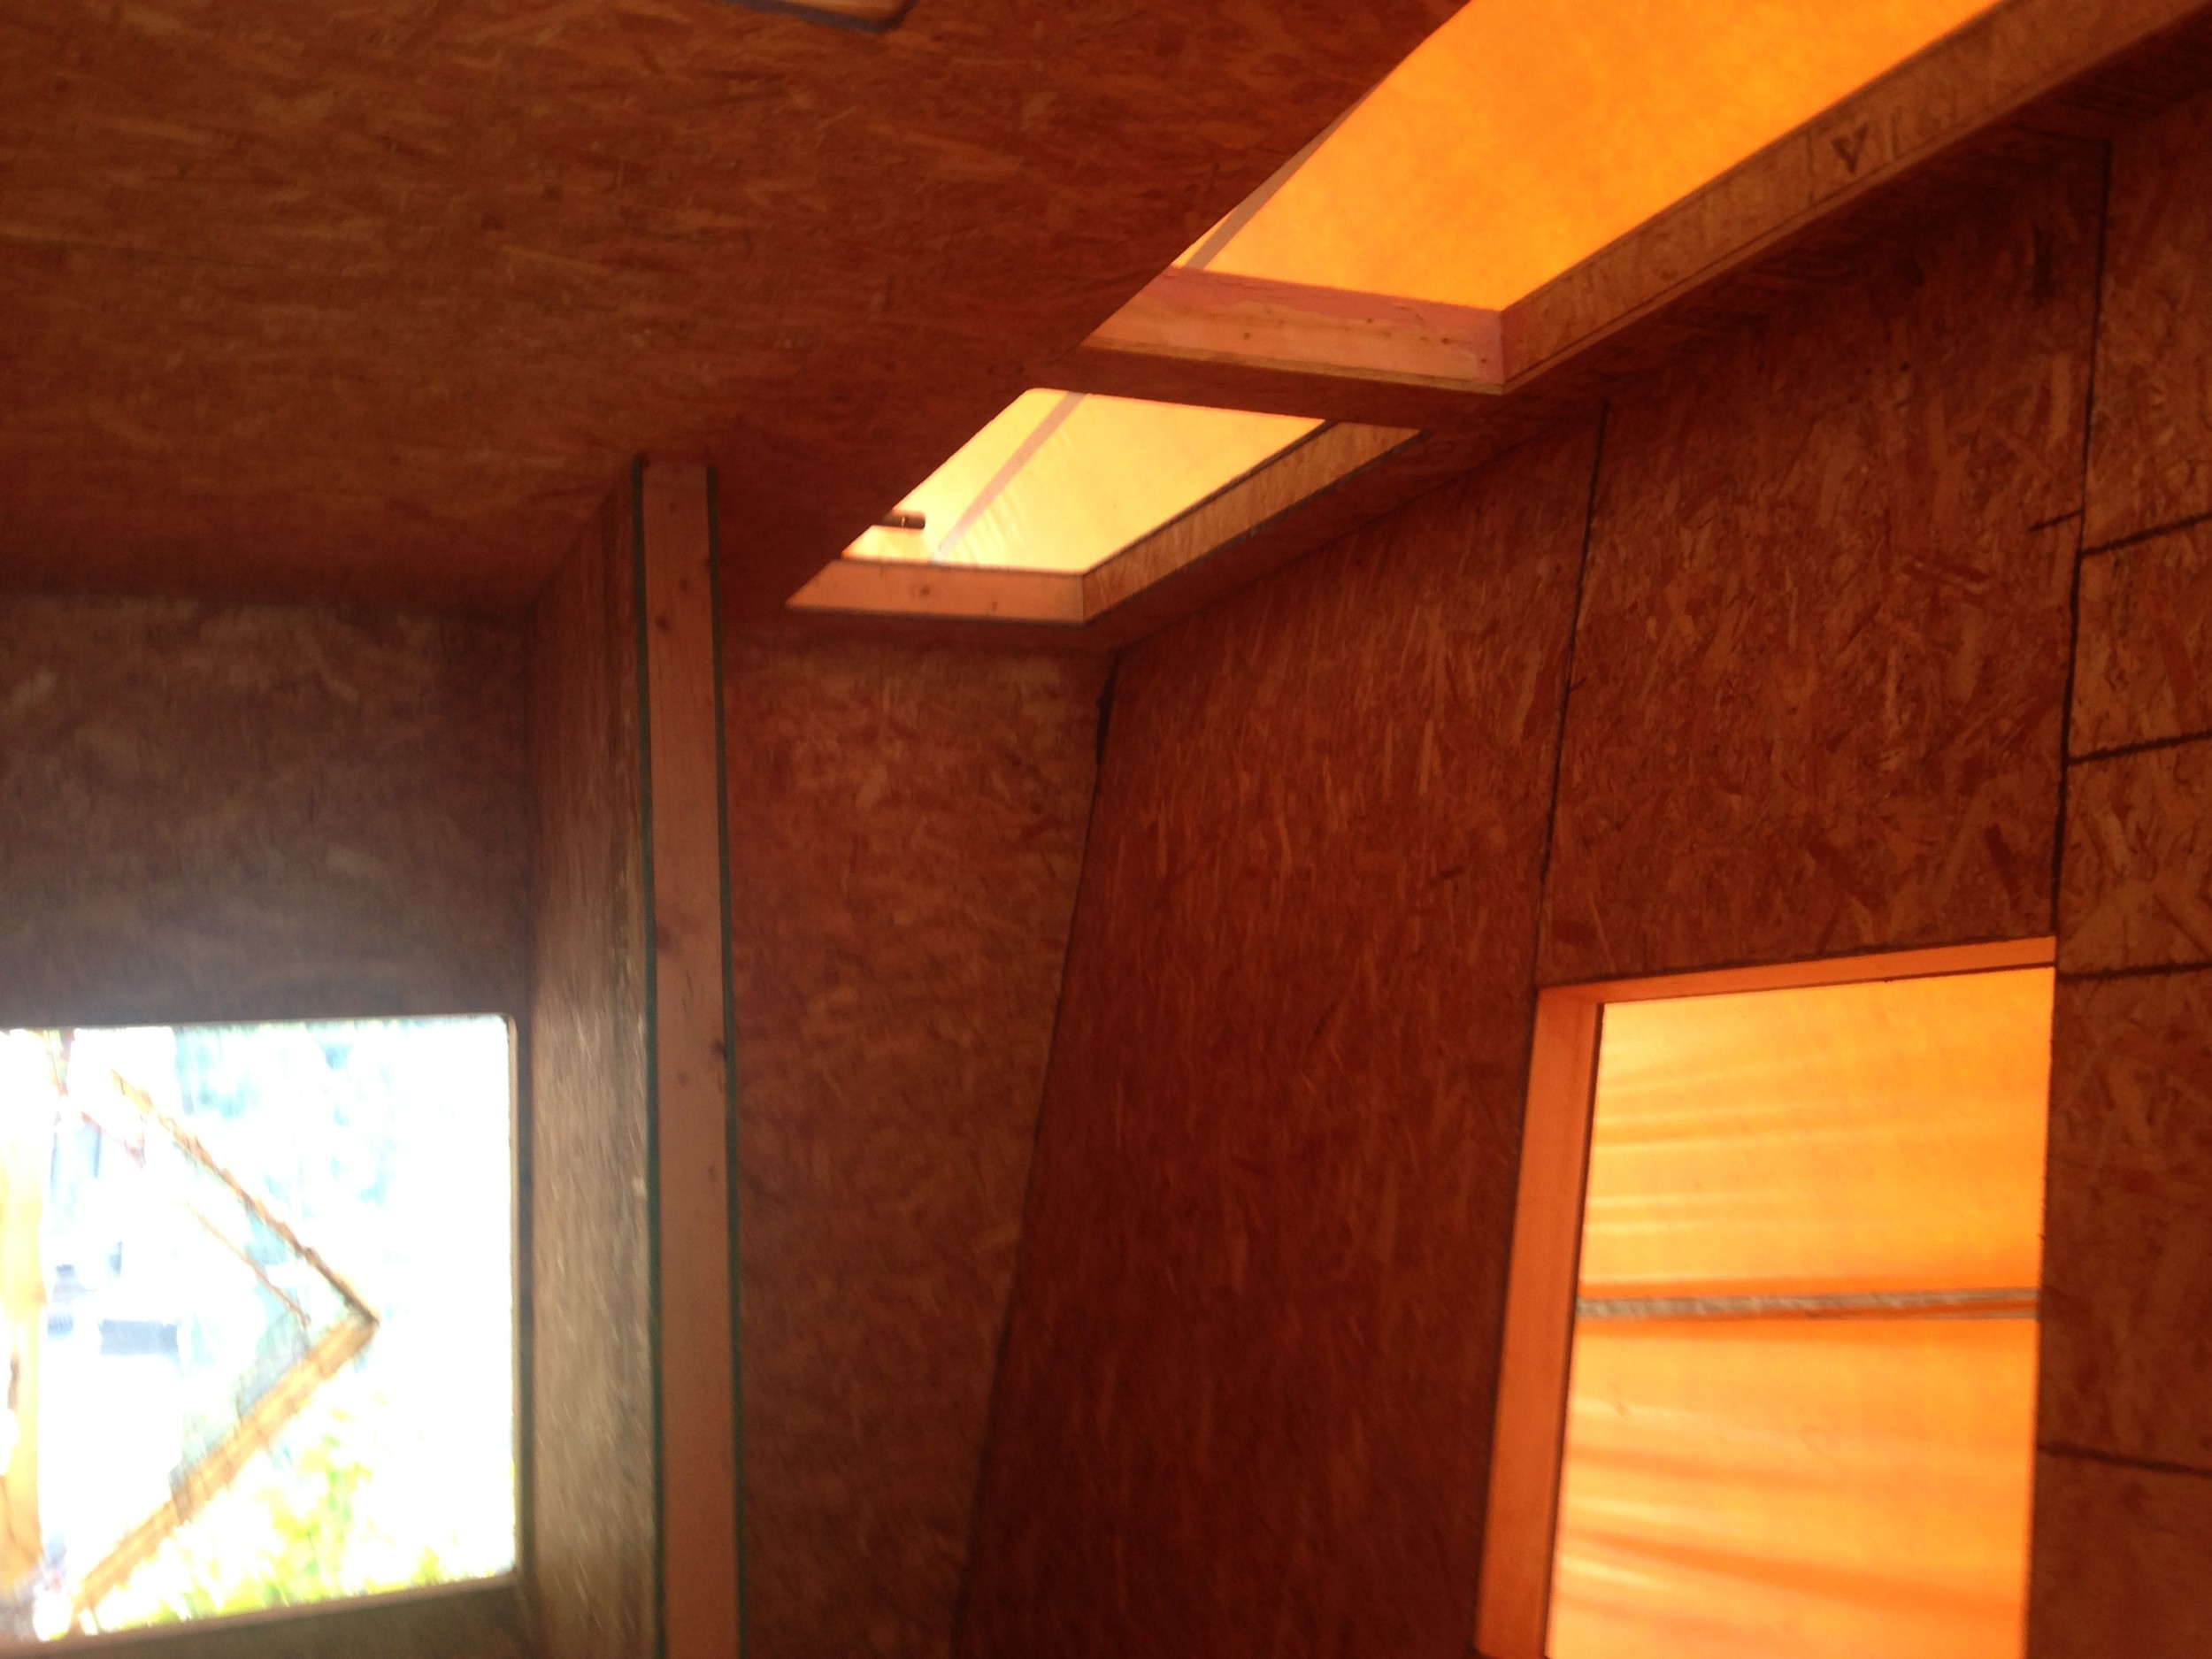
On Friday Andy helped me put the finishing touches on the Puzzle Wall. We installed a few more studs to create the appropriately sized rough openings for the windows at the top of our tall wall and then cut 1/2" OSB for the sheathing. We were able to use up a few scraps of 3/4" OSB that we'd used as the subfloor as well.

Our storage loft, made from a piece of SIP scrap

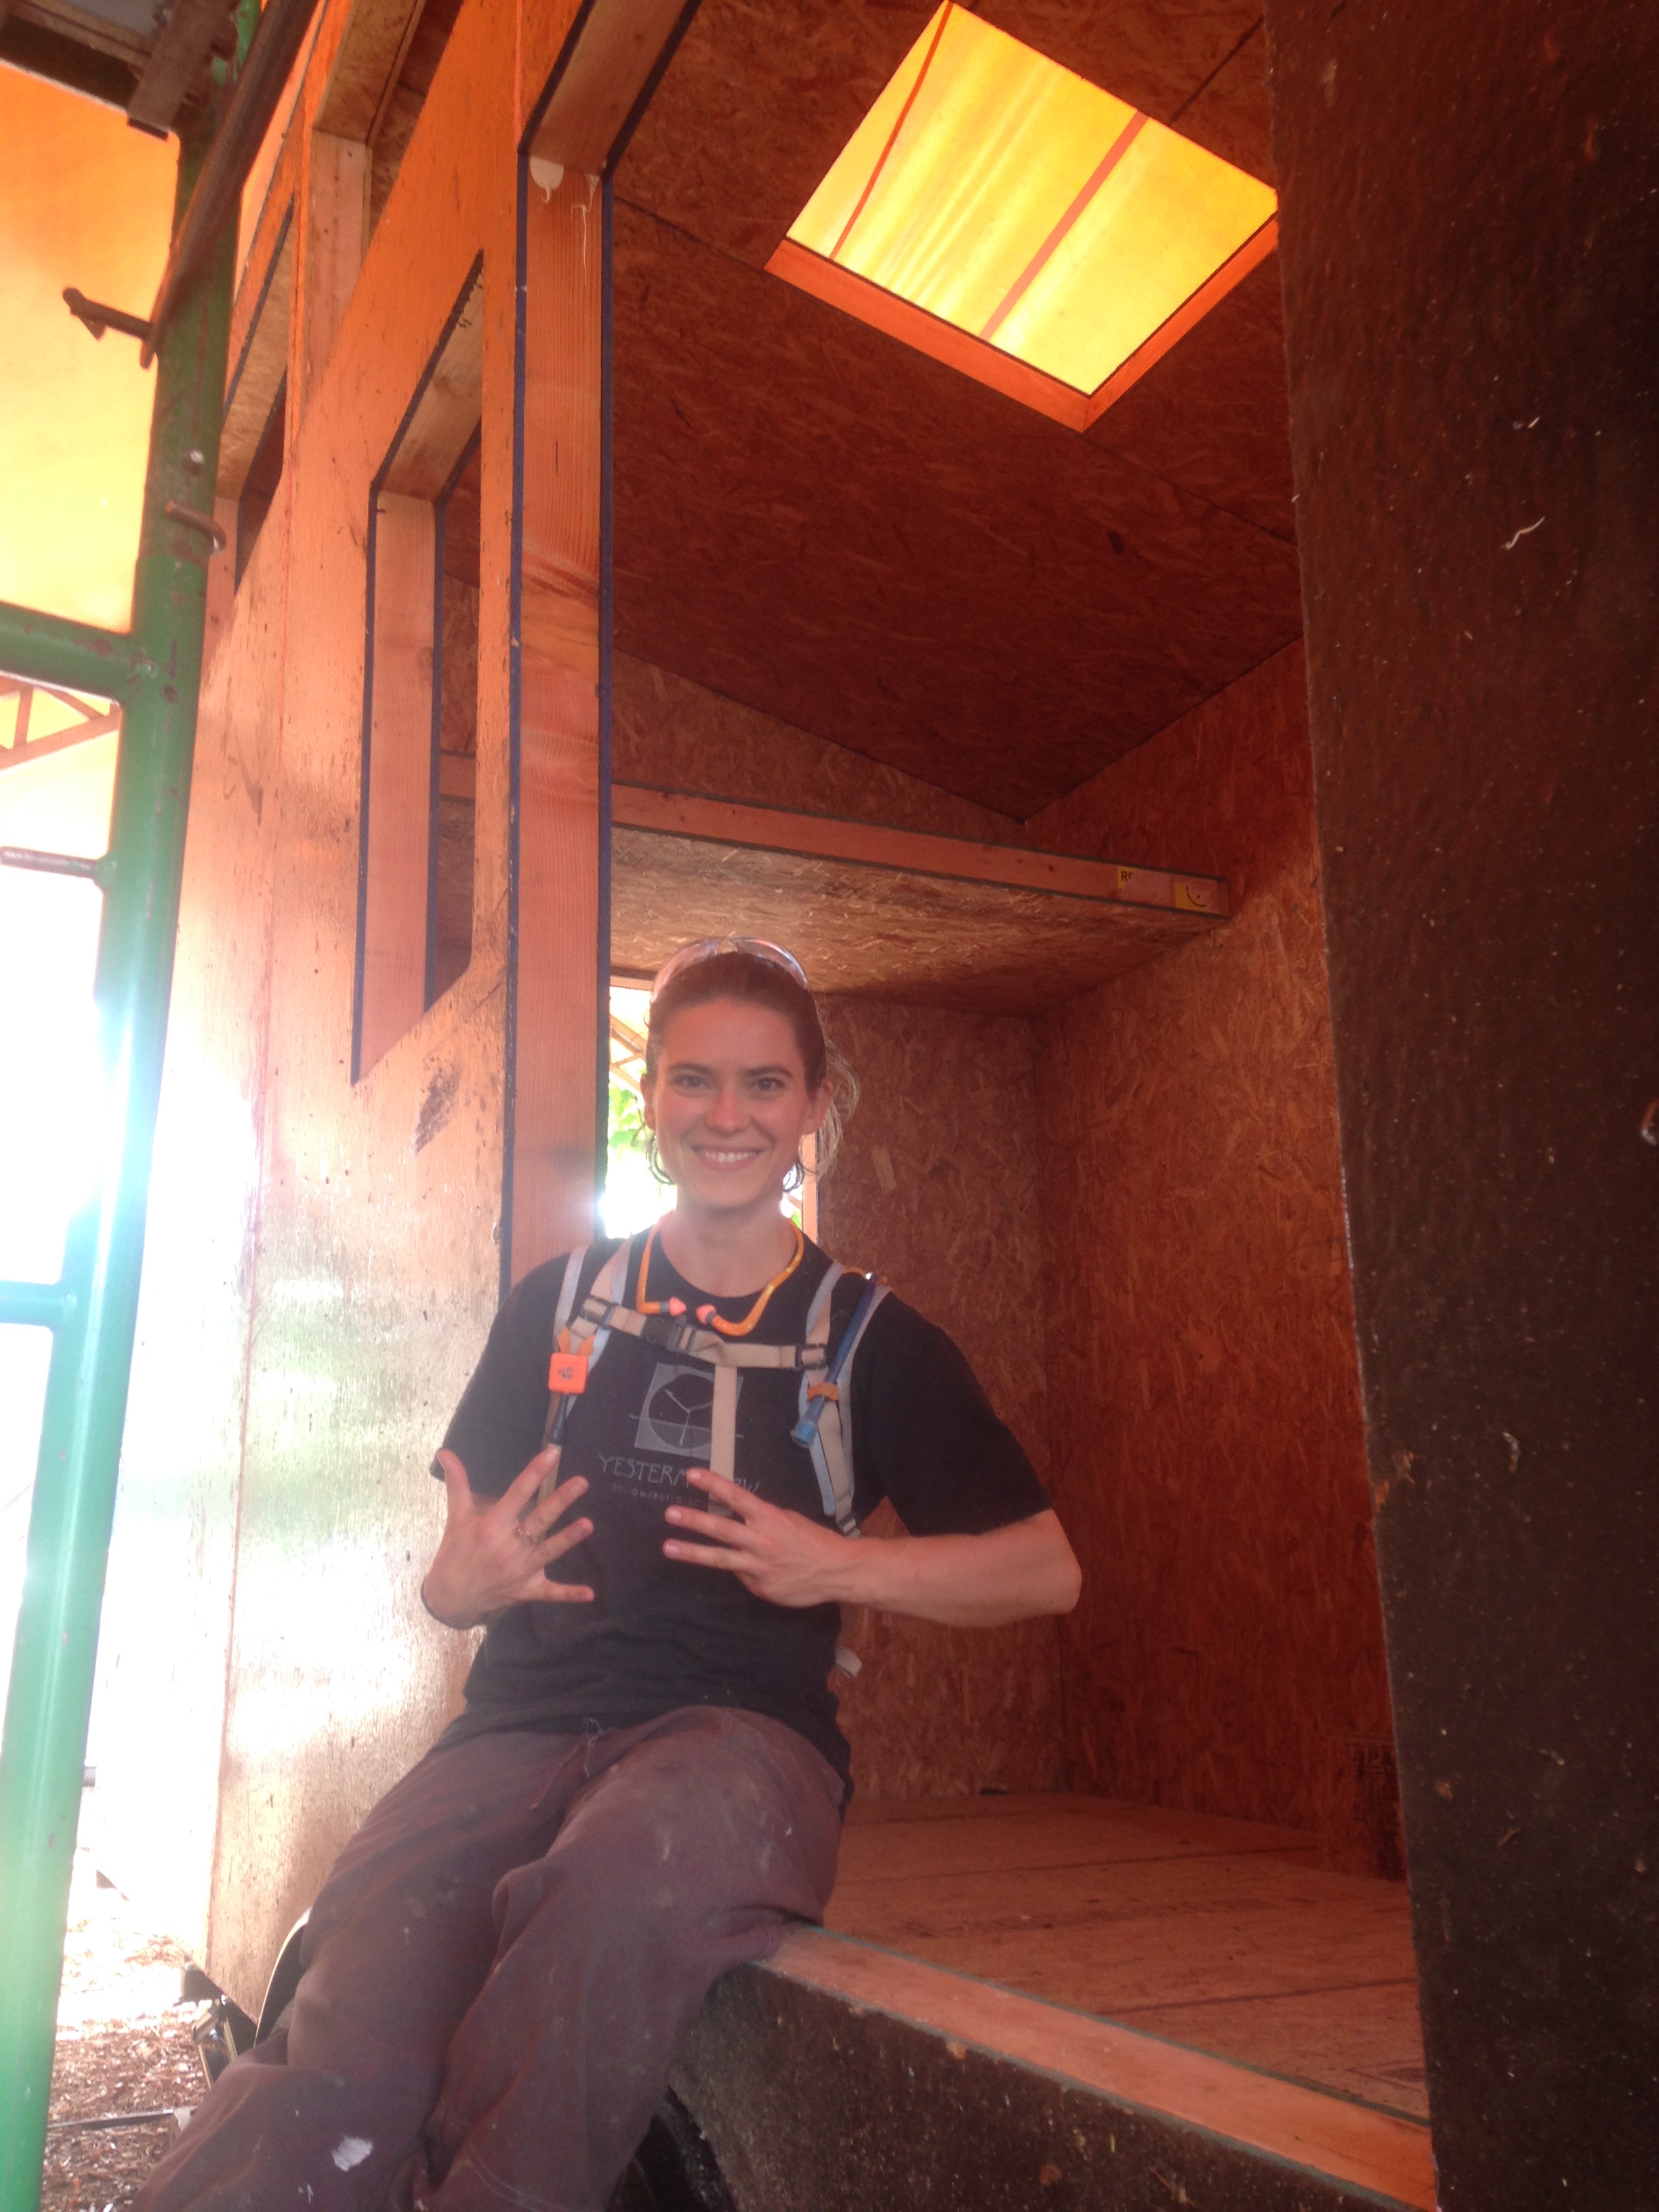
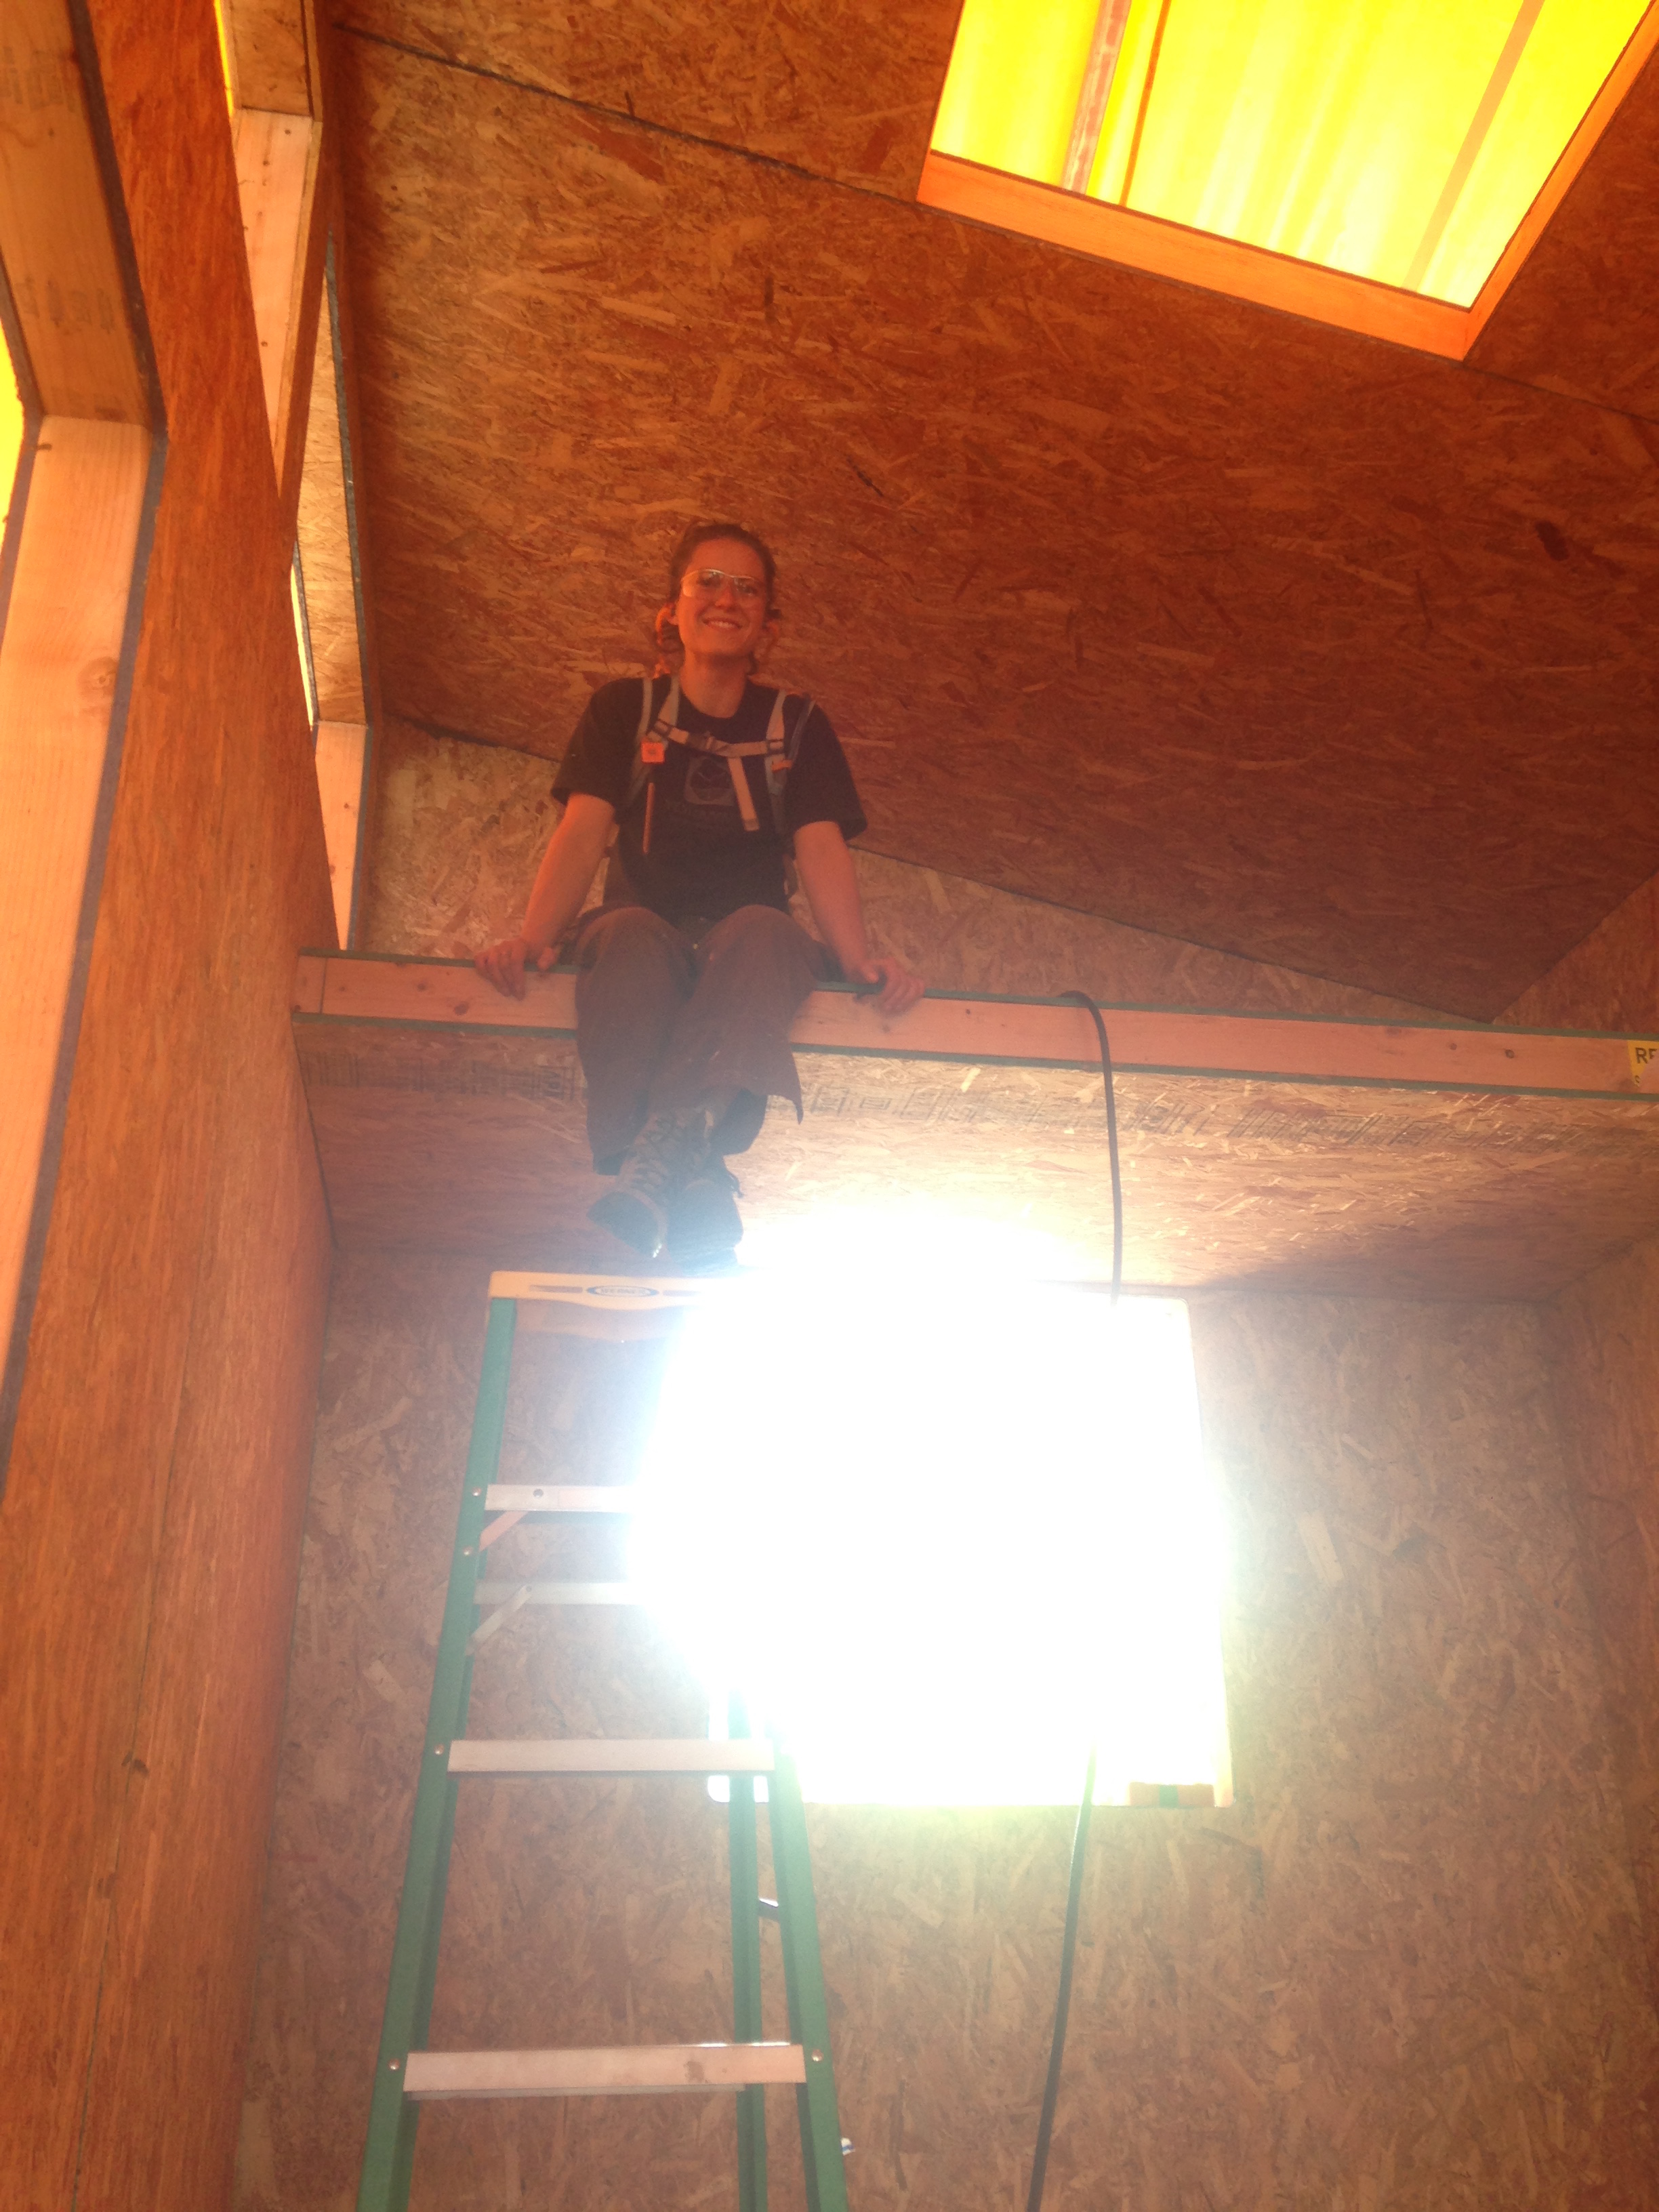
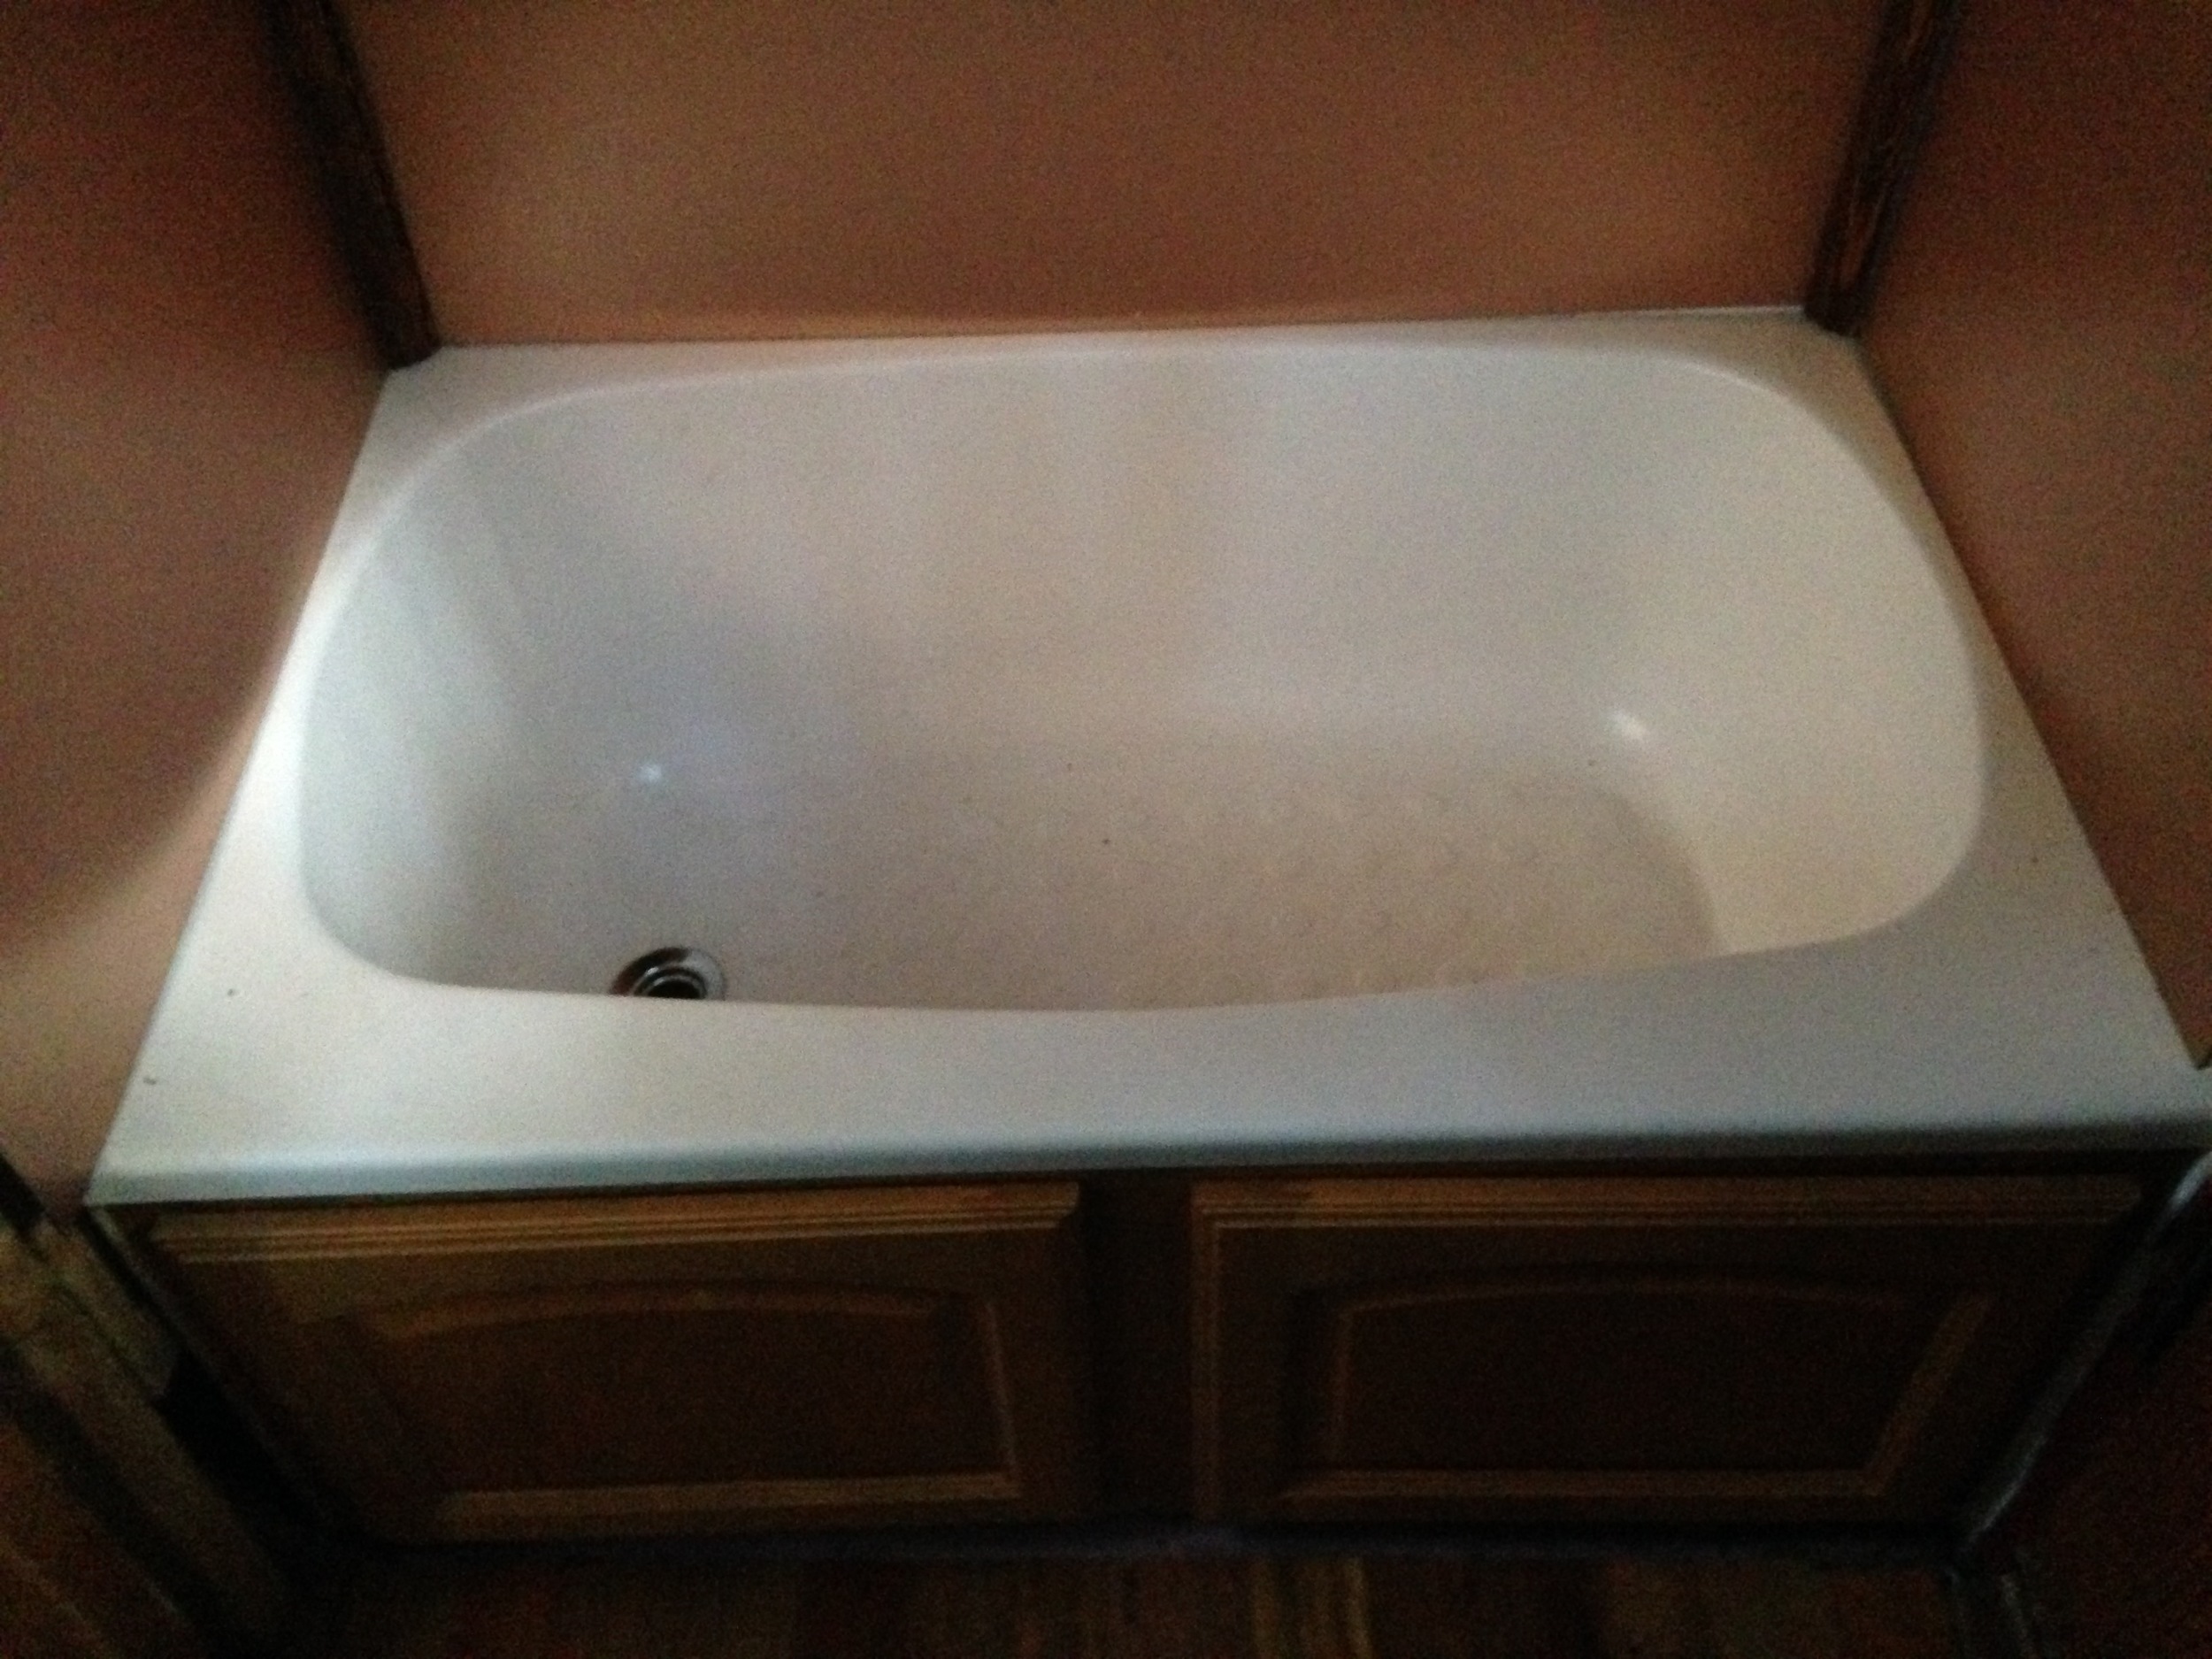
After lunch we installed our storage loft, using an extra piece of SIP. When our SIP panels were cut from the master panel (check out Picking Up Our T42 SIPs Kit for more on that!) there was an extra piece that was sent along with the rest of the panels as filler for the stack during delivery. It was 38" wide, which was just shy of the 40" we were planning to make the storage loft, so we decided to go for it. We wanted the bathroom to be 36" wide to accommodate a 36" tub and we like the idea that a twin size mattress could fit above just in case we ever want to use it as a guest bed.

Andy and I measured and marked the height of the loft, measured and cut ledgers for the three sides along the walls, and then anchored our ledgers into place from the inside with beefy structural screws. (Before we install the siding we'll also anchor the ledgers from the outside with SIPs screws.) We dry fit the panel first to make sure it would go. Then we added mastic and shimmied the SIP into place. As soon as it was ready I crawled up to test it out and, sure enough, it's quite comfy up there!

We've made good progress in 8 days of building and I'm looking forward to our next Build Blitz when we'll be installing windows, a rainscreen, and our exterior siding! If you'd like to join us, you can sign up for the Build Blitz or be a Tiny House Sidekick for a day.

T42 Wall Raising

T42 Walls Up

More photos to come soon!

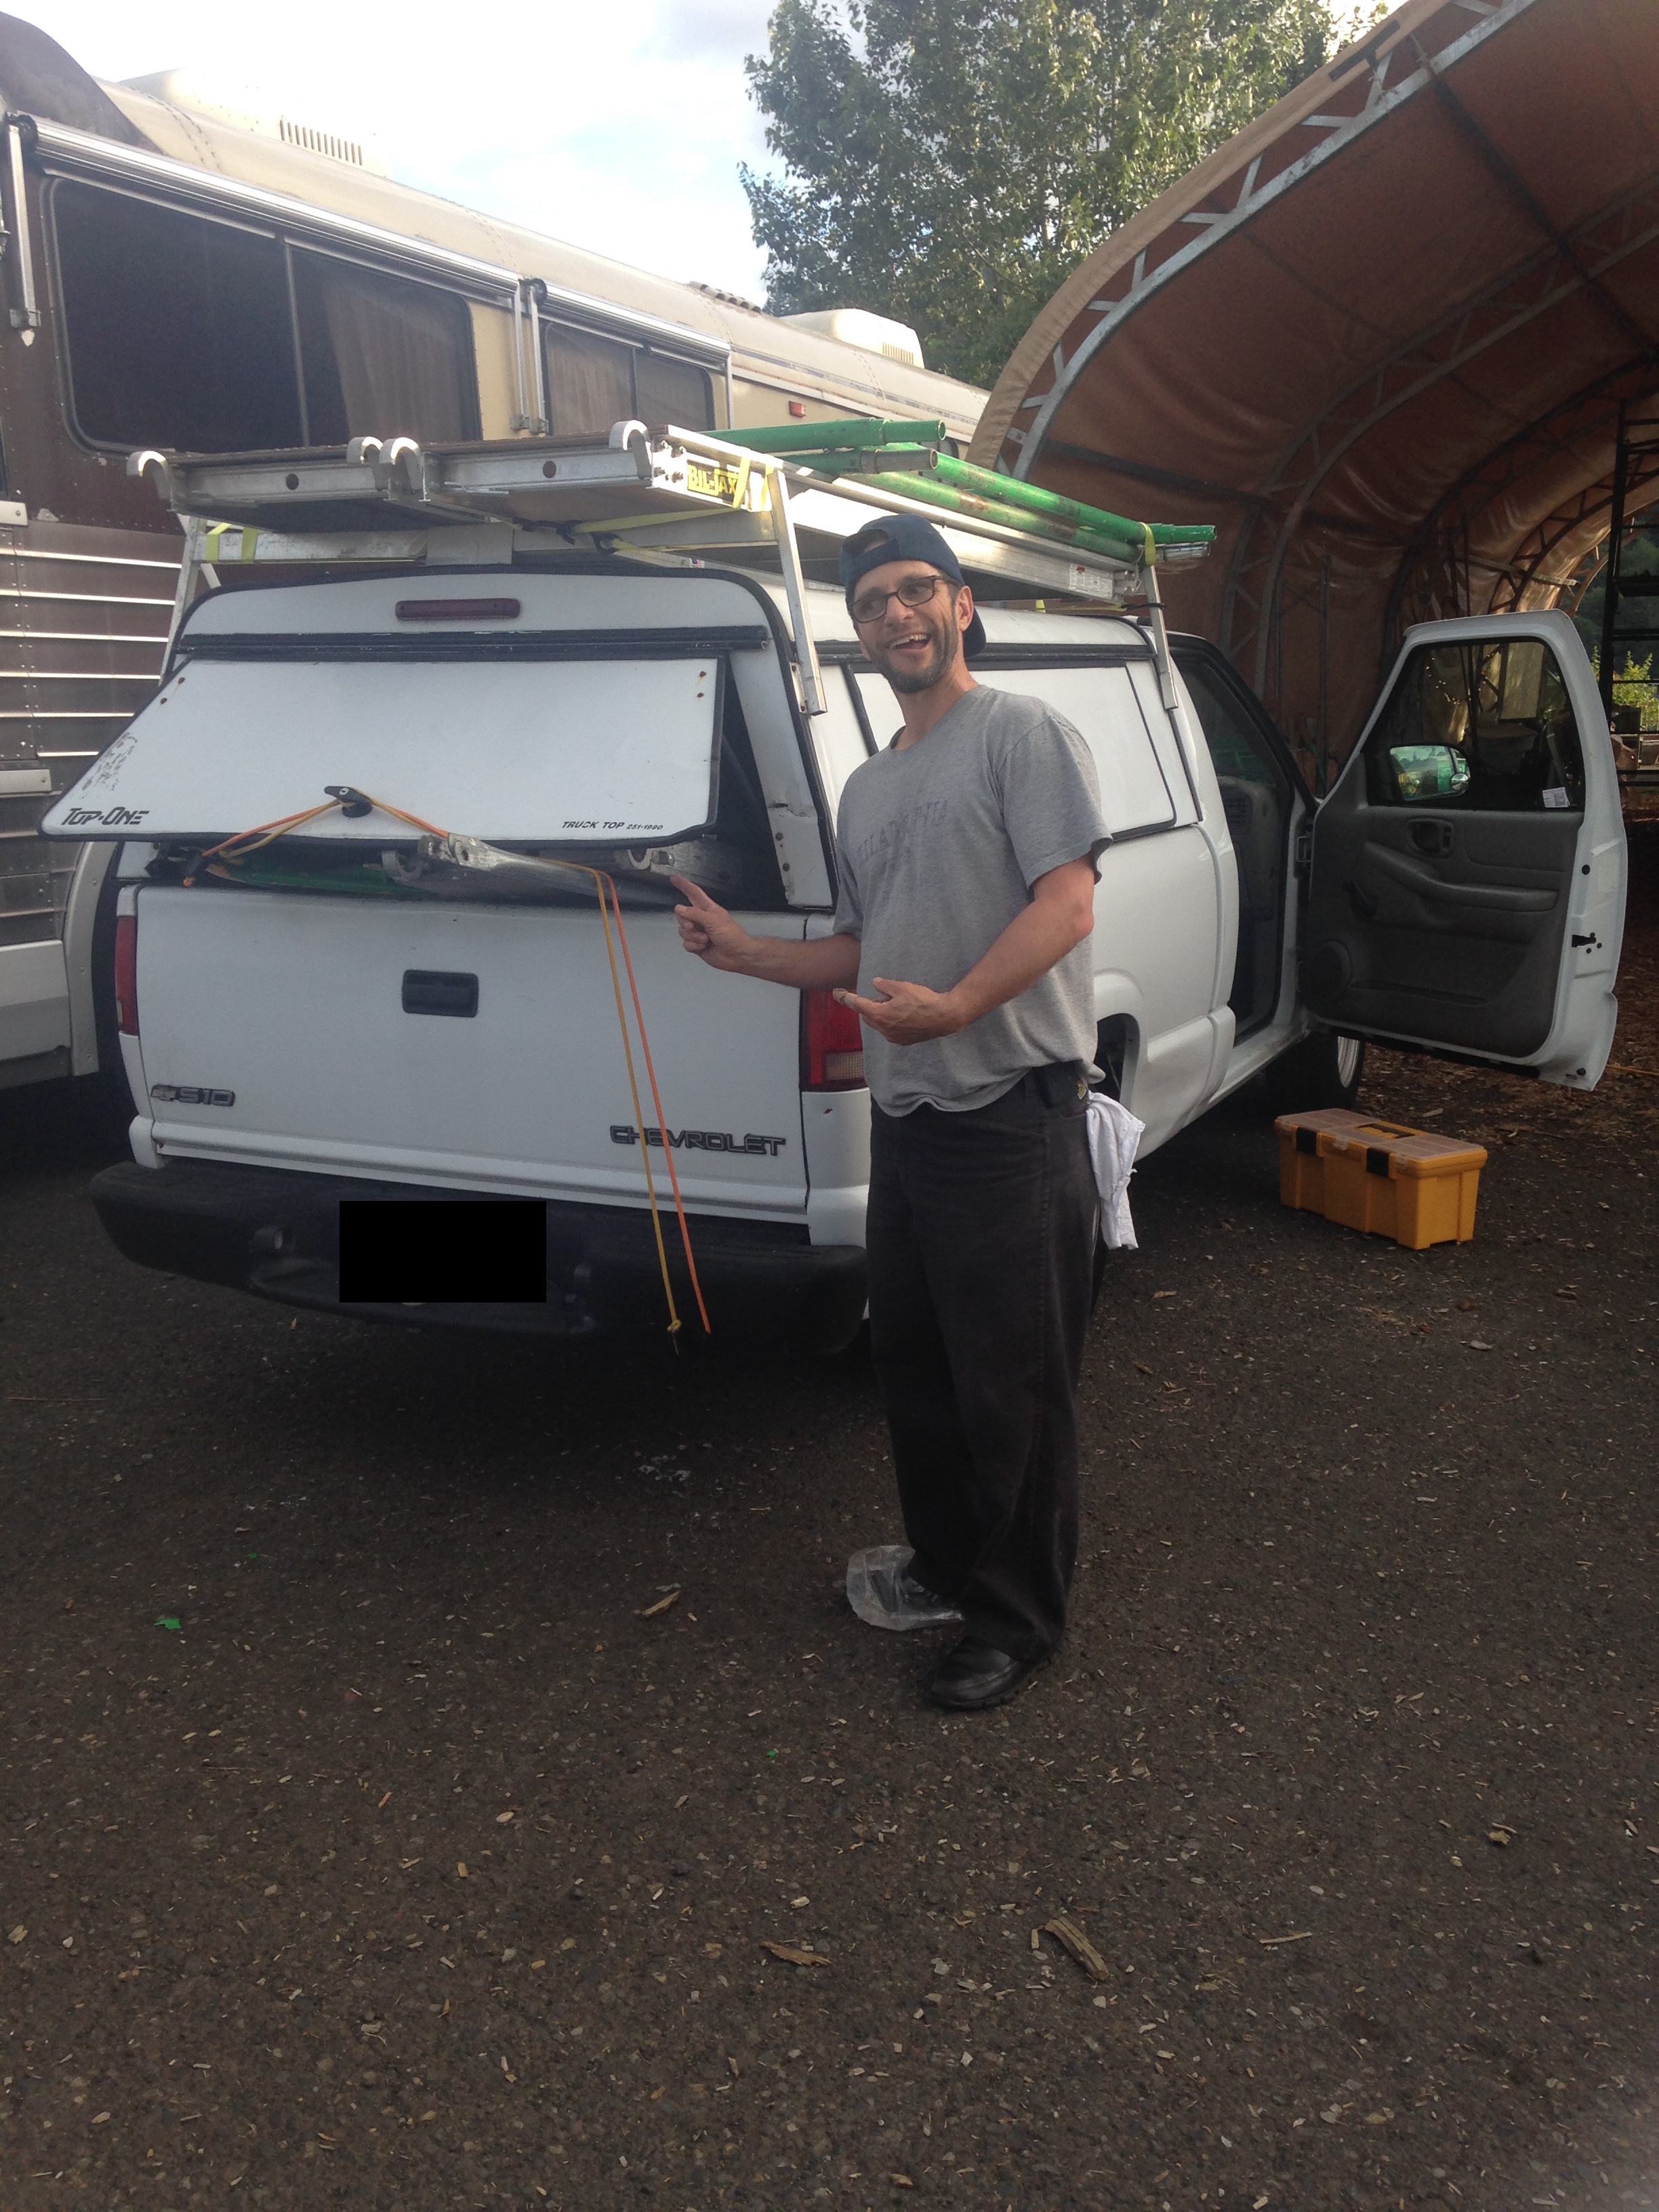
We kicked off our T42 Wall Raising Build Blitz on Monday with T42 SIPs Prep. Tuesday and yesterday were wall raising days. On Tuesday morning my beloved landie Tony came with me to Sun Belt Rentals to pick up the scaffolding we're renting for the week. With our new truck loaded up, we headed to the job site (with a quick stop at the coffeeshop, of course!)

Andy and Tony helped me finish the last of the panel prep (painting the last two panels with R-Guard and leveling the trailer first thing. Then we were joined by Patrick Sughrue of Artisan Tiny House and Derin Williams of Shelter Wise. Our first wall went up around 10 AM and we got it braced into place while we got our second panel up and secured to the first. With two panels in place we had a corner! The next panel had to be cut out for the wheelwell, so we used the template I'd made to jigsaw out the curve on both sides, then removed the foam with a foam cutter, and installed blocking in recess. The second panel went up very nicely, snugging up against the first and the third panel followed along. Patrick showed us a trick to use a bottlejack in the right spot on the trailer frame to get the panels squared up. By lunchtime we had two walls up so we took a break to eat a picnic overlooking the river.

After lunch we popped the third wall into place and the first panel of the fourth wall (which is our Puzzle Wall). We started prepping the next parts of our puzzle wall. My friends Katie and Elliot from the east coast and my new friend Christian from Seattle all arrived around 4pm. The infusion of extra energy was very welcome, but we soon found ourselves scratching our heads because once we put the next wall panel up the first panel of that wall was far from level and nothing we tried straightened it out again. We finally decided to call it a day and come back to it in the morning. We pulled the last panel down and set it on the trailer again.

Yesterday, with fresh minds and bodies, Patrick and Christian removed the staples in the spline that joined the two panels and we were able to ratchet strap the panel back down into place. The next panel went up just fine afterwards and the rest of the Puzzle Wall came together nicely until we reached the last panel, which was long by about 1/2". There was only 1/4" difference between the two long walls in length, but that 1/2" wasn't working. The only thing we could figure was the the bottom plates weren't completely square. We'd measured thrice and checked square in the corners when we installed the bottom plates, but we hadn't taken diagonals, so next time we definitely will! We deliberated about a variety of options before Patrick landed on the plan: pull the last panel back, cut 1/2" off the second-to-last panel, scoop out the foam, and then slip the two panels together again. It worked beautifully!

We'd earned our lunch, so we headed up to my favorite St. John's haunt, Proper Eats, to celebrate having 4 walls up! After lunch Michael (who is also building a tiny house at Green Anchors) helped us get our glulam in place at the top of the tall wall. Then Patrick talked us through the roof details before he headed out.

Andy, Christian and I got our first wall panel (the biggest and therefore heaviest) and were horrified to discover how far off it was from square. One of the things I love best about SIPs is how well the usually come together! So we had another round of brainstorming before Andy reminded me that messed with the level of the trailer the day before while trying to get those two Puzzle Wall panels to square up! Usually we level the trailer before we start raising walls and again before we install the roof. As soon as we leveled the trailer the roof panel lined up beautifully! I can't believe I forgot, but I don't think I'll ever forget again!

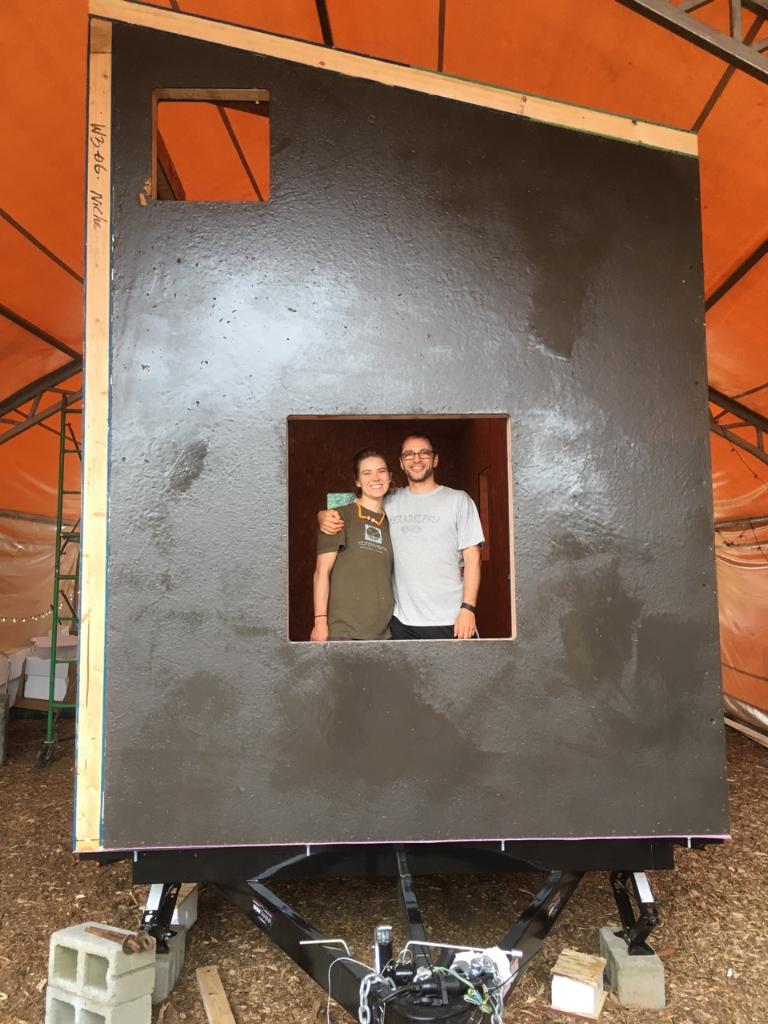
Isha came down after work as we were wrapping up and we got to enjoy stepping into our house with all four walls up (and a roof panel, too!) We celebrated with a beer at Occidental Brewing around the corner. Whew!

Today Andy, Kelly, and I will work on the roof raising. It's raining (of course!) so I'm really glad we're under shelter. Here we go!

T42 SIPs Prep

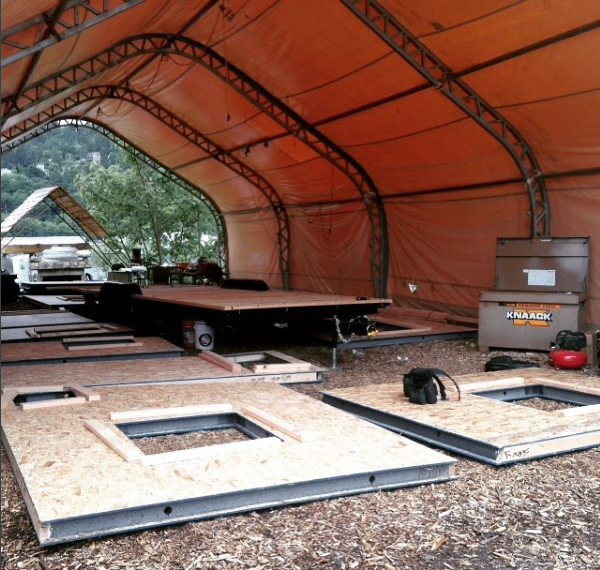
Unstrapping Panels with Strapping Lads A week ago yesterday I was Picking Up Our T42 SIPs Kit. Fortunately, we were able to store our SIPs in the covered area at Green Anchors where we're drying in the tiny house while Isha and I headed out of town for a wedding.

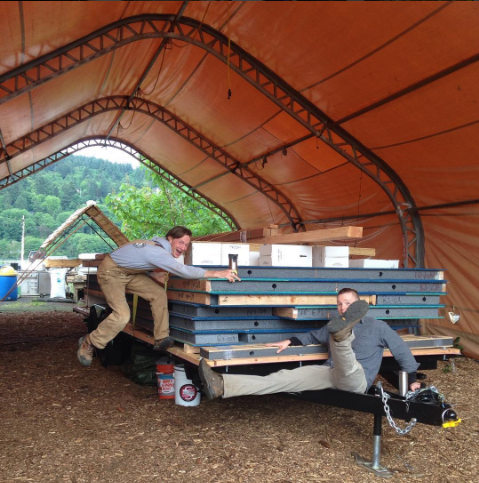
Yesterday we kicked off our T42 Wall Raising Build Blitz by preparing the SIPs for the wall raising. Andy (who helped with the first T42 Build Blitz when we worked on the T42 Undercarriage & Floor Insulation and the T42 Subfloor & Bottom Plates) and Jake (my beloved landmate) came to help out. We started the day by unstrapping the stack of panels and sorting and inventorying the SIPs. We laid them out around the trailer in the orientation they needed to be installed, we checked to make sure the bevels for the roof were all pointed the right direction, and we double-checked that the right side of the SIPs (in our case the outside) was facing up.

Stapling Window Framing

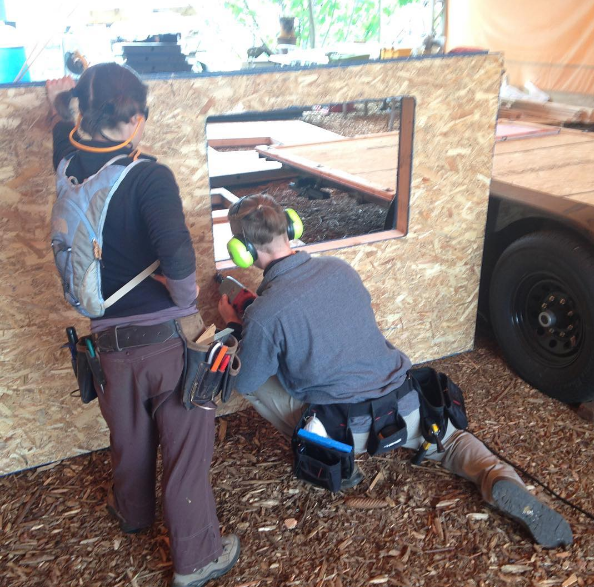
Then we started installing the window frames that Isha and I had prepped on Build Day #3. We applied the SIPs mastic all around the window opening, put in the framing (first the top and bottom pieces and then the sides), and stapled them in place with 1.5" long, 14 gauge staples. We got into a rhythm and had all the frames we could install before putting up The Puzzle Wall in place by lunchtime.

Tom Demontrates Air Pressure Testing Equipment

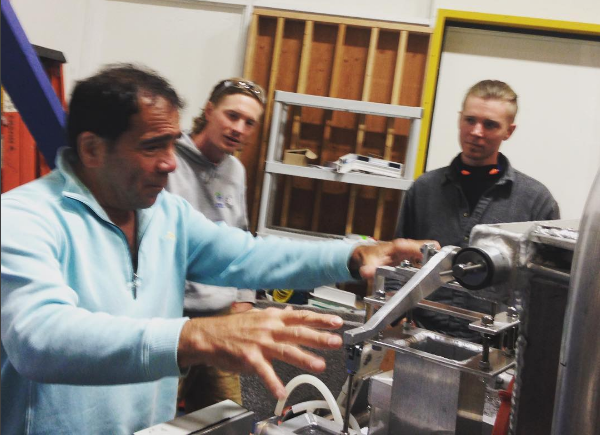
We snagged some lunch at a local taqueria and then headed out on a field trip to Clackamas to meet with Tom Schneider, who invented the R-Guard liquid applied waterproofing system we're using for our little house. Tom gave us a tour of the laboratory where they test their products under various conditions and explained the benefits of the liquid applied system.

Andy & Jake Installing R-Guard

Back at the job site, we painted the SIPs with our R-Guard liquid applied barrier. When I installed the My Tiny House Air Barrier on The Lucky Penny the walls were already up and it was tricky getting the thick, sticky R-Guard onto the panels high over our heads. We ended up wearing no small amount of it home on our clothing! So when we did the Cilantro Poncho Build Blitz (which also used a liquid applied air barrier) we tried applying it before raising the walls. It worked beautifully and taking advantage of gravity was even more wonderful with the R-Guard system because it's much more viscous.

We wrapped up Day 4 of building for T42 with the panels almost ready to be raised. We're excited about the wall raising today and tomorrow and the roof raising Thursday and Friday. Wish us luck!

T42 Subfloor & Bottom Plates

Day 2. Subfloor & Bottom Plates. Done! Earlier this week we kicked off our first T42 Build Blitz. We made good progress on Monday with the T42 Undercarriage & Floor Insulation. On Tuesday we had another gorgeous day down at Green Anchors and Build Blitzers Andy and Sonja worked with me to install the subfloor and bottom plates. (More photos to come. Having photo upload issues. Grrr!)

We started out Build Day #2 by marking the center line of our trailer. To do this we measured the trailer width in five points across the trailer, marked that center point, and drew a line the length of the trailer. Then we laid out our bottom plates, making sure that they will accommodate our SIPs layout. We cut our bottom plates to length and then held the tape measure to the center point and adjusted our bottom plates side to side so that the outside of the plates were 49 1/2" from the center in each direction and clamped them in place. The trailer is 100" wide and the house is 100" and the SIPs have a 1/2" outer skin, so laying out the bottom plates this way gave us 99" from edge to edge which should accommodate our SIPs just right. We did the same front to back and we ended up a schosh bigger in this direction, but it's only 1/8" and in my experience tiny houses often grow a smidge from the plans, so we think it will work okay.

Then Andy drilled through the bottom plates from below using the existing holes. Our trailer had the holes pre-drilled in the flanges, which saved us heaps of time! (Though we did have to drill two more because of the way our SIPs lay out. Andy did that using a set of bits that stepped up 1/8" each time. Thanks, Andy!) Then we inserted our 4" long 1/2" diameter galvanized bolts, using a flat washer then a plate washer on top of the bottom plate and a flat washer, lock washer, and nut below the trailer flange. Unfortunately, the plate washers I'd picked up at the hardware store (which are actually 3" bearing plates from the Simpson fastener section) hung over the edge of the bottom plate, so at lunchtime I swapped these out for 1 1/2" plate washers.

Once the bottom plates were in place we double-checked the span for our subfloor. Our subfloor is 3/4" tongue and groove Edge Gold which sits on top of the polyiso foam and the sill seam on top of the trailer. We cut the subfloor with enough of a gap all the way around that the SIPs will be able to sit down nicely onto the sill seam. We tacked these subfloor pieces down with self-tapping screws along the perimeter of the metal trailer frame. Then Sonja sealed the seams between panels with another bead of sealant. Once the SIPs walls are up we'll be able to close the joint between the walls and the floor by adding a bead of spray foam if necessary and then a sealant joint. This isolates our wall system from our floor system. We never have the subfloor in contact with the elements outside, transferring cold to our feet. (I did it this way for The Lucky Penny Floor Box, too.)

We got the floor system nearly finished by the time we took a late lunch. After lunch we installed the new plate washers, double-checked our measurements, and cinched down the bolts (but not too tight!) Sonja also plugged the extra holes in our trailer using black 3/4" PEX plugs and more of that handy sealant. (The "extra holes" were pre-drilled through the sides of the trailer for that wooden floor system we didn't use - see my note in T42 Undercarriage & Floor Insulation for more on that!)

With the bottom plates bolted down and the subfloor in place, the trailer is now totally ready for its trip up to Premier SIPs in Puyallup. Patrick of Artisan Tiny House will be making the drive with me to pick up the SIPs early next week. (and I get to go on a field trip of the SIPs factory!) I'm so excited!

Picking Up Our Tiny House Trailer

Ready to drive off with our tiny house trailer! Here we go again!

On Friday Isha and I rented a truck from one of our landies at Simply Home Community and drove over to Iron Eagle Trailers to pick up our trailer. For those of you who haven't yet built a tiny house, this is the equivalent of a groundbreaking. It's a big deal because getting the trailer to the build site is the very first thing we do to make the build real.

Lina & the new tiny house trailer

When we arrived at Iron Eagle we were amazed to see how many tiny house trailers there are in the yard right now! Dozens of folks have ordered their trailers and will be picking them up shortly, so it looks like Isha and I will be in good company with our build this summer! Iron Eagle has gotten so backlogged on tiny house trailer orders the past couple years that this winter they actually built a few extra so they'd have them in stock when tiny house build season began. Right now they have a handful of 20' trailers, 24' trailers, and 28' trailers available, so you could pick up a tiny house trailer tomorrow! (Tell Rob I sent ya to get a discount, too!)

From a 4 Prong to 7 Blade

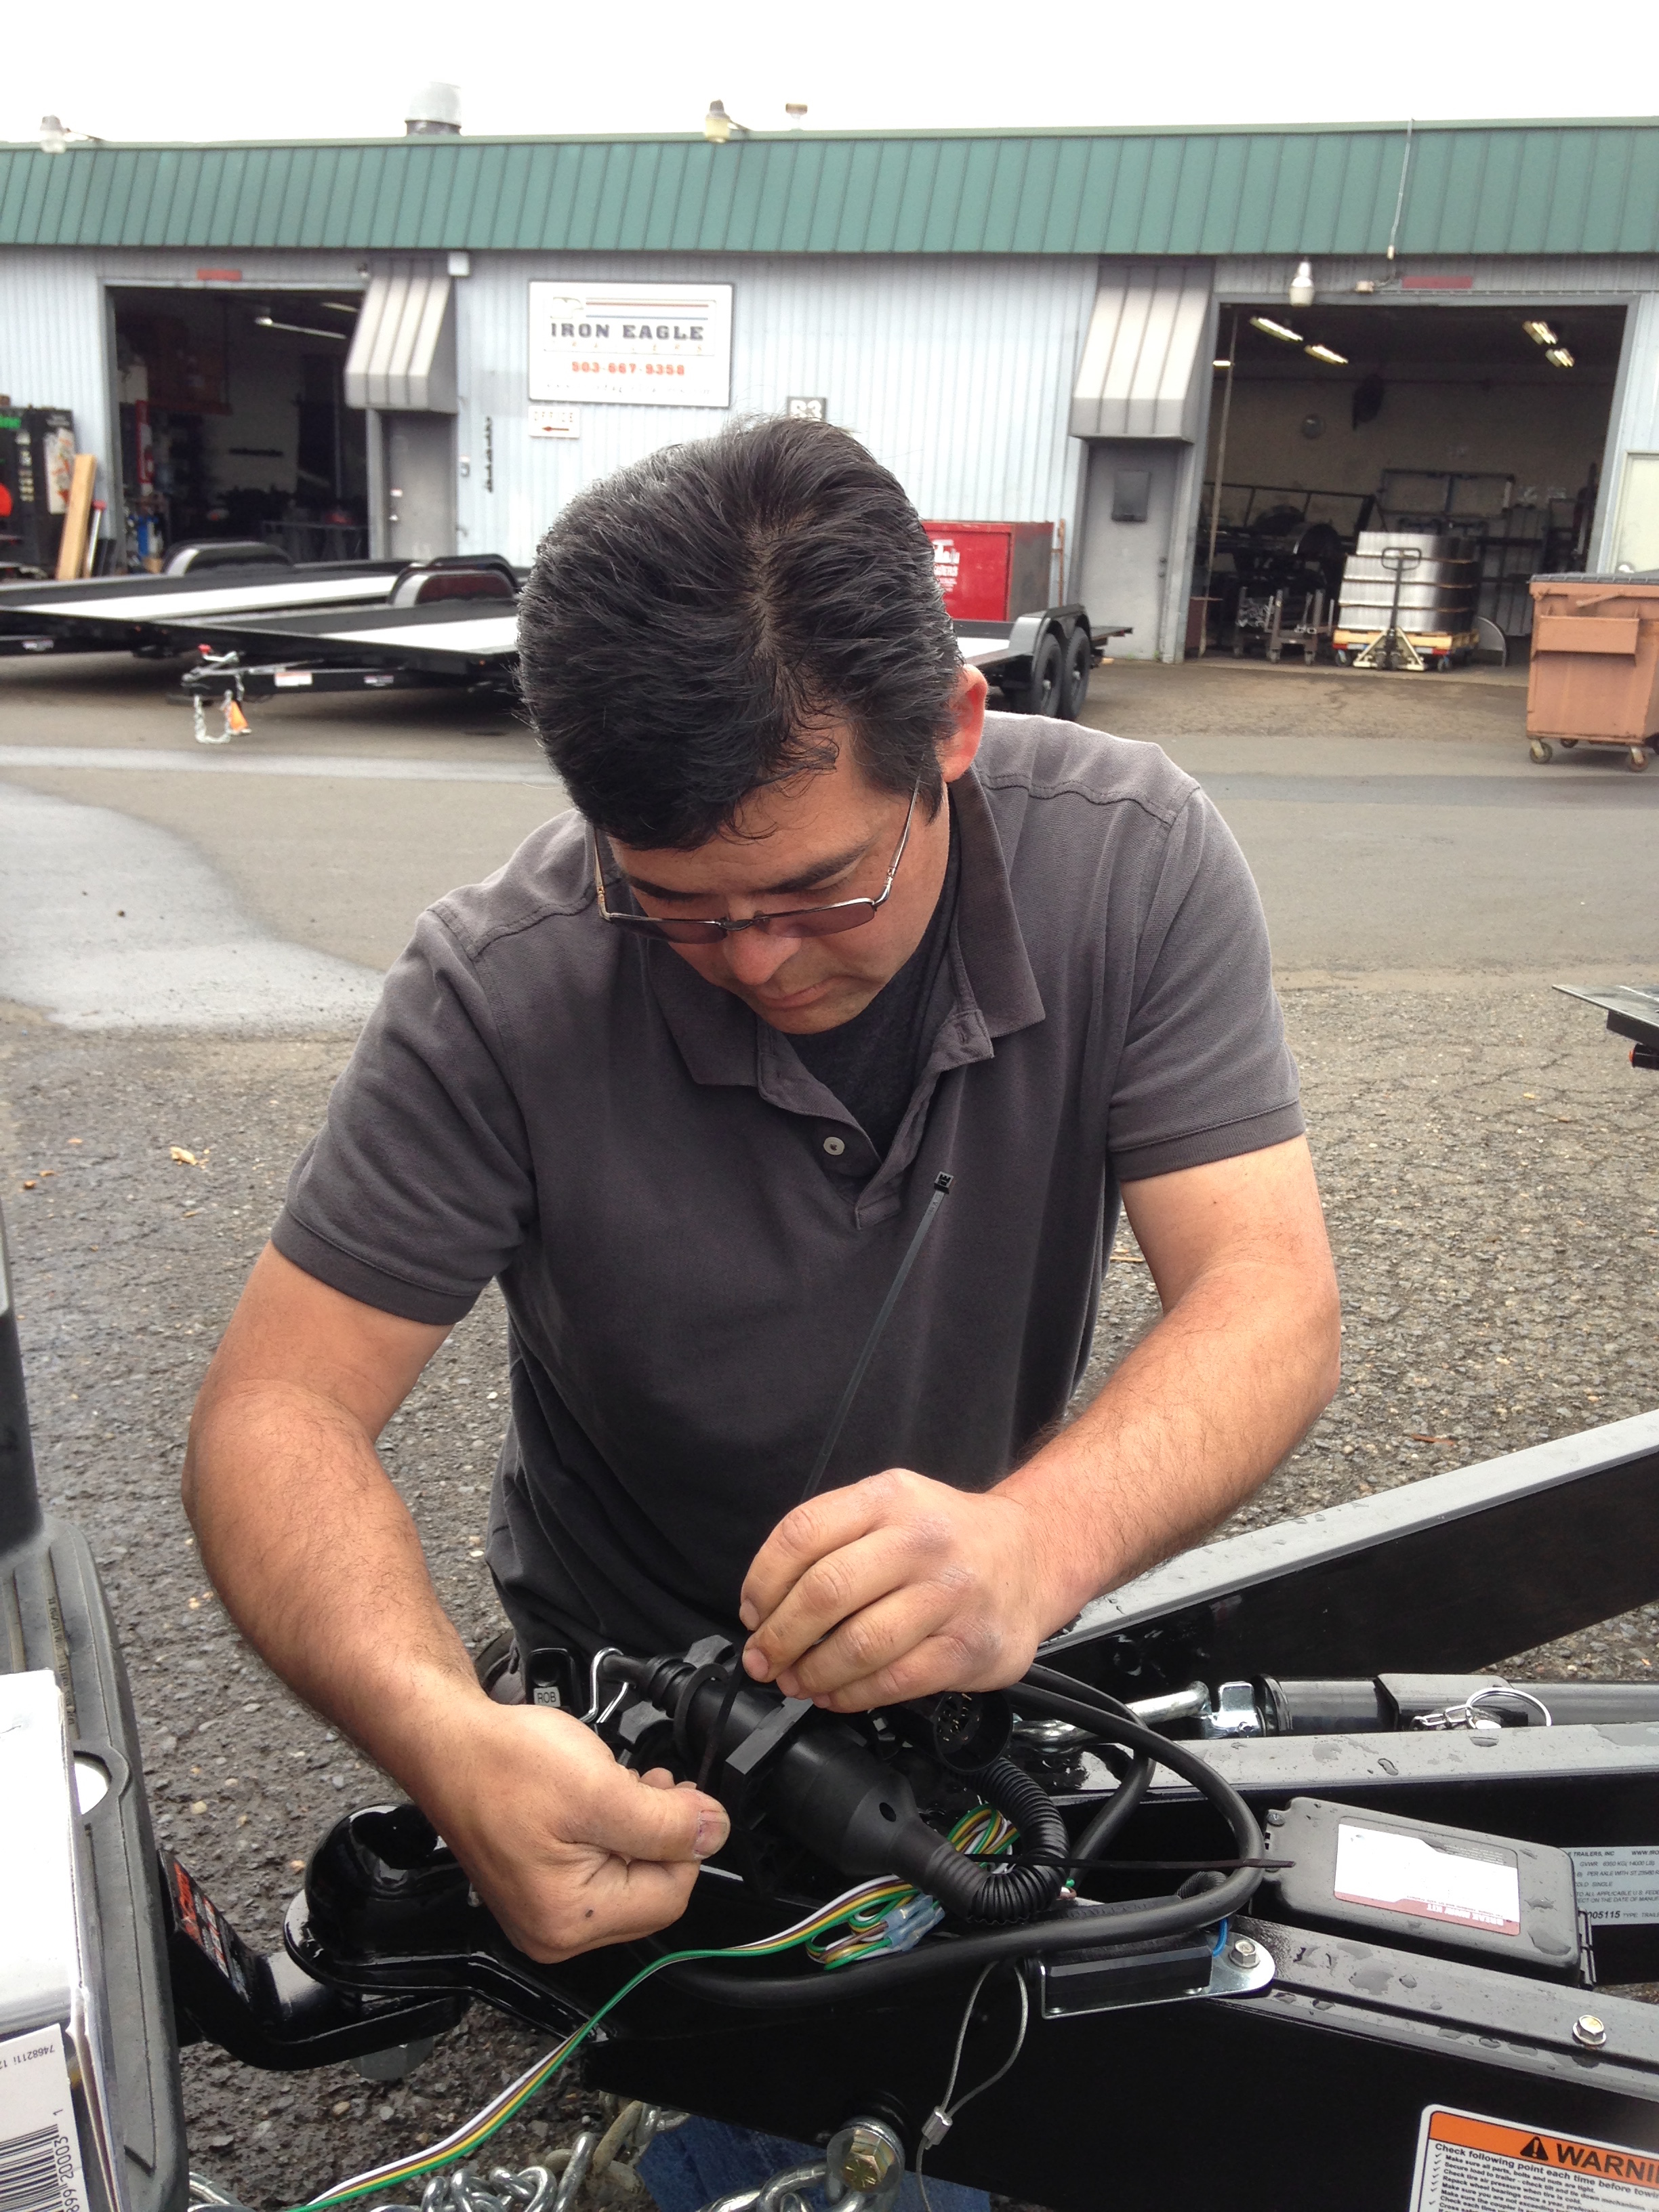
We gave our 24' long, 8'5' wide PAD series tiny house trailer the once-over and then signed our paperwork with Mary in the office. Rob helped us get the trailer connected to the truck but we then discovered The Hiccup. (See A Tiny Move for My Tiny House for more about discovering The Hiccup): we realized that we had a 4 prog light connection on the truck and a 7 blade RV style connection on the trailer.

Rob Connecting Trailer LightsFortunately, there's a hardware store just a few blocks away that sells the adapter. Unfortunately, they were sold out of have the adapter we needed. Fortunately, Isha was able to figure out which parts we could use to piece it together and when he handed them to Rob, Rob said "Okay, just give me a moment!" Rob came back less than 5 minutes later with a Frankensteined contraption that worked perfectly to connect the truck lights to the trailer lights.

And we were off! We swung by Winroc SPI (AKA Paragon Pacific) to pick up the insulation for our floor system. It was raining by then (of course! thank you, Murphy!) but we managed to get our insulation strapped down to the trailer (and our eyes peeled for rainbows!)

Then Isha and I parted ways for a couple hours. I dashed off to do an on-site consultation for a family exploring the possibility of putting an ADU on their property. Despite the rain, we had a great time talking through their options.

Tiny Houses under construction at Green Anchors

Meanwhile, Isha drove our tiny house trailer down to our build site, Green Anchors, where Matt helped him get oriented to the tiny house cluster. There are 7 tiny houses under construction at Green Anchors right now and one other bare trailer besides ours. Matt says there are at least five more coming. It's so cool to see this exponential growth! The year before I built The Lucky Penny at Green Anchors, there was one tiny house (Nicholette and Mitchell's tiny). The next summer my build buddy Laura Klement and I built our tiny homes side-by-side. Last summer there were a handful of tinies constructed at Green Anchors. And this year there will likely be a couple dozen. Woohoo!

Lina & Isha's Trailer DeliveryFriday evening Isha and I reconnected at Green Anchors to tarp our trailer and get me oriented to site. We celebrated our trailer delivery - and date night - with dinner at Proper Eats. Today we'll be getting ourselves set up on site in preparation for tomorrow's T42 Build Blitz.

And so it begins! (If you'd like to help out with our build, please let us know when you can join us!)

April Showers Bring May Flowers

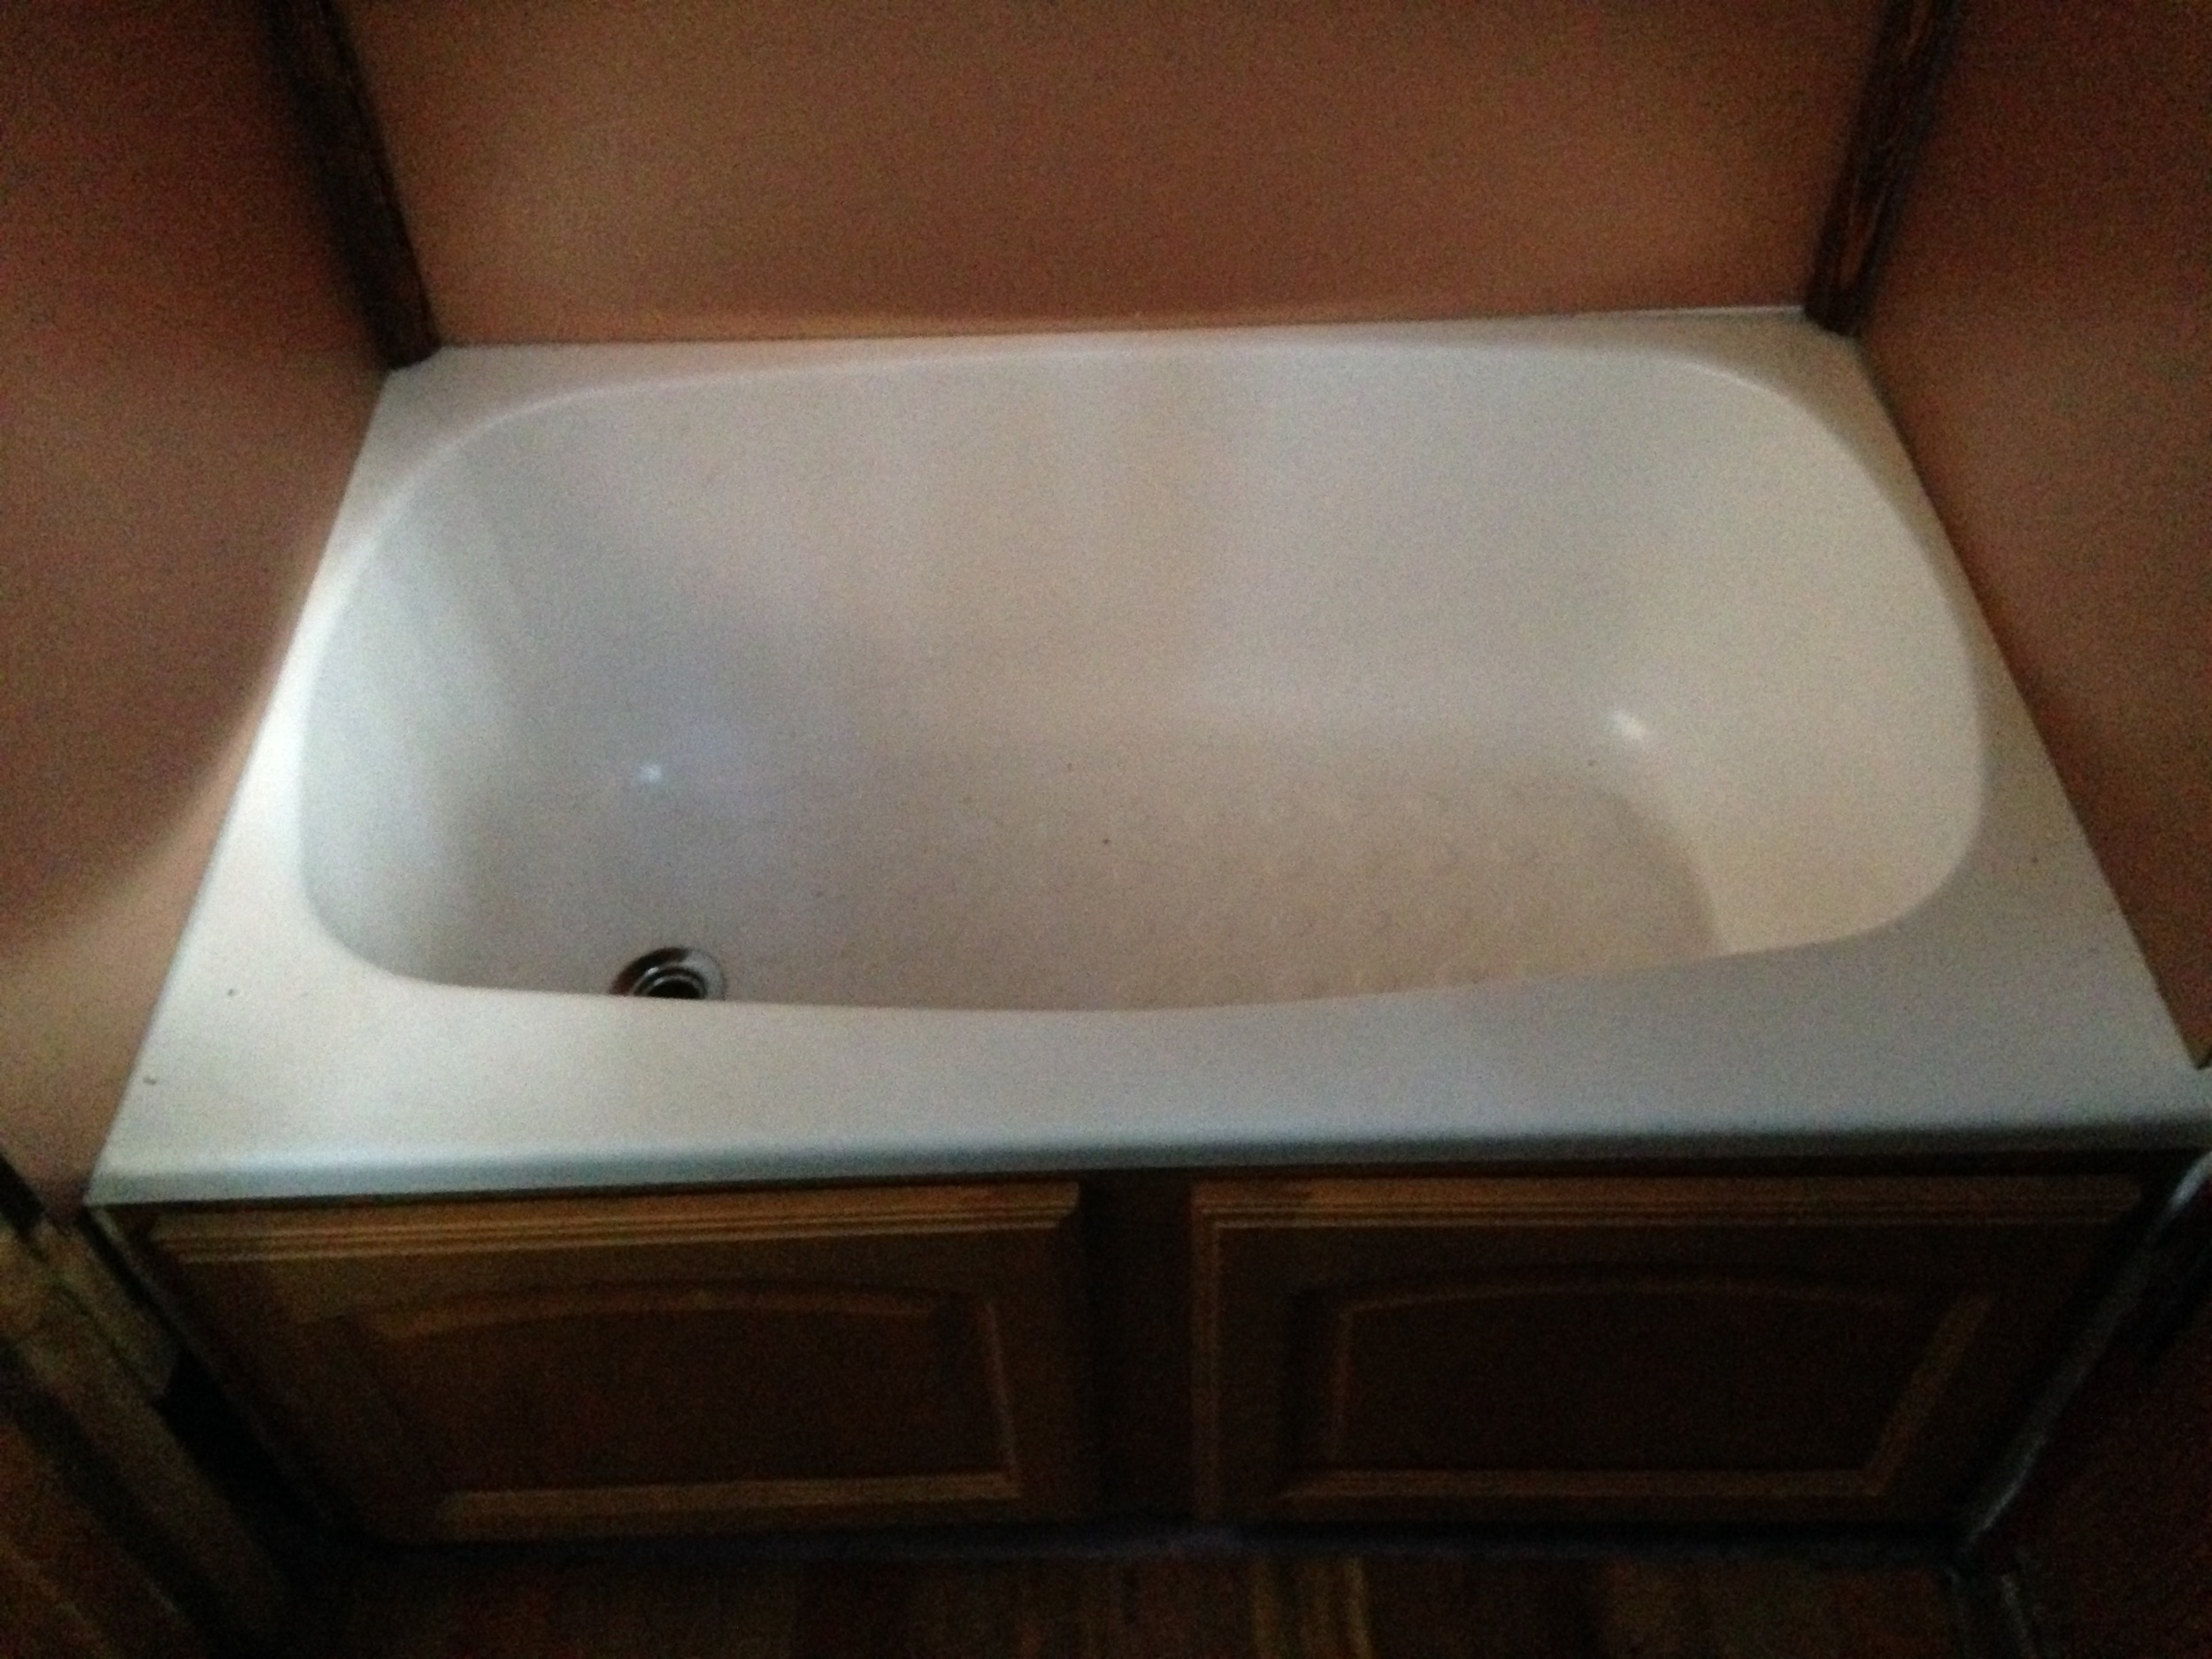
Tiny Tub & Copper Paneling When they say "April showers bring May flowers," they're talking about spring rains, but with my new Garden Beds & Graywater set up, the showers I take in April really will contribute to the success of my flowers this May. Let me explain...

Over the past year and a half that I've been living in my tiny house, The Lucky Penny, I've never gotten around to finalizing my shower because it's easy enough to shower in The Big House at Simply Home Community, which is just a few dozen feet away. However, it's always been my intention to have the shower set up so that it can be used when The Lucky Penny is located in a place where there isn't such easy access to a shower.

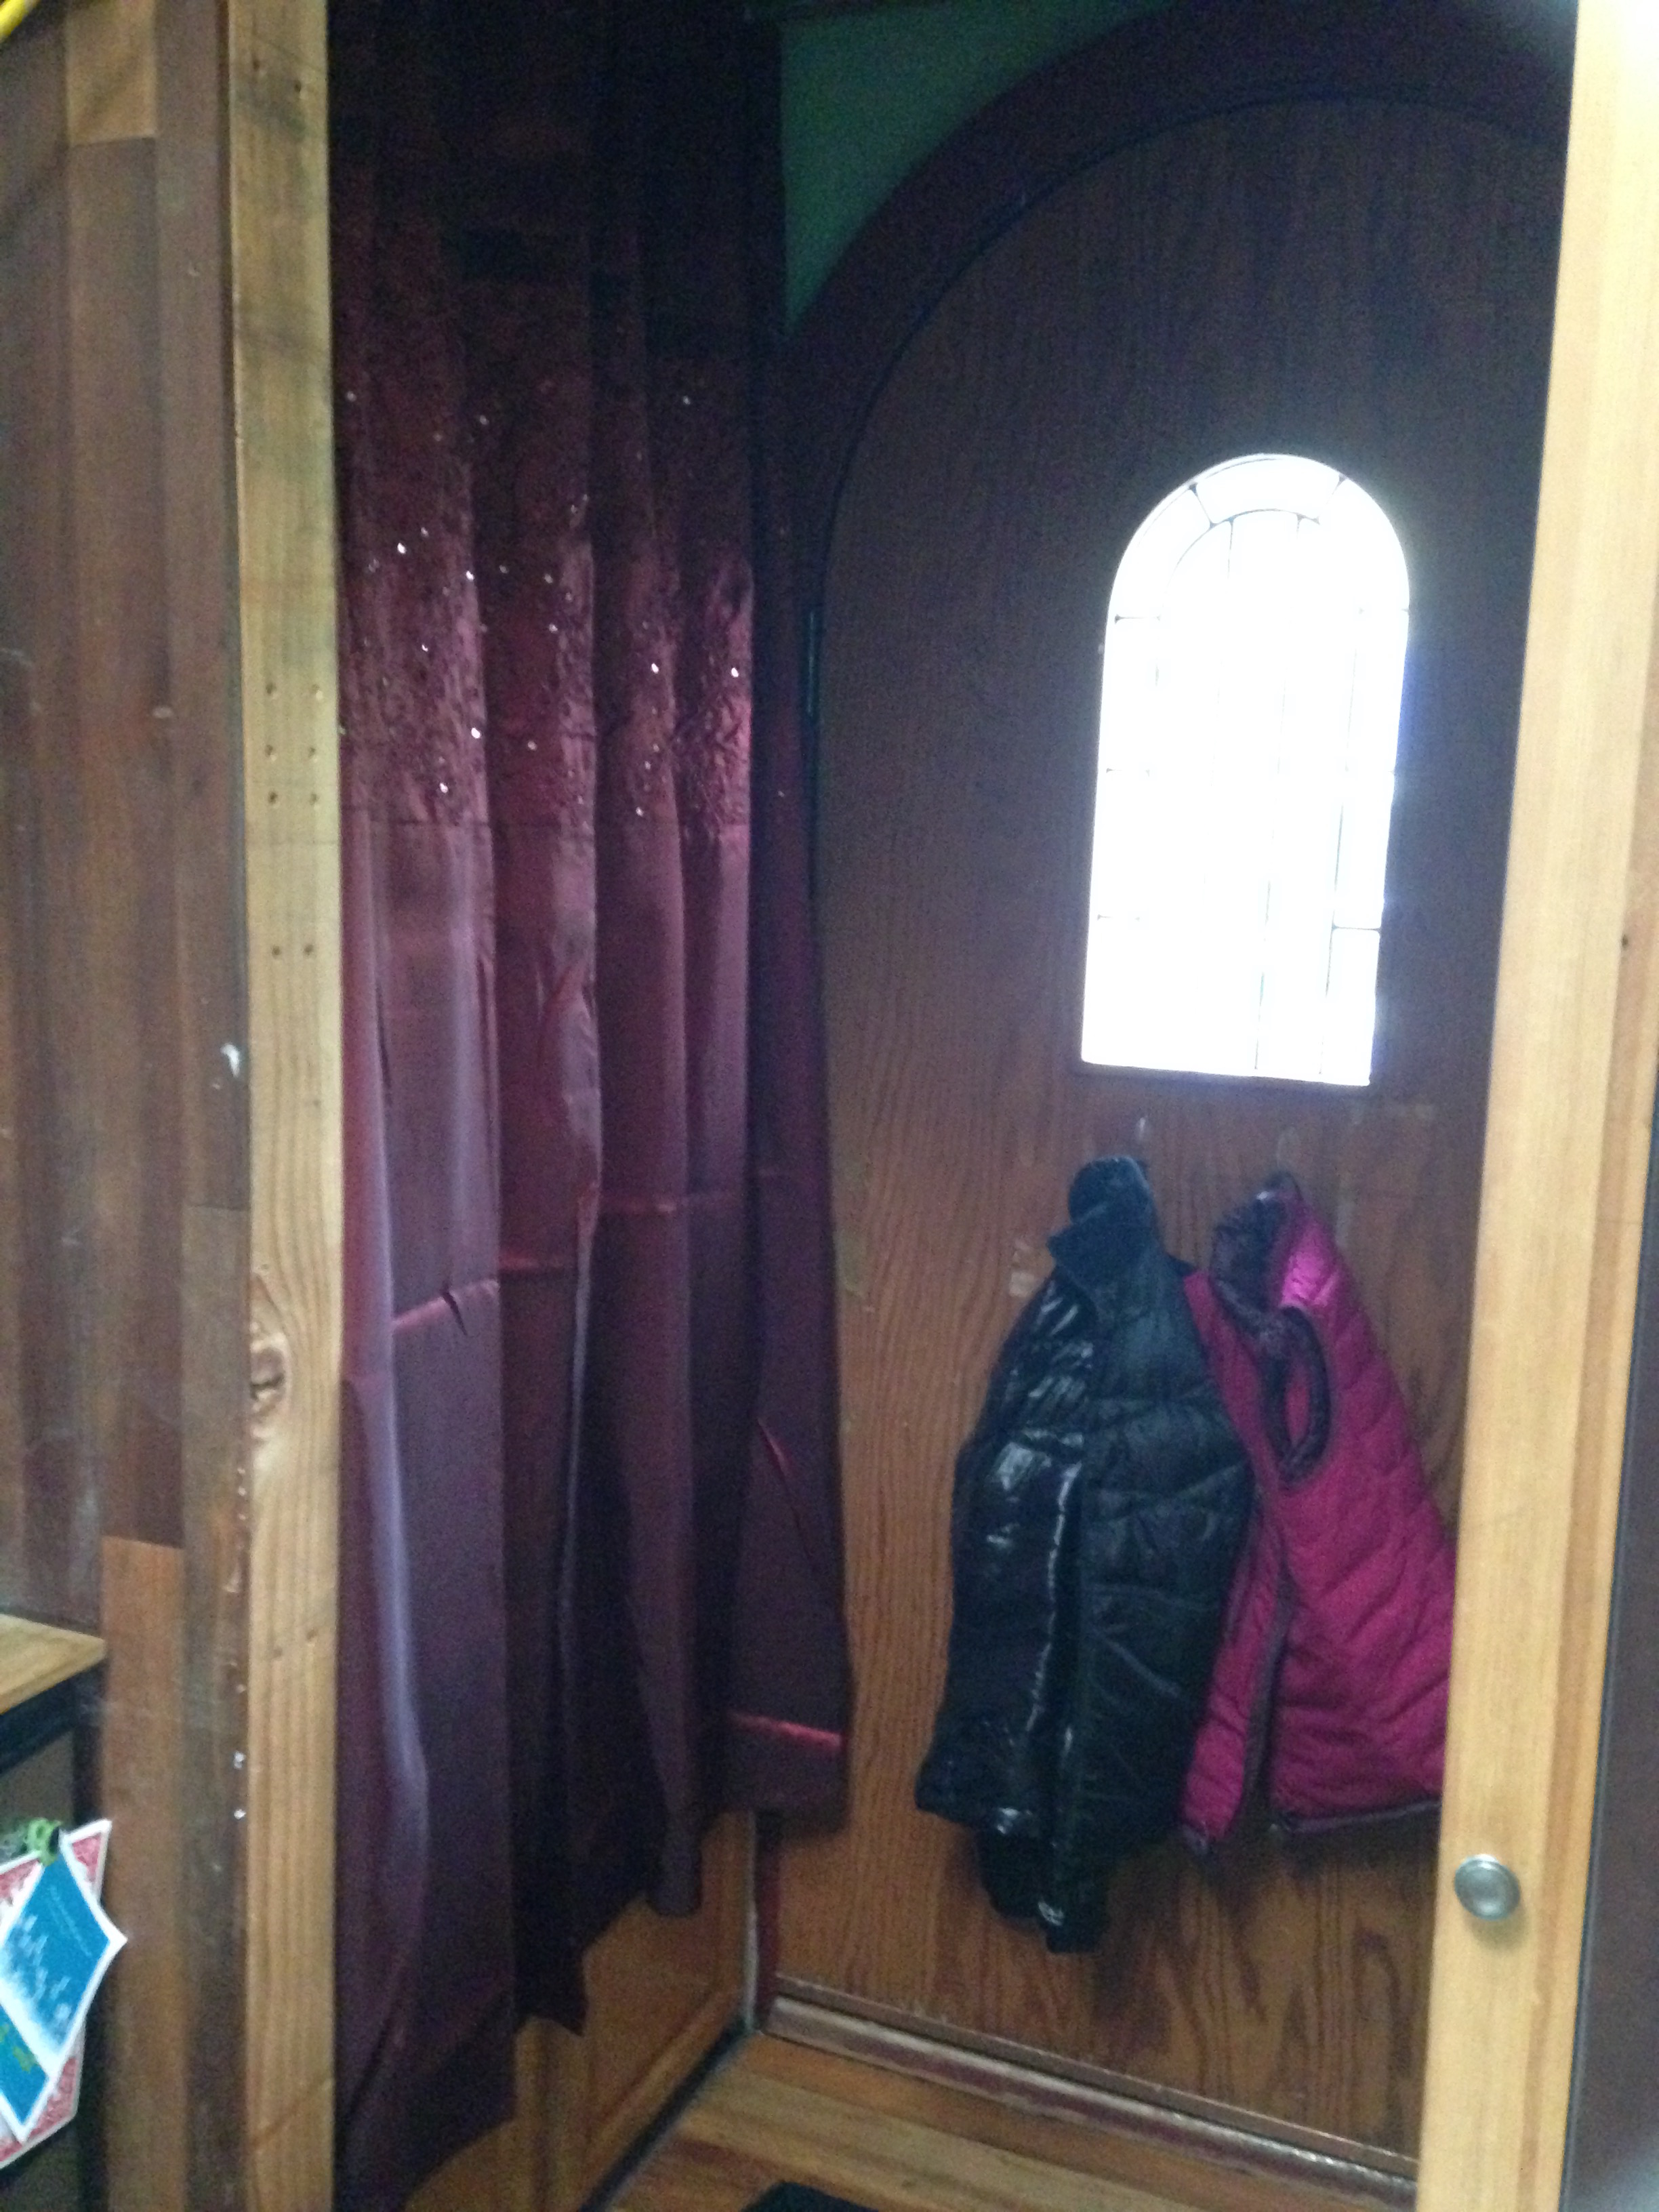
Entry Curtain Over Shower

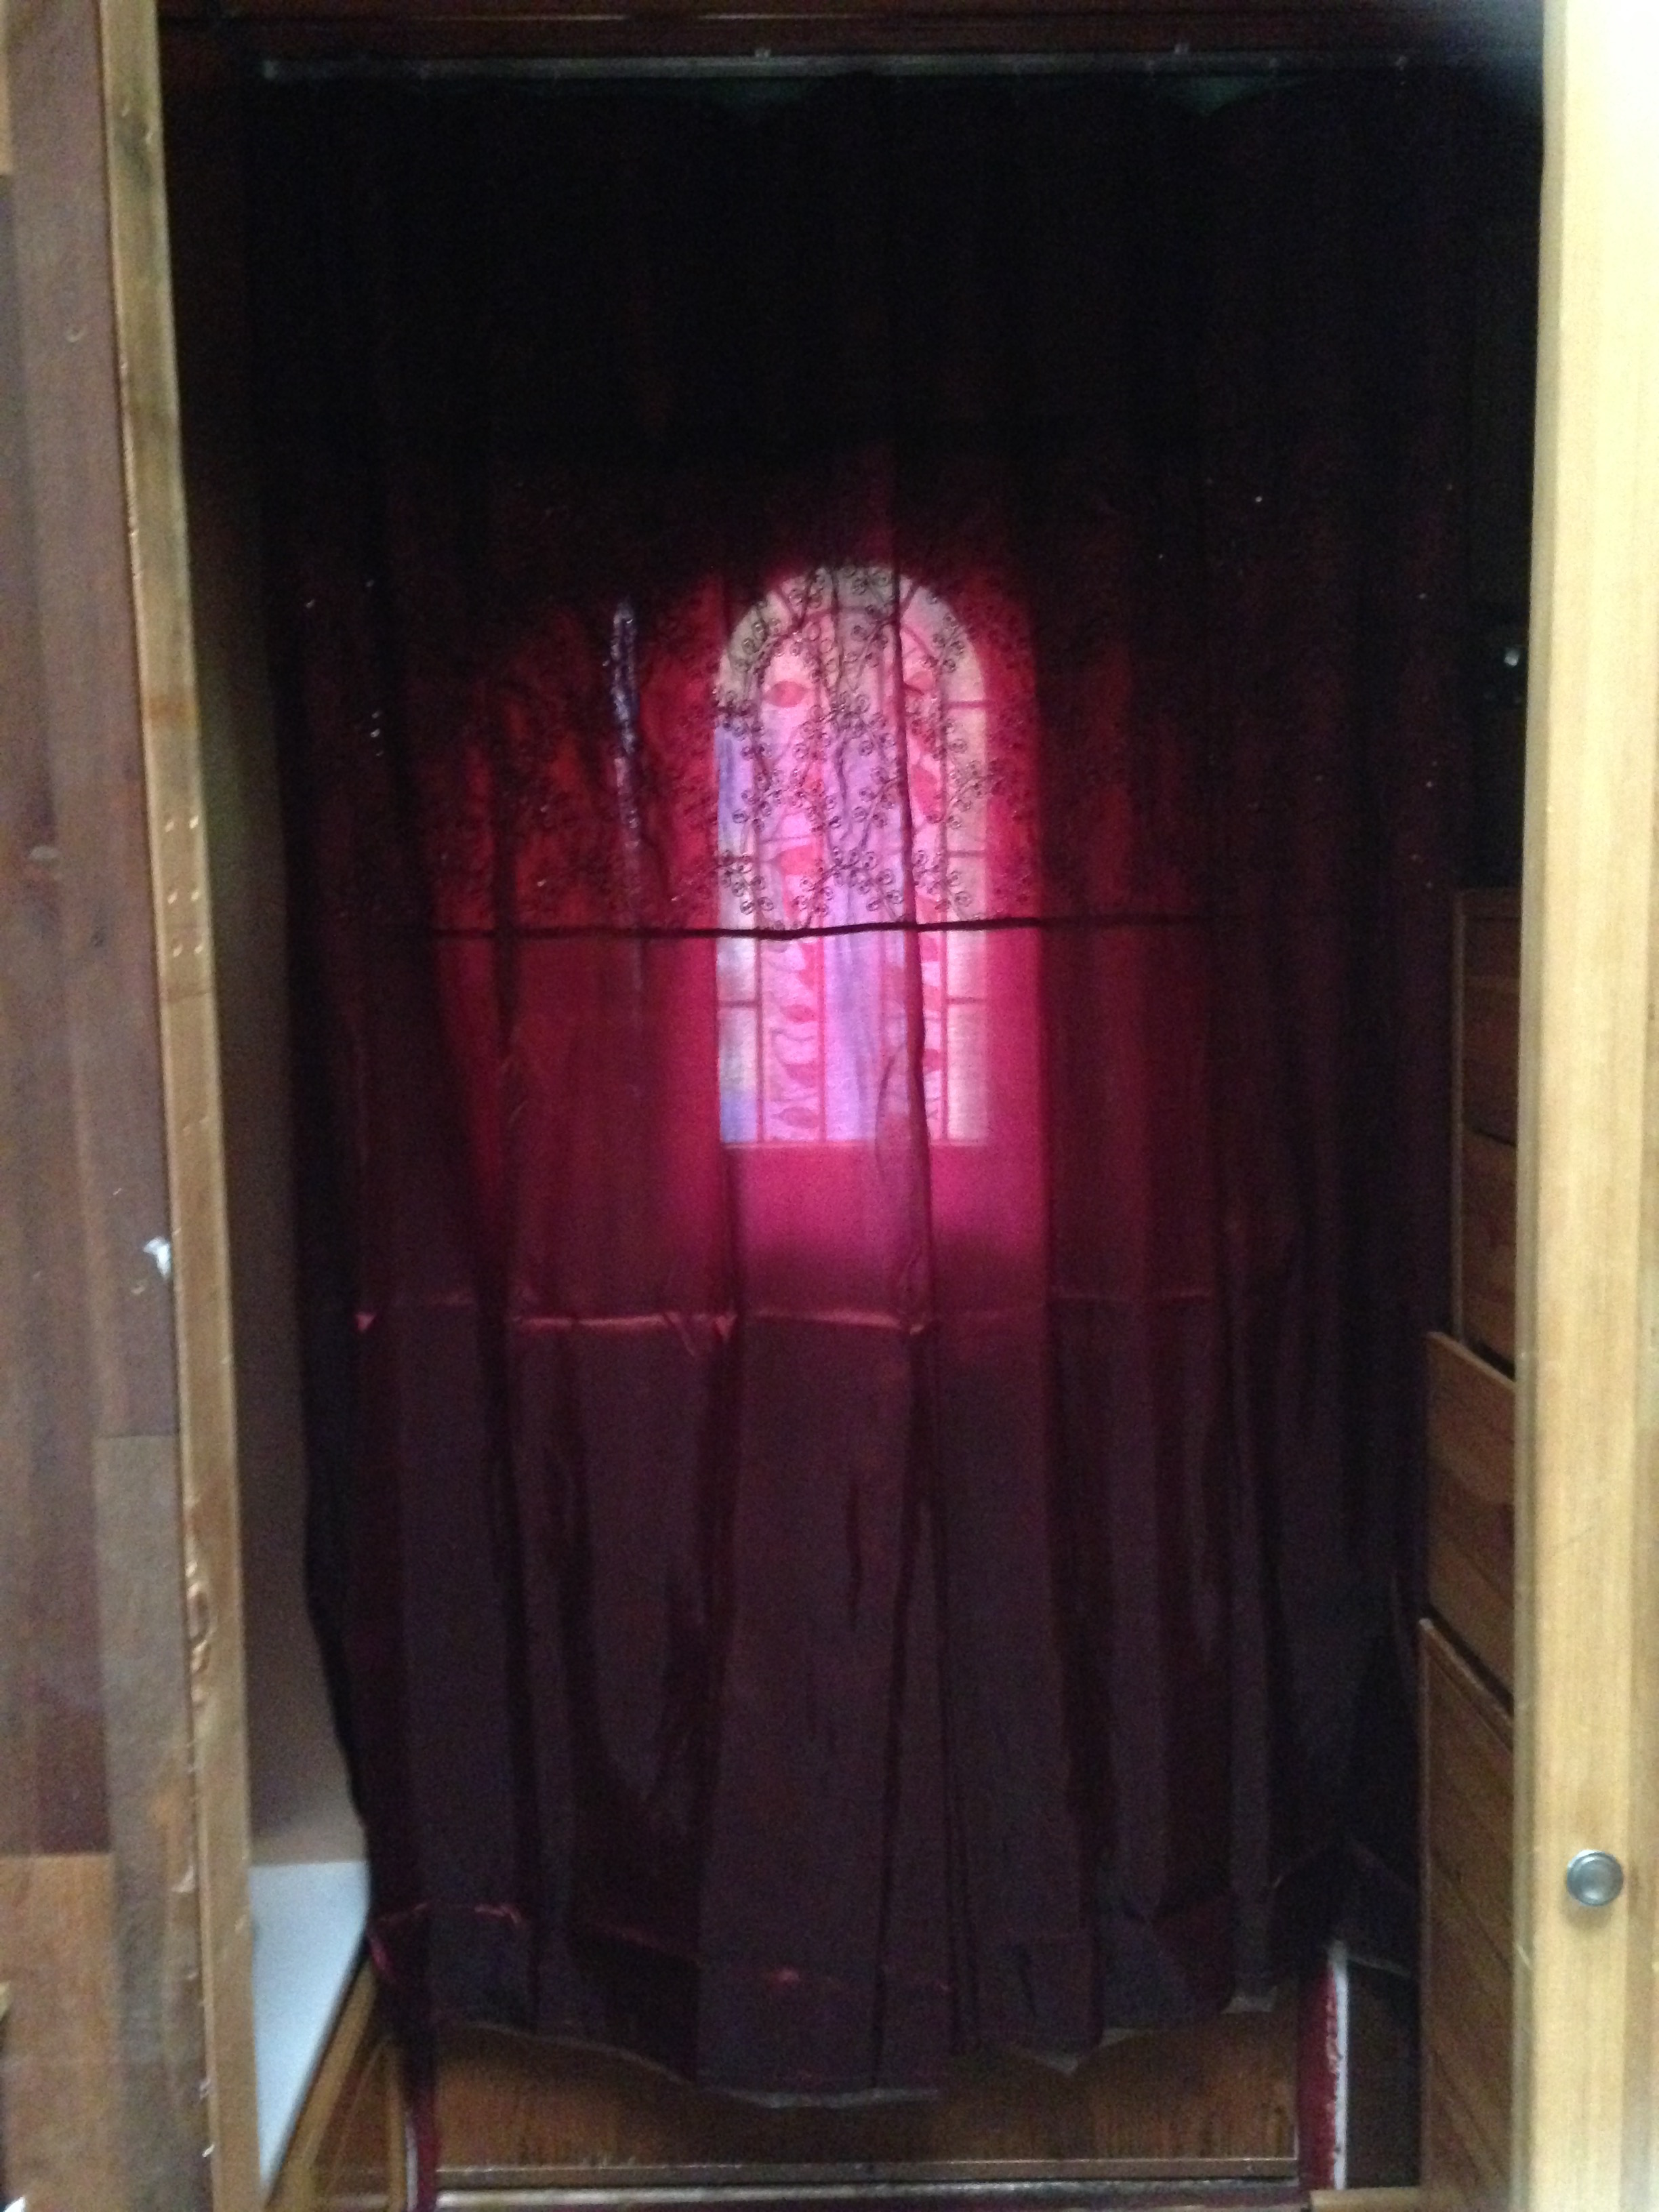
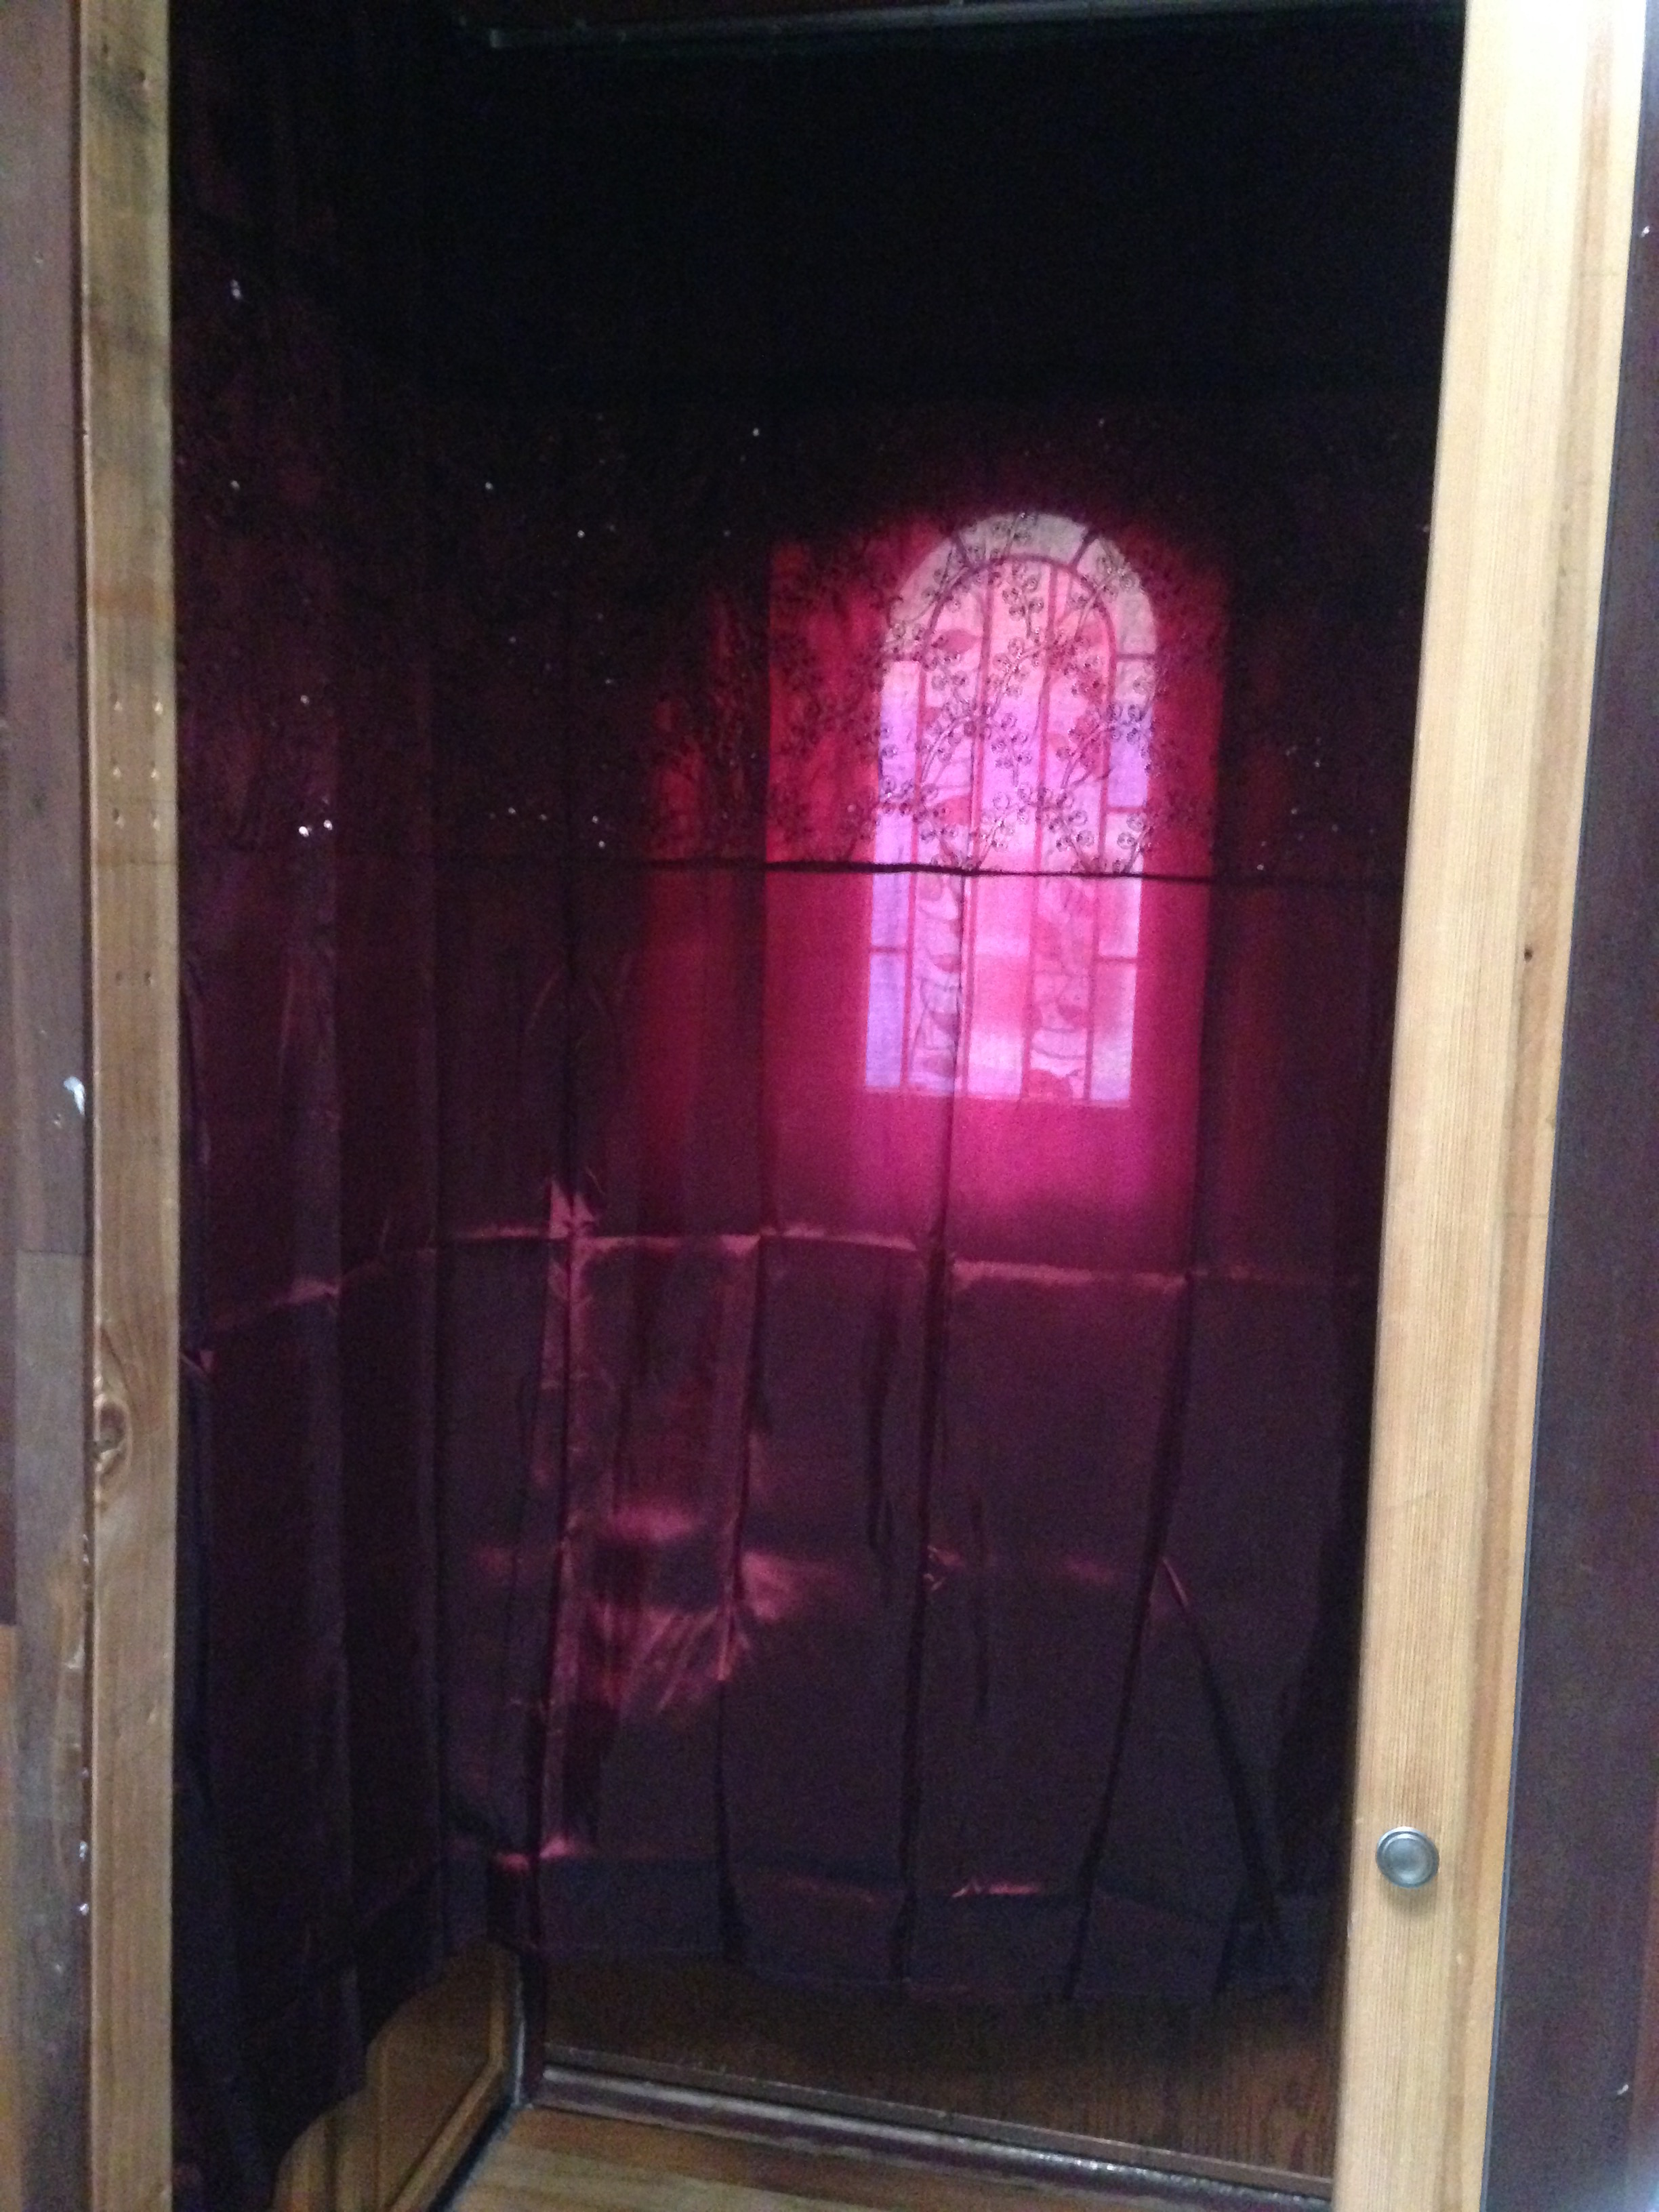
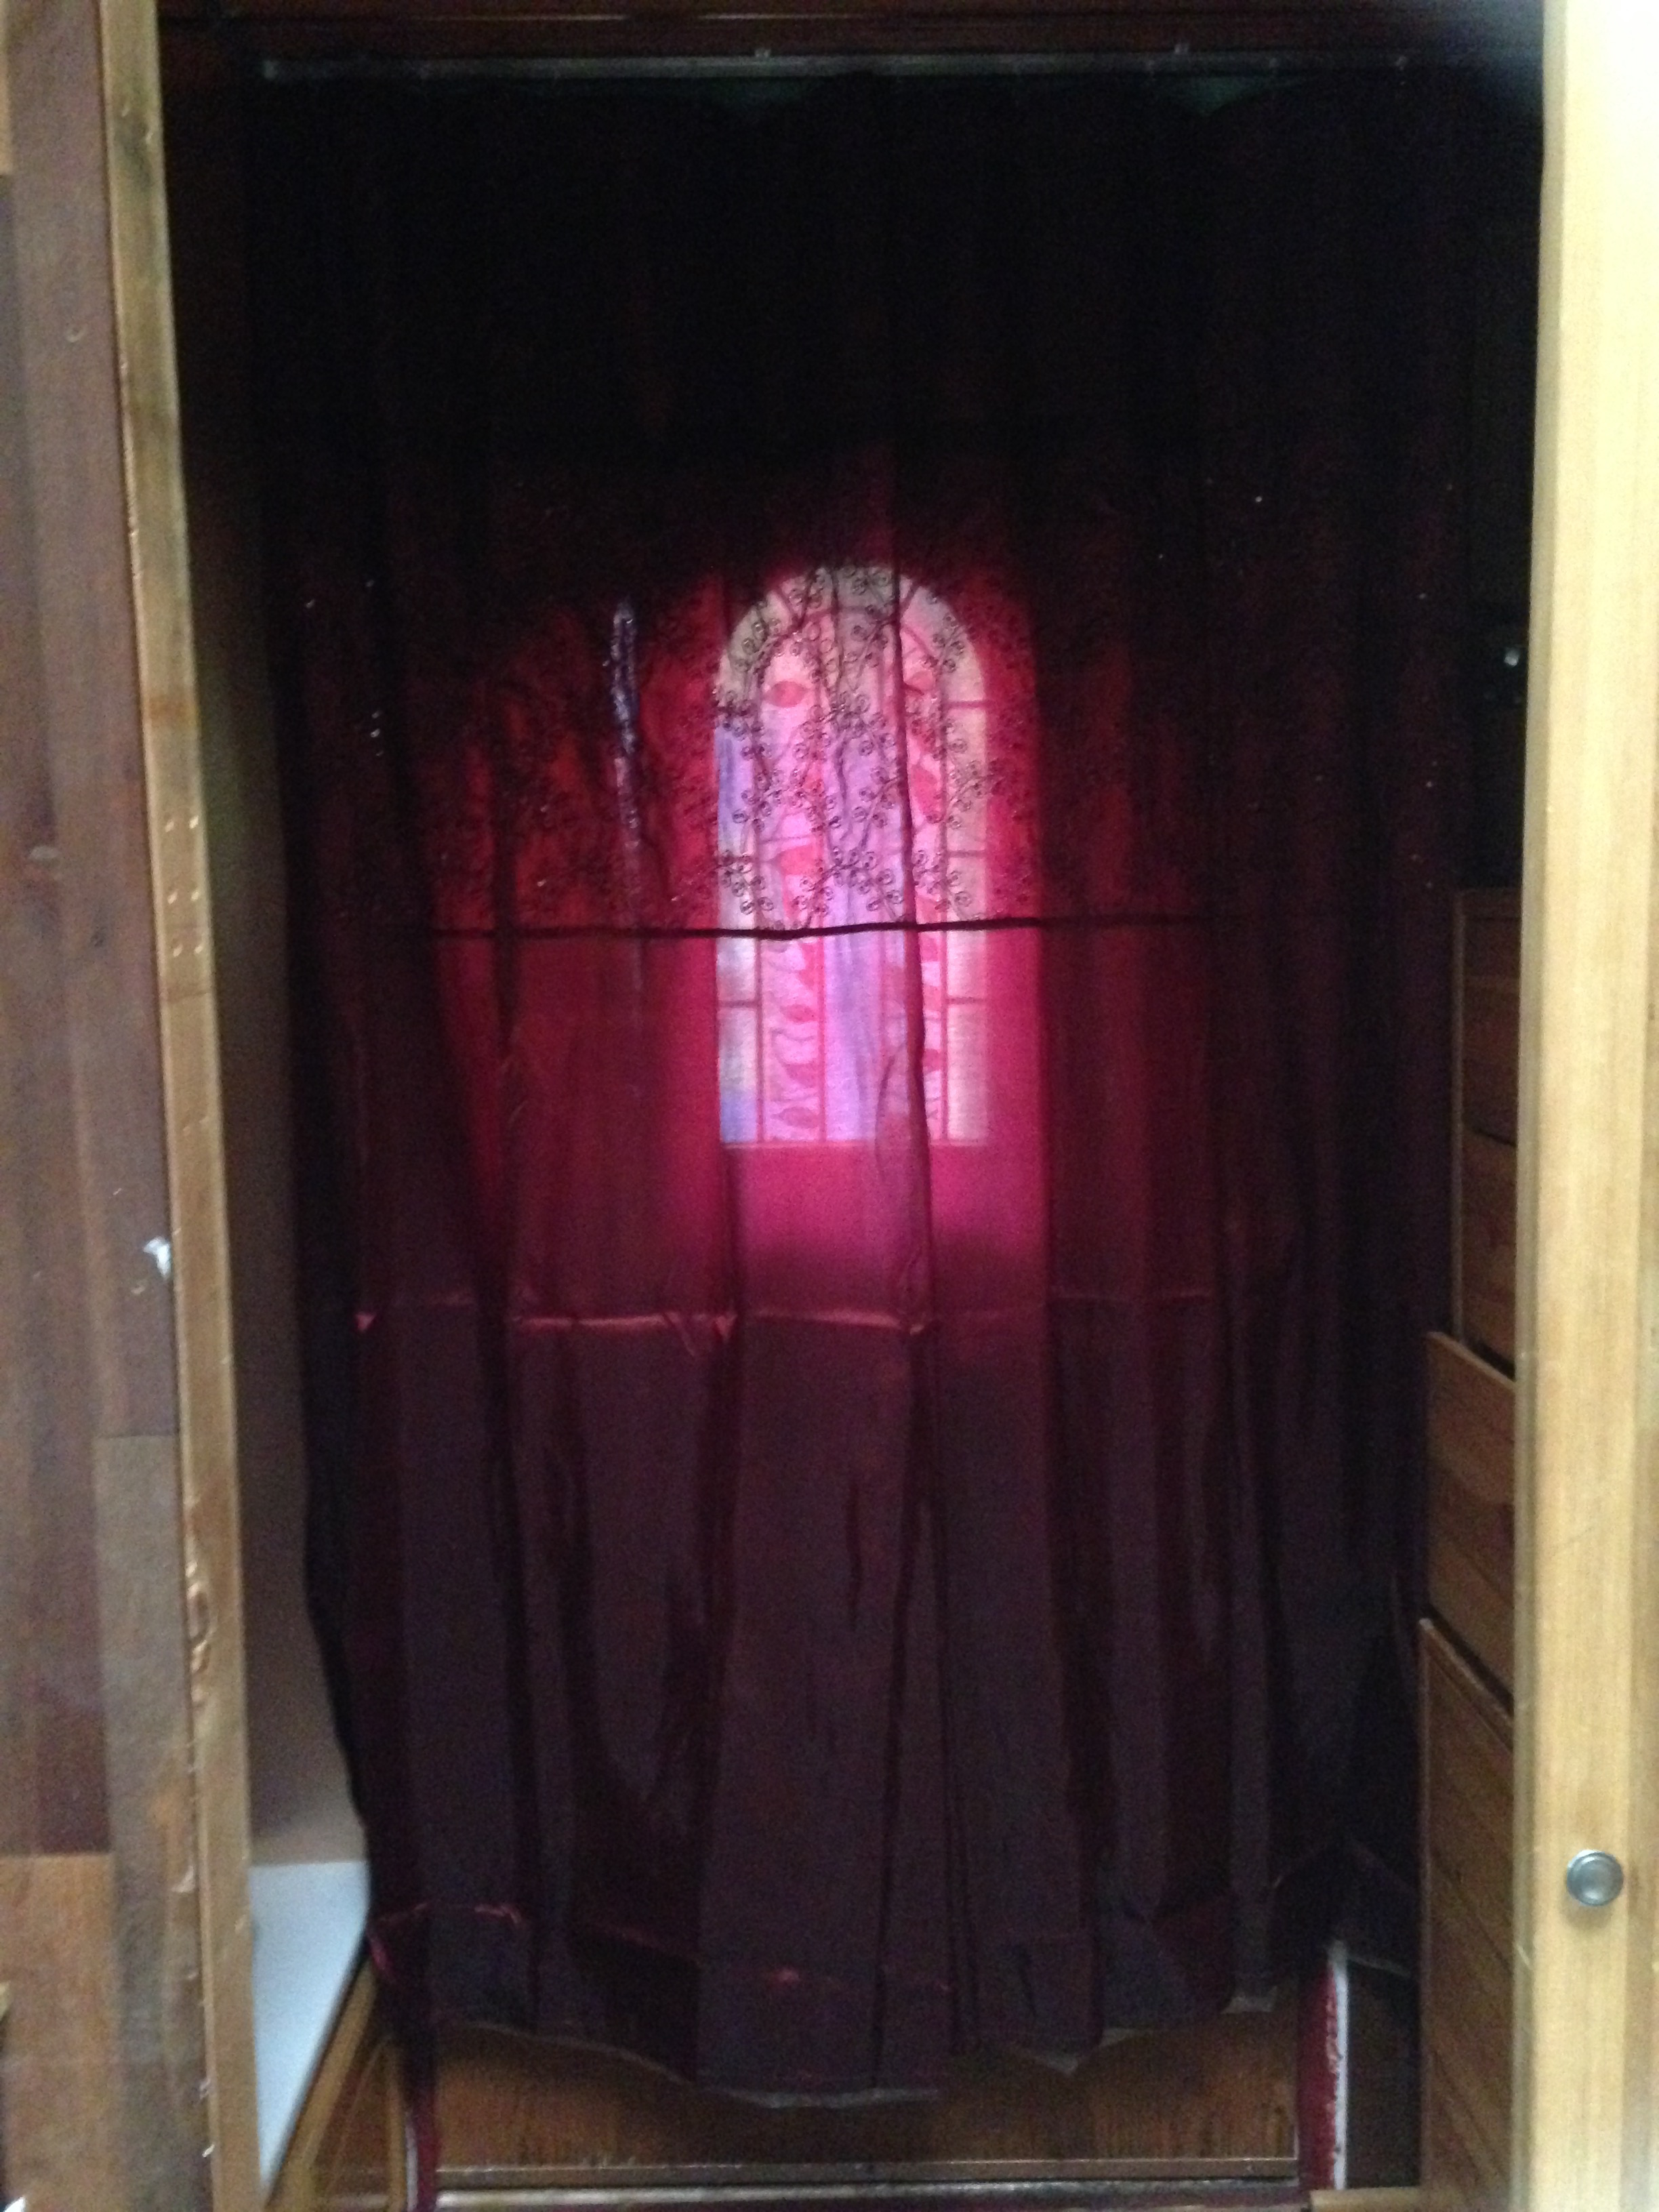
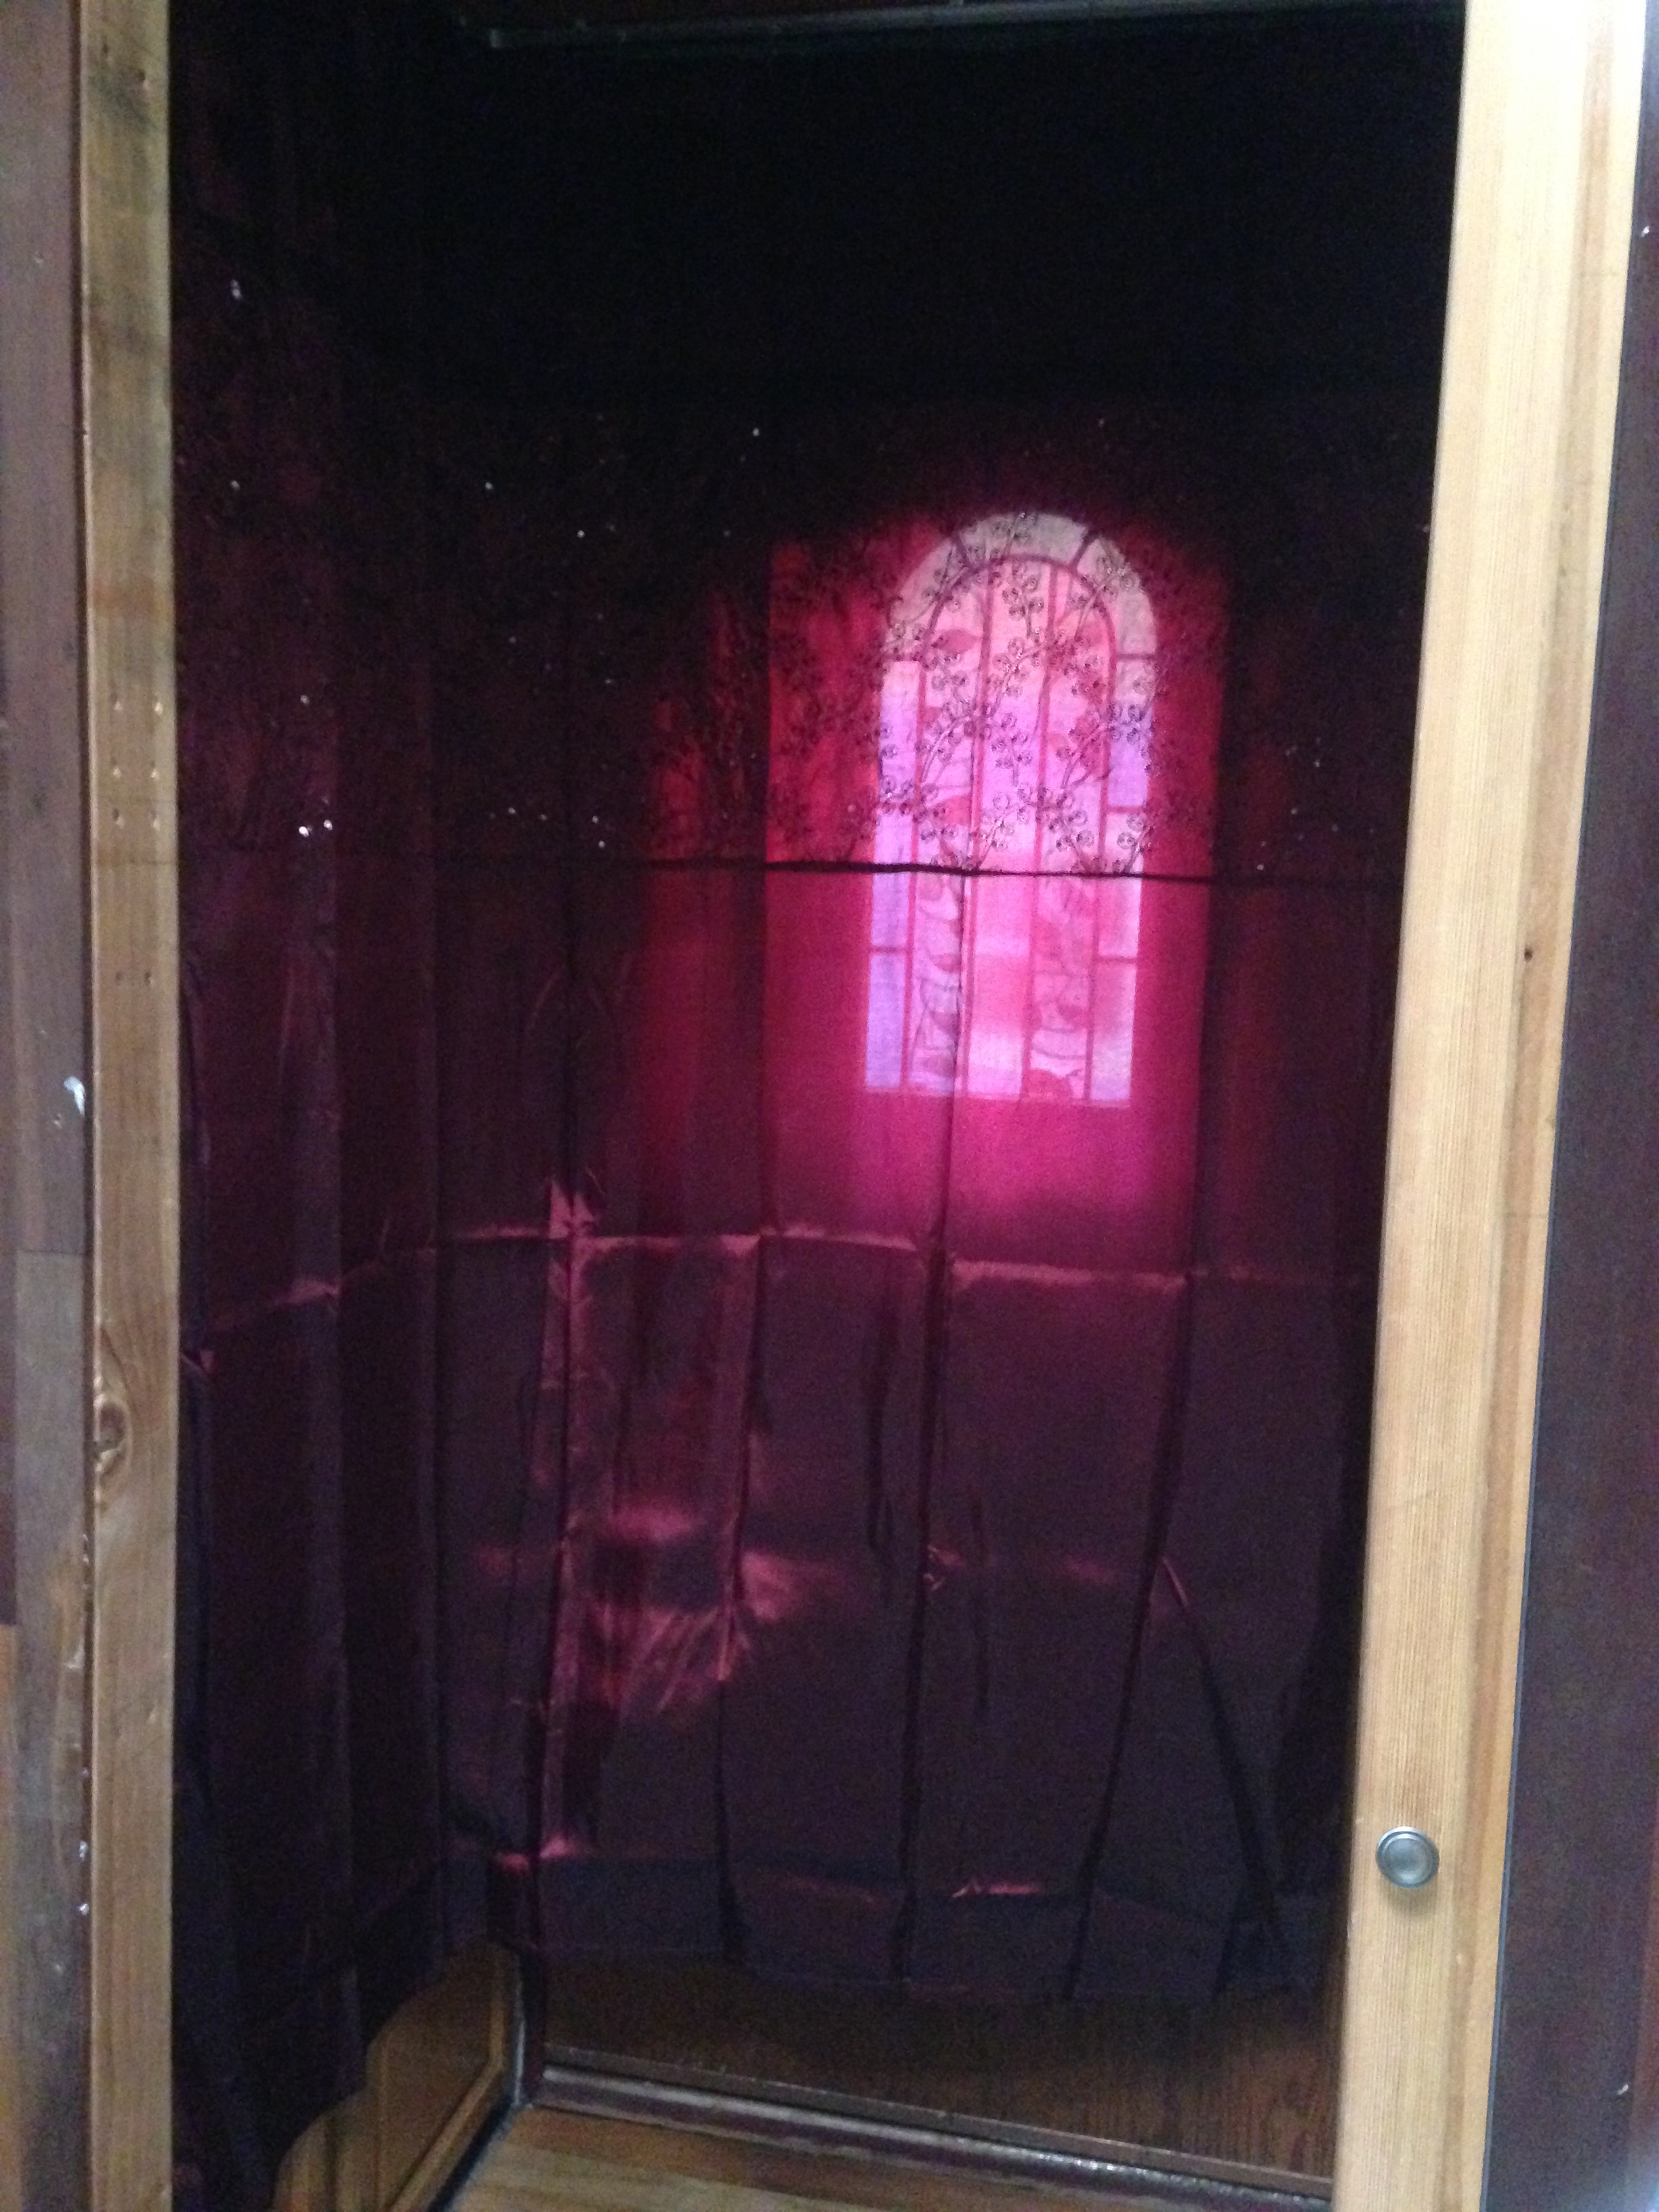
I've now made three pushes to get my shower set up. The first time was more than a year ago when I got everything almost ready, minus installing and caulking the corner trim. Then something I did under the house broke something inside the system, which meant that I had to tear everything out again and basically start over. It took me a while to muster the energy to tackle it again. In late February this year Isha helped me get my shower mostly set up by dismantling and then reinstalling my shower. We also took the opportunity to raise the floor in the entryway by 2" so that it matches the floor in the rest of the house. The height difference had always annoyed me, so it's splendid to have this little quirk fixed! As soon as this was done, I tried out my shower by sitting in my tub, but without a shower curtain or trim I couldn't really see what it was like.

Entry Curtain Over Door

This past week, I finally got my shower operable. I picked up a couple pieces of 1" fir quarter round trim at Woodcrafters, stained and sealed it with a layer of Watco Danish Oil, and then added 8 layers of the wood topcoat that I used for my countertops and trim. (In fact, while I was at it, I sanded and refinished my countertop, too!) I glued the trim to the Alupanel using a Titebond Greenseal construction adhesive and used my air compressor and nailer to secure it in place. I then sealed the trim with a generous application of clear silicone caulk.

Entry Curtain Over Shower & Door

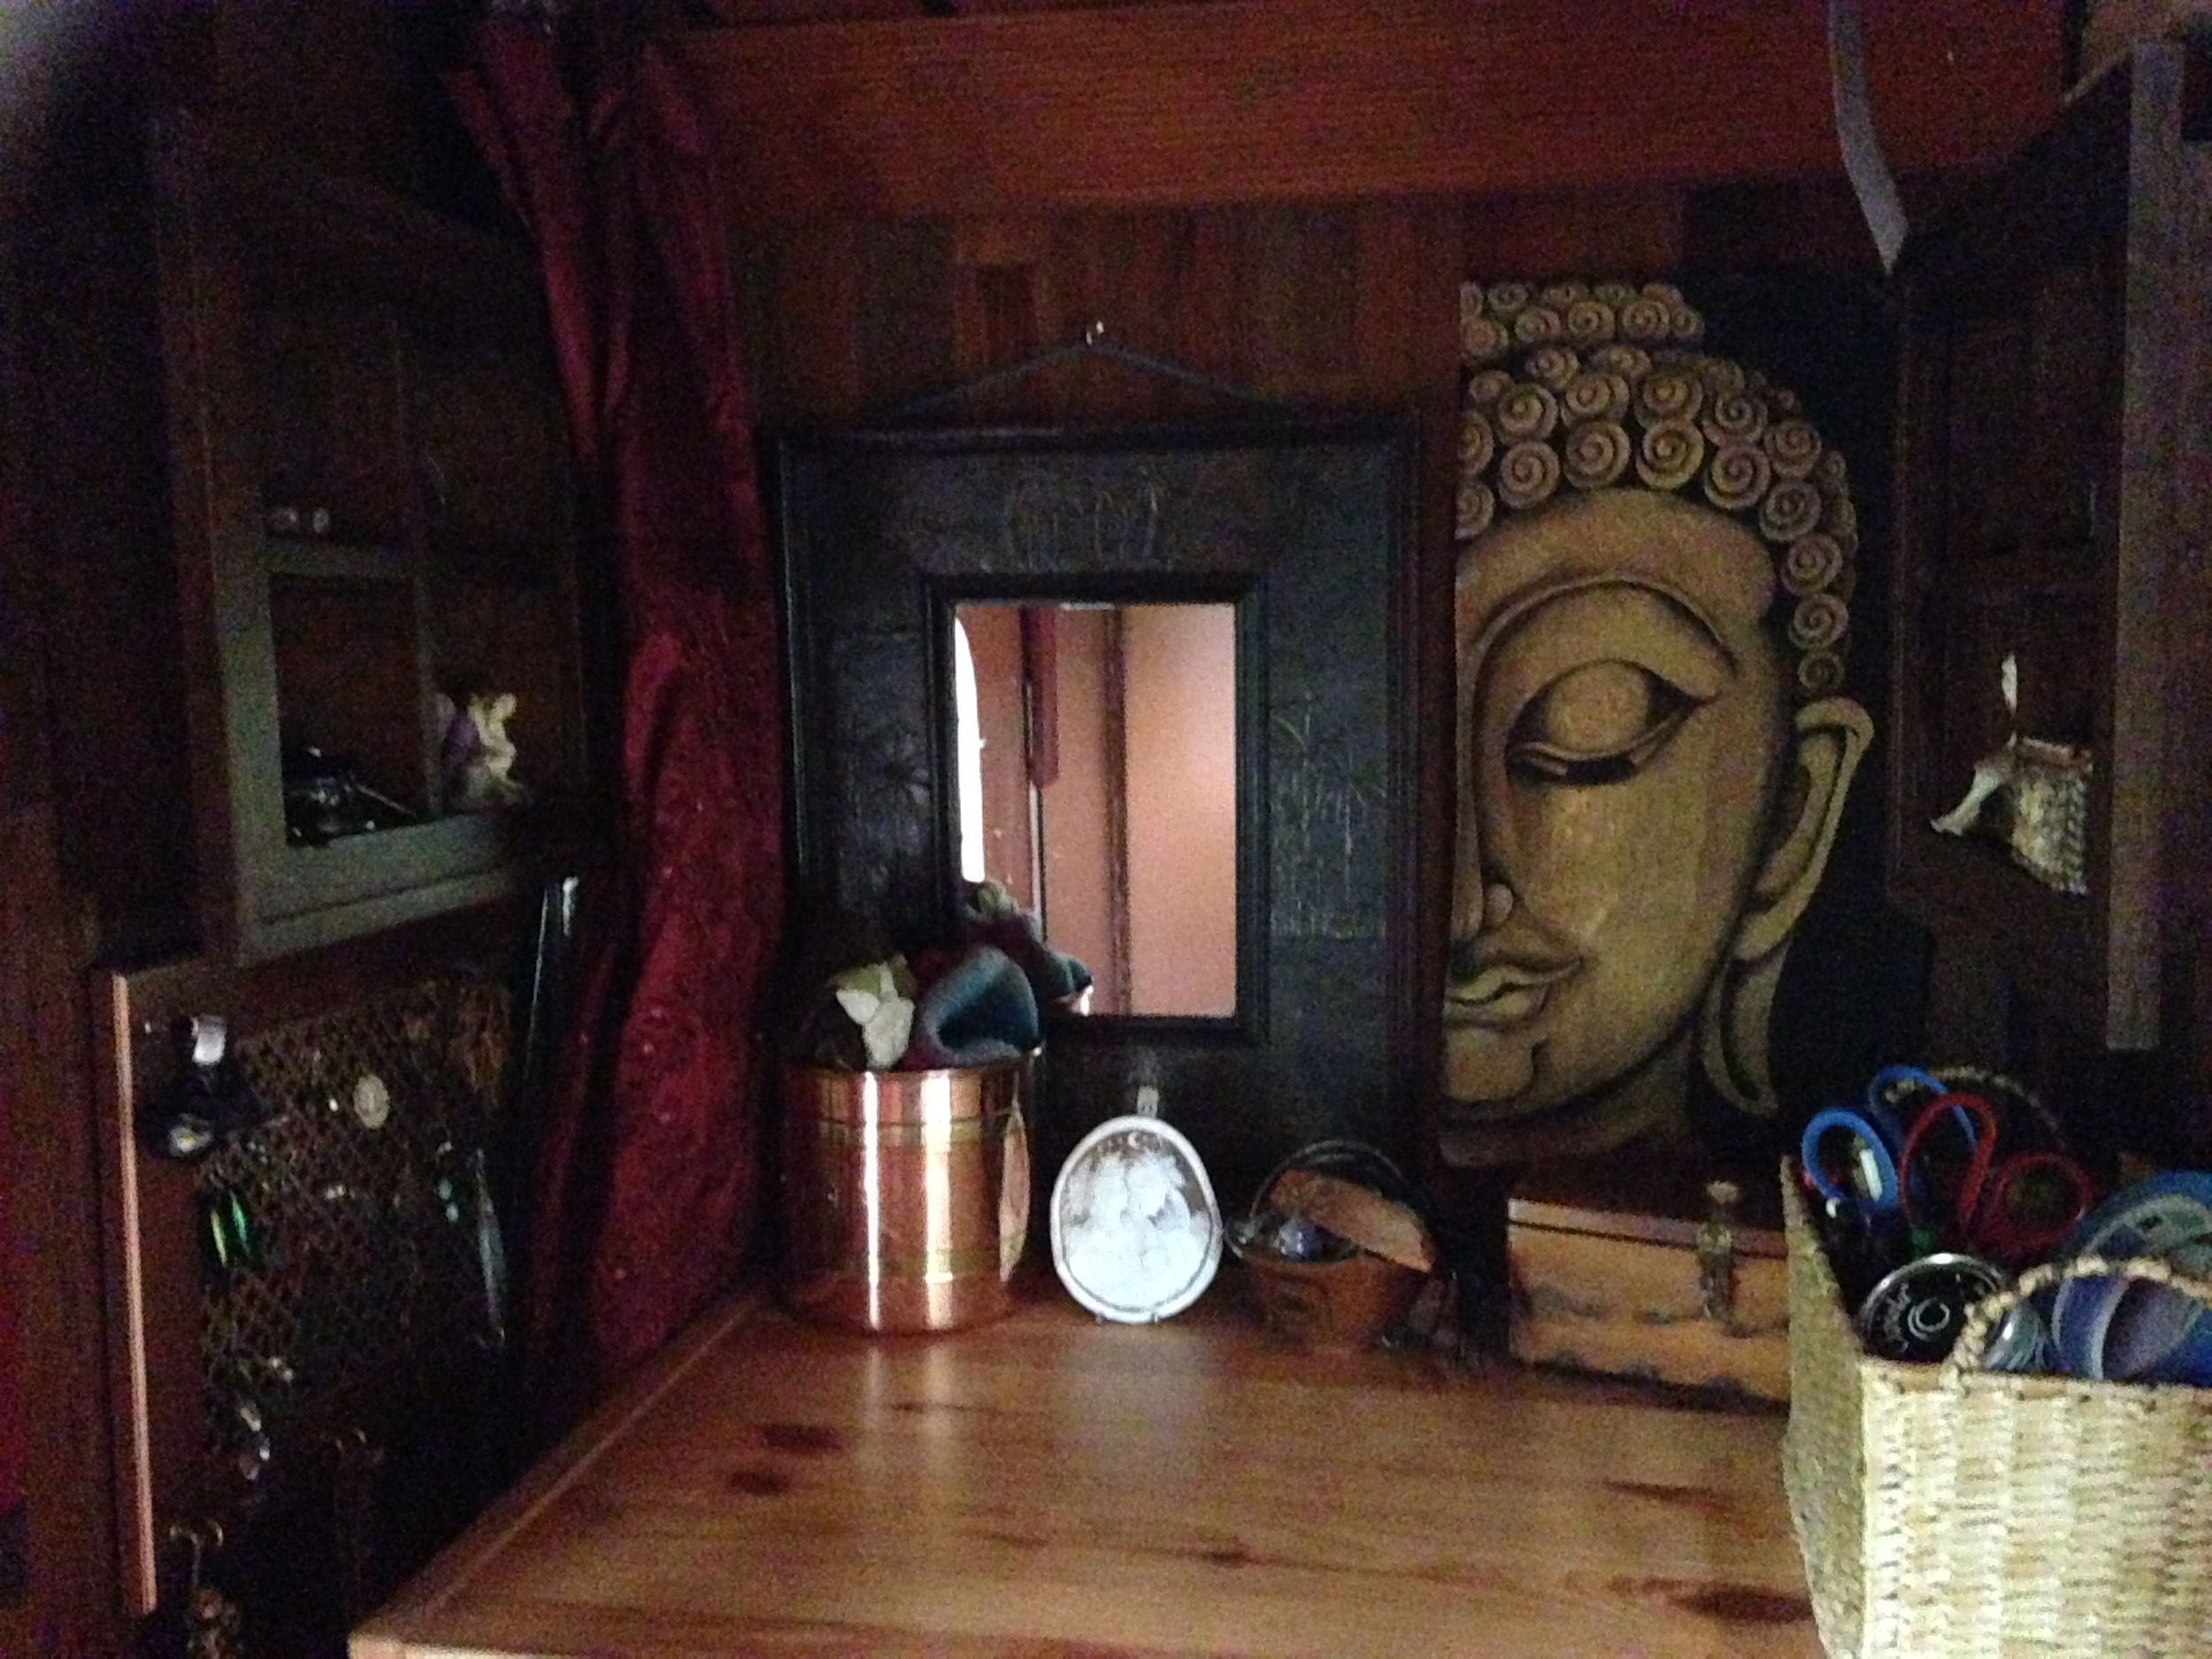
Next I installed my shower curtain rod, which is they type they use for hospital curtains. This particular one is pretty cool because you can bend it to the shape you need. I bent mine into an L-shape for my entryway and installed the shower curtain on it and a PVC-free liner on the shower side. Now the curtain can be used to cover the shower, the front door, the shower AND the front door, OR be tucked away behind the dressers, depending on whatever I'm doing in My Quintuple-Duty Mud Room! How's that for adding multi-functionality!?

The sunflowers are doing well and a couple days ago I scattered more flower seeds in the raised bed on the south side of The Lucky Penny. Here's to April showers bringing May flowers!


Installing My Woder Filter

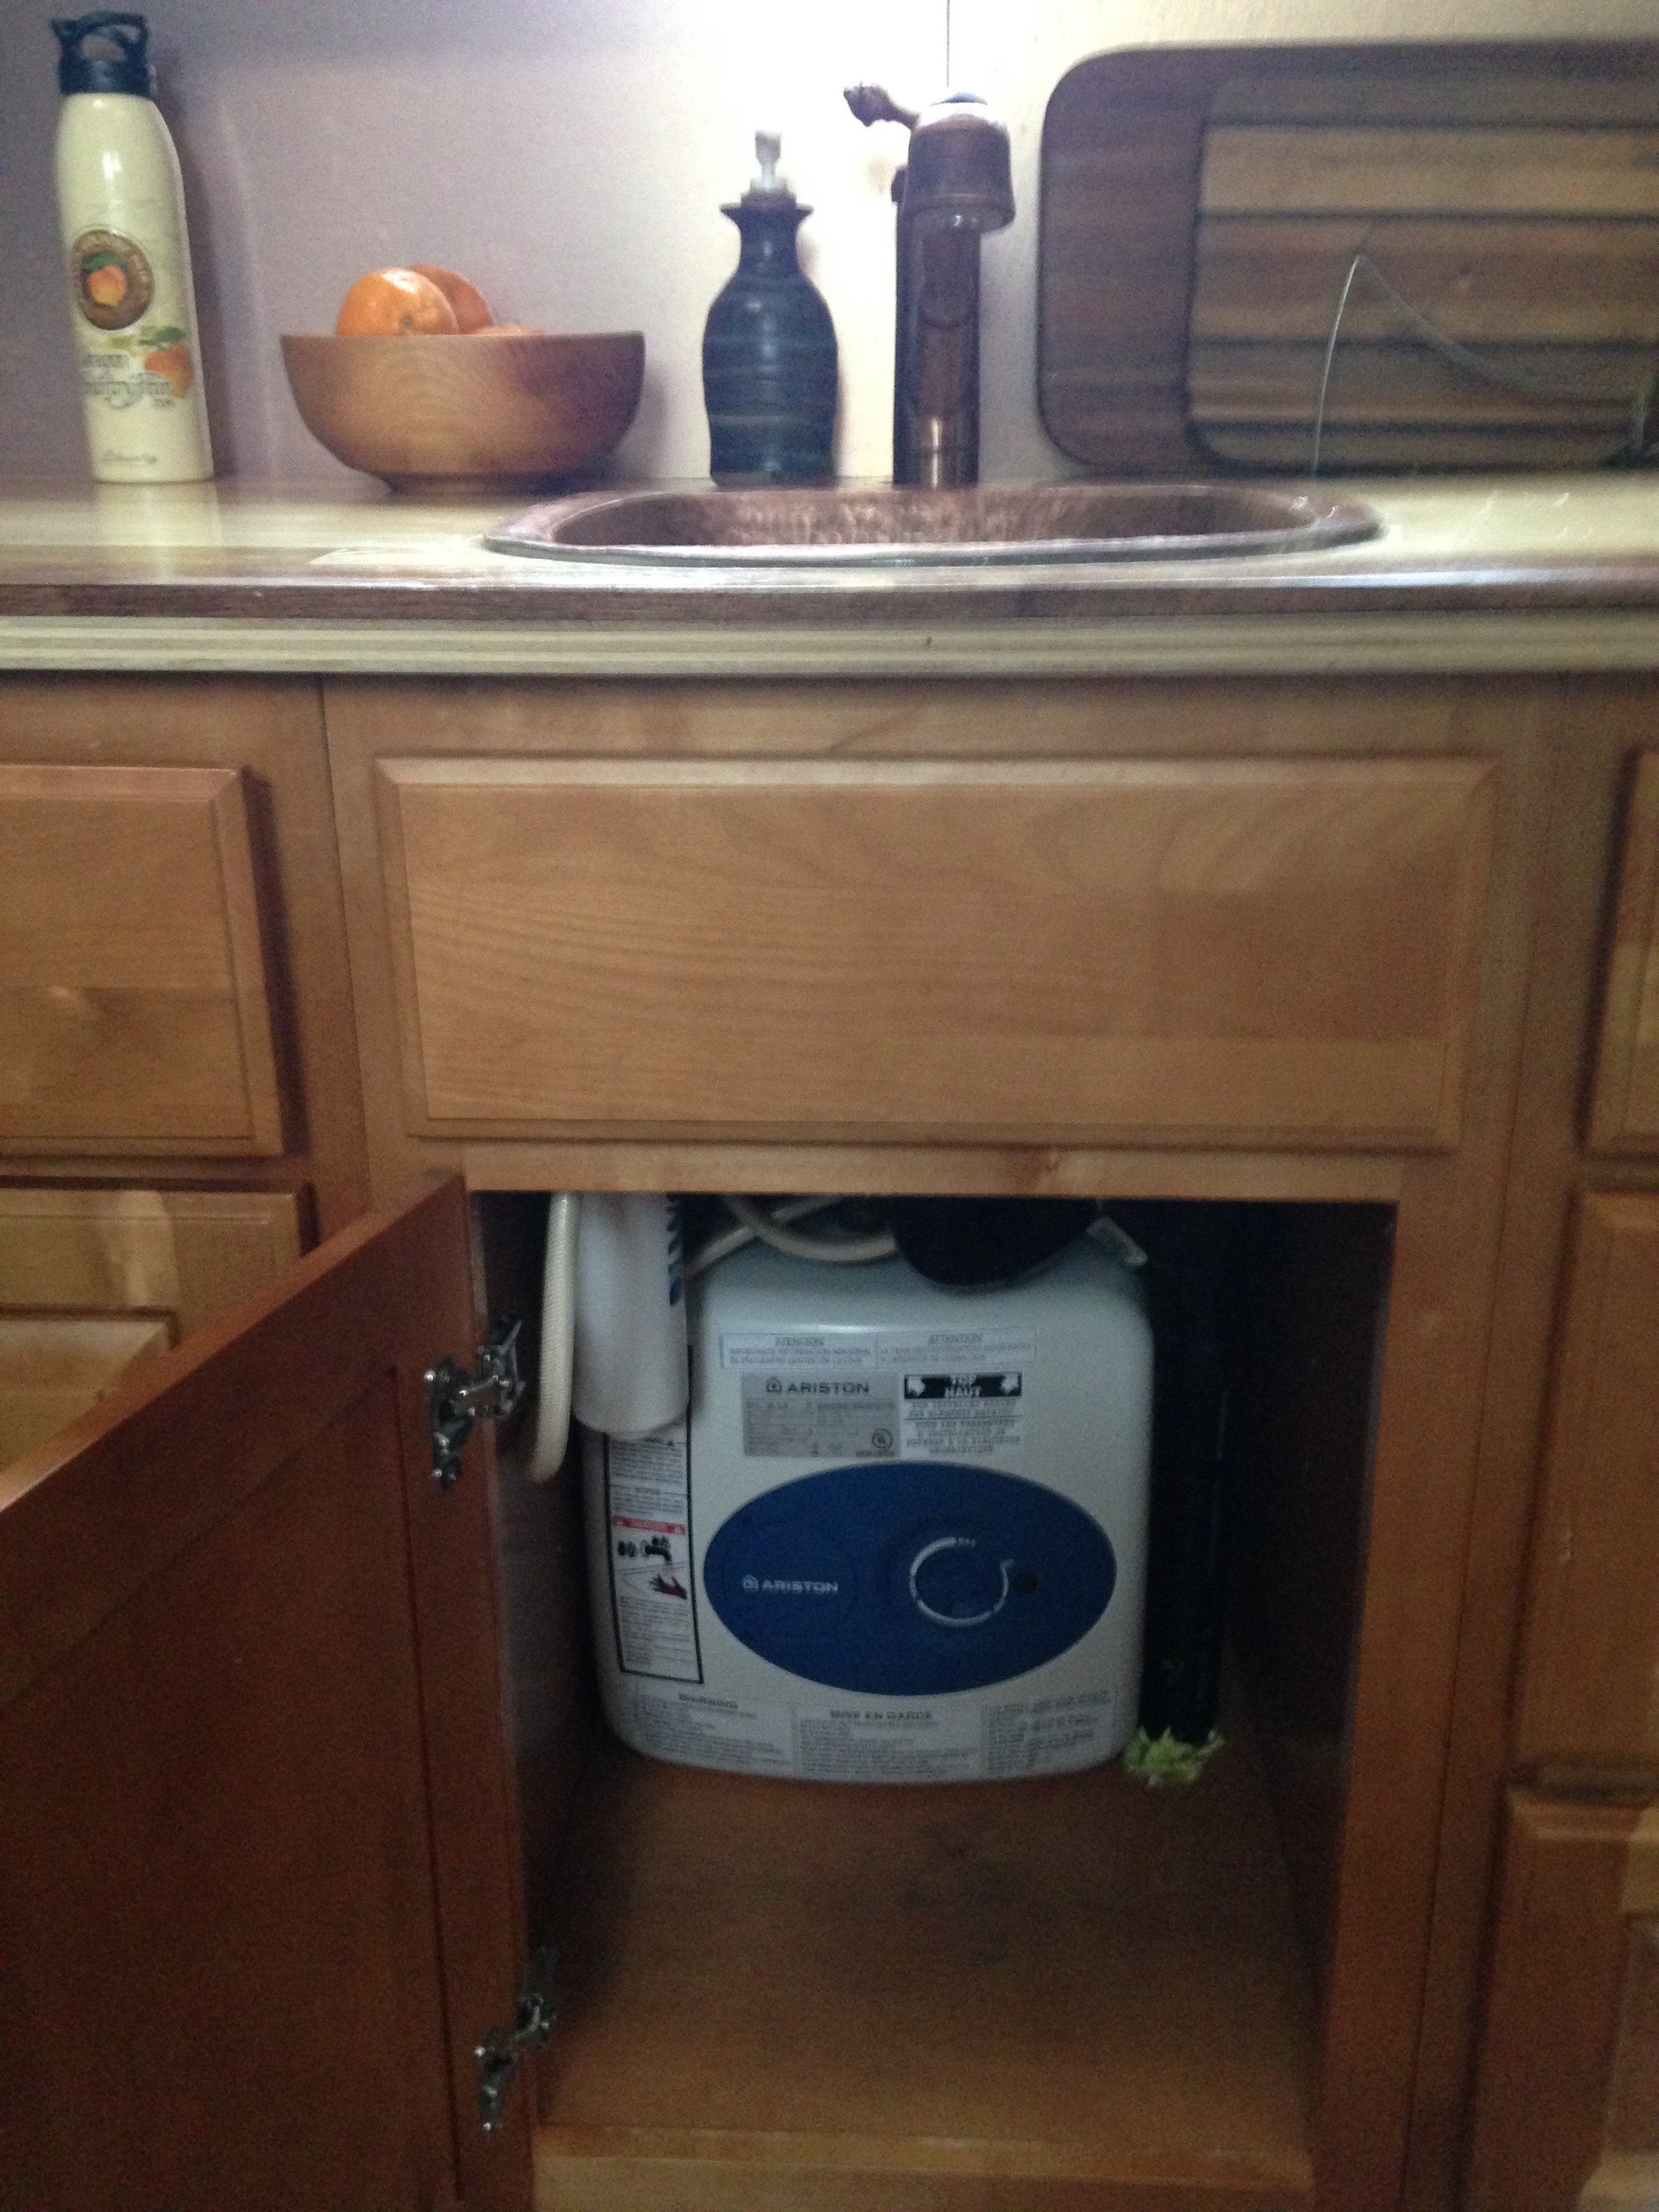
The water heater and Woder filter under my copper sink and faucet The past couple weeks, as I've been getting ready for the T42 Build Blitz Kick Off, I've also been working on Lucky Penny Finishes. Once I start the new house my energy will be devoted to it, so I'm using the start date of T42 as a goal to complete as many of these niggly lingering tasks from The Lucky Penny Punch List as I can!

Having my water turned off for my shower project (see April Showers Bring May Flowers for more on that!) made it very easy to install my new water filter when it arrived in the mail. We've had some trouble with rust and we're still troubleshooting it, but meanwhile, Isha researched a bunch of different filter options and we landed on the Woder 10 K Gen II filter.

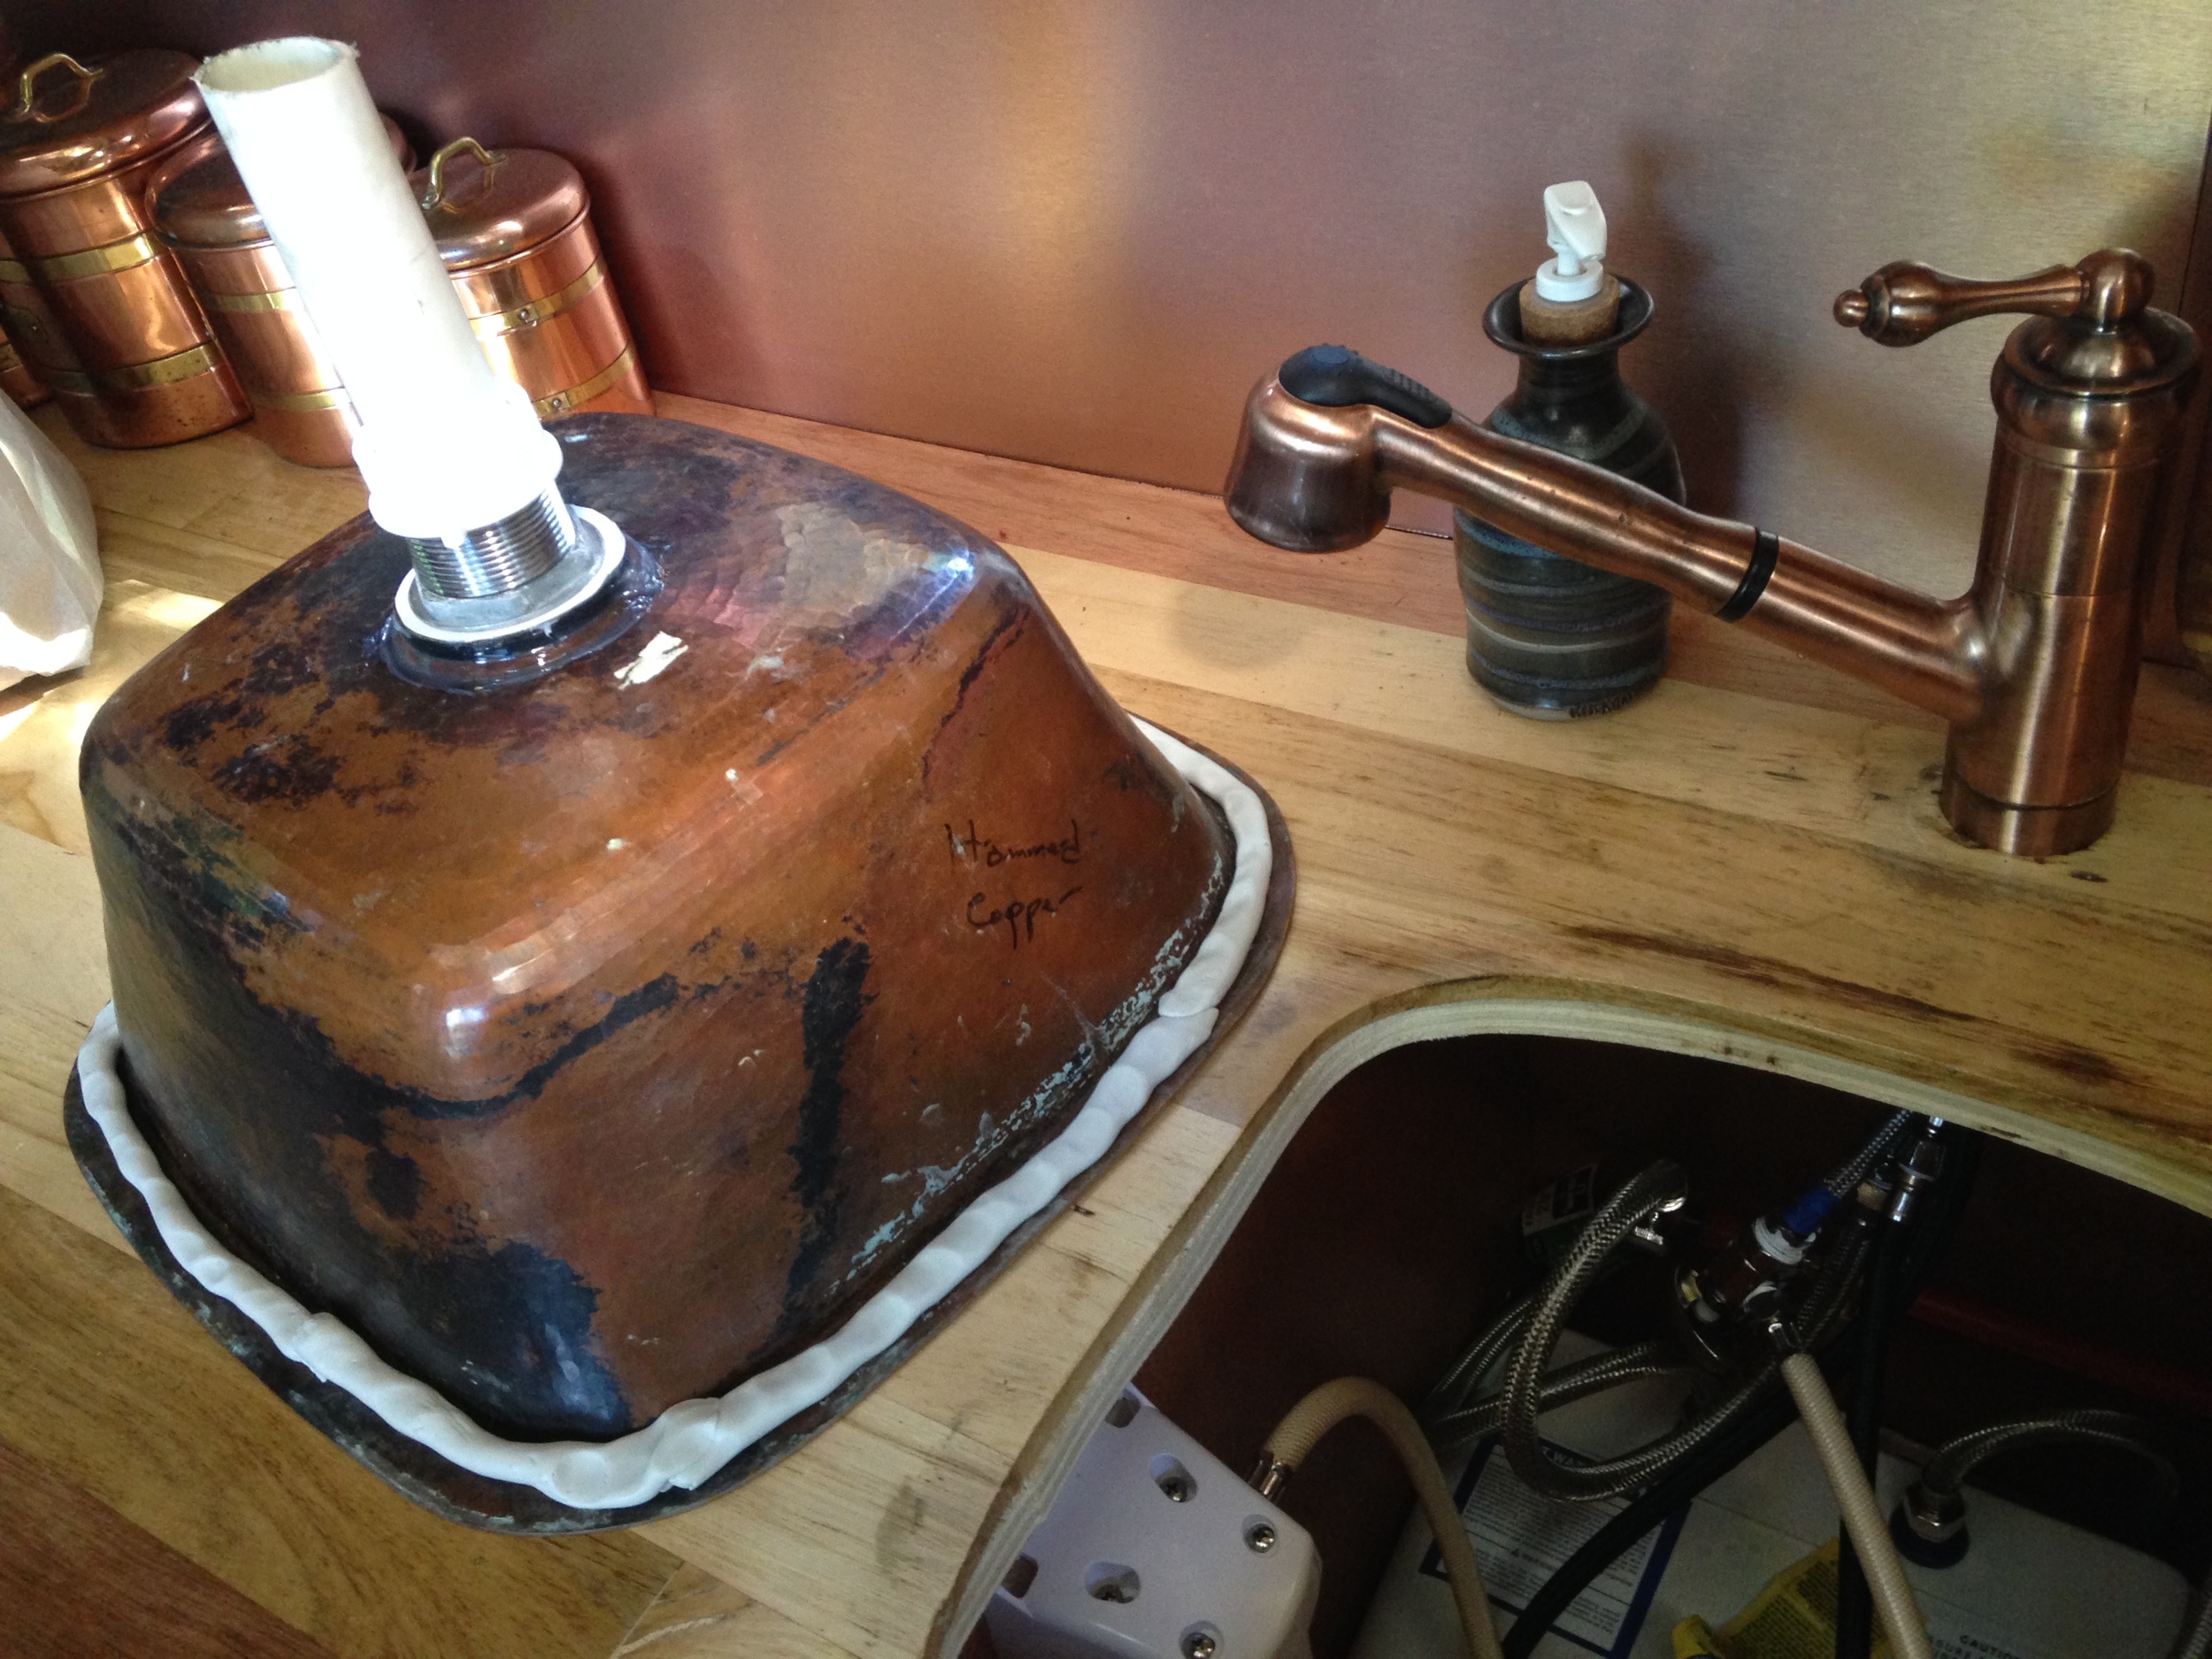
I decided that, while I was at it, I might as well refinish my countertop with a few new coats of the water-based topcoat. So I disconnected all the plumbing under my sink and pulled out the faucet and sink and added three layers of topcoat, sanding between each layer.

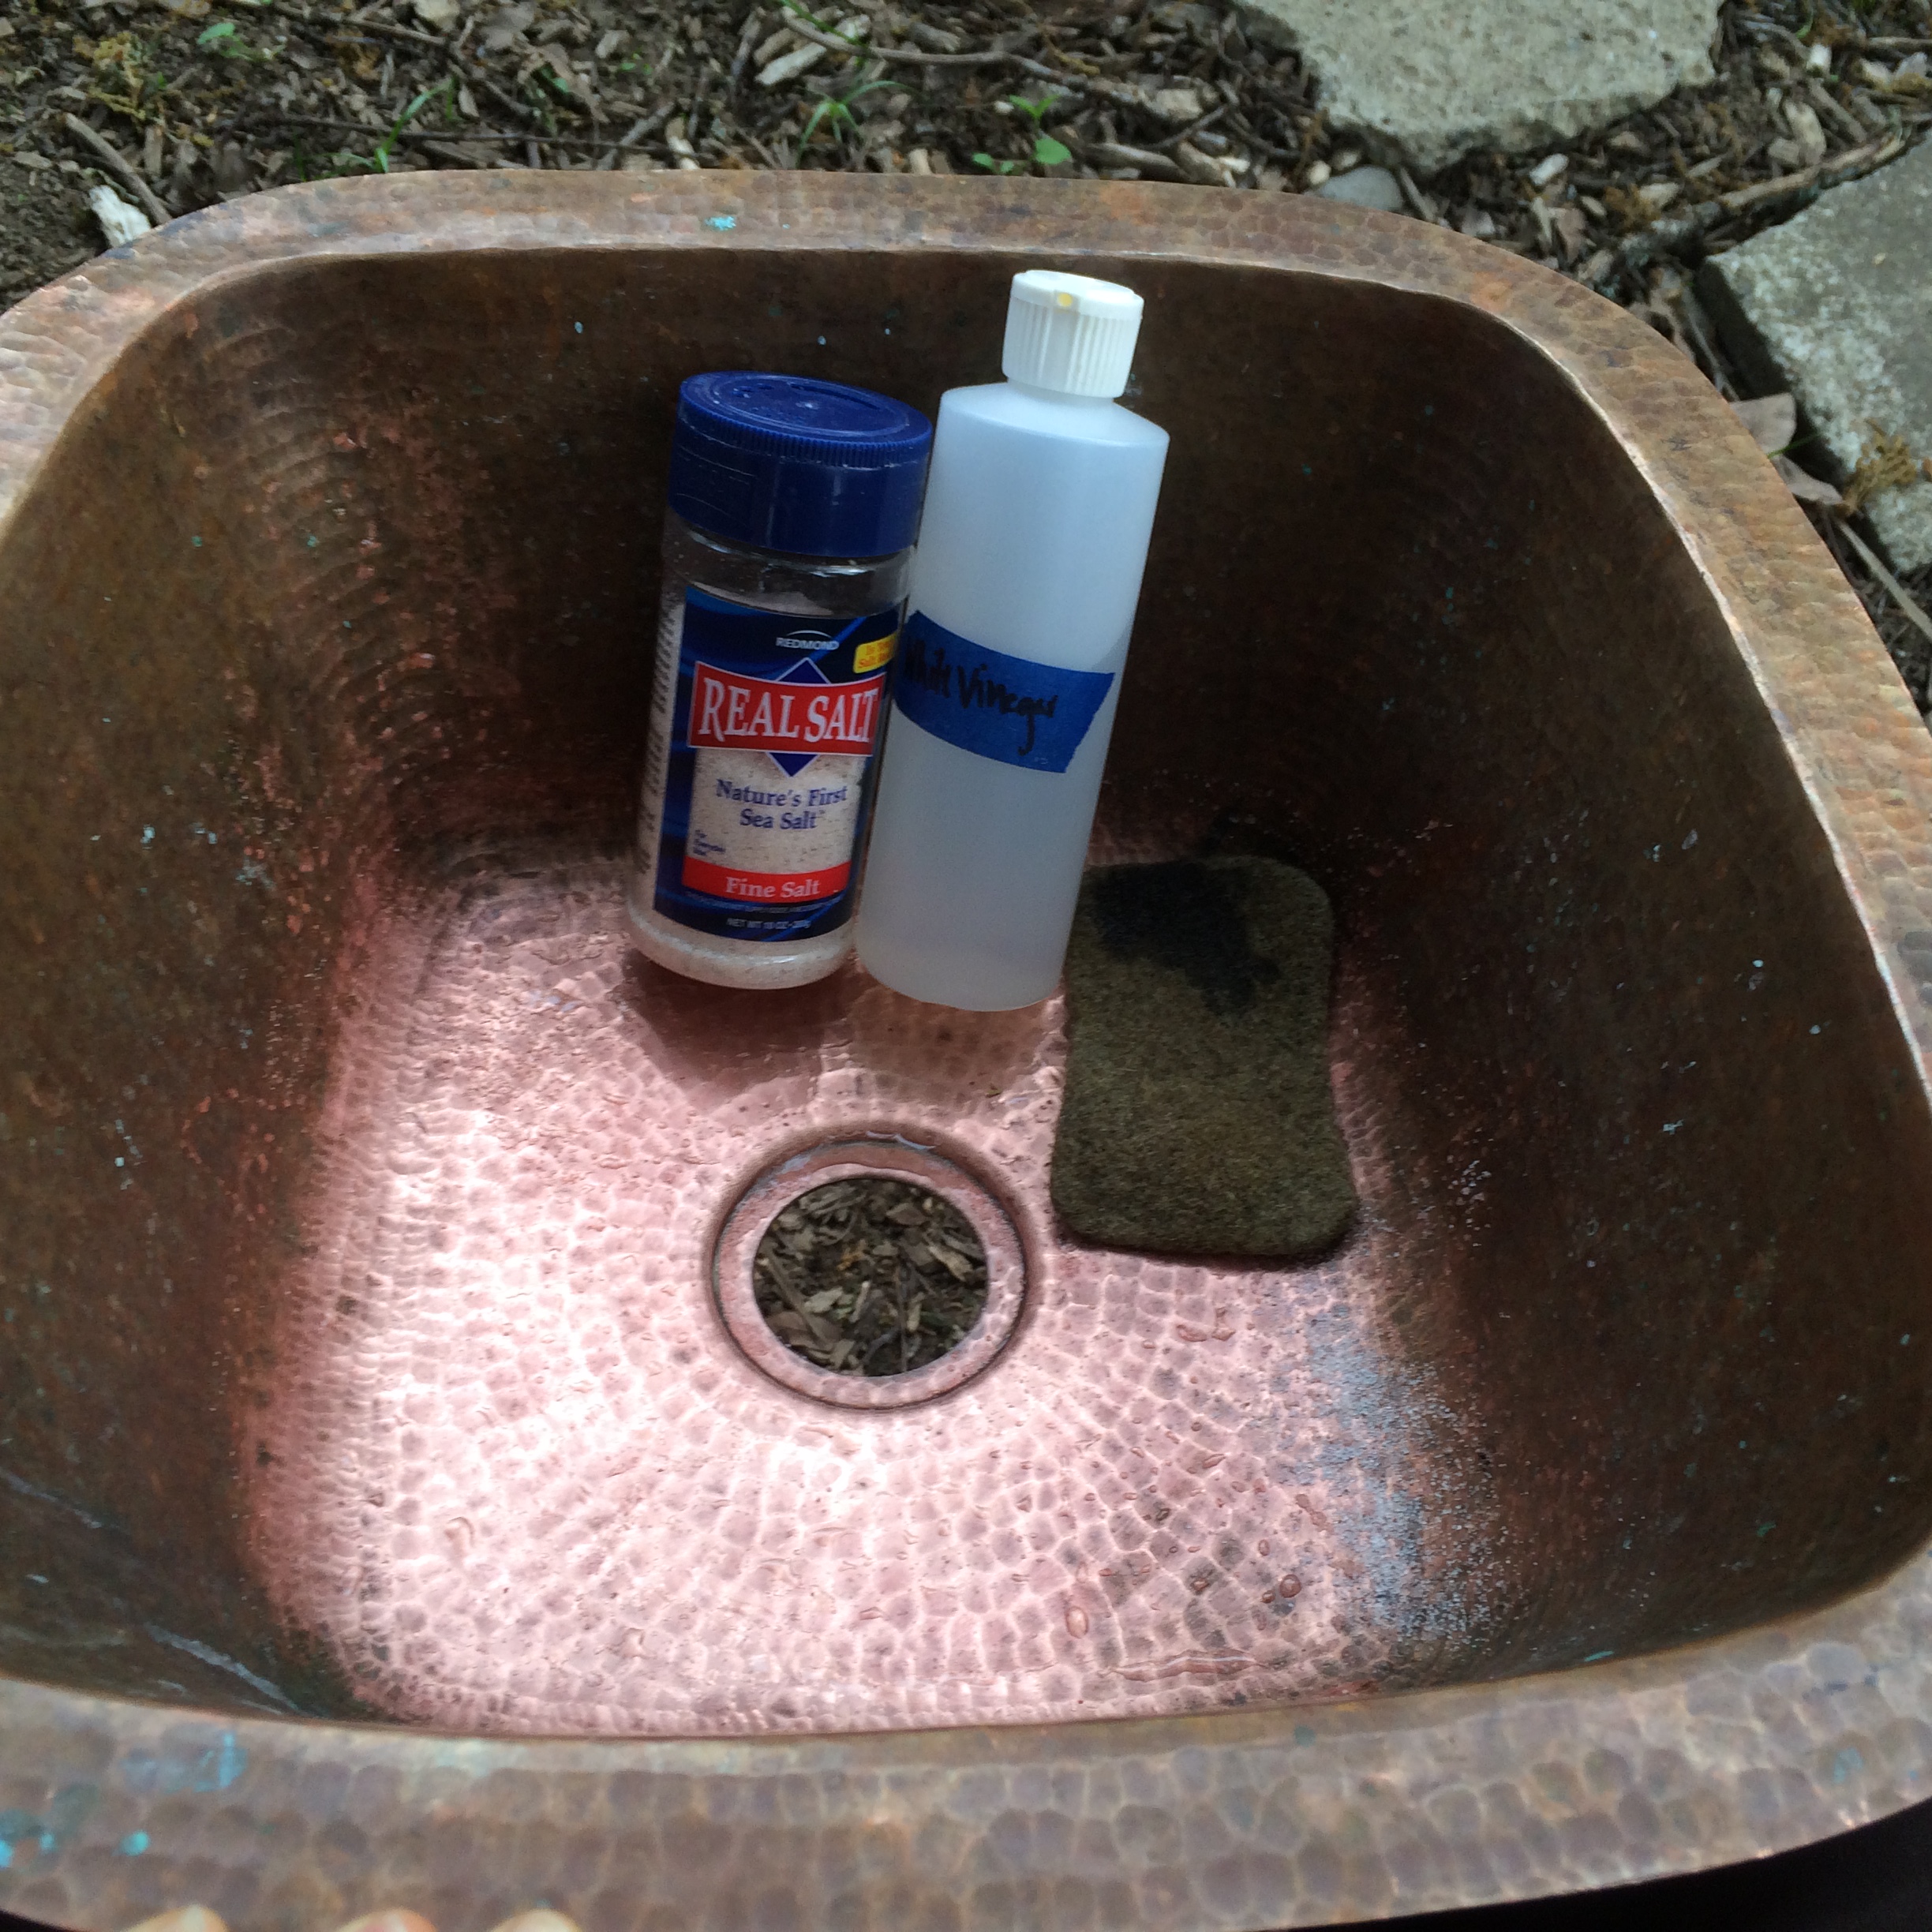
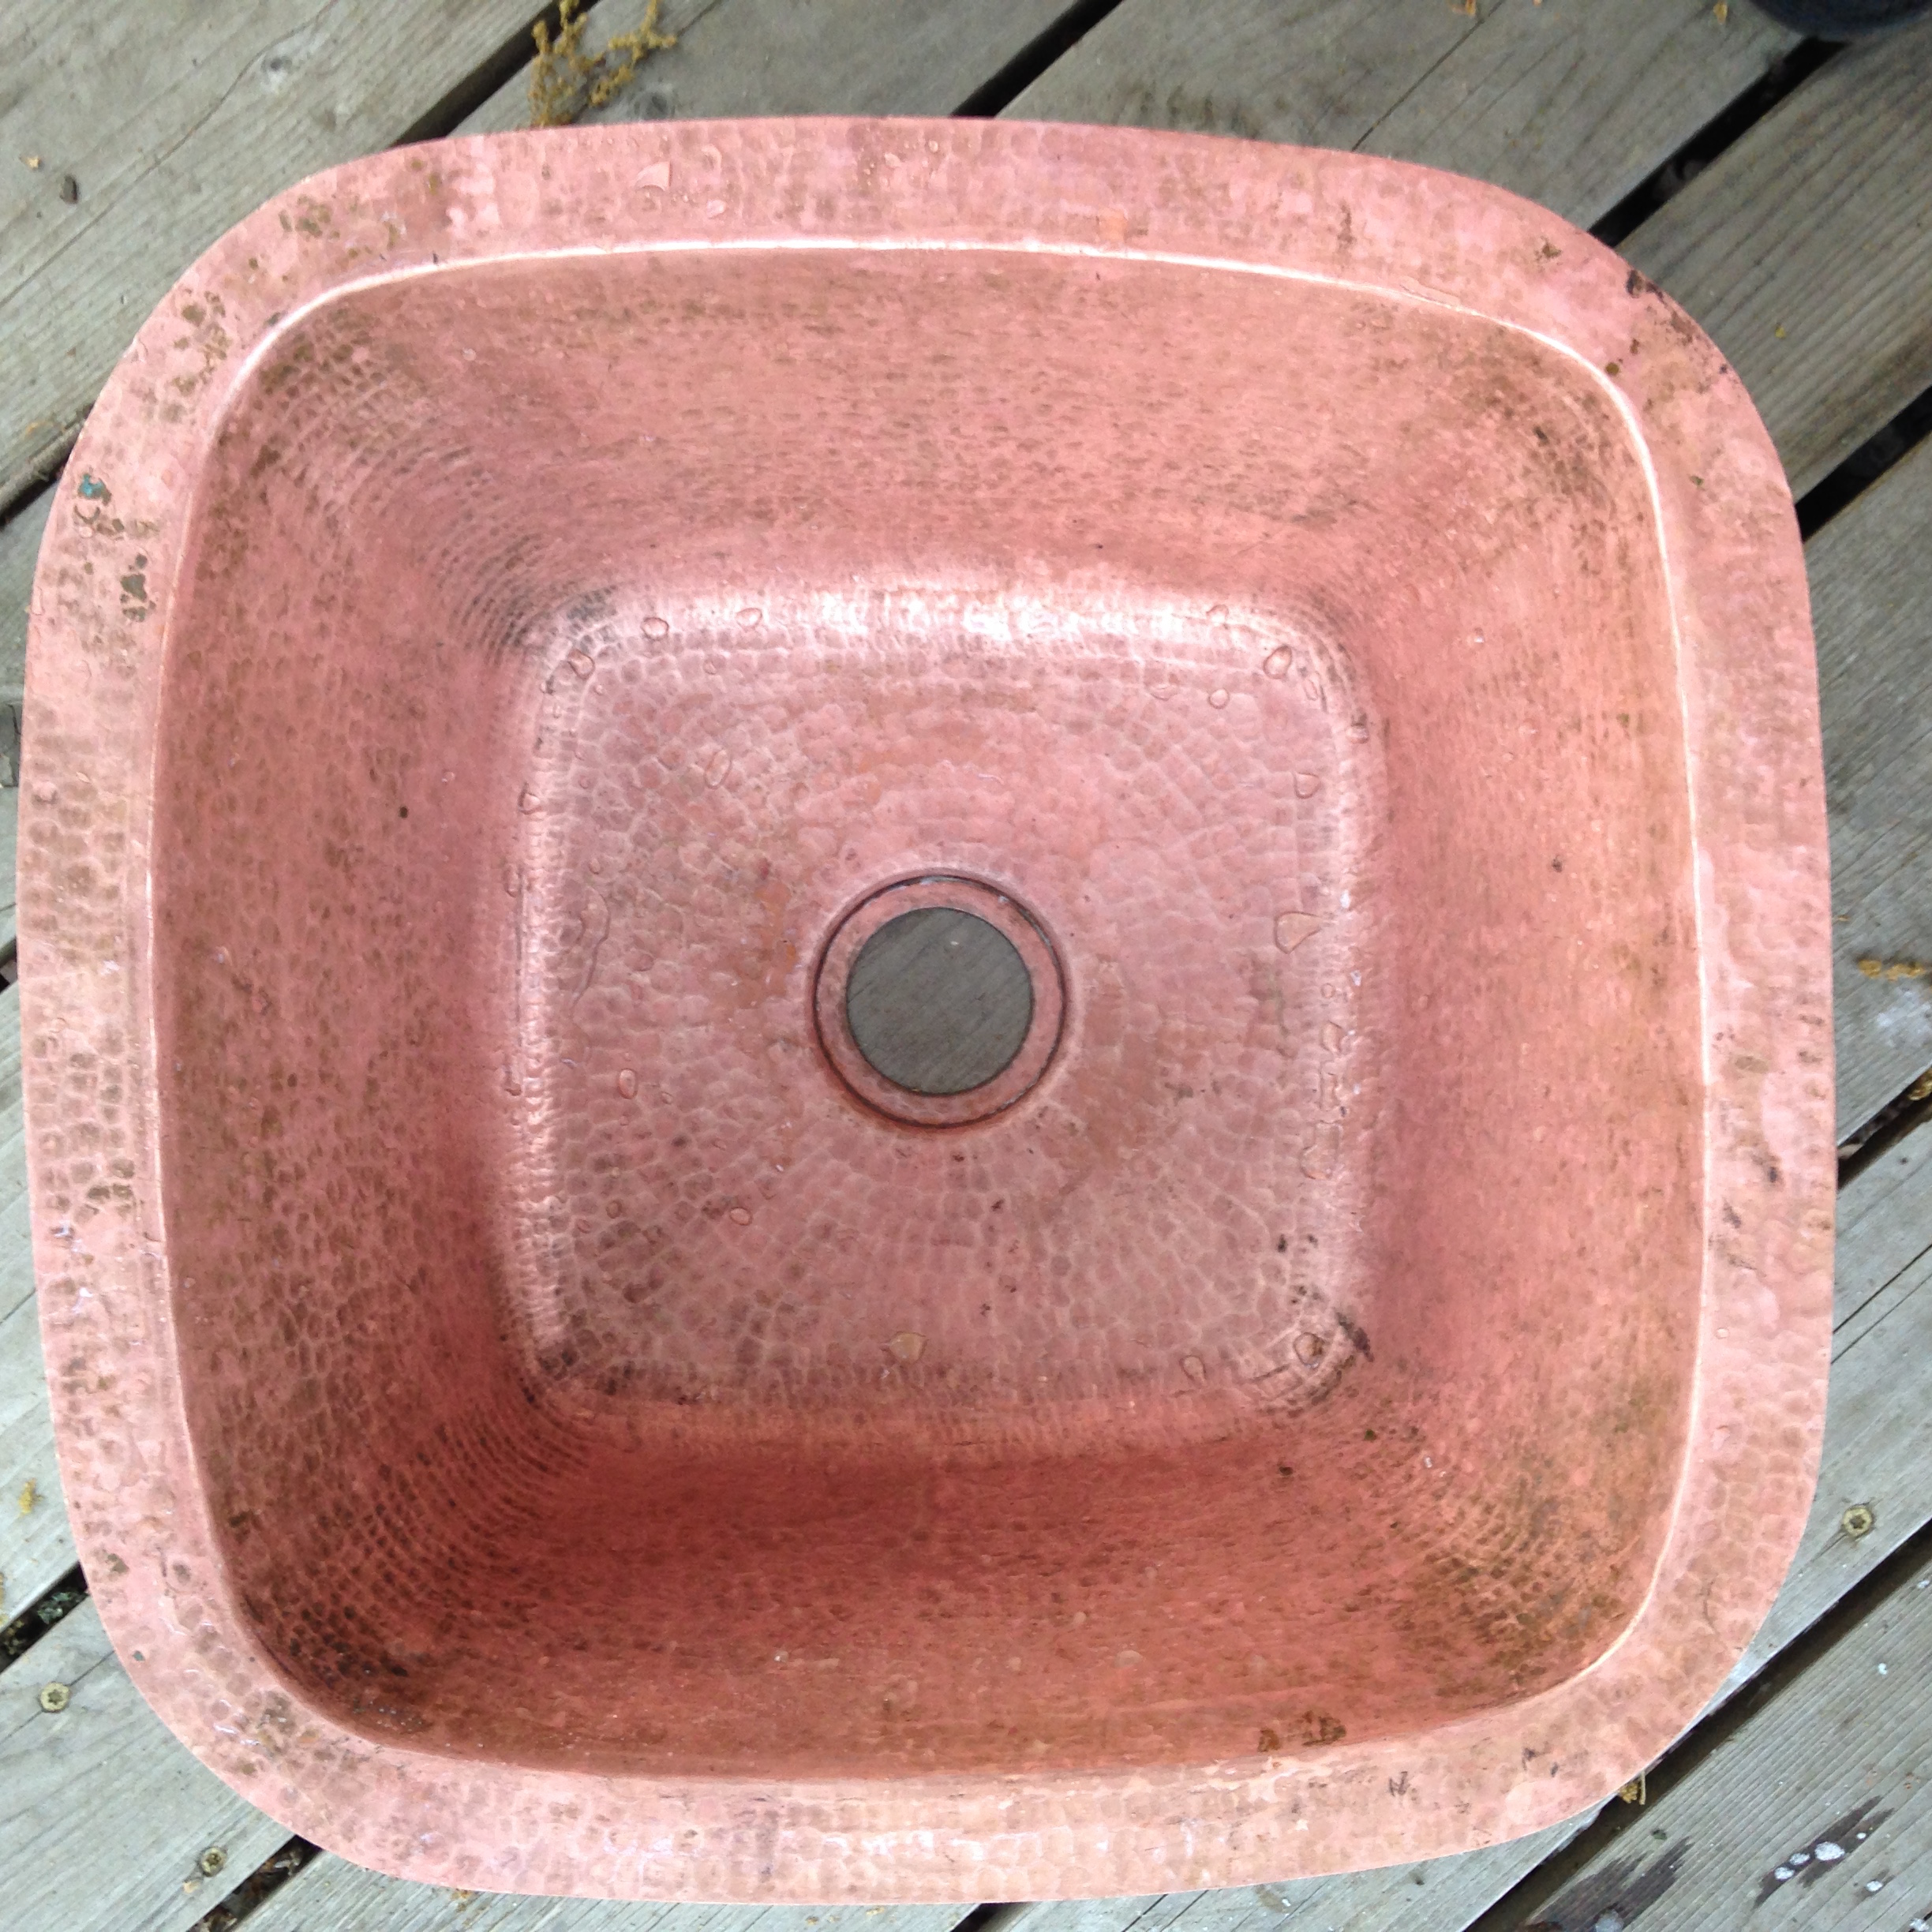
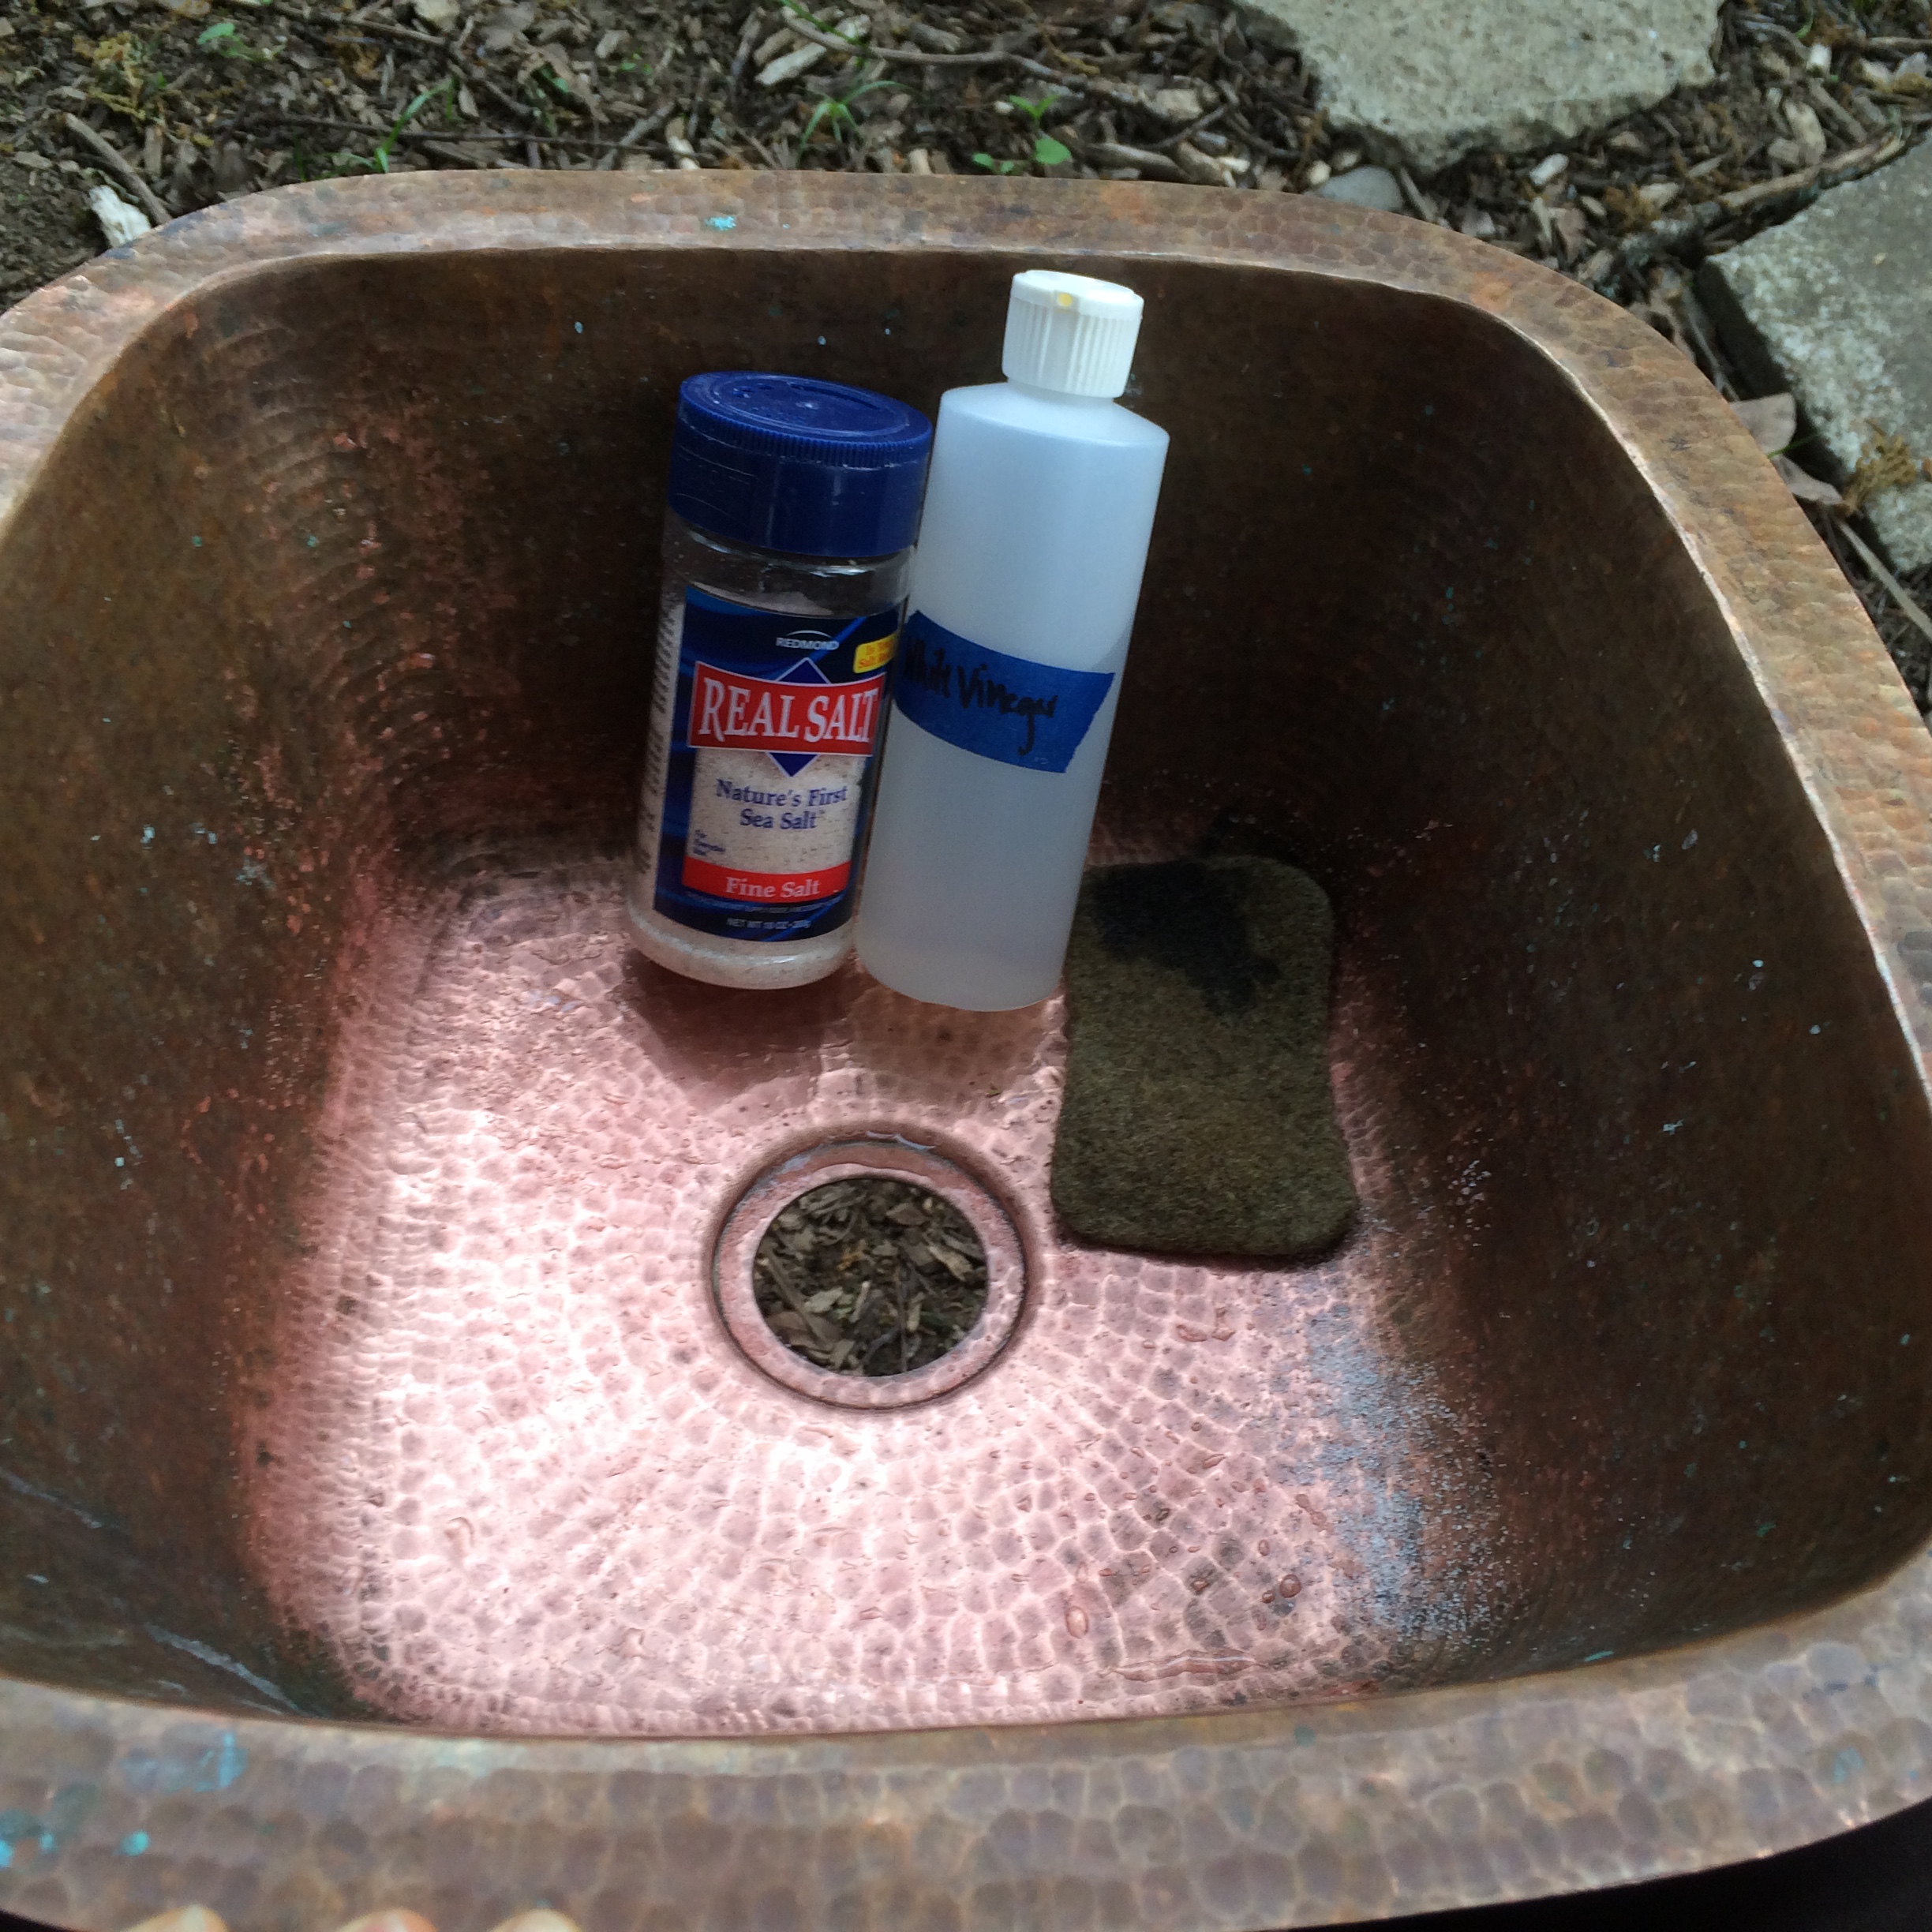
Polishing my copper sink

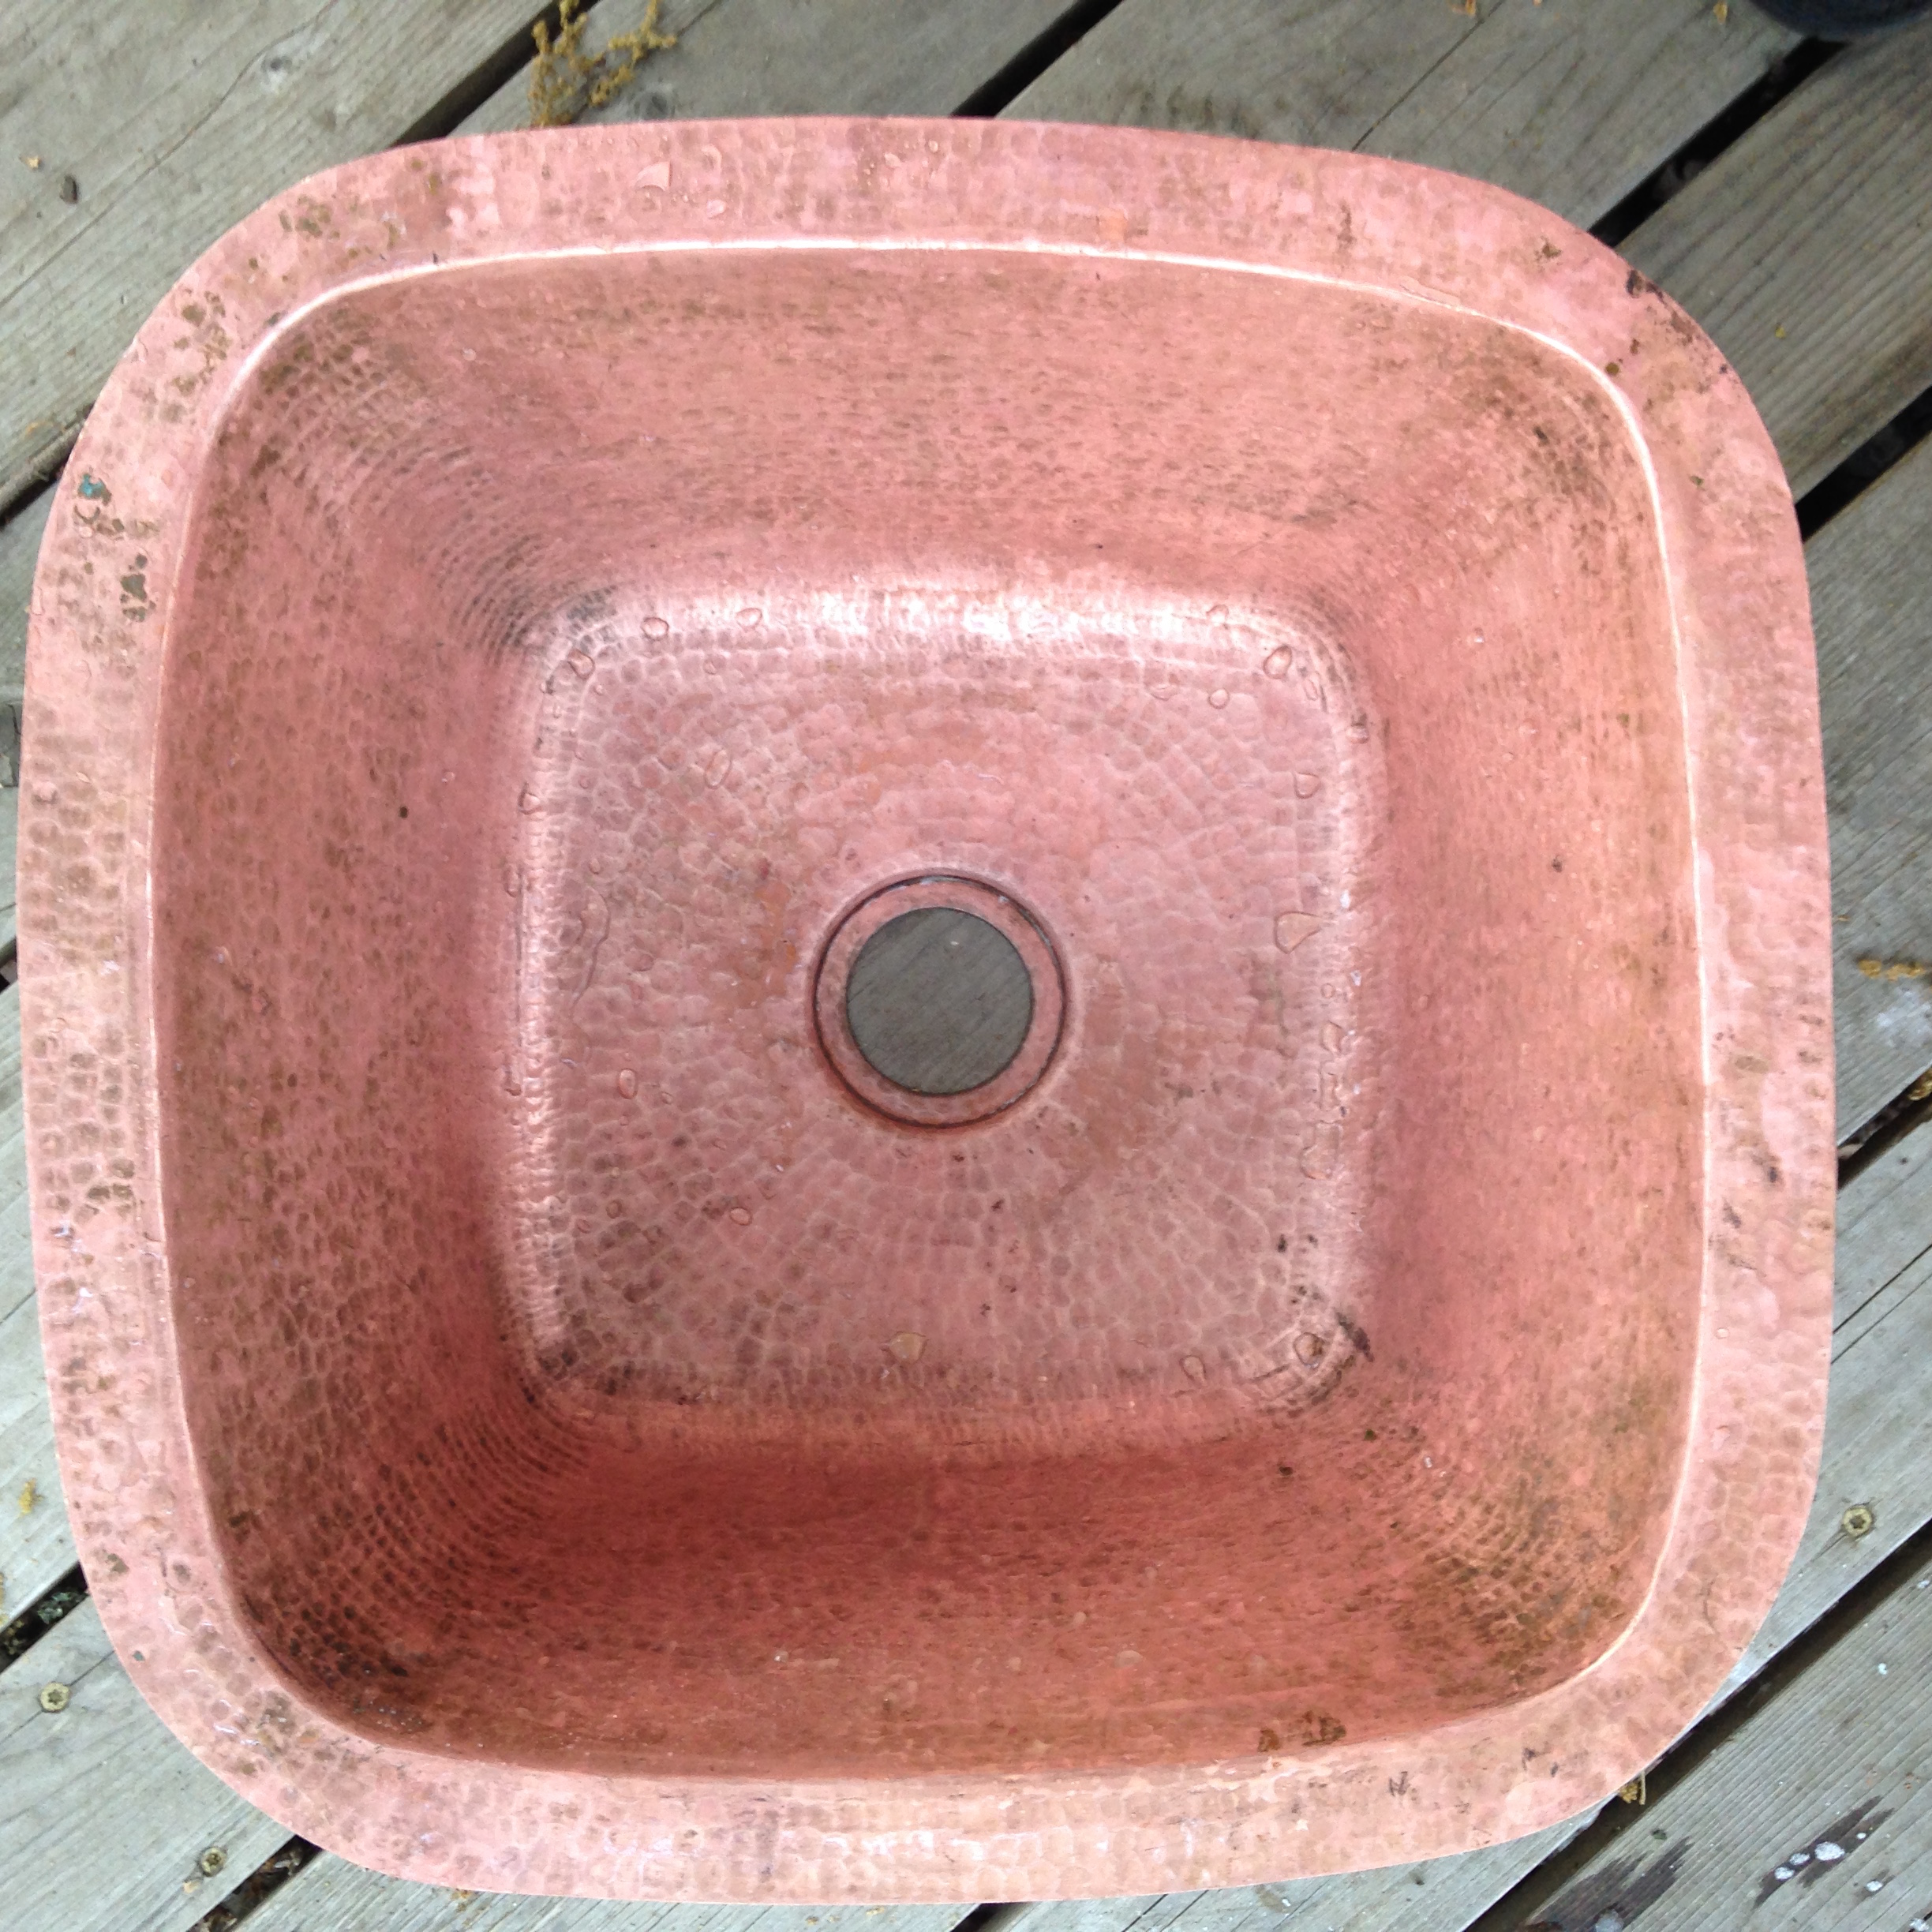
Then I polished my copper sink with salt and vinegar. After trying several different copper cleaners, a guest on one of our Tiny House Community Tours suggested this old-fashioned method. I've found it to be by far the best one! Then I reconnected the sink's strainer and added a bead of silicone caulk around the ring both top and bottom.

Once I was ready to put everything back together again, I reinstalled my copper faucet (I'd taken it out to try out a couple escutcheon options, but none of them worked, so I guess I won't have one after all!) I installed the Woder filter on the side wall of my base cabinet and then connected all of my supply lines. Cold water comes in from under the house and goes either to my water heater or to the Woder filter and then to the sink. Water from the water heater goes either to my sink or to my shower.

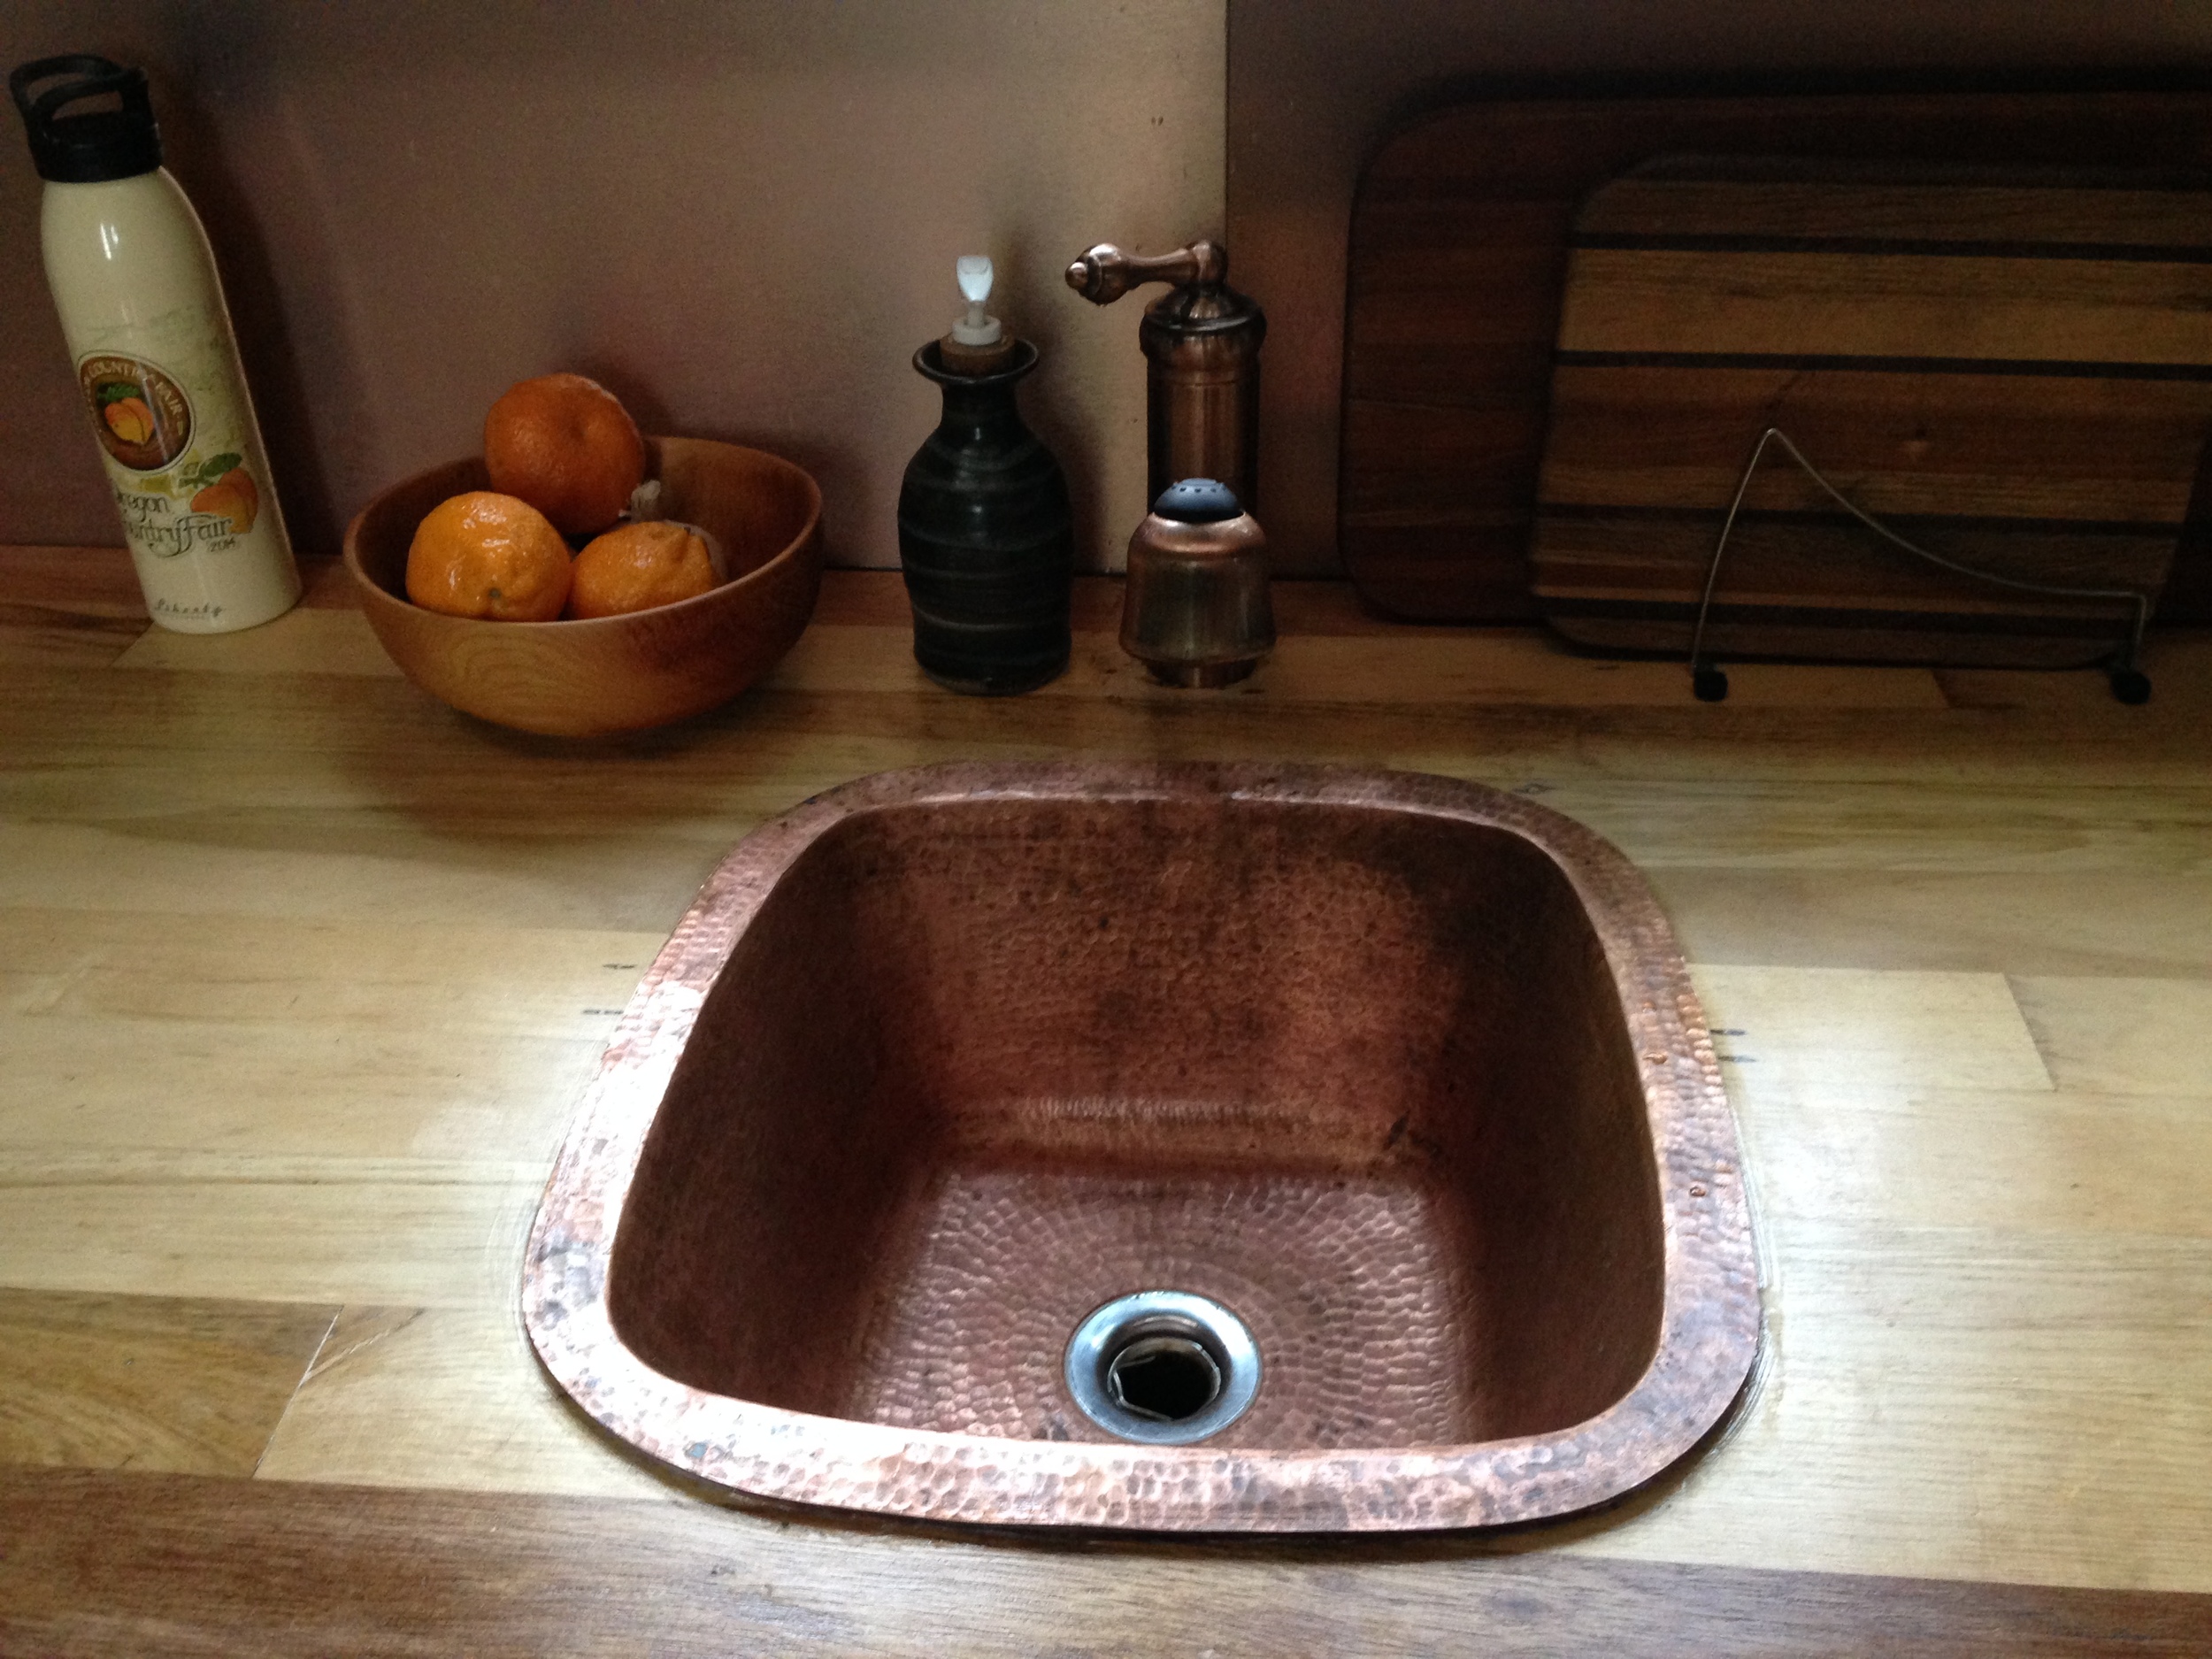
My copper sink all polished up!

I'd removed the aerator for the sink so I could flush the system and apparently that piece is critical because when I first turned on the water again water came pouring out of the center of the faucet - from below! The internet told me I need to have the aerator in place when testing the water supply lines so I mopped up the water, put the aerator back in place, and connected everything again. Hooray! No leaks!
So I put some plumber's putty around the sink flange, popped the sink back into its hole, did a little happy dance on top of it to make sure it was well-seated, then scrapped away the excess putty, and caulked it into place. Finally, I reconnected the "waste" lines which redirect my water to my raised planter bed via my Garden Beds & Graywater strategy.

My counters are now nice and slick, my sink is shiny, and my drinking water is now filtered. But I've gotta say, the most wonderful part is that I am still extremely grateful every time I have have running water again! Now for a glass of cold water! Cheers!