Tiny House

Moving into an ADU

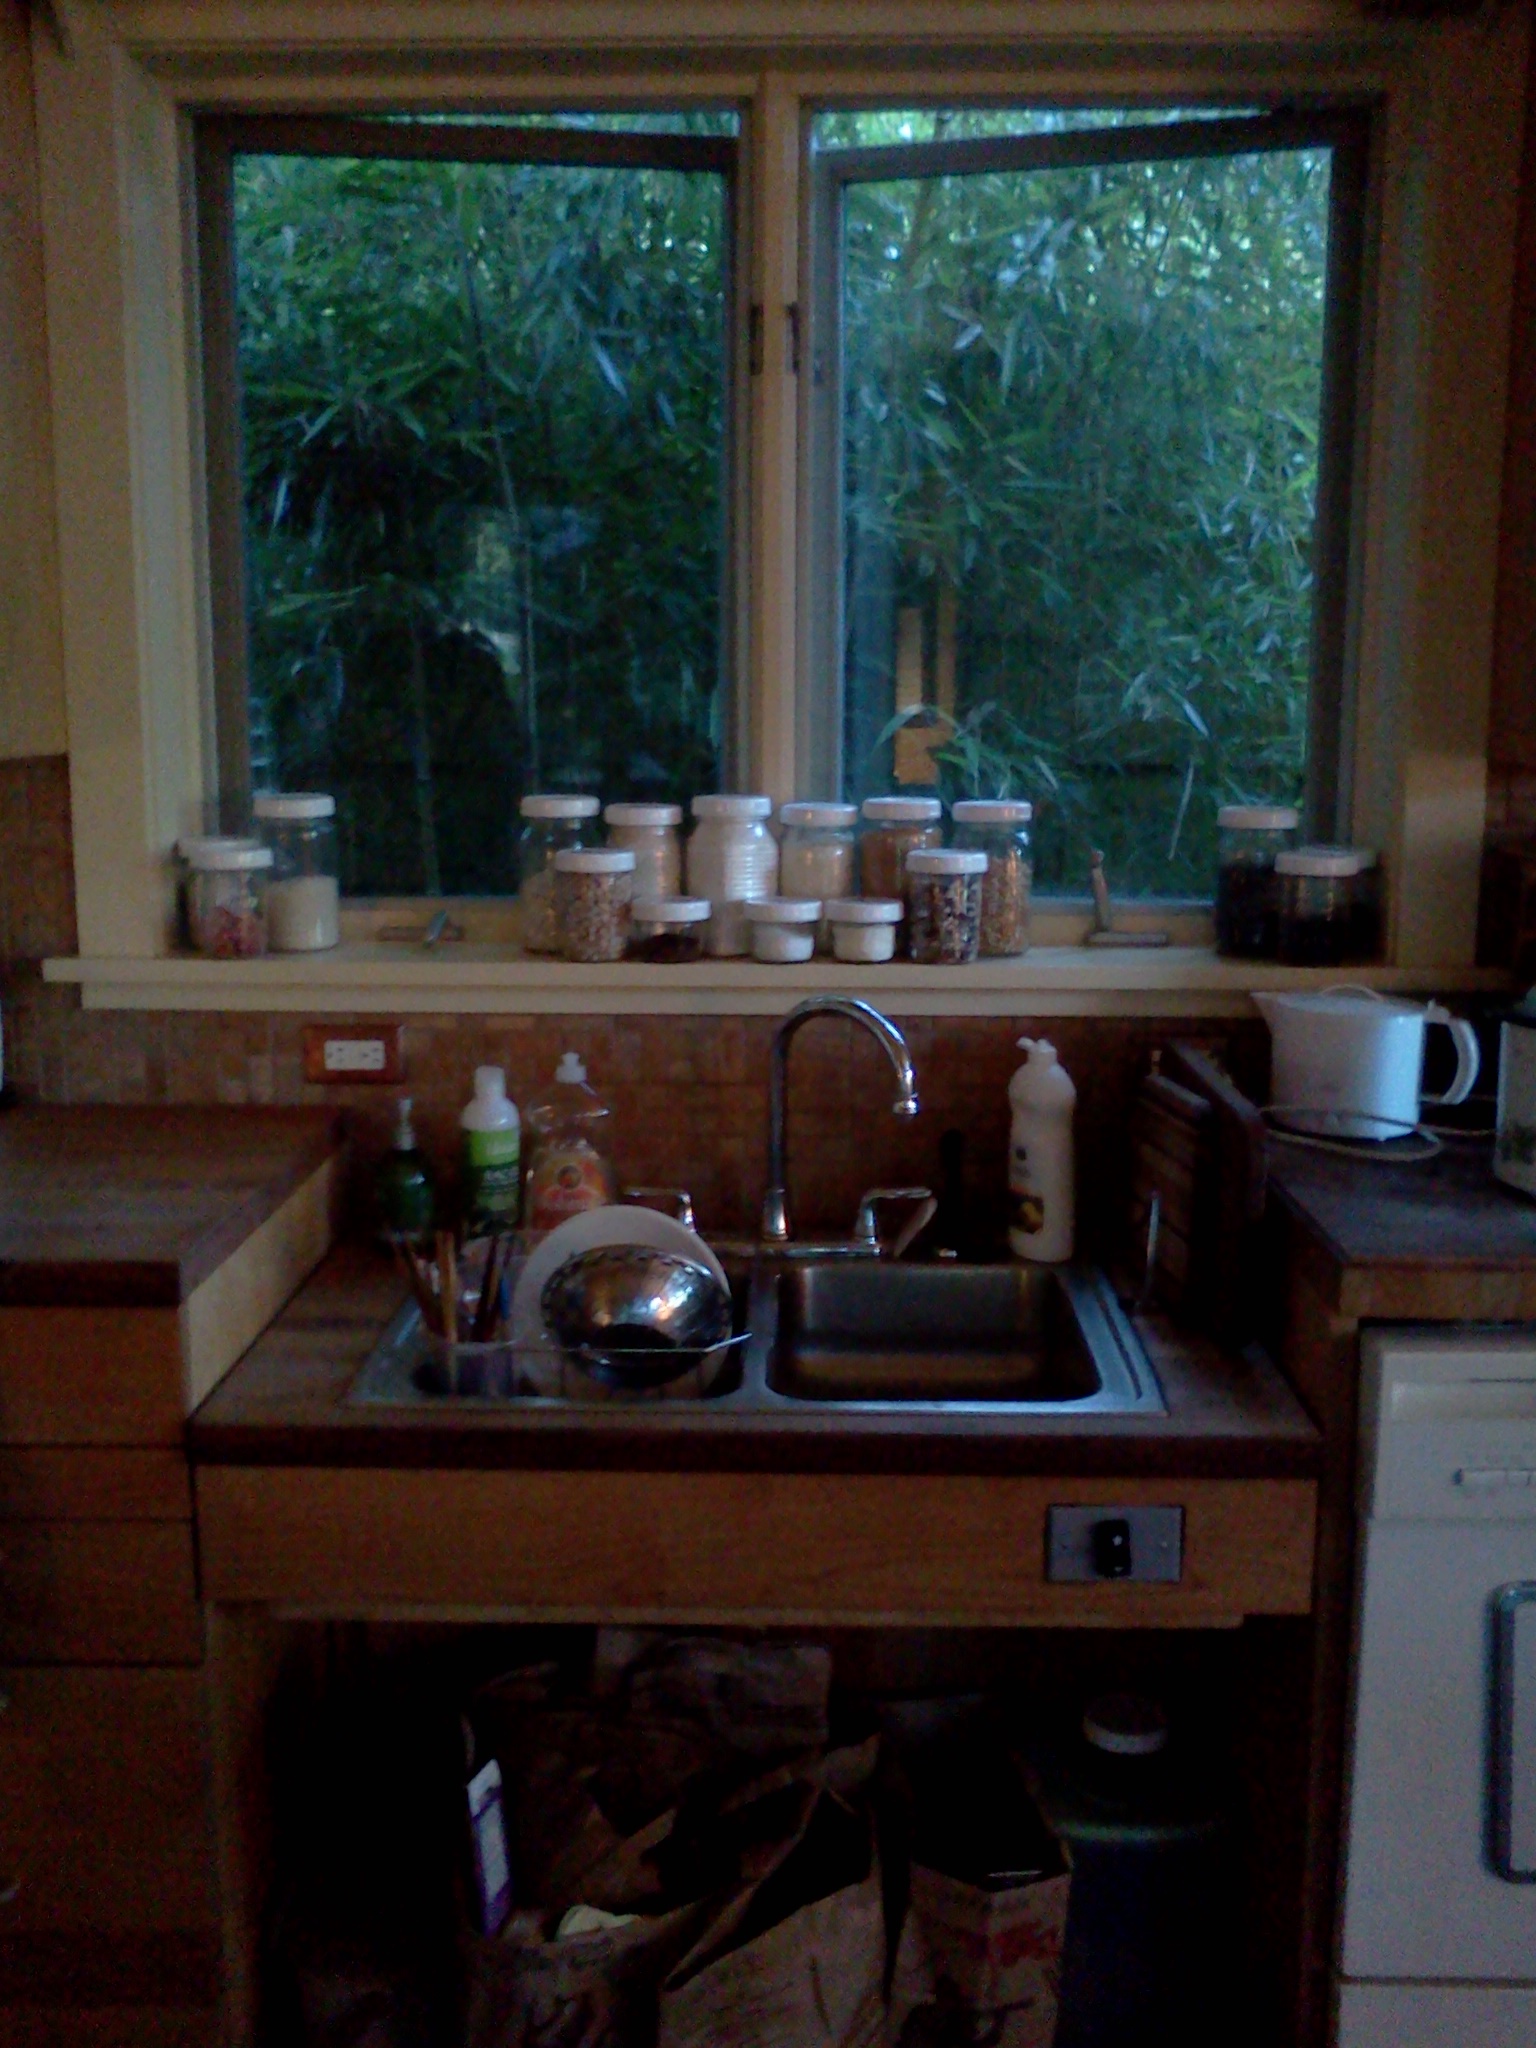
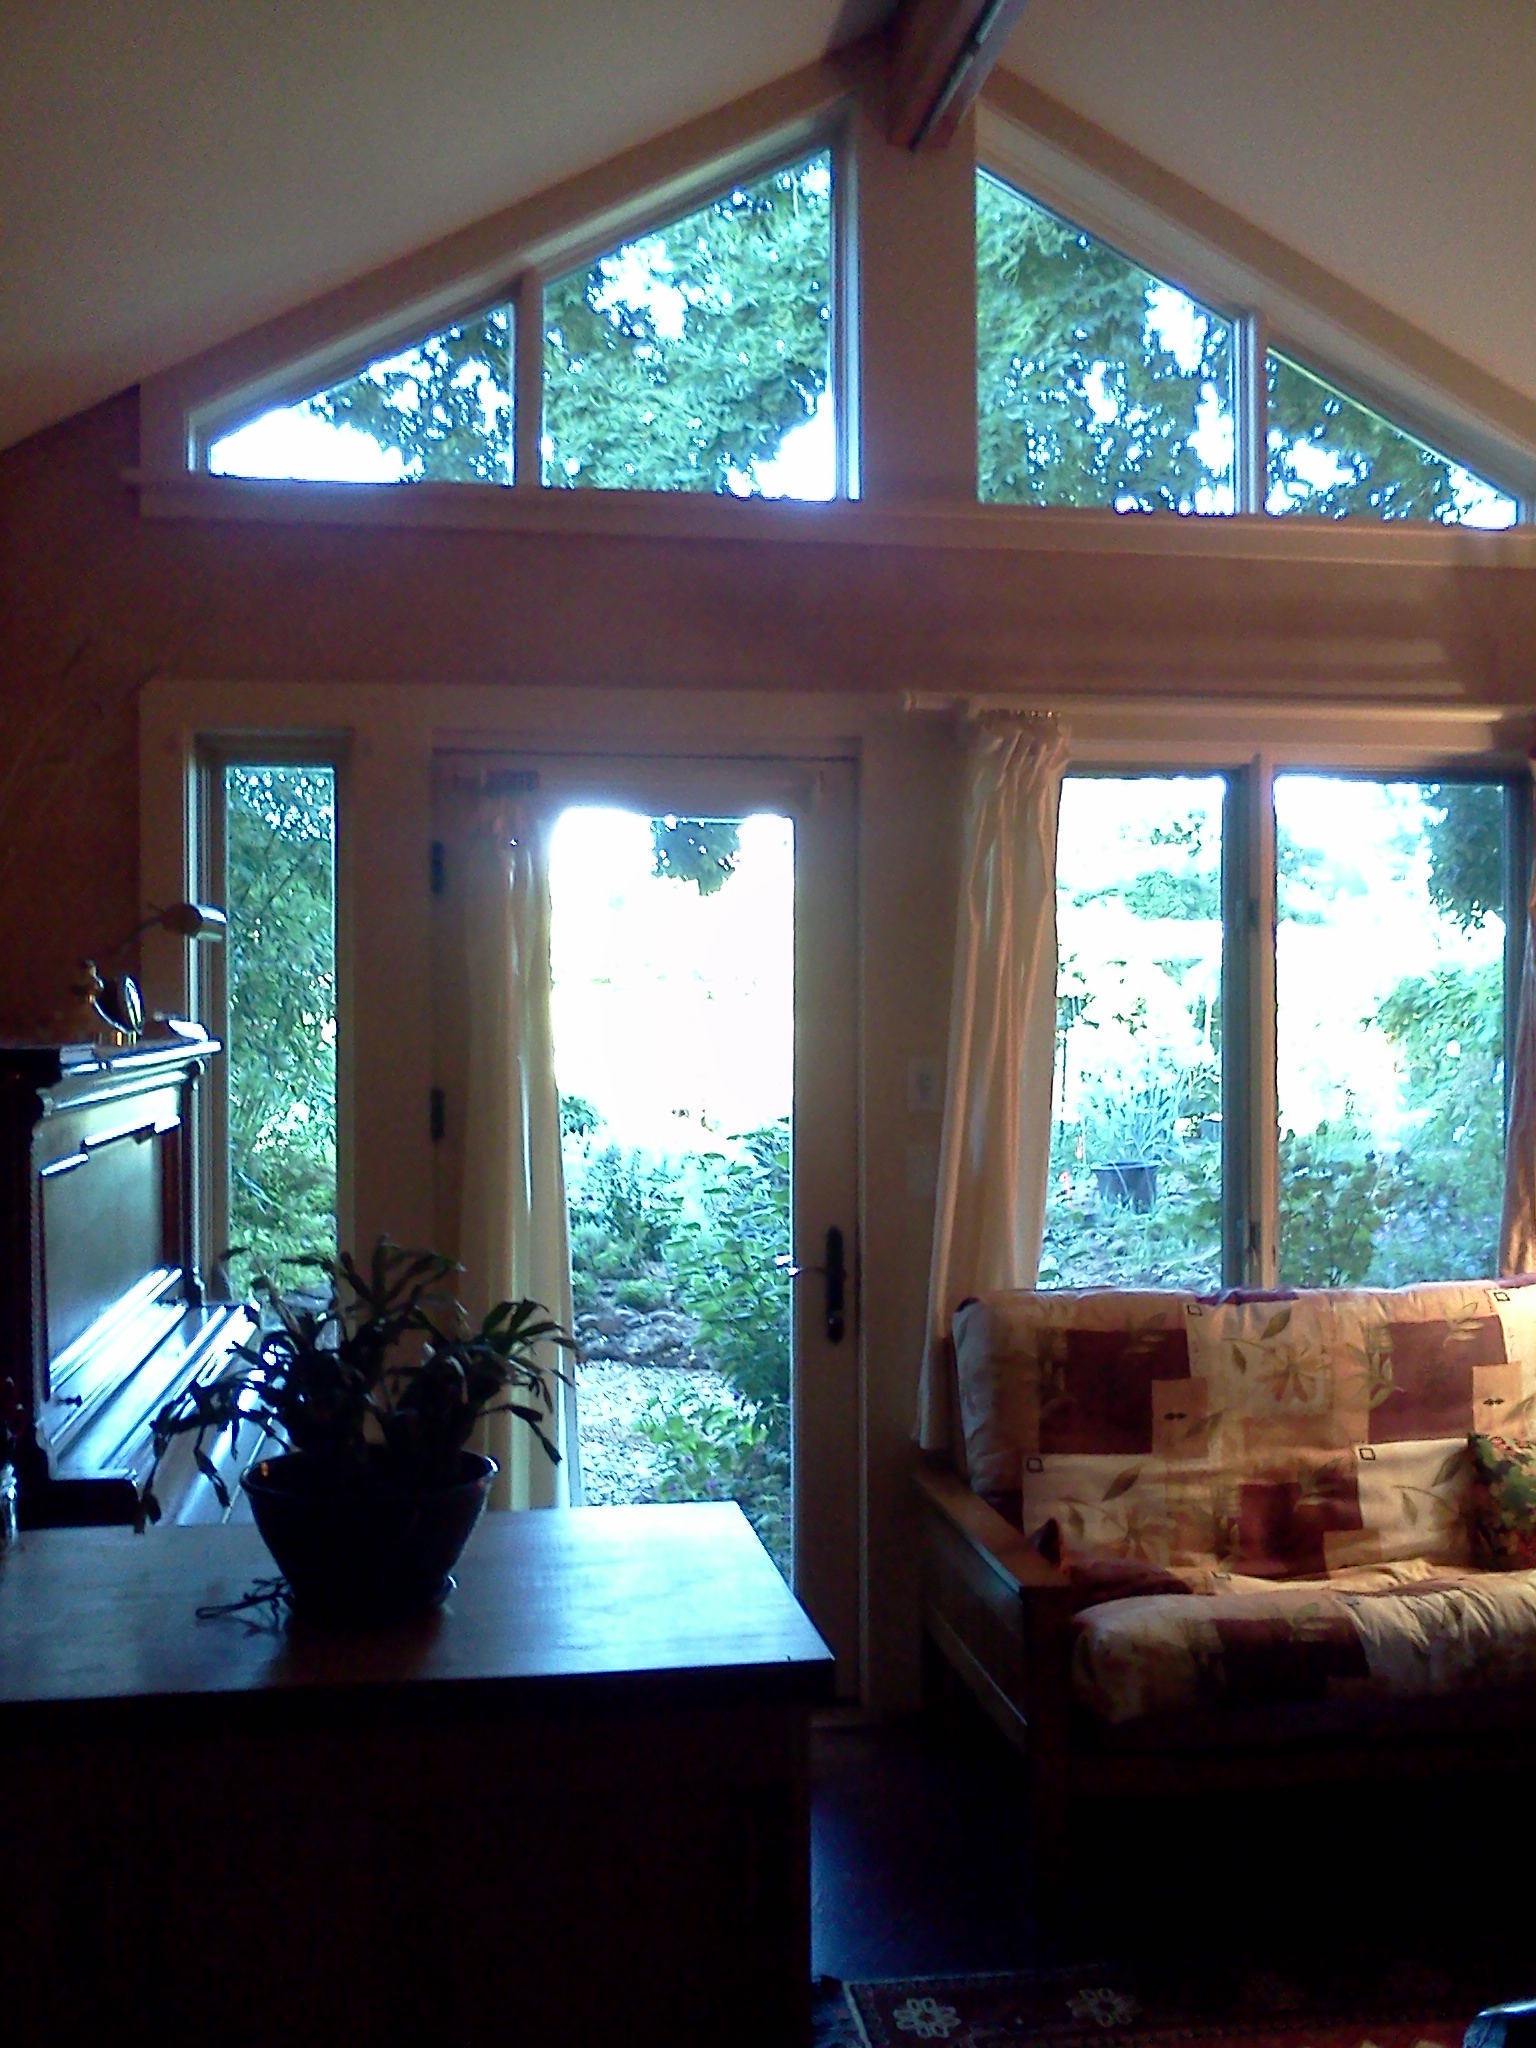
Three friends helped me move my belongings from the tiny house to My Summer Garden Cottage this morning. Most of my things fit in my friend’s Toyota Carolla, but it was great to have a truck for my super heavy latex mattress and my two dressers. a cozy lounge space with garden views

I had to run off to my Real Estate Construction class this afternoon so I haven’t had a chance to unpack and settle in, but I did some impromptu entertaining this evening anyhow. Ian and James, who are building a tiny house, came up to Cully this evening to sneak a peek at Brittany’s Bayside Bungalow before it goes back to Olympia (where it will be available as a tiny house rental). Ian and James also got to see the tiny house I’ve been building for Orange Splot and we hung out in the garden cottage to discuss tiny house design considerations. These guys are starting at the very beginning by building their own trailer. Now that’s starting from scratch!

I’m sad to see the tiny house go, but I think I’ll really enjoy living in a garden cottage this summer while building tiny houses down the street. Life’s been busy with my move, but my overwhelming emotion these days is gratitude!

My Summer Garden Cottage

Garden Cottage = Home, Sweet Summer Home Those of you who joined Orange Splot for the Pedalpalooza Accessory Dwelling Bike Tour or participated in Jordan Palmeri's small home tour will recognize my new digs. It's also featured in this video about the ADU Bike tour and mentioned on my post ADU Bike Tour Draws a Crowd. (Not sure what an accessory dwelling is? Check out the Accessory Dwellings website and my posts Showcasing Accessory Dwellings in Portland and A Praising Accessory Dwellings to learn more.)

I feel very lucky to be renting Bruce & Carolyn’s garden cottage this summer. It’s energy efficient and has a plethora of sustainable design features, including advanced framing, heat recovery ventilation, cellulose insulation, dual flush toilet, structurally-insulated panels for the roof, salvaged wood for cabinets, and on-demand water heating. (The house was profiled in this Ecotrope article.) But more than anything, it’s a beautiful space located in a gorgeous garden setting. Should I attribute the great feel of the cottage to the rich red stained concrete floors, the golden earth plastered walls, or the beautiful exposed laminated beams? Or perhaps the fragrance of the splendid flowers, grapes, and berries that surround the garden cottage? Or maybe the rustle of the bamboo through the open windows or the bushes and trees that provide shade and privacy? It must be the synergy of all these features.

adjustable counters enable perfect height dishwashing

Bruce and Carolyn designed this little guest house on their property for aging-in-place. See this article about it on Apartment Therapy. The open floor plan, lack of level-changes, and adjustable counter height make it accessible for people who use a wheelchair. I’ve really enjoyed the adjustable counter height because it enables me to pick the right height for the counters in my tiny house. If they don’t have to be standard height they can actually work well for my needs since I’m not quite 5’2”.

The cottage is about 600 square feet but the open floor plan and natural light make it feel spacious and comfortable. I think I'm going to really love living here!


Savoring the Tiny House

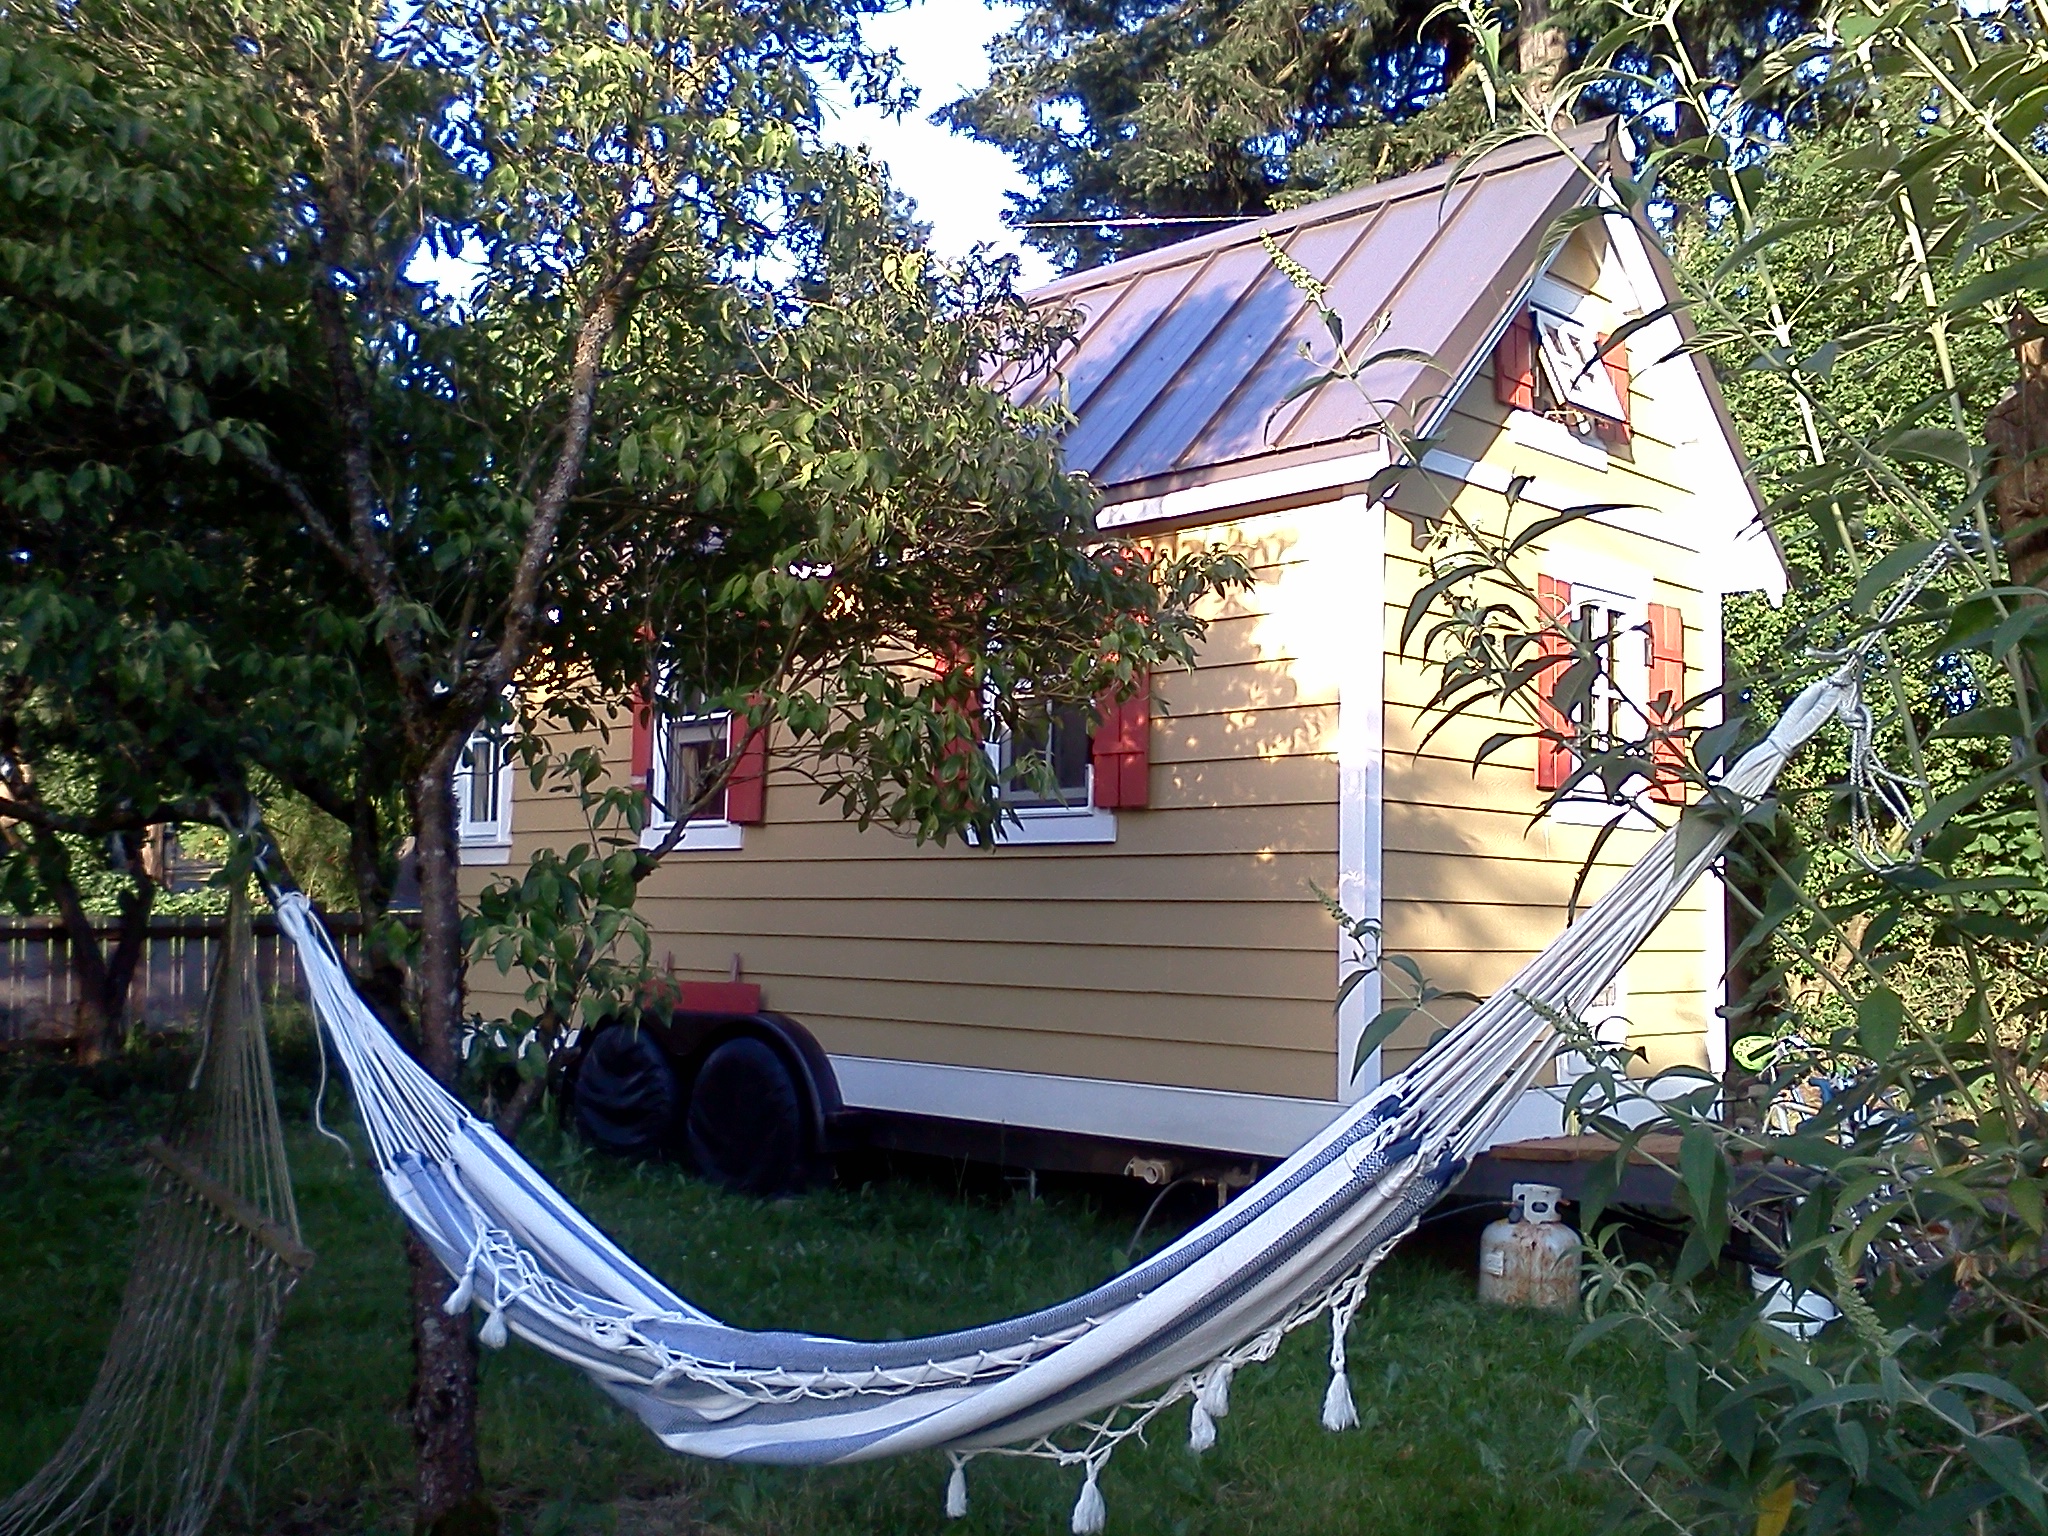
Tiny House & Hammock A year ago I decided to rent a tiny house. We moved Brittany’s Bayside Bungalow to Portland at the end of September last year, just before I started my first quarter studying urban planning at Portland State University. I figured it would be an economically-savvy and environmentally-friendly housing choice for my first year of graduate school. Living in a tiny house would enable me to decide whether I could realistically live in less than 200 square feet. Furthermore, it would inform my design choices if I decided to build a tiny house of my own.

We’ll be moving Brittany’s Bayside Bungalow back to Olympia this Saturday. So this week I’m savoring the tiny house. I’m enjoying the dappled light through the lilac trees while I’m curled up with my kindle on the window seat, I’m appreciating the tiny, efficient kitchen while cooking meals, and I’m relishing the view of the stars from the skylight of the sleeping loft.

I’m also reminding myself what I will do differently in my own tiny house now that I’m convinced I want to build a tiny house of my own. The top three changes I would make are these:

1)   I’ll design my tiny house with a larger porch (see Shrinky-Dink Porch for an explanation).

2)   I’ll spring for an on-demand propane water heater. (Since I had to wait 20 minutes for the 4-gallon tank to heat up once I flipped the switch I often ran out of time to actually do the dishes, which meant I’d wasted that energy.)

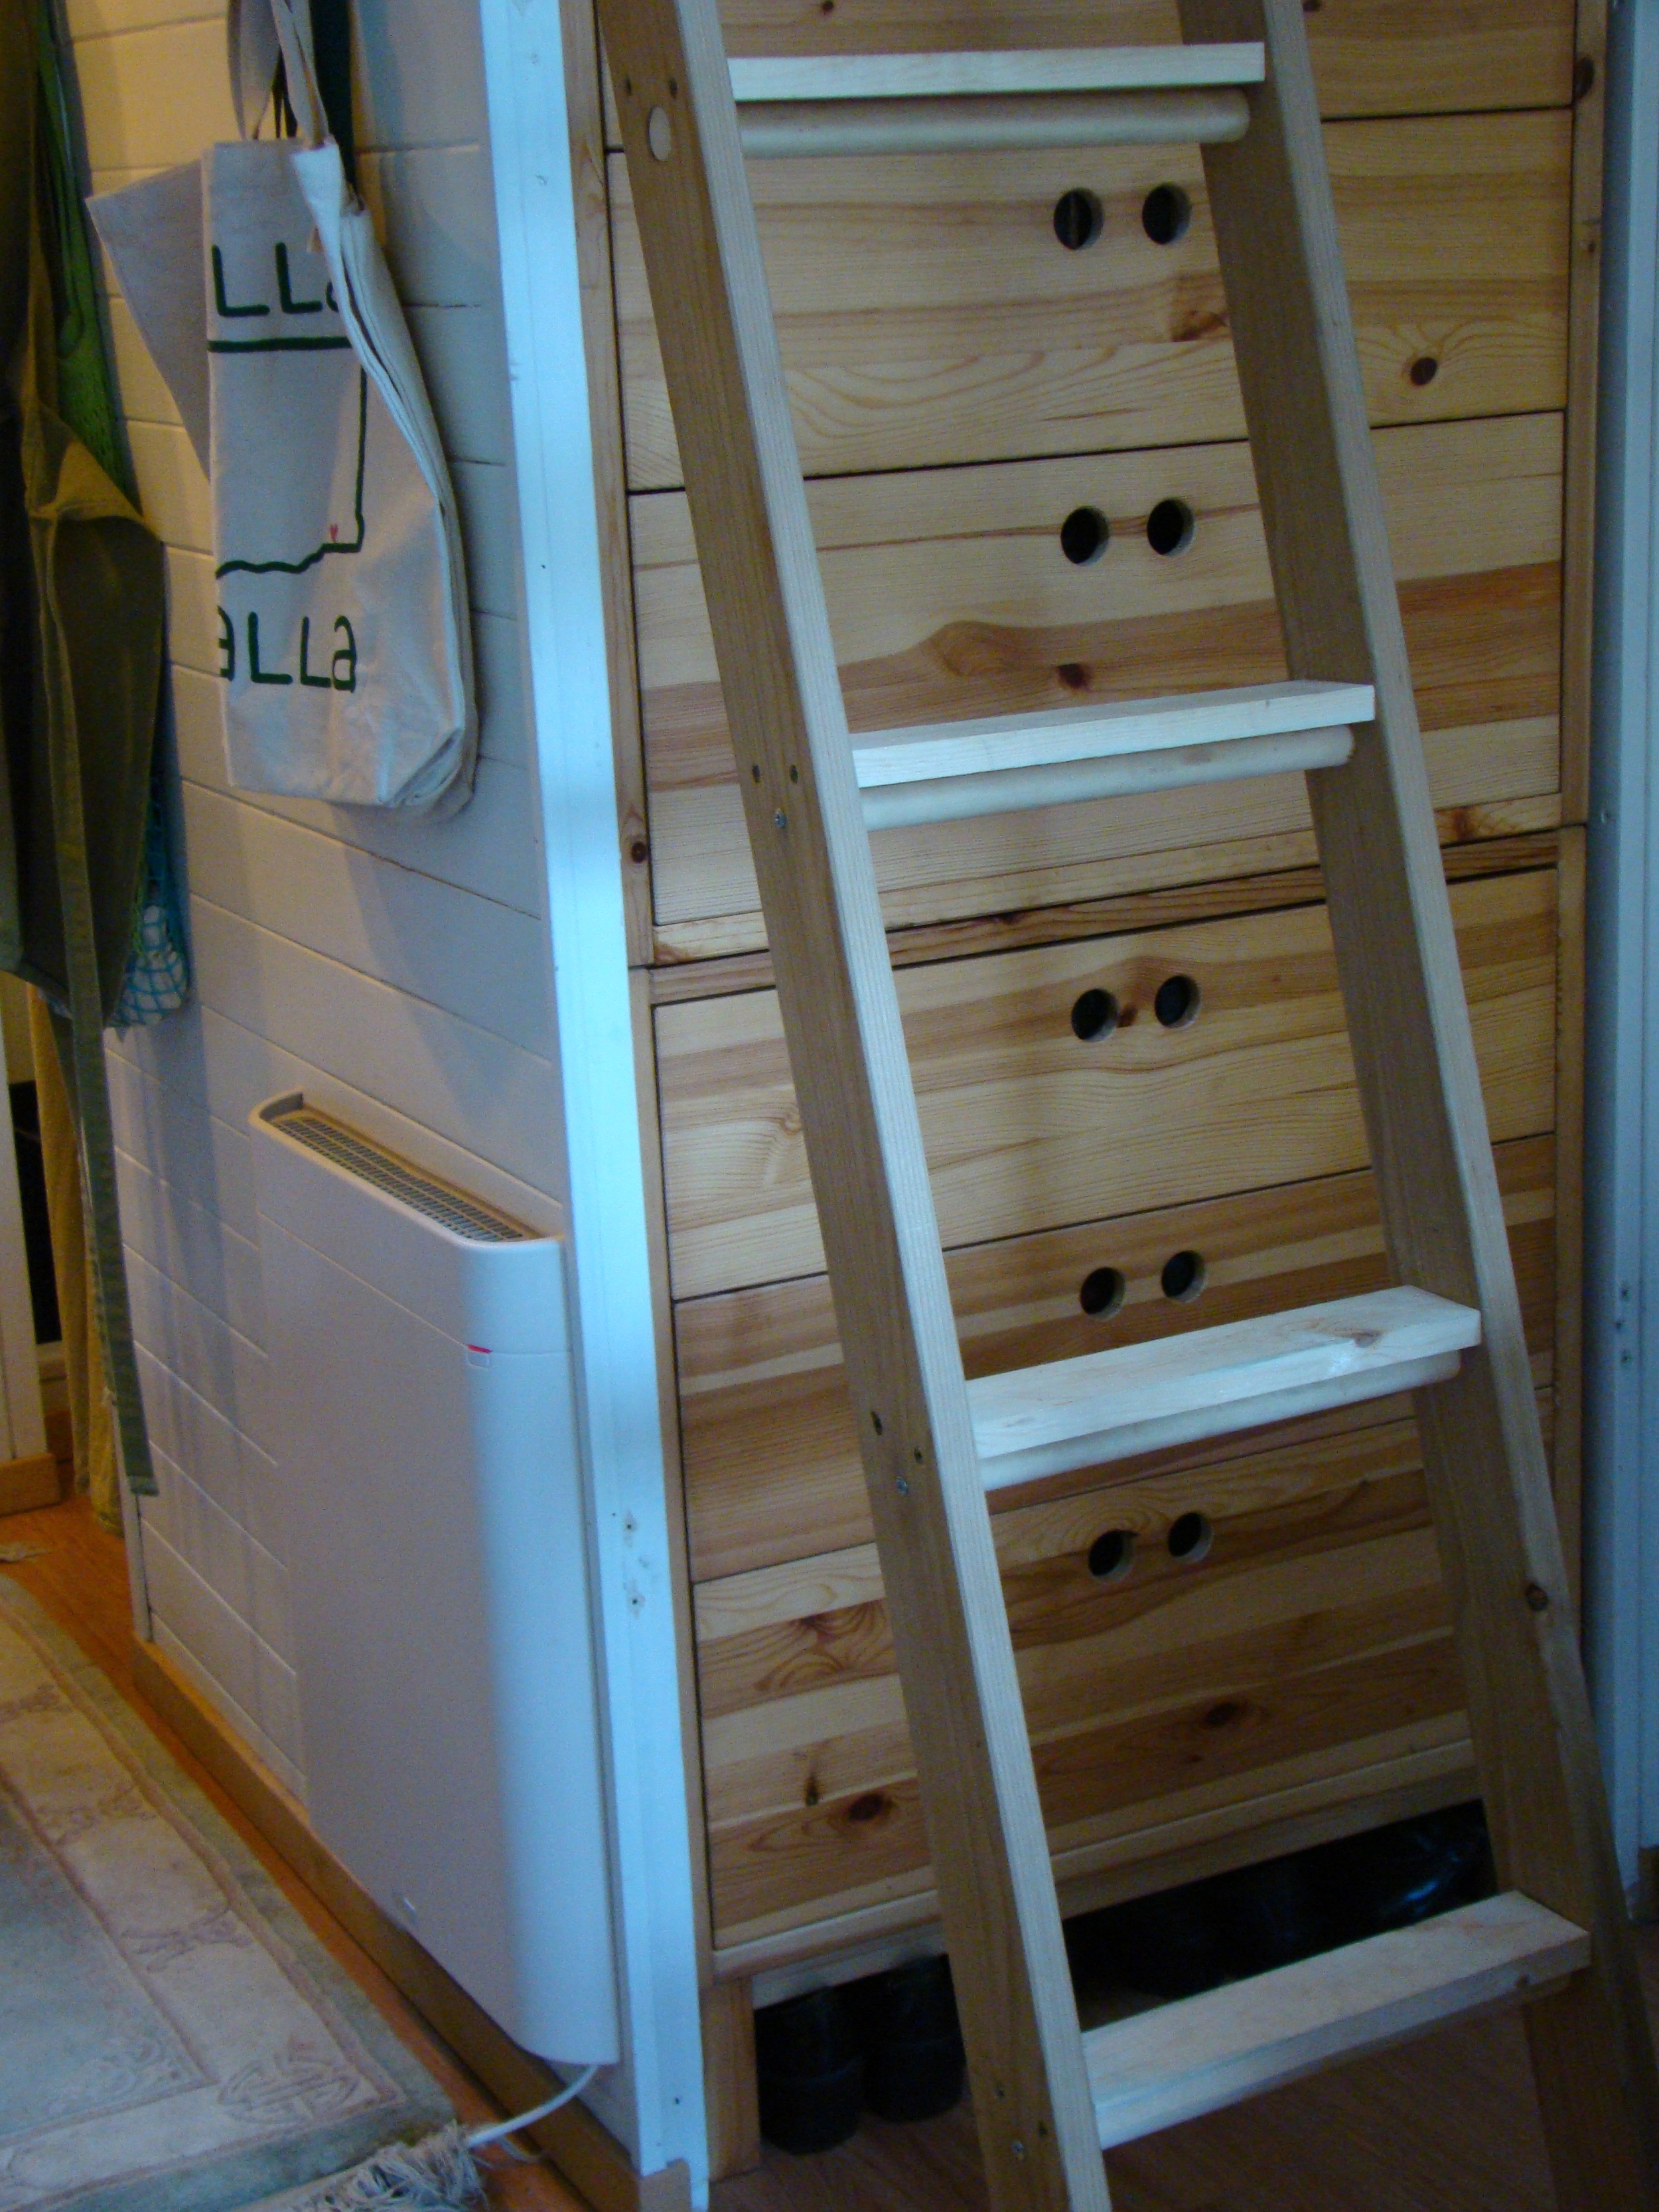
3)   I’ll use the Envi wall-mounted electric heater instead of an oil radiator or a propane boat heater.  (See Top 10 Reasons to Pick Envi Heater Over Propane Marine Heater)

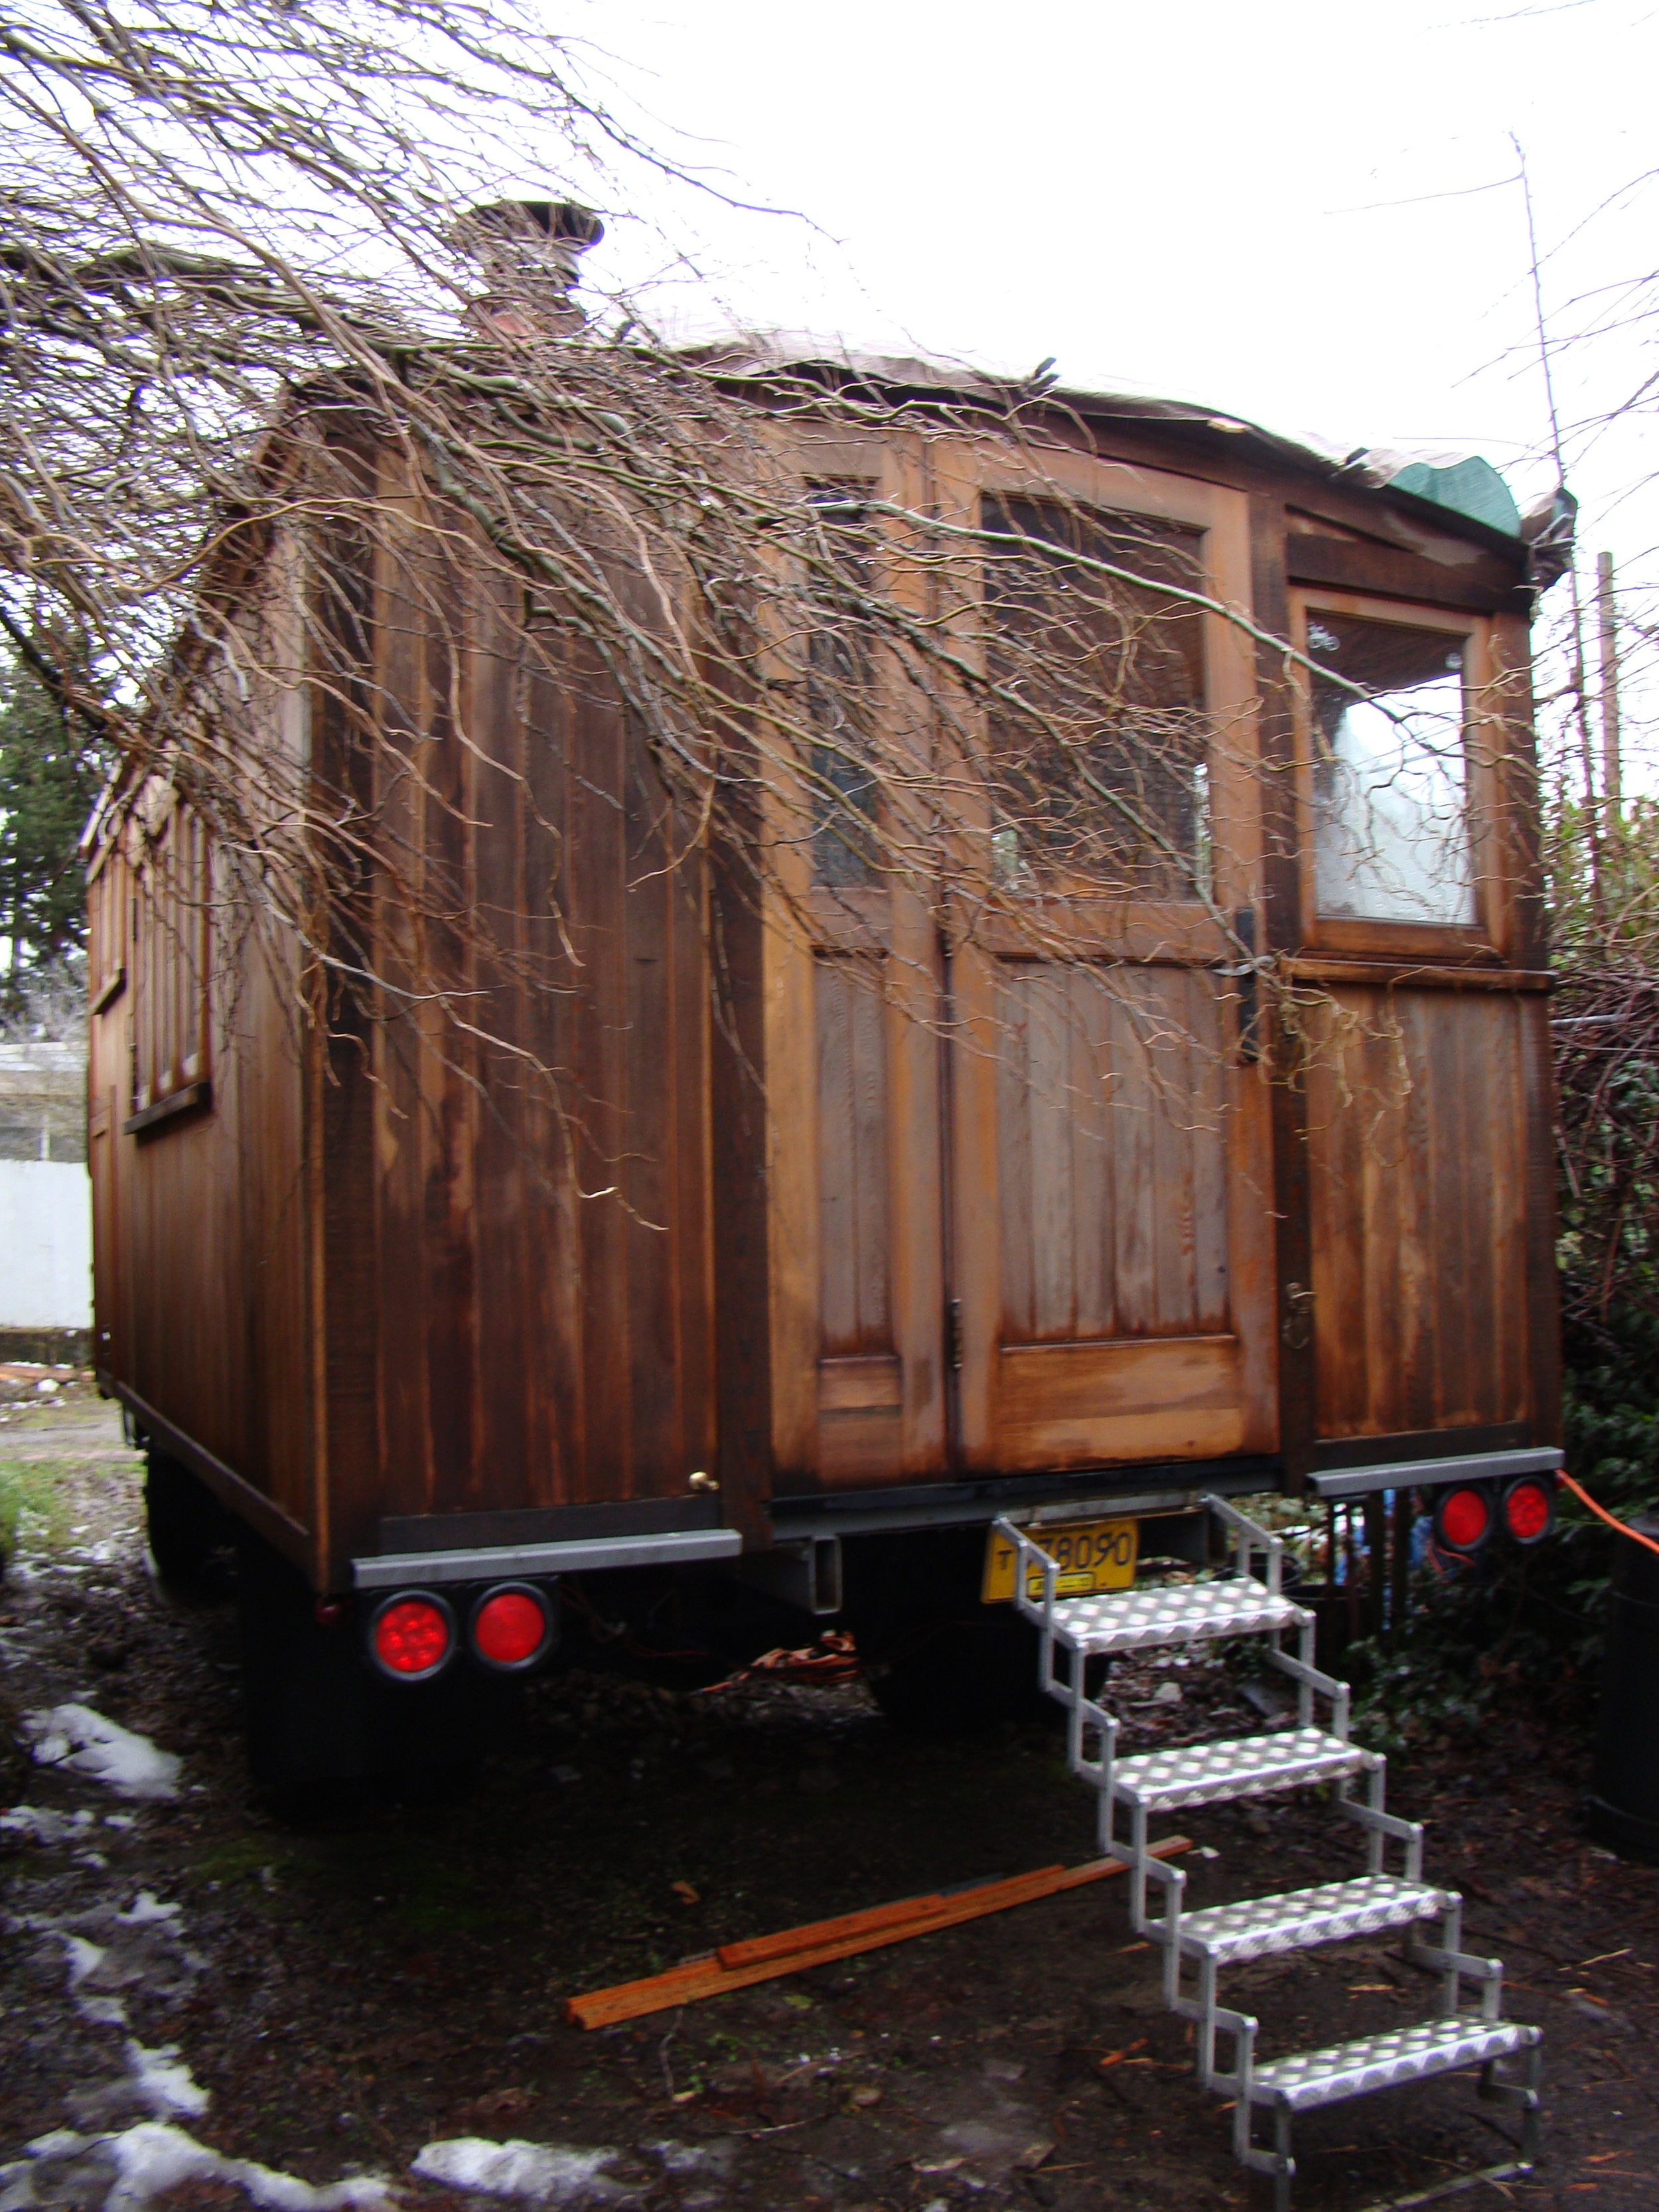
Ten months of tiny house living have also convinced me that a wee abode perfectly suited to me can be even smaller than 121 square feet. My latest design for my own tiny house is a gypsy wagon (also known as a vardo) built on a 14-foot long trailer. I think about it every day as I go about my daily activities in this tiny house. I’m looking forward to scouting for materials this year and building my tiny house next summer. Meanwhile, I will use everything I’ve learned about simple living in my future housing arrangements. For the rest of the summer I’ll be living in a garden cottage (also known as an Accessory Dwelling Unit) on the same block as Cully Grove, where I’m building tiny houses. For next school year I’m considering a more urban version of the Little Life with a studio apartment in a more walkable neighborhood and a shorter commute to campus.

I’m extremely grateful I had the opportunity to test out the Little Life before committing to it. Once we get the tiny house back to Olympia Brittany’s Bayside Bungalow will be available for rental by the night, weekend, or week so that other people can test out tiny house living. There don’t seem to be many other opportunities to rent a tiny house, so if you’re interested, please do get in touch with Brittany. Her reservation calendar is filling up quickly!

Jill of All Trades

let there be (sky)light! We (almost!) finished the tiny house's exterior last week. Eli has found a professional painter with all the equipment to paint the tiny house in just a day. So on Monday I caulked big gaps and primed the battens and trim to prep for the painter. Simon - who is quite an artist in addition to being a great site supervisor - is letting some thoughts percolate for the time being about the design details for the upper portion of the gable ends. Of course, we still need to install the metal roofing, too, but I won't be able to do that by myself. Manda and Simon have been super busy over at the Cully Grove site since the framing has begun over there now. In the meantime, I shifted my attention to the interior of the tiny house and solo projects.

I started out the week by clearing out all the building supplies we'd been storing in the tiny house and cleaning it up. After sweeping and vacuuming, I caulked the floorplates to the floor, studs, and sheathing. I also installed the door knob so that we can close up the house at night. Then I got going again on the rough electrical. Eli did a walk-through over the weekend and had a few modifications and additions for electrical switch and outlet boxes so I set those in place Monday. The electrical additions required a few more holes to be drilled through the studs so I've become pretty handy with the right angle drill. (Manda informs me that it's actually a "hole hog," but I like the idea of Going Whole Hog on the Tiny House!)
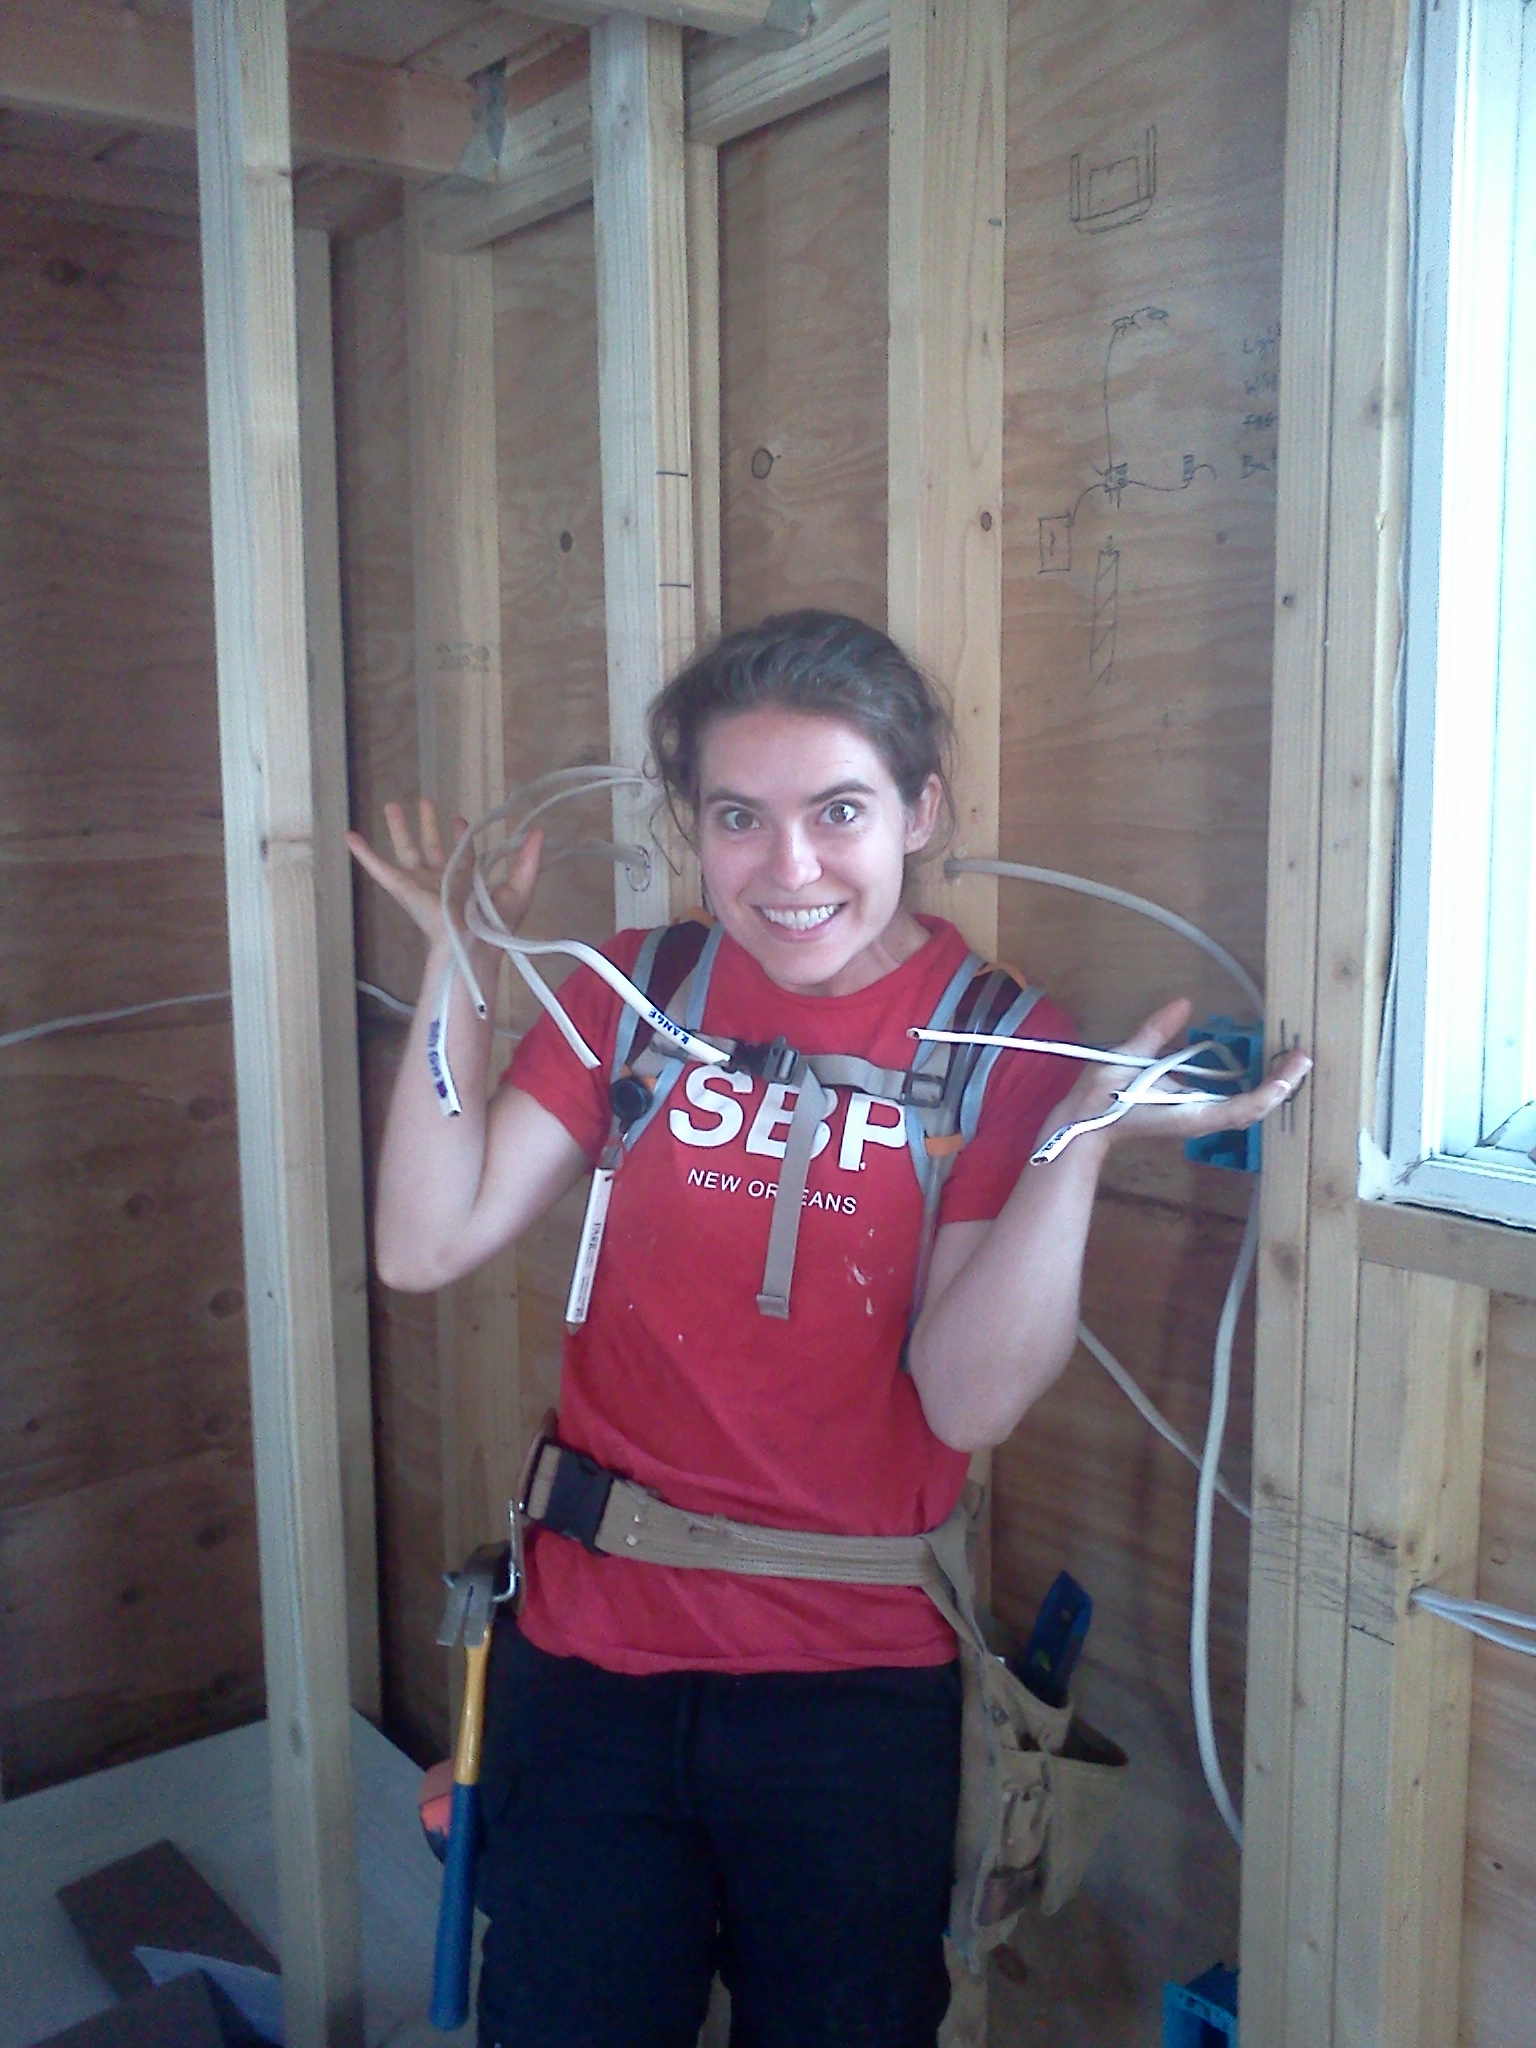
wiring fun

With the thumbs up from Eli I was able to pull the wire Tuesday. (I realized there was a good reason Eli suggested making my runs as straight as possible - it's much easier to actually pull the wire that way!) We're using a 12 gauge wire with 4 circuits. There's a dedicated circuit for the 10 gallon tank water heater and second for the range. A third circuit controls the bedroom and bathroom lights, outlet, and exhaust fan. The fourth circuit is for switches and outlets throughout the rest of the house. I've labeled the wires to make it easier for the electrician to connect everything once we've finished out the walls.

Running wire was a good logic puzzle and by the time I had to leave for my Real Estate Construction class on Tuesday, I had a long list of questions which Simon helped me answer on Wednesday. I enjoyed my crash course in electrical. Turns out I enjoy pulling wire and double checking that my switches and lights are all wired properly. Of course, now that I've got the hang of it, I'm finished with rough electrical, but I'm eager to give it a go again soon!
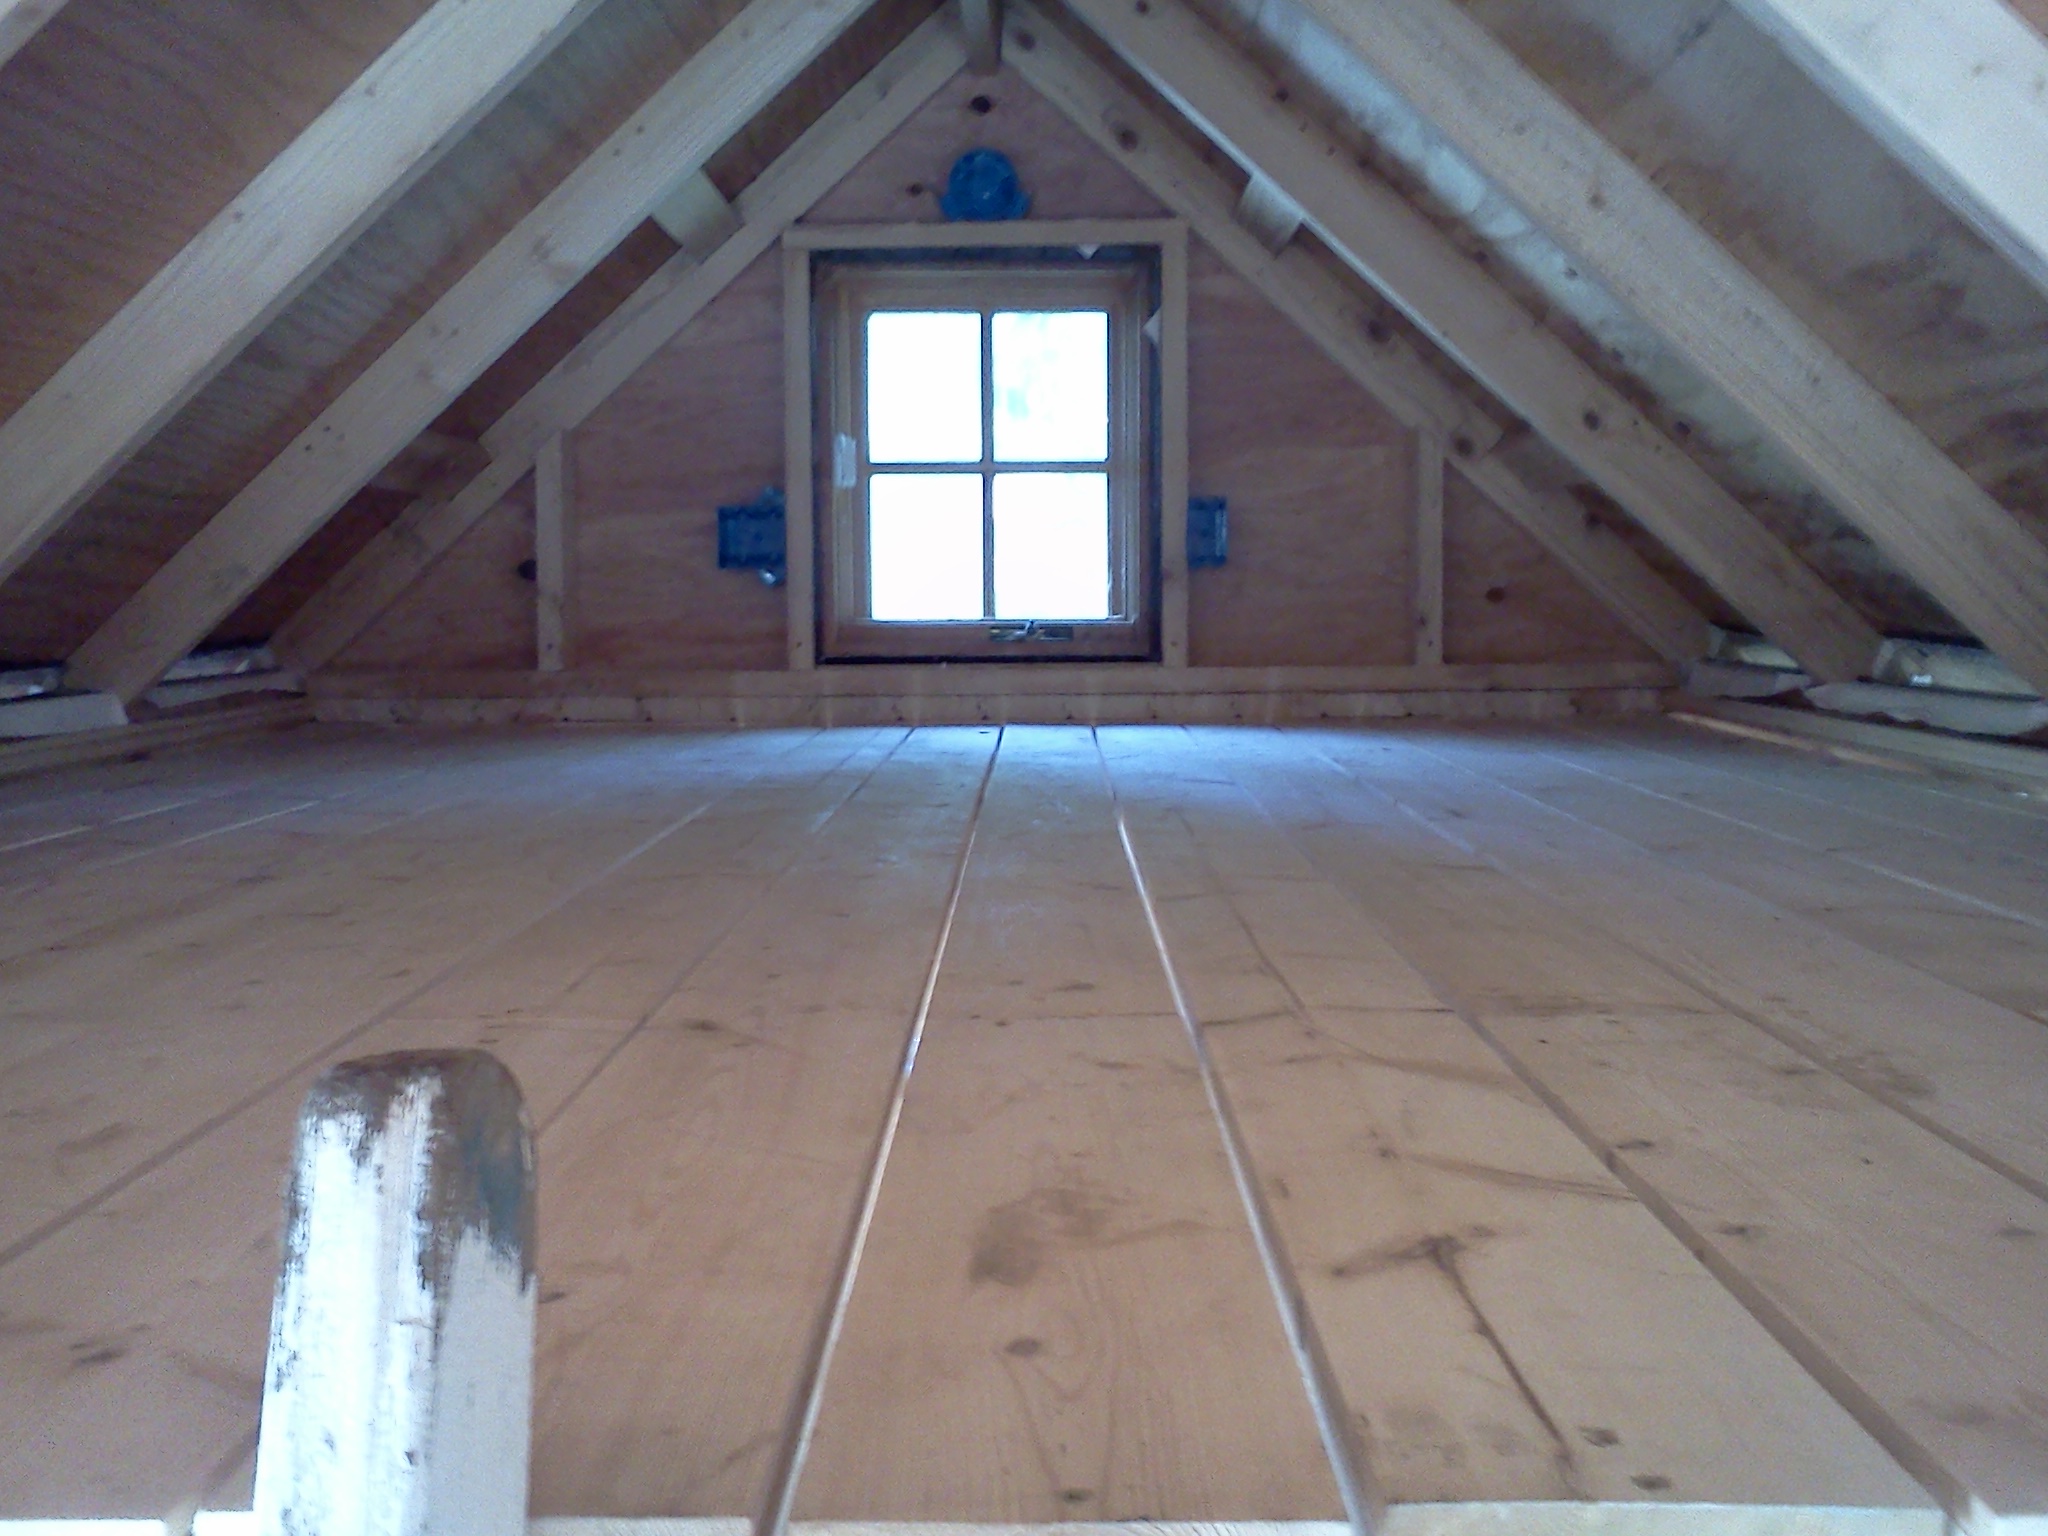
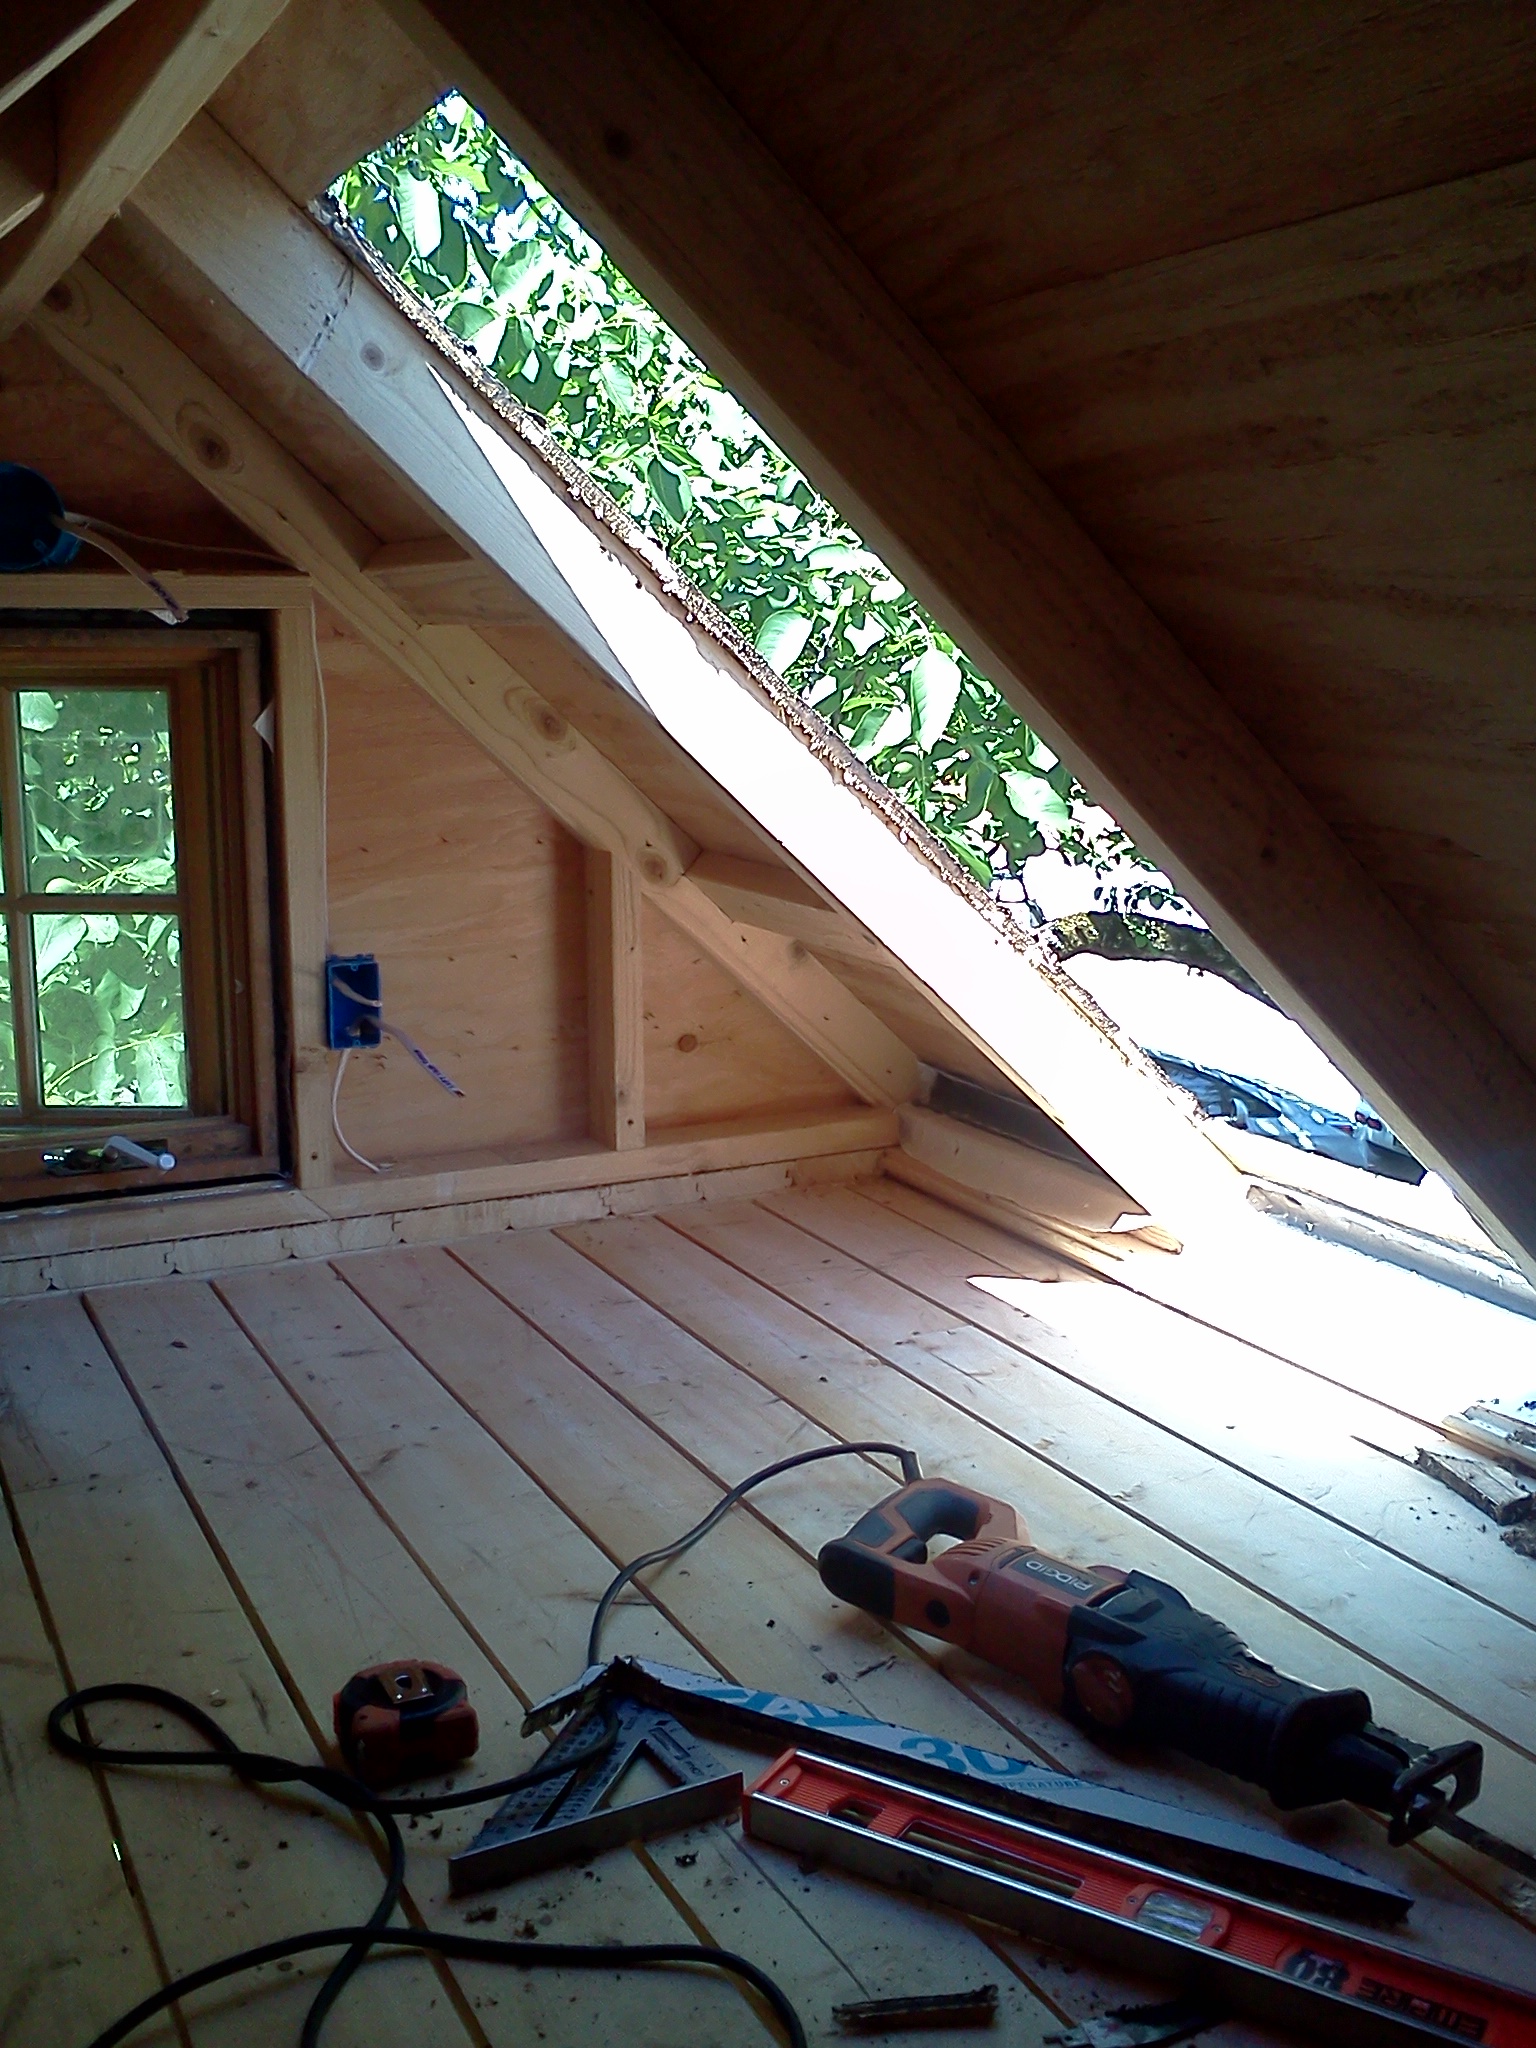
sleeping loft before the skylight

Eli also asked us to install the skylight over the sleeping loft so we can start on the roofing. I marked our rough opening, but I was nervous about using the sawzall, especially in such a confined space and at an awkward angle. The sawzall and the table saw are the two power tools I'm still not quite comfortable with because I hear horror stories of professionals doing serious damage with them. Certain power tools demand respect and I intend to be respectful! So I decided to wait for some coaching.

Fortunately, Manda had some down time at the Cully Grove site yesterday afternoon so she taught me how to use the sawzall safely. Simon helped us set the skylight in place and fix it to the roof sheathing. It's amazing how much the skylight opens up the sleeping loft. Once again, I'm convinced that skylights are the trick to creating a feeling of spaciousness. It's my new favorite feature of the tiny house!
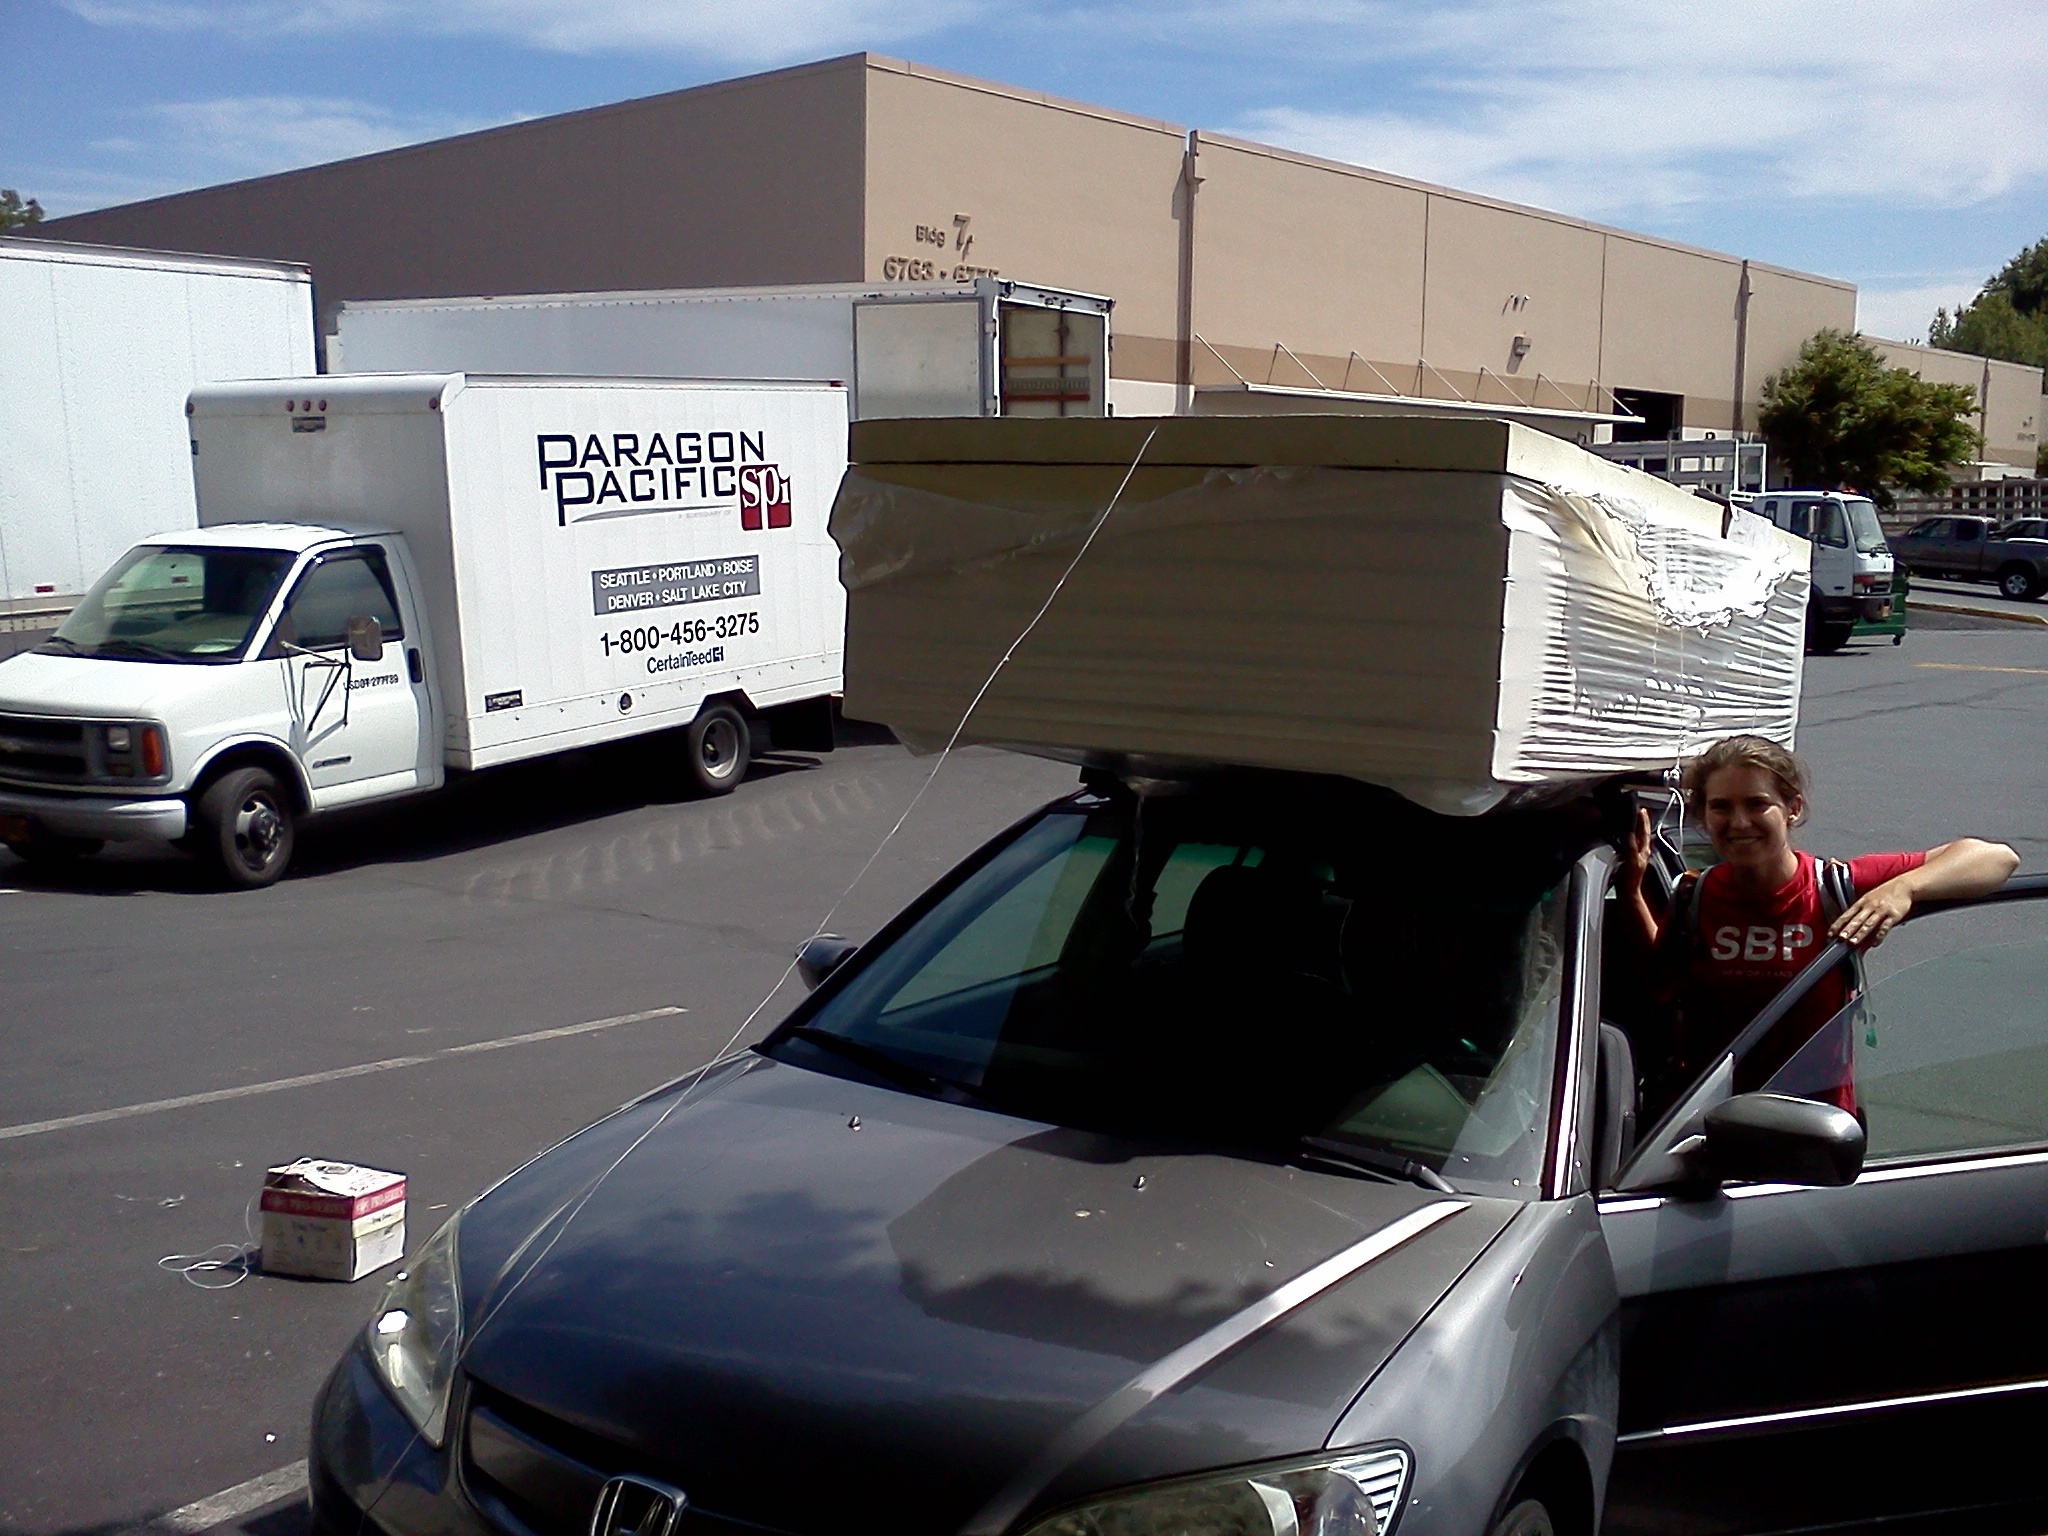
little shared car, big load

Today I did a supply run to pick up 14-3 wire for our 3-way switch, nail plates to protect our wire from puncture wounds when we install the interior finish, and the insulation for our ceiling and walls. Paragon Pacific has a crazy-wonderful selection of insulation, including this 3 inch rigid foam we'll use for our ceiling. I loved loading up the Getaround car with a heap of insulation. It reminded me of the IKEA commercials. Tee, hee!

I've realized this week that one of the strange things about building a tiny house is that I don't have a chance to perfect any of the building techniques. Just as I get the gist of hanging siding, running wire, or cutting rough openings with a sawzall we've finished up that step and moved on to the next one. I imagine by the end of the summer I'll be a true Jill of all trades. Fortunately, I anticipate there will be plenty of chances to apply what I'm learning to other tiny houses! I learned a lot this week and next week it's on to a whole new skill set...
My Things Challenge: Who’s Counting Anyway?

me with the contents of my tiny house I first heard of the 100 Thing Challenge about a year ago. I was downsizing from a two-bedroom bungalow to a tiny house at the time, but the 100 Thing Challenge seemed extreme so I dismissed it. Of course, tiny houses seemed radical when I first heard about them, too. Now I’ve spent 10 months living in a tiny house, I’ve helped with my friend’s Tiny Barn Build, and I have my Summer Dream Job: Tiny House Design-Building. Downsizing to just 100 Things doesn't seem quite so radical anymore.

The premise of the 100 Thing Challenge is simple: narrow down your personal possessions to just 100 things. You go through your belongings, you count them, and you decide what you can part with so that you end up with just 100 things. The trickiest aspect is neither counting nor deciding what to purge. I think the trickiest part is deciding how to count.

The 100 Thing Challenge is a game, a competition, a test. But you get to make up your own rules. I appreciate that since I’m much more likely to follow rules that aren’t arbitrary. Some people are pretty generous with themselves. For instance, the guy named Dave who invented the challenge counted “library” as one item. Others are sticklers for their own rules. For instance, Tammy of Rowdy Kittens counts her camera body and her two lenses as three separate things. I’m somewhere in the middle. Here are the rules I created for myself:

  • I’m going to keep two lists of 100 things. One list is my personal possessions, which is all the stuff that the two-year-old in me would defend as “mine!” The other list is household items that I would share with housemates if I had any.
  • Sets (i.e. measuring spoons) and pairs (i.e. socks) count as just one thing.
  • Identical, interchangeable, easily replaceable items count as one thing. For instance, I have a bunch of mason jars with plastic lids I use for bulk food storage, fridge food storage, to go containers, candle holders, a piggy bank, etc. I’m not going to count them as 30 separate things. That’s just silly!
  • The parts of an item are counted with that item, even if they were additions. For instance, my bike lights and lock are additions to my bike, but I don’t ride without them, so I’m not going to count them as separate things. They’re part of my bike as far as I’m concerned.
  • Accessories that go with an object are counted with that item if they are necessary for it to function optimally. For instance, I have a sleeping bag liner because I can’t stand sleeping in a sleeping bag without one. It’s technically possible but I’m going to be grumpy, so in my head the sleeping bag and its liner are one thing and I’m going to count them that way.
  • In some cases a container counts as one thing and its contents don’t count individually (examples may include my toiletry bag, my tool box, and my craft bin).
  • I’m not going to count consumable products. Food, shampoo, toothpaste, toilet paper, dish soap, etc. aren’t counted as things. But I’m going to create a Use It or Lose It policy. I have a bizarre tendency to hoard consumable things (like a lotion that smells nice or a tea I like). It’s as though I’m trying to make them last even if I don’t have to. Some things are better fresh! So henceforth I’m not going to be afraid to use things up. I’ll put consumable goods in one place and as I use them I’ll transfer them to a different place to show they’ve been used. Anything I have not used during the past month will be subject to scrutiny and purging before my move.

I'll be making two moves this summer: first to My Summer Garden Cottage and then to someplace new that's yet to be determined. (To see where I ended up, click here.) So I’m going to go through my belongings, take inventory, and figure out where I stand with the My Things Challenge. I may end up proudly claiming a larger number. The number 100 is completely arbitrary, after all. And, as previously mentioned, I don’t much care for arbitrary. But I figure 100 is a starting point and I can decide what works for me. (To find out what number I landed on, click here.)

After all, minimalism isn’t about deprivation. It’s about focus. It’s about figuring out what one needs and prioritizing what one loves. All the rest is Just Stuff.

Going Whole Hog on the Tiny House

going at the tiny house electrical whole hog This week we wrapped up the siding, adding panels and battens above the belly band and shingles in the gable ends above the head band. It was fun to work with the cedar shingles. They smell much better than the cement board! There was also an amusing puzzle aspect of making them fit together just so. It reminded me of building a stone or straw bale wall.

There's something about working with natural materials that's so aesthetically pleasing. I often wish it were easier to combine natural building methods and tiny houses. There are, of course, many natural materials that can be used for tiny houses, but several natural building traditions such as straw bale and light straw clay don't work well for tiny houses. (To learn about a wee house built with light straw clay, check out A Tiny Natural House.)

Siding & Shingles

We also got started on the rough-in electrical which involved walking through the house, imagining a day in the life of a tiny house dweller. Where do we need a light switch when arriving home with groceries in the evening? Where do we want an outlet to plug in a desk lamp and computer? How can we ensure that someone can get into the loft with adequate lighting but still manage to flip out the lights to go to sleep? It's amazing how early on in the building process these decisions need to be made! (On the other hand, for my vardo I don't plan to run electrical through the walls any more than I have to, so I'll probably have electrical chases above the kitchen counter and desk and use plug-in lights in most places. I will still need to plan ahead for where all the electrical will go, but I probably won't actually run the electrical this early in the building process.) I tacked our light switch and outlet boxes and light fixture boxes into place, so Eli can do a second walk-through and make sure it's all just right.

To bore holes through the studs for all the wiring I also got to use a heavy duty right angle drill with a super long auger bit. I'm told the tool is called a "whole hog" and I felt like it requires the accompanying attitude. When using a tool like that you've got to be committed to the placement of that hole! It was great fun. I've got a feeling I'm going to earn both my muscles and my sun tan this summer!

Summer Dream Job: Tiny House Design-Building

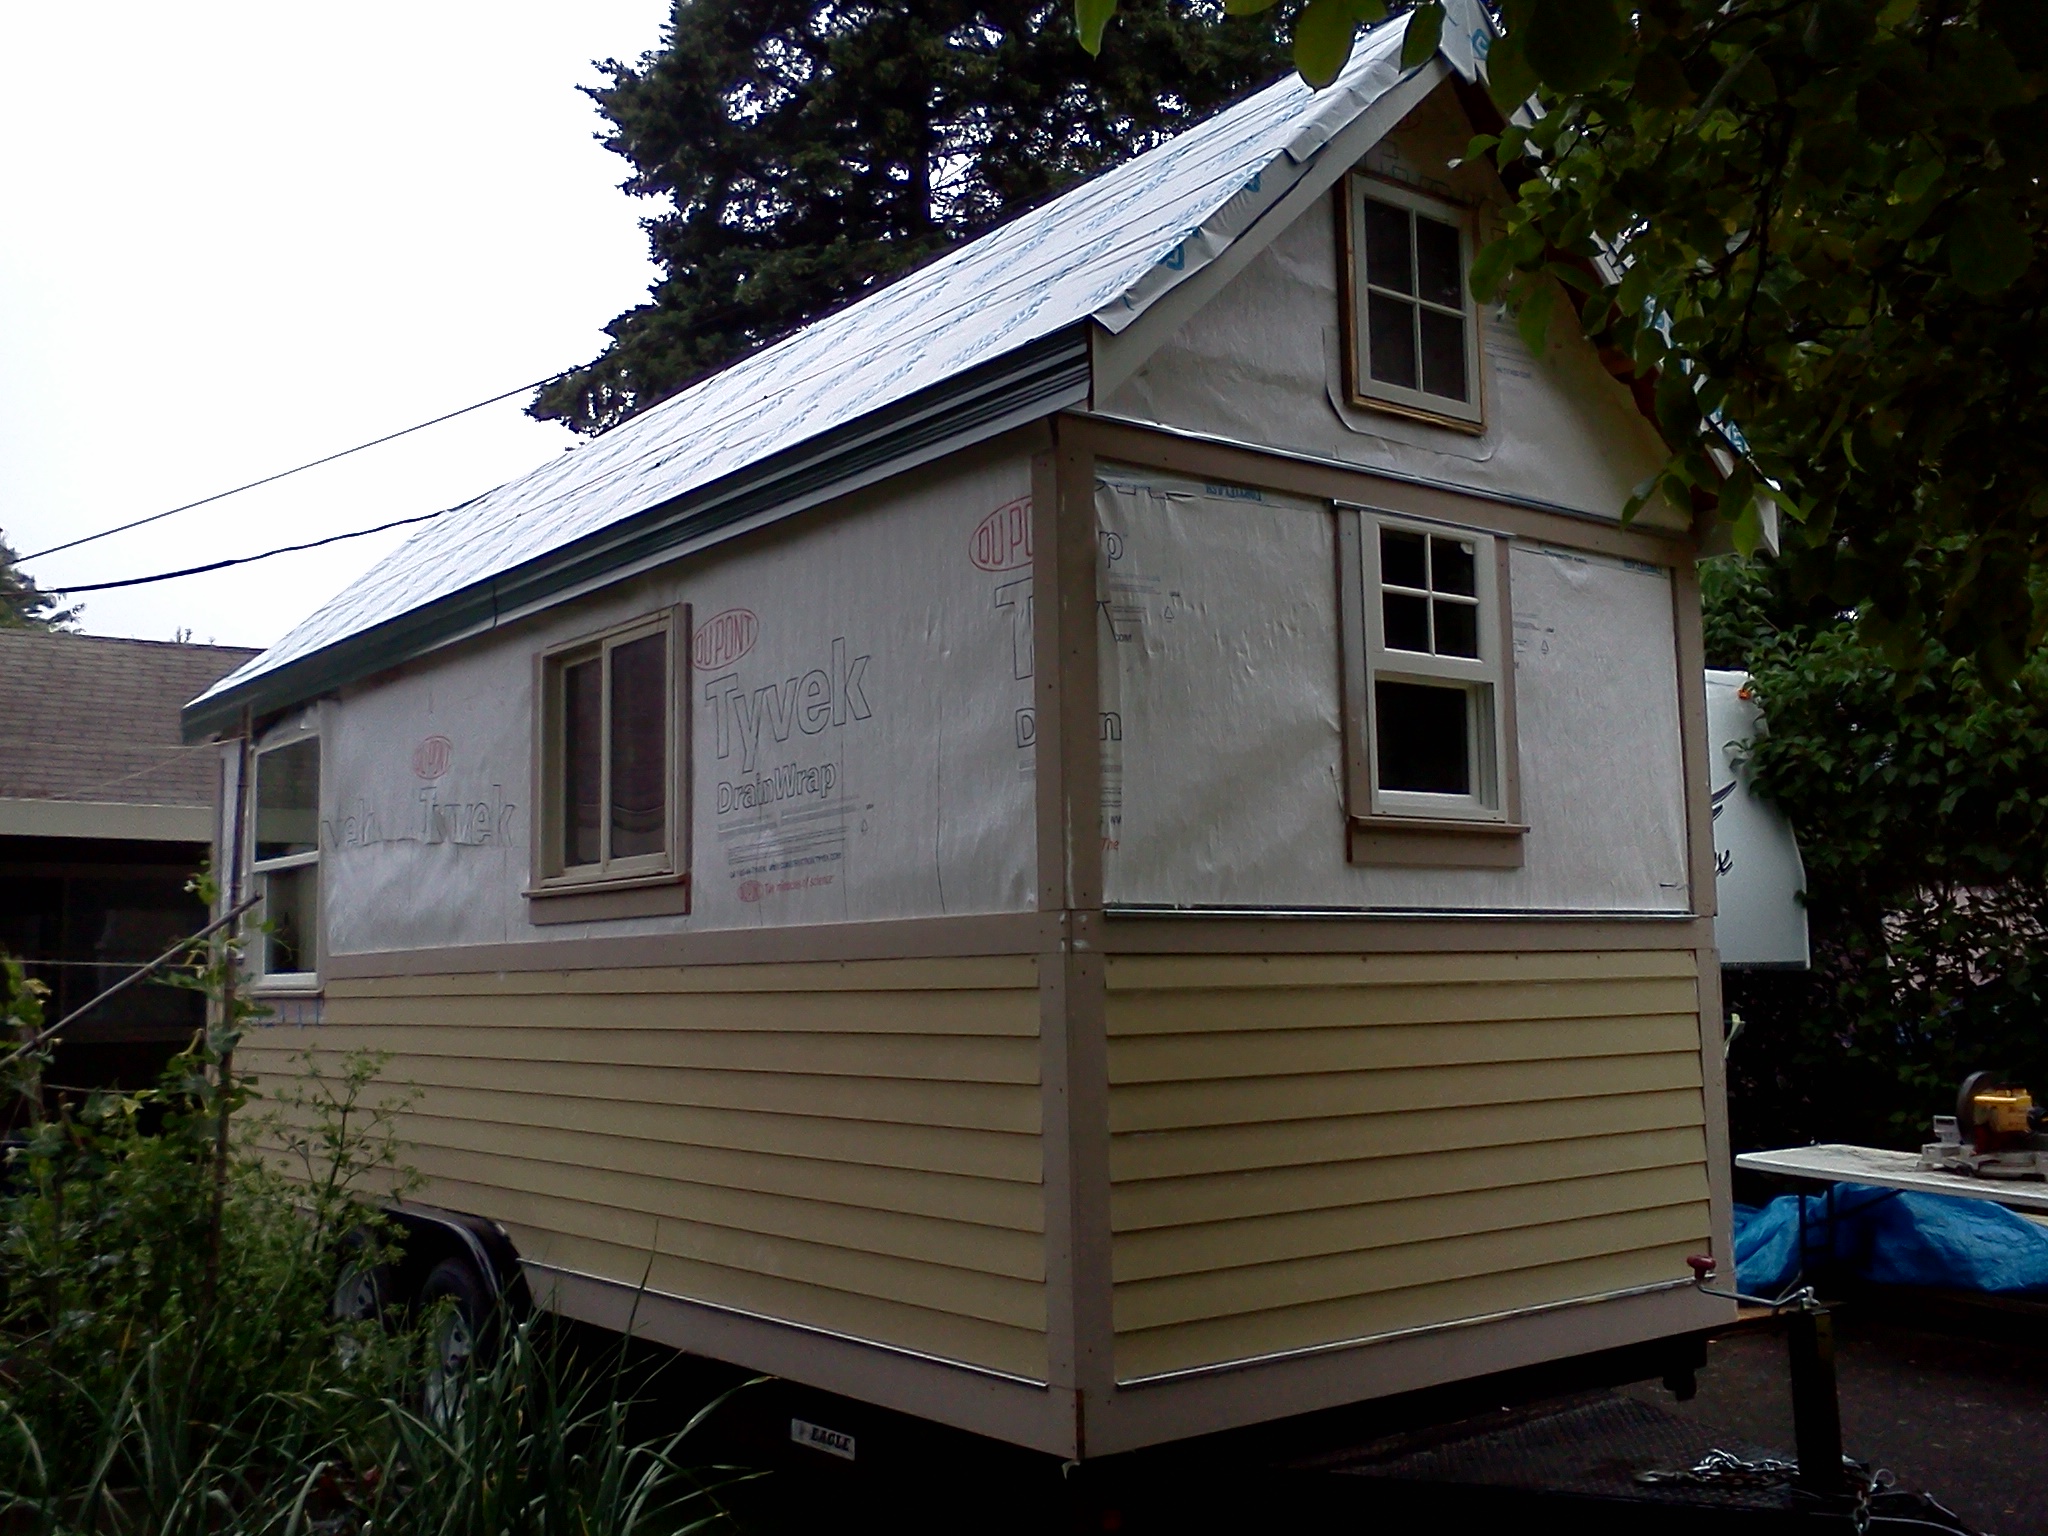
I'm going to help finish this tiny house! I've landed my summer dream job thanks to Eli Spevak of Orange Splot, LLC. I'm apprenticing with his construction crew to build tiny houses this summer. The first house we're working on was started last summer by a woman who was building it for herself with the help of some friends. Changes in her life pointed her in a different direction, so the tiny house sat all winter, waiting to be finished. I found this tiny house on Craigslist and decided it wasn't for me, so I showed it to Eli and he hauled the wee house from Sauvie Island to his place in Cully. It's now parked in his driveway, where we built the shell of my friend Jane's Tiny Barn during an intensive week-long build. The interior design is evolving a bit, but we're certain the tiny house will have a bathroom, a kitchenette, a hang out space, a sleeping loft, and a storage loft.

putting up cement board siding

The thing I find especially cool about working on this tiny house is that when I joined the crew it was at exactly the stage Jane's Tiny Barn was when my spring break ended and I shifted back into school mode. The house was secured to its 20 foot long trailer foundation, the walls and roof were framed up, sheathed, and tyveked, and the windows were in. So I got to pick up right where I left off with the last tiny house.

This week we've been working on exterior finish for the tiny house. We've put up our corner trim, a belly band and a head band. We're using concrete board which is fine since this tiny house probably won't be moving very often. But it's been a steep learning curve for me since I'd never worked with it before. In general Hardi Board is not the best material for tiny house siding since it's heavy, fragile, and not very forgiving. I've been working alone some days, so I've been using strategies like propping up one side of the board while I screw the other end to the house.

I hung the door! hooray!

Most days I've been working directly with Cully Grove's project assistant who went through the Oregon Tradeswoman program and has taught carpentry. I feel very lucky to be working with her because she's a great teacher in addition to being a really cool person. When she set me up to hang the door she asked "You got this, right? Feeling confident?" I laughed and told her I'd let her know if I needed a hand. I was glad she was confident in my abilities. It made me more confident, too. Doors are tricky and I had to modify the door to fit a mis-matched frame, but I got it to work. (And I learned how to use chisels in the process!) The exterior finish has gone slower than I thought it would, but I'm starting to get the hang of it and I think the pace will pick up next week. It feels so good to be working outside and I am immensely grateful to be spending my summer this way!

How Many People Can Fit in a Tiny House?

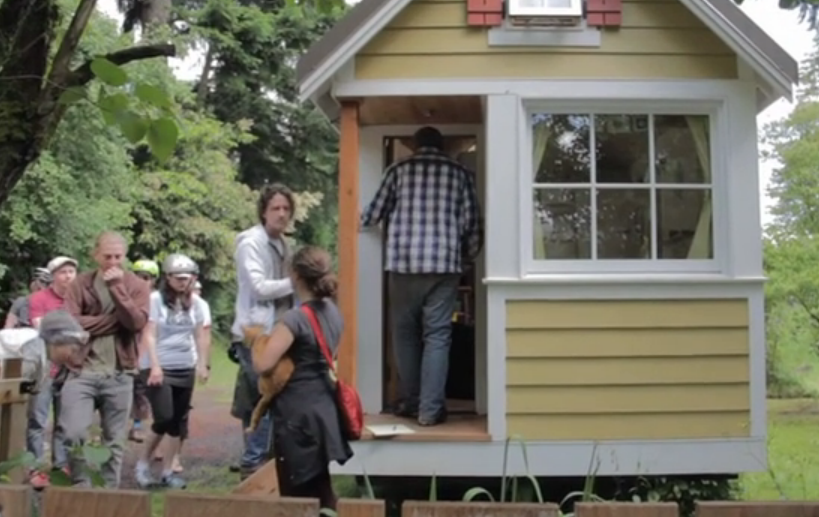
Turns out, you can fit more than 100 people into a tiny house... if they take turns. We figured that out during the Pedalpalooza Tiny Home Bike Tour on Saturday, June 24th. Despite the threatening weather more than 100 people showed up for the four-hour tour of five tiny houses. Since all of the houses are smaller than 200 square feet we had four waves of the tour so we could spread out the crowds. Logan, Ryan, and Lale took the first group, Kol and Deb led the second group, Eli headed up the third group, and Mark and Leslie brought up the rear with the fourth group. Thanks, tour leaders!

The weather cleared as the morning went along, making it a lovely day for a ride. By the time our tour met up with the Sunday Parkways along the bluffs in North Portland, we had a gorgeous afternoon for a question and answer session. It was fantastic to see collective knowledge being shared amongst tiny house enthusiasts. I also really enjoyed watching connections being formed as people said to each other "Oh, you're so-and-so! I've heard so much about you!" Special thanks go to the tiny house dwellers who opened up their homes to make this tour possible.

Dozens of people have now joined our Tiny House Network Google Group and our Portland Tiny Houses Facebook Group. We invite you to join us, too!

Pedalpalooza Tiny House Tour on Sunday, June 24th

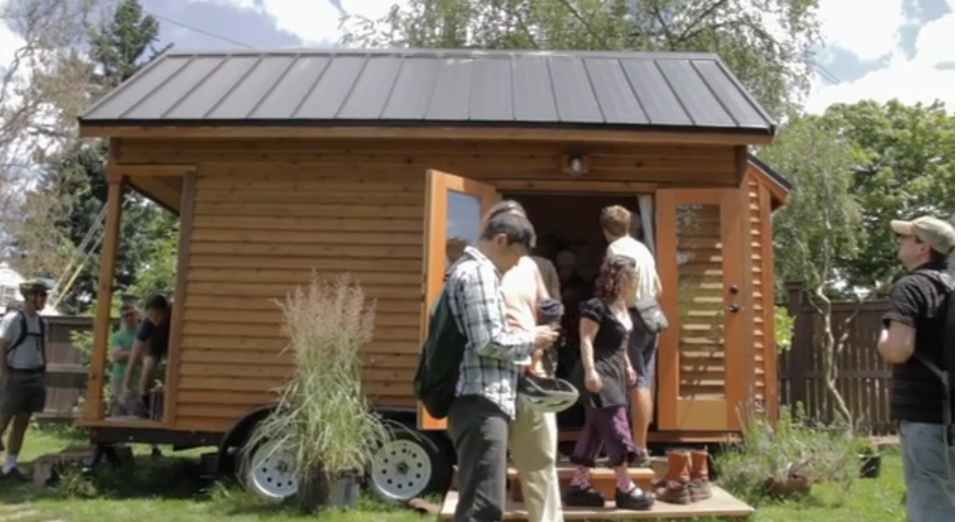
tiny house truck Five Portland Tiny Houses will be featured in the Pedalpalooza Tiny Home Tour on Sunday, June 24th from 10:00AM to 1:00PM. The tour is guided and meets at Rigler Elementary School (5401 NE Prescott Street). The tour will be led by tiny house dwellers and designers and it will wrap up with an information session so any additional questions can be answered.

The featured homes include:

Join in on the bikey fun and get inspired to live little!

Top 10 Reasons to Pick Envi Heater Over Propane Marine Heater

Envi electric heater After a recent tiny house workshop in Portland, one of the participants followed up to ask why I prefer my Envi electric heater over a Dickinson Propane Marine Fireplace. I gave him my top 10 list and realized I should share it here, too.

1) Electric heater is silent. Propane heater fan makes lots of noise and it doesn't seem to heat well without the fan on. 2) Electric heater is so slim and unobtrusive most people don't even notice it. Propane heater takes up considerably more room and requires clearances. 3). Electric heater can be installed in moments and packed away for the off-season (though I probably won't bother). Propane heater is mounted there permanently, even during the off-season. 4) Electric heater requires a nearby outlet but no other pre-planning. Propane heater requires a gas line run to the spot and planning during the design for proper clearances. 5) Electric heater requires no venting or penetrations of the house's thermal envelope. Propane heater requires penetrations through the roof. 6) Electric heater uses 475 watts of electricity and in the Pacific northwest most electricity comes from renewable sources (dams have their own issues, but still...) Propane heater requires fossil fuel.

Dickinson Propane Boat Heater

7) Electric heater does not exacerbate my slight pyrophobia. Propane heater is sometimes tricky to light so flame makes me kinda nervous. 8) Electric heater is cool or warm to touch but not hot. (I do occasionally hang a towel on a hook above it to pre-warm the towel.) Propane heater gets hot so I can't set things on top of it, but there's a nice little flat top on it so it's very tempting to set things down there! 9) Electric heater can be plugged into a timer. Propane heater cannot be plugged into a timer. Electric heater can also be left on when I'm not home or need to run an errand so that the house is warm when I get back. Propane heater can't be left on when I'm away. 10) Electric heater retails at $130. Propane heater retails at $1119.

The main advantage of the propane heater over the electric heater is ambiance. The flickering flame is cool! So I run the electric heater and light candles for ambiance.