Tiny House

Picking Up Our Tiny House Trailer

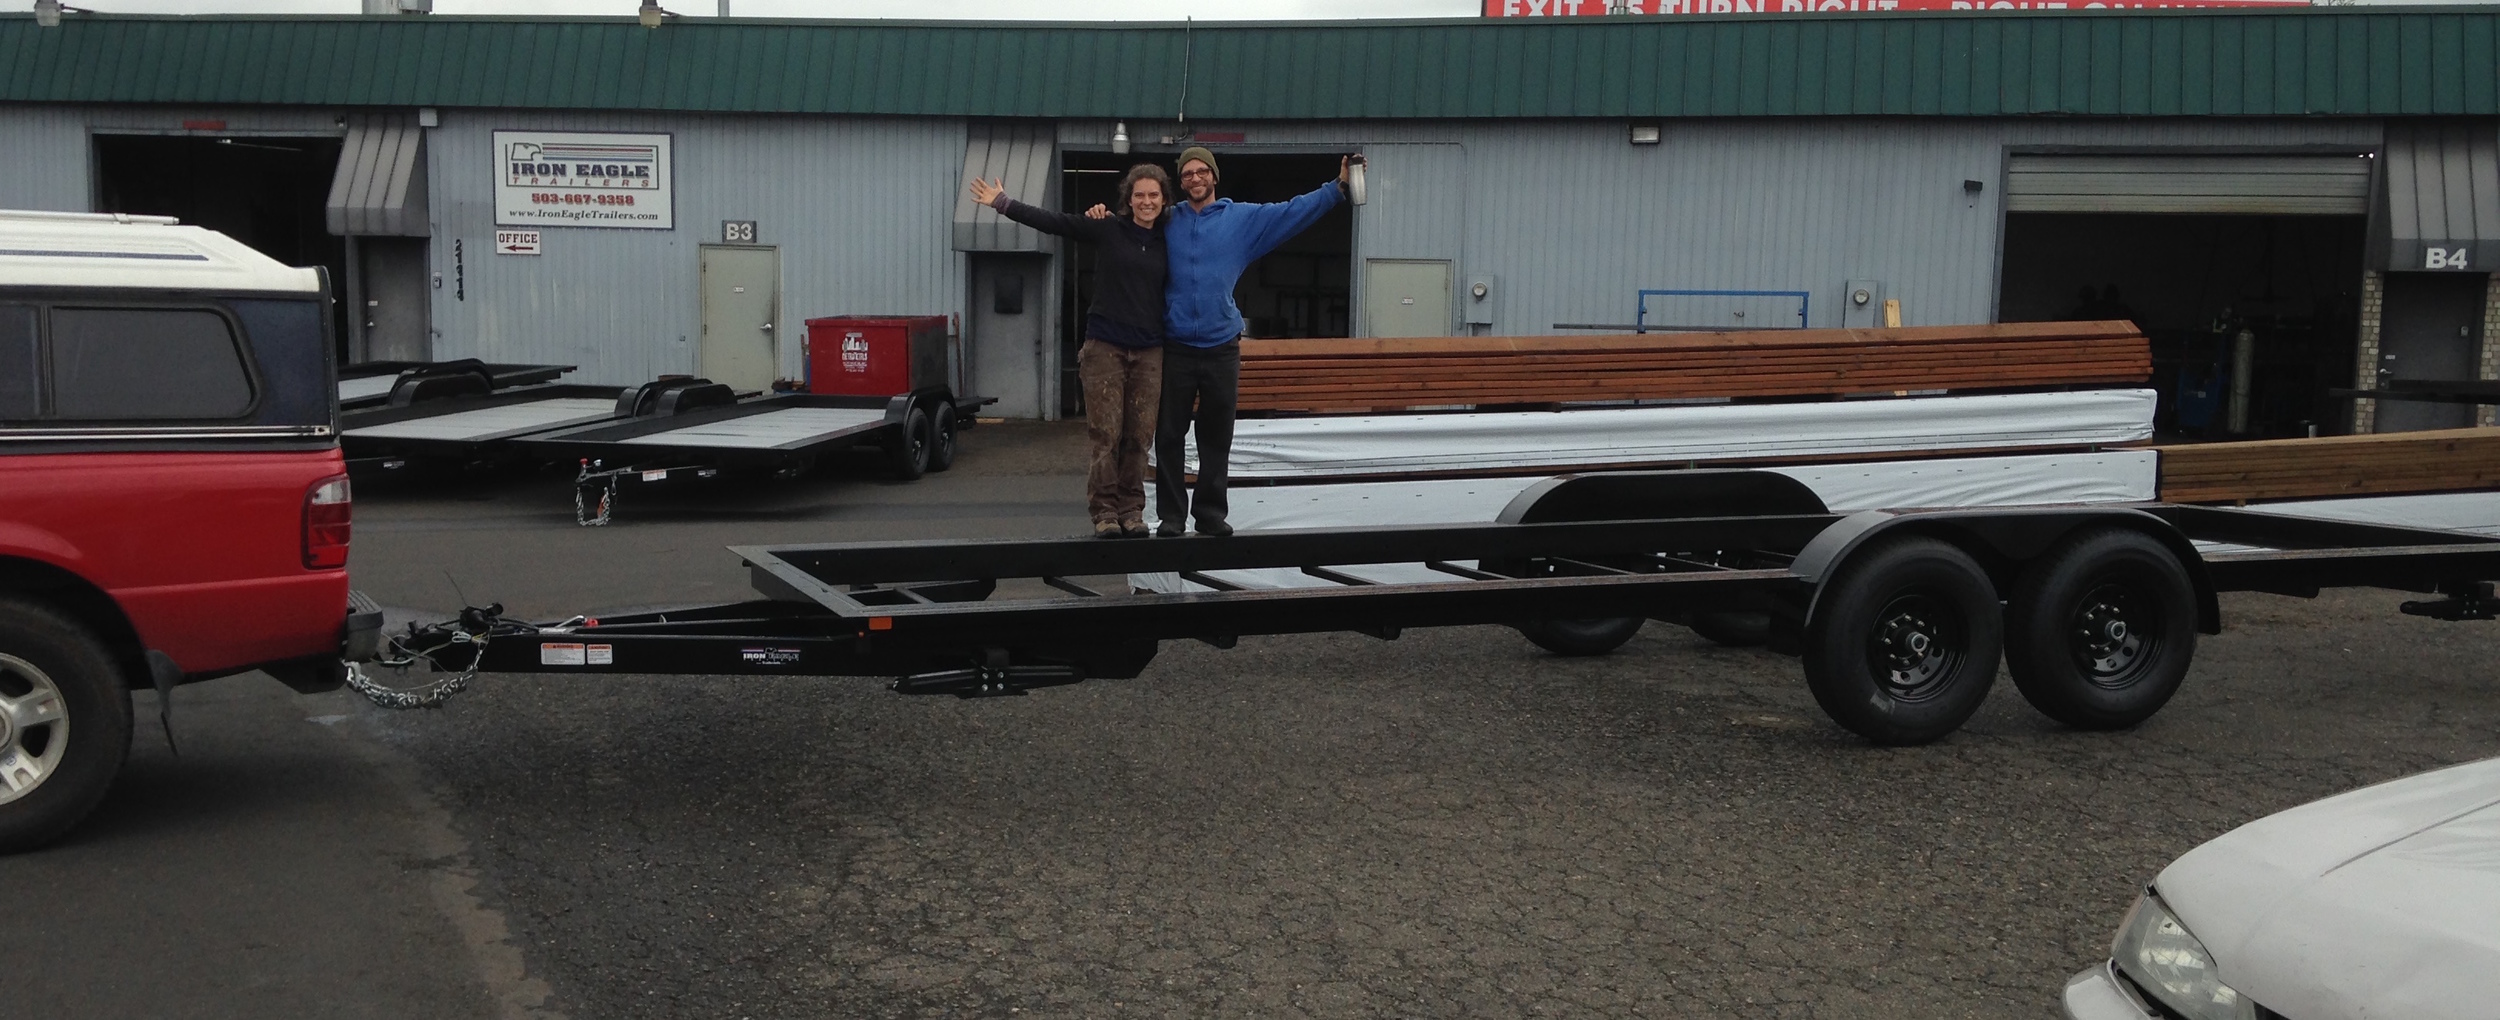
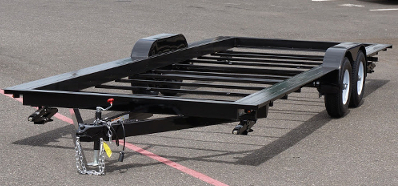
Ready to drive off with our tiny house trailer! Here we go again!

On Friday Isha and I rented a truck from one of our landies at Simply Home Community and drove over to Iron Eagle Trailers to pick up our trailer. For those of you who haven't yet built a tiny house, this is the equivalent of a groundbreaking. It's a big deal because getting the trailer to the build site is the very first thing we do to make the build real.

Lina & the new tiny house trailer

When we arrived at Iron Eagle we were amazed to see how many tiny house trailers there are in the yard right now! Dozens of folks have ordered their trailers and will be picking them up shortly, so it looks like Isha and I will be in good company with our build this summer! Iron Eagle has gotten so backlogged on tiny house trailer orders the past couple years that this winter they actually built a few extra so they'd have them in stock when tiny house build season began. Right now they have a handful of 20' trailers, 24' trailers, and 28' trailers available, so you could pick up a tiny house trailer tomorrow! (Tell Rob I sent ya to get a discount, too!)

From a 4 Prong to 7 Blade

We gave our 24' long, 8'5' wide PAD series tiny house trailer the once-over and then signed our paperwork with Mary in the office. Rob helped us get the trailer connected to the truck but we then discovered The Hiccup. (See A Tiny Move for My Tiny House for more about discovering The Hiccup): we realized that we had a 4 prog light connection on the truck and a 7 blade RV style connection on the trailer.
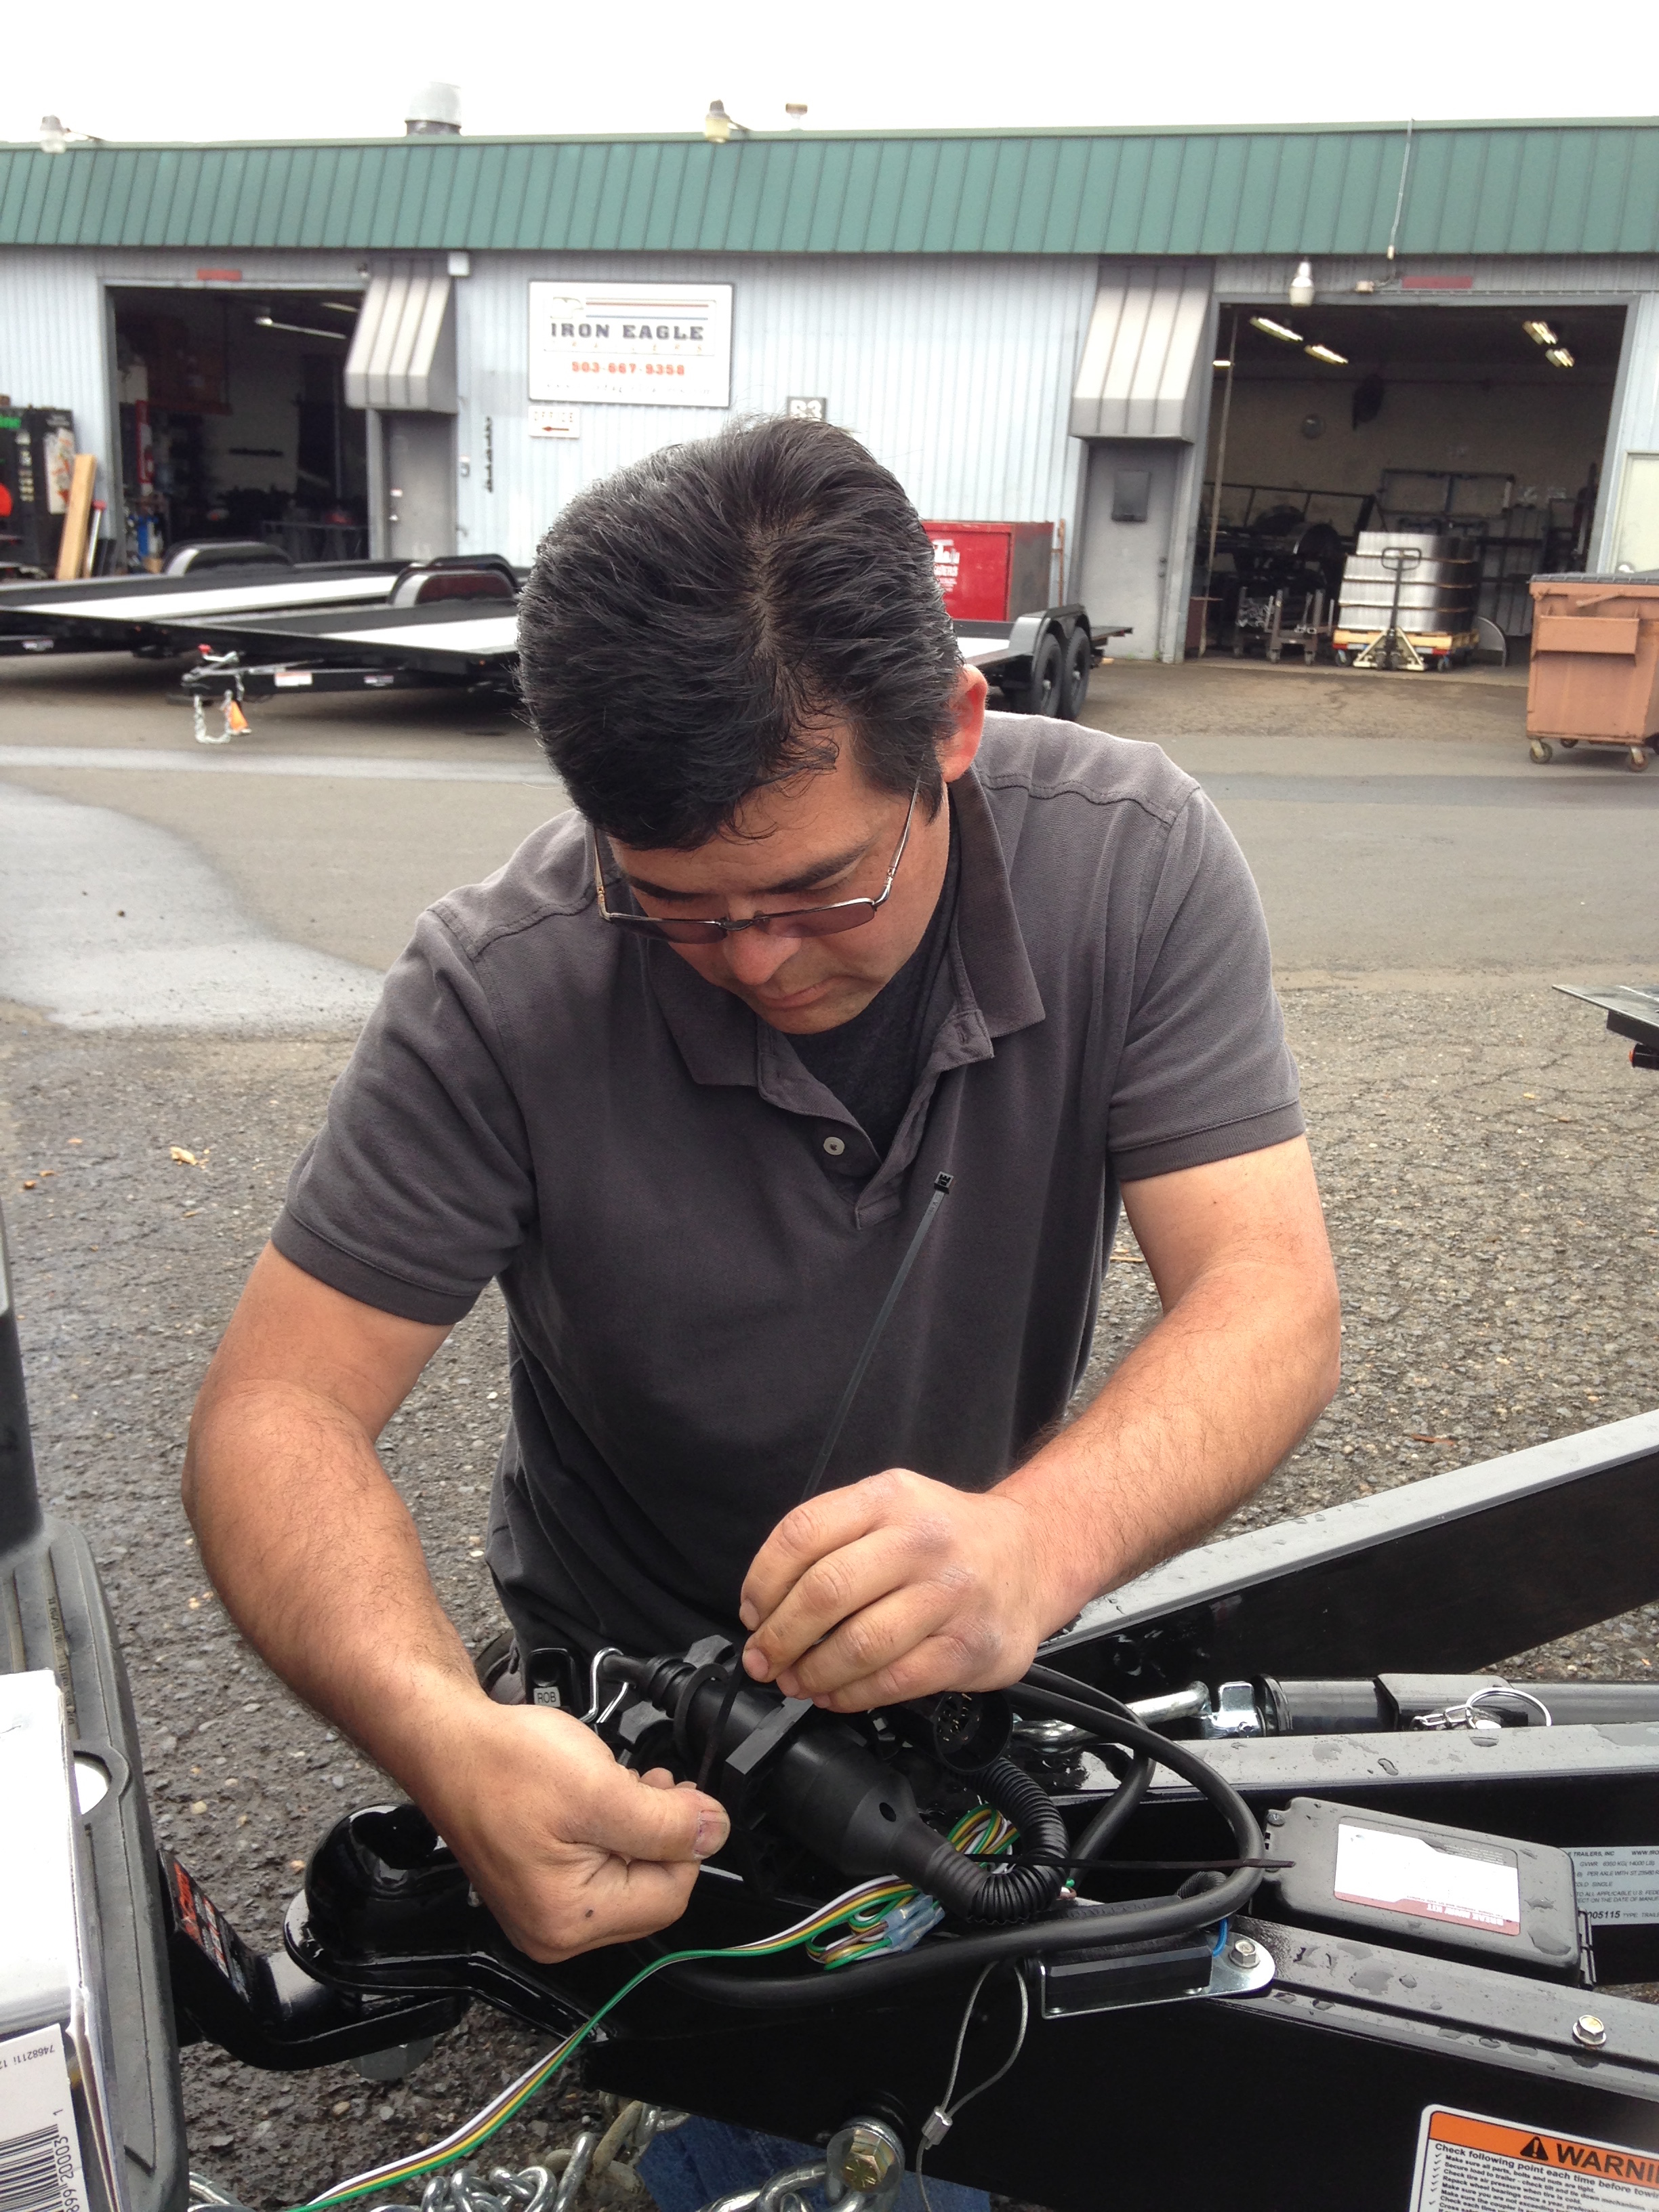
Rob Connecting Trailer LightsFortunately, there's a hardware store just a few blocks away that sells the adapter. Unfortunately, they were sold out of have the adapter we needed. Fortunately, Isha was able to figure out which parts we could use to piece it together and when he handed them to Rob, Rob said "Okay, just give me a moment!" Rob came back less than 5 minutes later with a Frankensteined contraption that worked perfectly to connect the truck lights to the trailer lights.

And we were off! We swung by Winroc SPI (AKA Paragon Pacific) to pick up the insulation for our floor system. It was raining by then (of course! thank you, Murphy!) but we managed to get our insulation strapped down to the trailer (and our eyes peeled for rainbows!)

Then Isha and I parted ways for a couple hours. I dashed off to do an on-site consultation for a family exploring the possibility of putting an ADU on their property. Despite the rain, we had a great time talking through their options.

Tiny Houses under construction at Green Anchors

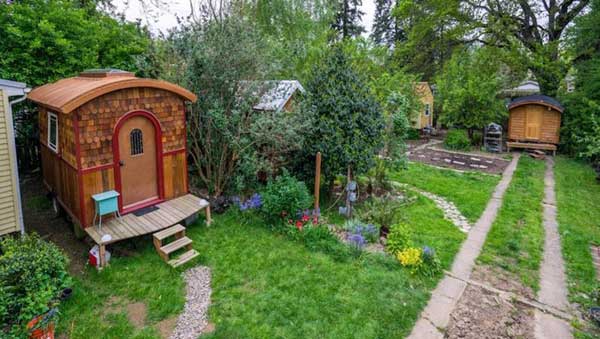
Meanwhile, Isha drove our tiny house trailer down to our build site, Green Anchors, where Matt helped him get oriented to the tiny house cluster. There are 7 tiny houses under construction at Green Anchors right now and one other bare trailer besides ours. Matt says there are at least five more coming. It's so cool to see this exponential growth! The year before I built The Lucky Penny at Green Anchors, there was one tiny house (Nicholette and Mitchell's tiny). The next summer my build buddy Laura Klement and I built our tiny homes side-by-side. Last summer there were a handful of tinies constructed at Green Anchors. And this year there will likely be a couple dozen. Woohoo!

Lina & Isha's Trailer DeliveryFriday evening Isha and I reconnected at Green Anchors to tarp our trailer and get me oriented to site. We celebrated our trailer delivery - and date night - with dinner at Proper Eats. Today we'll be getting ourselves set up on site in preparation for tomorrow's T42 Build Blitz.

And so it begins! (If you'd like to help out with our build, please let us know when you can join us!)

April Showers Bring May Flowers

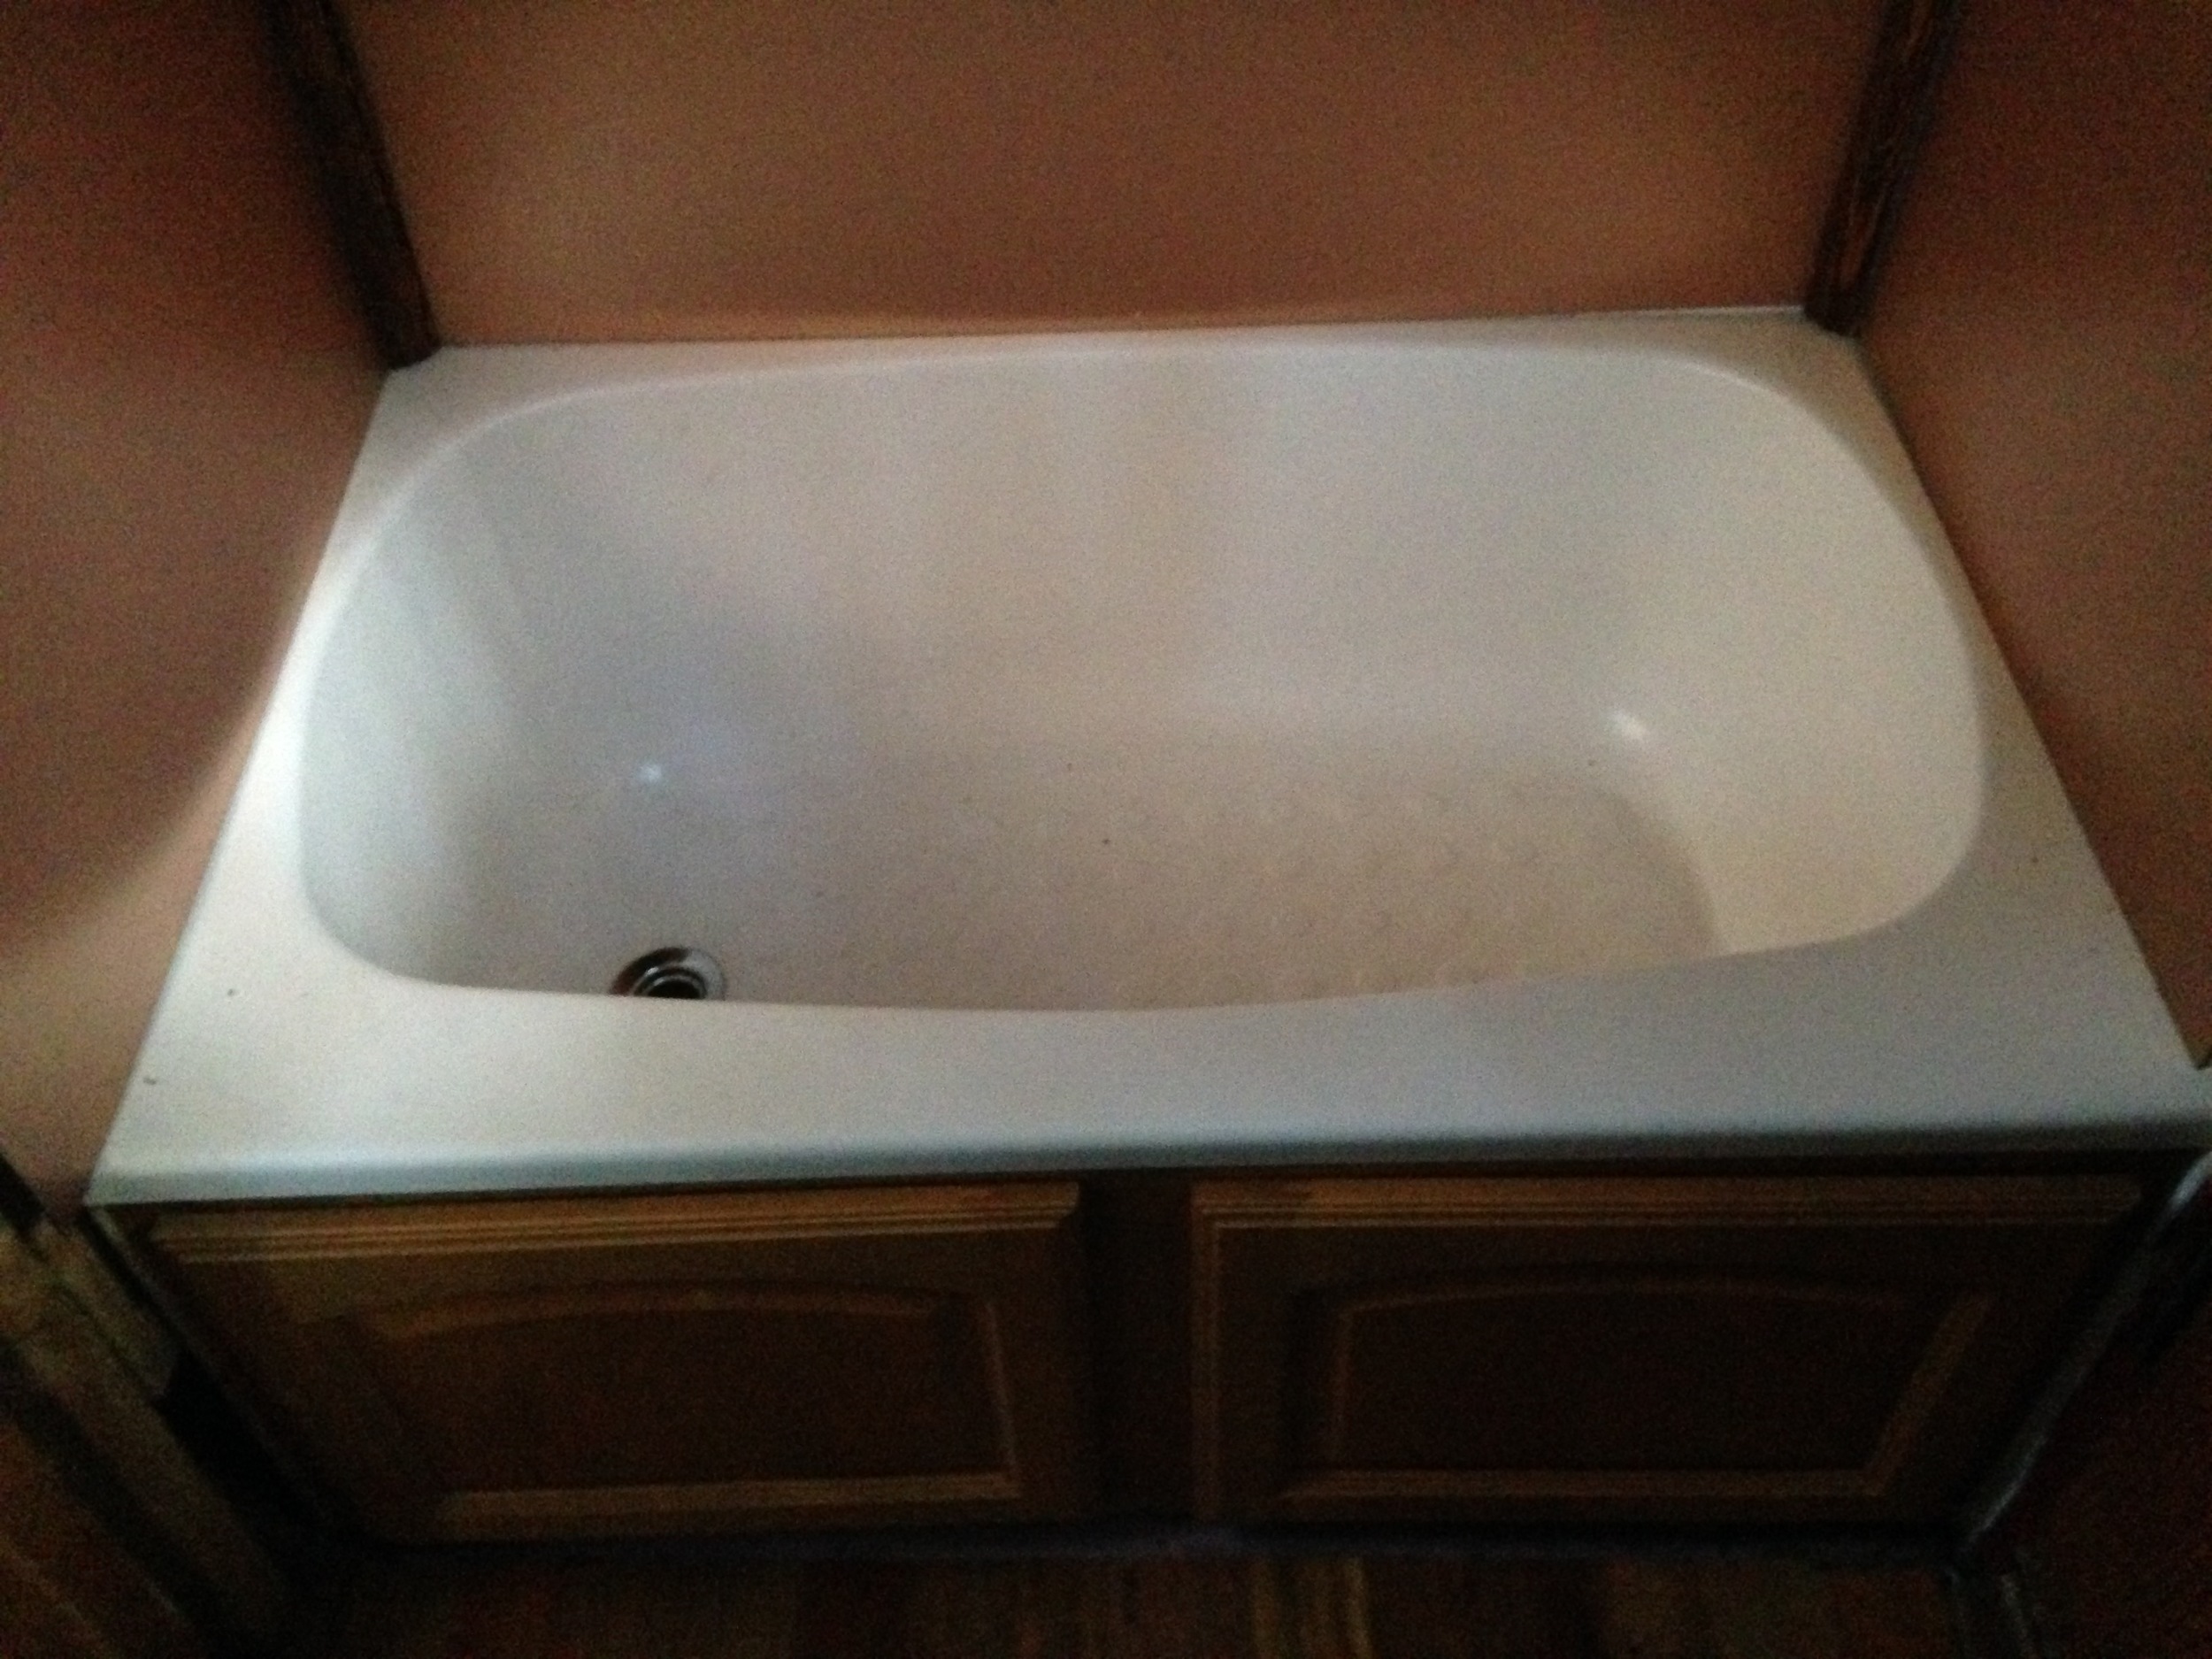
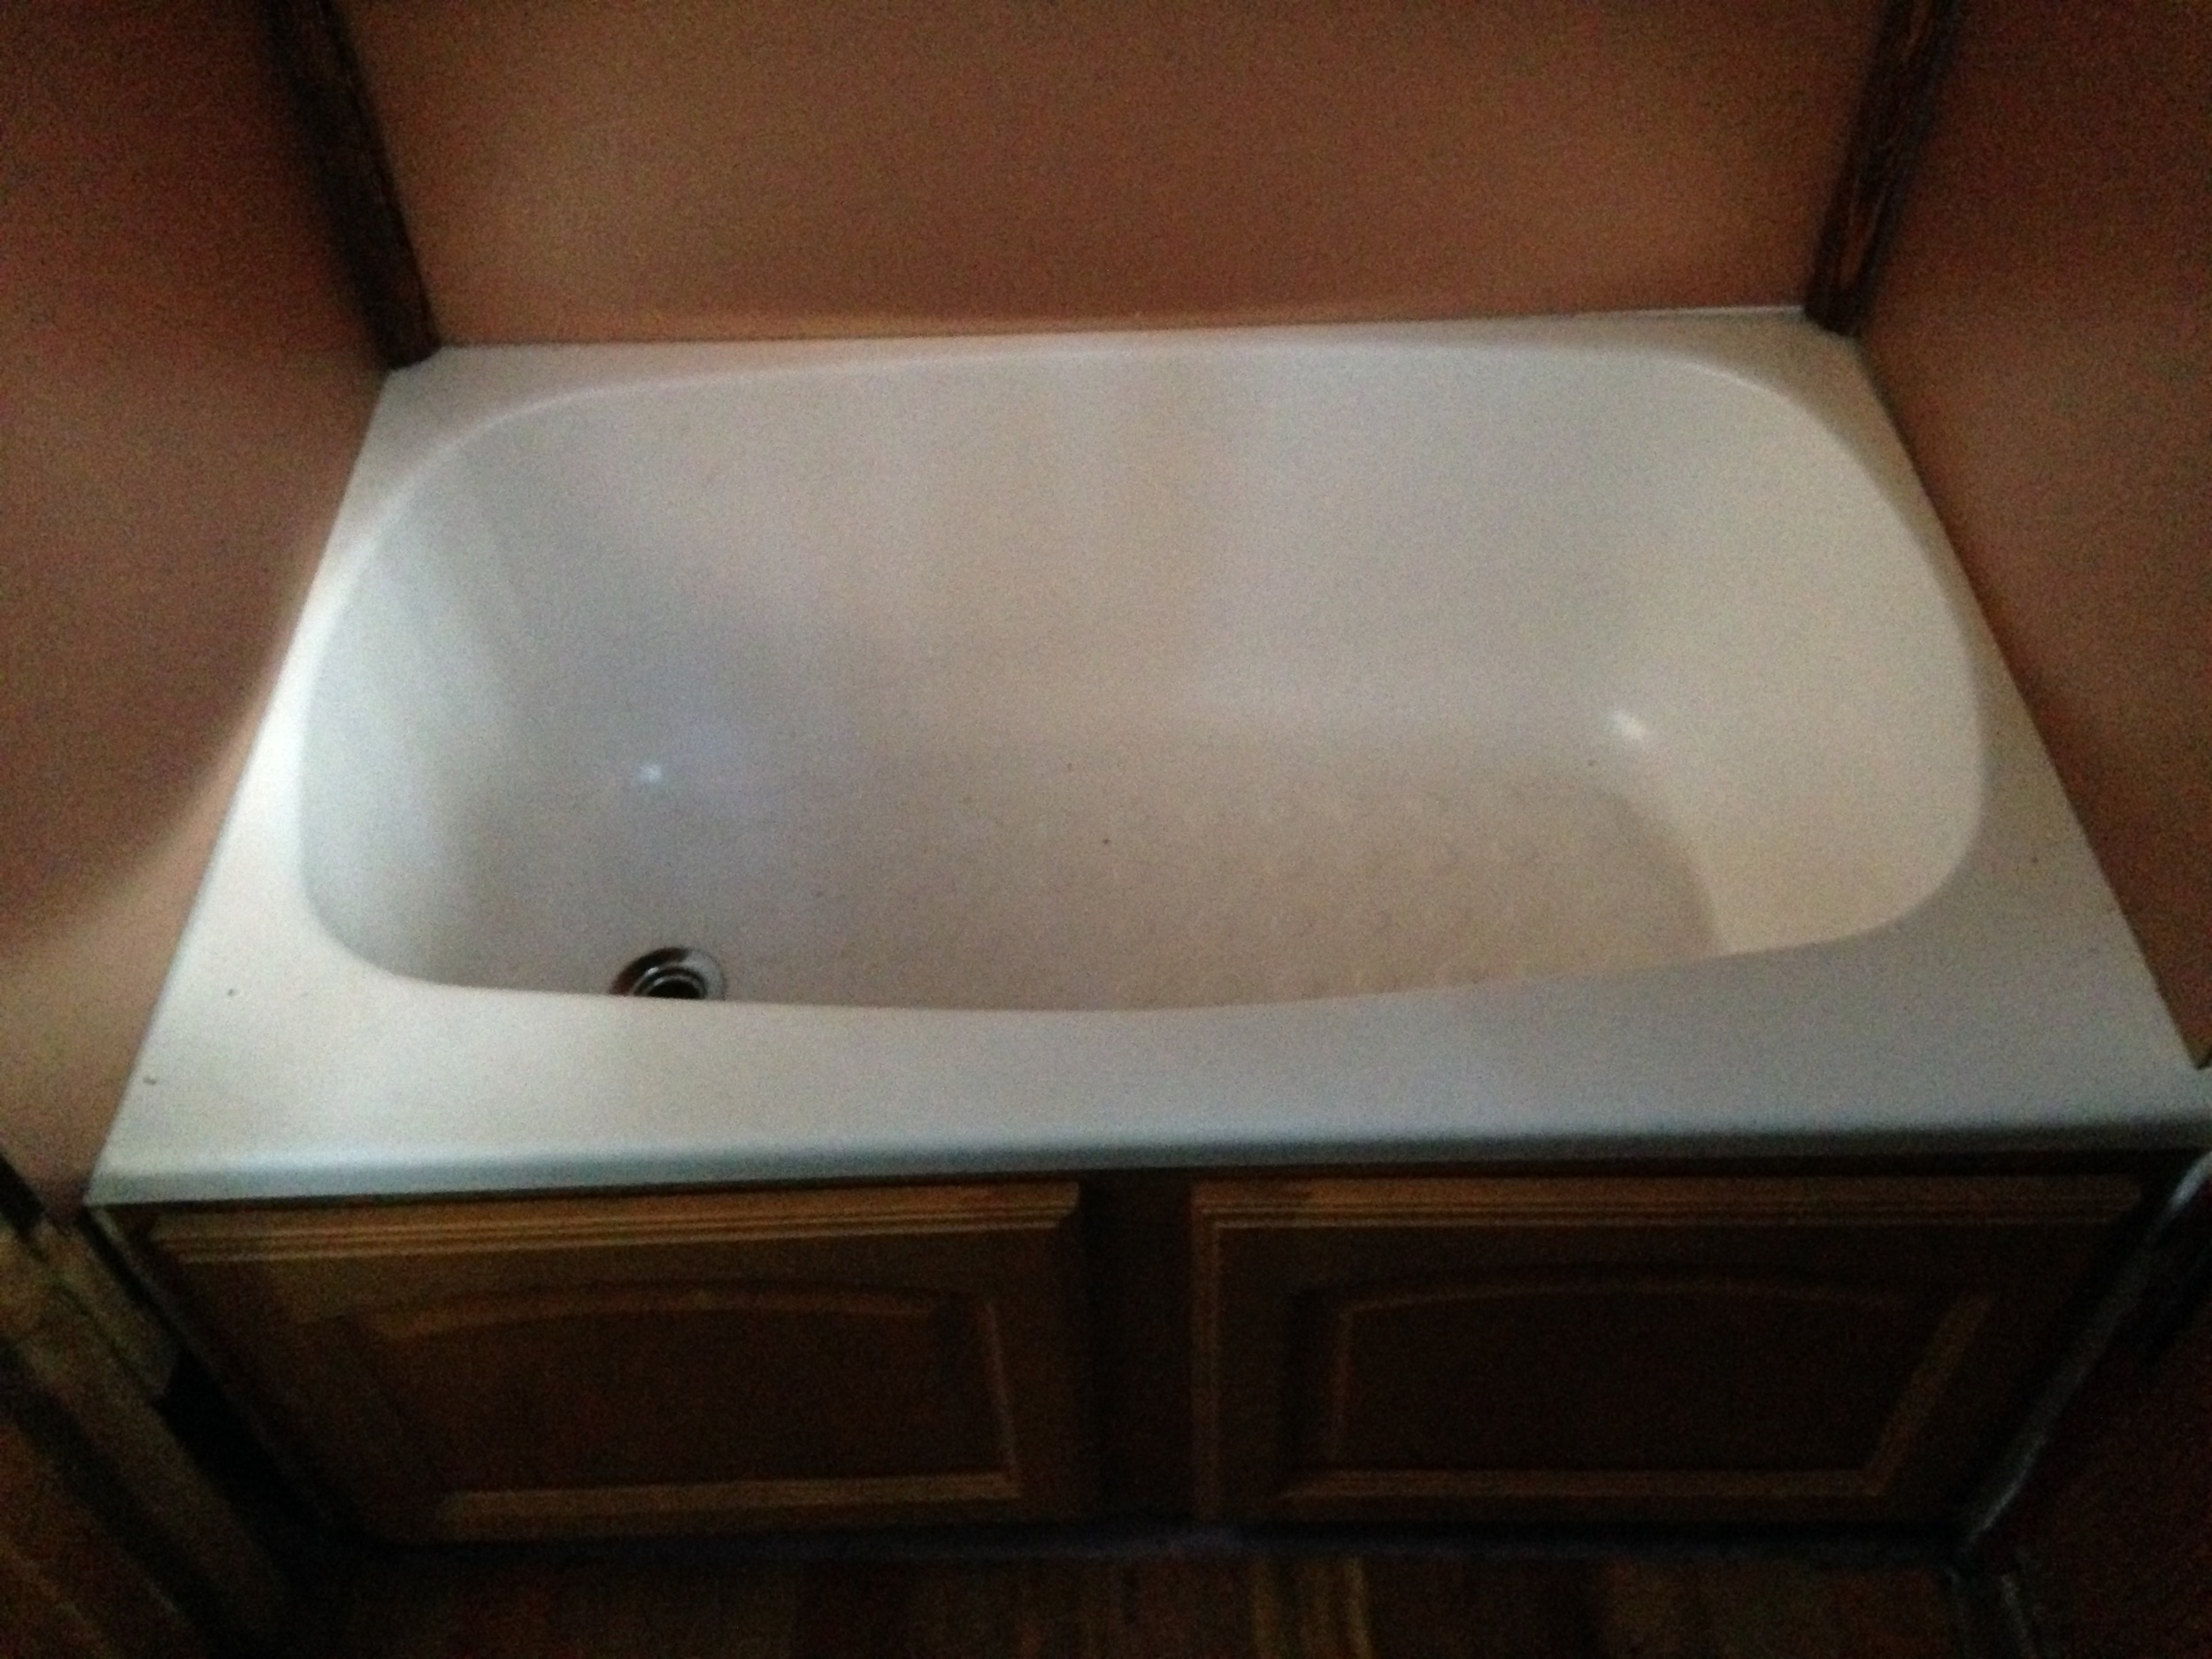
Tiny Tub & Copper Paneling When they say "April showers bring May flowers," they're talking about spring rains, but with my new Garden Beds & Graywater set up, the showers I take in April really will contribute to the success of my flowers this May. Let me explain...

Over the past year and a half that I've been living in my tiny house, The Lucky Penny, I've never gotten around to finalizing my shower because it's easy enough to shower in The Big House at Simply Home Community, which is just a few dozen feet away. However, it's always been my intention to have the shower set up so that it can be used when The Lucky Penny is located in a place where there isn't such easy access to a shower.

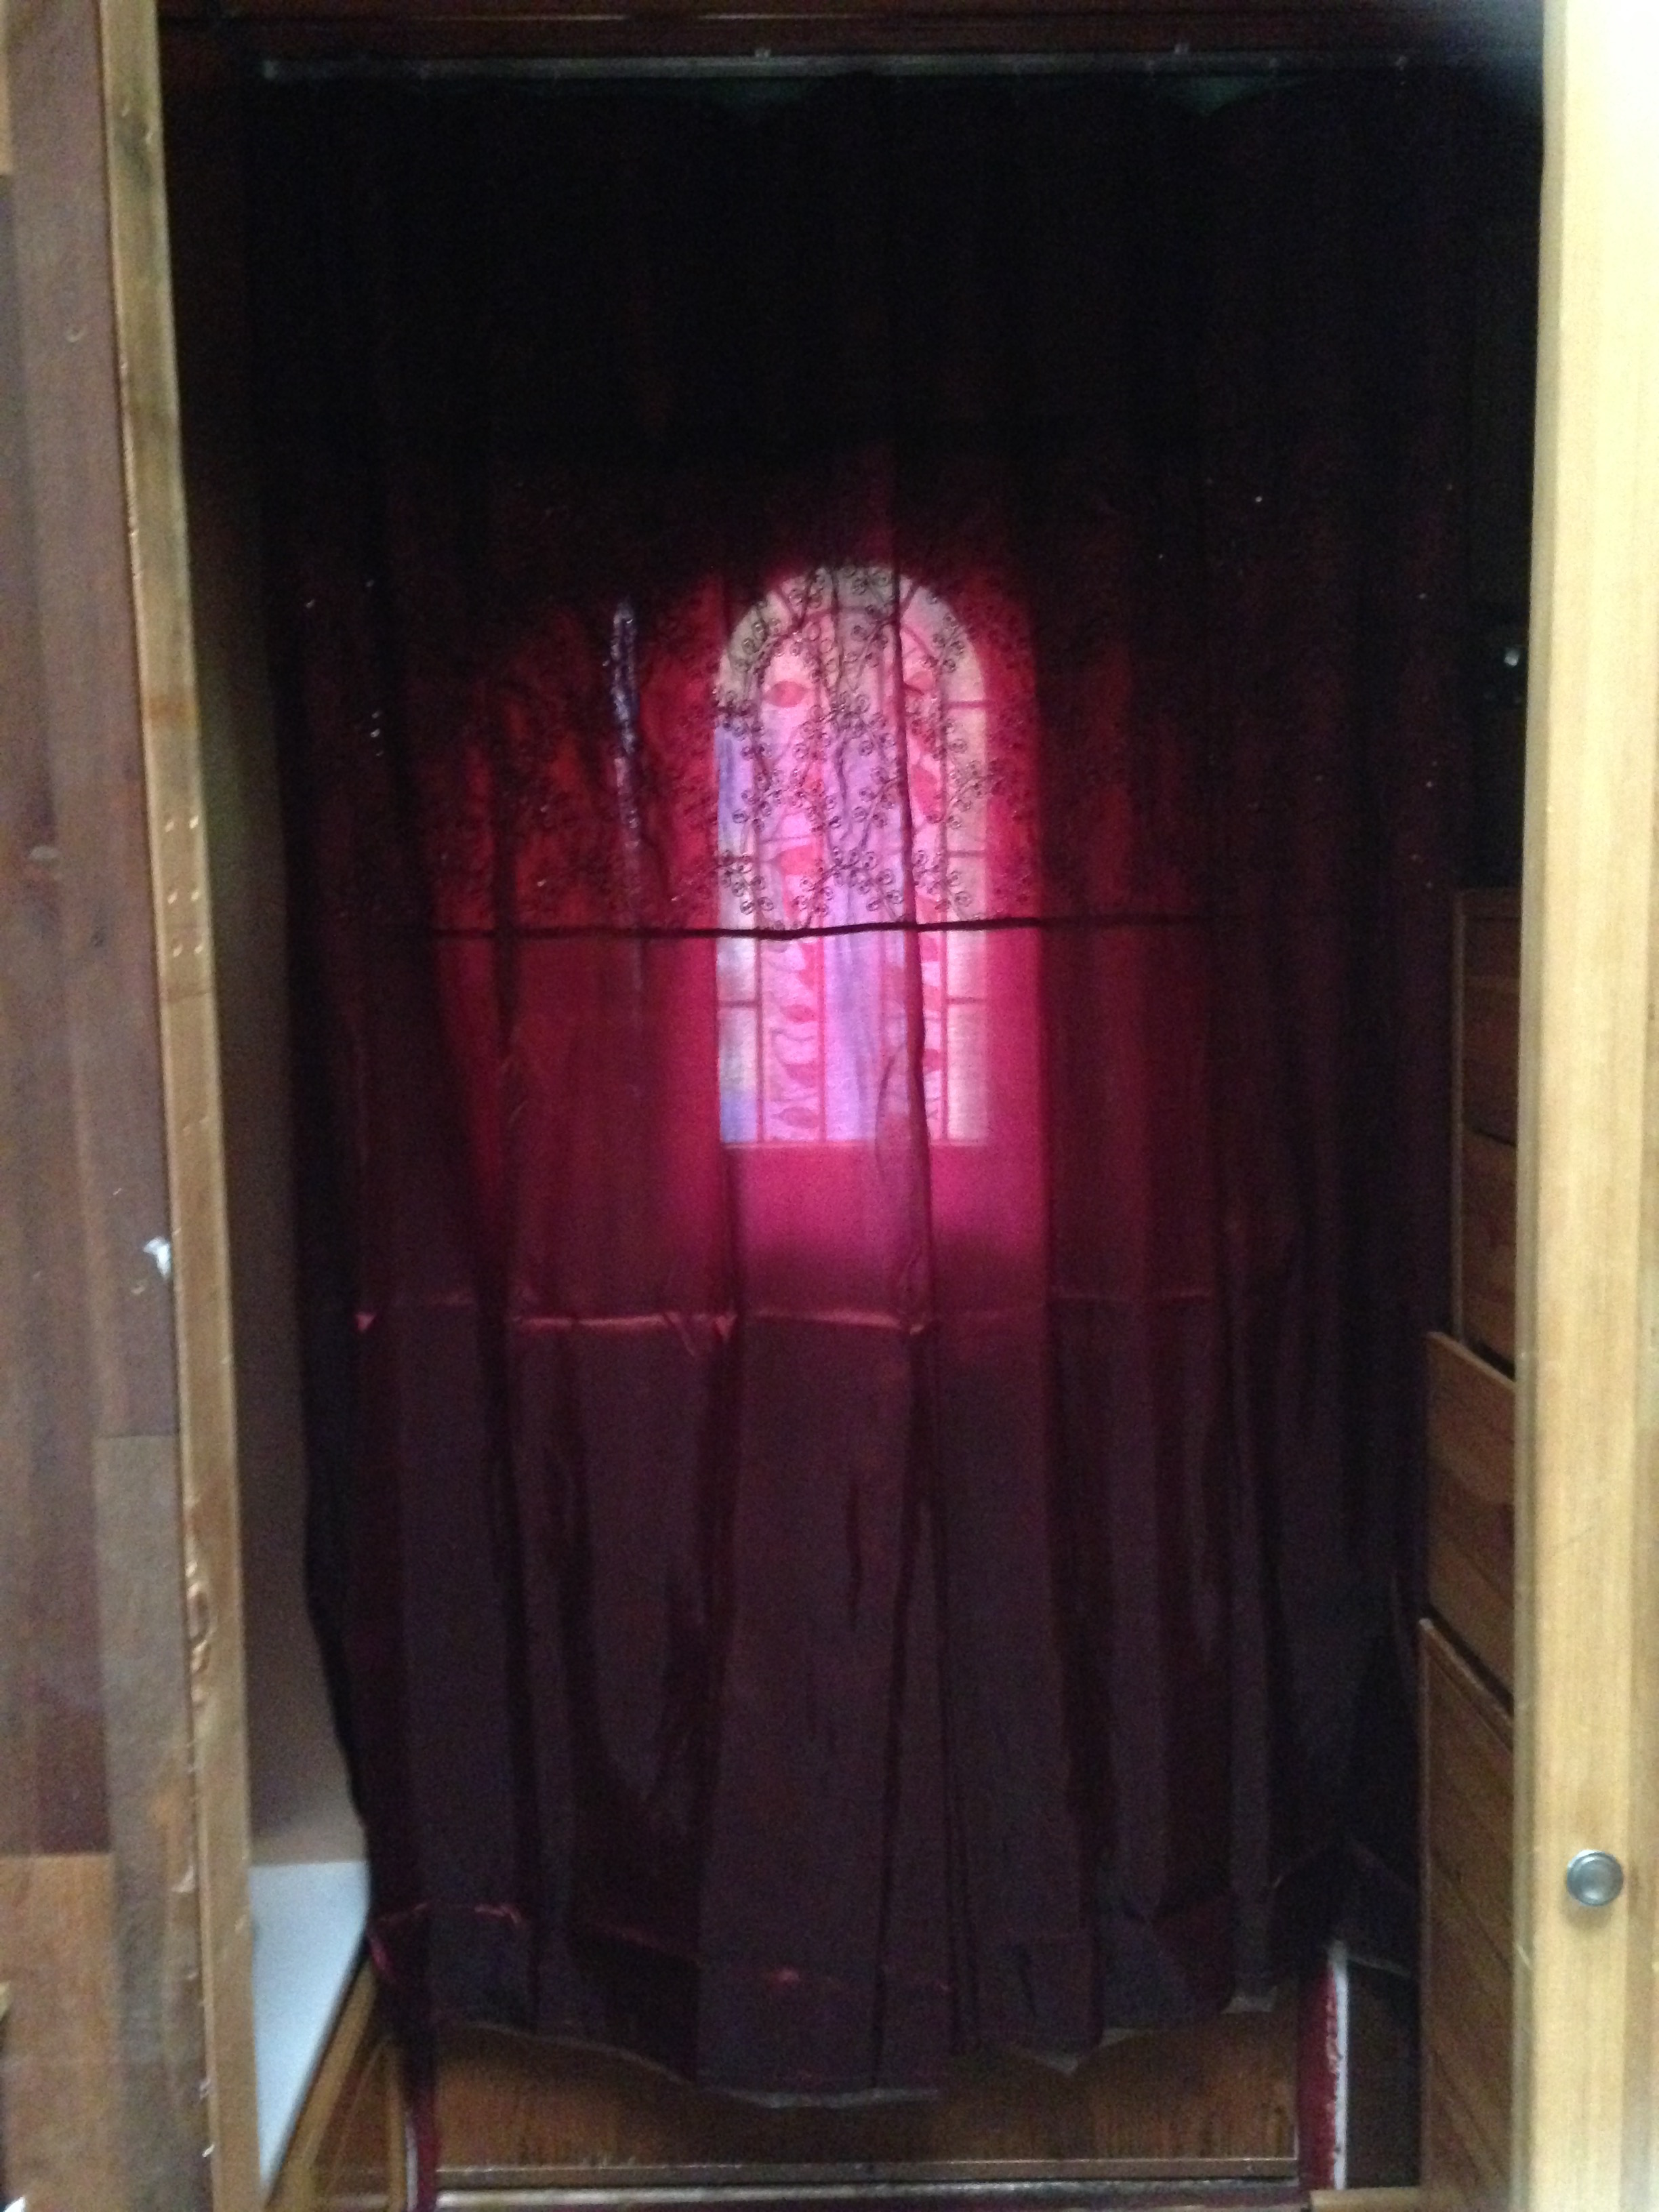
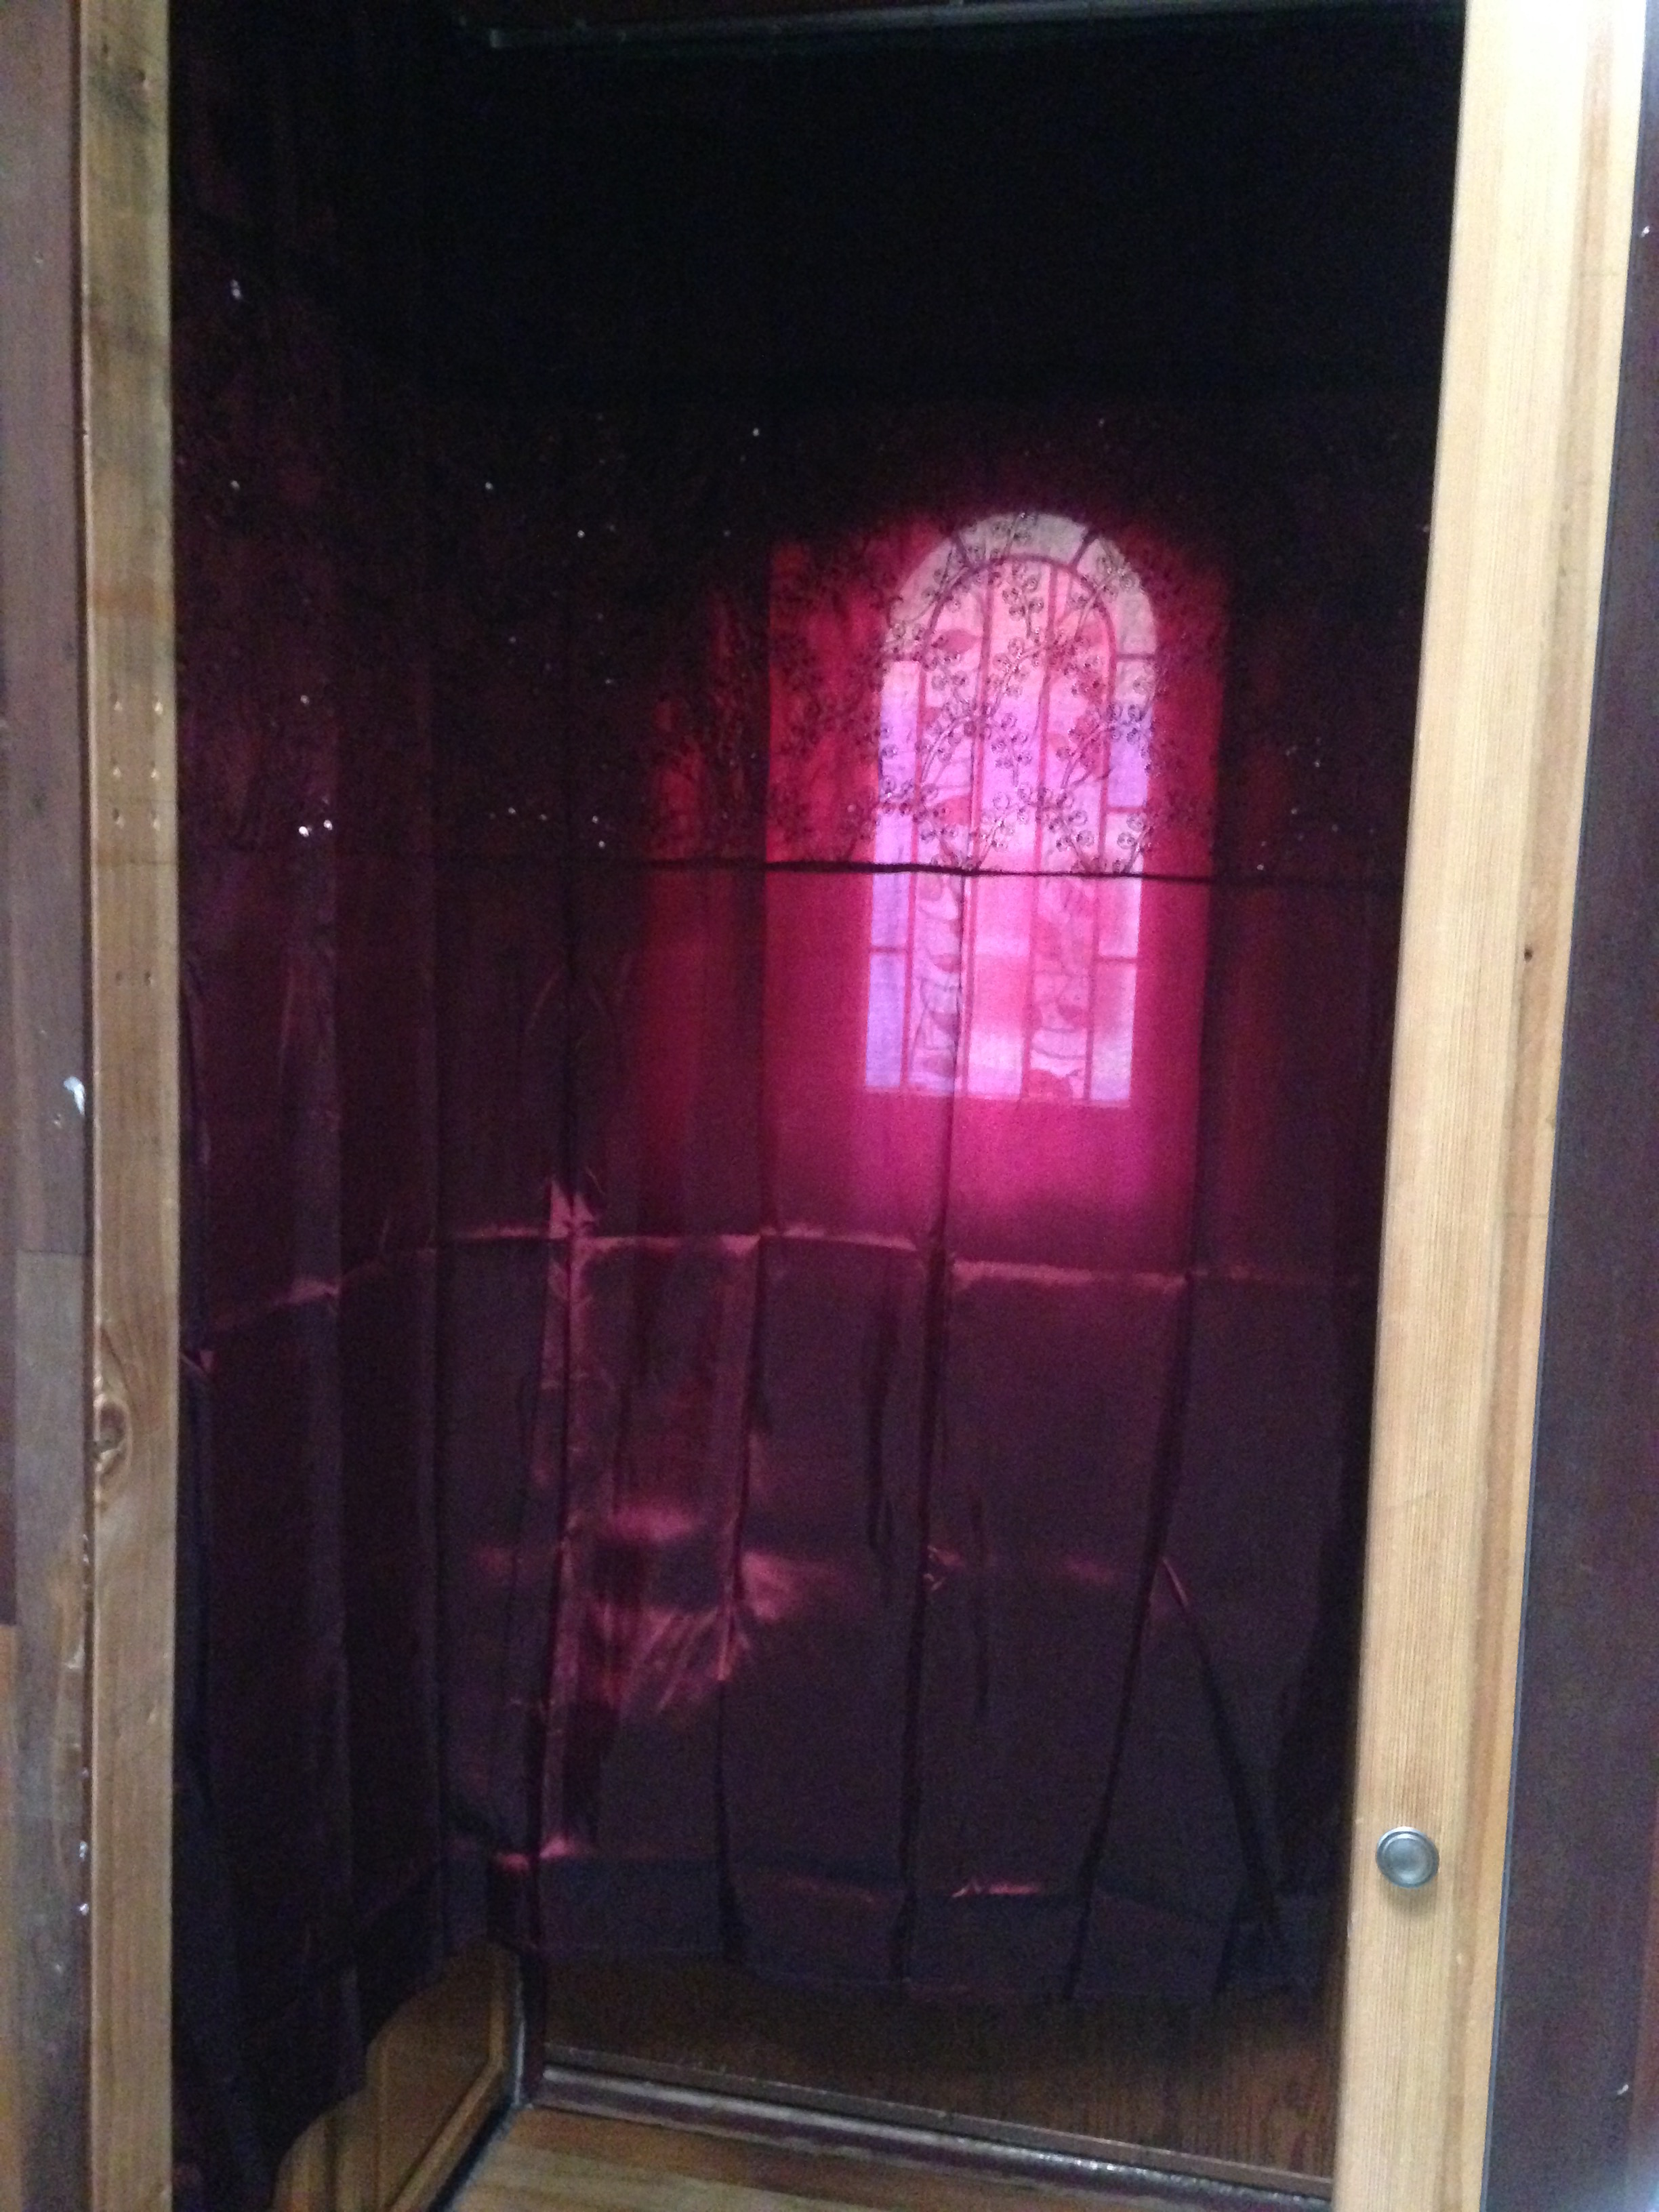
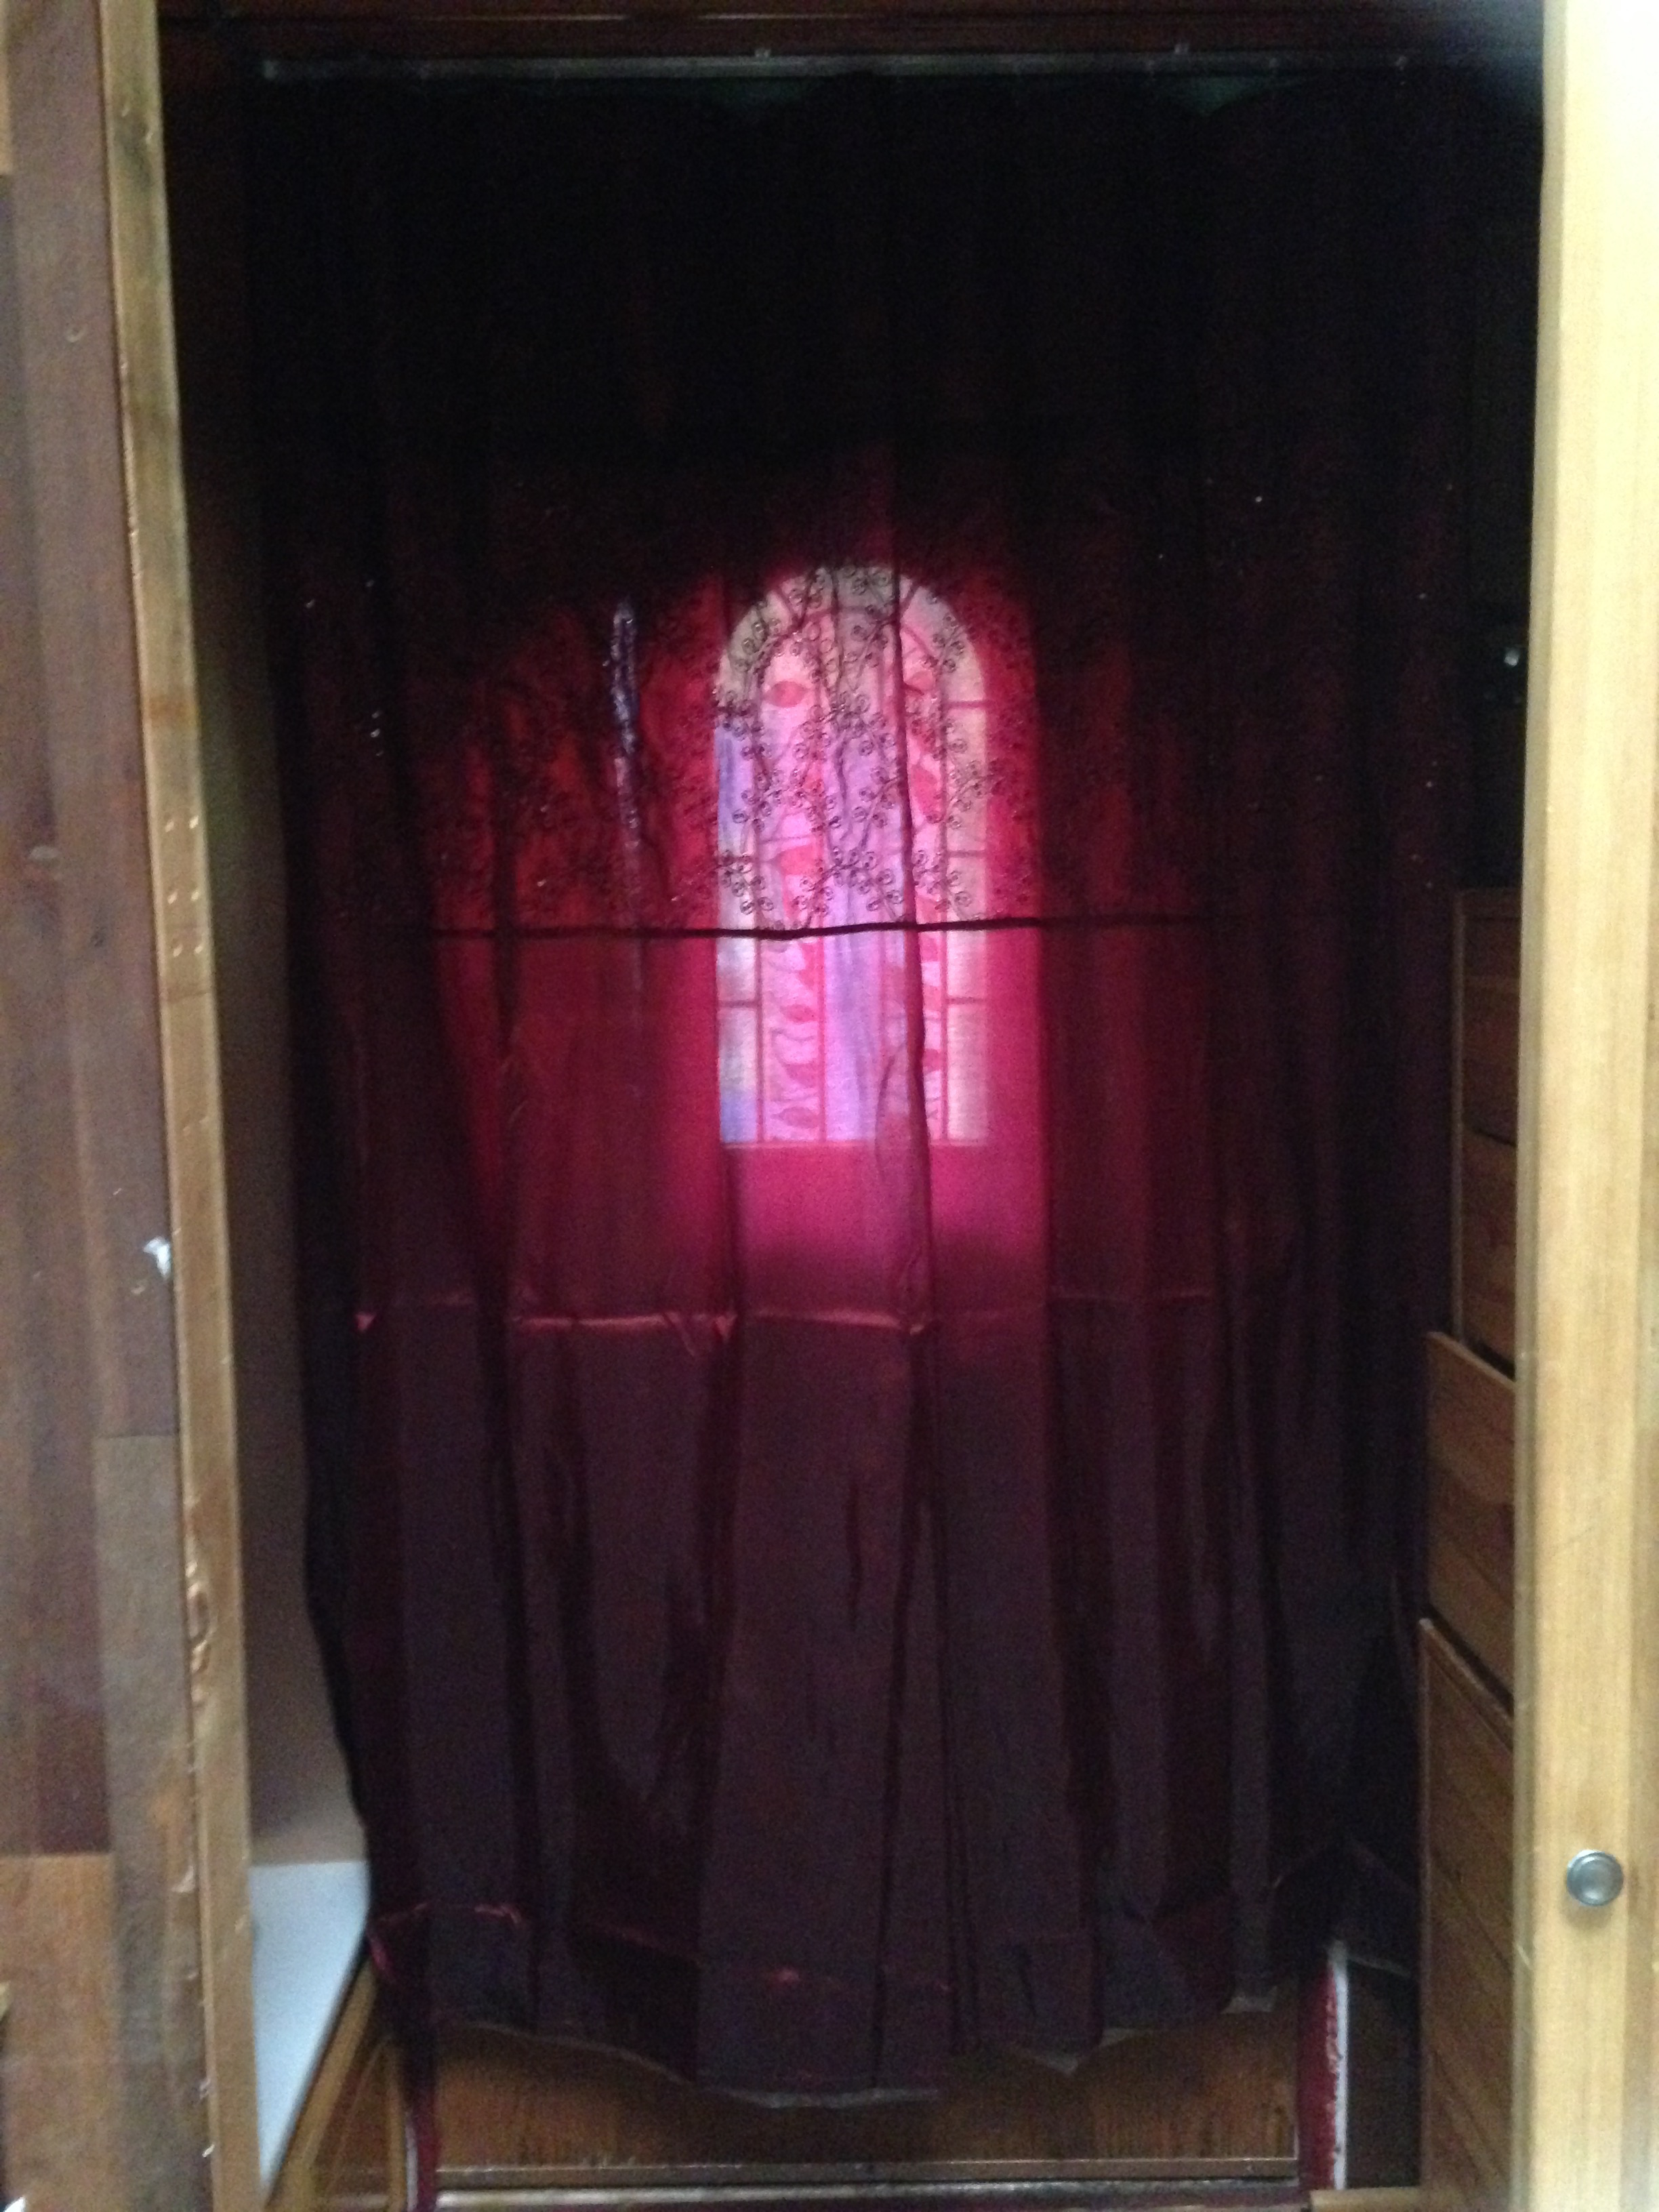
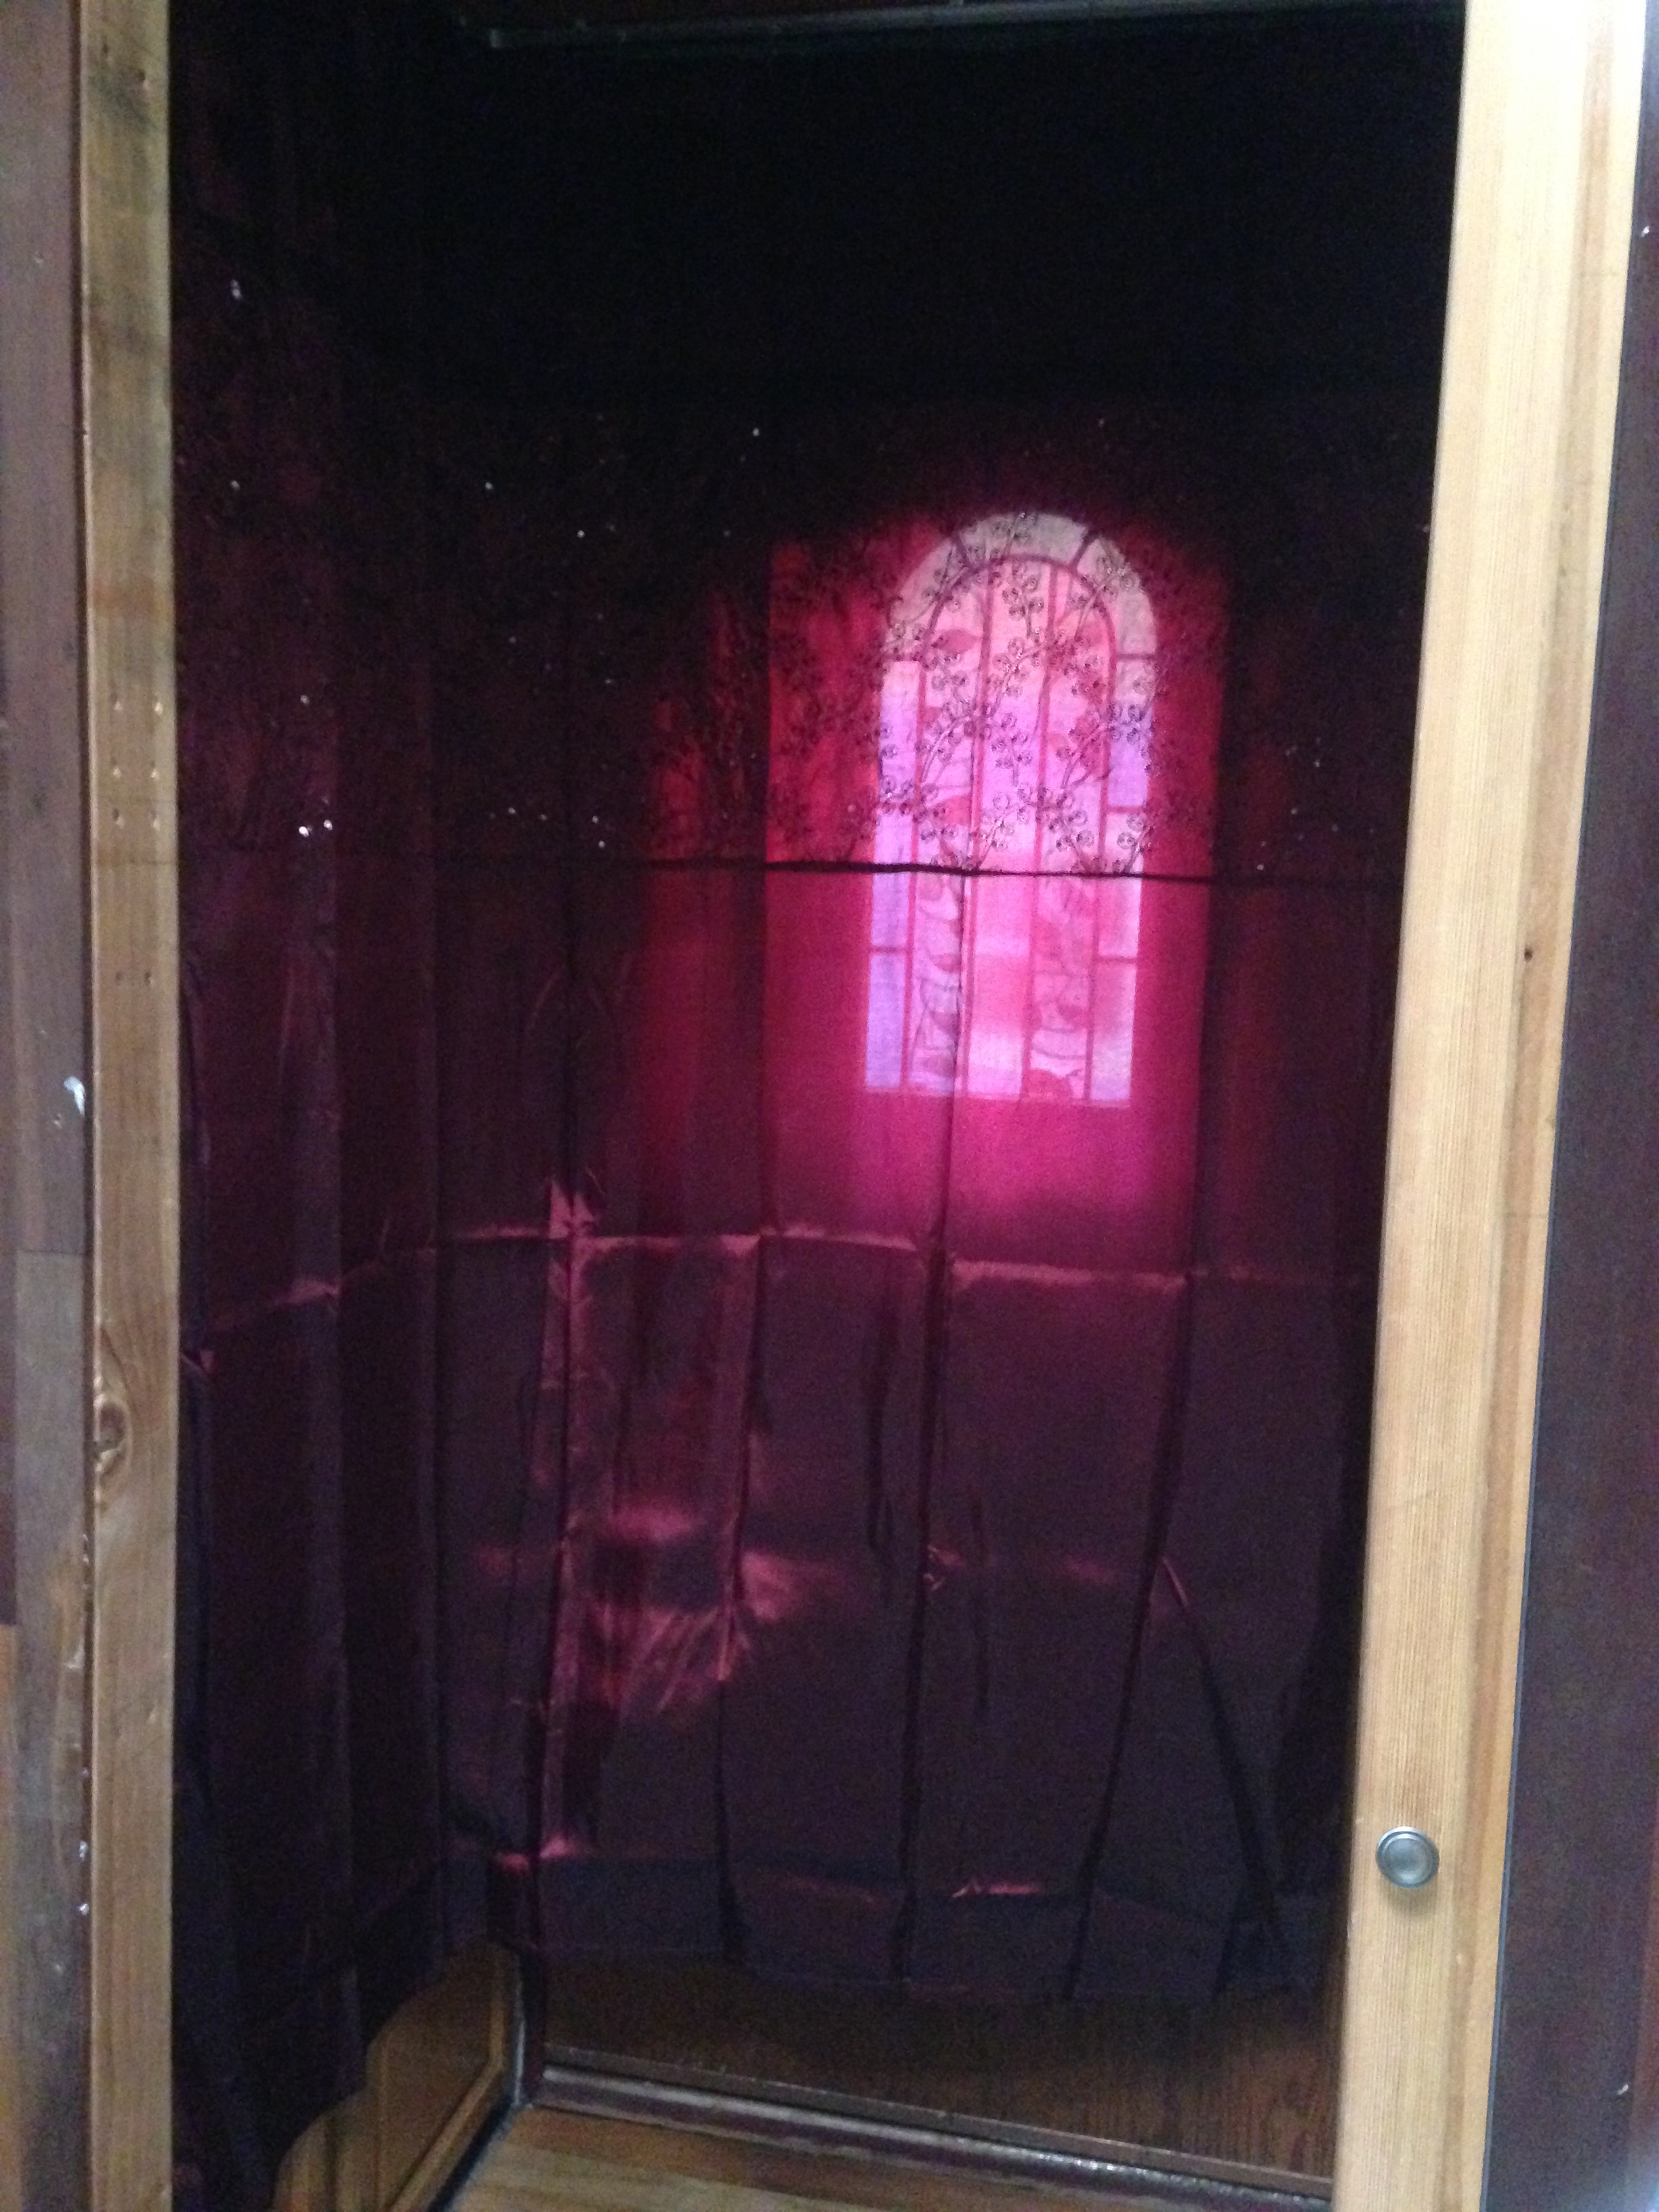
Entry Curtain Over Shower

I've now made three pushes to get my shower set up. The first time was more than a year ago when I got everything almost ready, minus installing and caulking the corner trim. Then something I did under the house broke something inside the system, which meant that I had to tear everything out again and basically start over. It took me a while to muster the energy to tackle it again. In late February this year Isha helped me get my shower mostly set up by dismantling and then reinstalling my shower. We also took the opportunity to raise the floor in the entryway by 2" so that it matches the floor in the rest of the house. The height difference had always annoyed me, so it's splendid to have this little quirk fixed! As soon as this was done, I tried out my shower by sitting in my tub, but without a shower curtain or trim I couldn't really see what it was like.

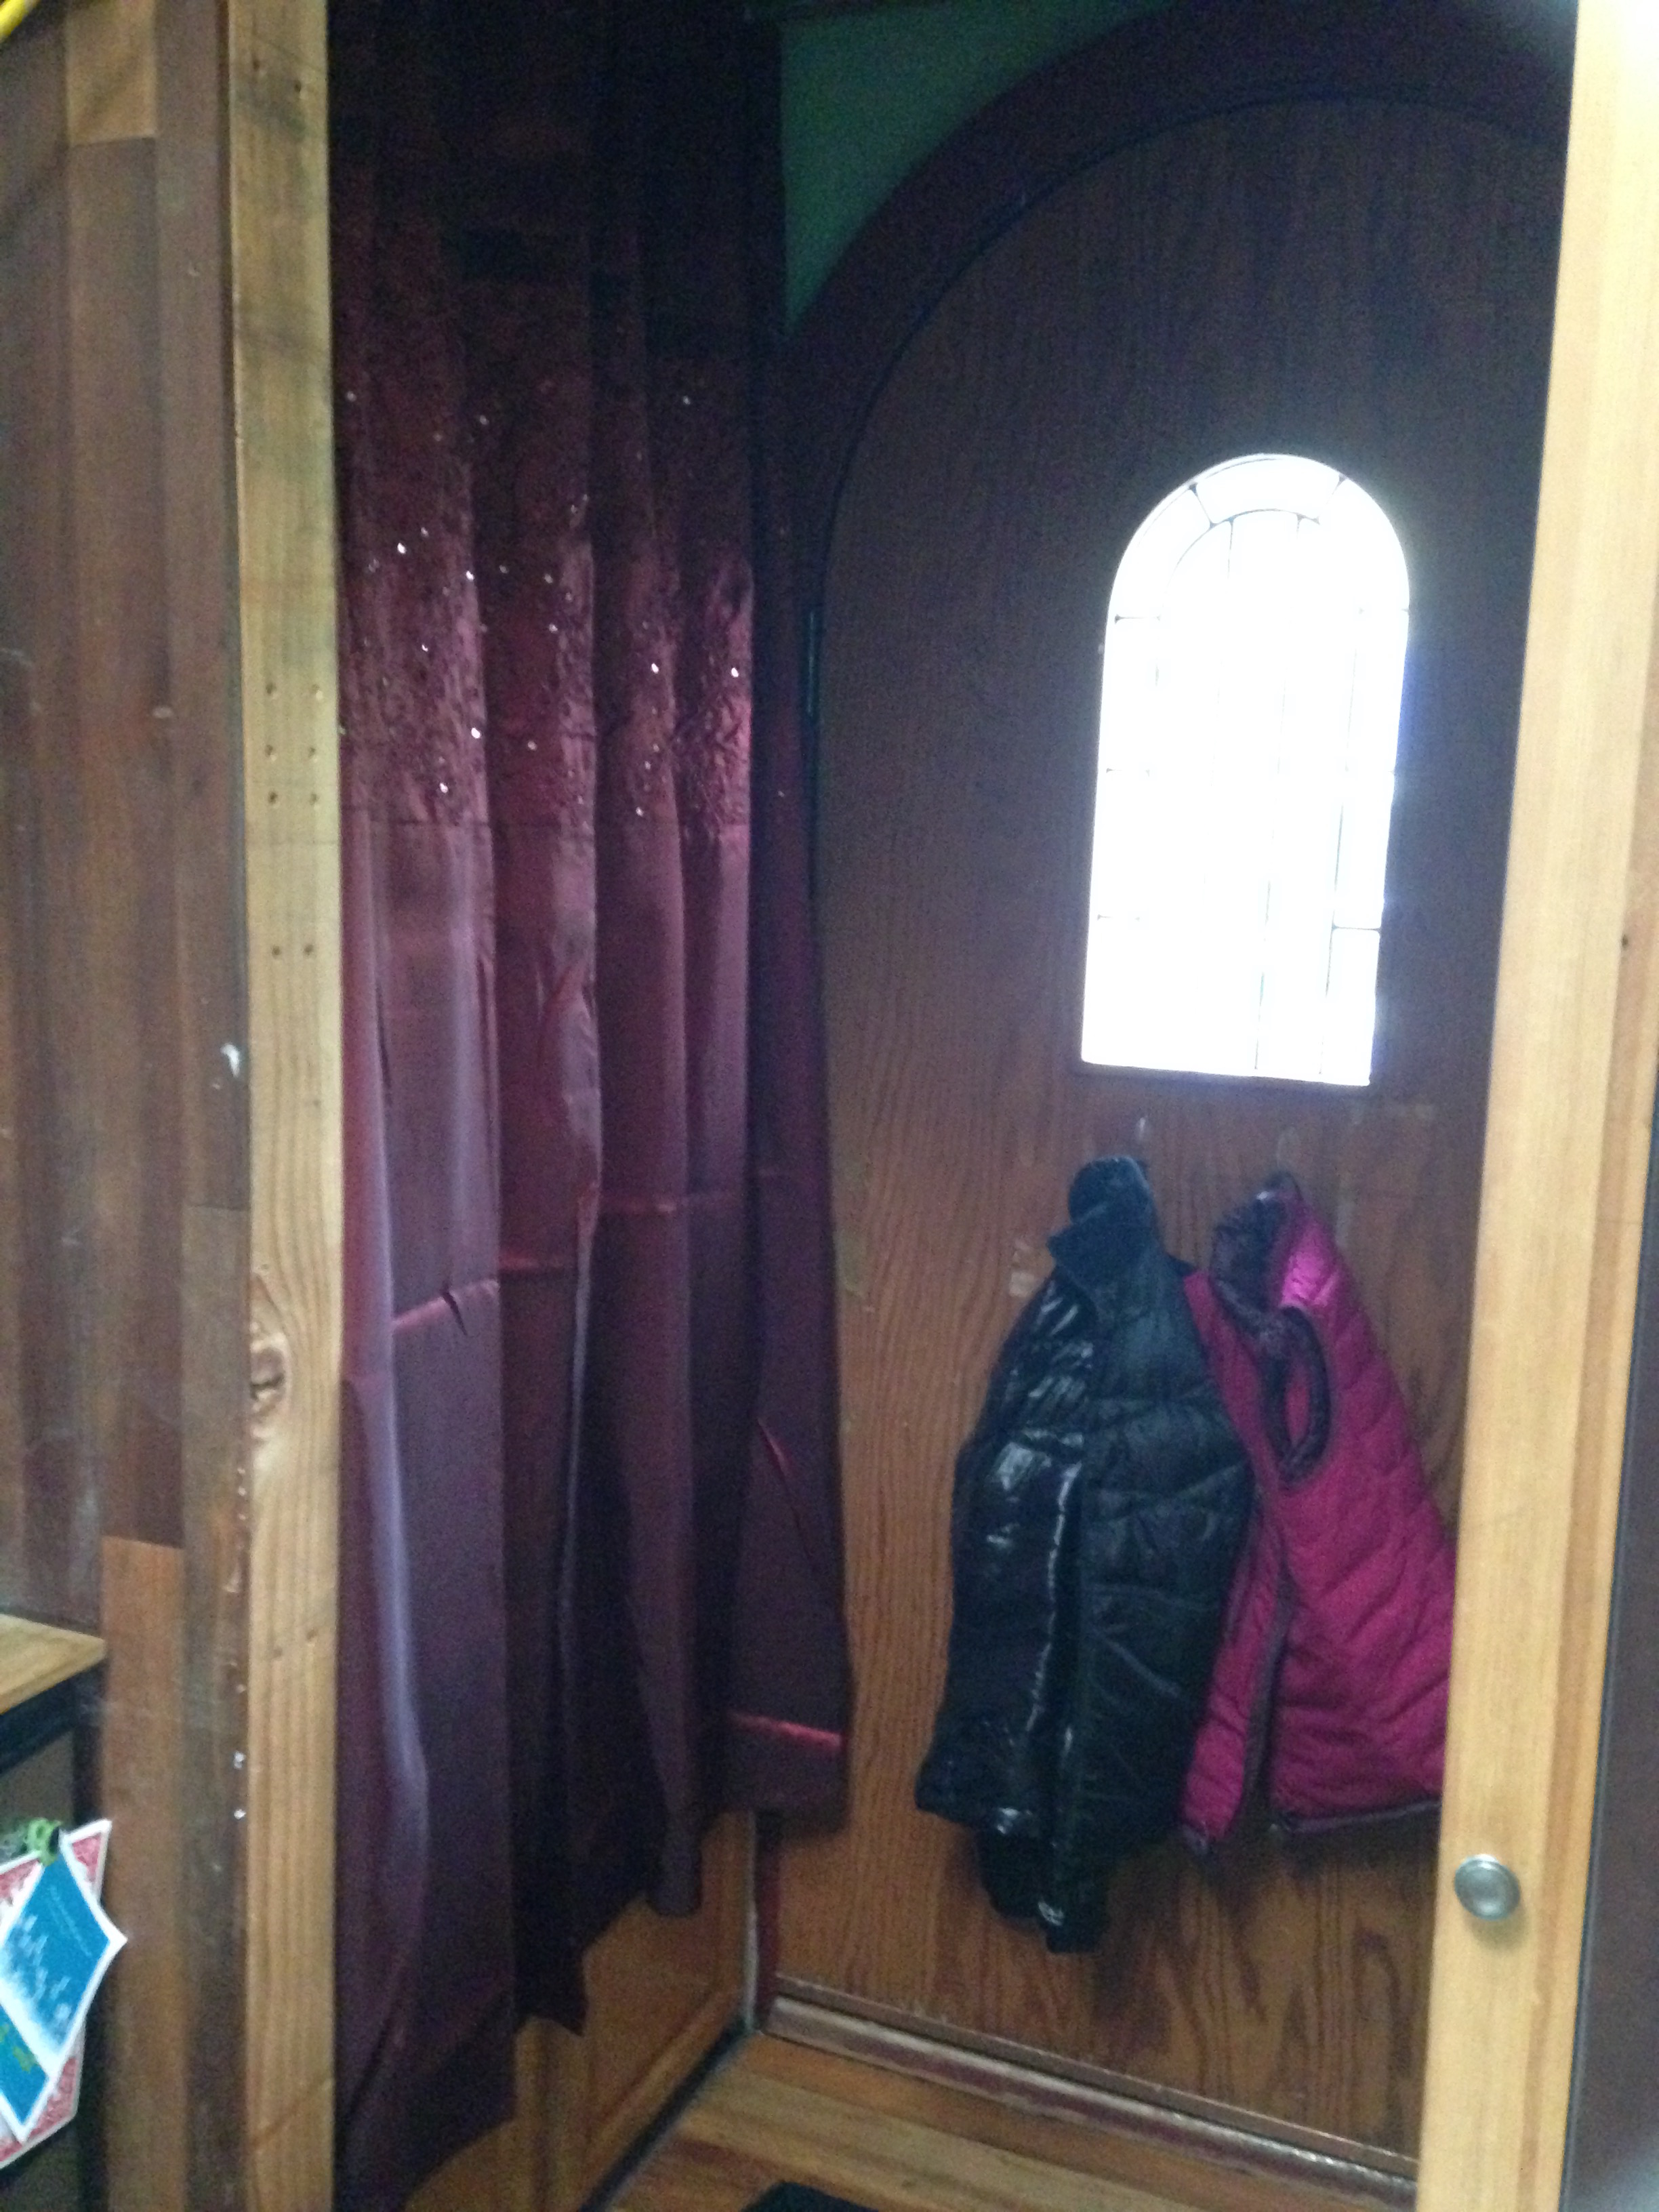
Entry Curtain Over Door

This past week, I finally got my shower operable. I picked up a couple pieces of 1" fir quarter round trim at Woodcrafters, stained and sealed it with a layer of Watco Danish Oil, and then added 8 layers of the wood topcoat that I used for my countertops and trim. (In fact, while I was at it, I sanded and refinished my countertop, too!) I glued the trim to the Alupanel using a Titebond Greenseal construction adhesive and used my air compressor and nailer to secure it in place. I then sealed the trim with a generous application of clear silicone caulk.

Entry Curtain Over Shower & Door

Next I installed my shower curtain rod, which is they type they use for hospital curtains. This particular one is pretty cool because you can bend it to the shape you need. I bent mine into an L-shape for my entryway and installed the shower curtain on it and a PVC-free liner on the shower side. Now the curtain can be used to cover the shower, the front door, the shower AND the front door, OR be tucked away behind the dressers, depending on whatever I'm doing in My Quintuple-Duty Mud Room! How's that for adding multi-functionality!?

The sunflowers are doing well and a couple days ago I scattered more flower seeds in the raised bed on the south side of The Lucky Penny. Here's to April showers bringing May flowers!


Installing My Woder Filter

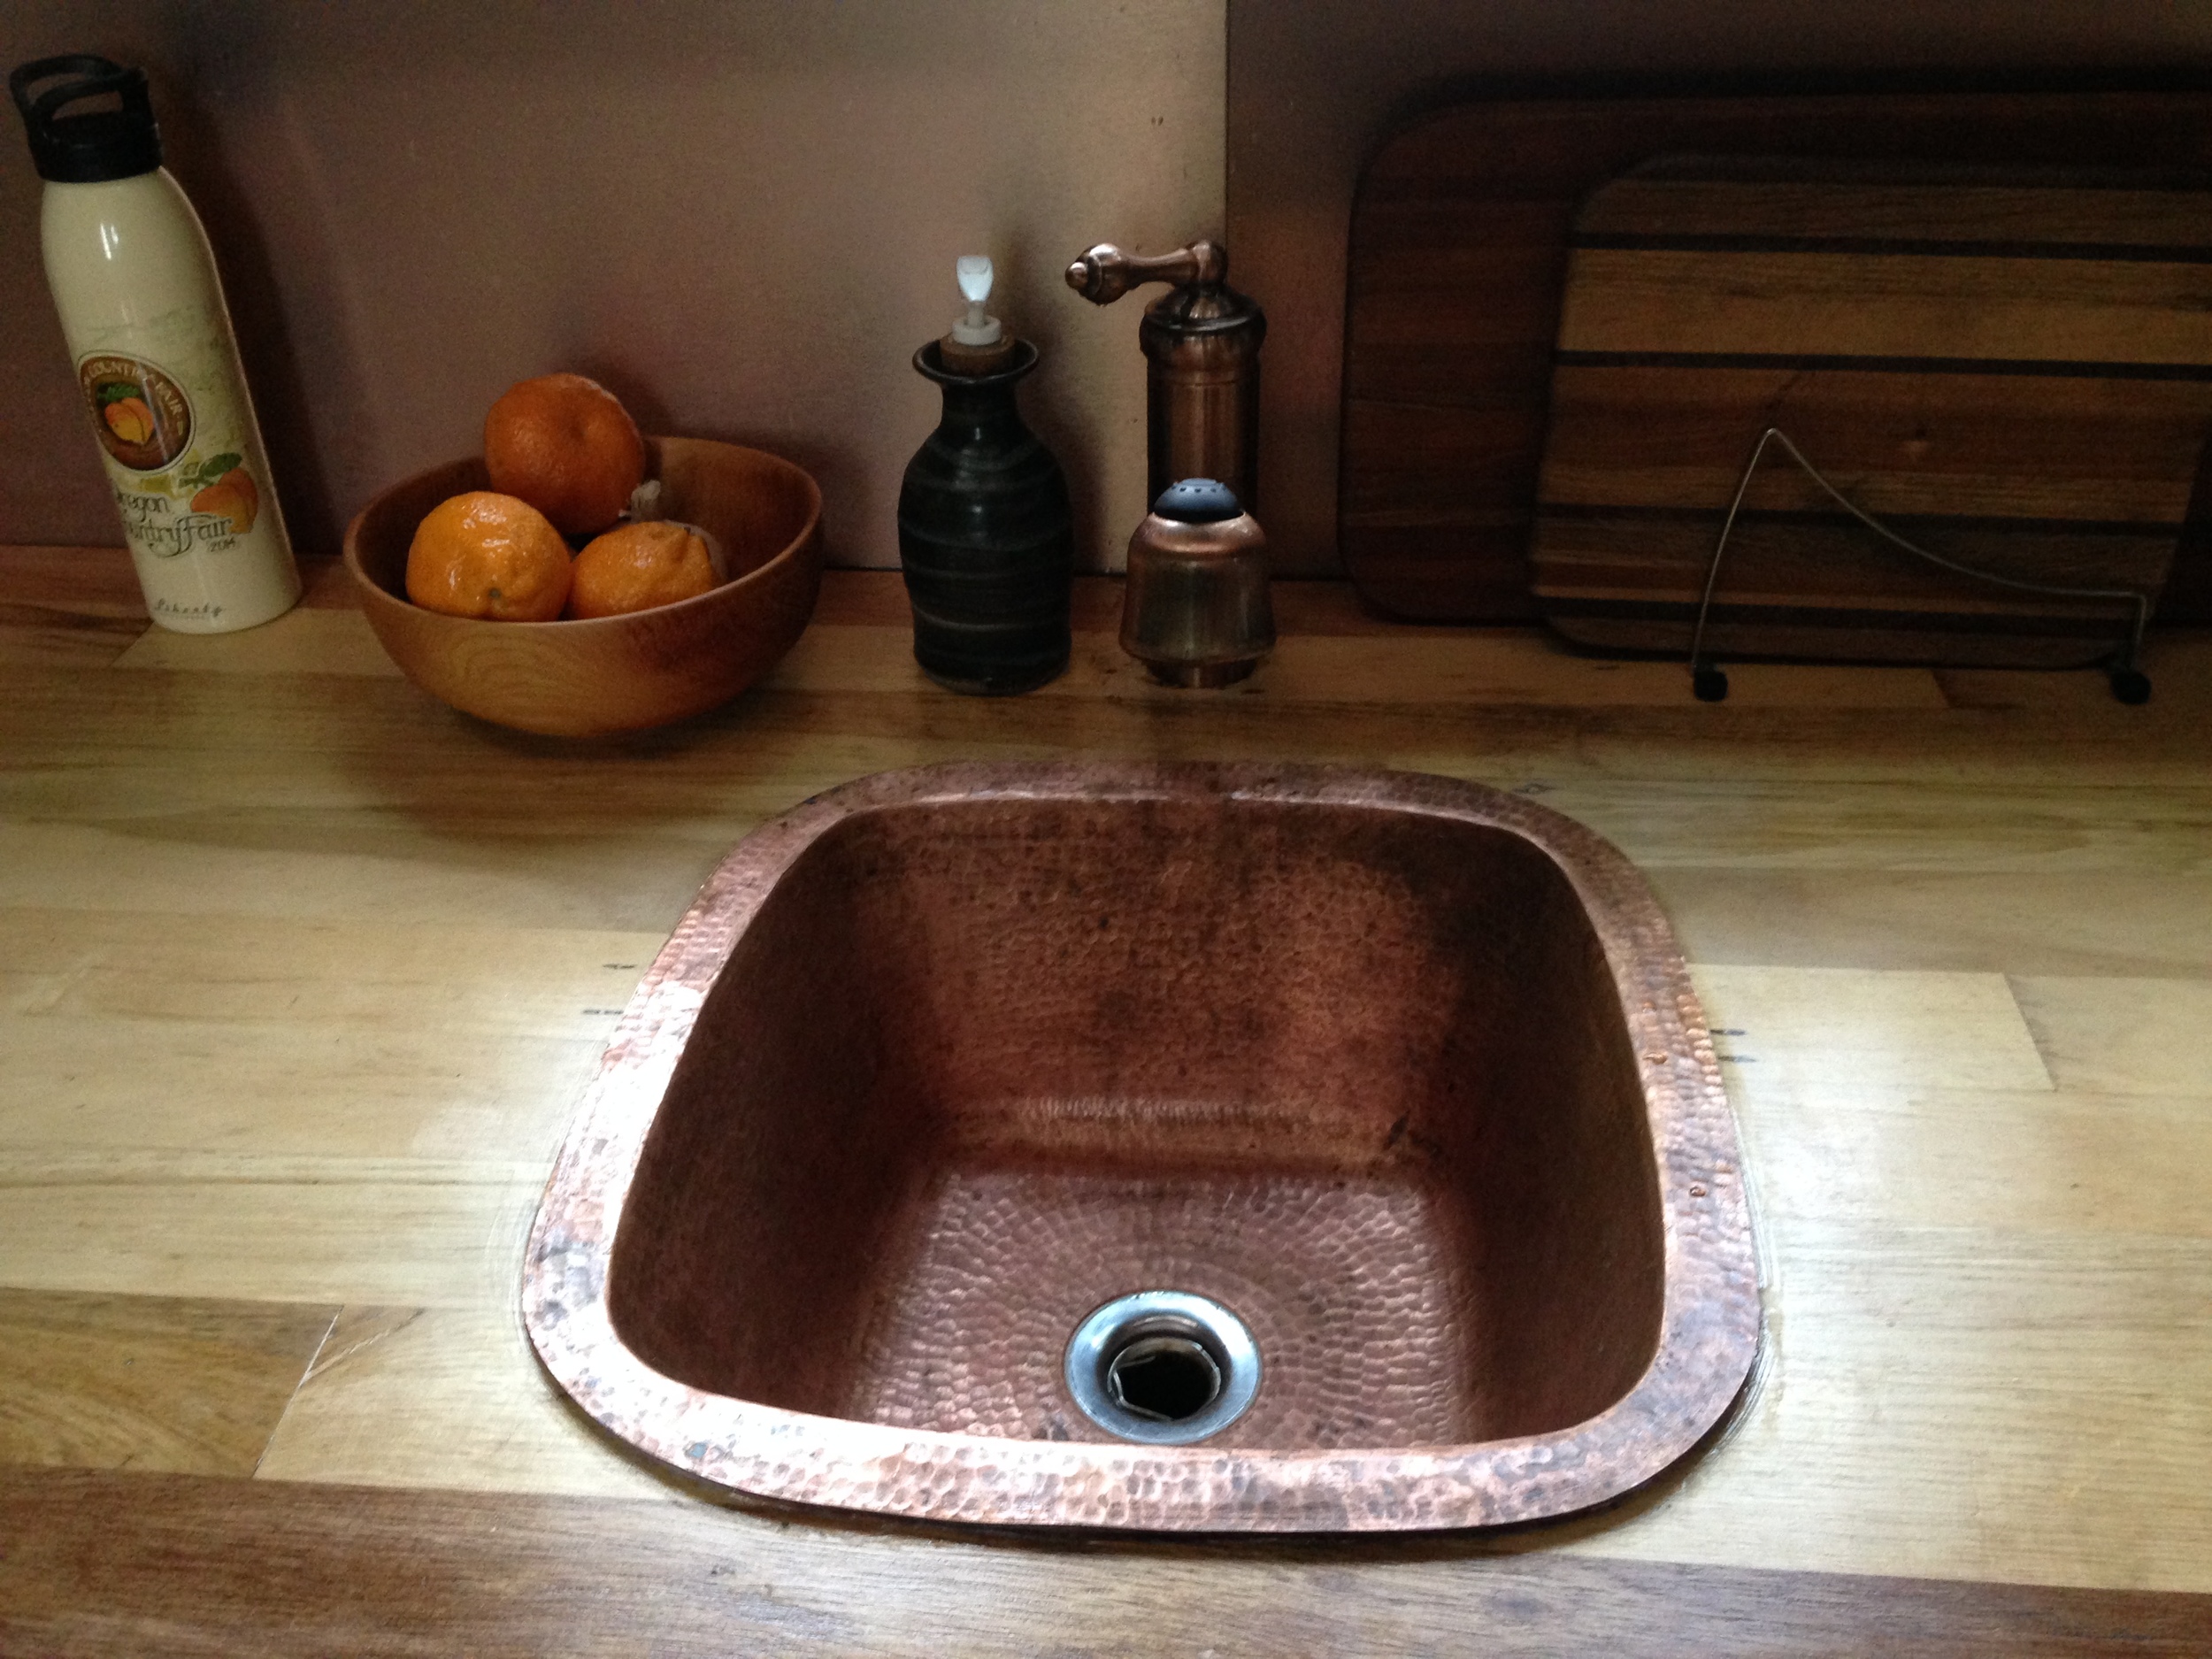
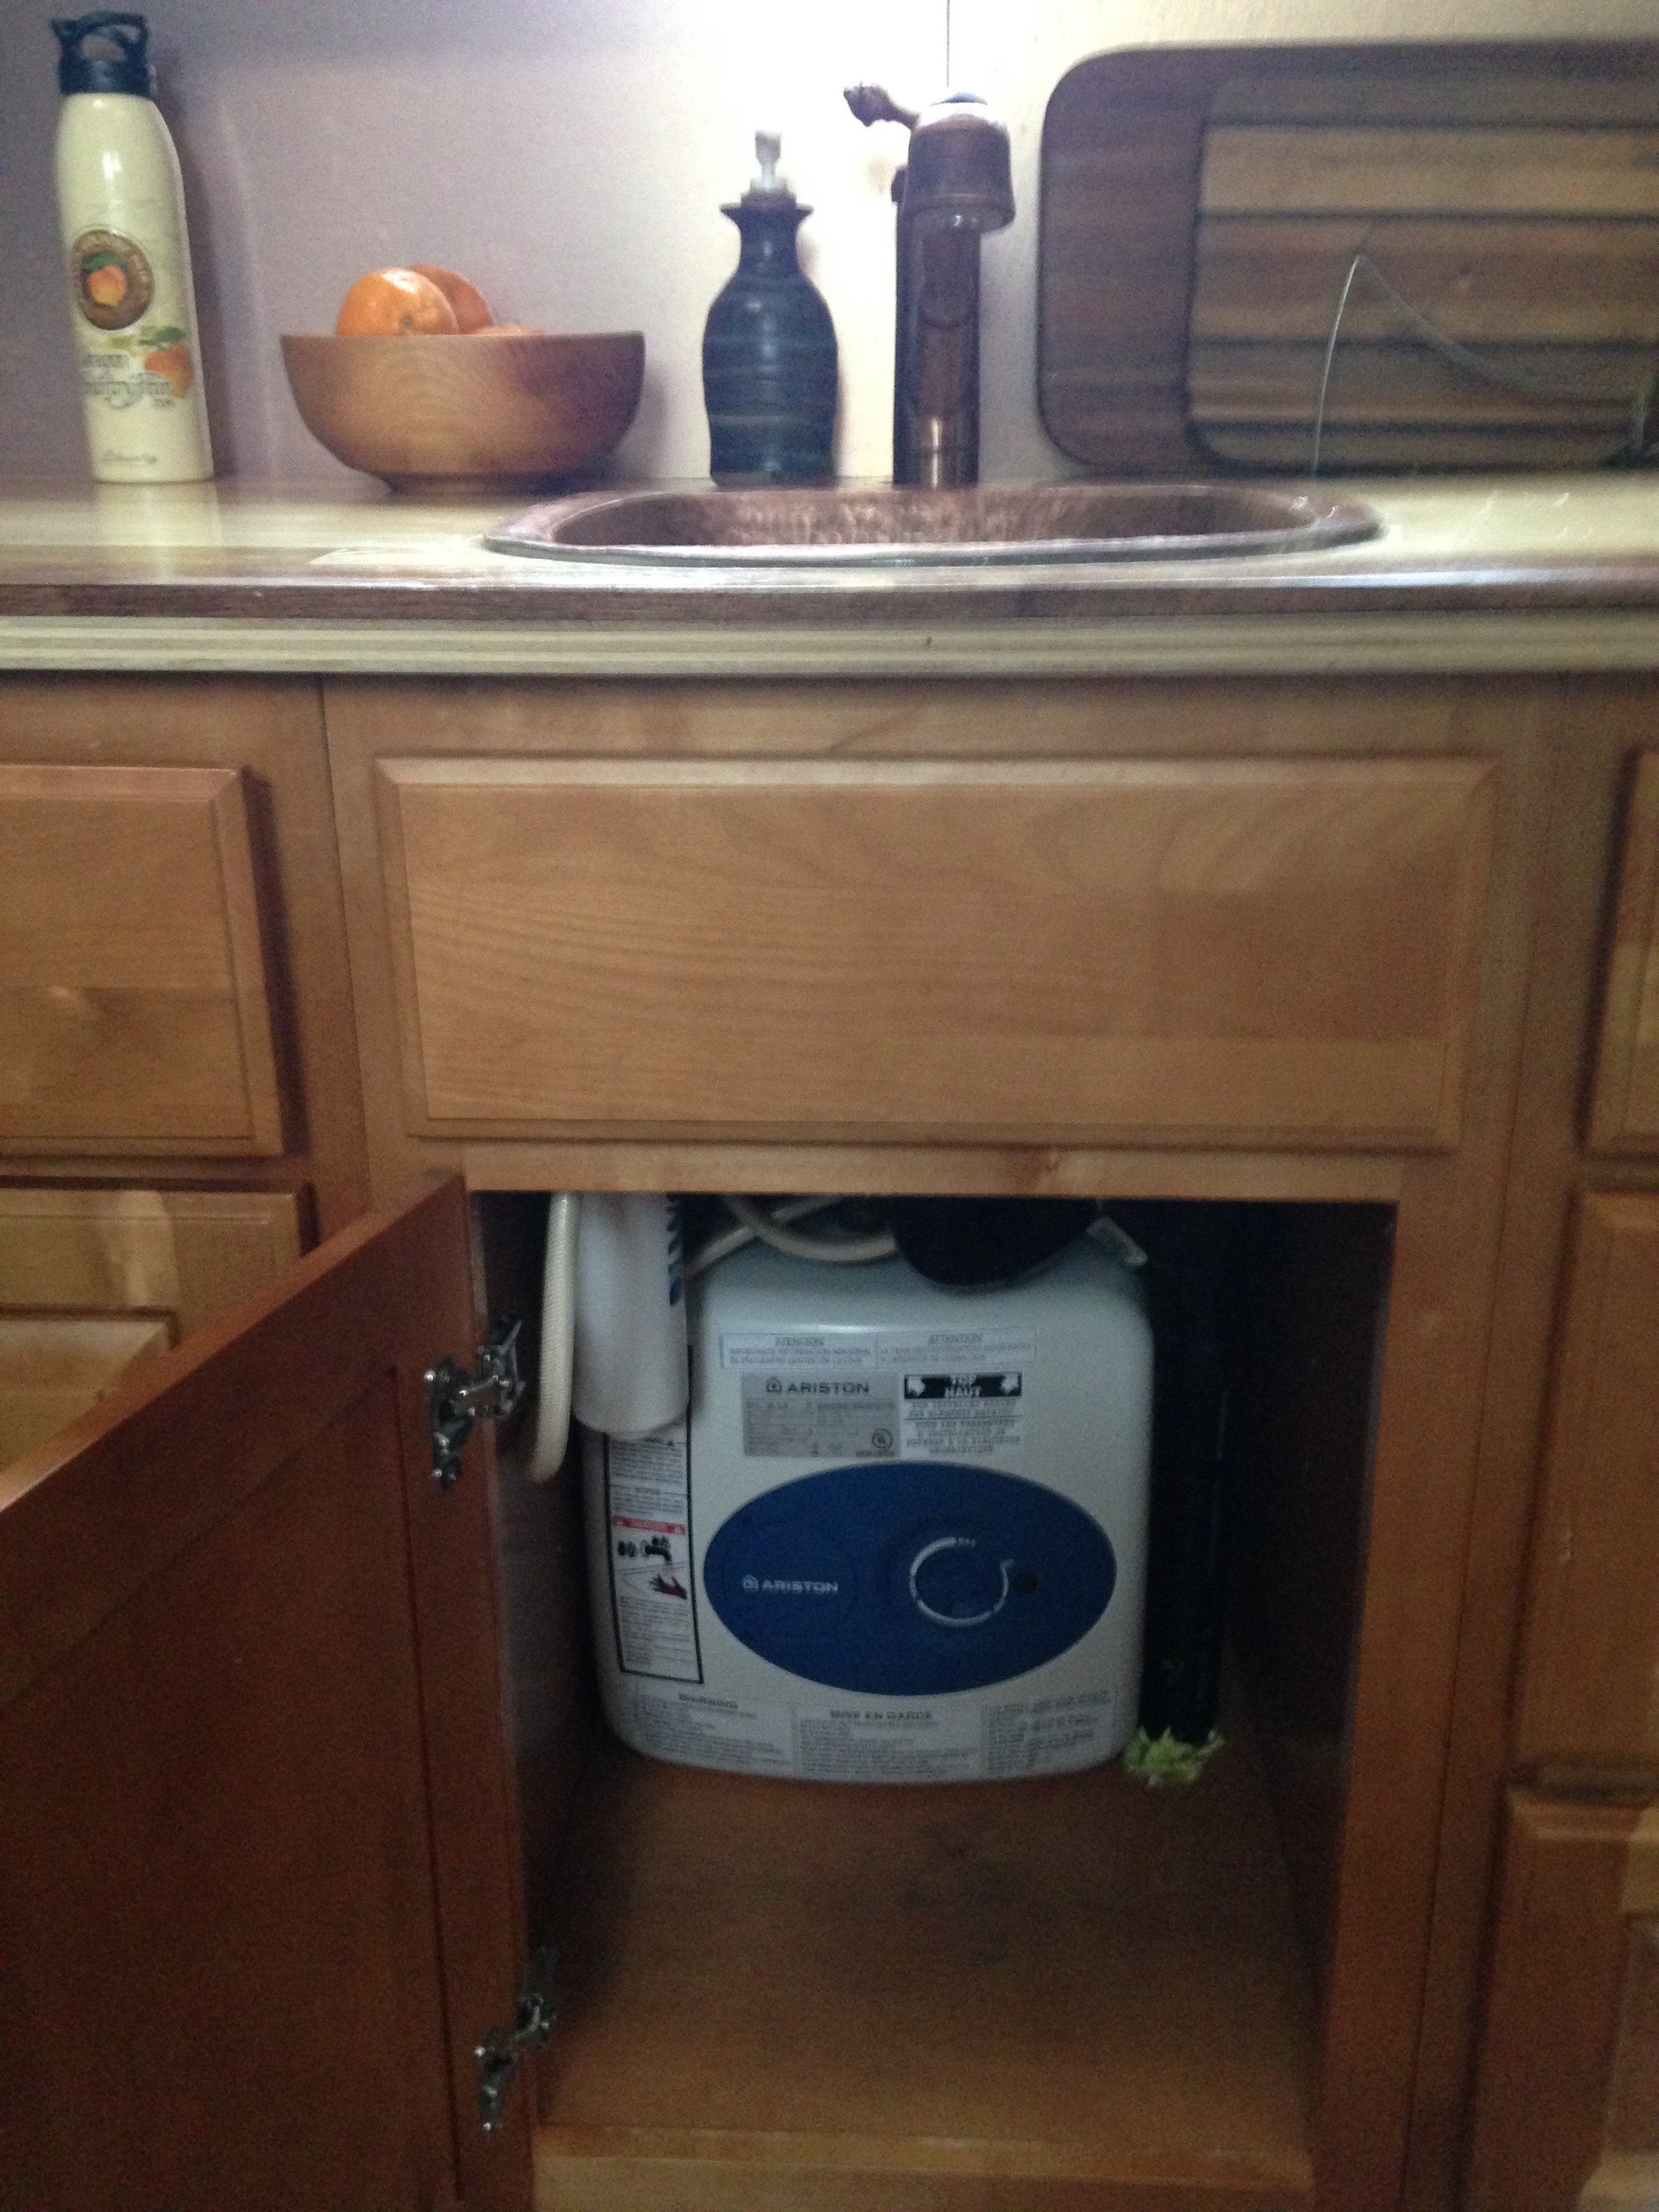
The water heater and Woder filter under my copper sink and faucet The past couple weeks, as I've been getting ready for the T42 Build Blitz Kick Off, I've also been working on Lucky Penny Finishes. Once I start the new house my energy will be devoted to it, so I'm using the start date of T42 as a goal to complete as many of these niggly lingering tasks from The Lucky Penny Punch List as I can!

Having my water turned off for my shower project (see April Showers Bring May Flowers for more on that!) made it very easy to install my new water filter when it arrived in the mail. We've had some trouble with rust and we're still troubleshooting it, but meanwhile, Isha researched a bunch of different filter options and we landed on the Woder 10 K Gen II filter.

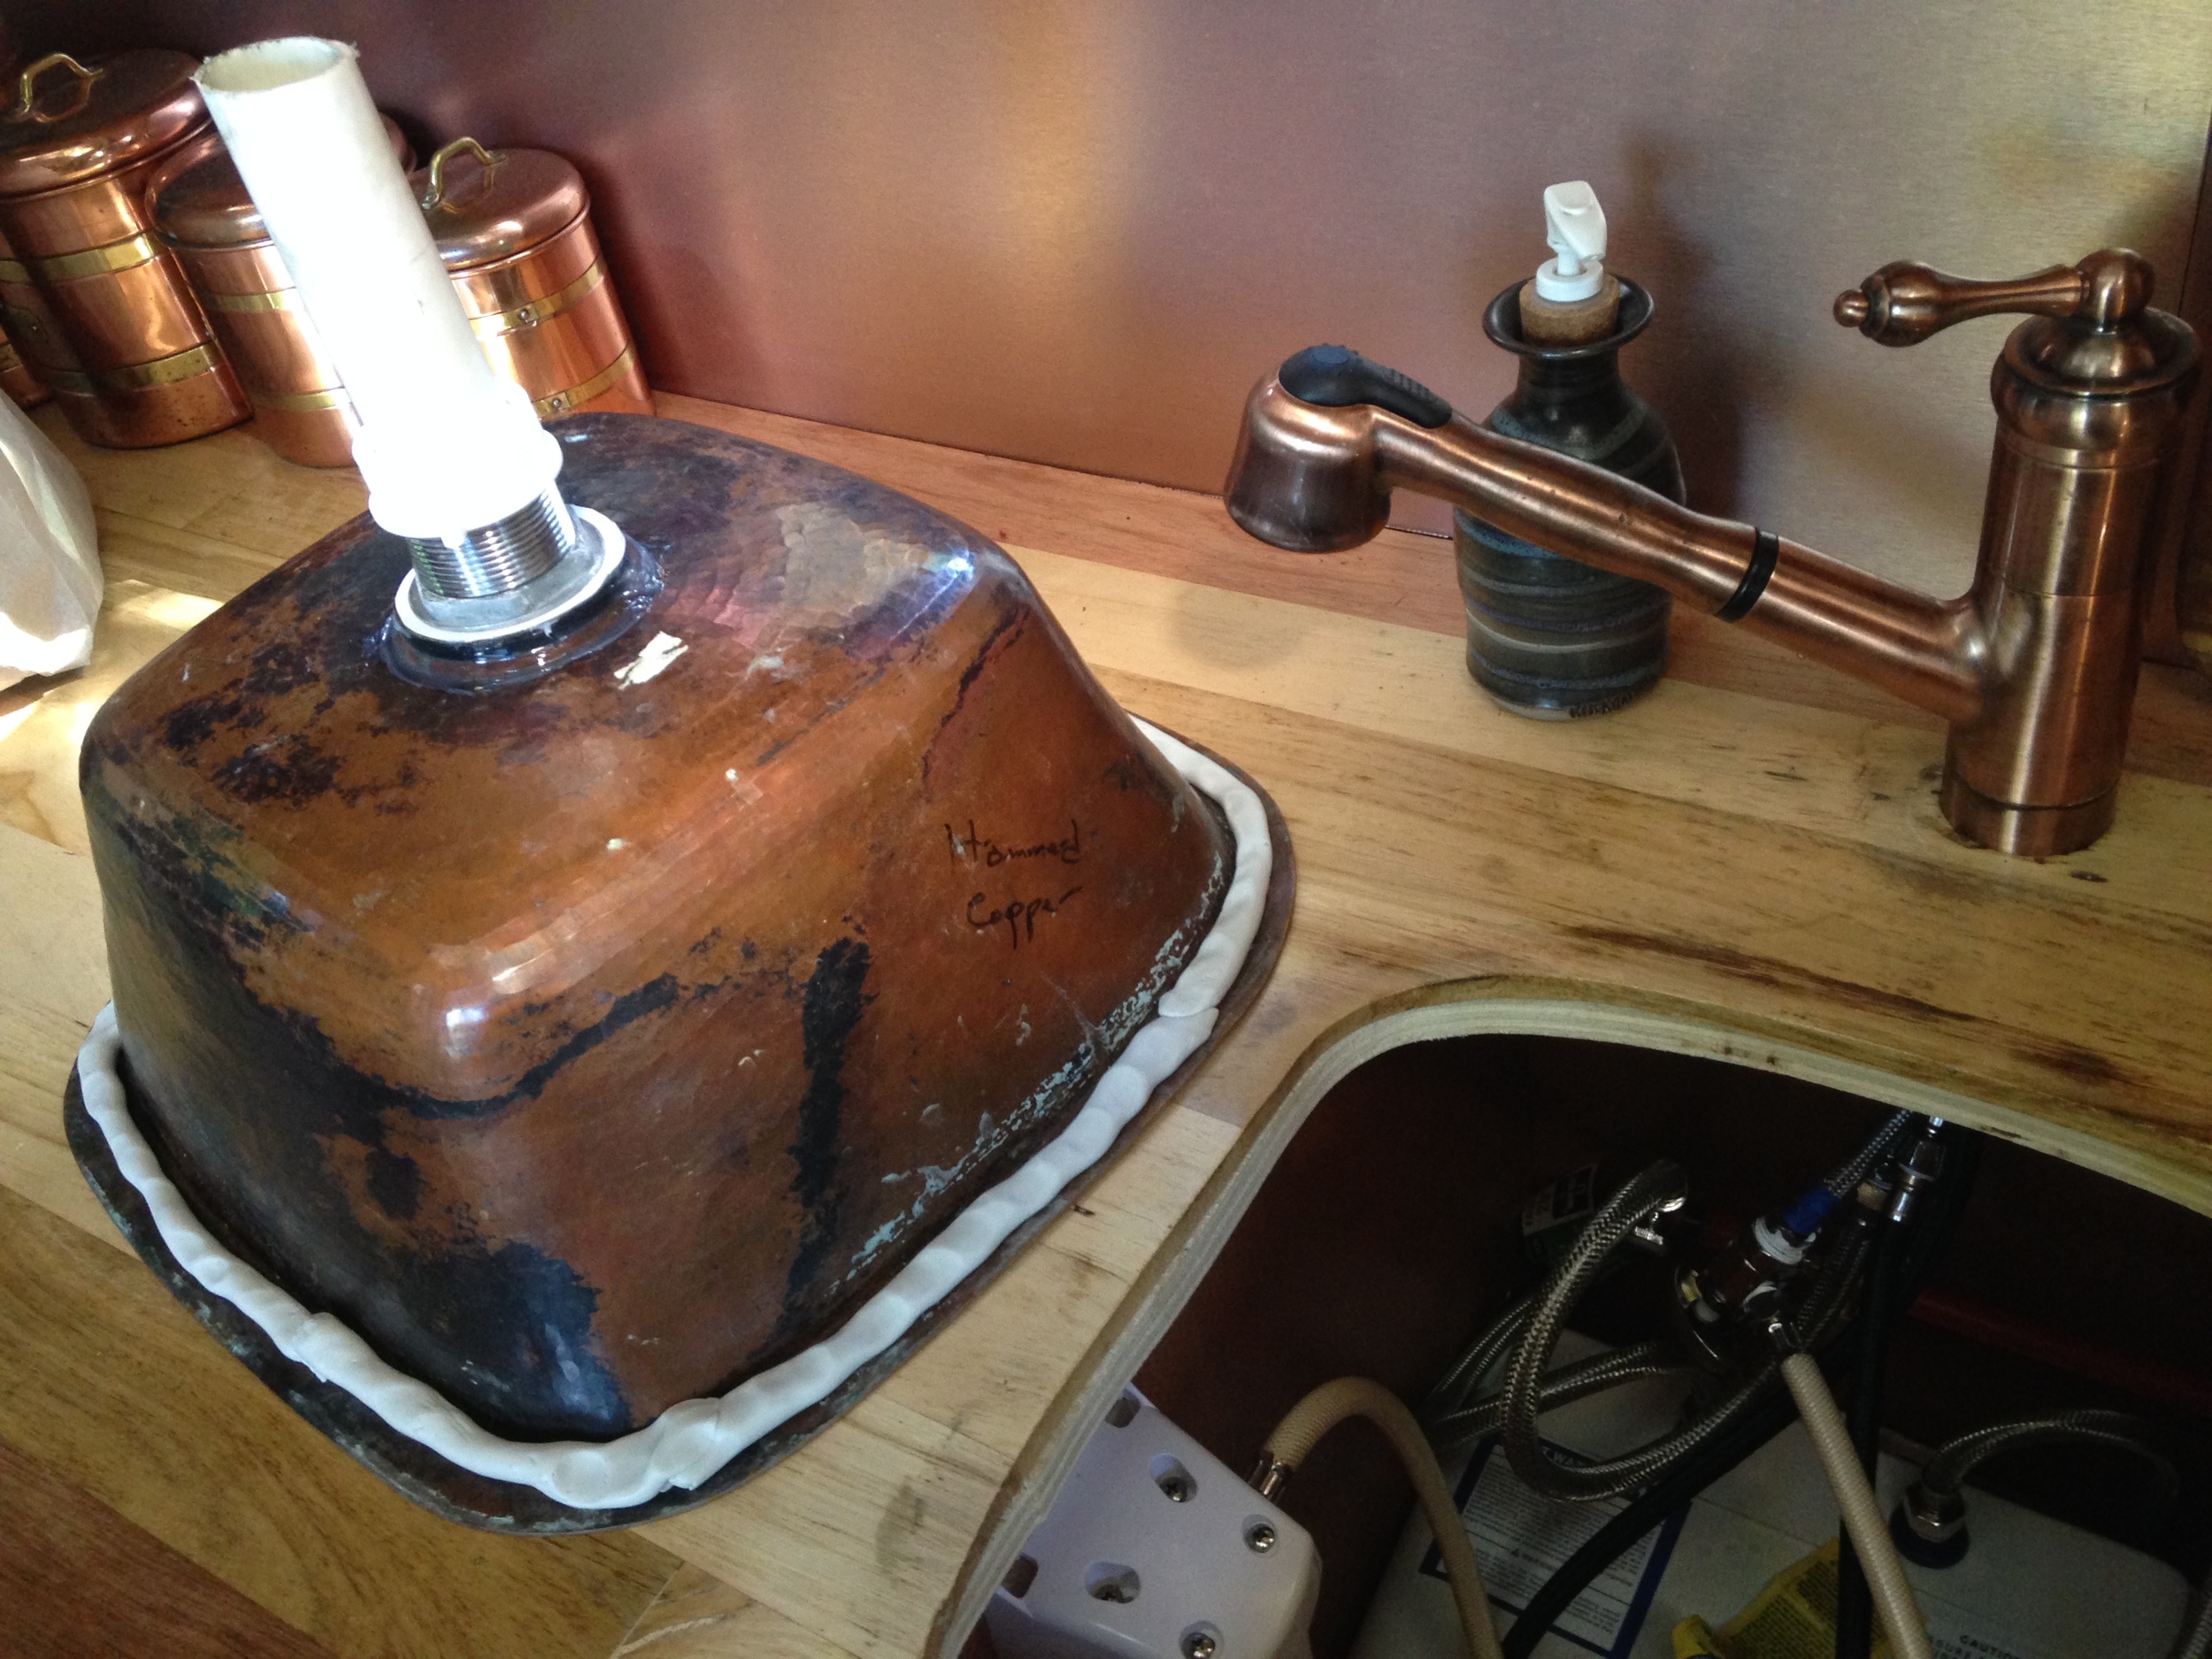
I decided that, while I was at it, I might as well refinish my countertop with a few new coats of the water-based topcoat. So I disconnected all the plumbing under my sink and pulled out the faucet and sink and added three layers of topcoat, sanding between each layer.

Polishing my copper sink

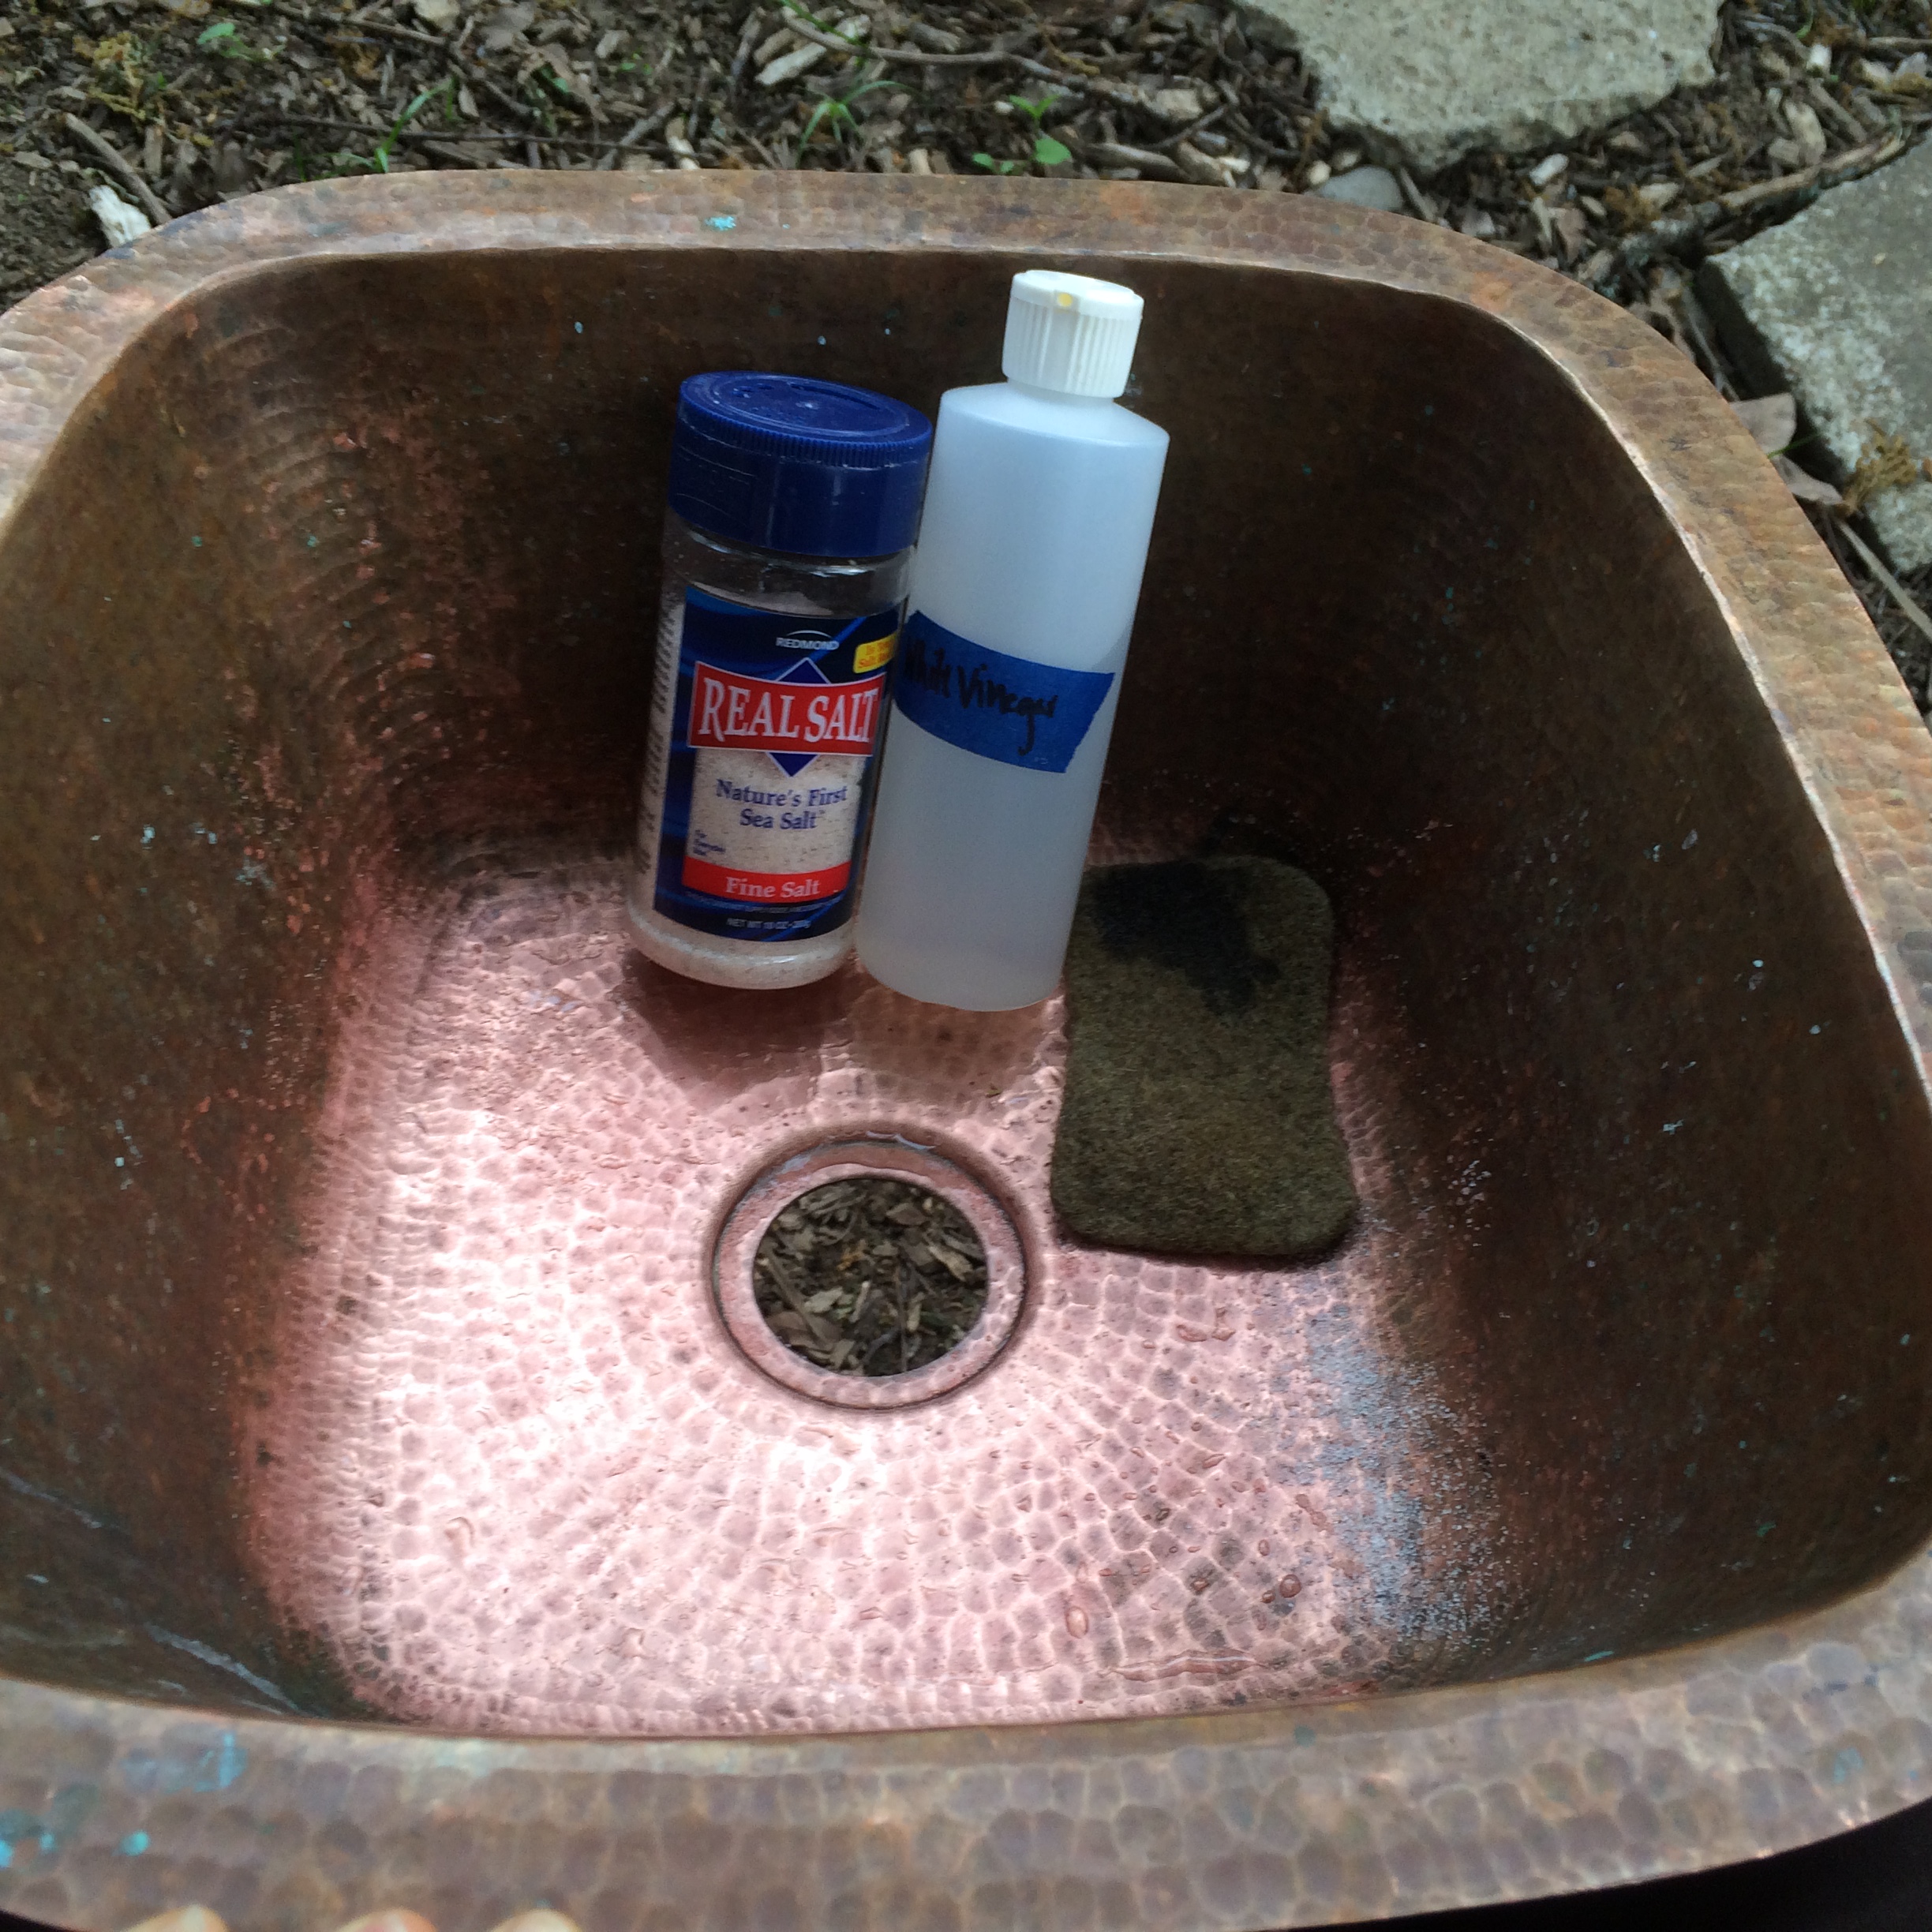
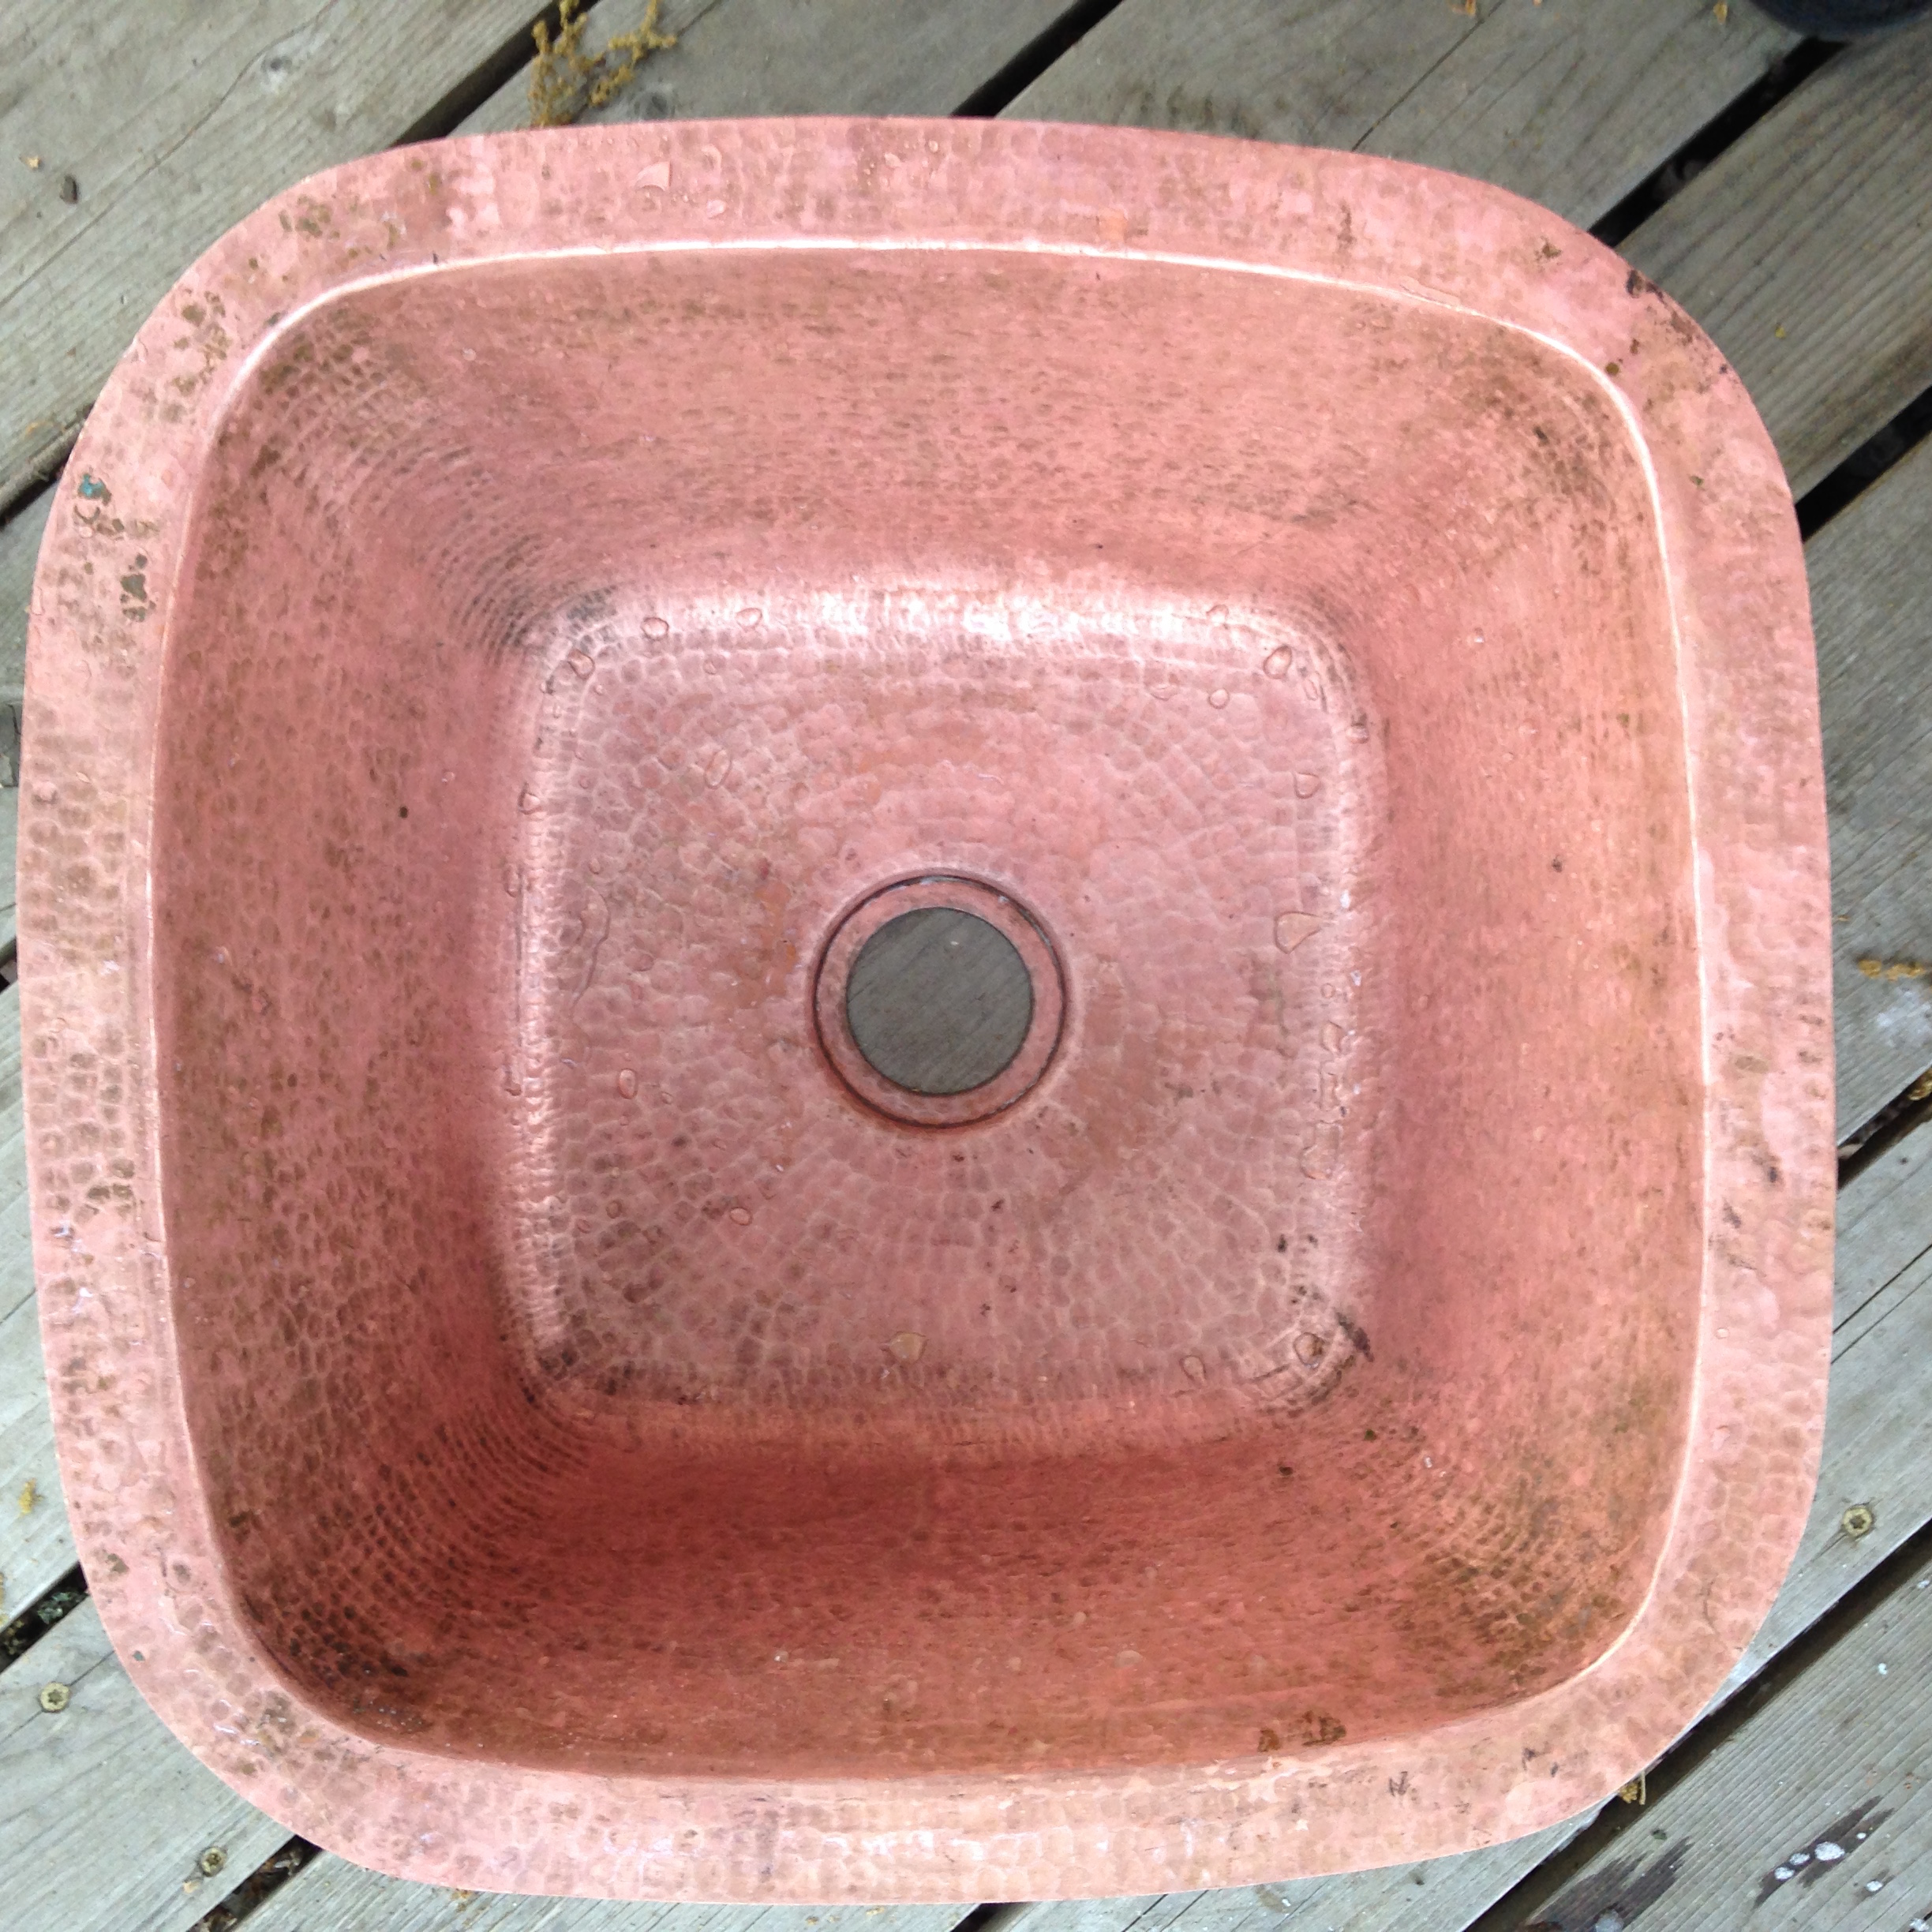
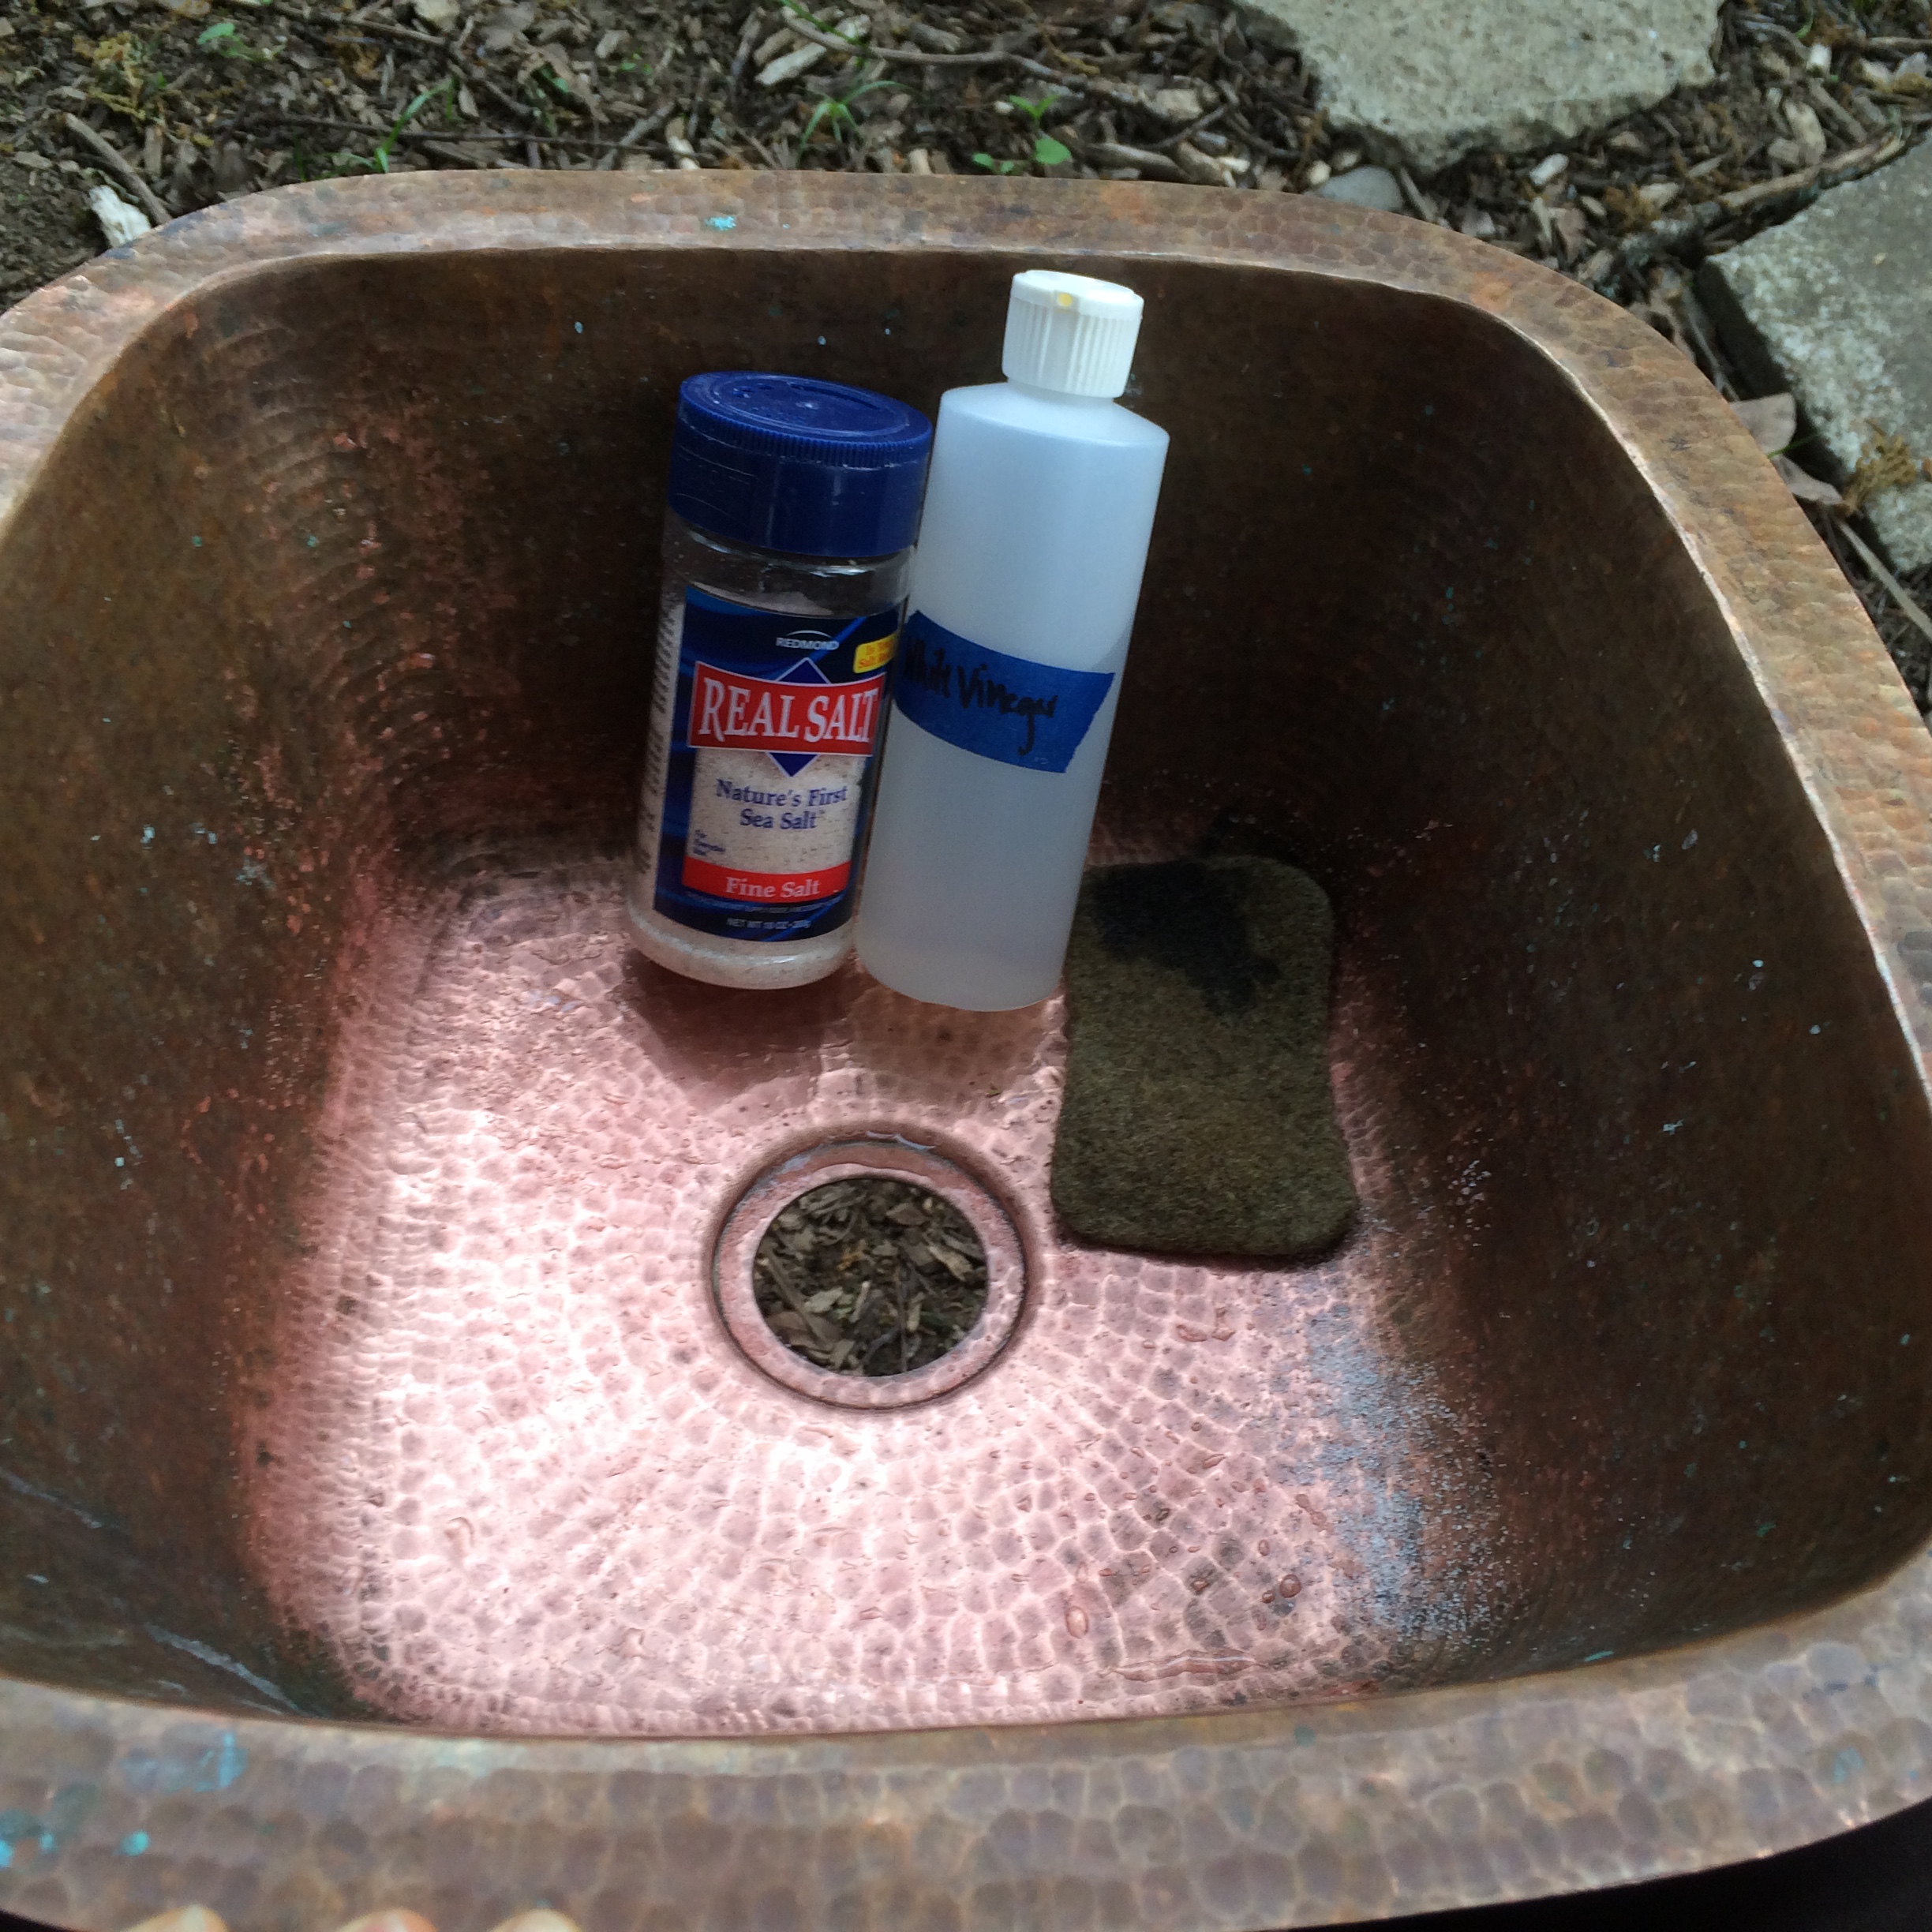
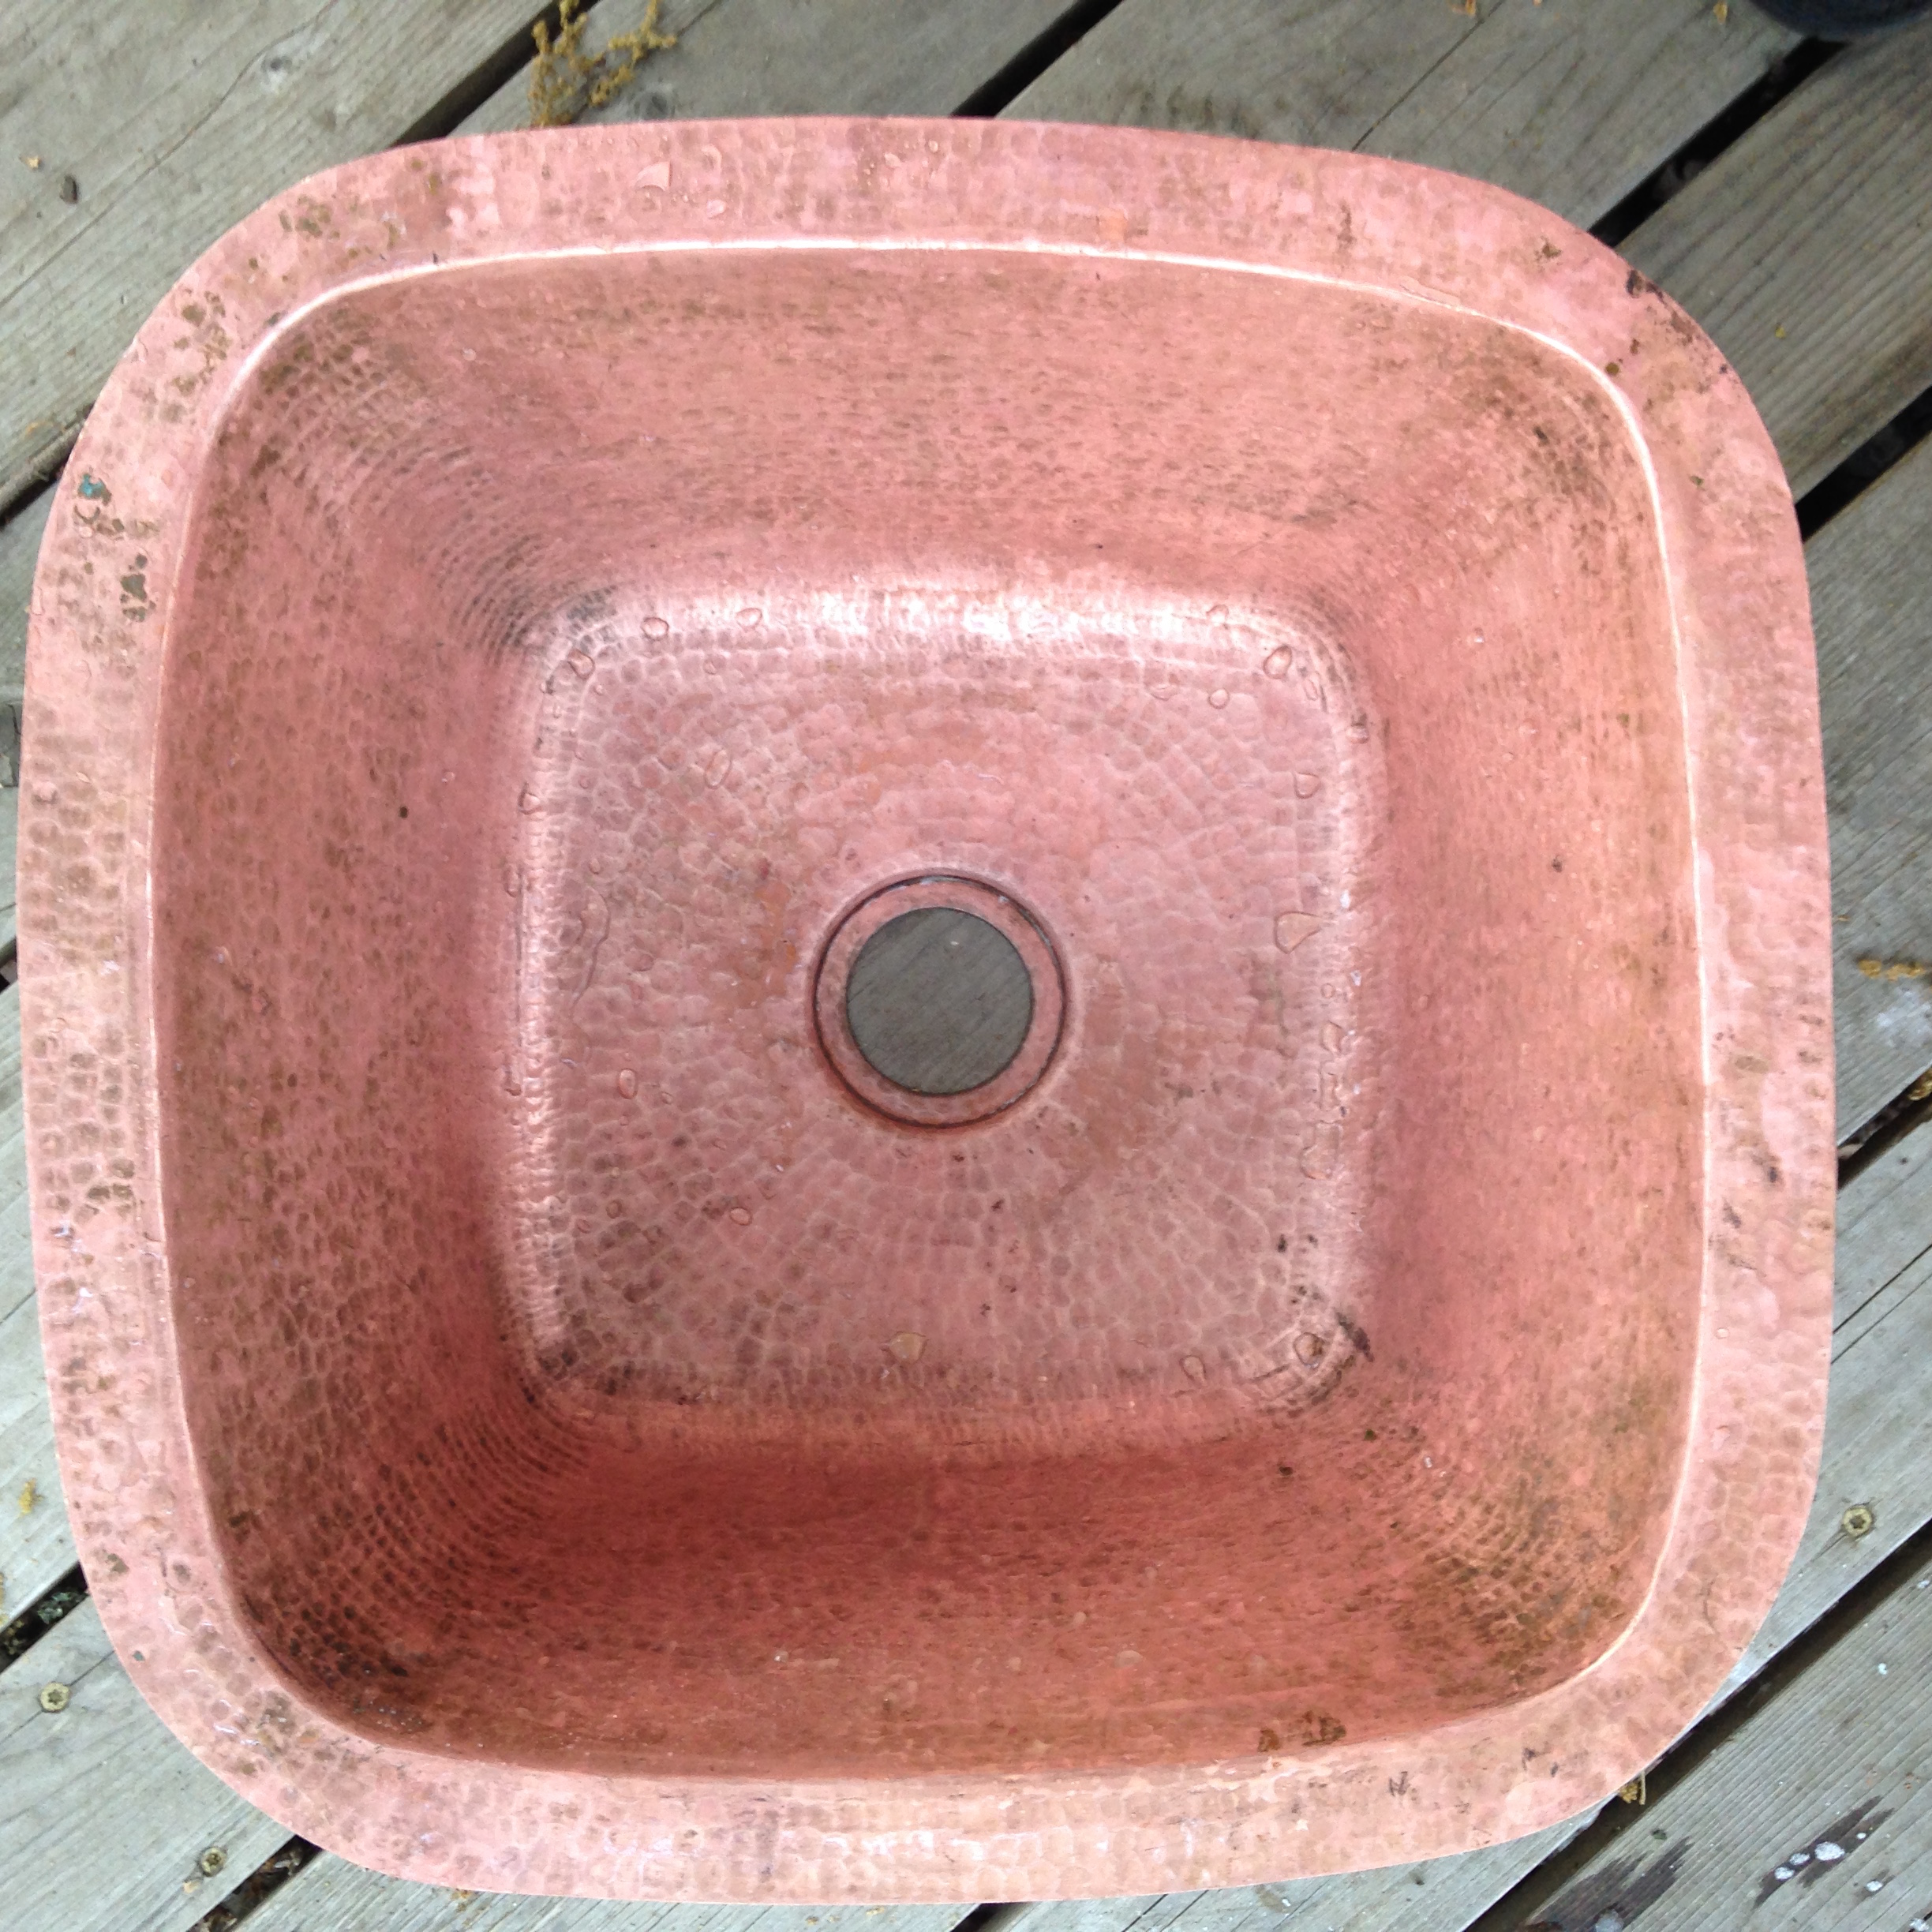
Then I polished my copper sink with salt and vinegar. After trying several different copper cleaners, a guest on one of our Tiny House Community Tours suggested this old-fashioned method. I've found it to be by far the best one! Then I reconnected the sink's strainer and added a bead of silicone caulk around the ring both top and bottom.

Once I was ready to put everything back together again, I reinstalled my copper faucet (I'd taken it out to try out a couple escutcheon options, but none of them worked, so I guess I won't have one after all!) I installed the Woder filter on the side wall of my base cabinet and then connected all of my supply lines. Cold water comes in from under the house and goes either to my water heater or to the Woder filter and then to the sink. Water from the water heater goes either to my sink or to my shower.

My copper sink all polished up!

I'd removed the aerator for the sink so I could flush the system and apparently that piece is critical because when I first turned on the water again water came pouring out of the center of the faucet - from below! The internet told me I need to have the aerator in place when testing the water supply lines so I mopped up the water, put the aerator back in place, and connected everything again. Hooray! No leaks!

So I put some plumber's putty around the sink flange, popped the sink back into its hole, did a little happy dance on top of it to make sure it was well-seated, then scrapped away the excess putty, and caulked it into place. Finally, I reconnected the "waste" lines which redirect my water to my raised planter bed via my Garden Beds & Graywater strategy.

My counters are now nice and slick, my sink is shiny, and my drinking water is now filtered. But I've gotta say, the most wonderful part is that I am still extremely grateful every time I have have running water again! Now for a glass of cold water! Cheers!

T42 Build Blitz Kick Off

We're so excited to pick up our Tiny House trailer and get to work on the floor system! I can't believe it's just a week until we begin building another tiny house! Eeeep!

The past couple weeks, I've been working on The Lucky Penny Punch List so that I'm ready to focus my attention on my new tiny house. (See April Showers Bring May Flowers and Finishing an Owner-Built House!)

Later this week my partner Isha and I will pick up the trailer for, T42, the tiny house we're building for ourselves. On May Day, we'll begin setting up our build site at Green Anchors.

On Monday, May 2 we'll be kicking off a series of Build Blitzes for T42 and you're invited to join us! As is typical for a building project, we know that our T42 Build Timeline is subject to change, depending on weather, material sourcing, and progress made, but so far we're on track for the following timeline:

  • Monday, May 2 – Thursday, May 5: Tiny House Foundation & Build Prep
  • Monday, May 16 – Friday, May 20: SIPs Wall & Roof Raising
  • Monday, May 30 – Friday, June 3: Rainscreen, Exterior Trim, Siding
  • Monday, June 13 – Friday, June 17: Lofts, Interior Walls & Painting
  • Sunday, June 26 – Thursday, June 30: Cabinets, Built-Ins & Stairs

If you want some hands-on build experience, please join us for a week-long Build Blitz or for the day as a Tiny House Helper!

During this first Build Blitz we'll be working on the floor system for our tiny house, which will involve:

  • installing our undercarriage to protect the house from the ground - whether we're parked on on the road
  • insulating the floor system
  • installing our subfloor
  • making a cut list for our lumber package
  • measuring thrice and cutting once for our window framing, sill plates, and top plates
  • laying out and bolting down our sill plates so that the walls can be raised during our next Build Blitz
  • ensuring that our site and materials are ready for our Wall Raising Build Blitz

We hope some of you will be able to join us for the build if you're so inclined. And either way, please know that your encouragement and moral support are greatly appreciated!

Finishing an Owner-Built House

When I gave Jenna and Guillaume a tour of my tiny house, I pointed out a few of my lingering projects. Is it ever REALLY done?! "How long did it take you to build your house?" people who are curious ask people like me who have built our own homes.

When talking to most people, I explain that it took about six months to make The Lucky Penny livable. But when I'm talking to someone who has built a home of their own home, I often groan and say "Ugh! Is it ever really done?!" and they shrug and say "Nope, definitely not!"

Most people I know who have built their own homes, either on wheels or ground-bound, have never completely finished them. Or, if we have, we did it just before selling the house to someone else (who probably promptly ripped out half of what we've done to make the house suit them!) One of the Joys of Homeownership, no matter the size of one's home, is that there's almost always a project that could be done.

There's a saying*: When the carpenter finishes his house, he dies."

But I don't think we're superstitious. I think we're just utterly exhausted. Oh, and we've probably tapped out our budget, too!

So we continue working on little projects as we make our houses home, but most of us have a few things we'd still like to do. When we give tours of our homes, we're usually the first to point out that piece of trim we never finished or that temporary ladder we never replaced with the real thing. I know several owner-builders of ground-bound houses who have lived in their homes for a couple of decades now and never have gotten around to completing their punch list. It's good enough. Enough. See, there's that word again!

In deciding how done enough our homes are, what we can live with and what we can't, we figure out what enough is all over again! Maybe they're just perfectly imperfect...

Furthermore, those of us who blog about our builds usually start out pretty strong, but then taper off on the posts. As we push to get the house built we often lose momentum about talking about it. This absolutely happened with me and The Lucky Penny. In May 2014 and June 2014, when I was going strong on the build, I wrote a couple posts each week to chronicle my progress. By November, when I had my Move In Day & Housewarming, I was posting every other week.

There are so many stories about my Lucky Penny Finishes that I never really told. Some of the details I've forgotten by now, but some of those build days are emblazoned into my memory: long afternoons of meditative shingling, followed by blackberry milkshakes by the river with my build buddy Laura. Building my tiny house was one of the most empowering things I've ever done. And, of course, I've thoroughly loved living in this little sculpture I created!

So as Isha and I prepare to begin construction of our new tiny house (T42) and map out our T42 Build Timeline, I've been thinking about these three things with regard to the LP:

  1. Which building stories I still want to tell about the Lucky Penny Finishes.
  2. Which experiences I want to share about Living in The Lucky Penny.
  3. What projects to put on the Lucky Penny Punch List.

I've set aside some time next week to work on my Lucky Penny Punch List. I imagine I still won't finish the house, but it will be nice to devote some energy to those pesky lingering projects. I am already fascinated by my process of deciding what the priorities are and I look forward to sharing with you whatever transpires!

If you've built your own home, feel free to share in the comments any lingering projects on your list (or alternatively, how you got our house finished some time before - or after - you moved in)! If you haven't yet built your own home, what would be the minimum you'd consider acceptable to have completed before you could call your house home, sweet home?


*Nope, not sure who said this because the internets won't tell me, but someone, somewhere told me this and I've brought it up as a snippet of reassurance (read: excuse!) for those of us whose houses just refuse to be finished!

Ordering Our T42 SIPs Kit

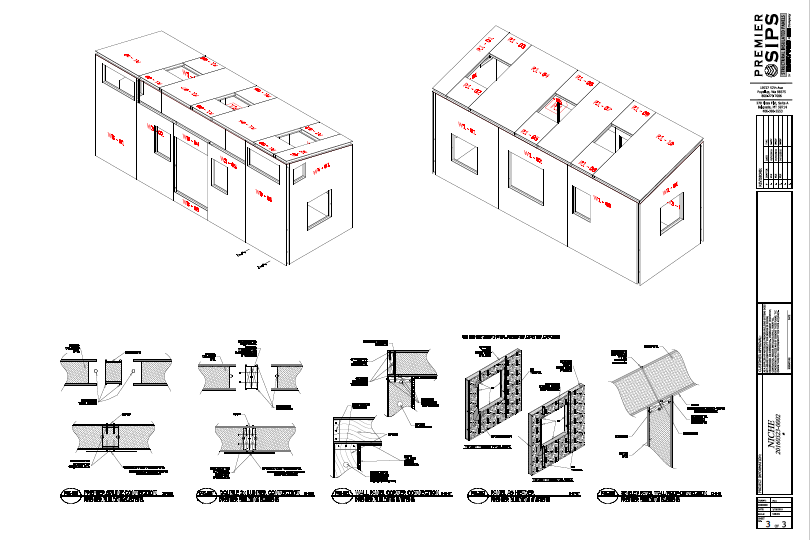
T42 SIPs Kit Shops A month ago today I sent the model for T42 (the tiny house Isha and I are building together) to Patrick of Artisan Tiny House so that it could be turned into a SIPs kit. Patrick knew this project was coming down the pipe so he was ready for it. When I said it was on the way he said, "Great! Let's get this wrapped up today or tomorrow!" I was all for THAT!

But we had some back and forth and it was finally Tuesday, almost a full month later, that we signed off on our shop drawings and sent our SIPs into production. This was due to three main factors:

  • The construction season is ramping up again and Premier, the SIPs manufacturer we work with in this area, is getting busier each week. They also had a couple people out due to unforeseen circumstances like jury duty and illness, so their turn around time slowed down.
  • Despite all I know about SIPs - which helps me make simple designs for my clients that are more affordable and easier to build - I can't seem to resist designing more complicated structures for my own tiny house projects. The Lucky Penny's walls went up in just an hour and a half on my SIPs Wall Raising Day, but the complicated curved roof with a skylight took another 6 weeks to complete! With T42, we have a set of windows high up in the wall, so Patrick, Matt, and I all spent time back at the drawing board figuring out how to turn my design into a set of SIPs panels. "SIPs aren't magic, just the next best thing," Patrick reminded me. Lesson remembered! The easiest way to get a SIPs kit is definitely to use one of the Artisan templates. (And, of course, it's always fun for me when my clients want to work with me to ensure that their tiny house shell will match their interior layout and suit their lifestyle!)
  • Just before we were about to order the SIPs, I spoke at the Tiny House Conference in Asheville, NC and I sang the praises of SIPs for tiny houses on wheels (THOWs) as I usually do. As usual, I had several people ask about toxicity and I explained that despite the fact that SIPs have one or two chemicals listed on the Red List (depending on the composition of the panels), even the Living Building Challenge - the world's strictest green building standard - approves SIPs for use in green buildings because they provide such good energy efficiency and the Red Listed chemicals are currently required by law to meet fire safety standards. But it got me thinking critically about this building system I love again and I pressed Patrick to get me some updated information about our options.

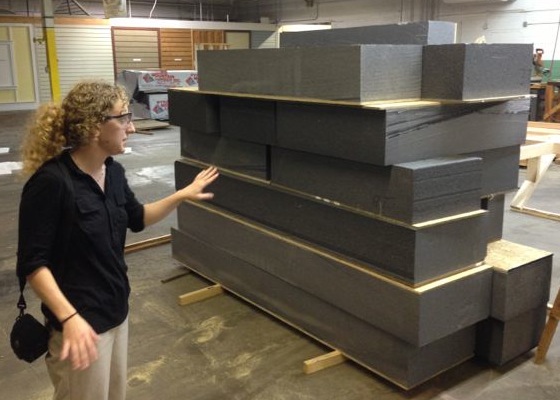
a photo from the Energy Vanguard article shows off SIPs made with GPS foam

Fortunately, Patrick shared an update that Premier has introduced a new SIPs option that uses GPS (graphite polystyrene) foam, which has a higher R-value per inch AND has swapped the previously used toxic halogenated flame retardant that was Red Listed for a poly flame retardant. (Stay tuned for more info on this product, but for now, please check out Neopor, which is the U.S. version of a product that has been used in Germany for many years now and read this post from Energy Vanguard). We also confirmed that the flame retardants are a hazard to us only if they're burning. We know that we can use a respirator when cutting the SIPs to accommodate the wheelwell, so that concern is easily addressed. (And if the house itself is on fire, we've got bigger fish to fry!) So we all breathed a sigh of relief and specified the GPS foam for this project. Patrick even agreed to cover the price difference for this one project since we agreed to be his guinea pigs for a new product. Despite the frustrations, we're both appreciative that we've had some learning opportunities. This is why I continue to do projects with Patrick: he's a generous and upstanding guy who wants to do right by people!

Patrick and Matt also figured out a solution to address my crazy SIPs layout and Patrick offered to come help us puzzle-piece it together during our SIPs Wall Raising Build Blitz. It will be great to have his expertise for this exciting wall raising scheduled for mid-May, which is just under 5 weeks away! If you'd like to join us, too, please claim your spot in the T42 Build Blitz!

Timeframe to Build a Tiny House on Wheels (THOW)

Alex-Lina-Kenny Now that Isha and I are prepping for first Build Blitz for our Tiny for Two (T42), we get asked all day long about our T42 Build Timeline. I wrote about that a couple days ago, but I wanted to elaborate here in case you've been wondering "How long does it take to build a tiny house?"

Professional Builder

  • If you plan to have a professional build your tiny house, it’s reasonable to expect they’ll have the house built within 2-3 months from the time they begin construction, assuming your house is one of their priorities and they don't have a lot of other projects going on.
  • If your builder is constructing one of their stock models for you, it will go more quickly than if it's a custom design.
  • If you're going for a custom design, anticipate that you'll spend some time upfront before the build begins to refine the design and specify the materials. Keep in mind that this work on the front end will save you time and heartache on the back end. This is a perfect example of "Go slow to go fast!"
  • If someone is promising to have your tiny house built in less than 6 weeks, learn more about their track record by contacting other people who have had the company build for them in the past.

Building Yourself WITH Experience & Time

  • If you plan to build your house yourself AND you have some building skills AND a great network of handy friends AND you’re not working full time you can probably do it in 3-9 months.
  • A good rule of thumb for intermediate builders is that everything will take twice as long as you initially anticipate!
  • The very quickest DIY build I’m personally aware of is the Vagabode, which took 2 months. It was completed using SIPs (structural insulated panels) which go together more quickly than a stick-built tiny house. It was built by a couple who had done lots of planning and were working on the house more than full-time. They also had friends and family in the trades with good construction and project management skills.
  • It took Dee Williams 3 months to build her 84 square foot little house, working on the house full-time. She has a background as an architectural engineer and a lot of handy friends. She's also a badass!
  • I had build and project management experience and it took me six months to build my tiny house, The Lucky Penny, while working ¾ to full time. My tiny house is a little smaller than most out there these days but it's also a little fancier. I have a curved roof with a skylight and a preposterous number of shingles! I hosted work parties most weekends. I took a six-week break after building the shell to travel, work, and play then resumed building.
  • Building Yourself WITHOUT Experience & Time
    • A good rule of thumb for beginners is that everything will take three times twice as long as you initially anticipate!
    • If you plan to build yourself AND have no experience AND have few handy friends AND you’re working at least part time, expect that it may take you 9-12 months or longer to build your tiny house.
    • Many people with no building experience are interested in building their own tiny homes and estimate it will take them 3 months. Many of them take a year or longer to complete their homes.
    • If you saw the films Small is Beautiful and Tiny: The Movie, you'll know that novice builders Ben and Christopher underestimated their tiny house build timelines considerably, but once they realized what they were in for they decided to hunker down and take the time to learn how to do it well. Both of them built themselves lovely homes over the course of about a year.
    • I have several friends, including Angela Ramseyer of Mighty Micro Built and Matt and Laura LaVoie of Life in 120 Square Feet who took three years or more to build their tiny homes. These folks were early adopters of the tiny house movement and there weren't nearly as many resources available as the time they began building, so there was a lot of learning along the way!

So how long will it take you to build your tiny home? Honestly, the best answer is still "It depends." It depends on the weather, lead times, your health, your friend's availability, material sourcing, and the many hiccups that will happen along the way (see Plan F: Take 2). But I highly encourage you to create a good plan and then jump on in and enjoy the journey! (And if you'd like a right hand woman for the adventure, check out The Package Deal!)


T42 Build Timeline

Cilantro Poncho Build Blitz Now that Isha and I have made a Tiny Announcement about building Tiny for Two (T42), one of the questions we're most frequently asked is when it will be done. This is no surprise because I got the question a lot when I built The Lucky Penny, too. And we're answering much like my build buddy Laura and I did then: "It will be done when it's done." Which we know isn't very helpful. So let me try to shed a little light on why it's so hard for those of us building to answer that question! (Also check out Timeframe for Building a Tiny House on Wheels).

First of all, figuring out when we're even starting has been a challenge so far. Back in February we ordered our tiny house trailer from Iron Eagle and it's ready when we are. Then we went Window Shopping Again and got our windows ordered. But we don't have a delivery date for the SIPs yet. When I submitted my model to have it converted to shop drawings for the SIPs we anticipated a pretty quick turn around for the shop drawings, but there's been some back and forth. Three weeks later, we're still not signed off on the drawings. The SIPs usually take about a month to produce once the drawings are approved, so we've had to bump back our start date by a month. We now anticipate we'll start our new tiny house at the beginning of May. Here's our tentative timeline:

  • Monday, May 2 - Friday, May 6: Tiny House Foundation & Build Prep
  • Monday, May 16 - Friday, May 20: SIPs Wall & Roof Raising
  • Monday, May 30 - Friday, June 3: Rainscreen, Exterior Trim, Siding
  • Monday, June 13 - Friday, June 17: Lofts, Interior Walls & Painting
  • Sunday, June 26 - Thursday, June 30: Cabinets, Built-Ins & Stairs

(If you want some hands-on build experience, please join us for a week-long Build Blitz or for the day as a Tiny House Helper!)

So, how long will it take us to build our tiny house? My best answer is that I figure it will take about six months to build the new tiny house because it took me about 6 months to build The Lucky Penny. Since the Tiny for Two is bigger but I'm now a better project manager and builder, I'm figuring the same timeframe is realistic. We're staring in May and we'll have two months to work on the house before July when I take off two months from building to embark on summer teaching and speaking adventures. Hopefully we'll get dried in quickly and then be able to make good headway on the functionality of our little house in June. We'll be able to start working on the tiny house again in September so if we count four more months of building from then, we should be able to move in by the end of 2016 and begin making it home!

Inventing Tiny House Community

Simply Home Community, the first tiny cohousing community It’s always fun for me to ask people at a tiny house workshop (like our recent Tiny House 101 Workshop in DC) or events (like the Tiny House Conference last weekend) whether they are interested in living in a Tiny House Community someday. Typically, about half of them enthusiastically agree. And when I ask those folks if they’re pretty sure they invented the concept of tiny house communities, most of them nod and laugh.

Yeah, me, too. For years I was certain I invented the idea of tiny house community.

And I’ll admit I was downright proud of myself for this particular invention. I come up with wild ideas all day long, but this one was a brilliant idea.

For tiny house lovers, the only thing better than a tiny house is putting a bunch of them together!

Simply Home Community, the tiny cohousing community I live in, has been a twinkle in my eye for a decade. You can read all about my initial concept in Lina's Vision for Tiny Cohousing and learn more about My Journey to Cohousing.

Boneyard Studios in Washington DC is the first showcase for tiny house community

When Lee Pera and I spoke at the Tiny House Jamboree in 2015, we bantered about which one of us invented the concept of a tiny house community. In the end, we decided we both invented the idea independently. Although I may have come up with the idea before she did, Lee's tiny house community, Boneyard Studios, was created first. The Boneyard folks became my heros the moment I realized they were actually doing it!

If we focus just on tiny houses on wheels, Boneyard Studios may have been the first tiny house community. And Simply Home Community is the only tiny cohousing community we know of. But we certainly weren't the only ones to create tiny house community. If we include recreational vehicle parks, canal boat communities, liveaboards in the marina, wagon trains, tipis, yurts, and many other collections of small, portable dwellings, it becomes evident that community-minded nomads throughout time and all over the world have located their little homes close to each other so they can share food, time, energy, materials, and fun.

Orlando Lakefront is an RV park that welcomes tiny houses, too

Still, I think it’s okay for all of us to be proud of inventing the idea. It is a great idea. And there are many more tiny house communities still to be created. So let’s not worry about who invented the tiny house community concept. Instead, let's high-five about how great minds think alike and then get on with the important work of creating more fabulous communities!

I've now had the pleasure of Visiting Orlando Lakefront Tiny House and RV Park, where my pal James Taylor lives. They have begun welcoming tiny houses into a 1950s RV park. Earlier this week on my Tiny Tours near Asheville, I visited High Cove, an intentional community that intends to add tiny houses on wheels. And I keep hearing of others that are working on similar projects. You can find a list of tiny house communities at TinyHouseCommunity.com. If you know of anyone else who is inventing tiny house community, please tell us about it in the comments!

Tiny Tours Near Asheville

cheers to living in 120 square feet!

I'm spending this week following the Tiny House Conference in Asheville, NC and working alongside fellow work-from-homers, Matt & Laura LaVoie. The past couple days they've been gracious enough to also take me on a couple of tiny house tours.

On Monday we drove to High Cove in Mitchell County, NC, about an hour northeast of Asheville. High Cove is an intentional community that a couple dozen households are creating on a lovely swath of land which emphasizes art, science, and lifelong learning. We enjoyed touring the common house and two of the homes on the property (both under 400 SF) before settling down for a good chat about community and tiny houses over a scrumptious homemade lunch.

High Cove provides guidelines for creating sustainable dwellings on the land, including a size maximum of 1200 SF. However, ADUs are allowed on each lot so you could, for instance, build an 800 SF house and a 400 SF accessory dwelling. One of the founders, Olga, is a city planner, so I enjoyed having her talk us (and, actually walk us!) through the plan for the community, which will include a village center. There are also plans for a tiny house cluster near the creek. It's a lovely spot and I think it would be great fun to be here with several other tinies nearby. Now I have fantasies of spending time in a wee abode in this community someday! I look forward to seeing how this community evolves. Meanwhile, if you're committed to community living and love the Asheville area, get in touch with Olga!

Yesterday I had the pleasure of visiting Laura and Matt's tiny house, also in the mountains near Asheville, but closer to the city. Matt and Laura built their home over the course of three years and Laura's been blogging about it at 120 Square Feet. It was one of the first tiny house blogs I came across and it's been fun to follow along all these years. So it was a real treat to get to tour Laura and Matt's tiny house yesterday along with Kristie Wolfe and Kelly and Chris of Just Right Bus. They did a beautiful job constructing their little home and it was fun hearing about the little changes they've made as they've enjoyed their wee home over the past 4 years.

As so often happens when I'm exposed to new and fabulous tiny homes, I'm inspired all over again. And the timing couldn't be better because when I get home I'll begin building my tiny house (again)! Isha, The Guy Next Door, and I will begin construction of our new tiny home, starting in April. If you'd like to join in on the fun, please check out our T42 Build Blitz or Tiny House Helper.