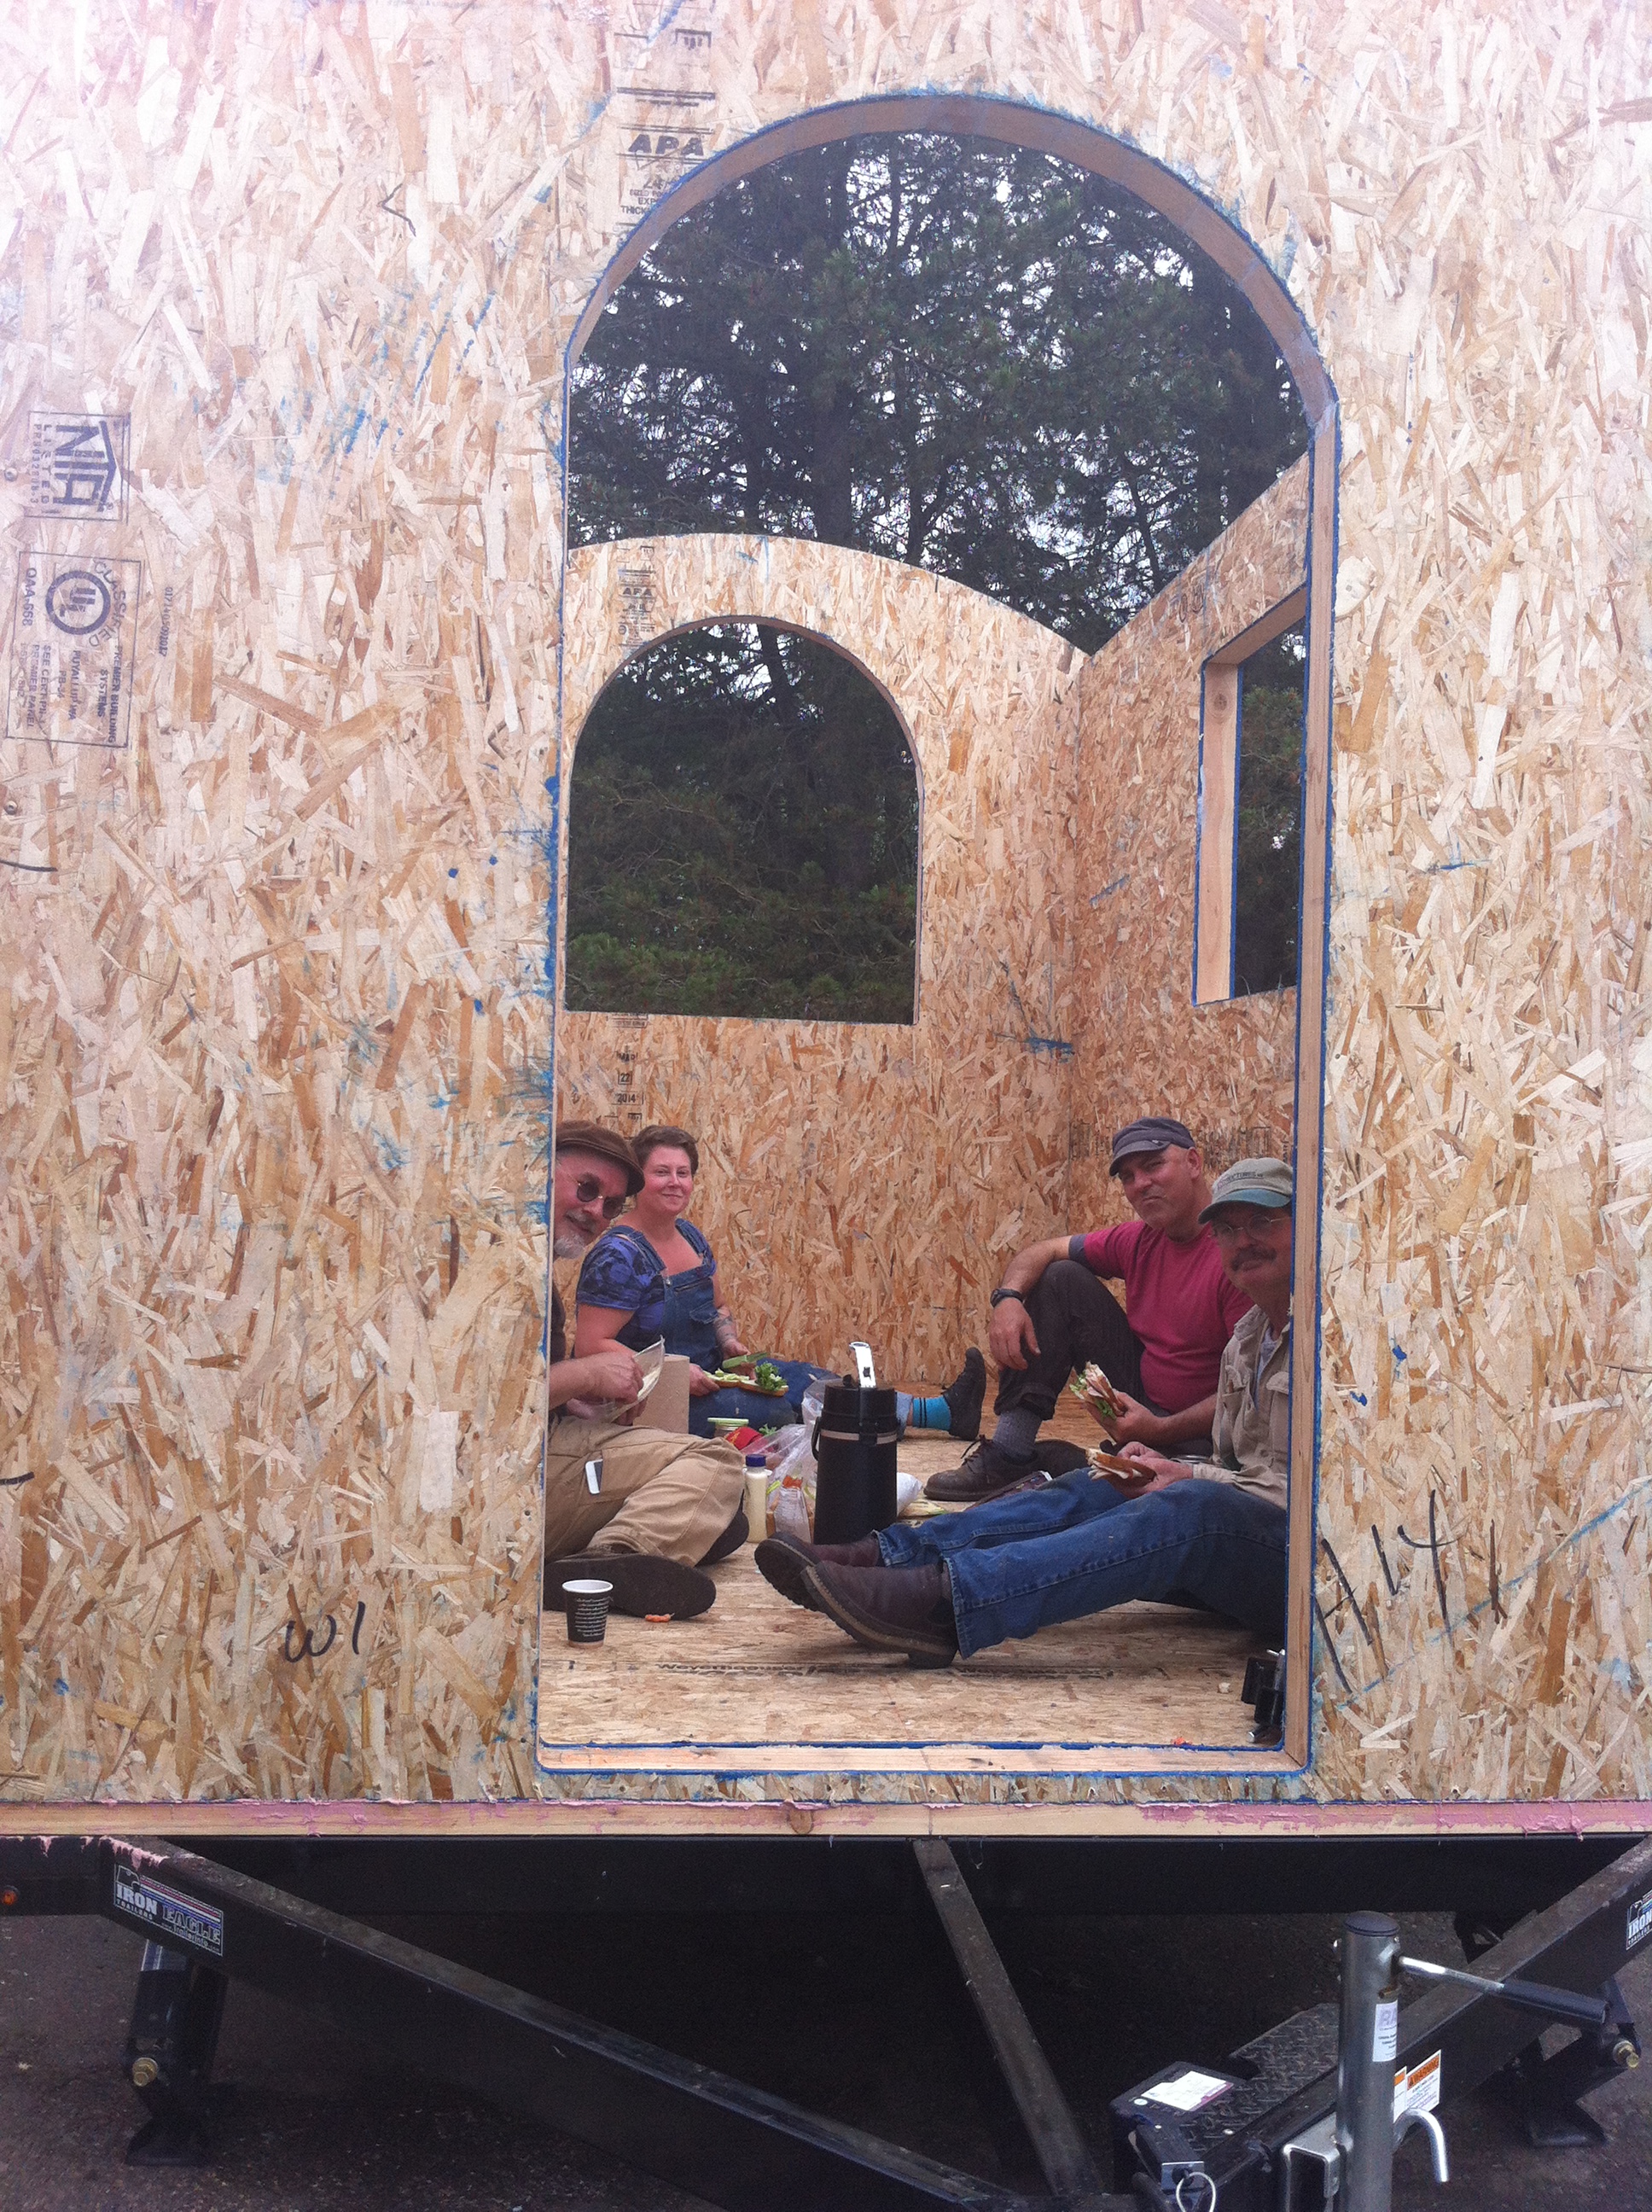
 Yesterday we put the SIPs walls up for my gypsy wagon! My Tiny House Build Began last Friday when we picked up My Custom Vardo Trailer and started on Floorbox Lessons Learned. Then the Floorbox Continued because I was thwarted by supply issues and rain on Sunday. I also changed my mind (again) about my wall and floor attachment systems, eventually going back to Iteration #37 with Patrick’s help.
So yesterday morning I figured it would be a piece of cake to put the sill plates down in their proper place, stand the walls up, and get them secured. And it would have been – if the sill plates were in their proper place. It took us nearly 3 hours yesterday (in the drizzle) to get the sill plates just where they needed to go. Fortunately, I had a great crew of Tiny House Helpers: Patrick Sughrue of Structures NW, John Labovitz of Polymecca, Laura Klement, Deirdre, and Eric.
The trailer was square but the flanges were not, so when we measured off of them we came up with ¾” variation from front to back. I had already ordered my trailer when I decided to have SIPs made for me instead of trying to make them myself. If I had it to do over, I absolutely would have taken Patrick’s advice to do a SIP floor, too! That way we would have a perfectly square and 8-foot-wide starting point. The trick was Patrick’s idea of marking the centerline and working off of it – no matter what. Once we did, things came together really quickly. Patrick was an excellent crew leader, showing us how to install his panels properly.
We put sill seal down underneath the bottom bottom plate (a 2 x 6) and then sealed the top bottom plate (a 2 x 4) on top of it with Prosoco’s Joint & Seam, nailing the plates together as necessary to make them easier to work with. We secured the bottom plates to the trailer flanges with 4” long ¾” bolts and added self-tapping metal screws along the front and back of the trailer since there were only two bolt holes in each of the flanges which we could screw into for these sills. We did have to drill a couple more holes in the flanges and with a good bit this wasn’t horrible to do, so in the future I’d probably not have them pre-drilled by Iron Eagle Trailers.
Once the sill plates were down it only took us an hour and a half to get the walls up! We lifted the panels, rotated them as necessary, and set the edge down on the trailer floor. Once we were lined up, we applied spray foam to the bottom plate and scooted the panel off the edge of the floor and into its proper place. Laura held the first wall in place while we got the second and third panels up, securing them together with long screws. We connected the two panels on the long walls with a spline, which we spray foamed on both sides and the bottom. The front panel was the only one that caused us any trouble and that was because we hadn’t quite gotten the two back end panels all the way to the back panel. That 1/8” matters! We used ratchet straps to pull them as tight as we could and chipped away a little bit of the sill plate at the front and then realized we were being held up by the bolts. So cut away a bit of the stud on each side of the SIP so that the front panel could nestle into its spot.
Hooray for four walls! We celebrated with a picnic lunch in the future kitchen of my tiny house!

