Plan F

Plan F: Take 2

Lina planing the wild edge before installing the barge rafter, photo credit Amy Weller (having photo rotation issues - sorry about that, but this is about how it felt! 
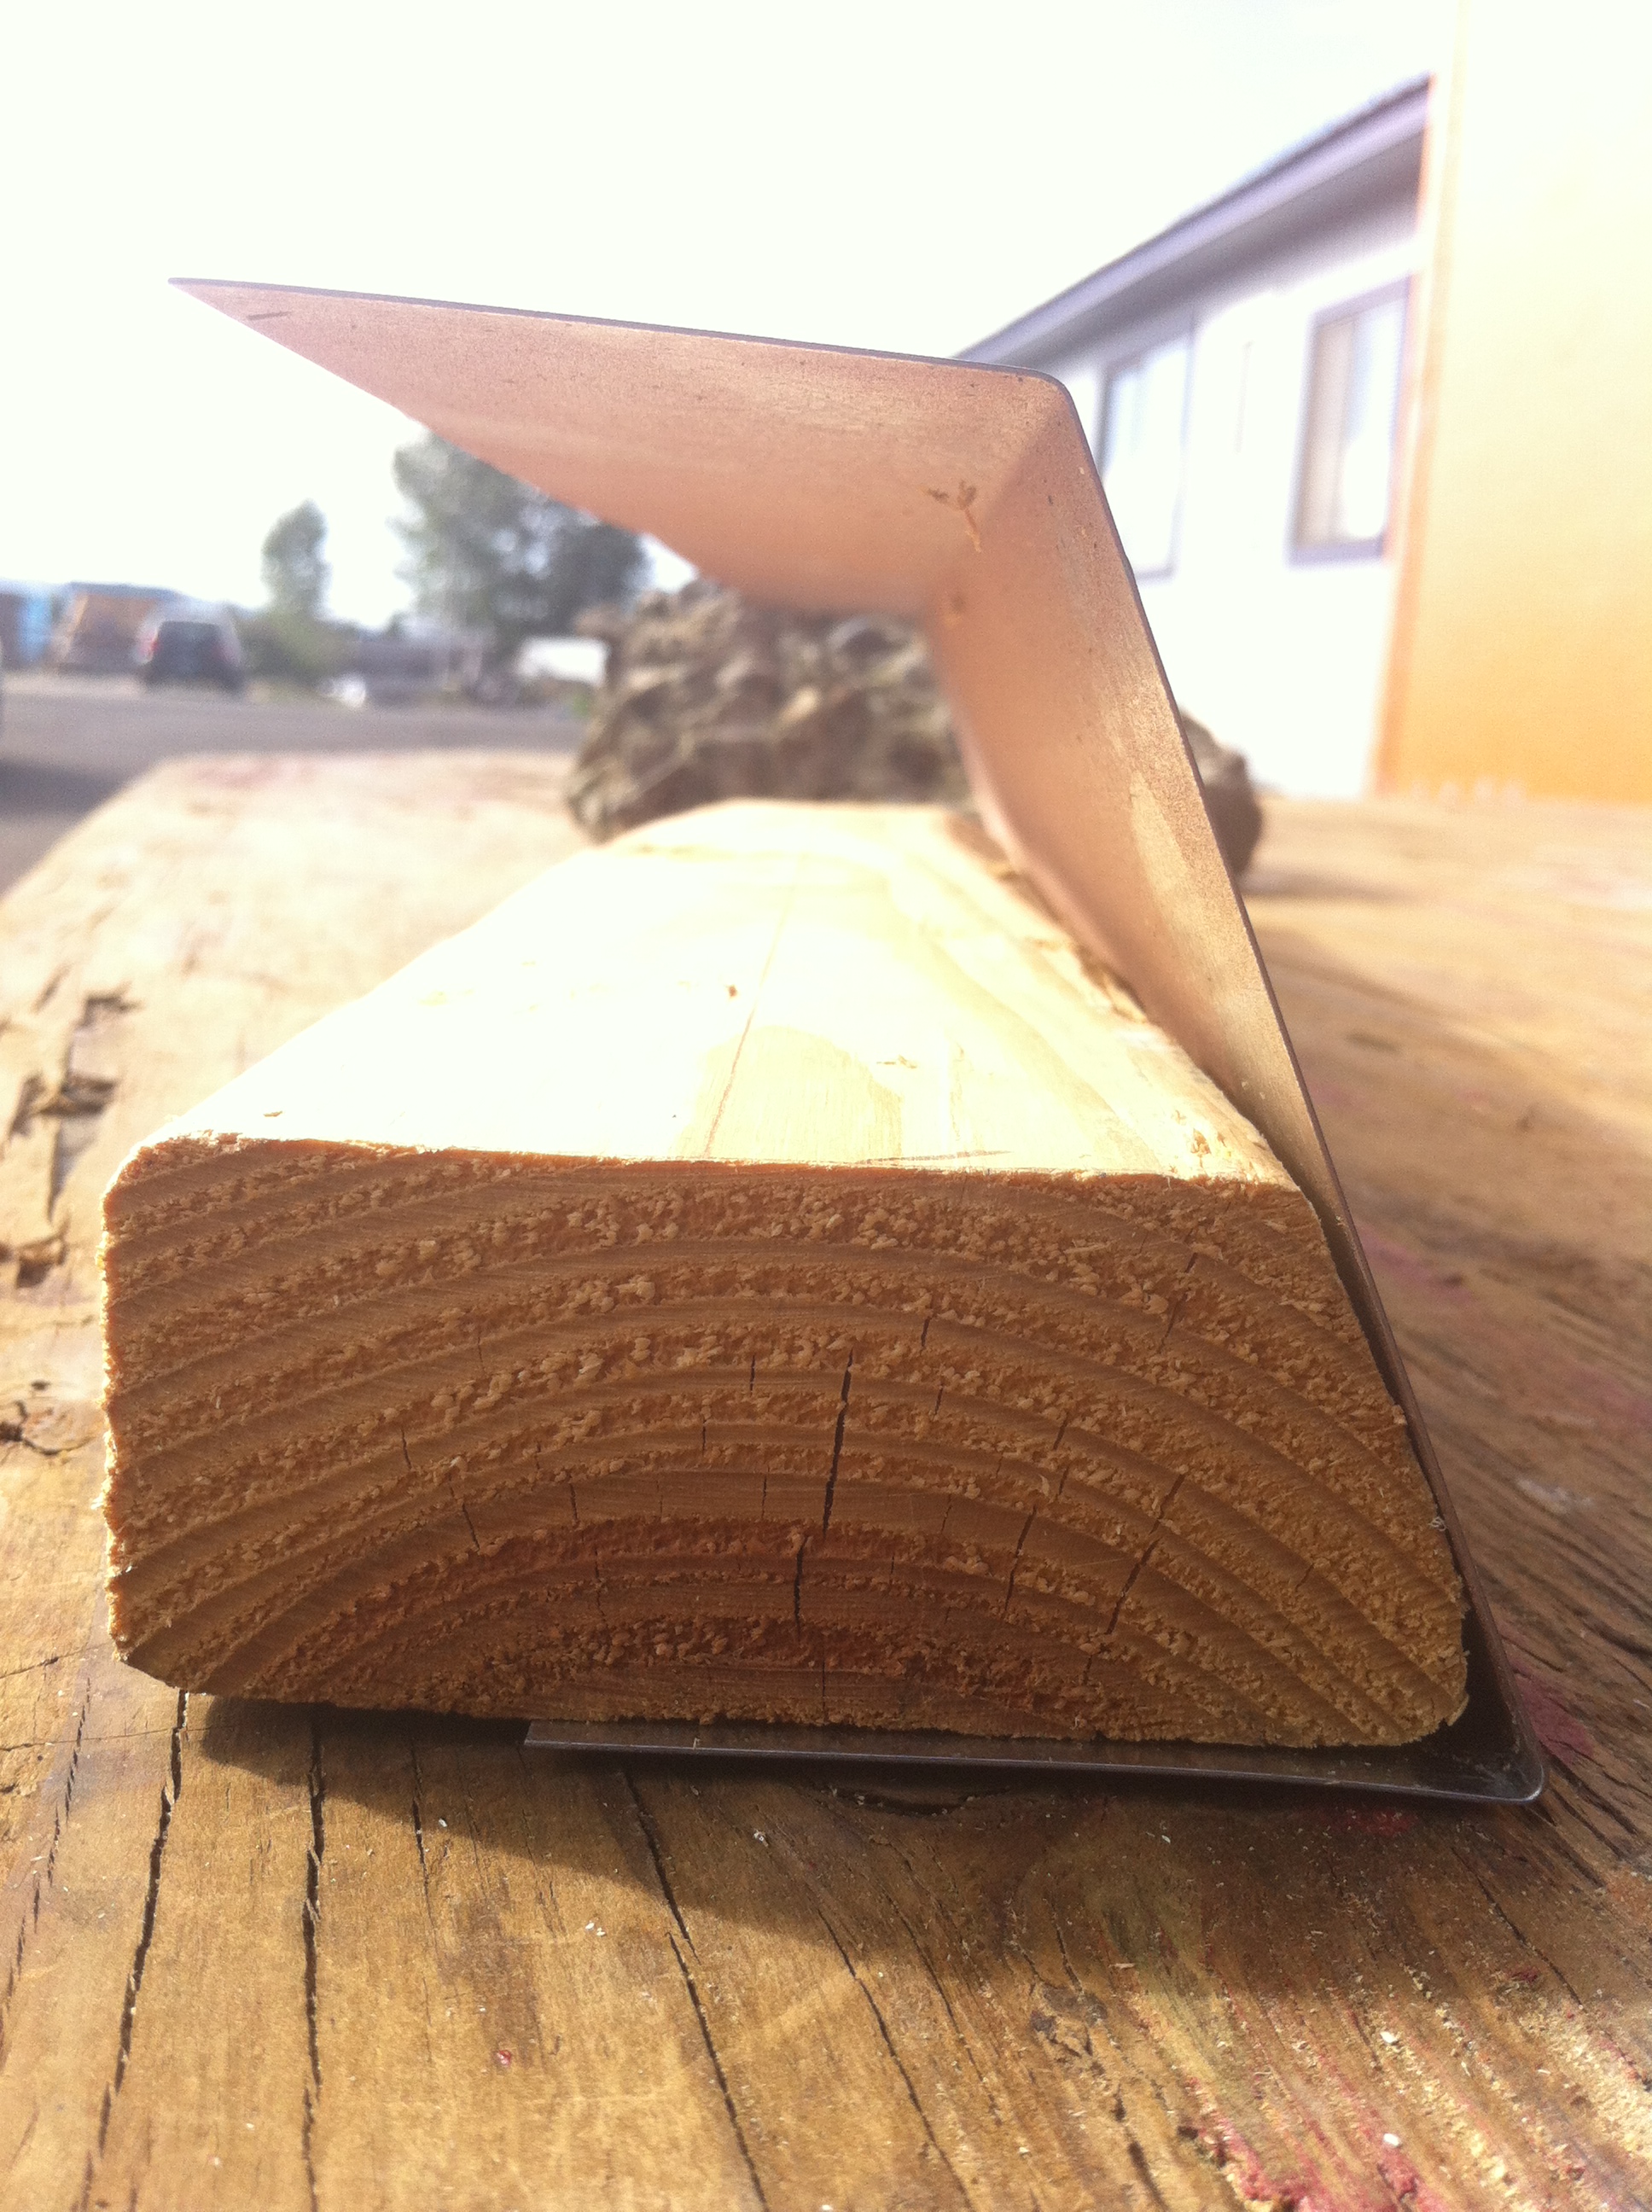
Yesterday evening were working on Plan F and just placing everything together so we could decide whether to assemble the system on the ground or in the sky when I discovered that 2 x 6s are sold in "dead-on" pre-cut stud length.

Now it makes perfect sense, really. If your sill plate is 1 1/2" and you have a double top plate that's 3" and you're doing a drywalled ceiling and a finished floor you would, of course, want to just use stud length 2 x 6s that are already cut to 92 5/8."

I just had no idea they existed. So I didn't think to make sure I was buying anything other than 96" studs. In fact, I remember looking at the label for the 96" studs. It just happened to be the label for the studs above it, not the ones I bought.

So as we discovered this, I began giggling. Then I began laughing maniacally. Then I fell on the ground laughing and crying. Then I just cried for a couple minutes. I was so exhausted. And so frustrated I hadn't thought to measure. And so annoyed with myself for wasting the time of the people who came to help.

This was my first melt down of the build. I was warned it would happen and yesterday was the day. I was embarrassed my Tiny House Helpers saw me in such a state.

Amy installing outriggers around my skylight box while I point out next steps, photo credit: Love Ablan

But Karin was right. It was bound to happen. No one was hurt. No permanent damage was done. It wasn't even a very big cost. And my friends seem to still love me anyway.

I was feeling tempted to abandon the plan entirely when Angela and Randy convinced me there was no need for a plan G. Plan F was a good one. I just grabbed the wrong materials. Christian and Angela agreed to come back in the morning and help get the eve caps installed.

Angela coaxed me back into the car and we went to the hardware store to pick up 4 brand new 96" 2x6s. We got them back to site and decided it was time to call it quits for the day. We tidied up the site and headed to Signal Station Pizza for dinner and unwinding.

This morning Christian and Angela helped me get the eve caps up. It took longer than we anticipated since we had to pry the bead board up to slip the eve caps in place, but it worked. Plan F was ultimately successful. As Angela and Christian ducked out, Amy, Melissa, and Love arrived.

Melissa painting my arched window

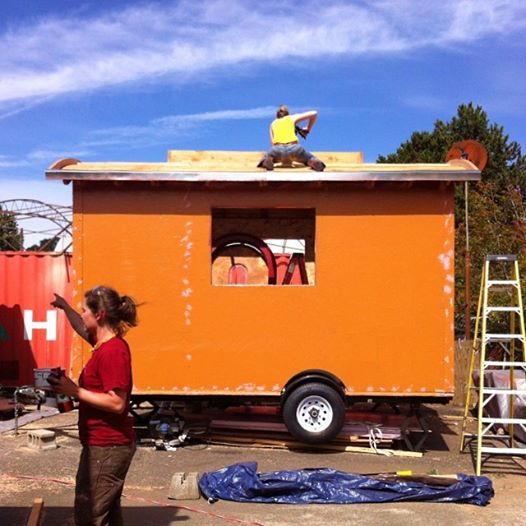
Today we cranked out great work all day since the prep was done already yesterday. In addition to getting the Eave Caps for My Vardo Roof installed, we installed the outriggers on either side of the skylight box. We also planed and installed the curved ends of the roof box and installed the barge rafters at the front and back of the house sandwiching them around the ceiling panel, which had been running wild. (This is the first tiny part of my house that looks finished and it's so rewarding!) We even got the front of the arched window painted!

I'm so grateful for all My Tiny House Helpers! My roof box is now ready for insulation!

Plan F

I'm on Plan F. Lina planing the curved ends of the roof box, photo credit Angela Ramseyer

Over the past three years I've considered dozens of different ways to build my vardo roof, with its exposed rafters and skylight box. This weekend I found myself working on Plan F. Fortunately, I had some great people by my side.

Because My Curved Rafters are exposed to the interior my roof system needed to be constructed on top of the rafters. This has left my roof vulnerable during several Portland rain showers, so I've been eager to get it closed up.

I was already on Plan D when I had Eave Caps for My Vardo Roof fabricated by Vinje & Son Custom Sheet Metal earlier this week. But yesterday morning when Christian, Angela, Karin and I went to install the eve caps, we realized that the top part of the skewed U-shaped metal completely interfered with our ability to anchor it to the rafters. (I have since learned about right angle drill attachments, but did not know about them yesterday morning!)

I was pretty frustrated that Plan D hadn't worked. So we took a little break and muddled through Plan E. Fortunately, I had a great group of Tiny House Helpers by my side, including my oldest friend Christian, Randy (who had braved Hail & High Water with me last weekend and was back to sort my trim (again!) and pick the best pieces to stain), and two women who have built their own tiny homes: Angela of Mighty Micro Builder and Karin who built Serenity.

Plan E: a 2x4 flat in the eve cap

Angela suggested that we install a 2x4 flat against the rafters as a nailer so that we could attach the 2 x 4 to the rafters and the eve cap to the 2 x 4. Furthermore, it would create an outrigger to which I could attach my barge rafter, which was something I'd lost when I ditched Plan AThe trouble we found was that if we slipped a 2 x 4 into the bottom of the bent eve cap it would be at a completely different angle. If the wood wasn't in contact with the vertical metal surface of my eve caps we wouldn't have very good attachment. So we decided to rip off the corner at 26 degrees so that our nailer would slip into the eve cap and give us a proper attachment surface.

I cut a sample piece to try it out and we realized that by the time we ripped off the corner at 26 degrees the board wouldn't be much longer than the flashing and it would once again be tricky to attach it. So Karin suggested we head to the hardware store and pick up some 2 x 6s. Voila, Plan F.

Karin did a great job of cheering me up, telling me about some of the frustrating moments of her build and assuring me that it's okay to be upset and that My Tiny House Helpers will still love me even if I fall apart. She pointed out, that in fact it's a good experience for others to see what sort of challenges I encounter and to learn about the problem-solving process. She reminded me that those who have been there before can relate. I know all this, but let me assure you after several weeks of working 10 hour days either at the Breathe Building or on my build site, I was having a hard time with logic. When I thanked Karin for her patience and kindness she assured me that I'll be returning the favor someday. I have no doubt. No doubt at all.

We swooped into the hardware store, picked the four straightest 2x6s in the pile, and headed back to site where Christian ripped the corners off of the boards and nipped an inch and a half off the end of each one.

And then I made an unfortunate discovery. Read on to learn all about Plan F: Take 2.