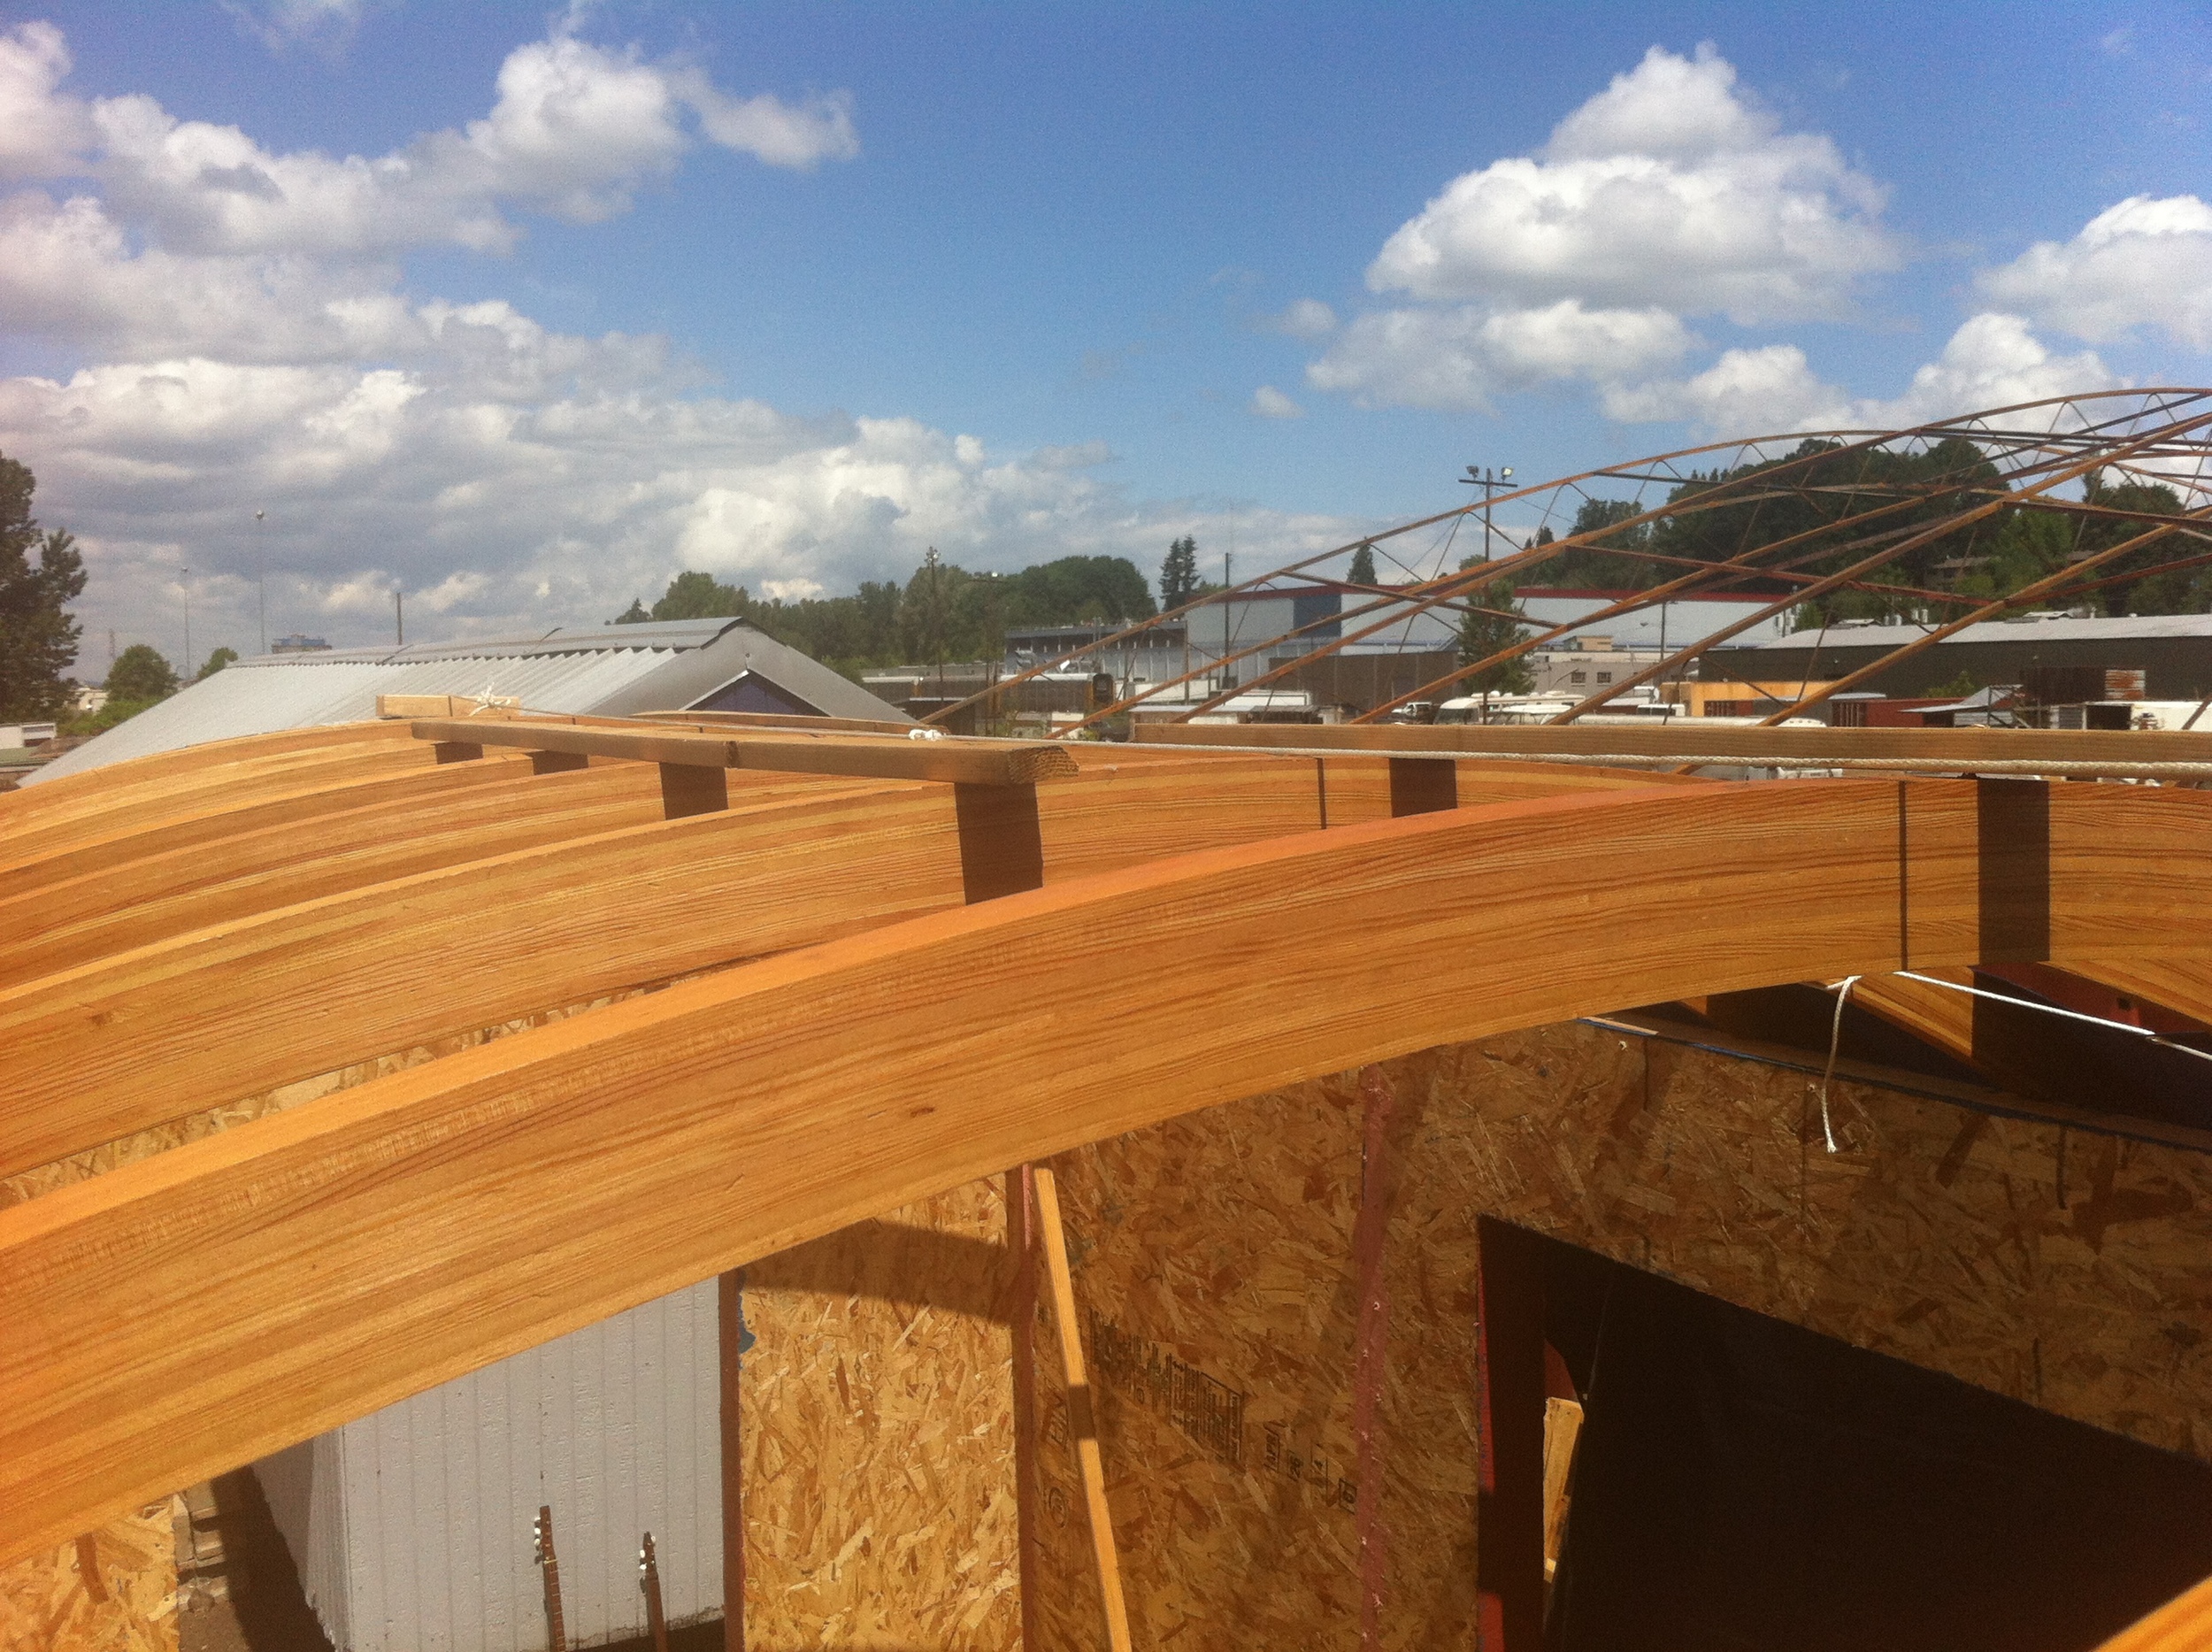
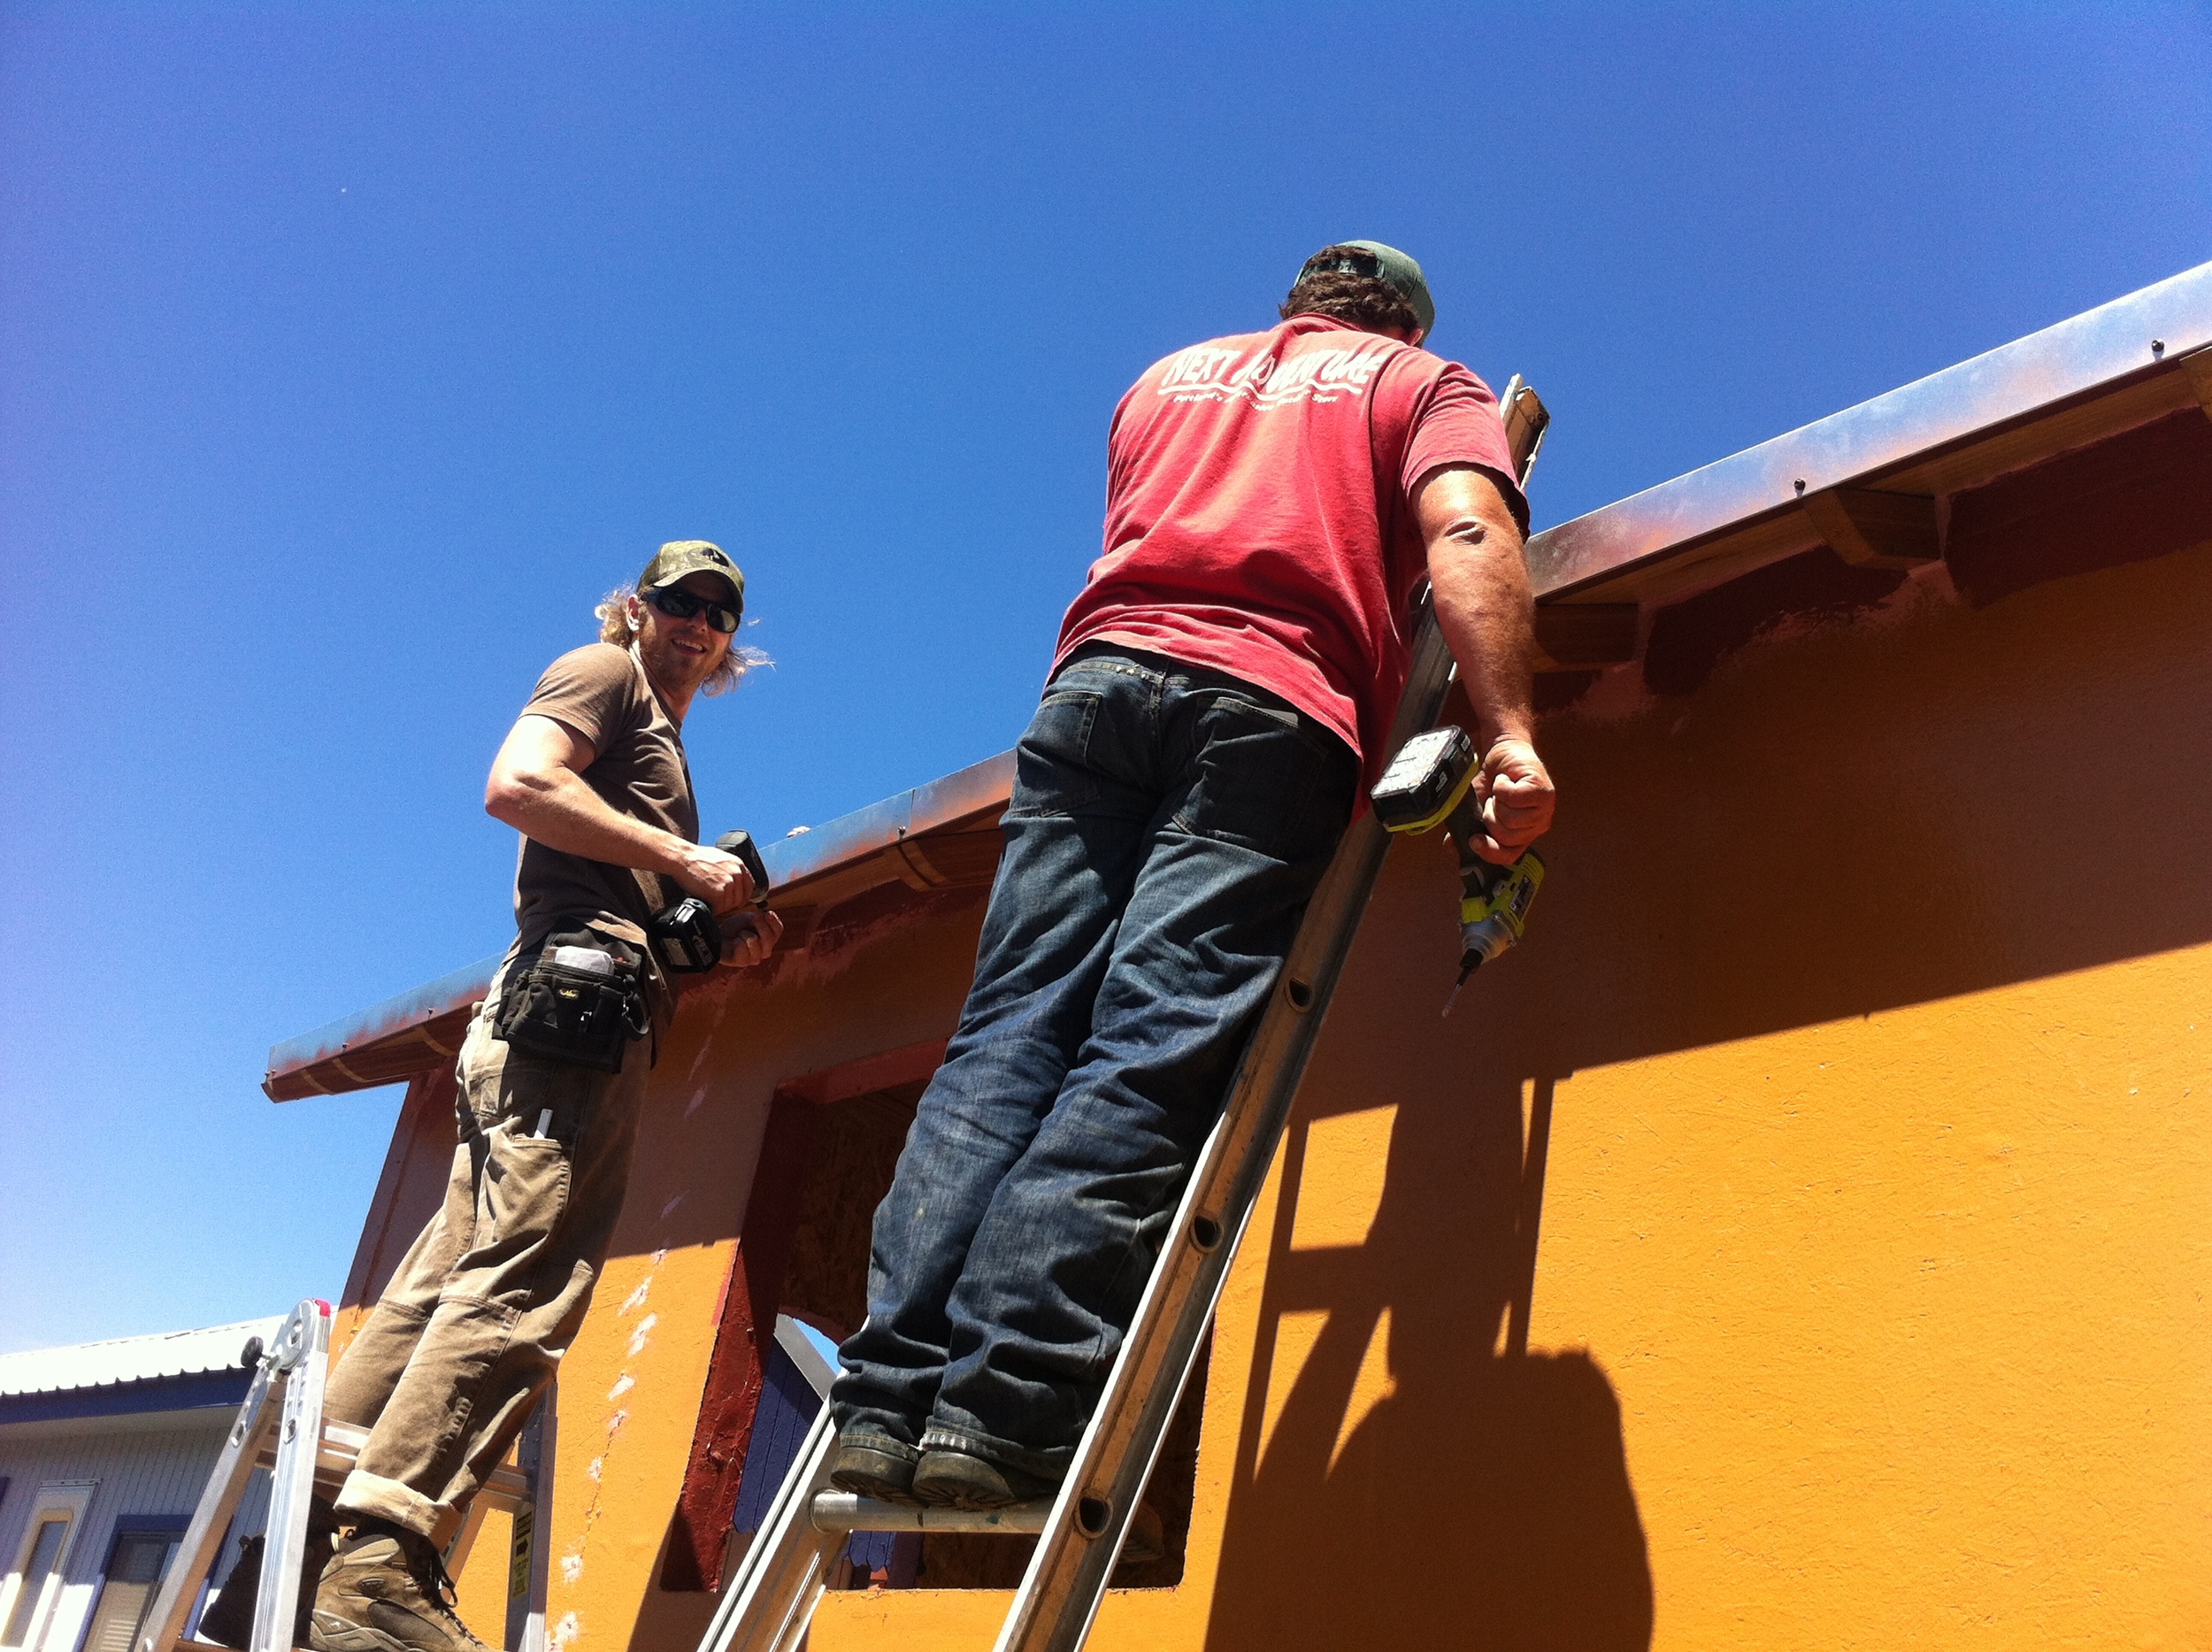
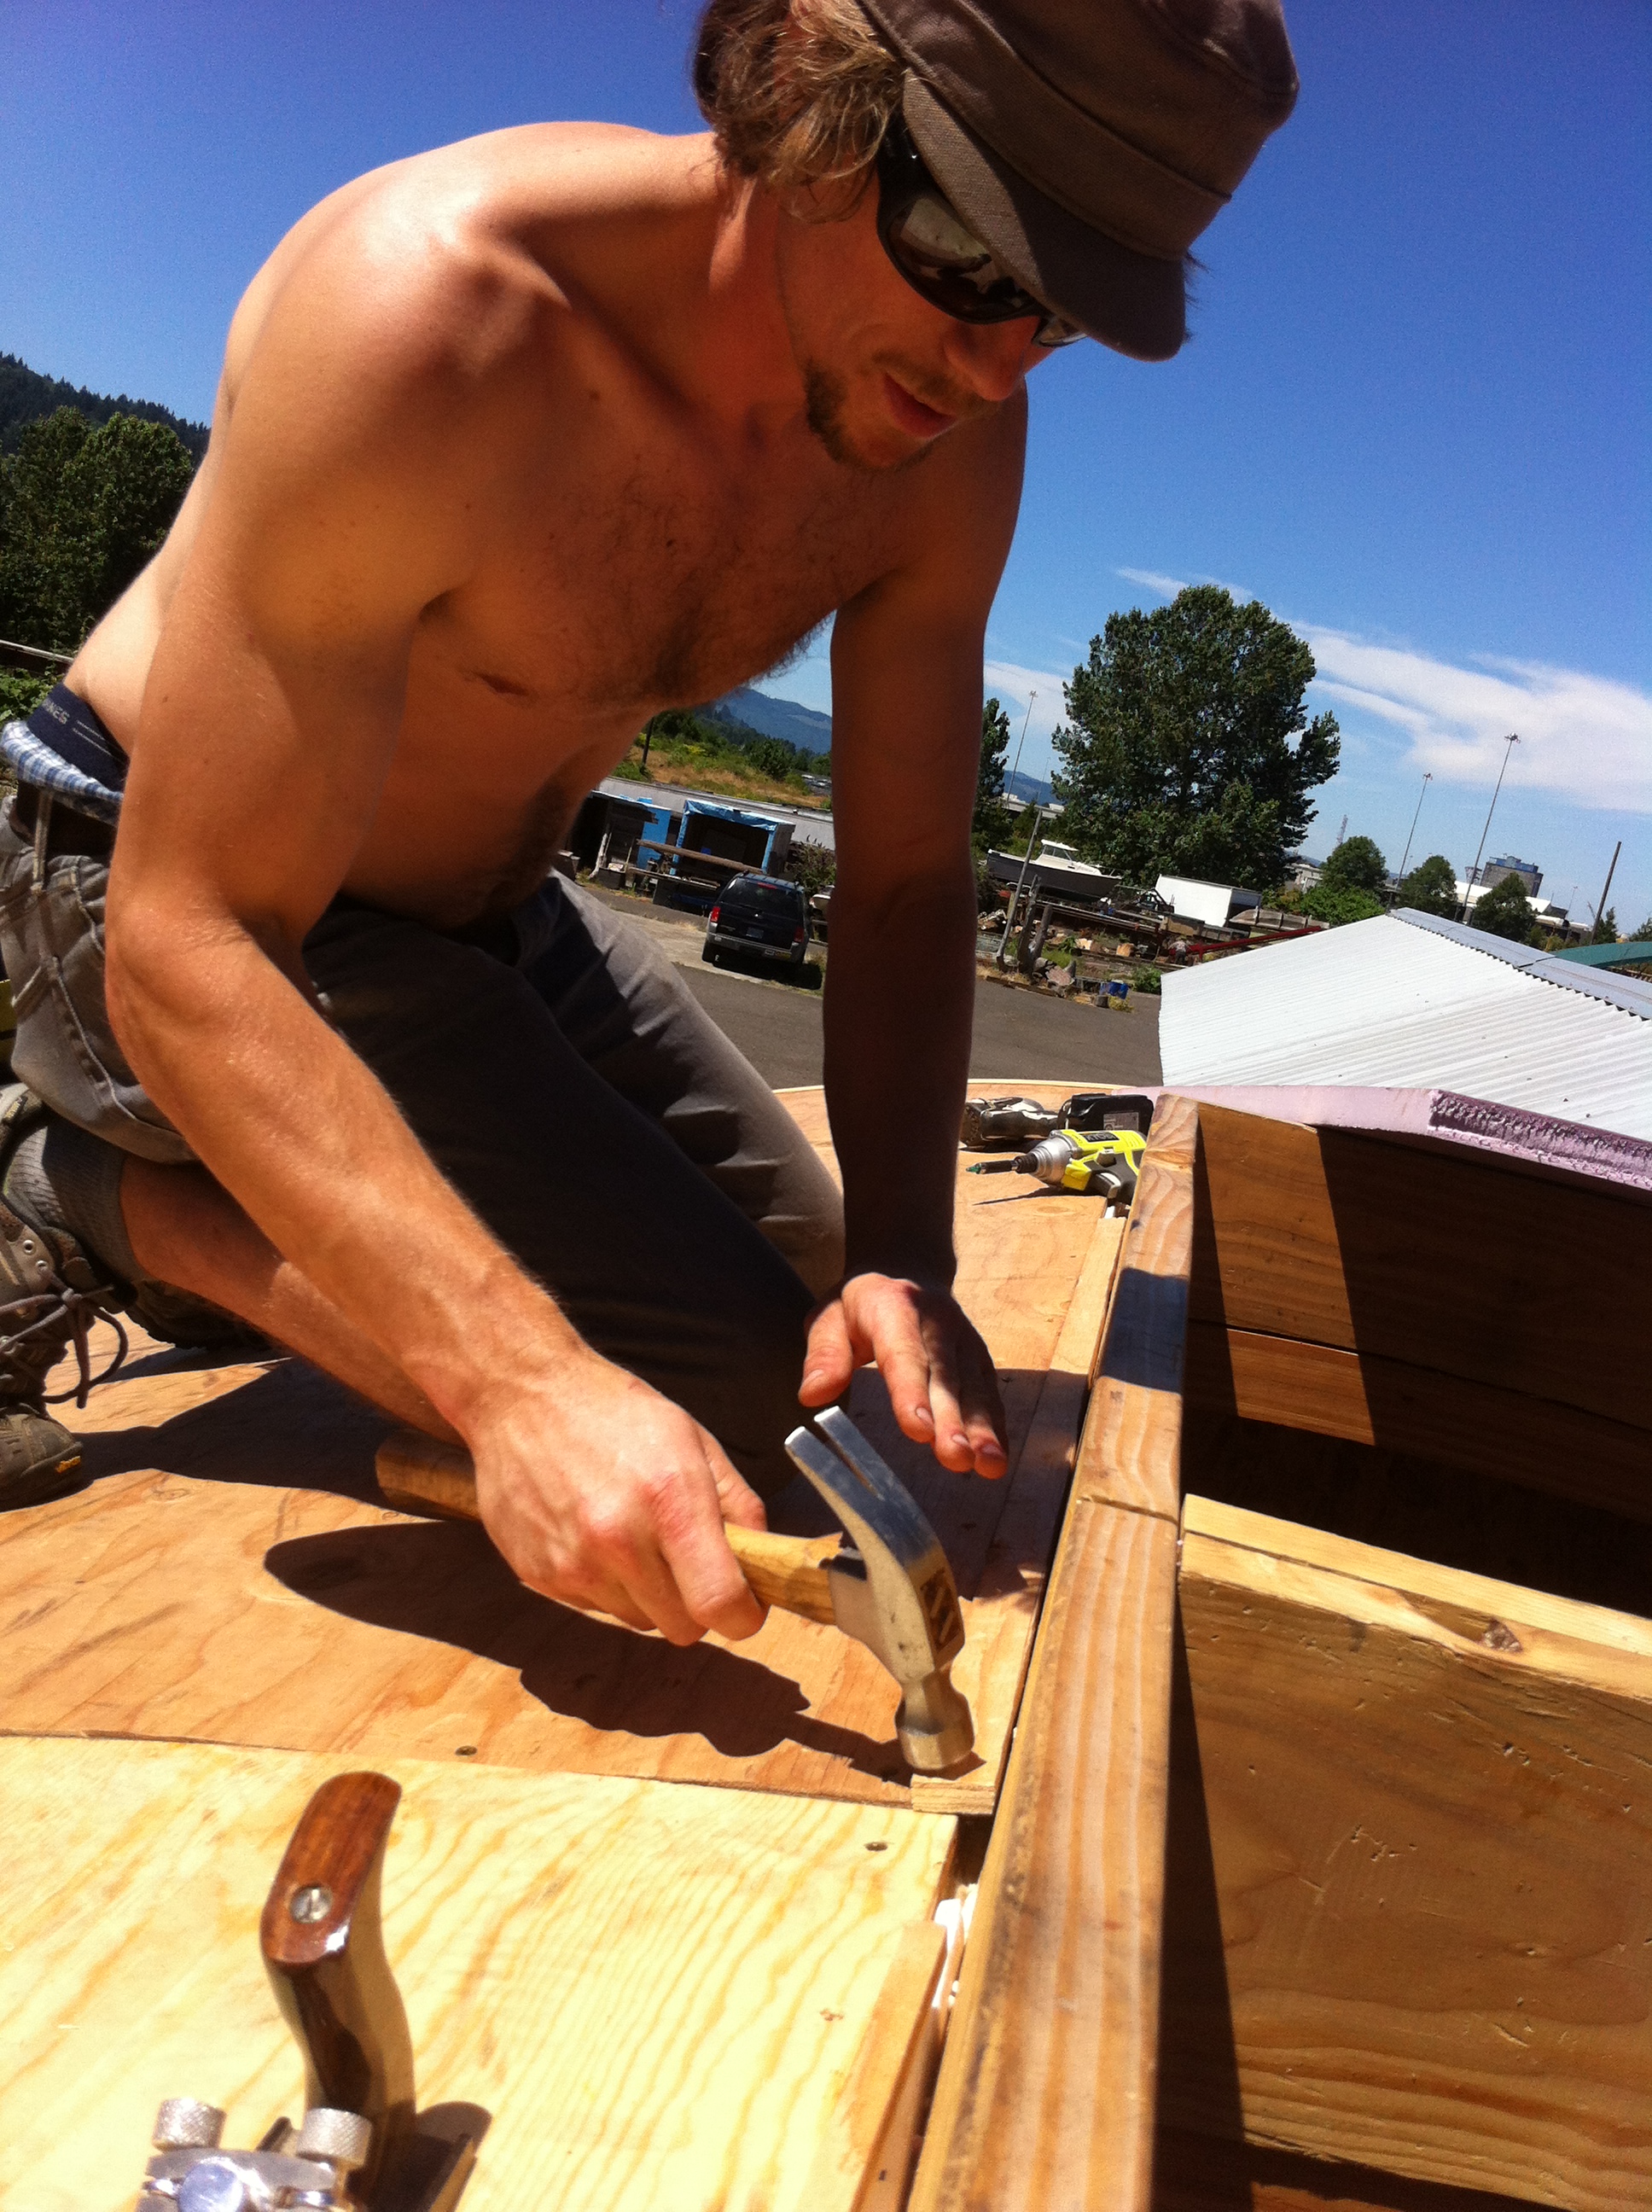
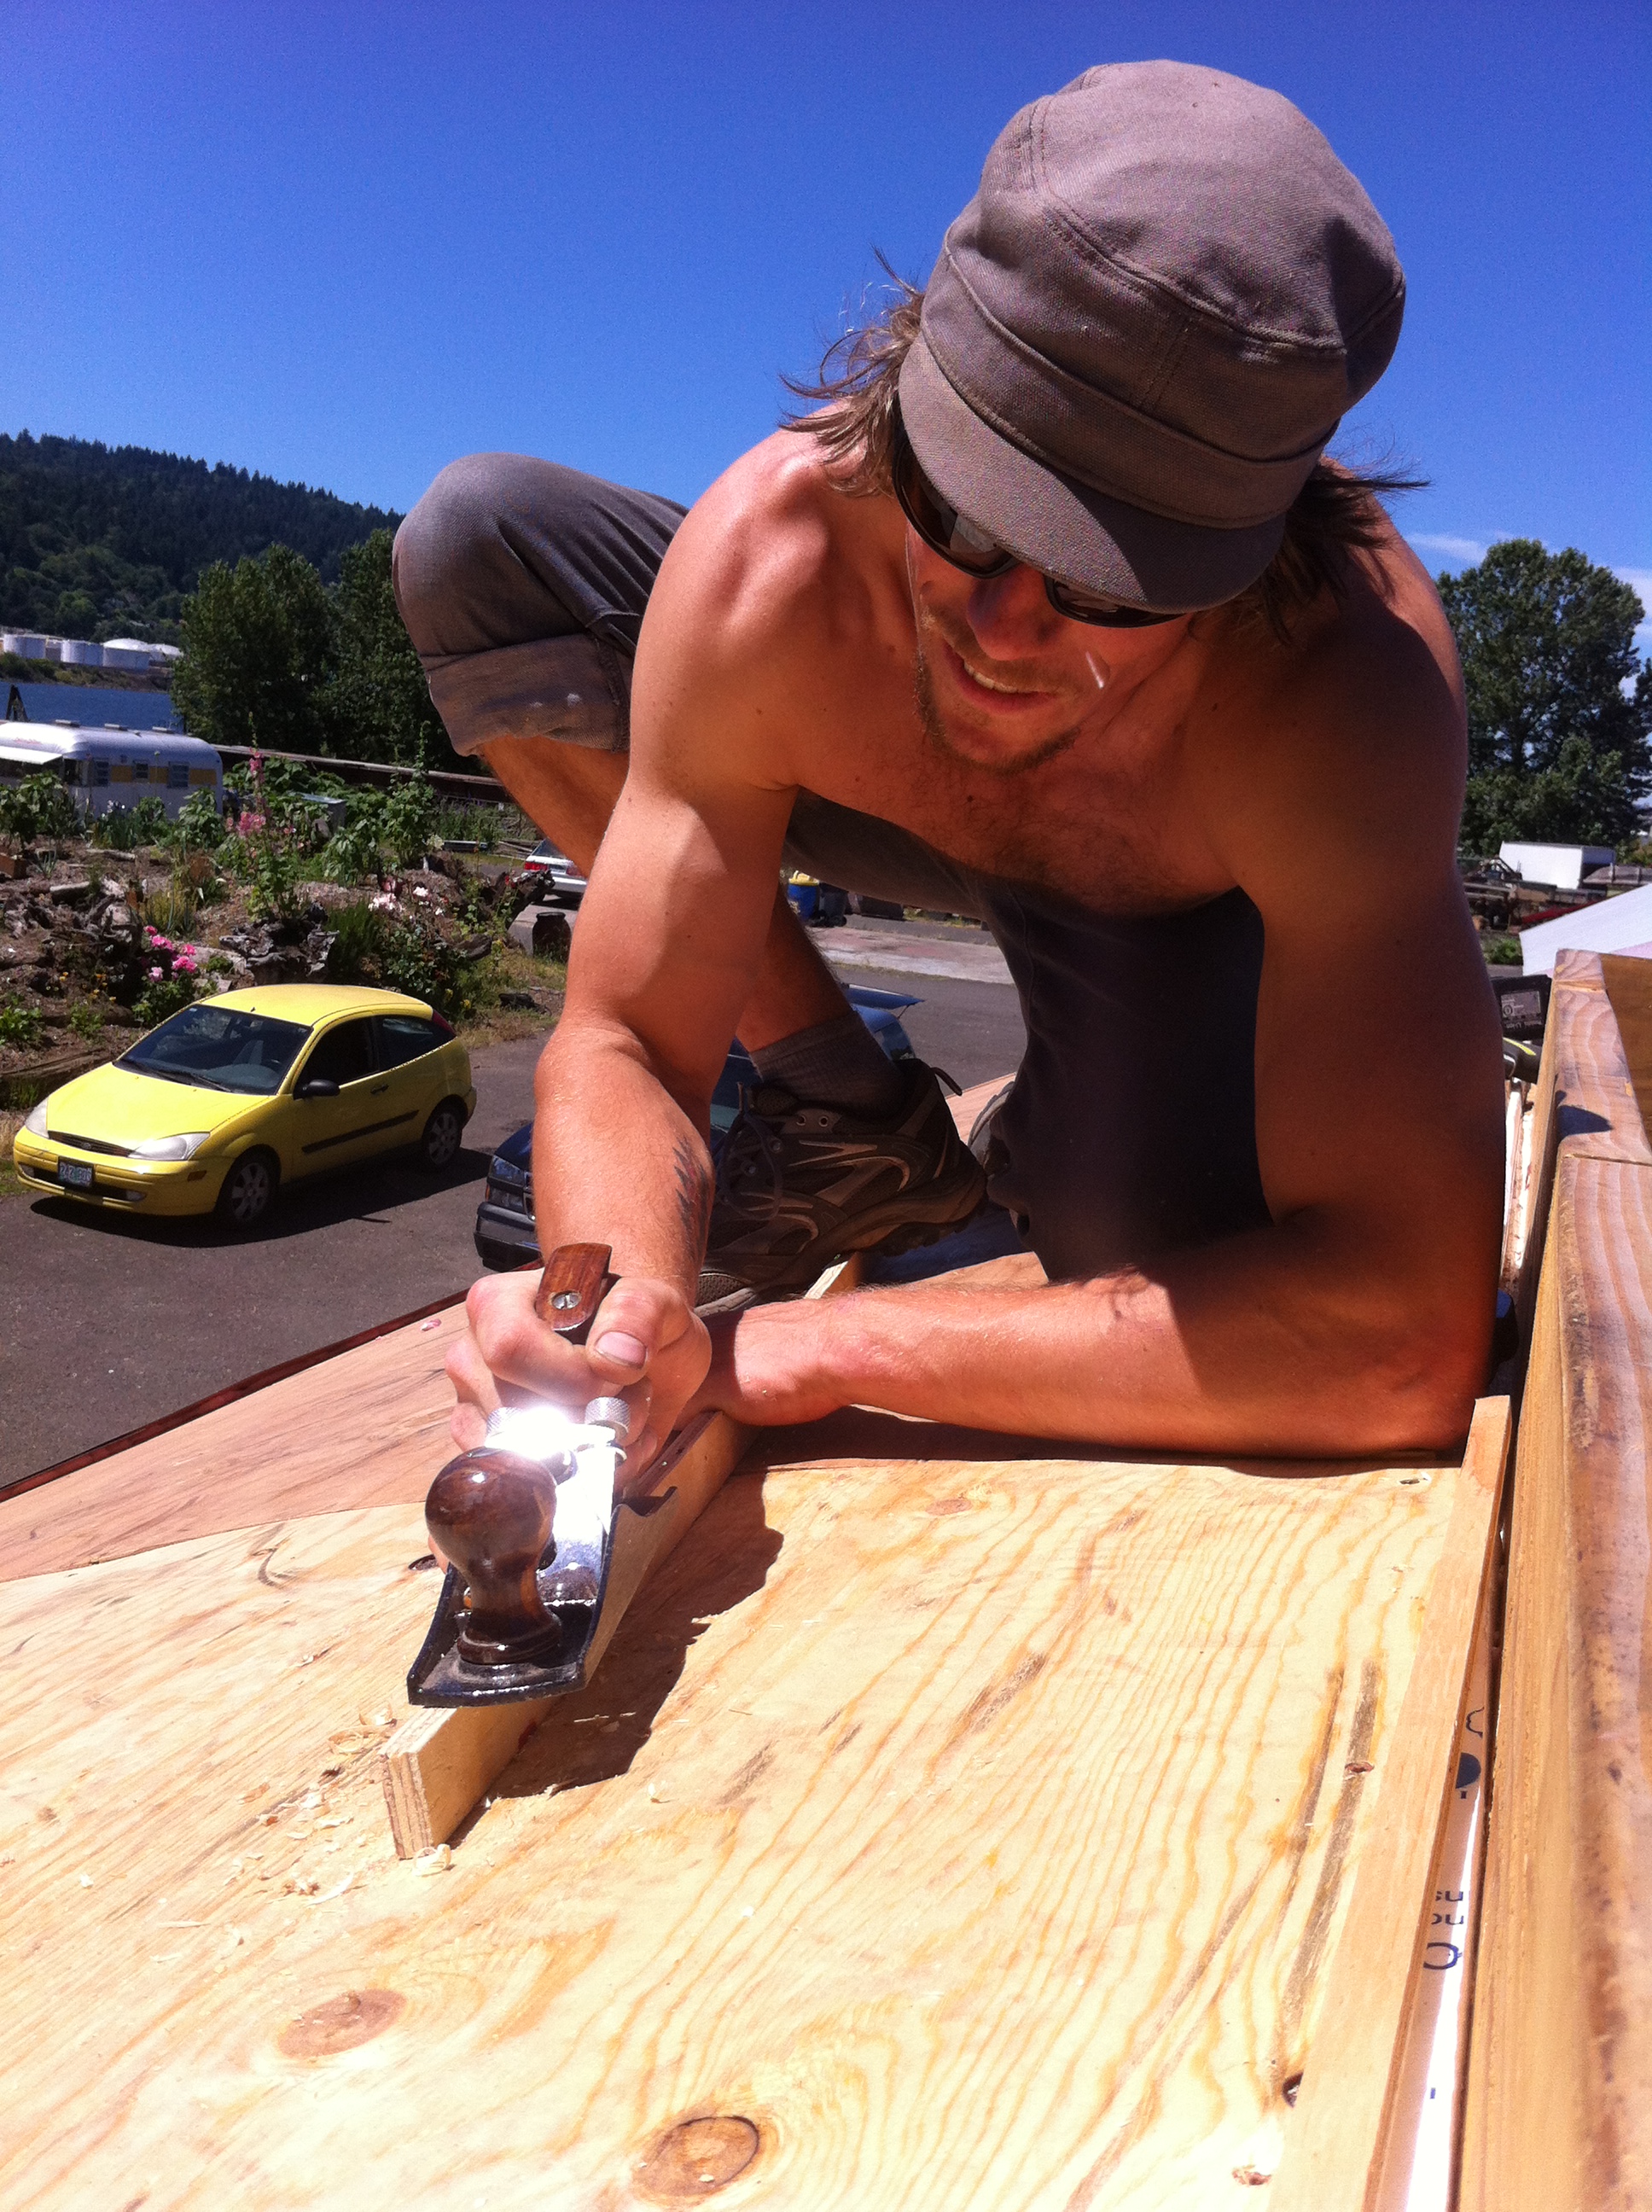
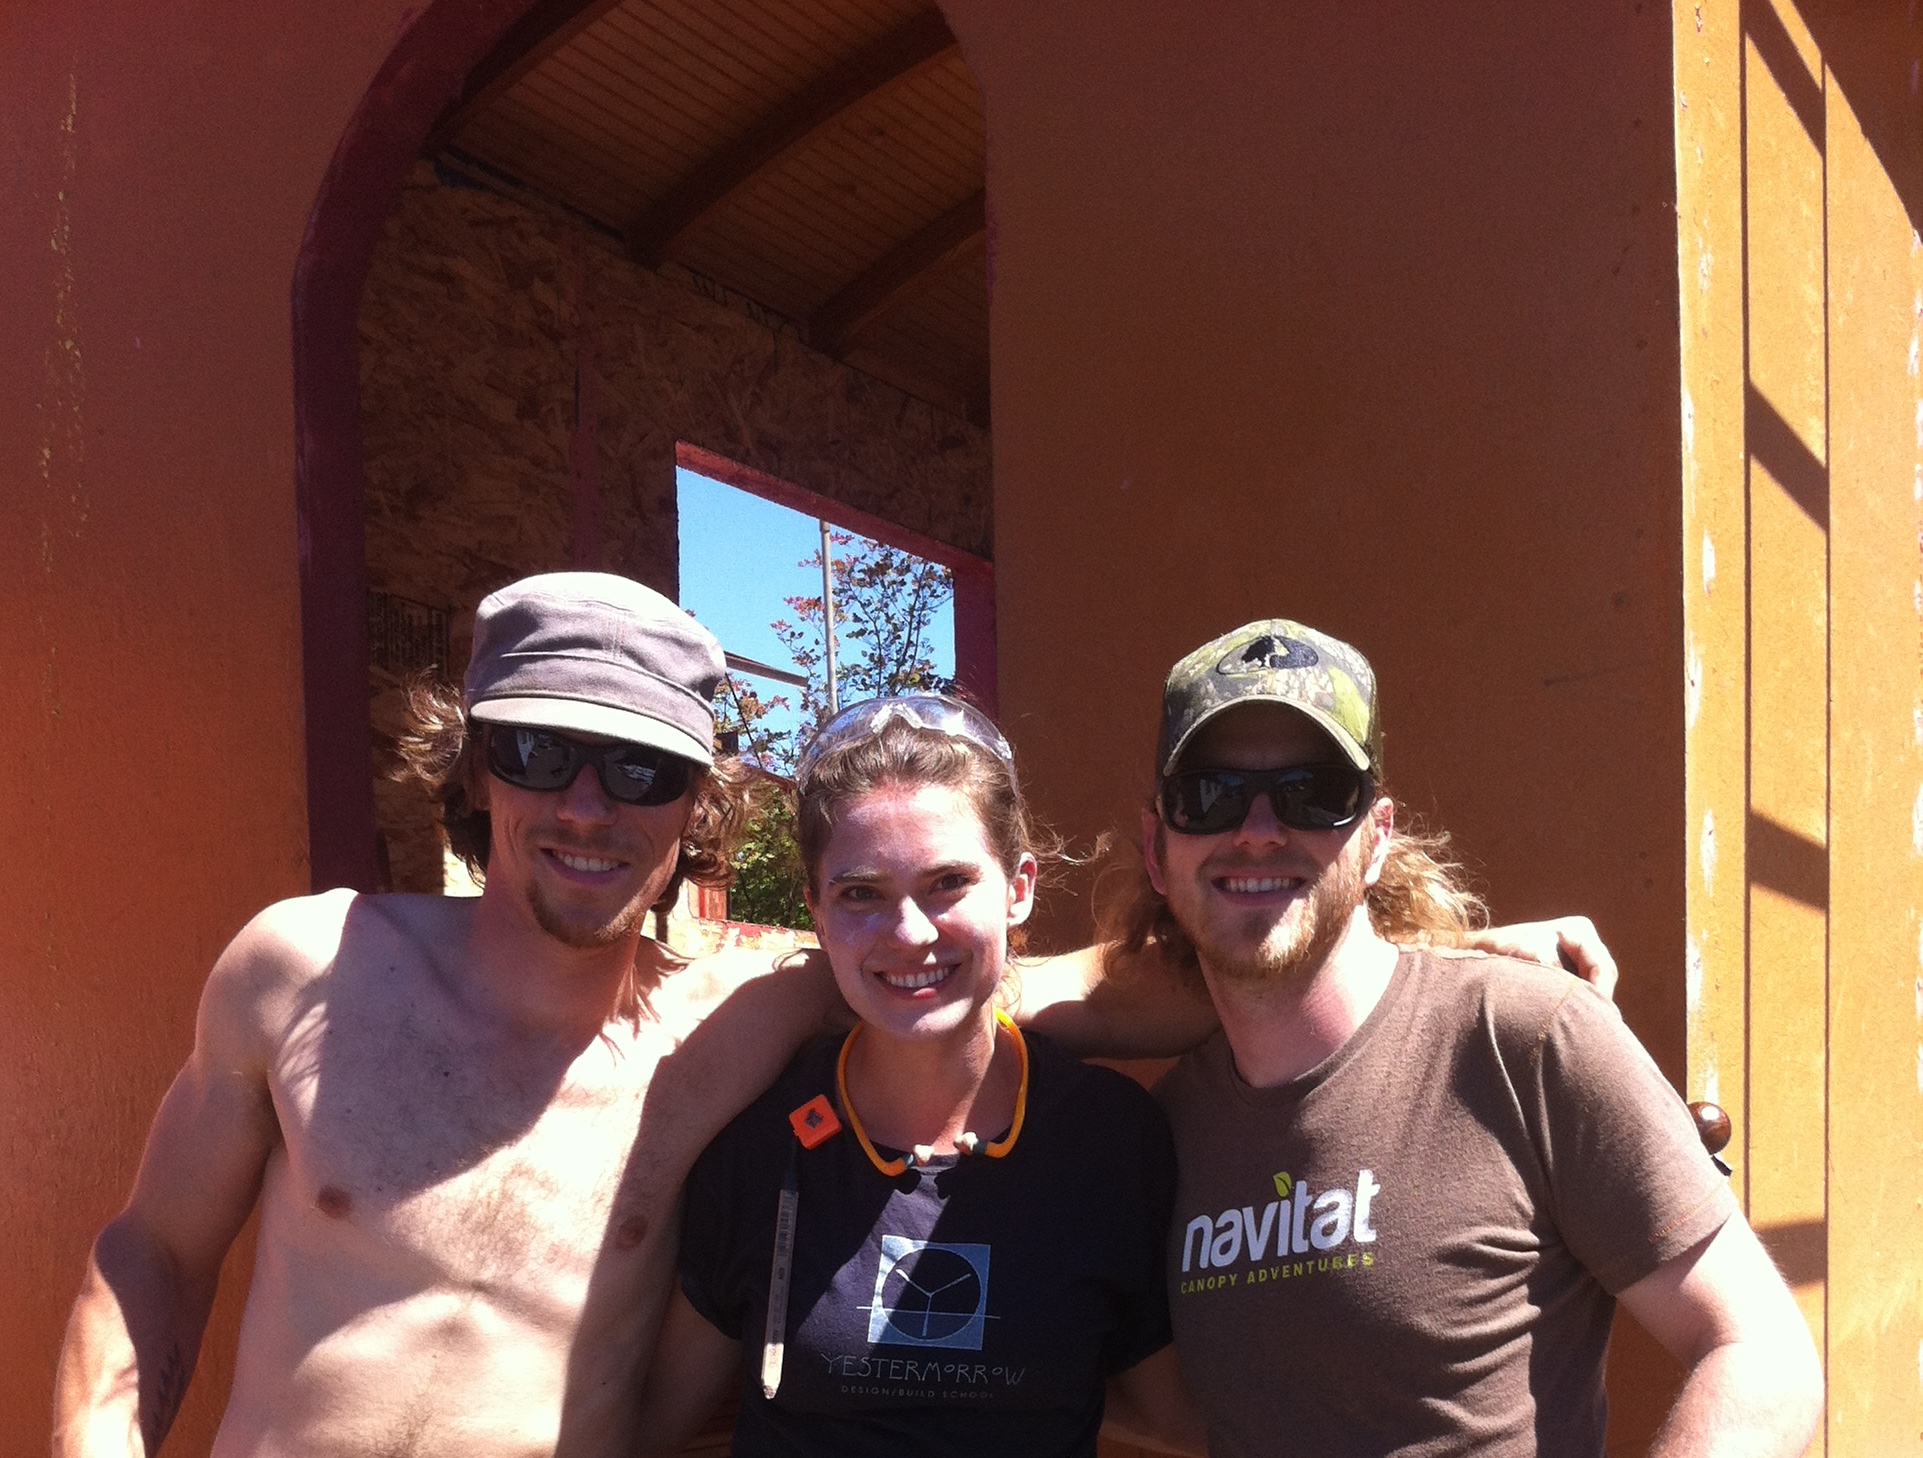
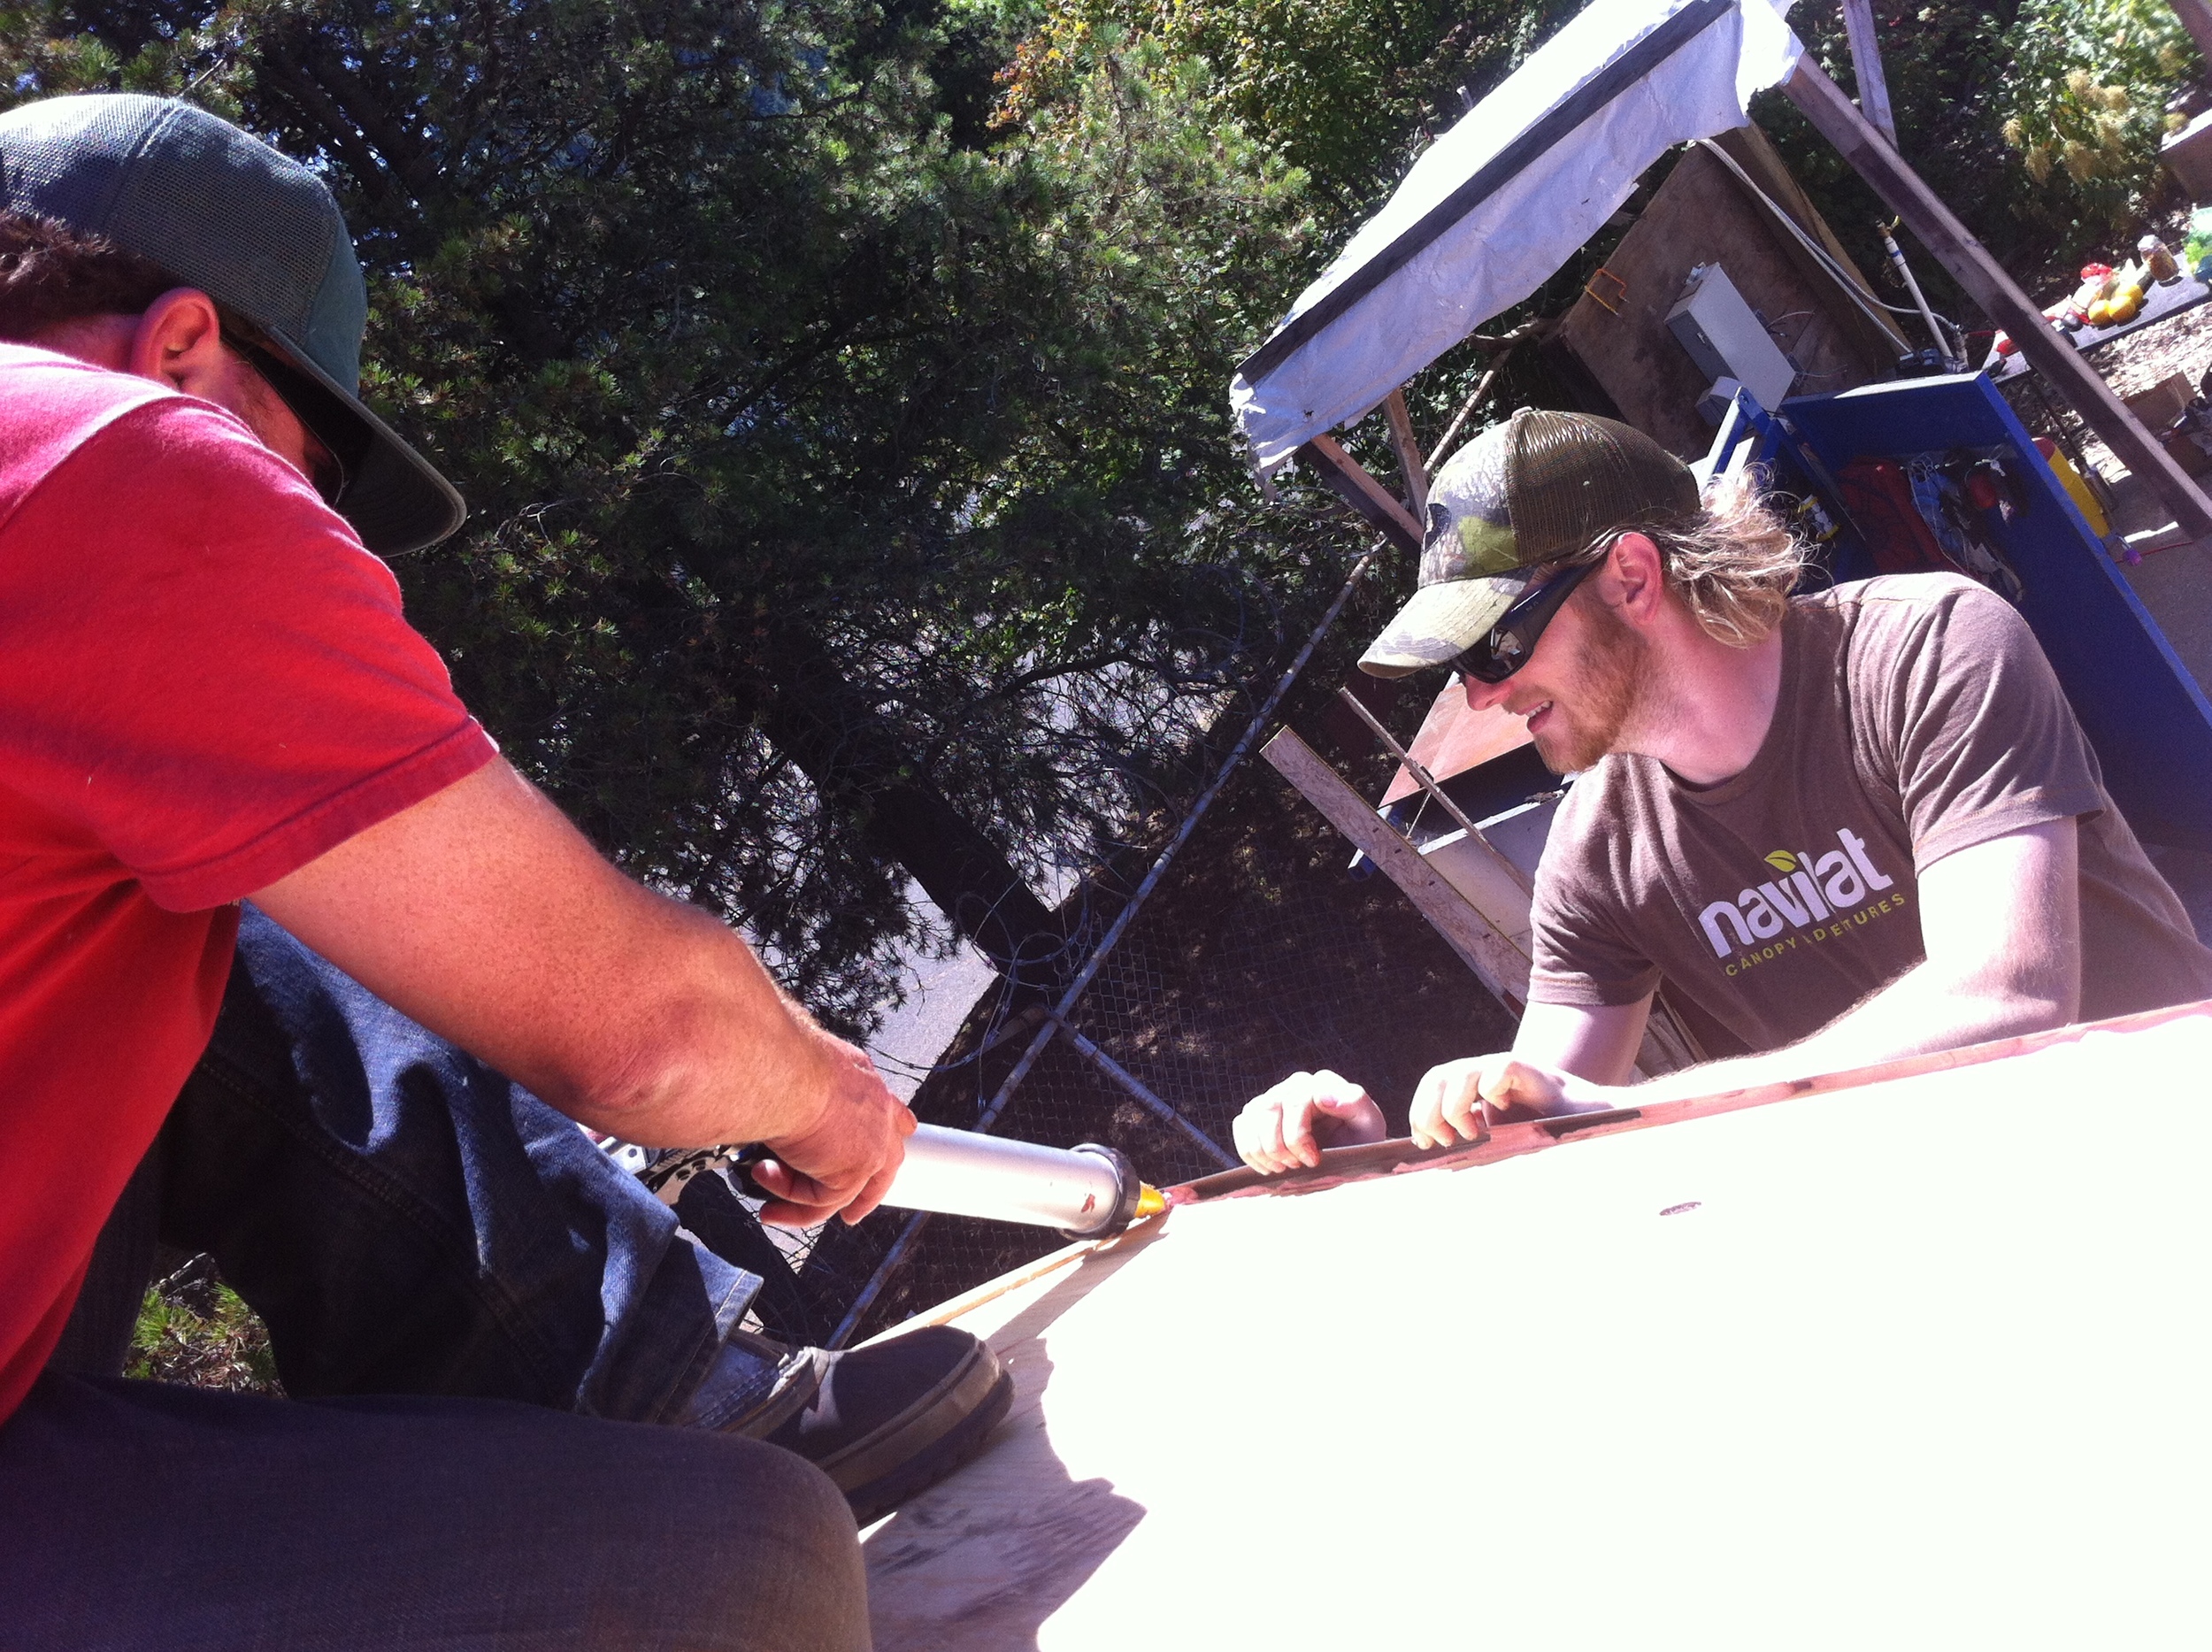
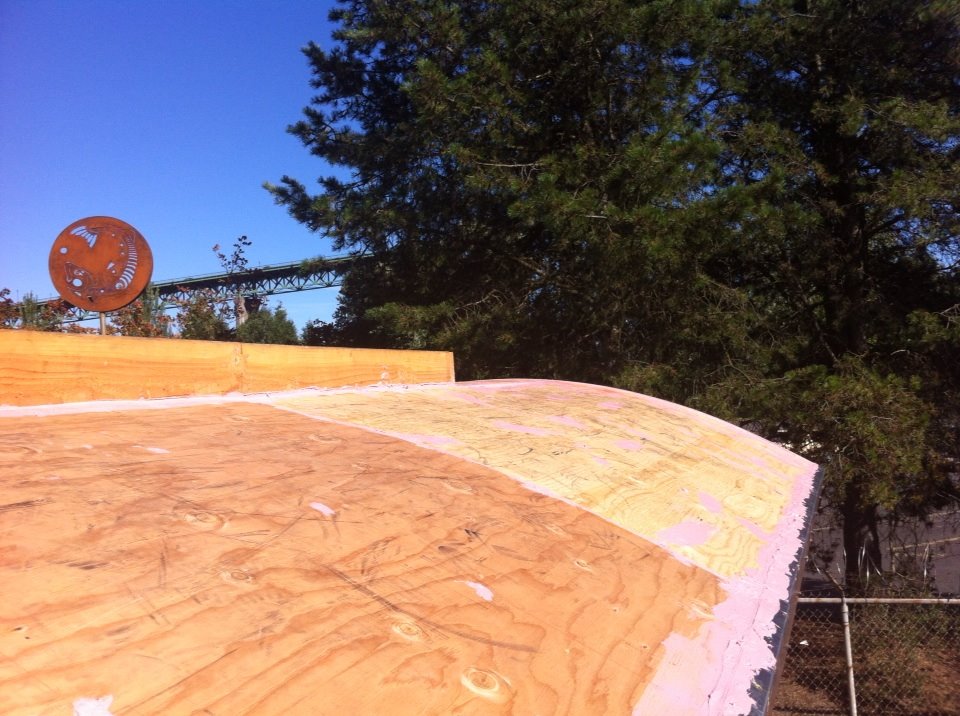
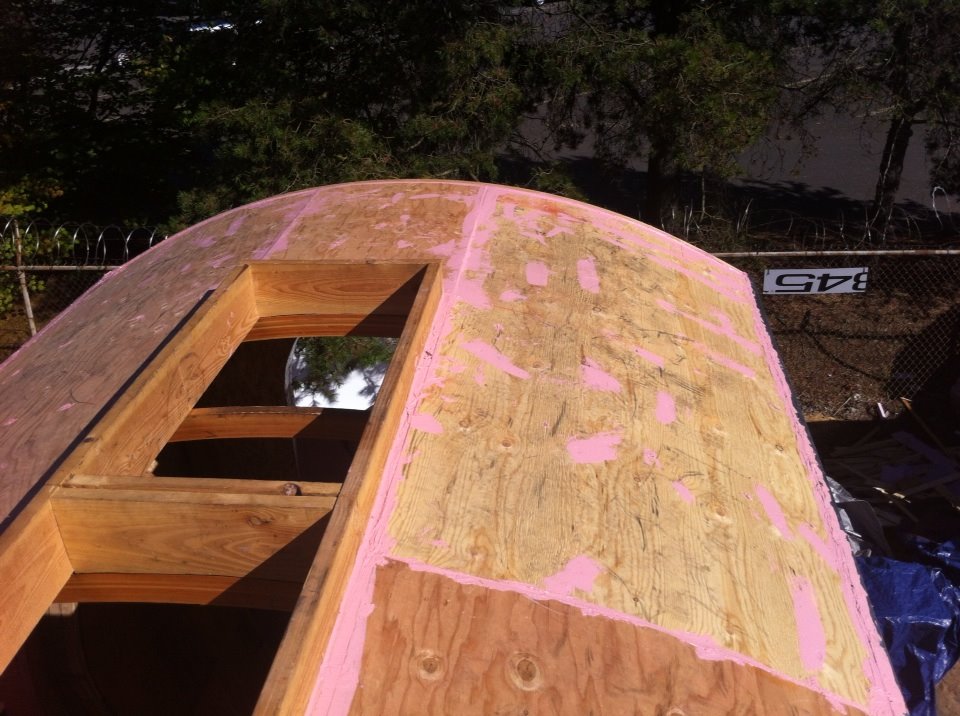
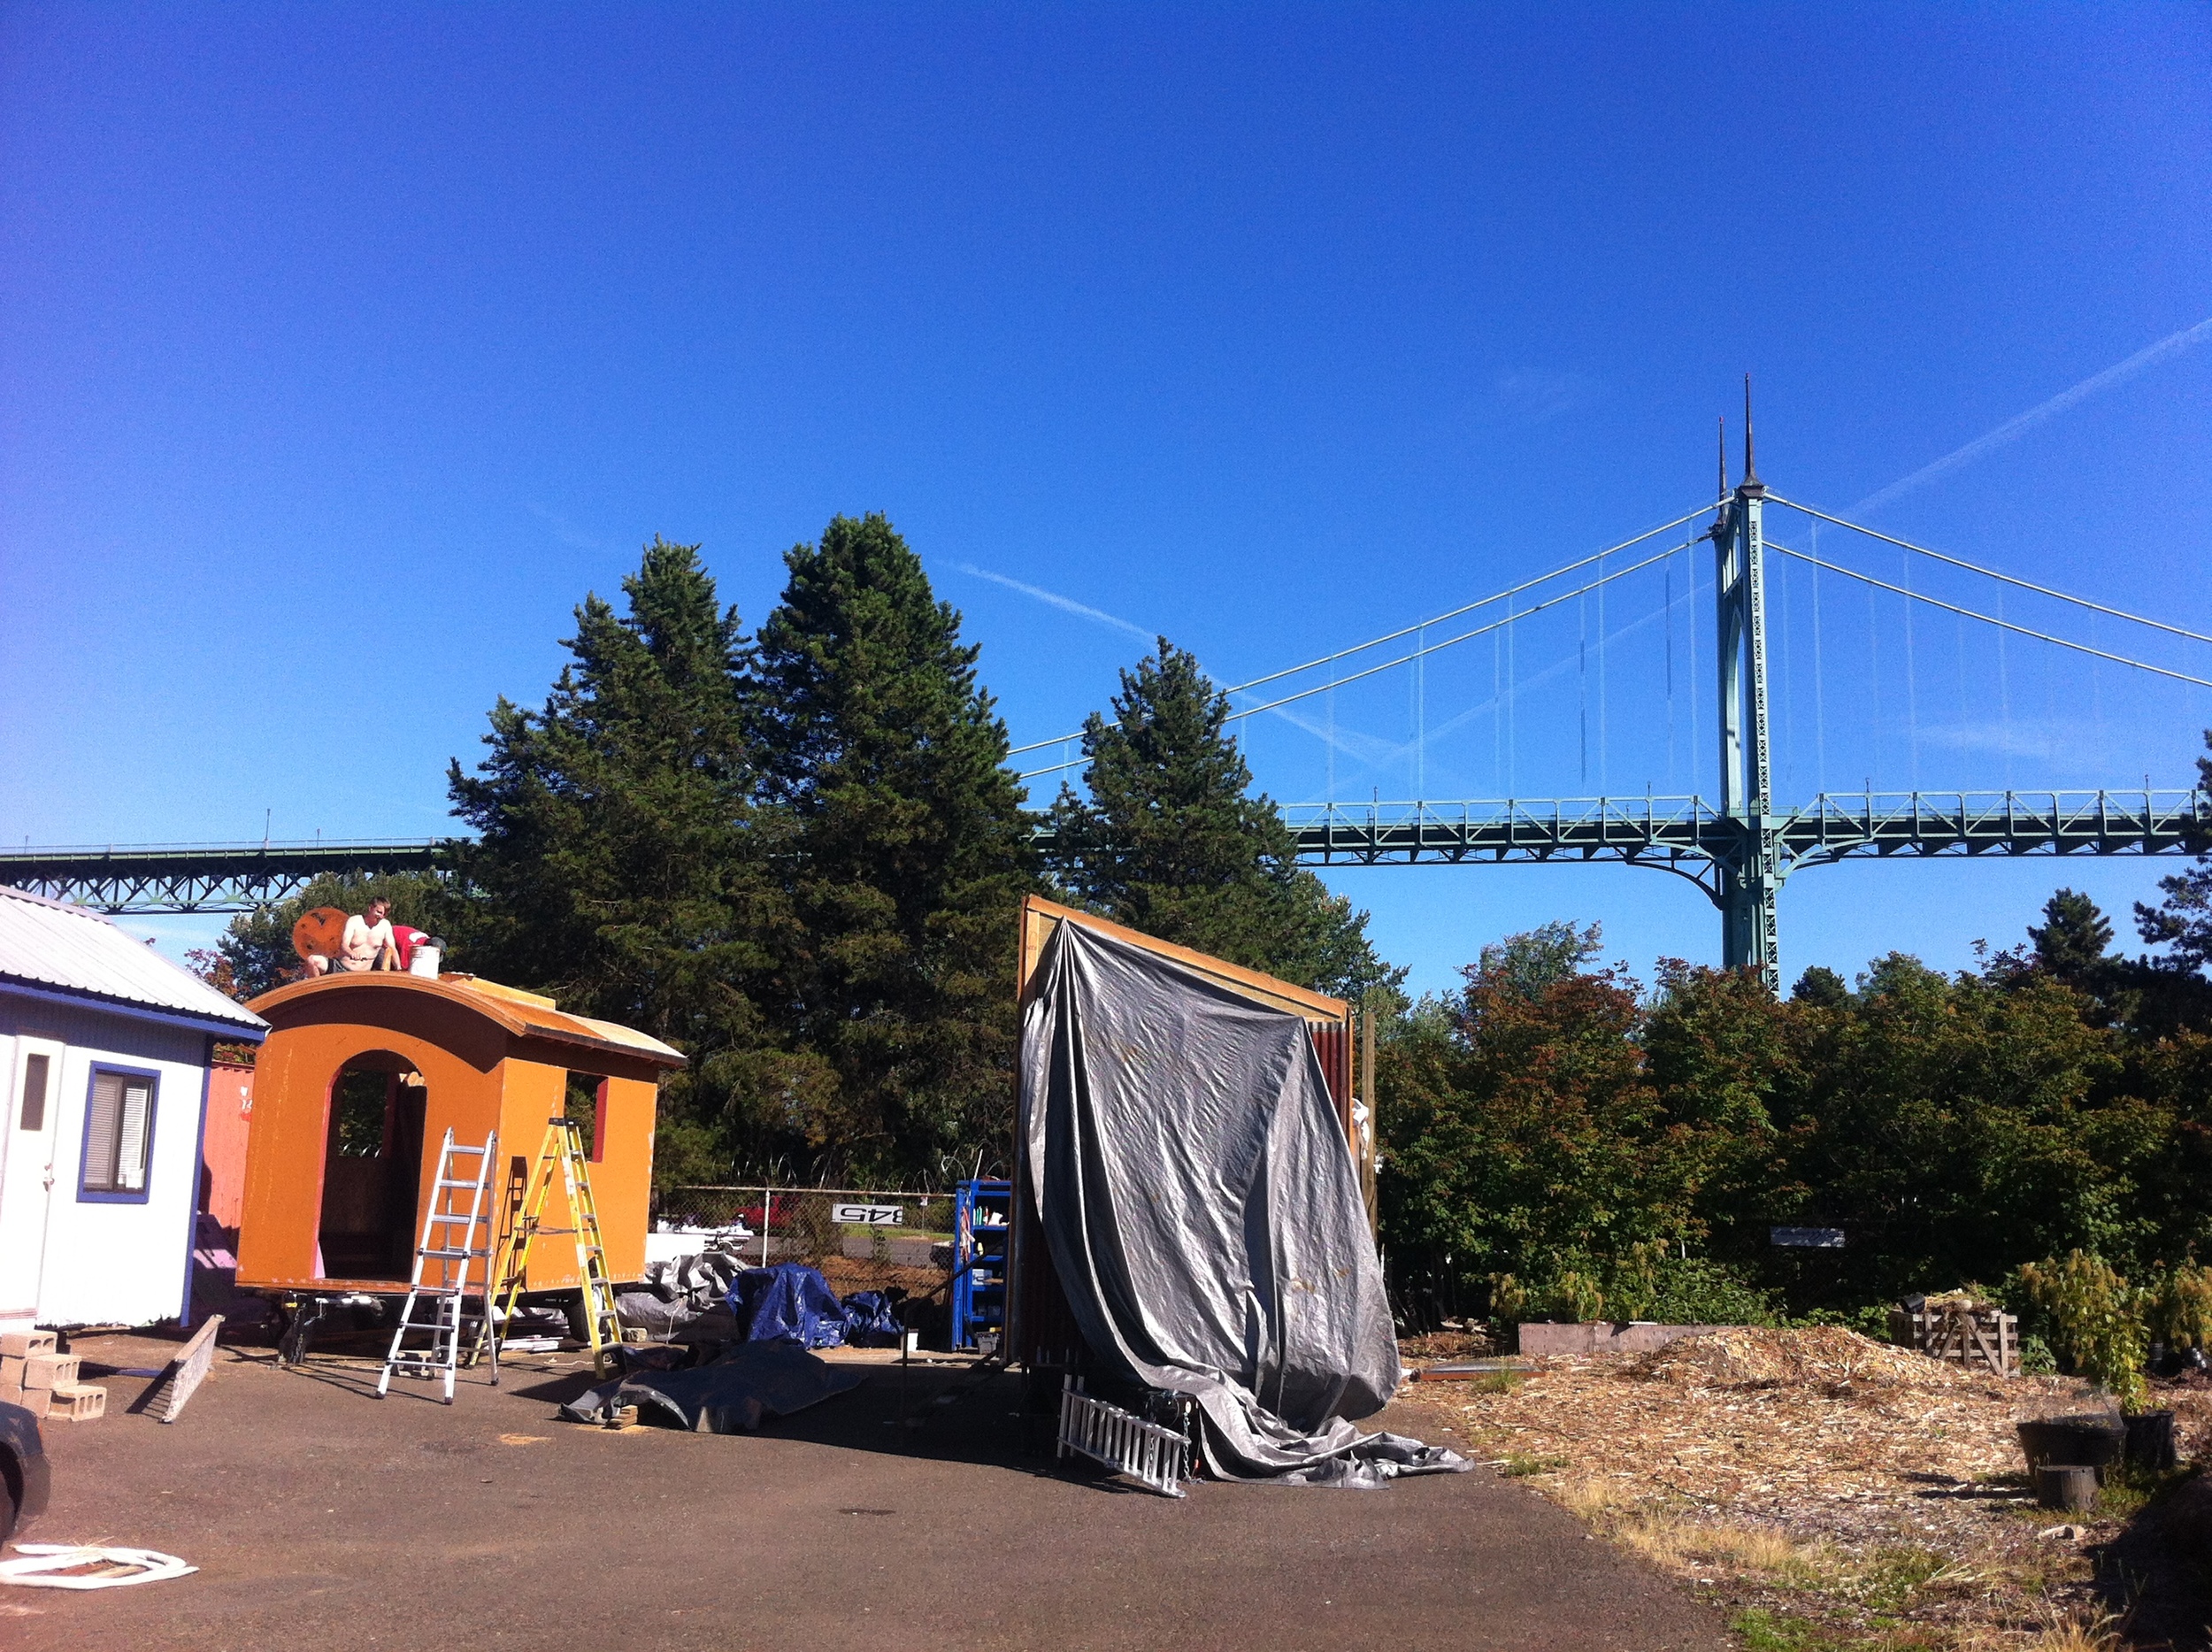
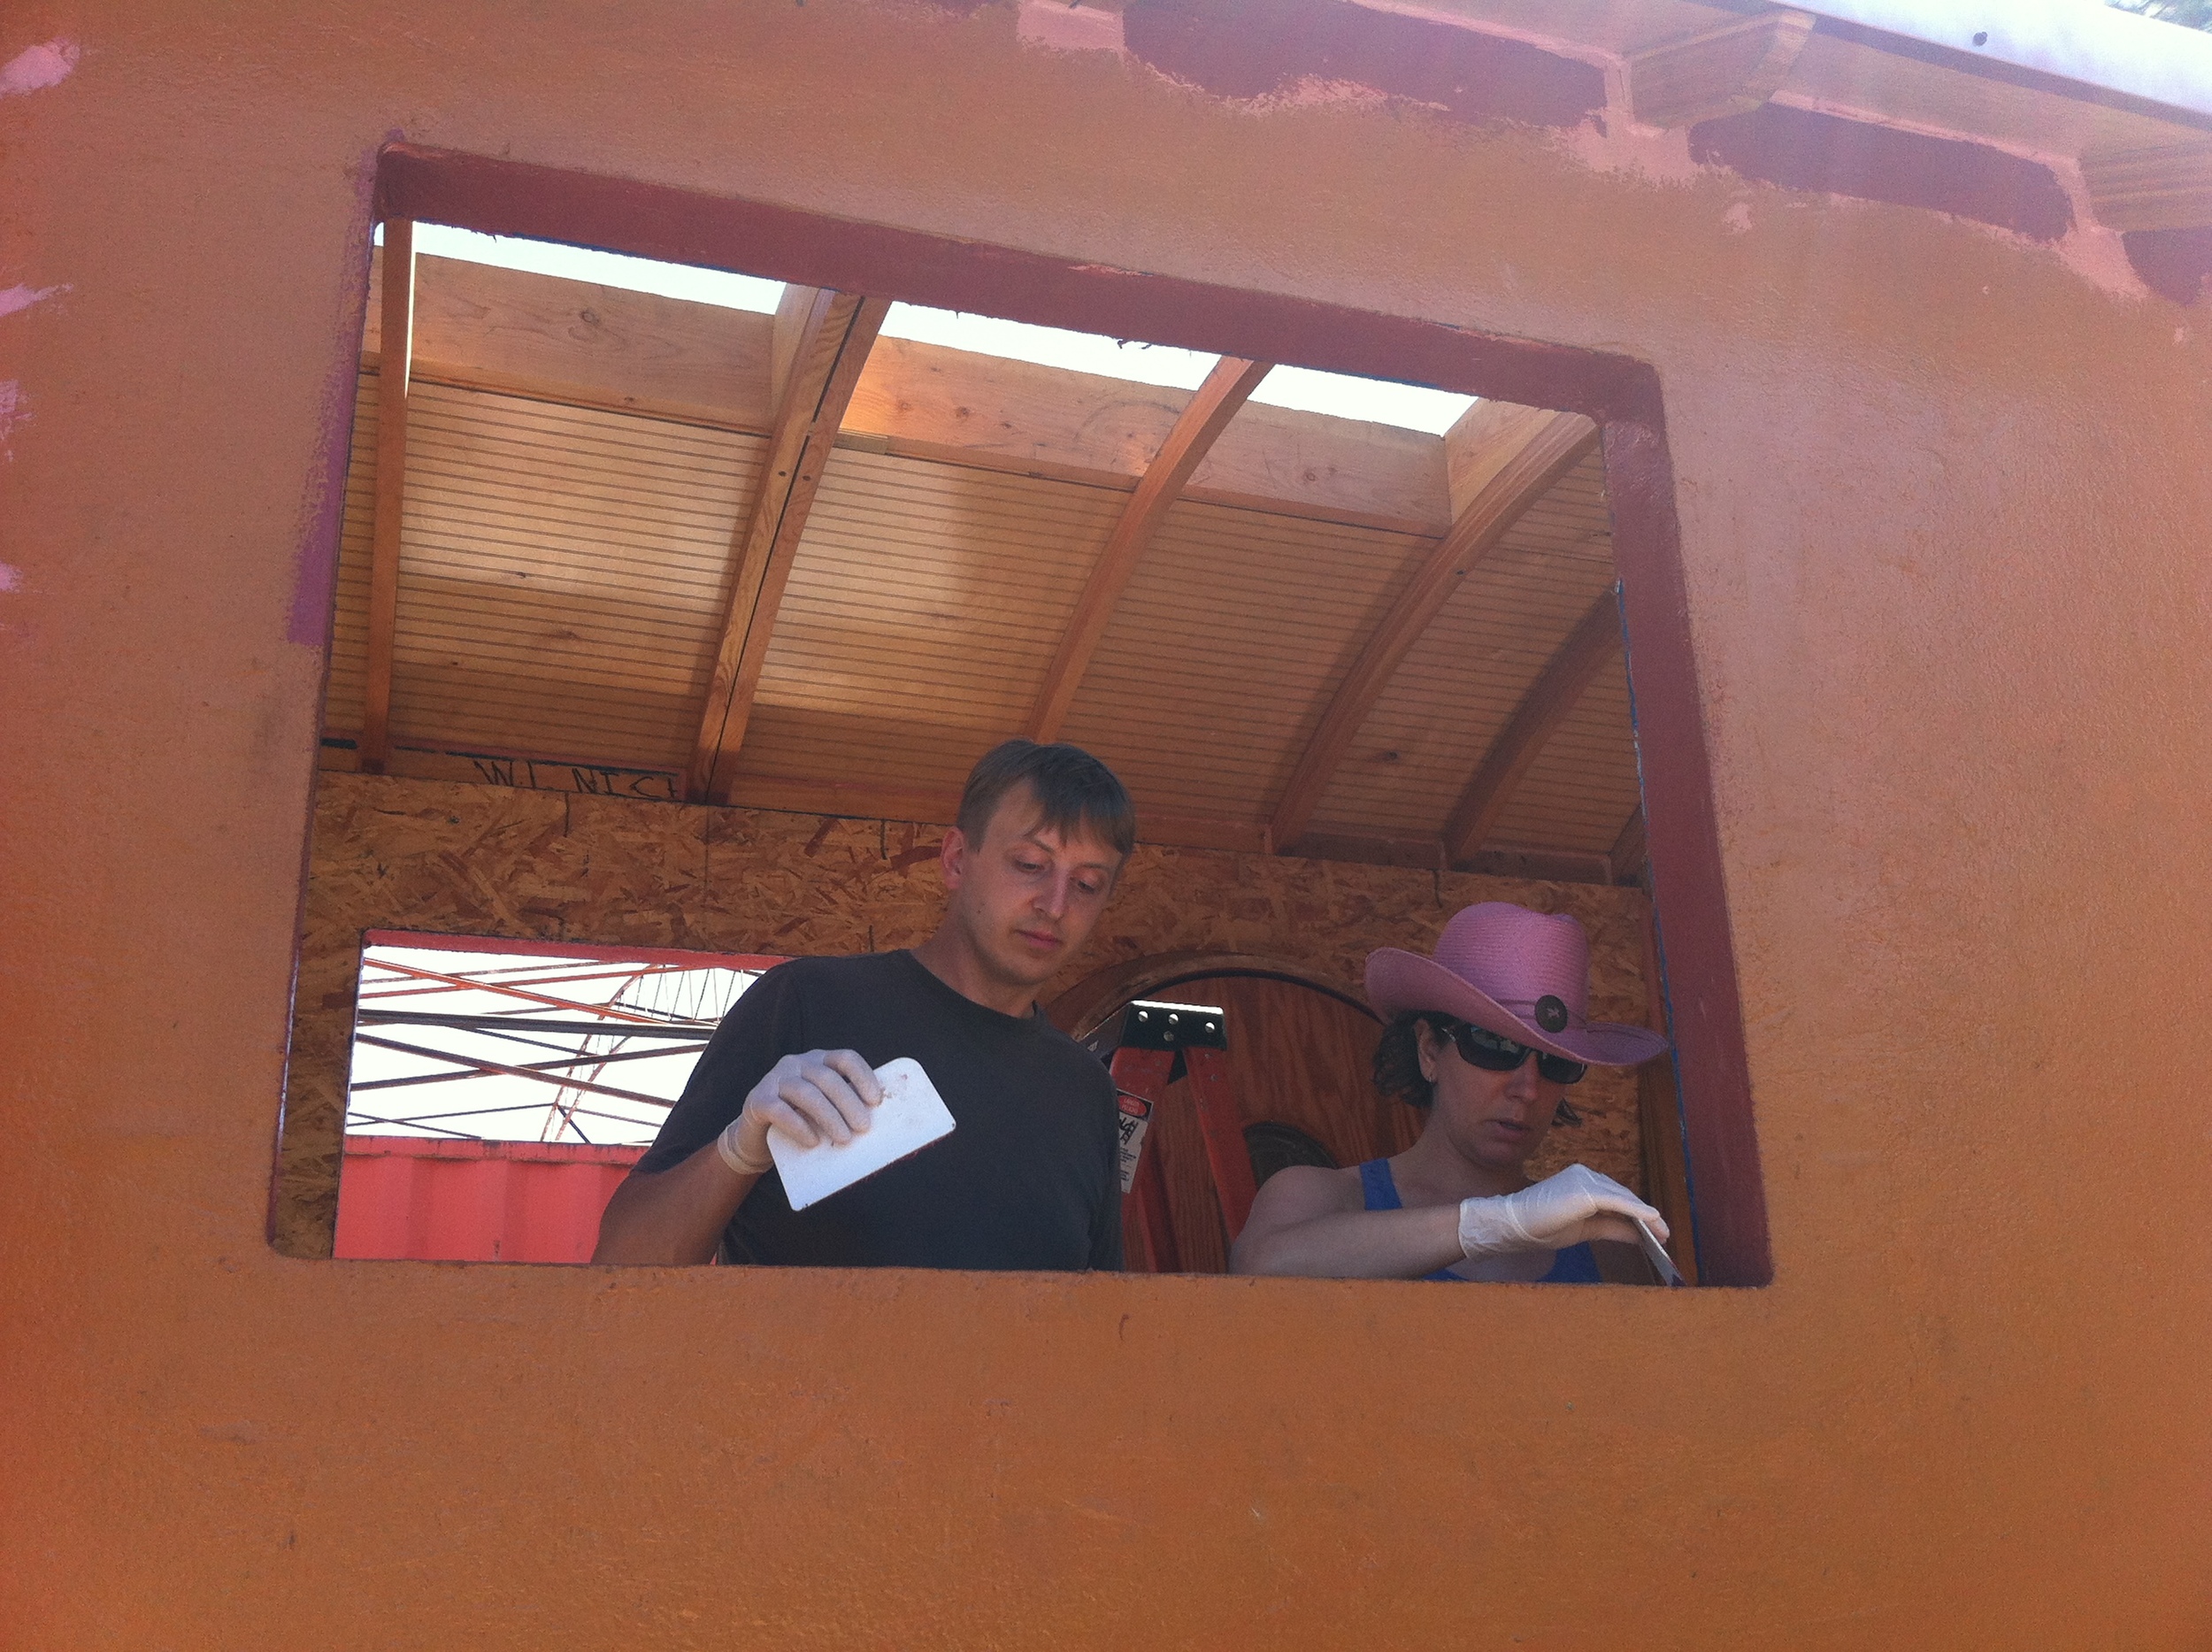
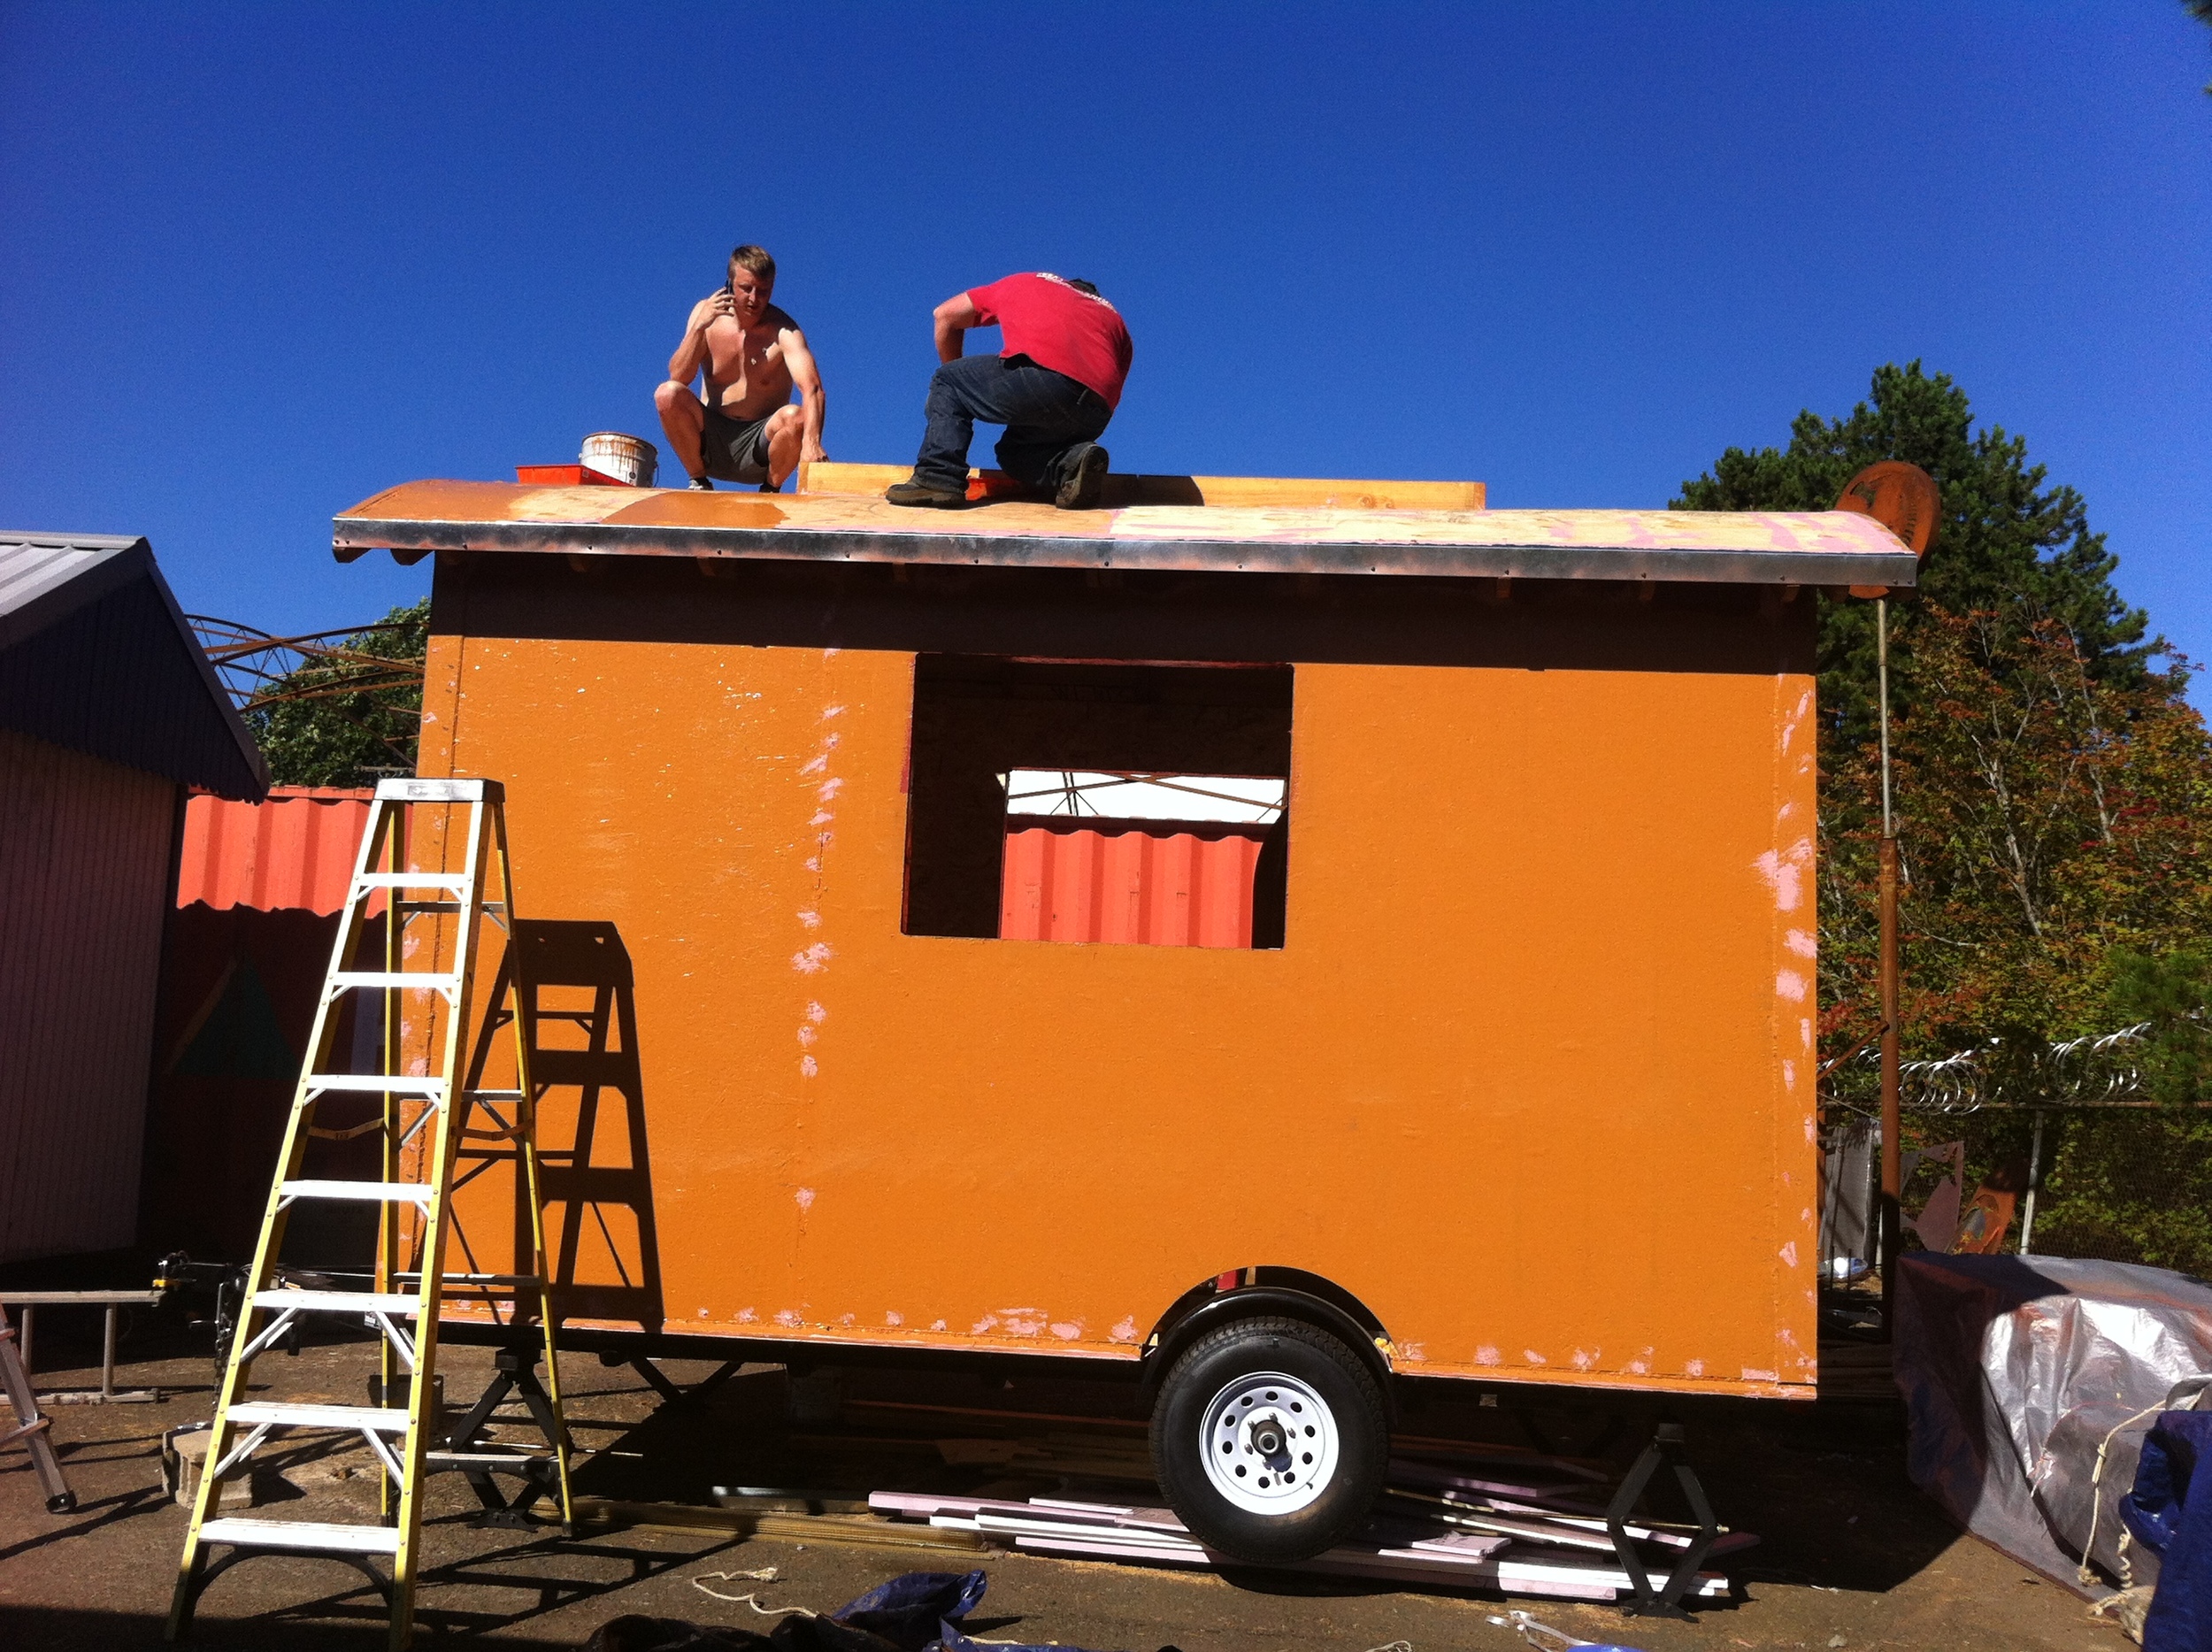
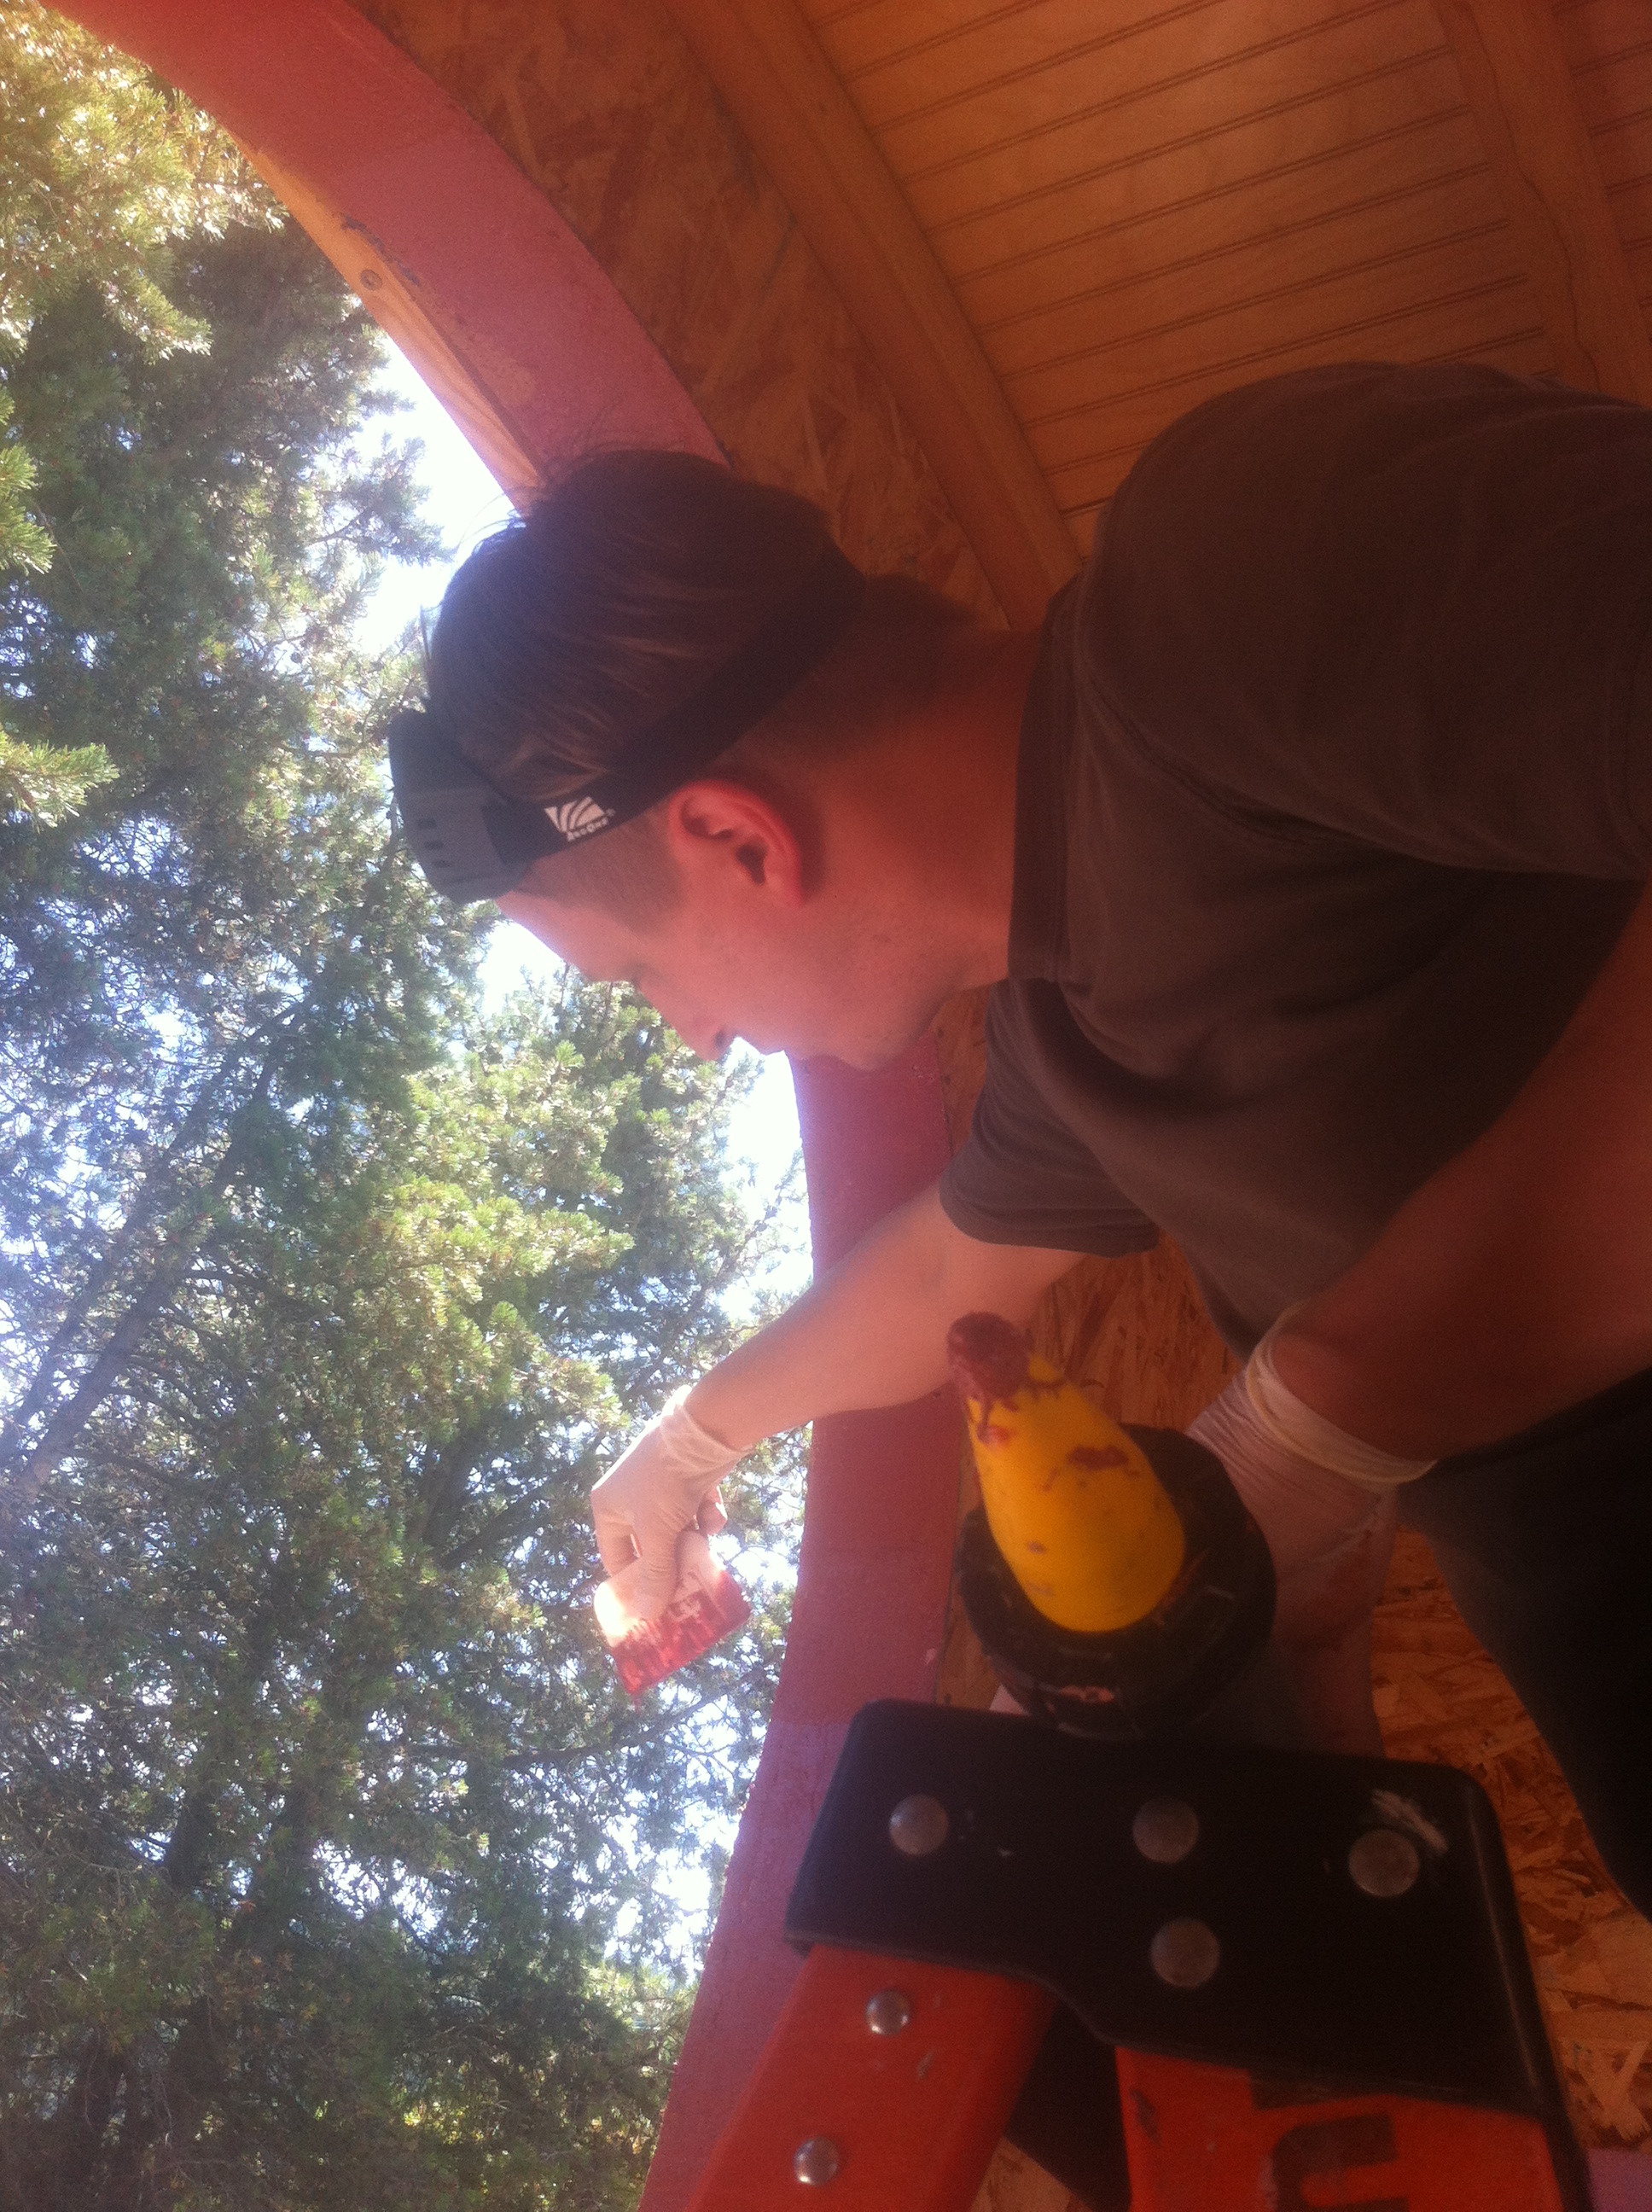
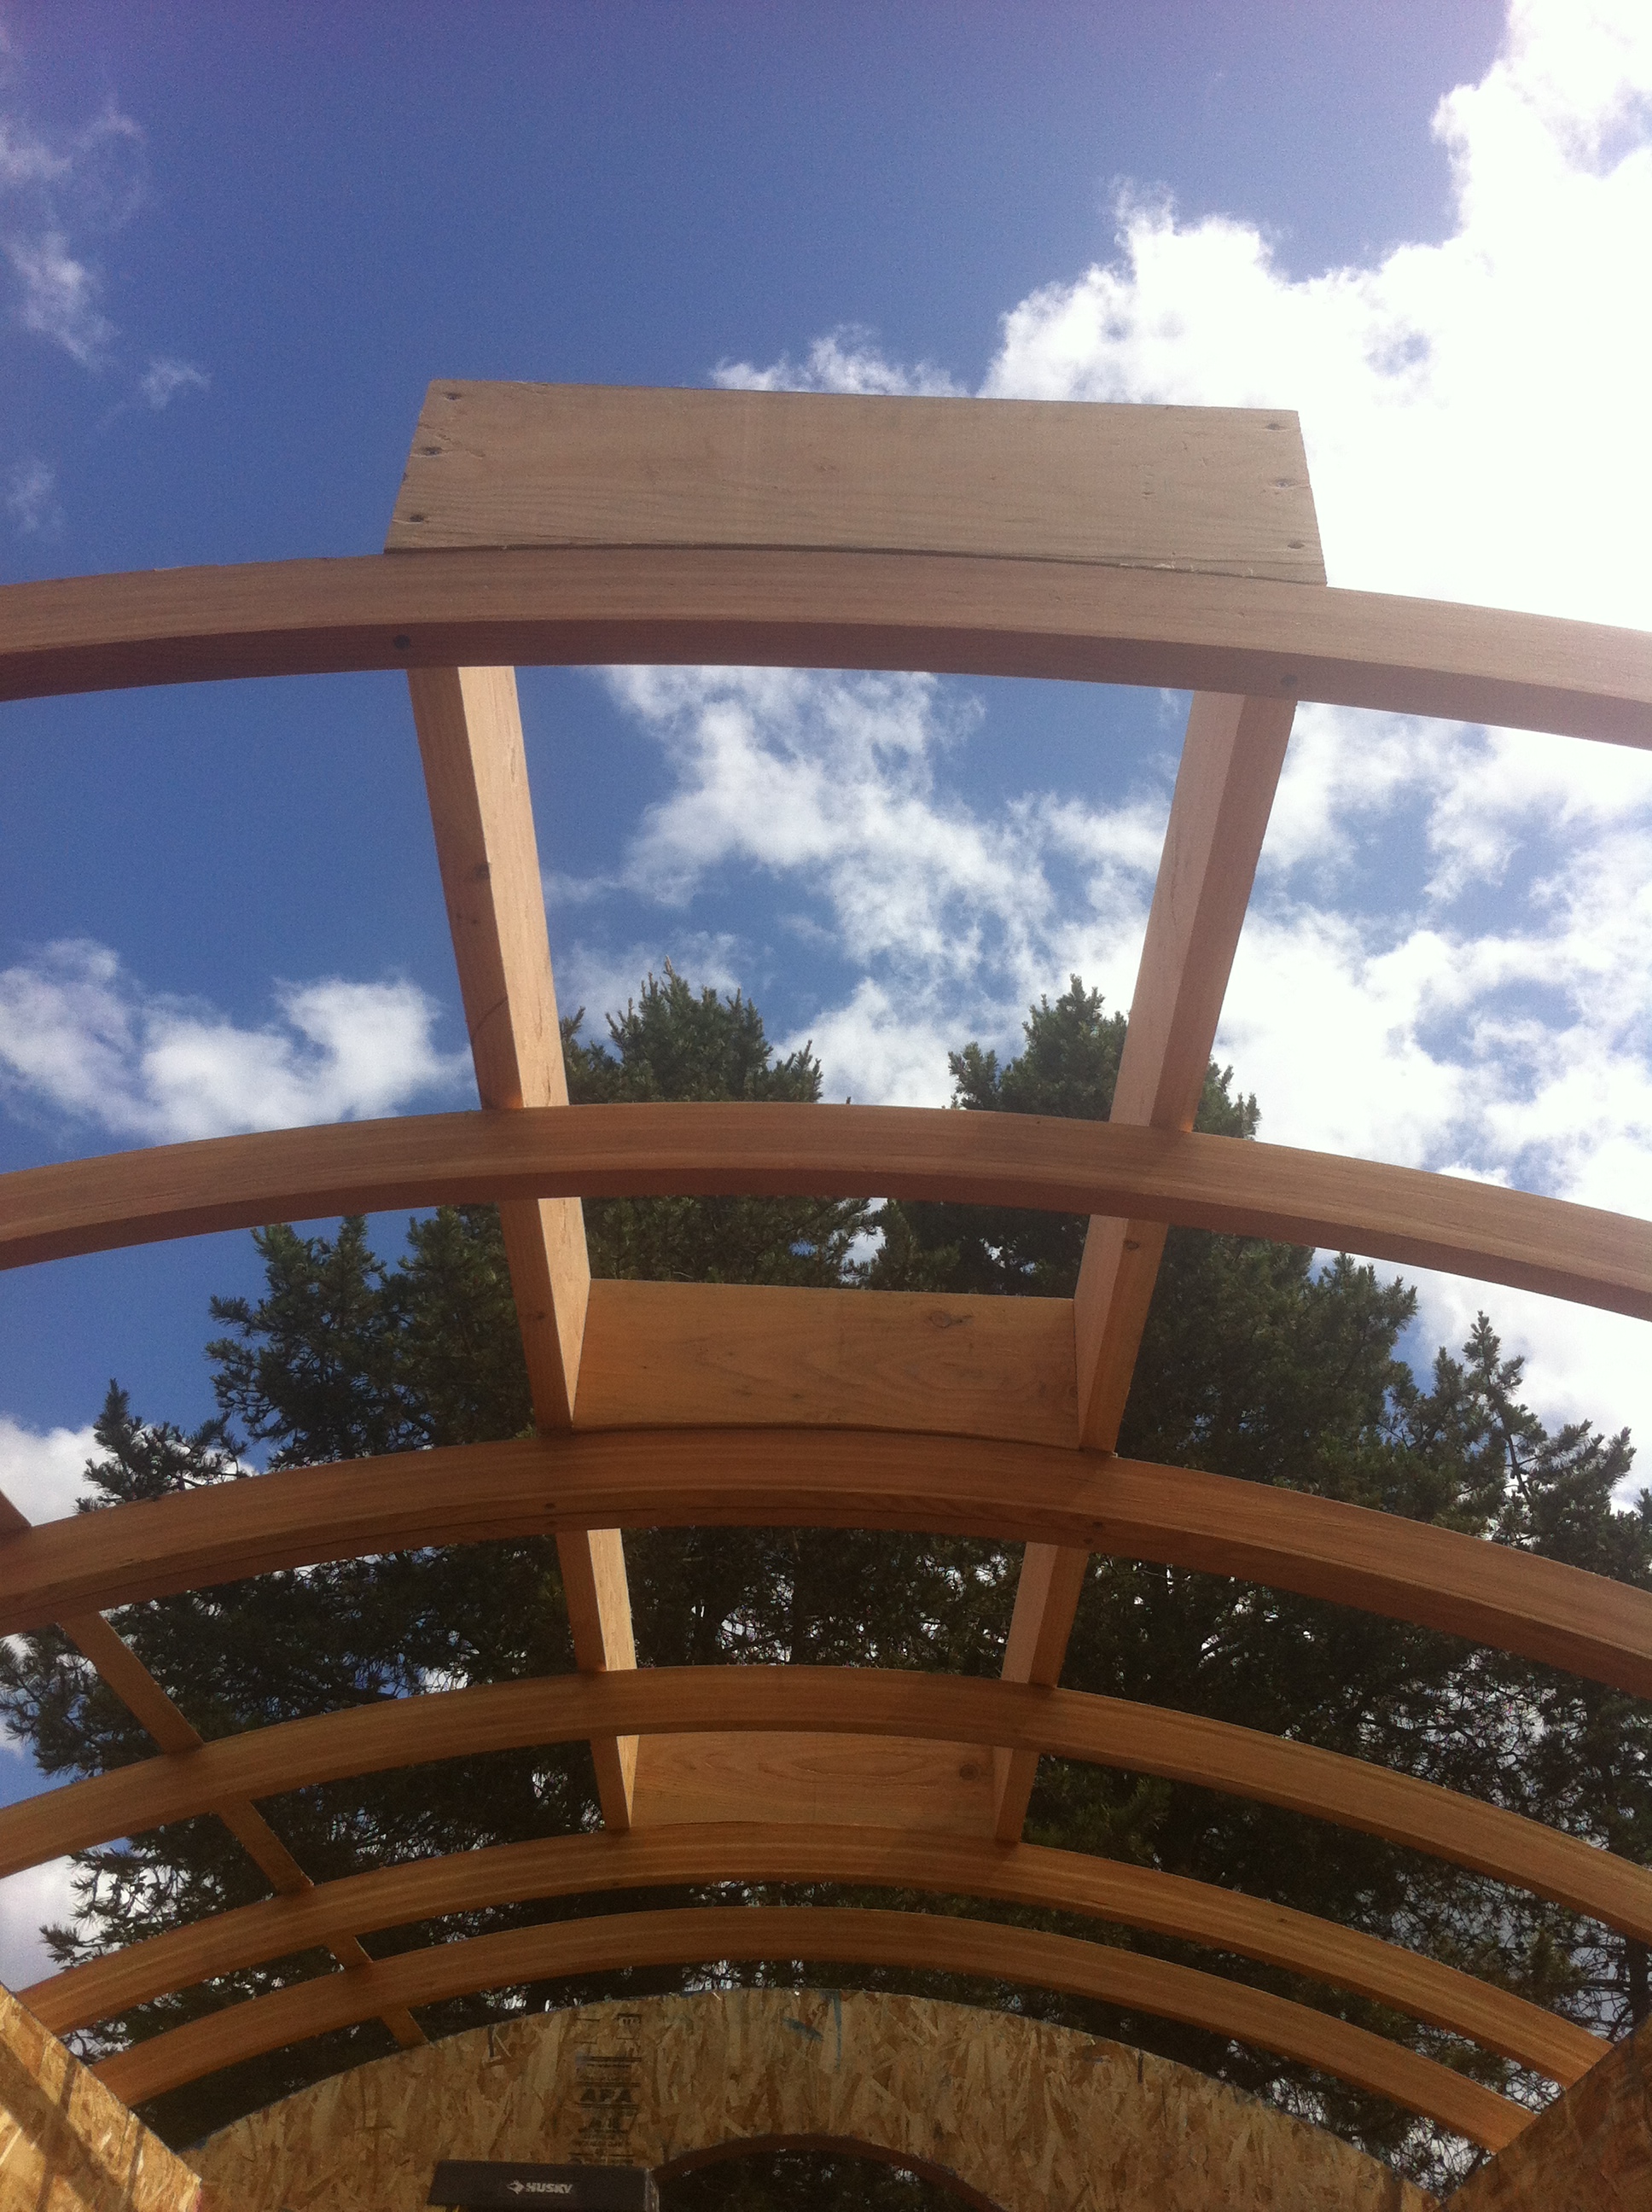
 Today I met with Fred at Taylor Metal Products and Tim Bancke, the roofer who recently completed the beautiful curved roof for Lilypad, a tiny house currently under construction for my friend Anita by Walt Quade of Small Home Oregon. I did the concept design work with Anita and the half-curved roof was my big idea so I'm thrilled it's turned out so nicely! You can read all about it over at Once Upon a Lilypad!)
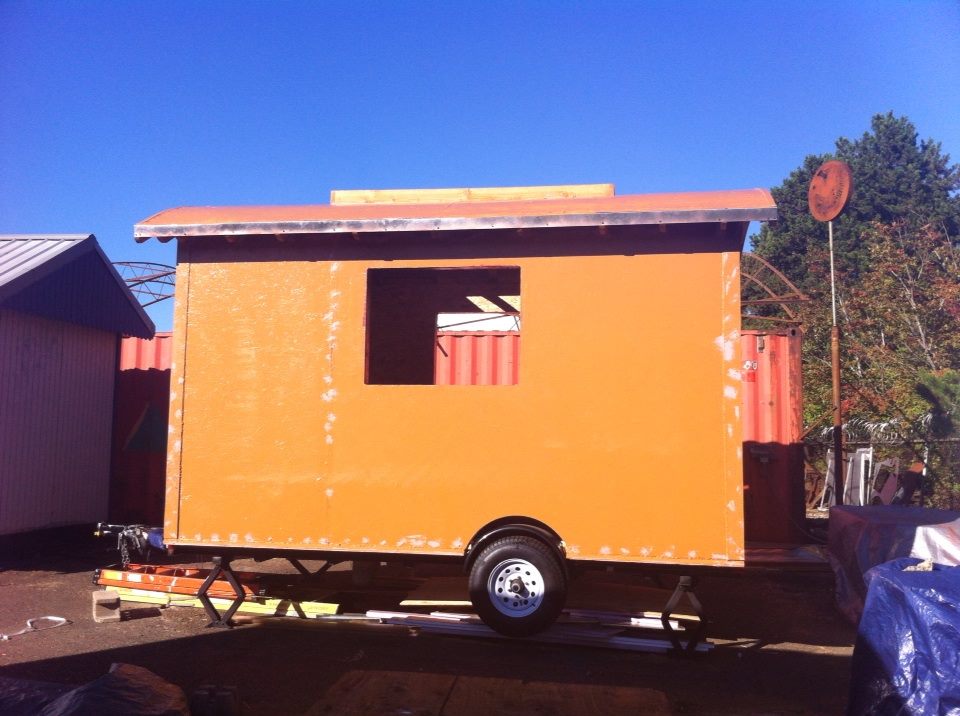
Although I admire folks like Ben Campbell and my build buddy Laura Klement who installed their metal roofs themselves, I've decided to let the pros handle mine. I knew that my vardo's roof would be a design-build challenge, but I am enamored with curved roofs, so I decided it would be worth it. Now that I've finished Sheathing My Vardo Roof, I do still think my curved roof was worth it, but I would have done a few things differently. (For the full list, check out my forthcoming blog post ALL The Mistakes.)
I've found myself drawn to curved roofs for as long as I can remember. Street cars. Gypsy wagons. Sheepherders wagons. Barrel vaulted ceilings. To me this shape means freedom, whimsy, and exploration.
I adore the lovely curved roofs on little houses like Ben Campbell's vardo and Caboose at Caravan - The Tiny House Hotel. And I've been especially inspired by the exposed beautiful arched laminated rafters made by talented craftspeople like Katy Anderson who created PAD's vardo and John who built Big Maroon on the back of a 1949 Federal truck. Exposed rafters remind me of ribs and there's something about that structure that really appeals to me. I decided I wanted a curved roof, too, even though I knew it would take longer and cost more.
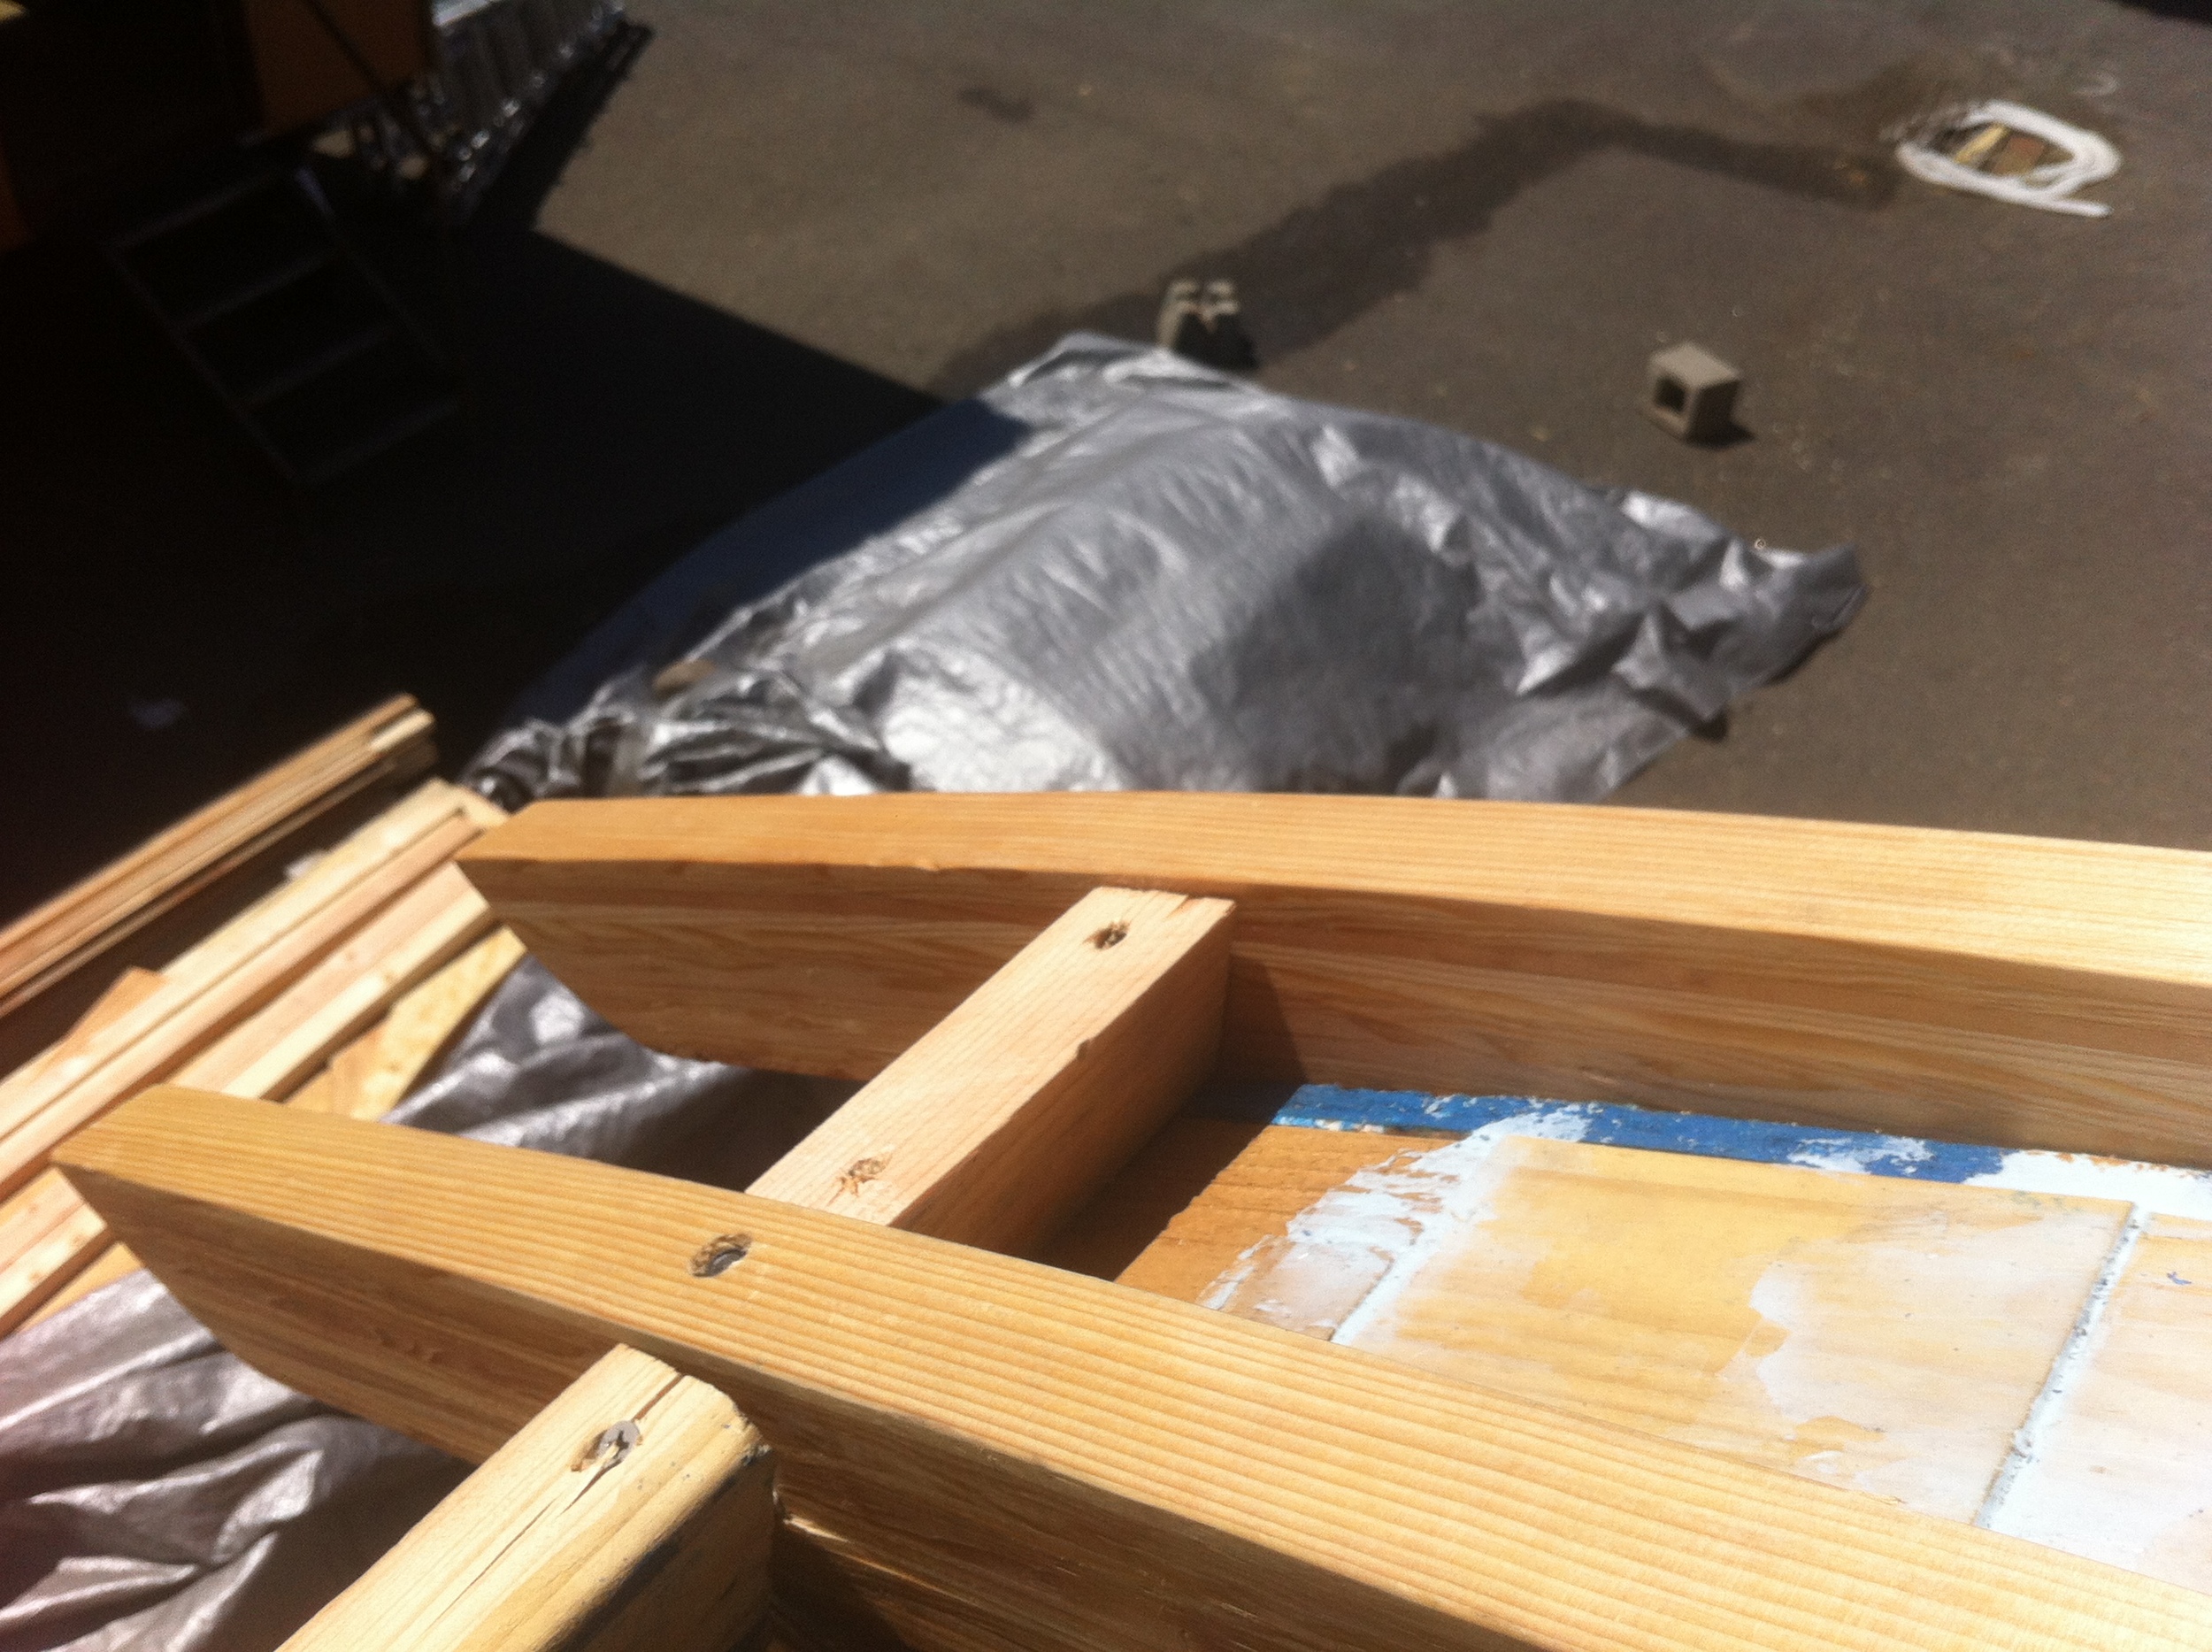
I knew as I was Building My Arched Rafters and Planing My Curved Rafters and then creating my Rafter Tales and finally Rafter Raising, that by exposing my rafters I'd be creating a roof system that would stretch my building skills and my budget. But I also knew I'd love it.
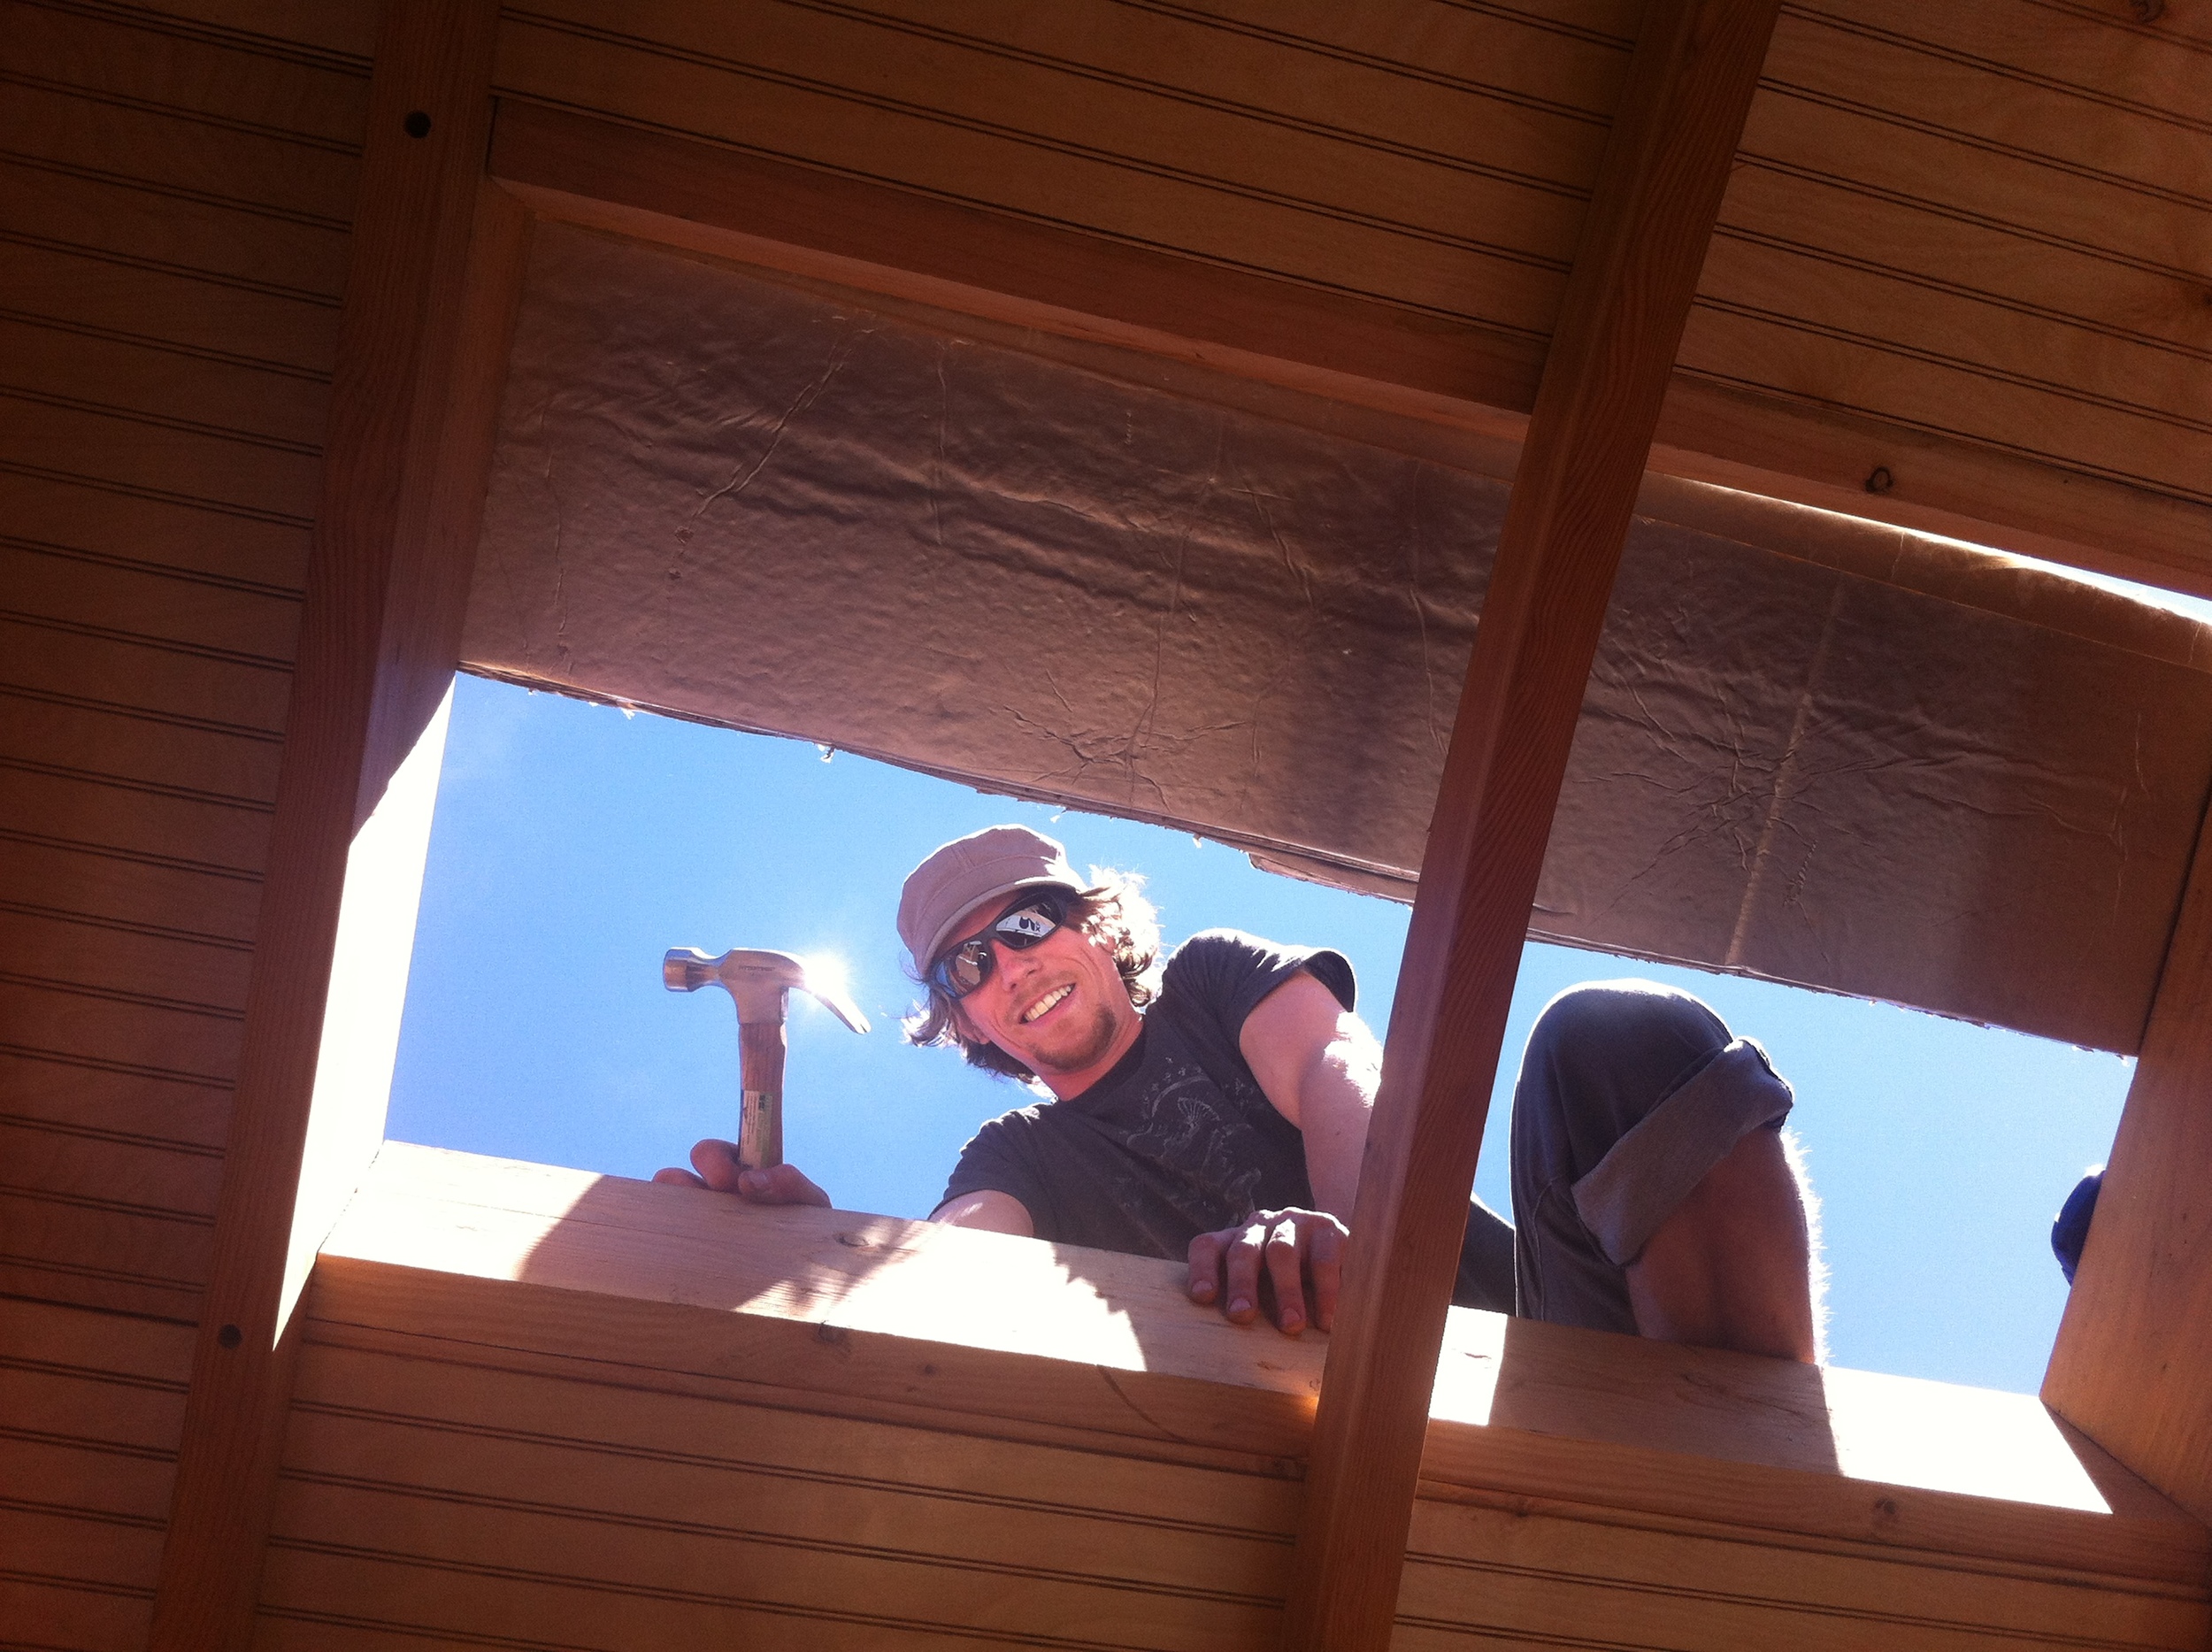
I took it a step farther by adding the skylight box. The shape was inspired by the mollycroft roofs of gypsy wagons of yore and by my friend John Labovitz's tiny house truck Polymecca. I've never seen anyone put skylights on the top of the monitor like I've designed, but I'm enthralled with the idea.
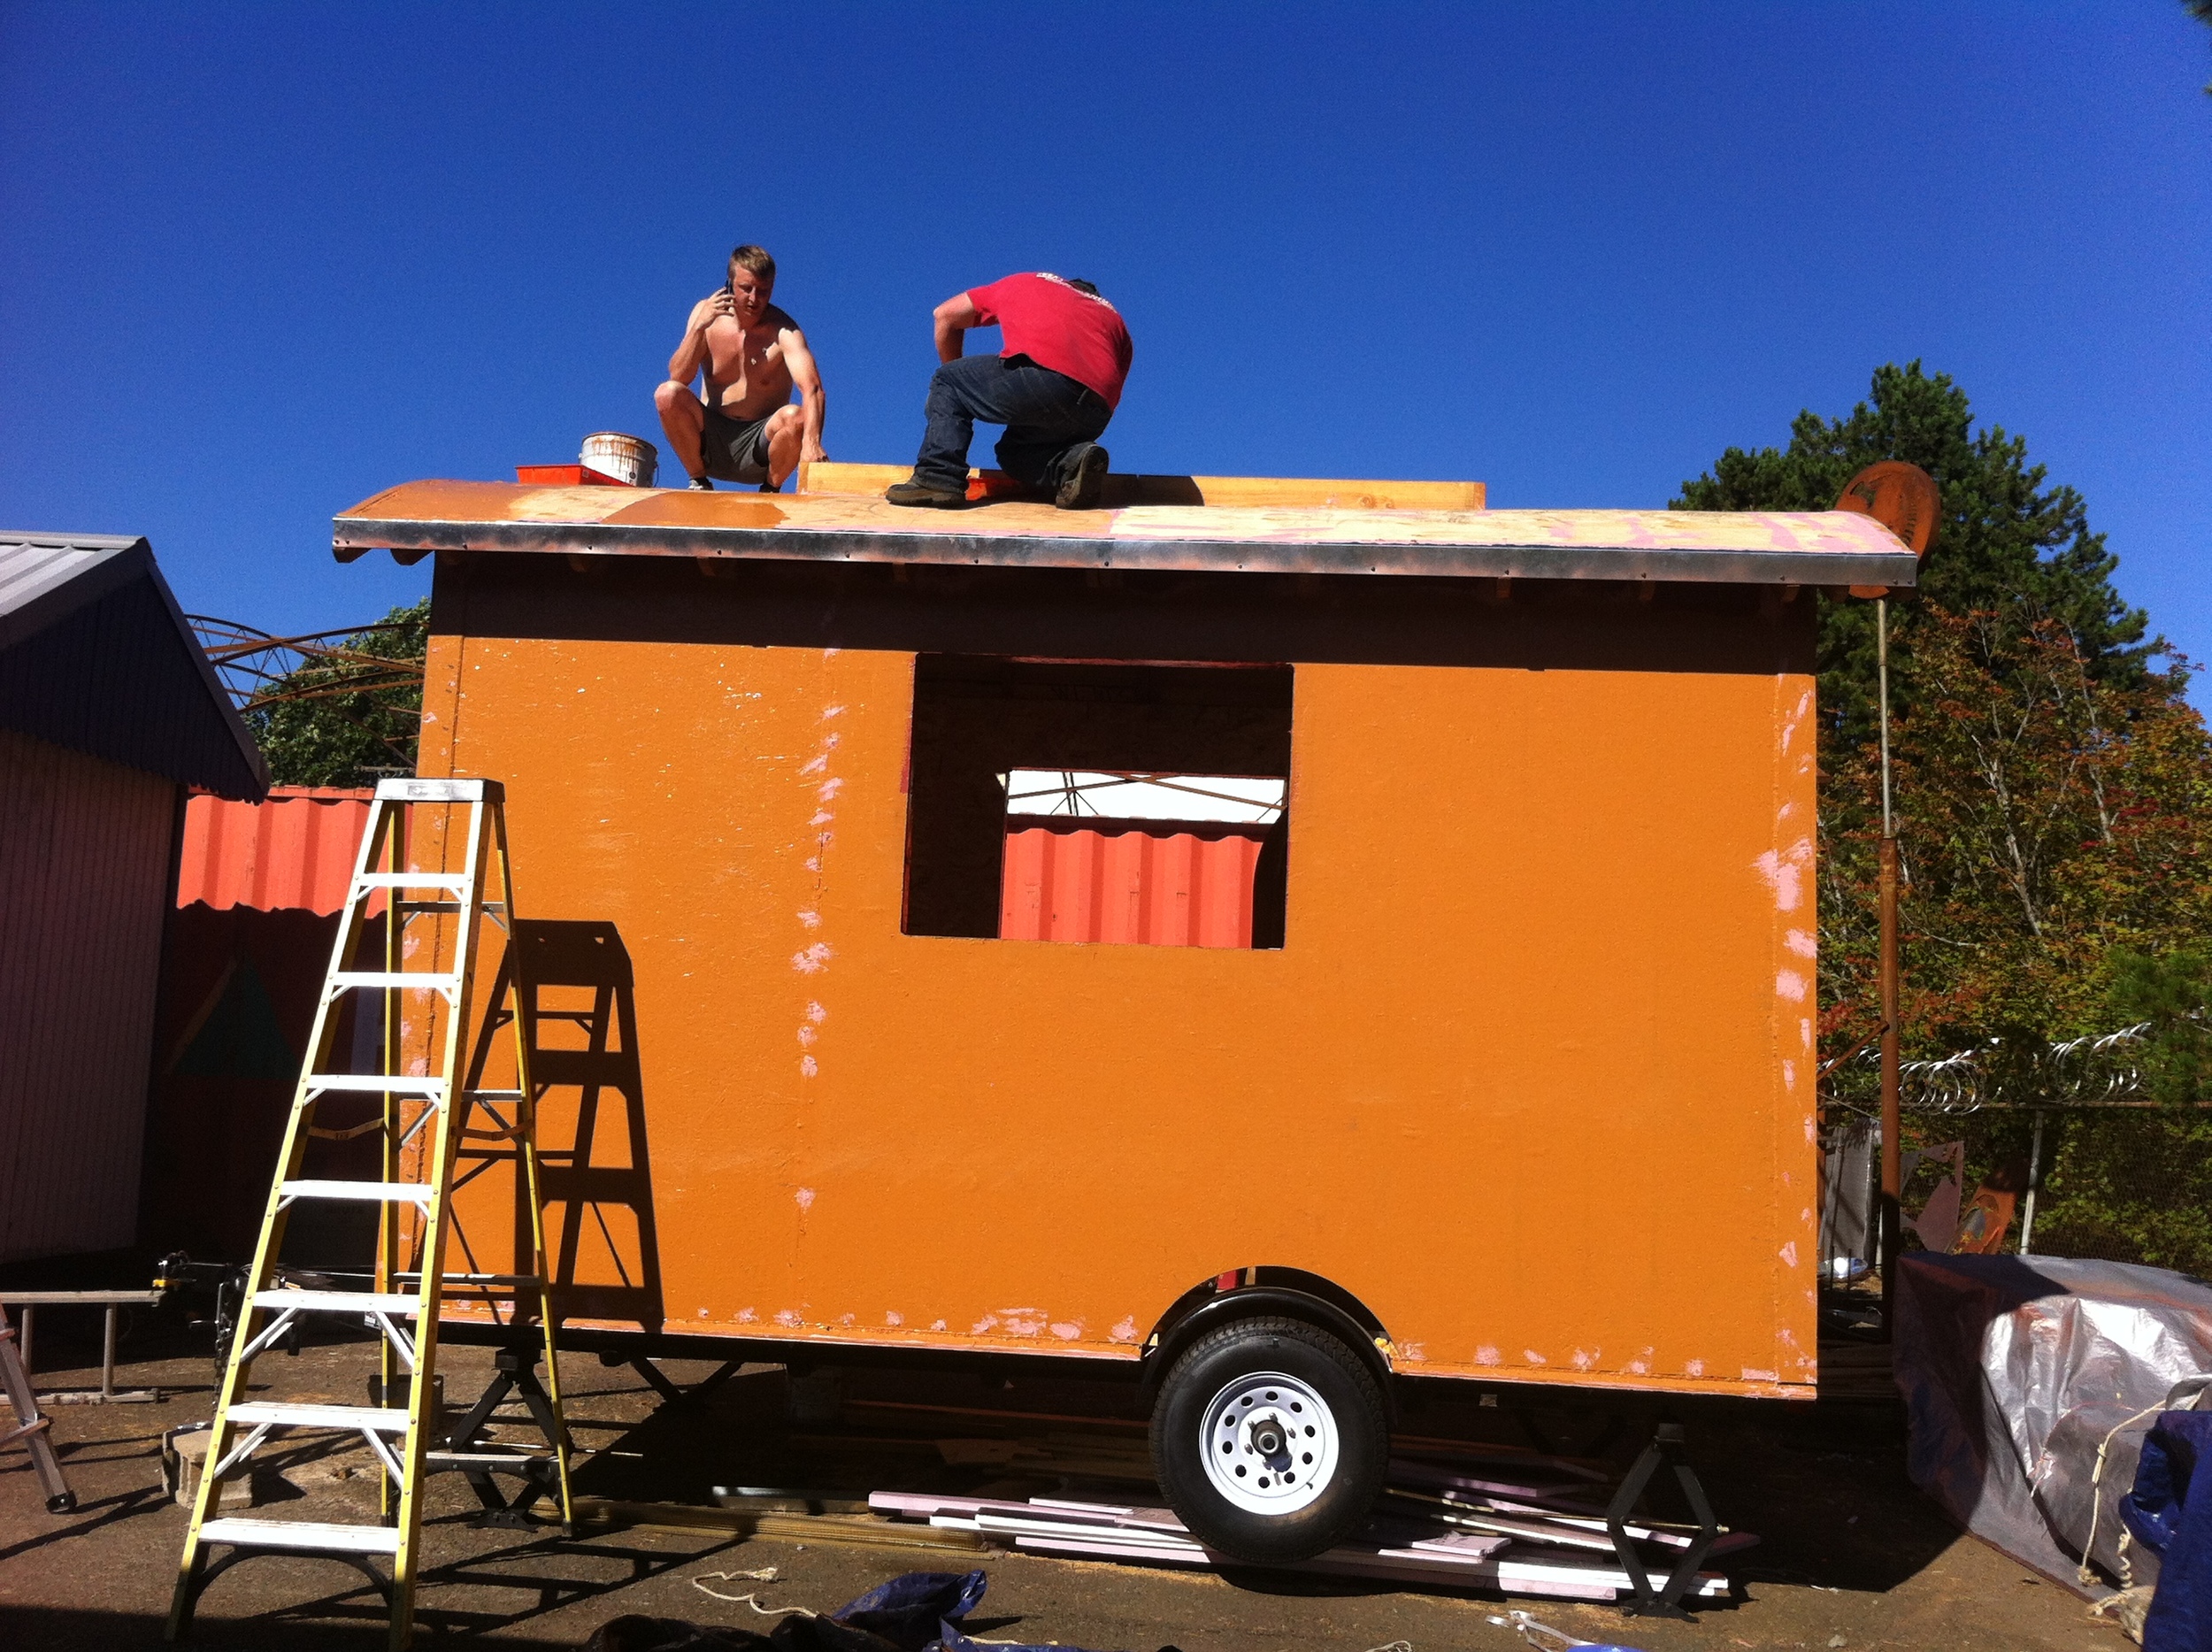
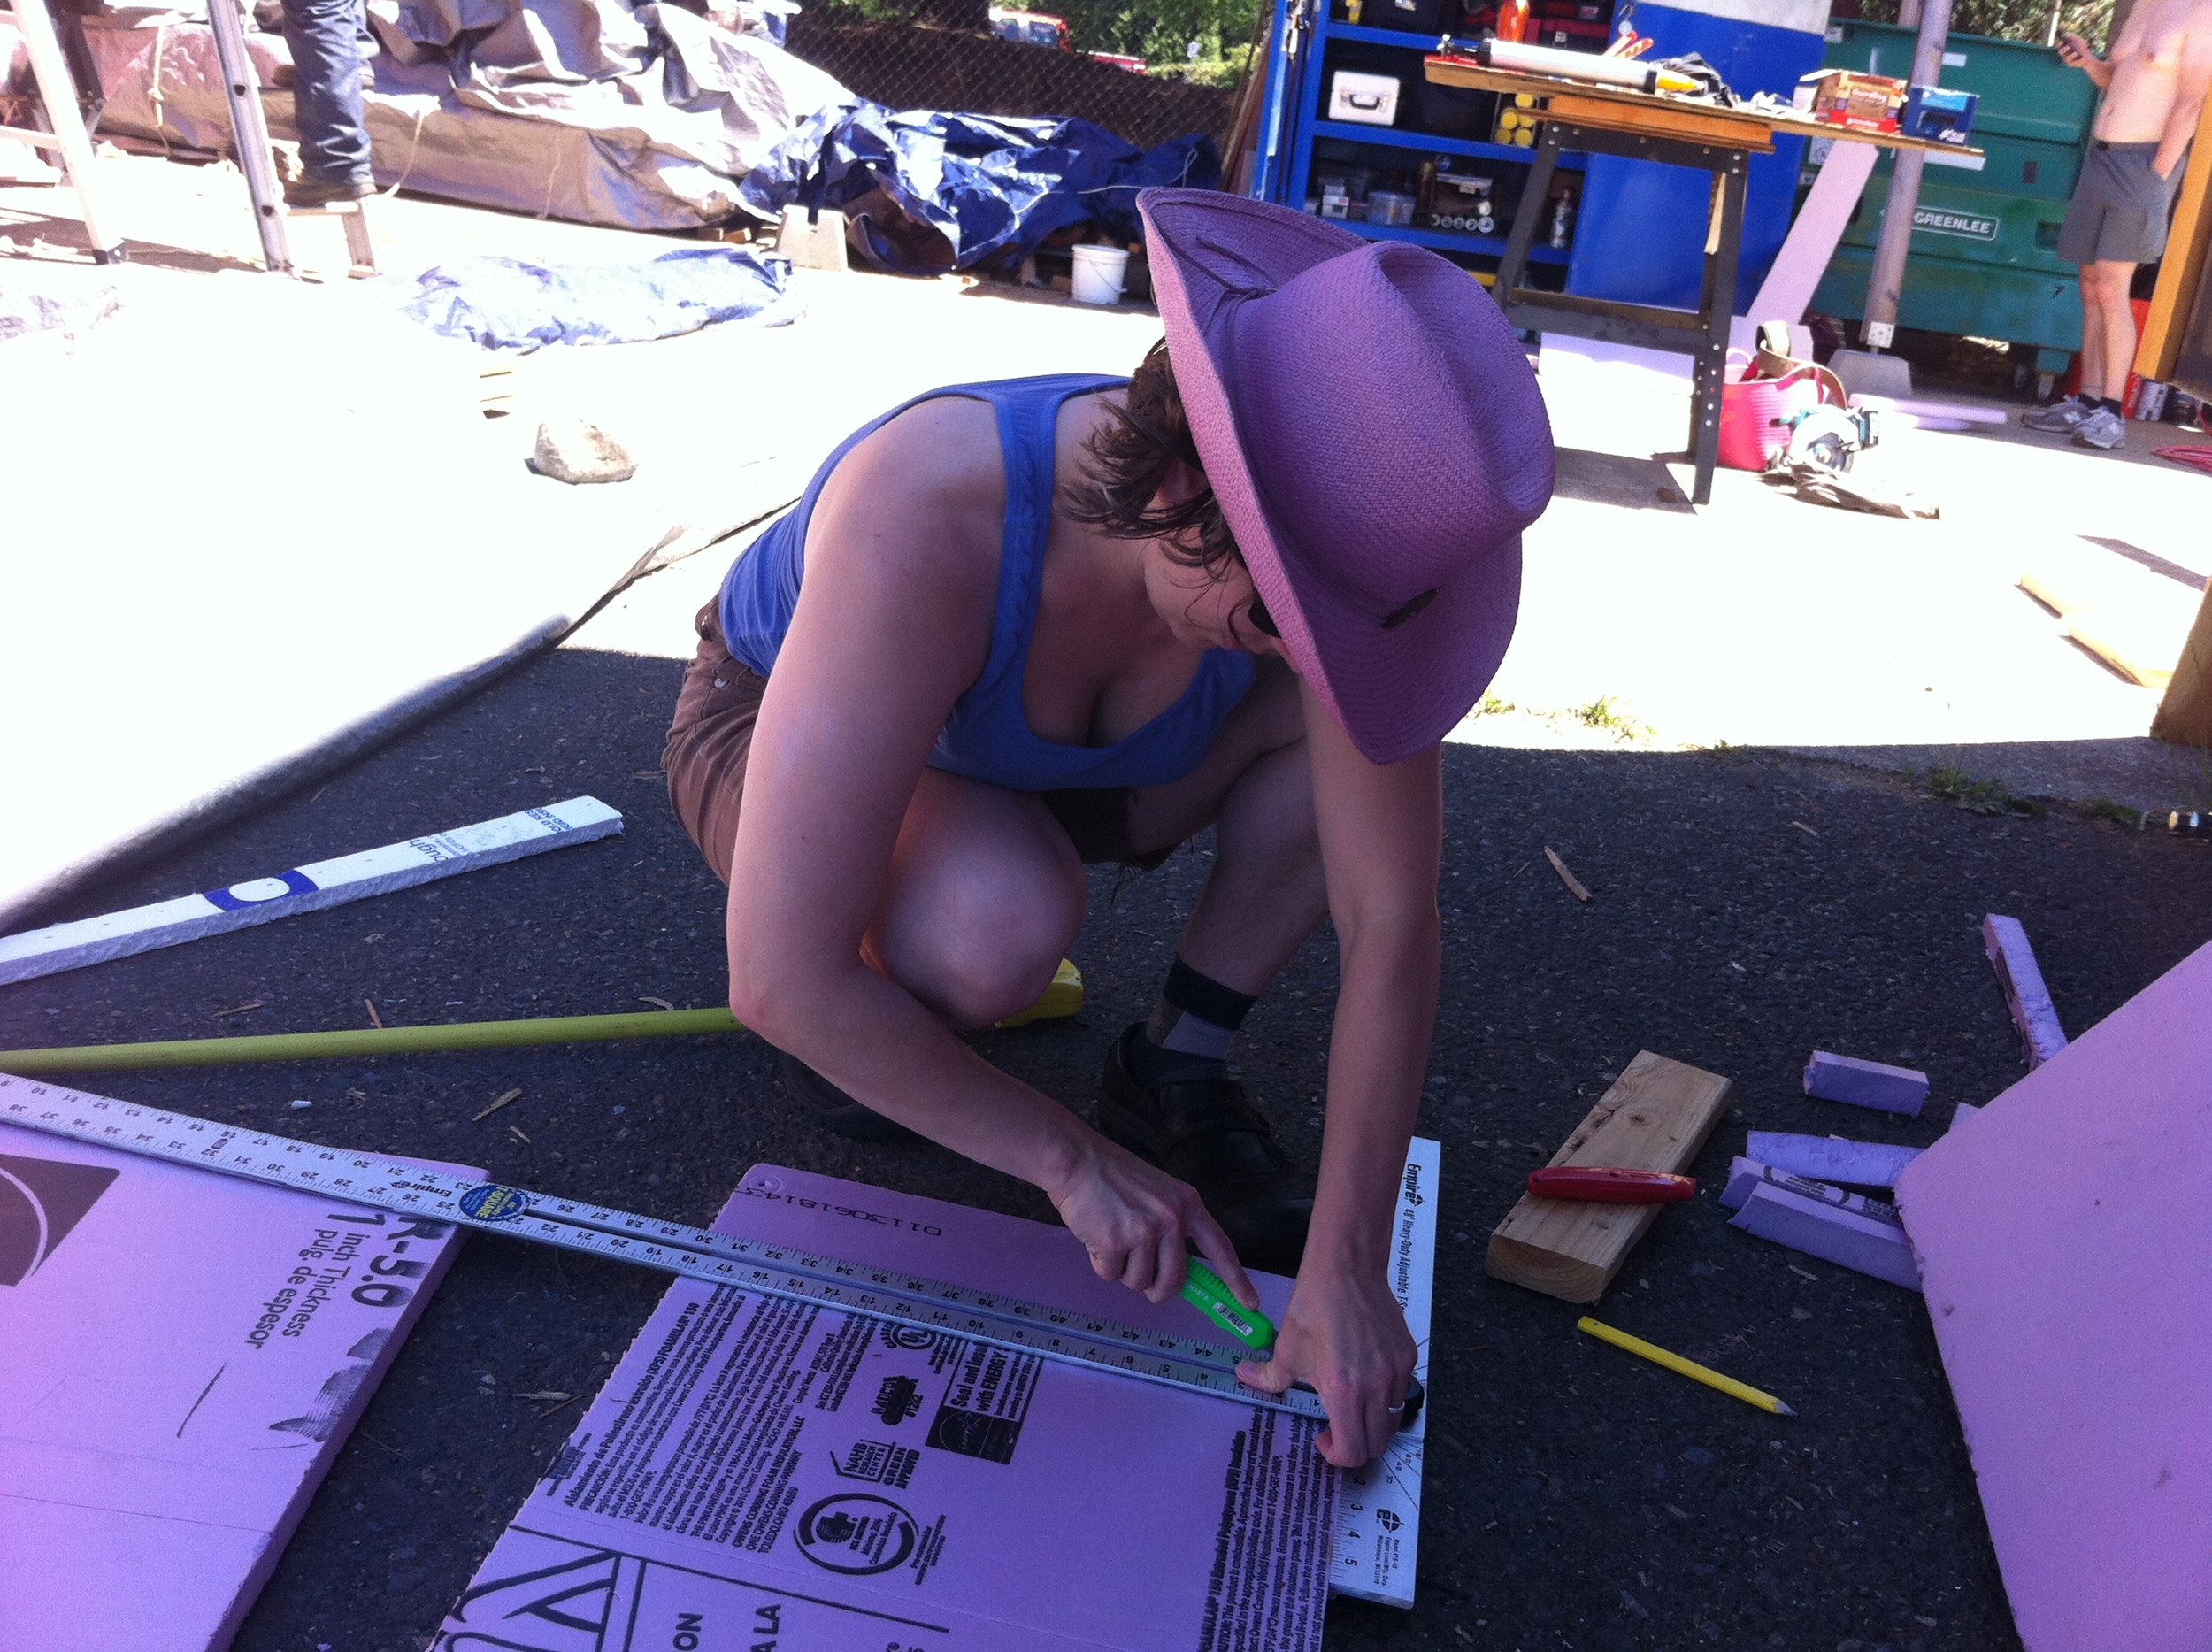
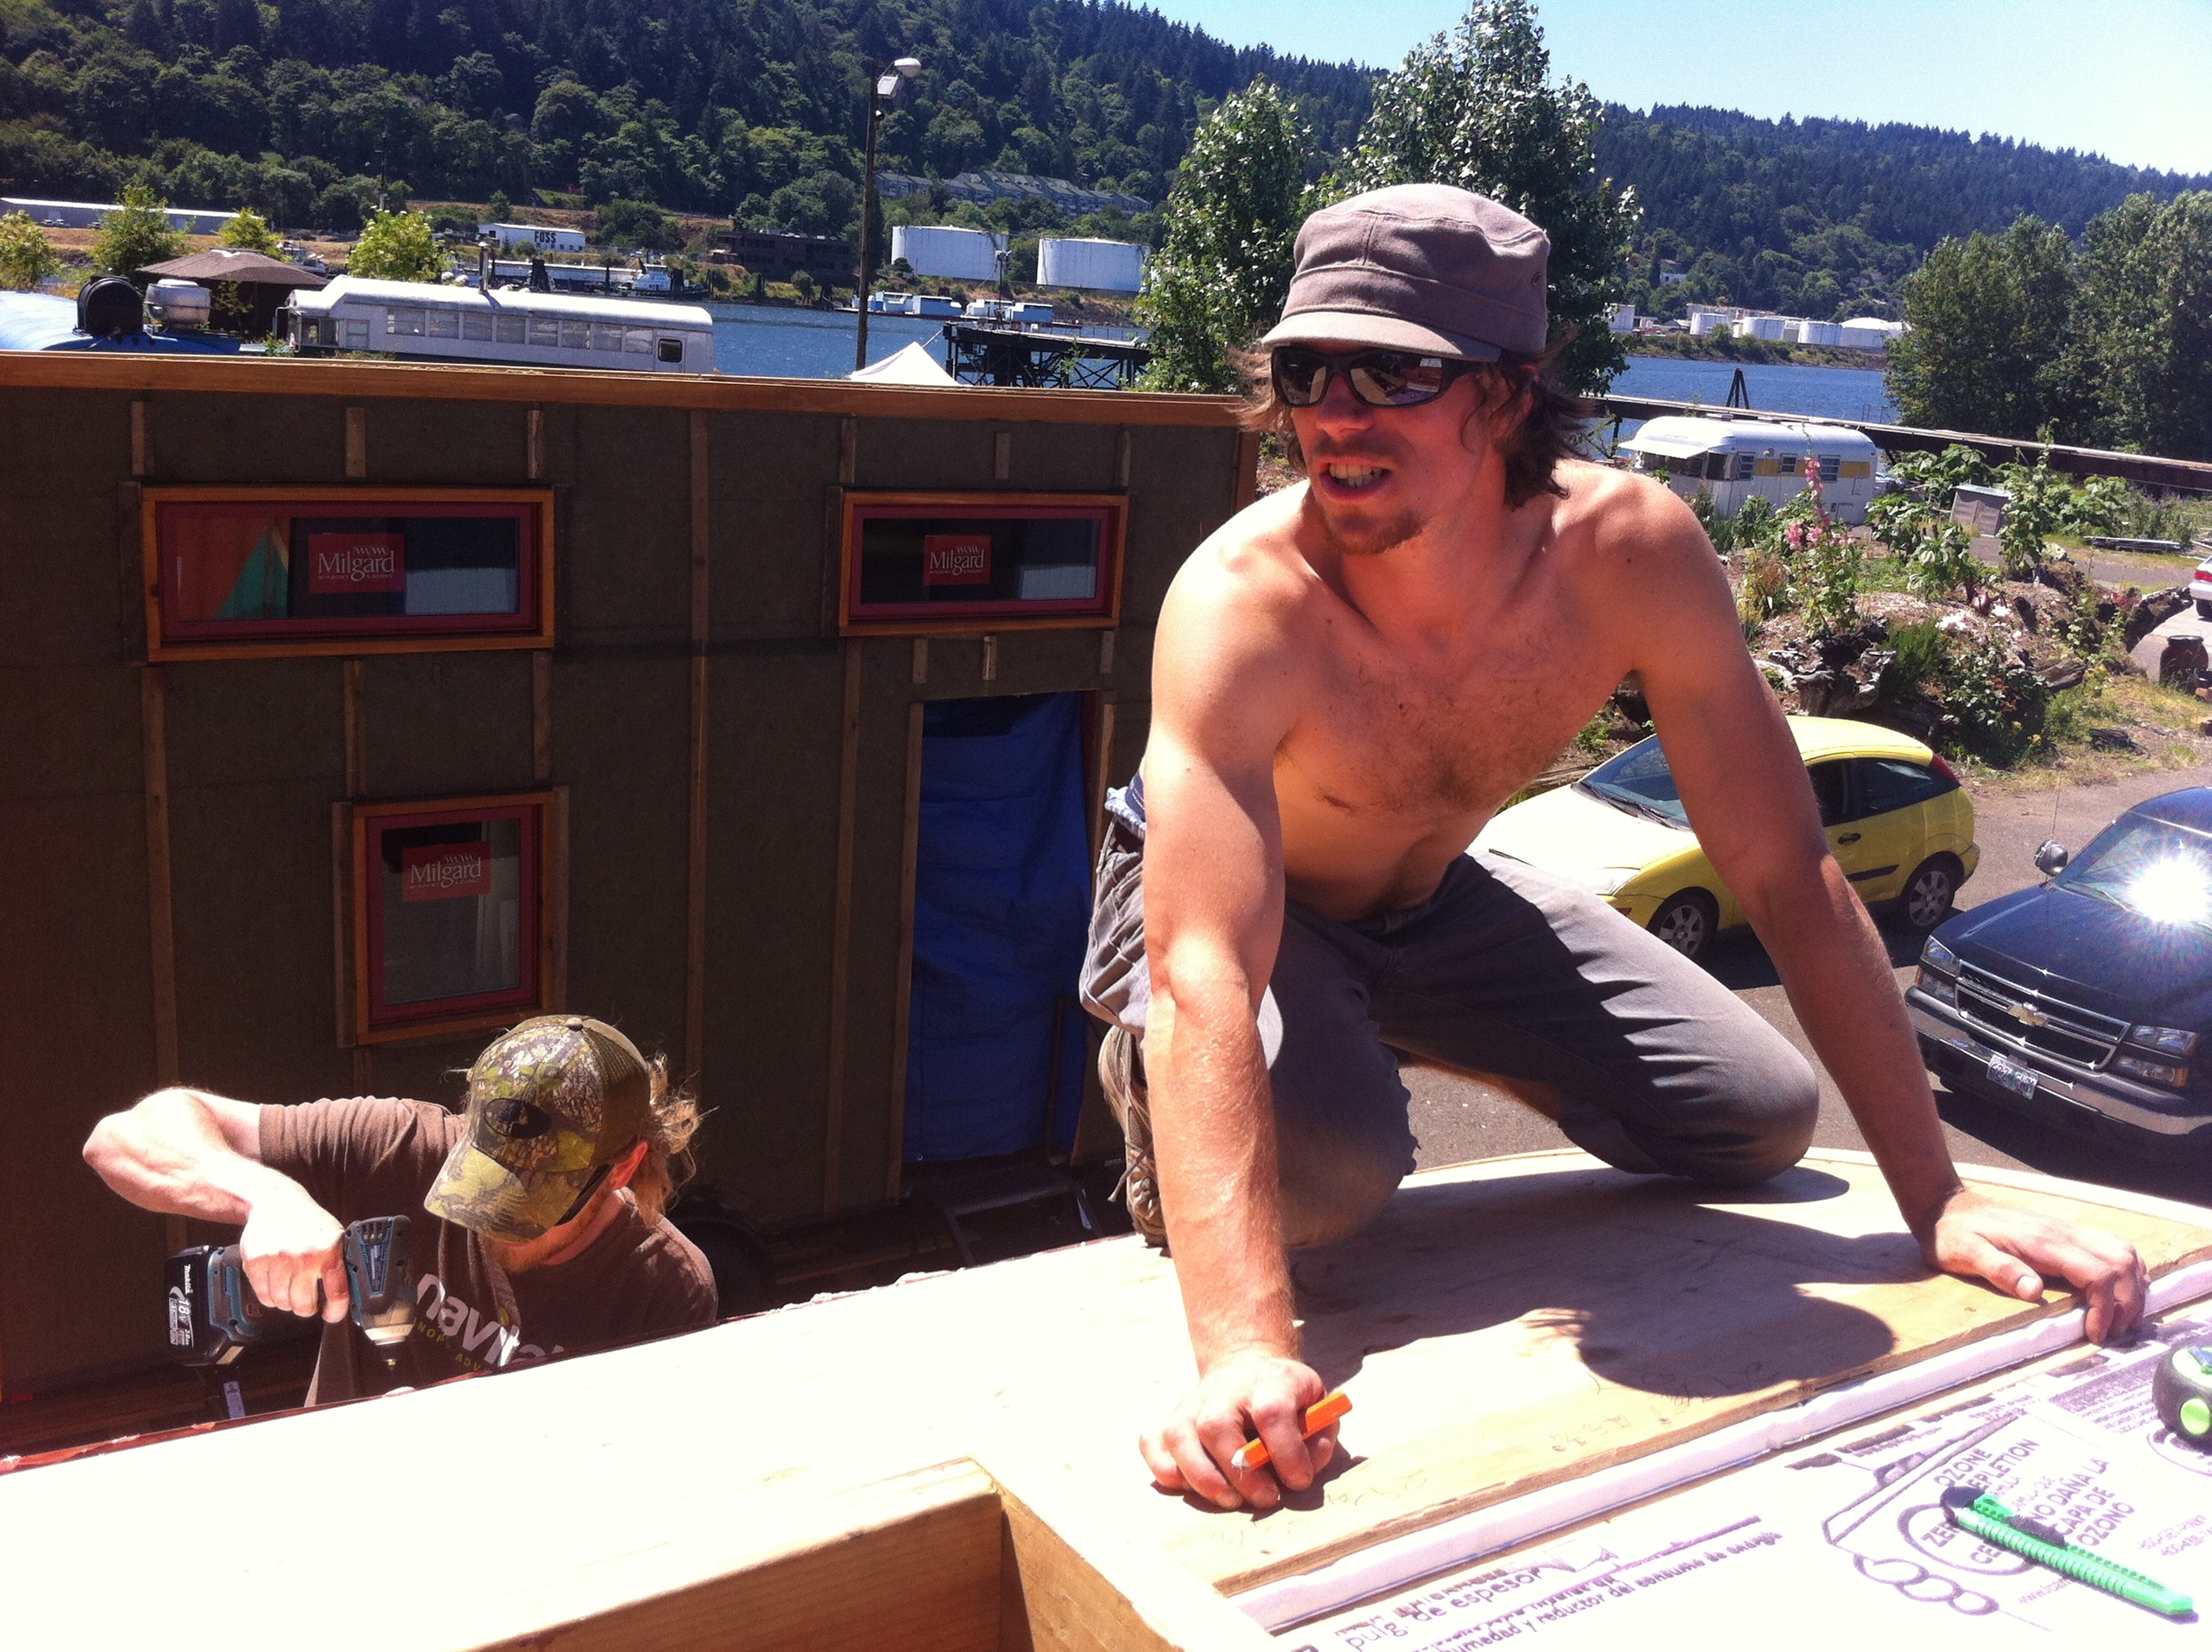
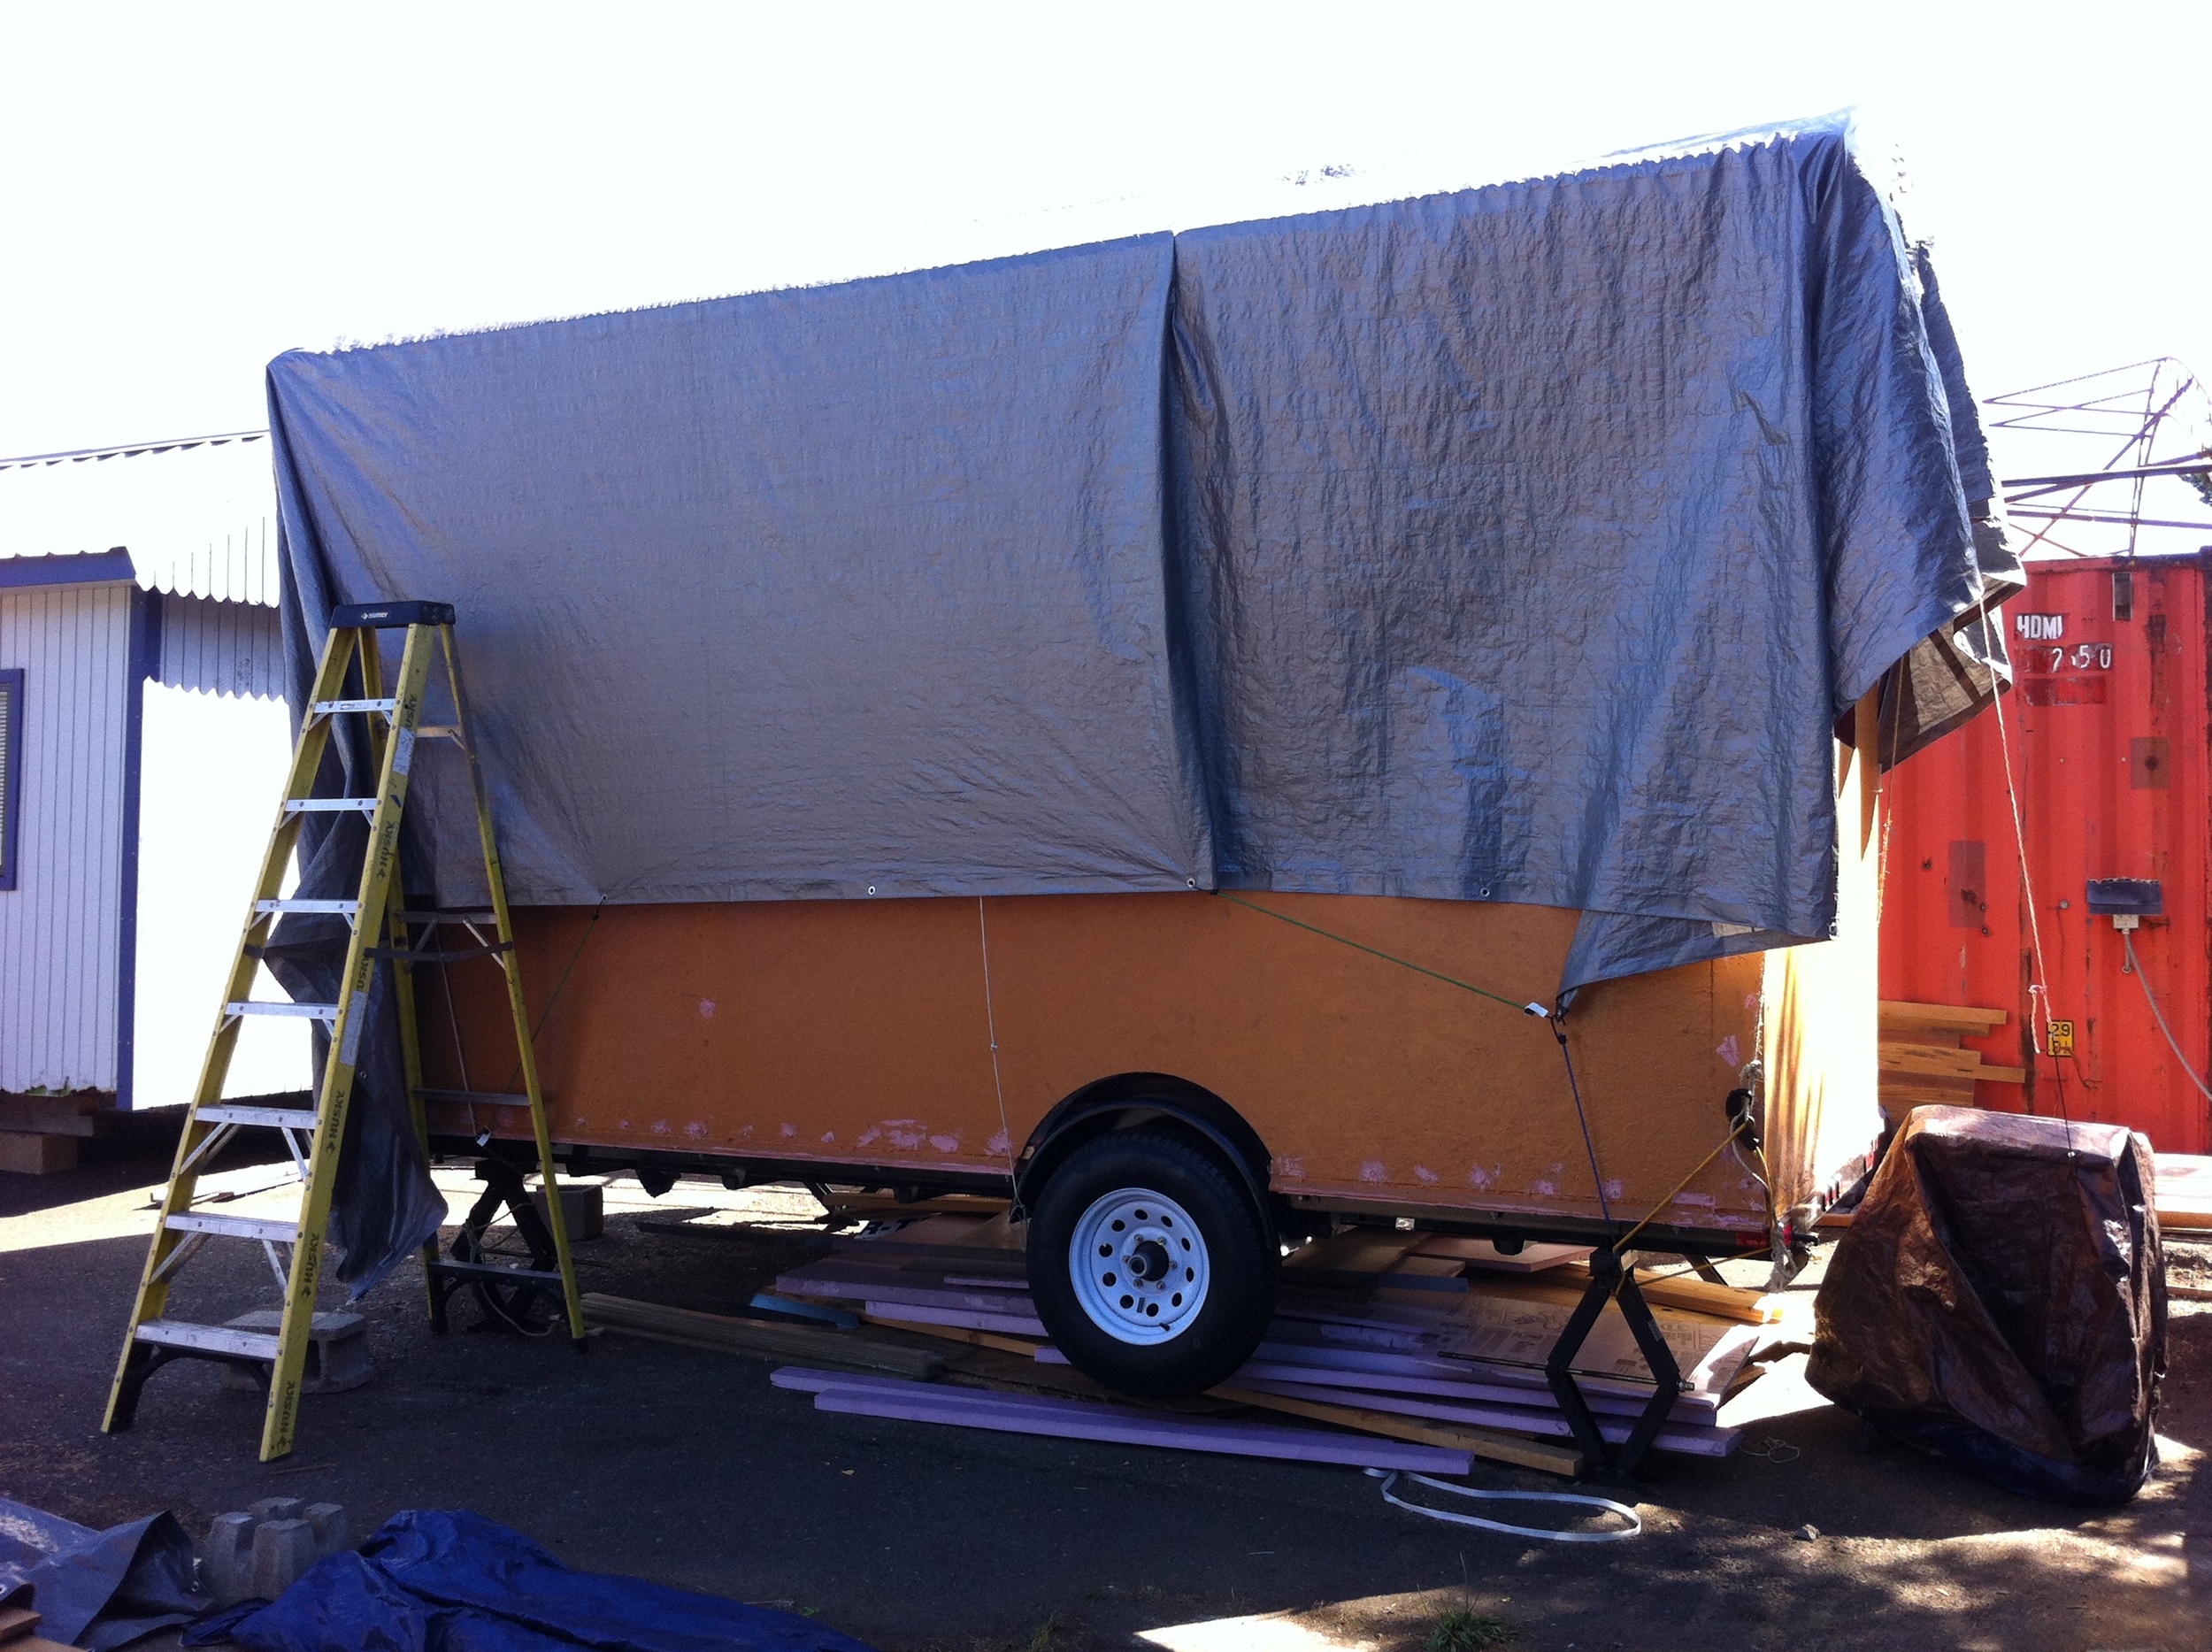
I'm less enthusiastic about the amount of time it took to get my complex roof dried in! Once I'd created my Floorbox (and then reworked it with the help of Patrick Sughrue of Structures Northwest), My SIPS Wall Raising only took an hour and a half! The next day we completed My Tiny House Air Barrier. Because of supply issues, being rained out, and making a couple trips out of town because I was, well, Doing Life, it took over a month before my roof was dried in. That means I had to untarp it and tarp it back up again each time I worked on the house! (Mind you I did have the assistance of many Tiny House Helpers.) I ended up on Plan F: Take 2. During this time I was so anxious I didn't sleep well.
It seems the roof is both my house's crowning glory and it's Achilles heel. So I've been thinking of ways I could have avoided (or at least reduced) the anxiety.
What I've decided is that I should have built my tiny house roof (and floor for that matter!) out of SIPs, just like I did with My SIPs Walls. I didn't do a SIPs roof for one big reason: SIPs are flat and my roof is not. But I've come up with two possible ways to do it.
First, I could have done a curved SIP roof. Talking to Patrick Sughrue of Structures Northwest, I've learned that it is possible to have a curved roof built as a SIP. Wouldn't it have been amazing to have my whole house put together in just 1 day?! There's only one factory Patrick knows of that can do a curved SIP on the Best Coast (did I say that?! er, I mean West Coast!) It's also a fairly wasteful process because you start out with a big block of foam and carve out the curve, which produces a whole lot of material you don't need. Also, I probably wouldn't be able to get a curve with as tight a radius as the one I've got. However, I'm not sure that it has to be so curved. In fact, I've learned from roofers today that the snaplock panels which we're hoping to use on my house work best with a radius of 10 ft or greater. My roof has a radius of approximately 8 feet, so it will be a stretch to use this system. Maybe it would be okay to have a shallower curve after all. Especially if I could get the house dried in in a weekend instead of a month!
This winter Patrick and I will be working on a Vardo kit made out of SIPs so that folks who love the vardo shape can get their shell built in a weekend! If you're interested, please let us know!
However, this curved SIP roof wouldn't have worked with exposed rafters like I have. As I learned while Making Ends Meet, getting those two curves the same is a challenge. On the other hand, I could have done faux exposed rafters on the inside. I plan to try it on the next vardo I build. Besides, my skylight box would have been a challenge anyway. So here's the other option I came up with:
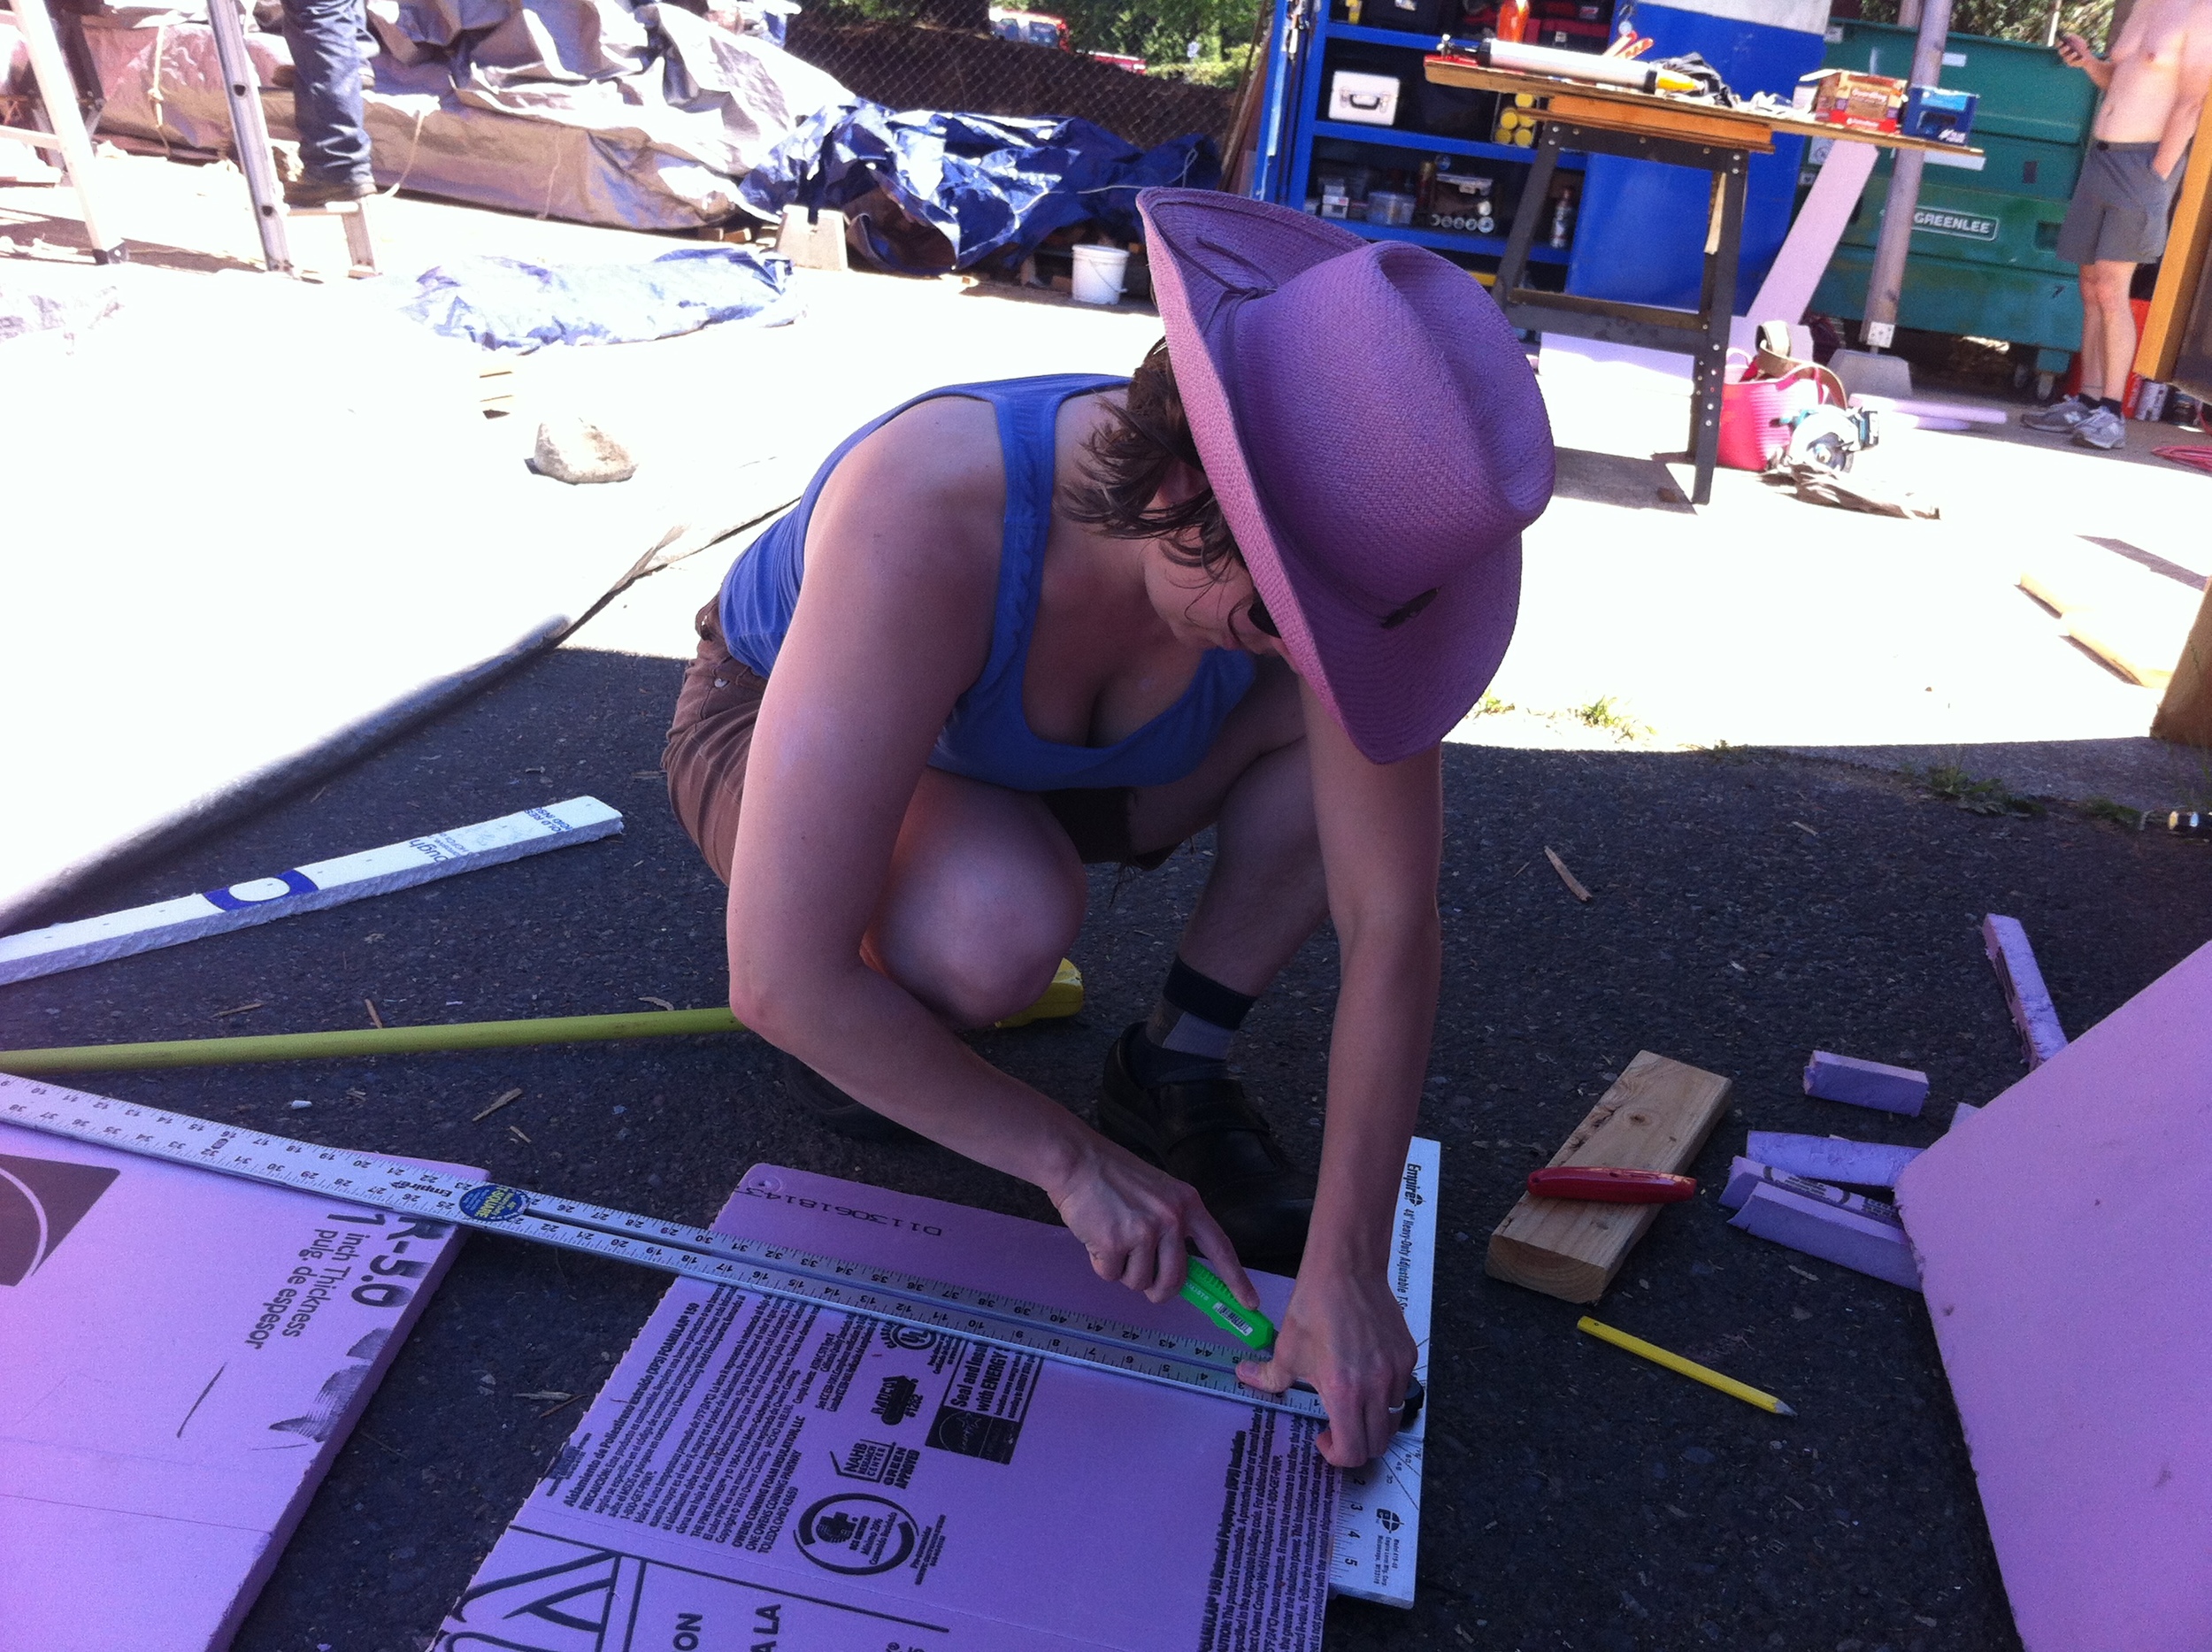
I could have had a set of long 1 foot wide SIP panels fabricated which would have sat on top of my exposed rafters on either side of the skylight box. Shorter 1 foot wide panels would go on either end of the skylight box at the front and back of the house. I would have put the rafters up as I did. I figure I could go through the same process of Ceiling Up My Vardo Roof with beadboard panels or I could install this material from the inside afterwards. Either way, instead of building the roof box, which required Eave Caps and Plan F and resulted in my first (and hopefully-but-I-doubt-it-last) melt down, I would have put the SIPs on top and attached them to the rafters. Then my roof would be both insulated and sheathed in one fail swoop. There would be triangular gaps at the top of the roof where the panels come together, so this area would be spray foamed and then cut back and covered with a flashing. The whole roof would then be ready for waterproofing and roofing.
Mind you, I'm not entirely sure either of these systems would work. Although theoretically they'd be fine, I'd have to try them to be sure. The design I've come up with for my vardo roof does seem to be working and maybe it's the best way to do it. If you have done either of these alternate systems or if you decide to try it now after reading about it, please report back. As I've noted in another (forthcoming) blog post, My Mistakes Manifesto, I believe sharing our mistakes is even more important than sharing our successes because we can learn so much from other people's mistakes! Also, if you have other ideas for creating an insulated and air-sealed vardo roof (especially with exposed rafters and a skylight monitor), please share them in the comments!


