A few weeks ago my friend Matthew helped me begin the process of refinishing My Beautiful Arched Door. This weekend we finished it up. I’m so pleased with the results! It’s beautiful!
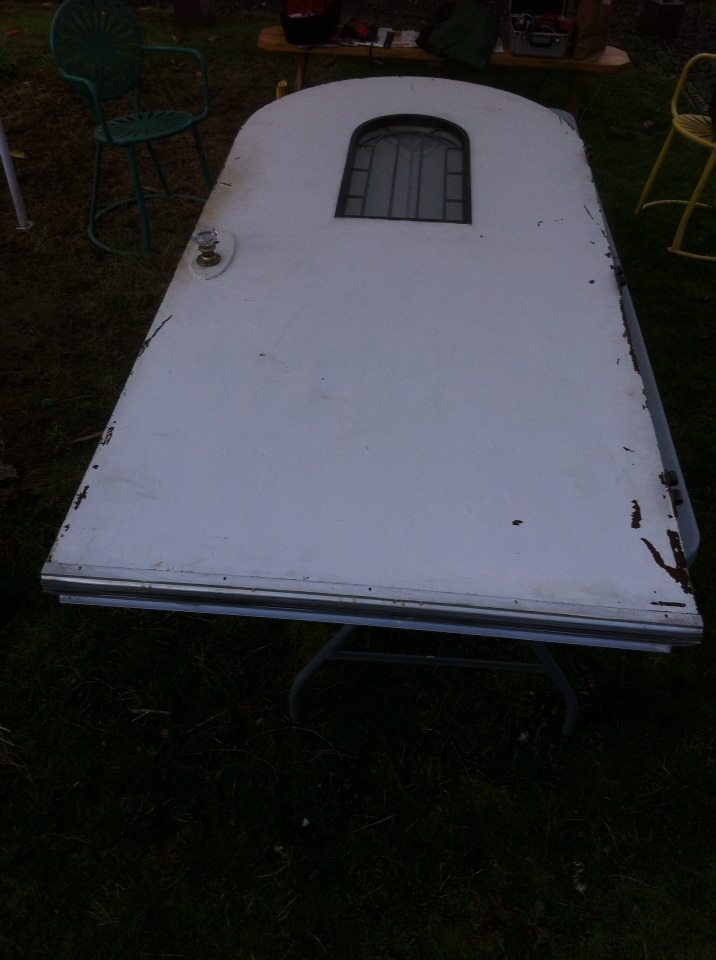
Since it’s an old door I found at the ReBuilding Center, I started out by testing the paint for lead, using a lead test kit. I discovered that the door itself didn’t have any lead paint. However, the doorjamb did test positive for lead paint. So last week I took the doorjamb to Timby’s to have it “dip stripped.”
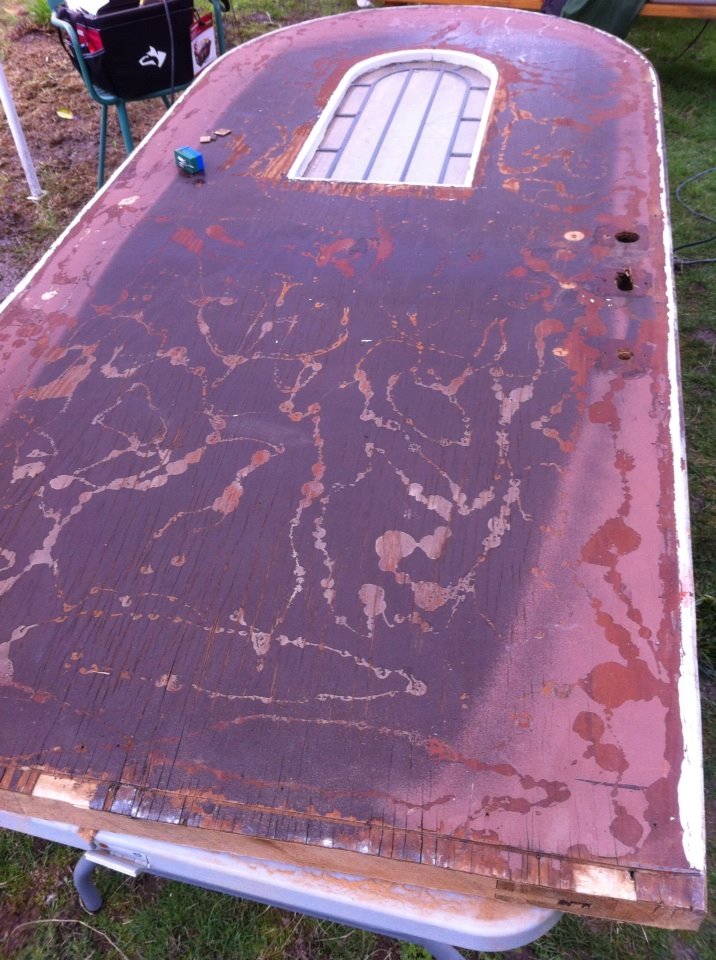
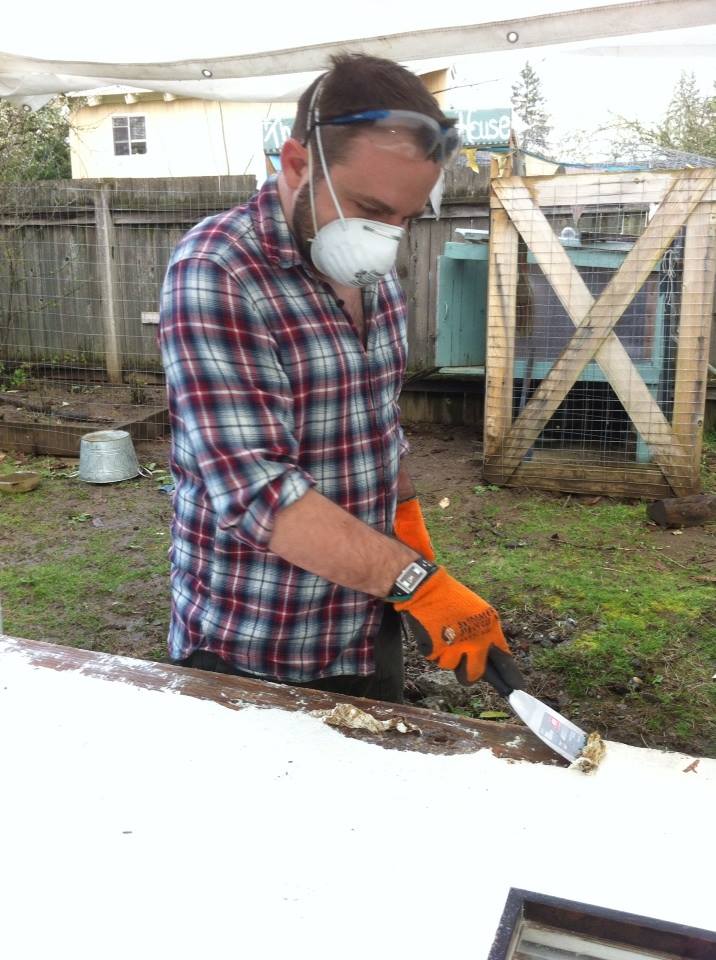
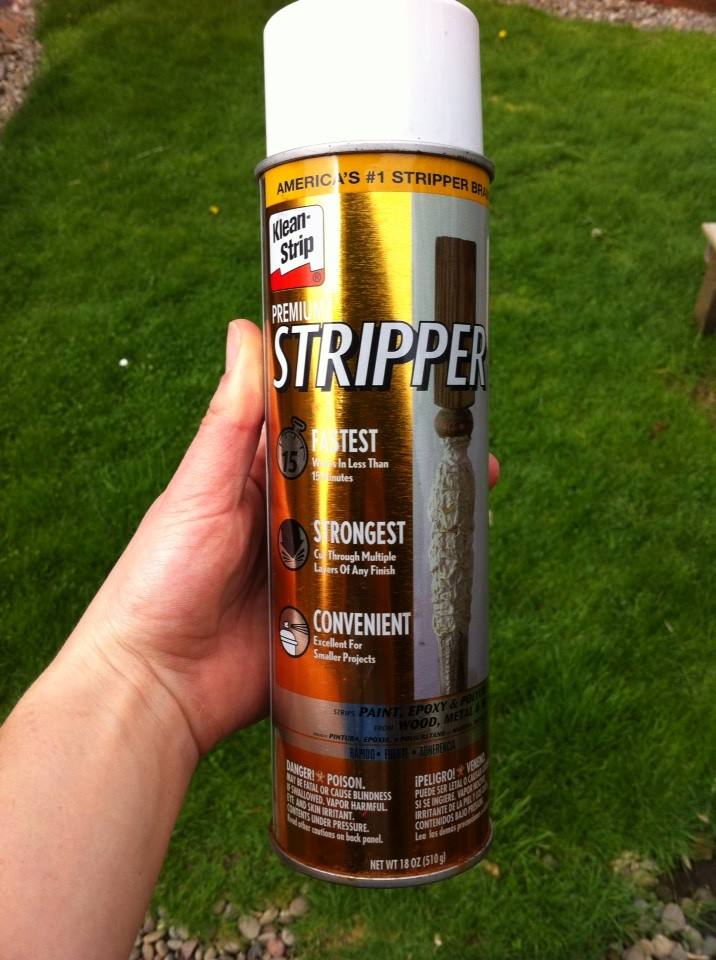
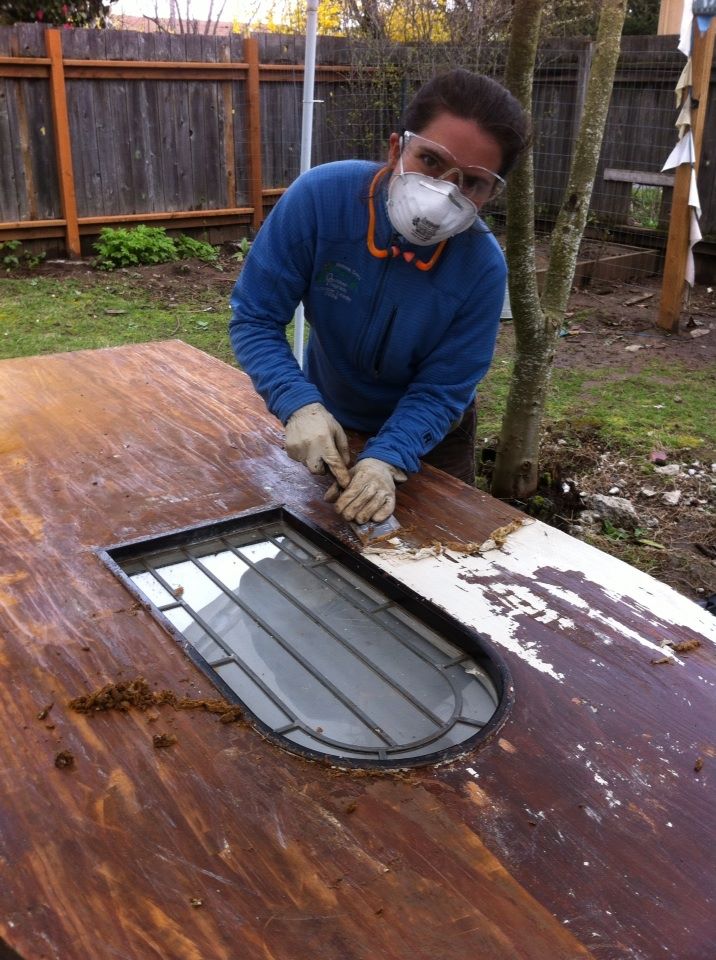
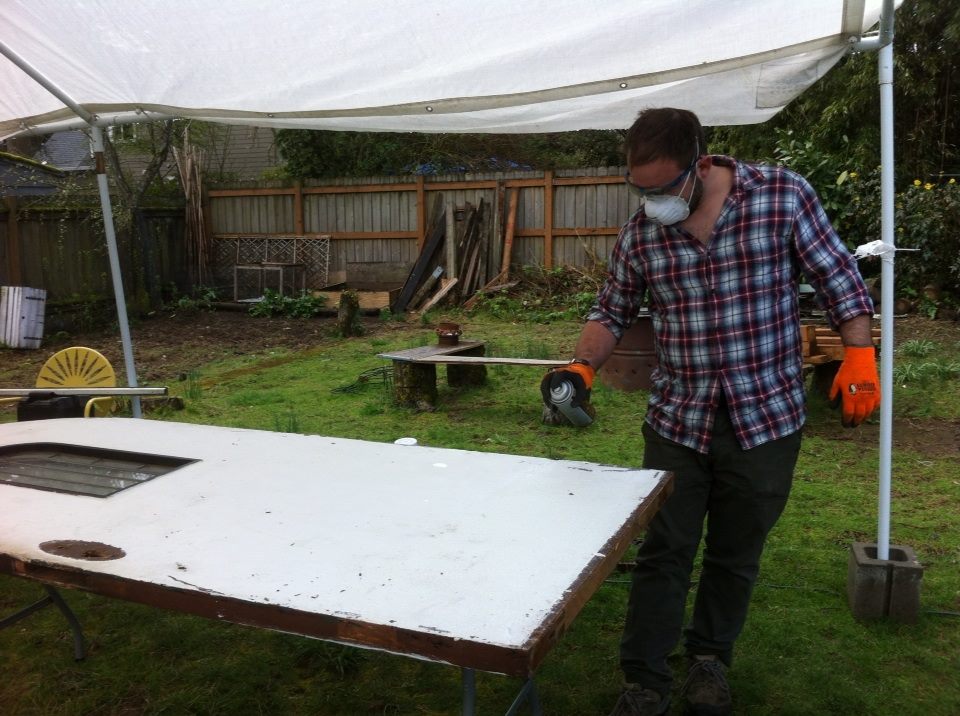
Meanwhile, I decided to work on the door with Matthew. We started out by removing all the old hardware. Next we used paint stripper to remove several layers of old paint from the interior of the door. The paint stripper contains toxic and potent chemicals so we wore masks, gloves, and eye protection. We used scrapers to remove the paint and dispose of it. (Note Bene: we discovered that the spray paint stripper was much more effective than the paint-on version, so next time I have to use paint stripper I’ll plan to use the spray version.)

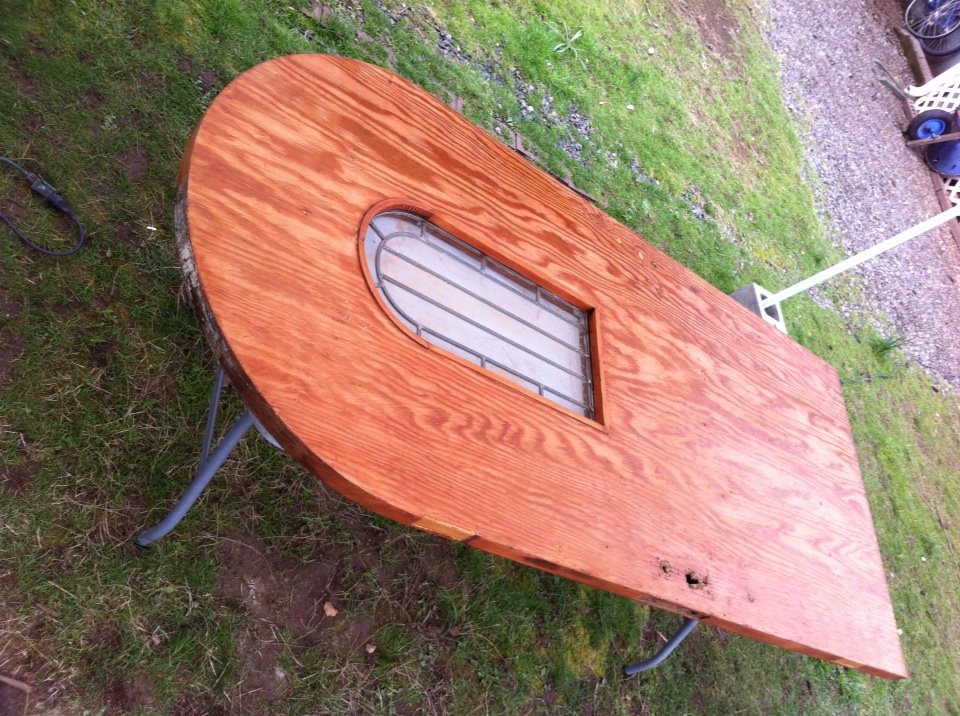
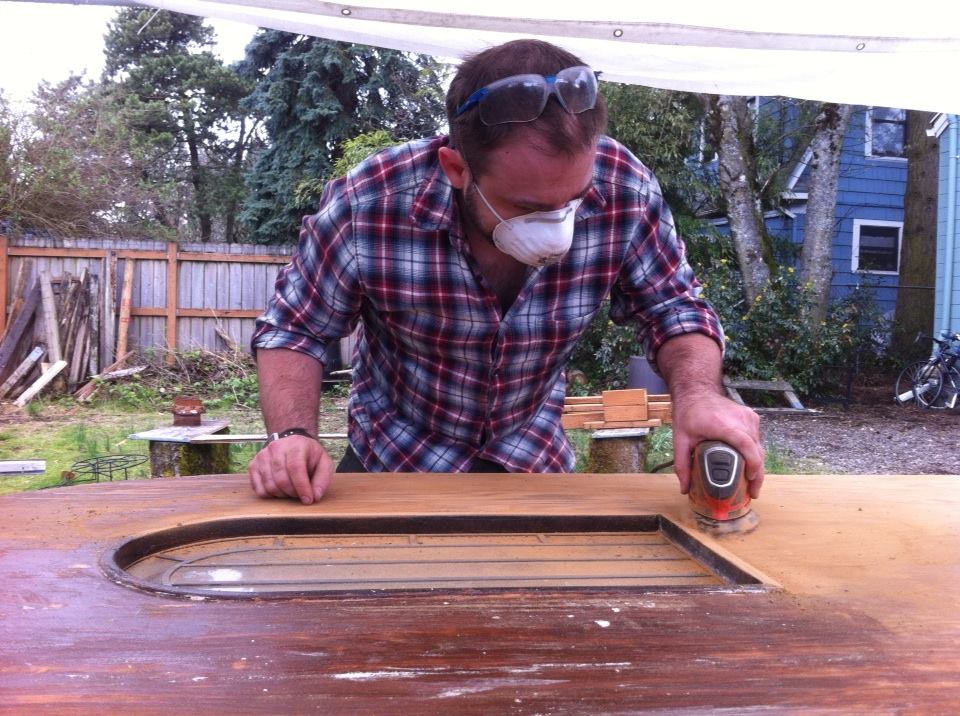
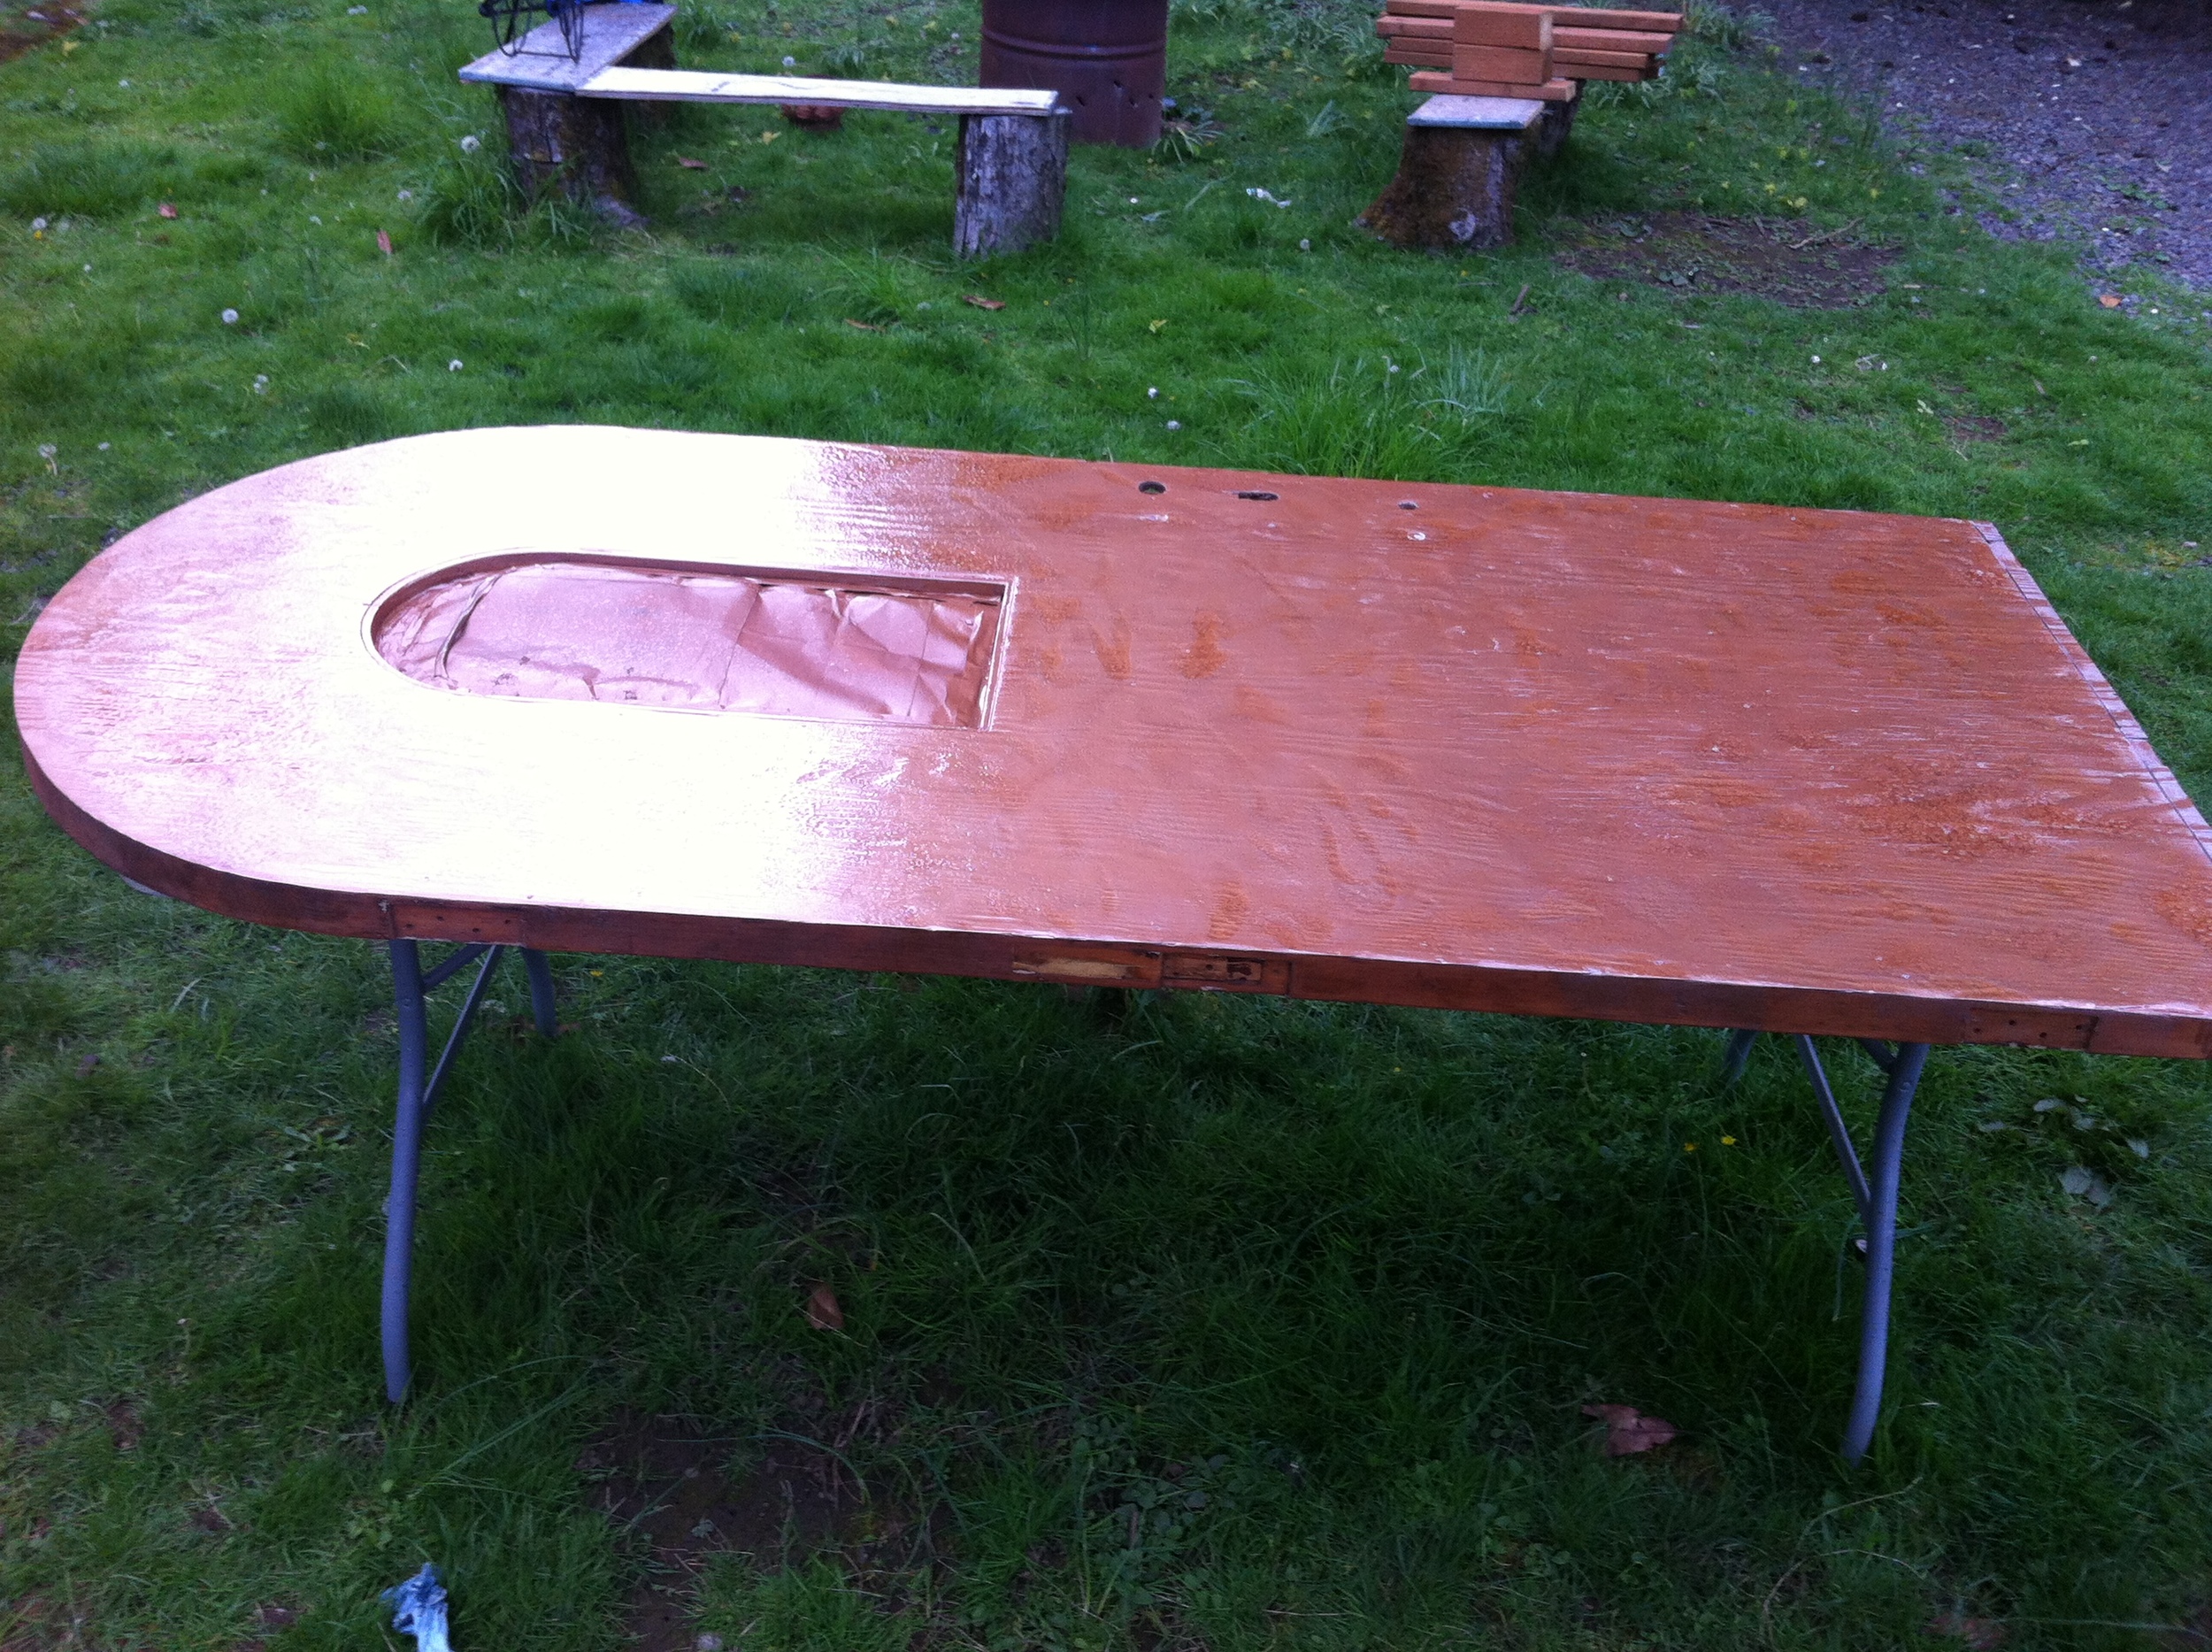
Once the paint was stripped off the interior we discovered that the door has lots of character in the form of nicks, holes, and scratches. I think these indicators of my door’s history make it even more beautiful, so I decided to finish the interior with a clear stain. We tackled it with 80-grit sandpaper and moved through 100 and then 150, finally finishing up with 220-grit. My ¼ sheet palm sander and Matthew’s mouse sander seemed to be the perfect duo of tools for the project. Then I applied 3 layers of clear stain to the inside of the door. It was so neat seeing it take on the richness of the stain!

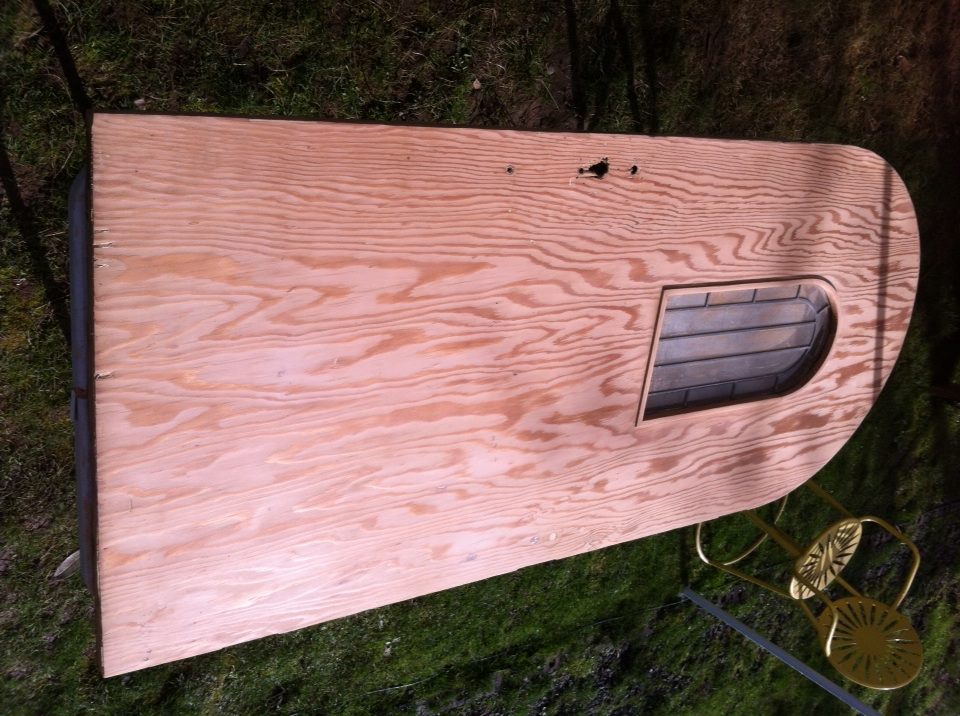
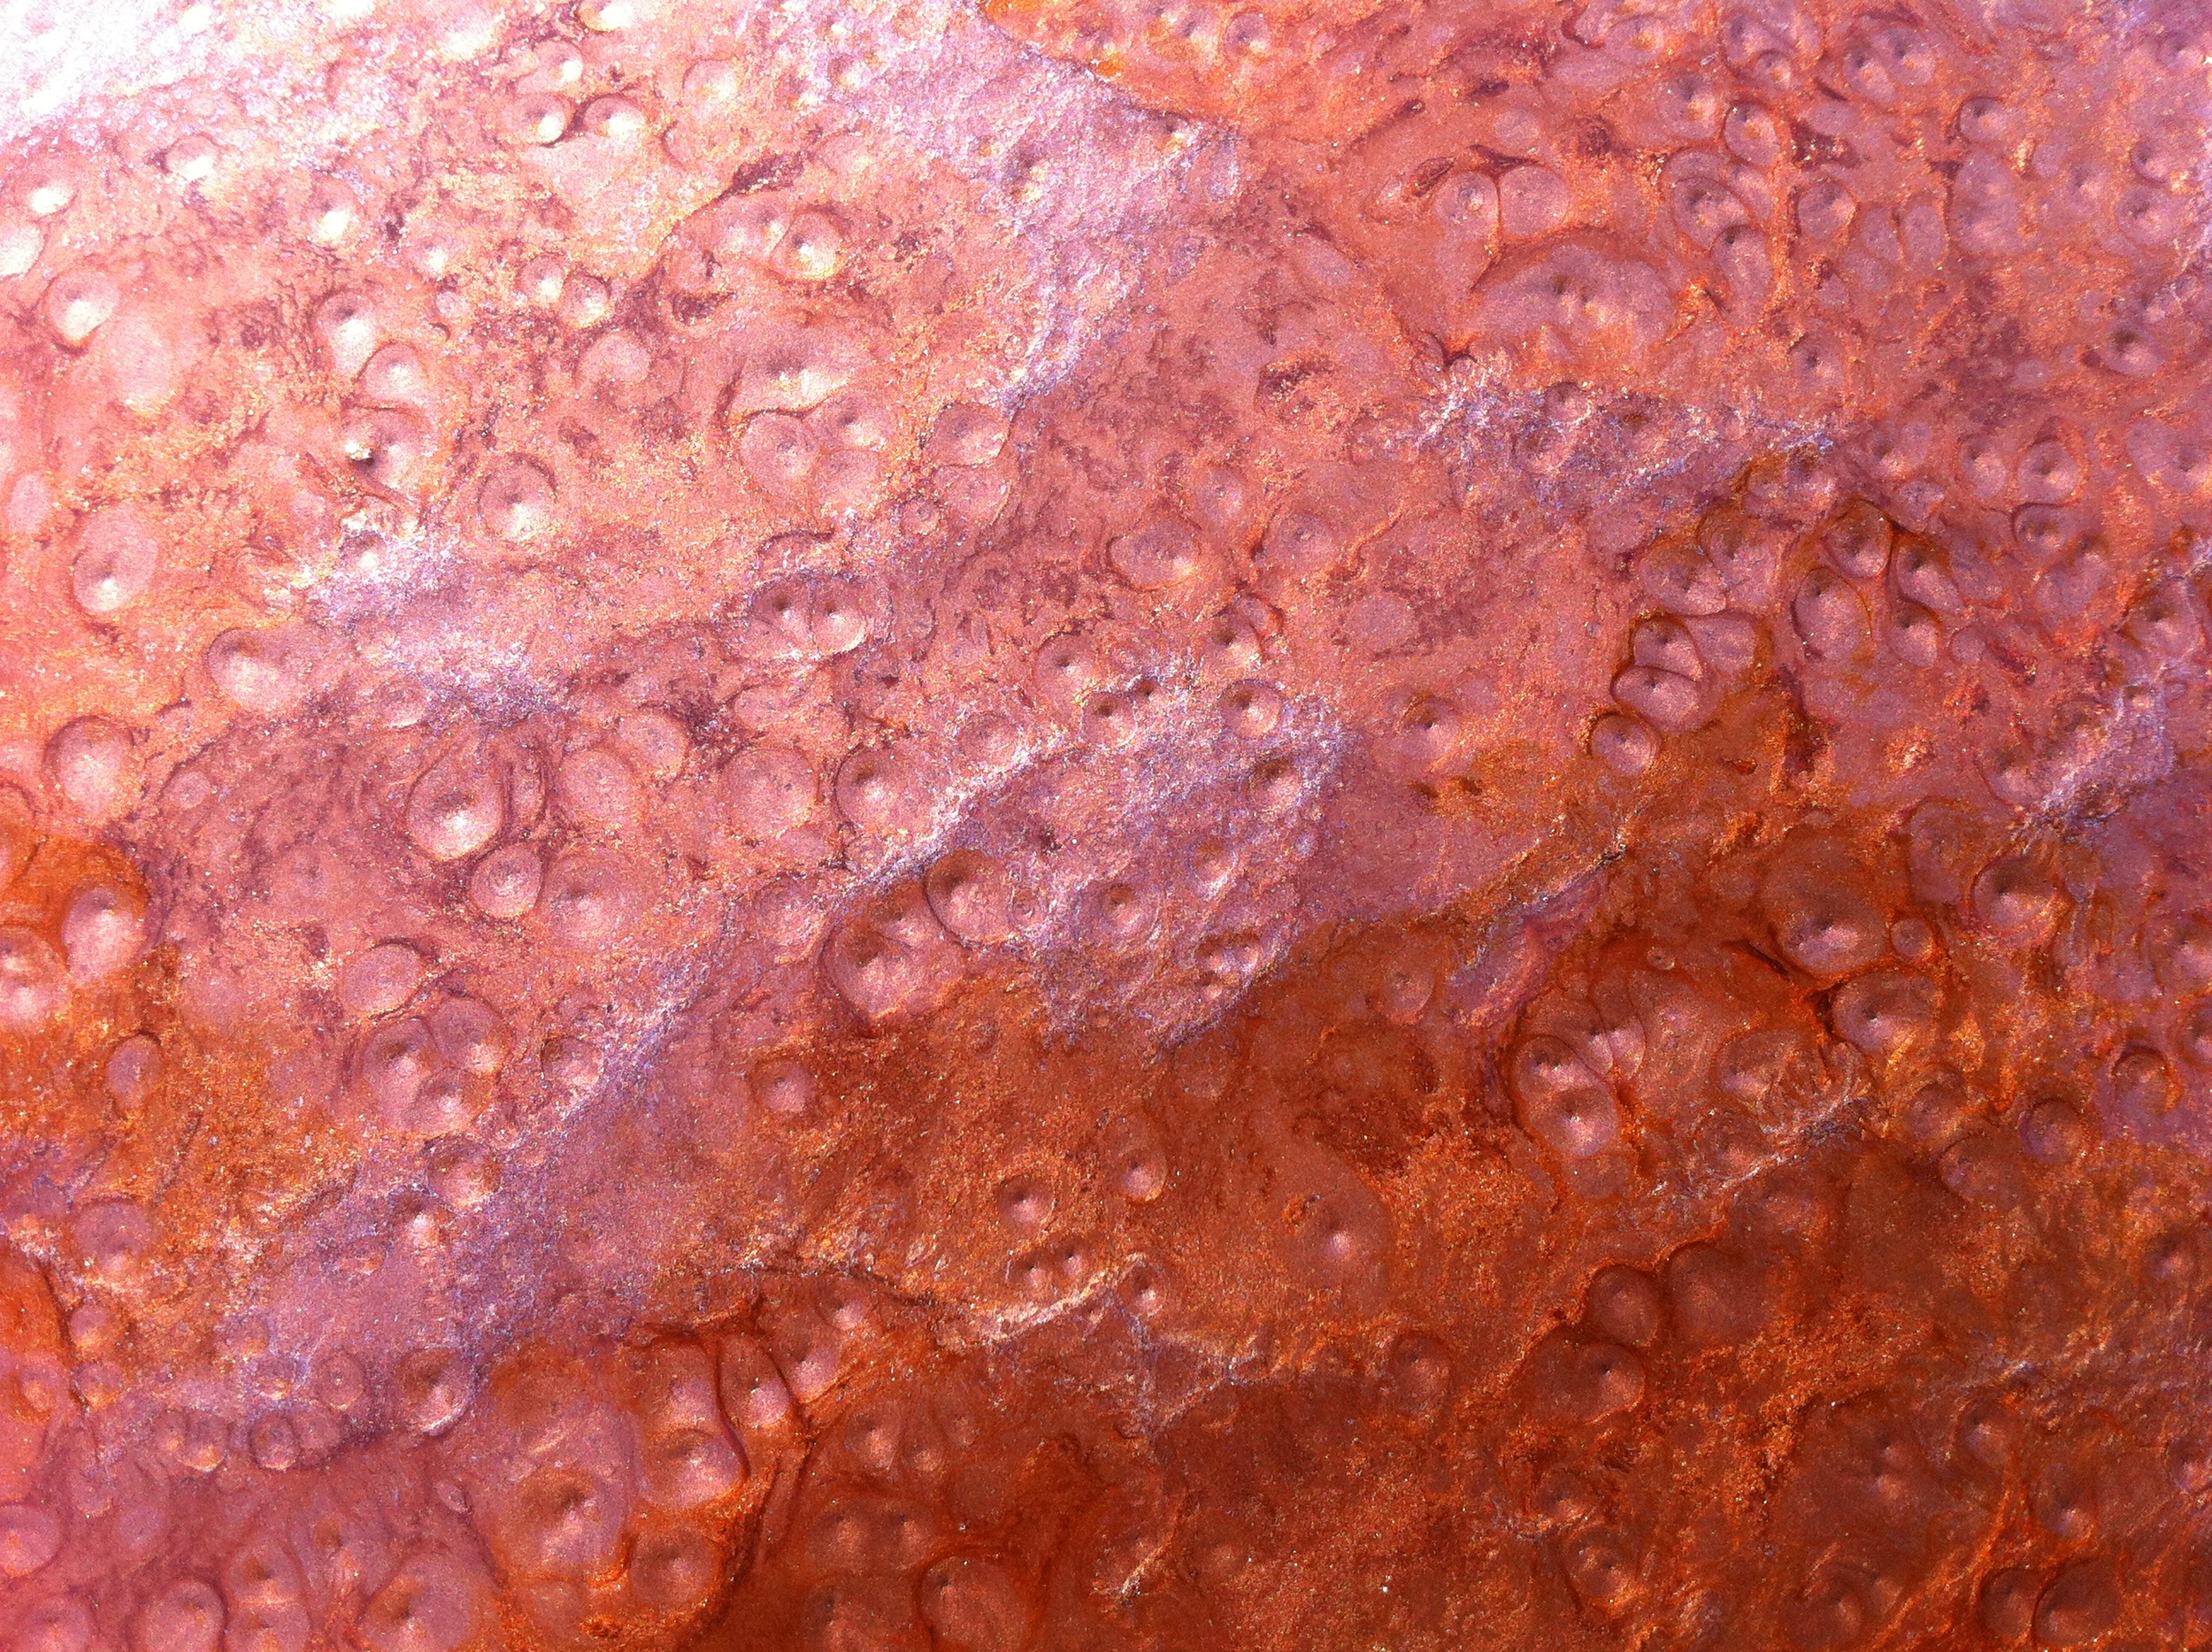
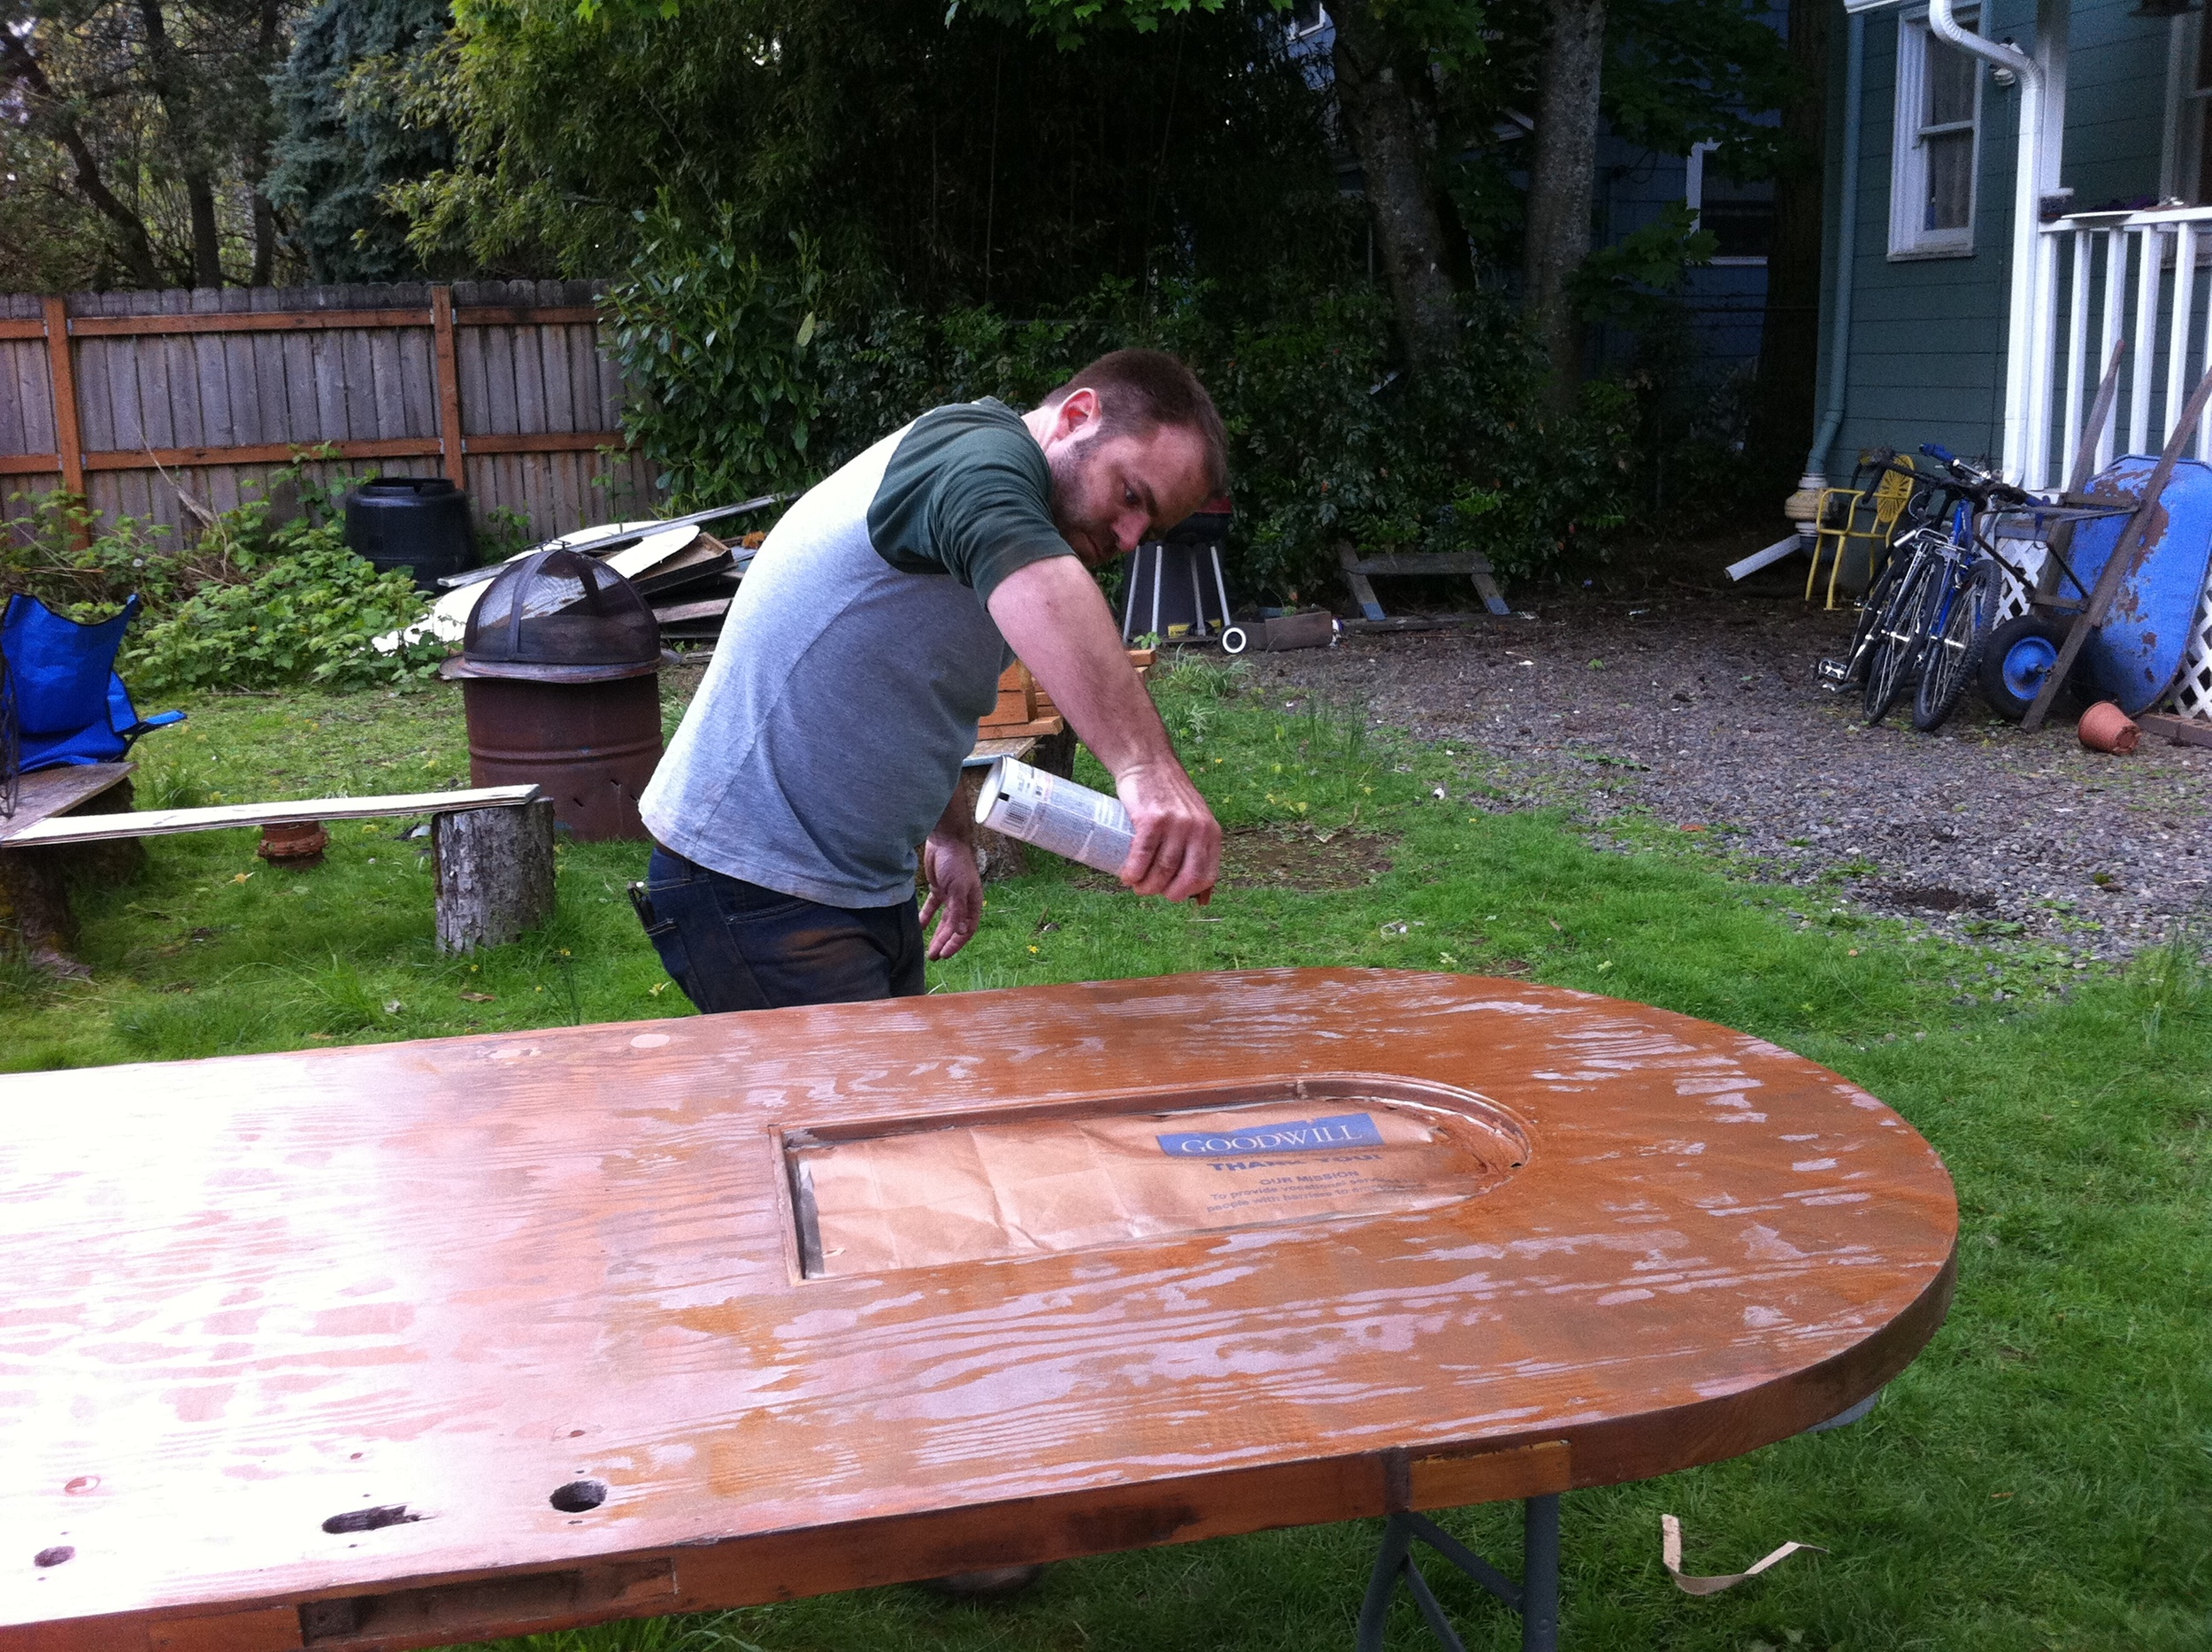
Unfortunately, when we removed the veneer on the outside of the door (and all the teeny finish nails that held it in place), we found that the exterior of the door is really rough. I knew it wouldn’t be worth sanding down and staining the exterior, so I considered covering it with a veneer again. However, I’ve been on a copper kick and I’ve always loved copper doors. Besides, my house is the Lucky Penny so I like the idea of a copper door greeting me and my guests. Of course, I can’t afford to purchase sheet copper to cover it, so I ultimately decided to spray paint it with a hammered copper spray paint. I picked up a can of Rustoleum universal hammered copper spray paint. Today we sanded the door enough to remove the obvious textural issues and then applied a couple layers of spray paint. It took a little finesse to get the look right, so I’m glad I got some practice in spraypainting the frames of my skylights this morning.
I think the new look for my old arched door is lovely! I can’t wait to install my door in my SIPs walls in just a few weeks! Check out the photo gallery for more photos of each step.