We started out Day 2 of Yestermorrow’s Tiny House Design-Build in the Hanger by painting the trailer and gluing and screwing the pressure treated plywood undercarriage to the floor boxes. The house is large enough that the floor joist system was constructed in 3 parts that will be connected together. (See more photos in the Day 2 Slideshow.)

Then we headed out on a field trip to see Chris’ little house, which is one of Dave Sellers’ sculptural creations on Prickly Mountain. I’d been to Chris’ home before, but I enjoyed seeing how my perspective of the space has shifted now that I live in a tiny house myself. The studio and perched sleeping loft are still as charming as they ever were, but I have a greater appreciation than ever before for the challenges of sealing and weatherizing a curved skylight.

After lunch we headed back to the Hanger to tackle a variety of projects, including:
- drilling holes through the trailer to enable us to attach the floor system,
- wrapping the pressure treated joists with a membrane to prevent a galvanic reaction with the trailer, and
- cutting studs, plates, and headers for our wall framing
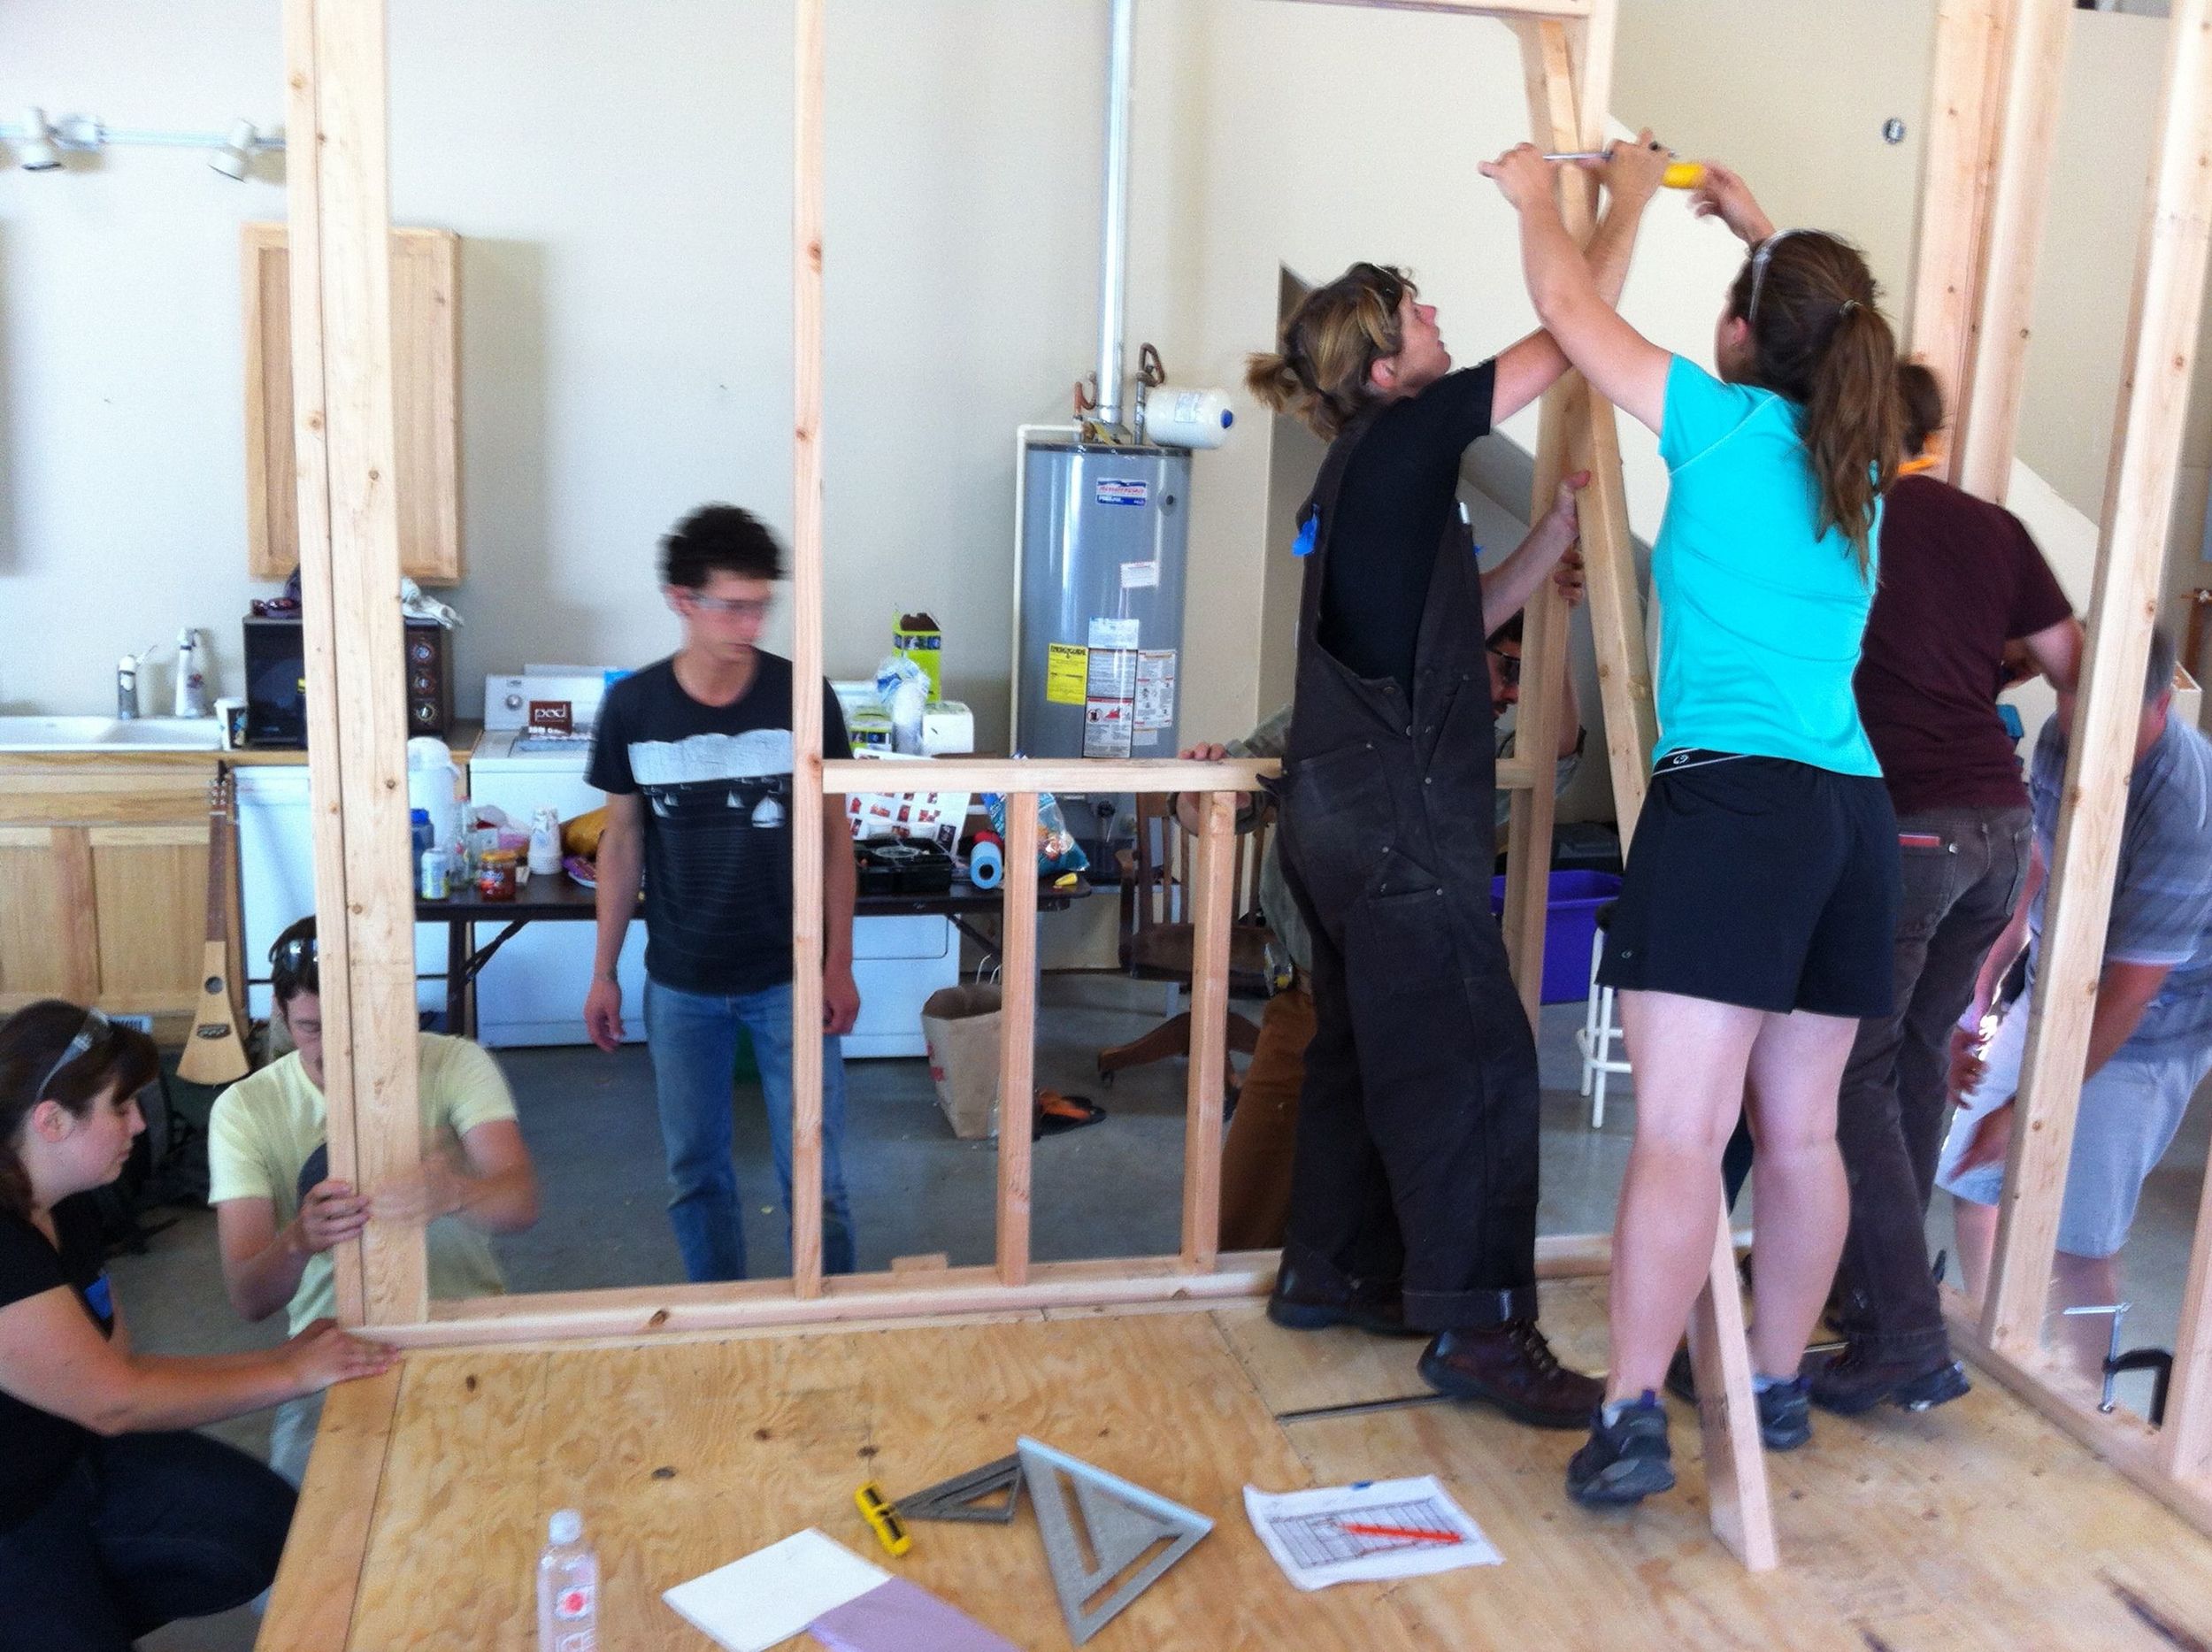
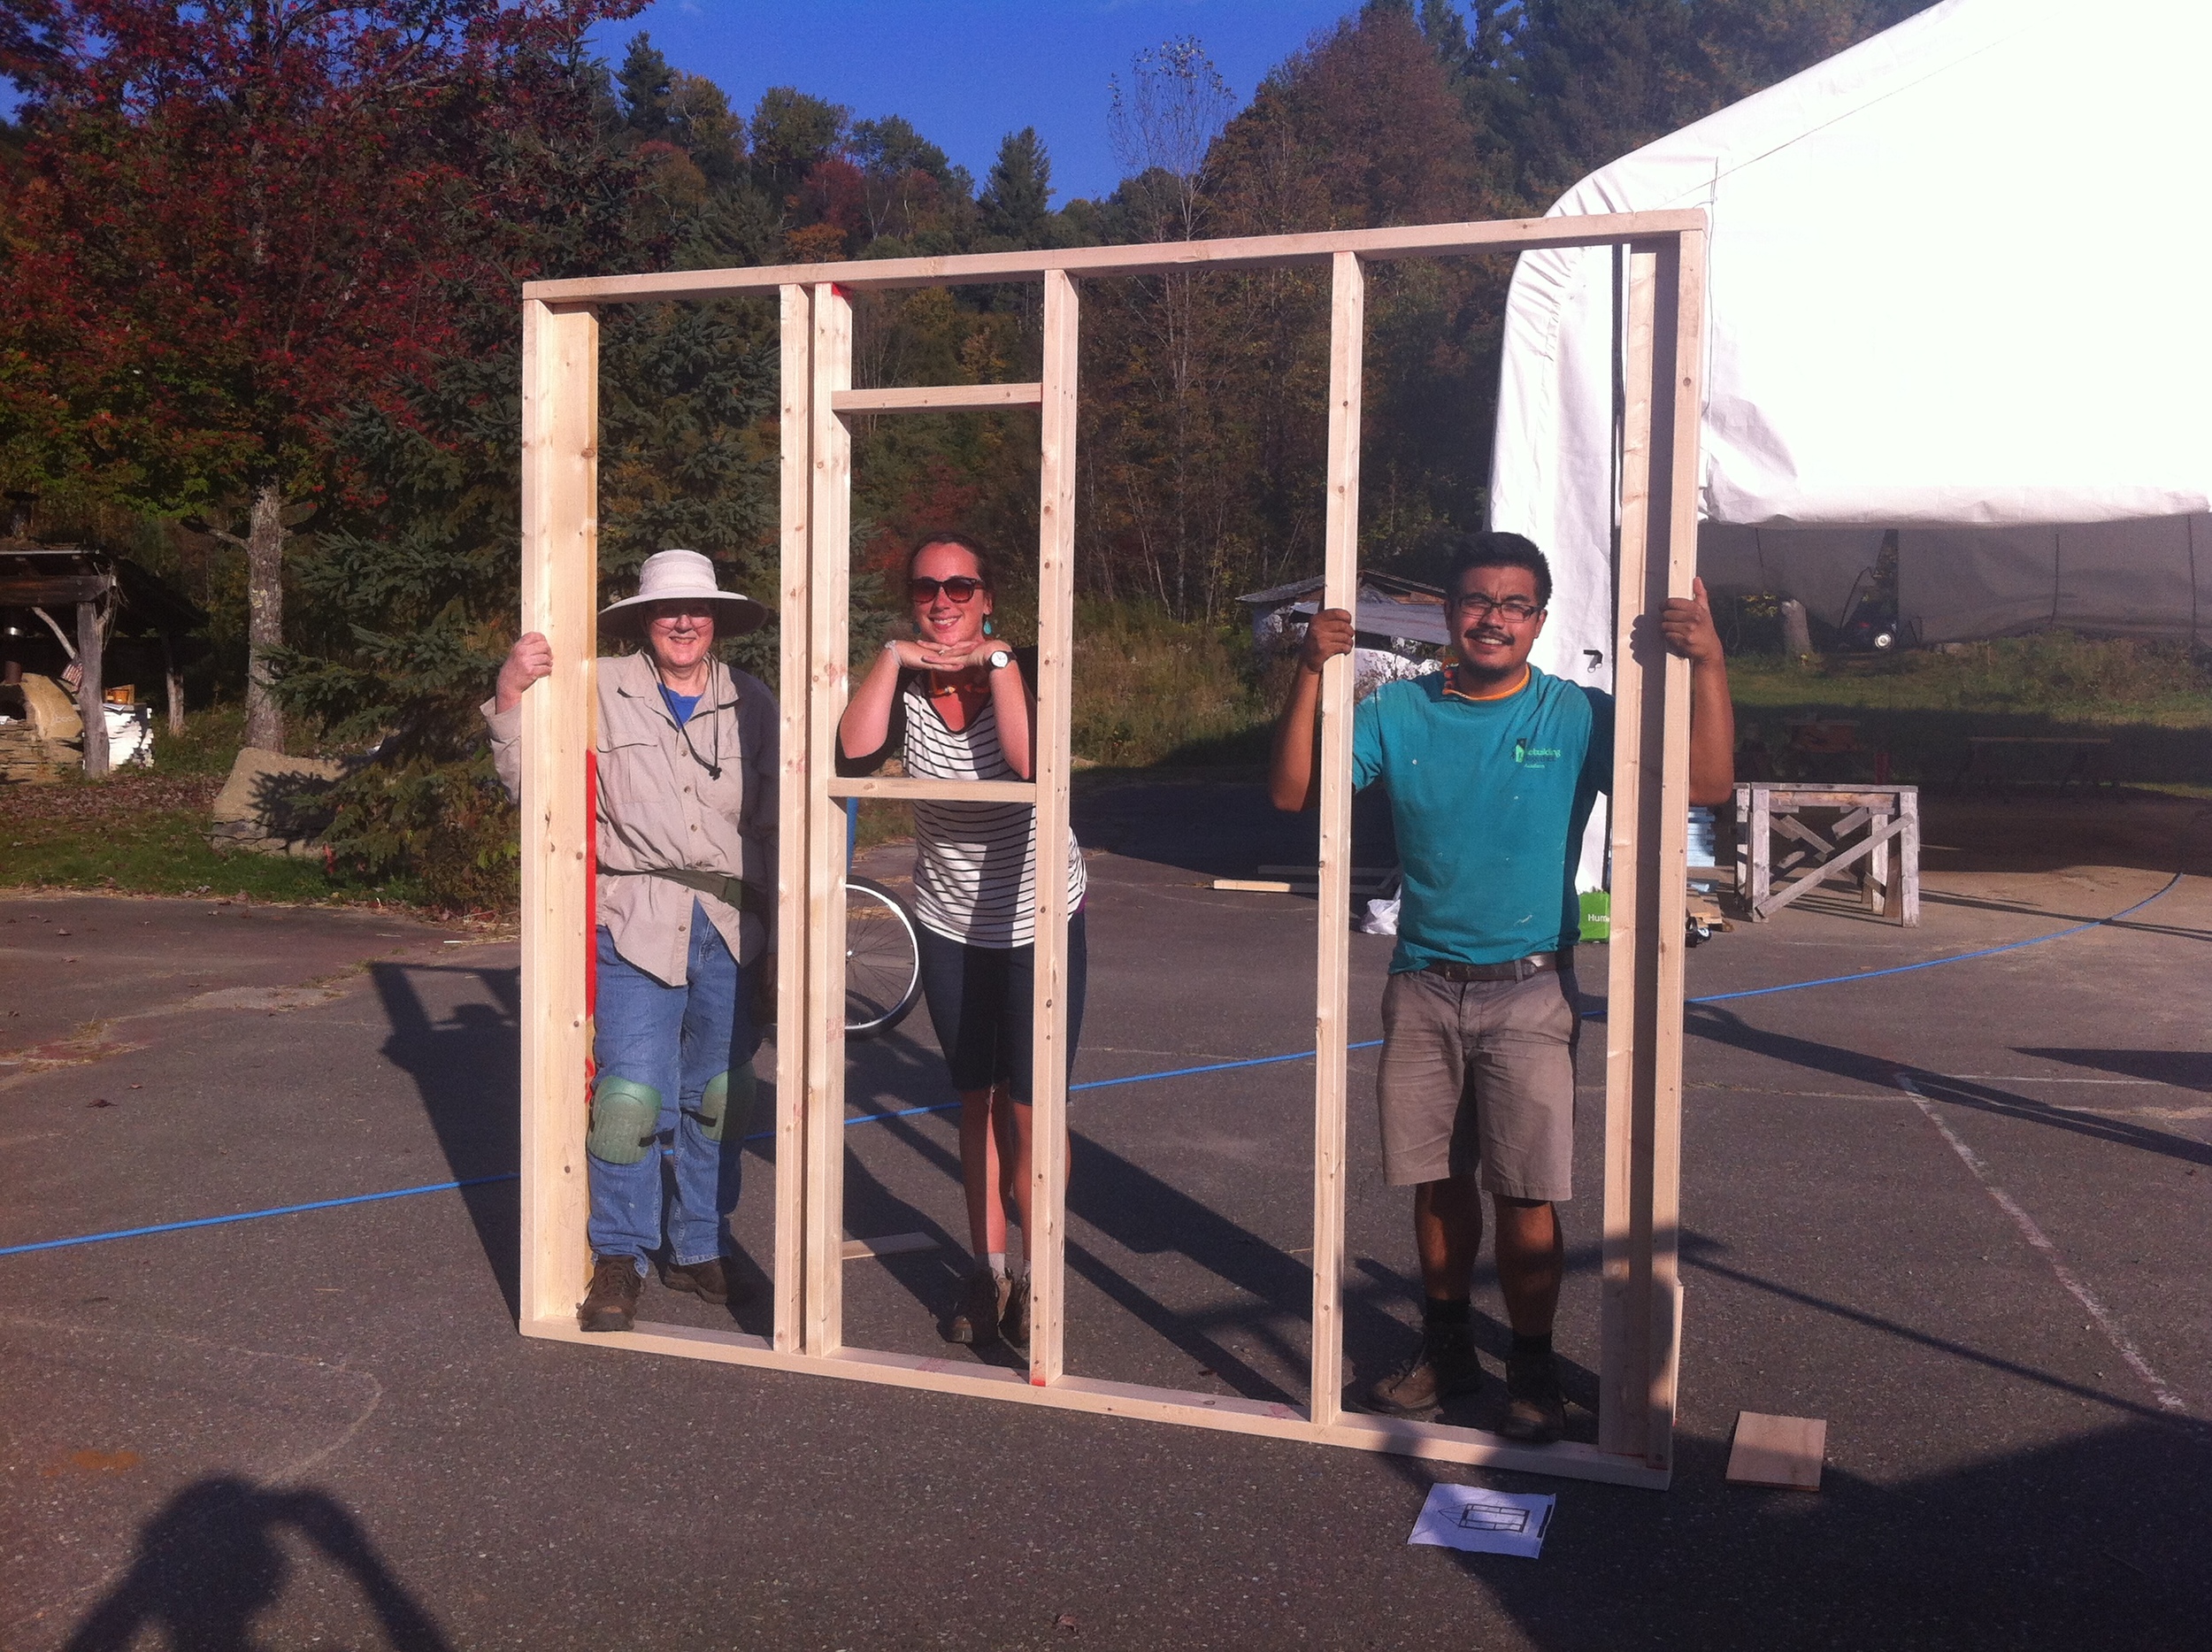
Framing always includes some head scratching, but fortunately Patti and Lizabeth have spent a great deal of time with the plans now and have determined (most of) the necessary modifications. It was, as it always is, a thrill to see the first walls framed up. And, of course, it’s a treat to see students gaining confidence so quickly as they become more familiar with impact drivers, drills, and saws. We got the two short walls framed up just as the afternoon drew to a close.
I learned a couple new framing tricks today, including kerf cutting the bottom edge of the bottom plate where the door will be so that the subfloor isn’t damaged by a sawzall when the time comes to remove that section. I also shared Dee William’s trick of building a Board Tweeker out of 2x4s to coax twisted boards into place. Thanks, Dee! Here are some of the lessons our students learned today, encapsulated in exactly 5 words, courtesy of a round of Gimme 5:
- Plates go top and bottom
- Sharp drill bits are nice
- Propane gas can heat efficiently
- Rusty trailers look better painted
- Bookcases can also be ladders
- Eccentric houses are structurally problematic
- Kerf cut the door opening
- All houses need constant maintenance

After dinner Paul presented climate and site considerations for situating a tiny house. Then I addressed the invisible structures in my presentation on code and regulations. It’s important to consider both the physical context and the invisible conditions – social, political, financial, and legal – when siting any house. But because little houses (particularly those on trailers) are alegal in many places, we want to make sure that tiny house enthusiasts consider everything from fire safety to moisture management and from space efficient storage tricks to zoning code when designing a little home. It’s certainly a lot to contemplate all at once, but the design process is iterative and context-specific – even if a little house is ready for adventure on the open road.


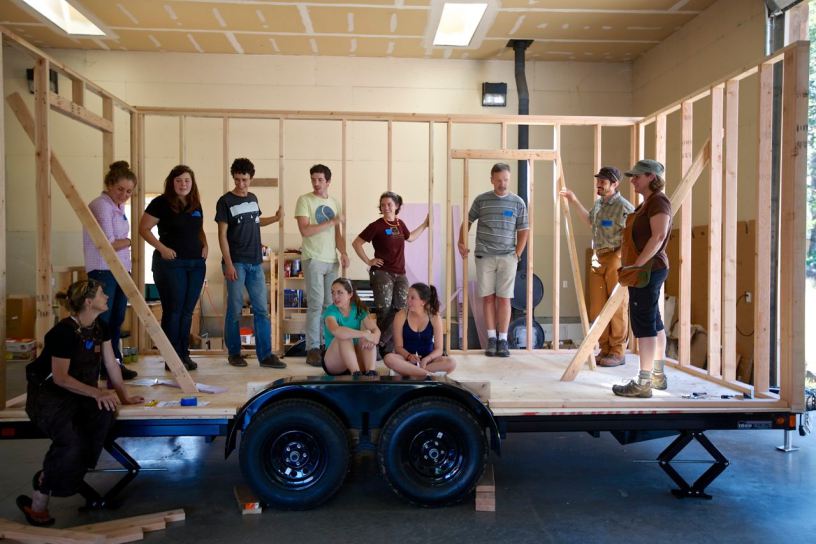
 We started out Day 4 of Yestermorrow's Tiny House Design-Build down at the Hanger where we worked on framing up the long walls of the house and preparing the trailer for the floor box system. After lunch we went right back to it and we finished out the work day with the two long walls almost finished. (See more photos in the Day 4 Slideshow.)