windows

T42 Window Installation

T42 Window Installation

T42 has windows! Hip, hip, hooray!

They were two weeks late, but our windows finally arrived yesterday afternoon and with the help of my Tiny House Sidekick Meg and my friend Sarah we got them all* installed in an afternoon!

*Okay, well not quite all of them. Our hiccup on windows is that one of them was misordered. More on that in my next post...

Tiny House Window Installation

Eric taking diagonals on arched window On Monday we finished Sheathing My Vardo Roof with a great crew of Tiny House Helpers. Yesterday we turned to window installation and I had the two perfect helpers: my build buddy Laura Klement who has installed dozens of windows through her role with Habitat for Humanity and Eric who is a cabinet maker with an eye for detail and great problem-solving skills.

I had picked up the supplies I’d need from Atlas Supply the day before: backer rod, AirDam from Prosoco’s R-Guard System, and a spatula for tooling. Cody Hakala at Atlas is very knowledgeable and familiar with the R-Guard system as well as other liquid-applied air barrier systems.

applying AirDam around window

The next step was removing the shims and inserting backer rod into the space between the window and the frame. We put the join at the top because it’s the weakest point in the system and water will collect at the bottom instead of the top. We used the fat side of a shim to push the backer rod ½” back from the interior wall surface.

Next we applied a continuous bead of AirDam around the window and tooled it to create an hourglass shape. Voila! A window installed.

(By the way, each of the R-Guard products has a distinct viscosity appropriate to it’s intended use. The Fast Flash reminds me of frosting. The AirDam is just like marshmallow cream!)

Laura and Eric installing the arched window jamb

Once we’d done one of My Kitchen Windows the other one went in quickly. Then we turned our attention to My Arched Window. This one took a little more finessing. Luckily, My Arched Window Jamb was built by Dan, a talented finish carpenter. (More about that in a forthcoming blog post!) We started out by inserting the arched jamb in the opening and securing it in place with five screws: one in each of the legs, one at the top, and one on each side where the window starts to curve. Then we hoisted the window sashes into place and screwed them onto their hinges.

Next we fine-tuned the window by tightening and loosening screws just a smidgeon until the window was trued in its jamb. The process reminded me of tuning an instrument and it reminded Laura of truing a bike wheel. Once the window was swinging nicely and the reveals were satisfactory, we installed backer rod around it. The gap was larger here (better too big than too small though!) By now Julie had arrived and Laura switched back to working on her siding. While Eric was installing My Beautiful Arched Door, Julie helped me braid three strands of backer rod together and insert it into the gap. I ran a bead of Air Dam along each edge and let it skin over since this is a larger gap to fill and I decided it would be best to do it in two phases.

my red, white, and blue

I glanced up at the window at one point and realized that I had my own red, white, and blue. My window is painted burgundy but the jamb hasn’t been painted on the interior yet, so it’s still white. And, of course, the painters tape is blue. This little house will give me freedom and independence, so it seemed fitting to celebrate the installation of My Arched Window, since my tiny house started with this window!

Installing the windows is always one of my favorite parts of a build, but getting the windows in was especially exciting for me because the roof had taken so long to get dried in. (See Plan F: Take 2 for more on that!) I hadn’t installed the windows because it was nice to have the openings while working on the roof. So putting the windows in felt like a reward. Besides, they’re just plain beautiful!

After Eric headed out Julie and I helped Laura with her siding for a couple hours and then headed to a great Fourth of July cook out. I couldn’t be happier with my own version of red, white, and blue!

Come Hail & High Water

Eleanor & Shelley taping the window Yesterday we worked on Ceiling Up My Vardo and today the plan was to continue work on both the roof and the windows. But today was one of those gray days that makes you suspicious from the start. According to the weather forecast there was only a 20% chance of rain, but it started raining while I drove my rental car to the build site in the morning. And actual rain, not just typical Portland spring showers. I hoped maybe that meant we were done with rain for the day. But I decided it wasn't worthwhile for us to attempt to work on the roof again, just in case.

Matthew and the arched door - the paint makes the light jump!

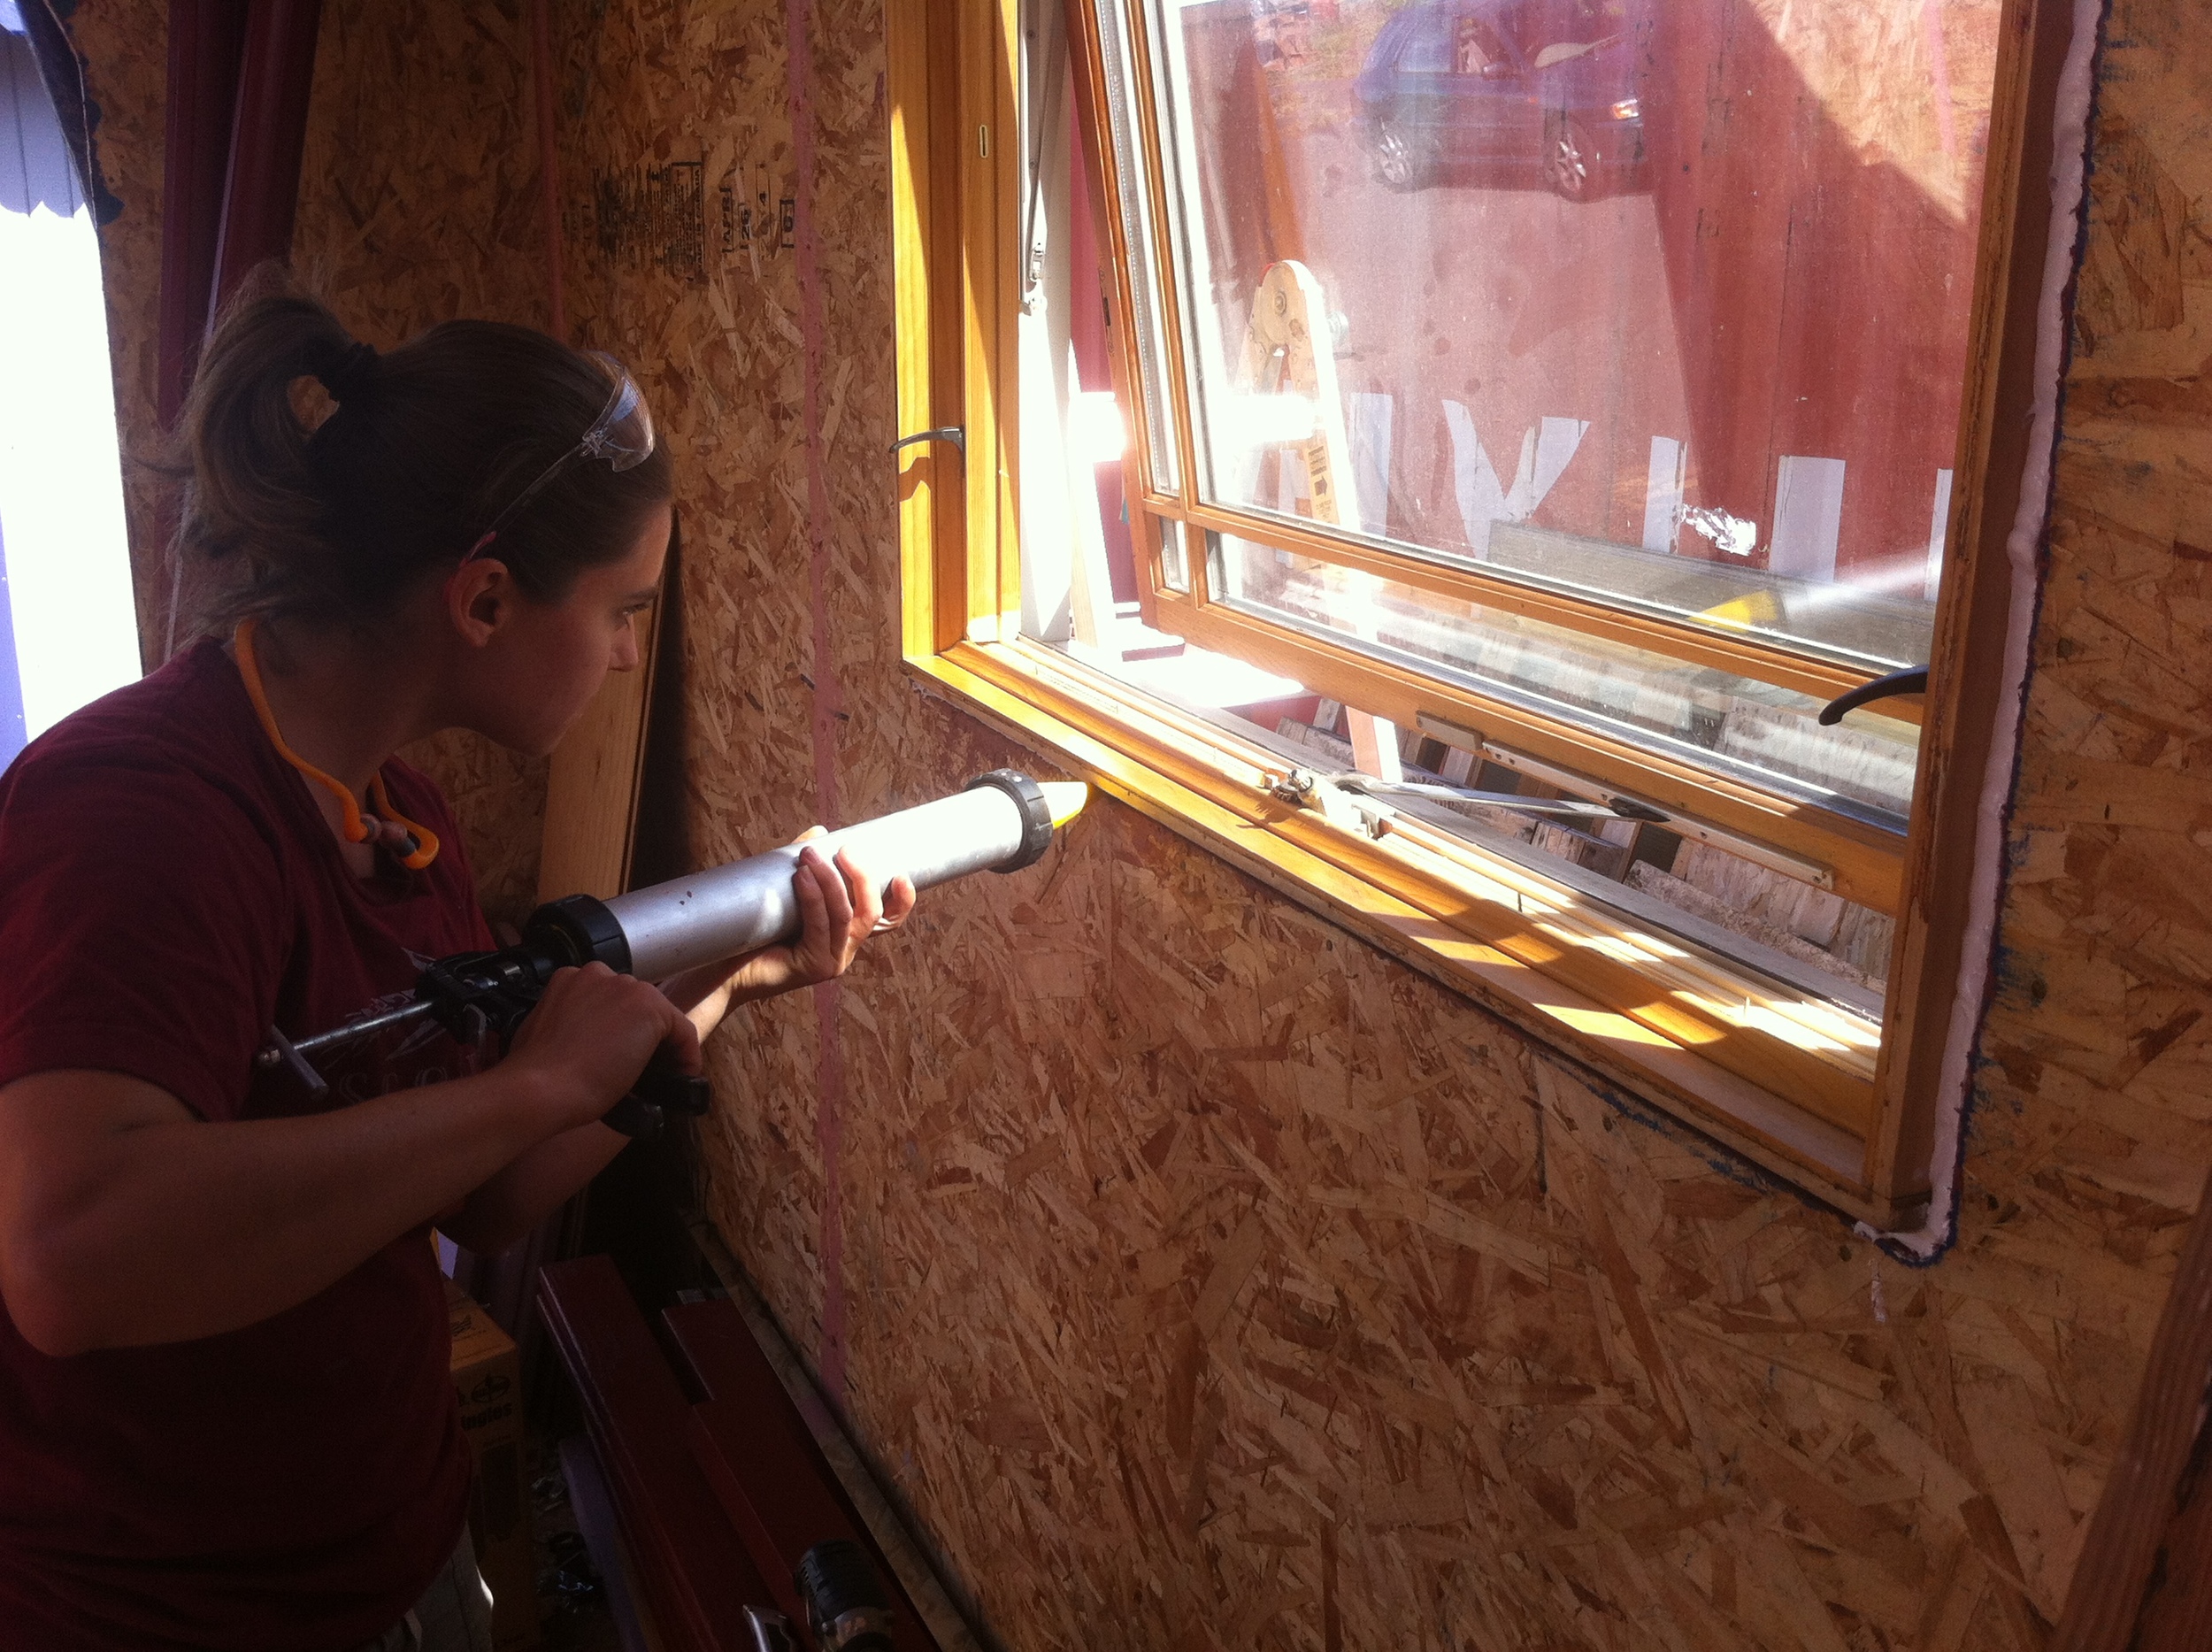
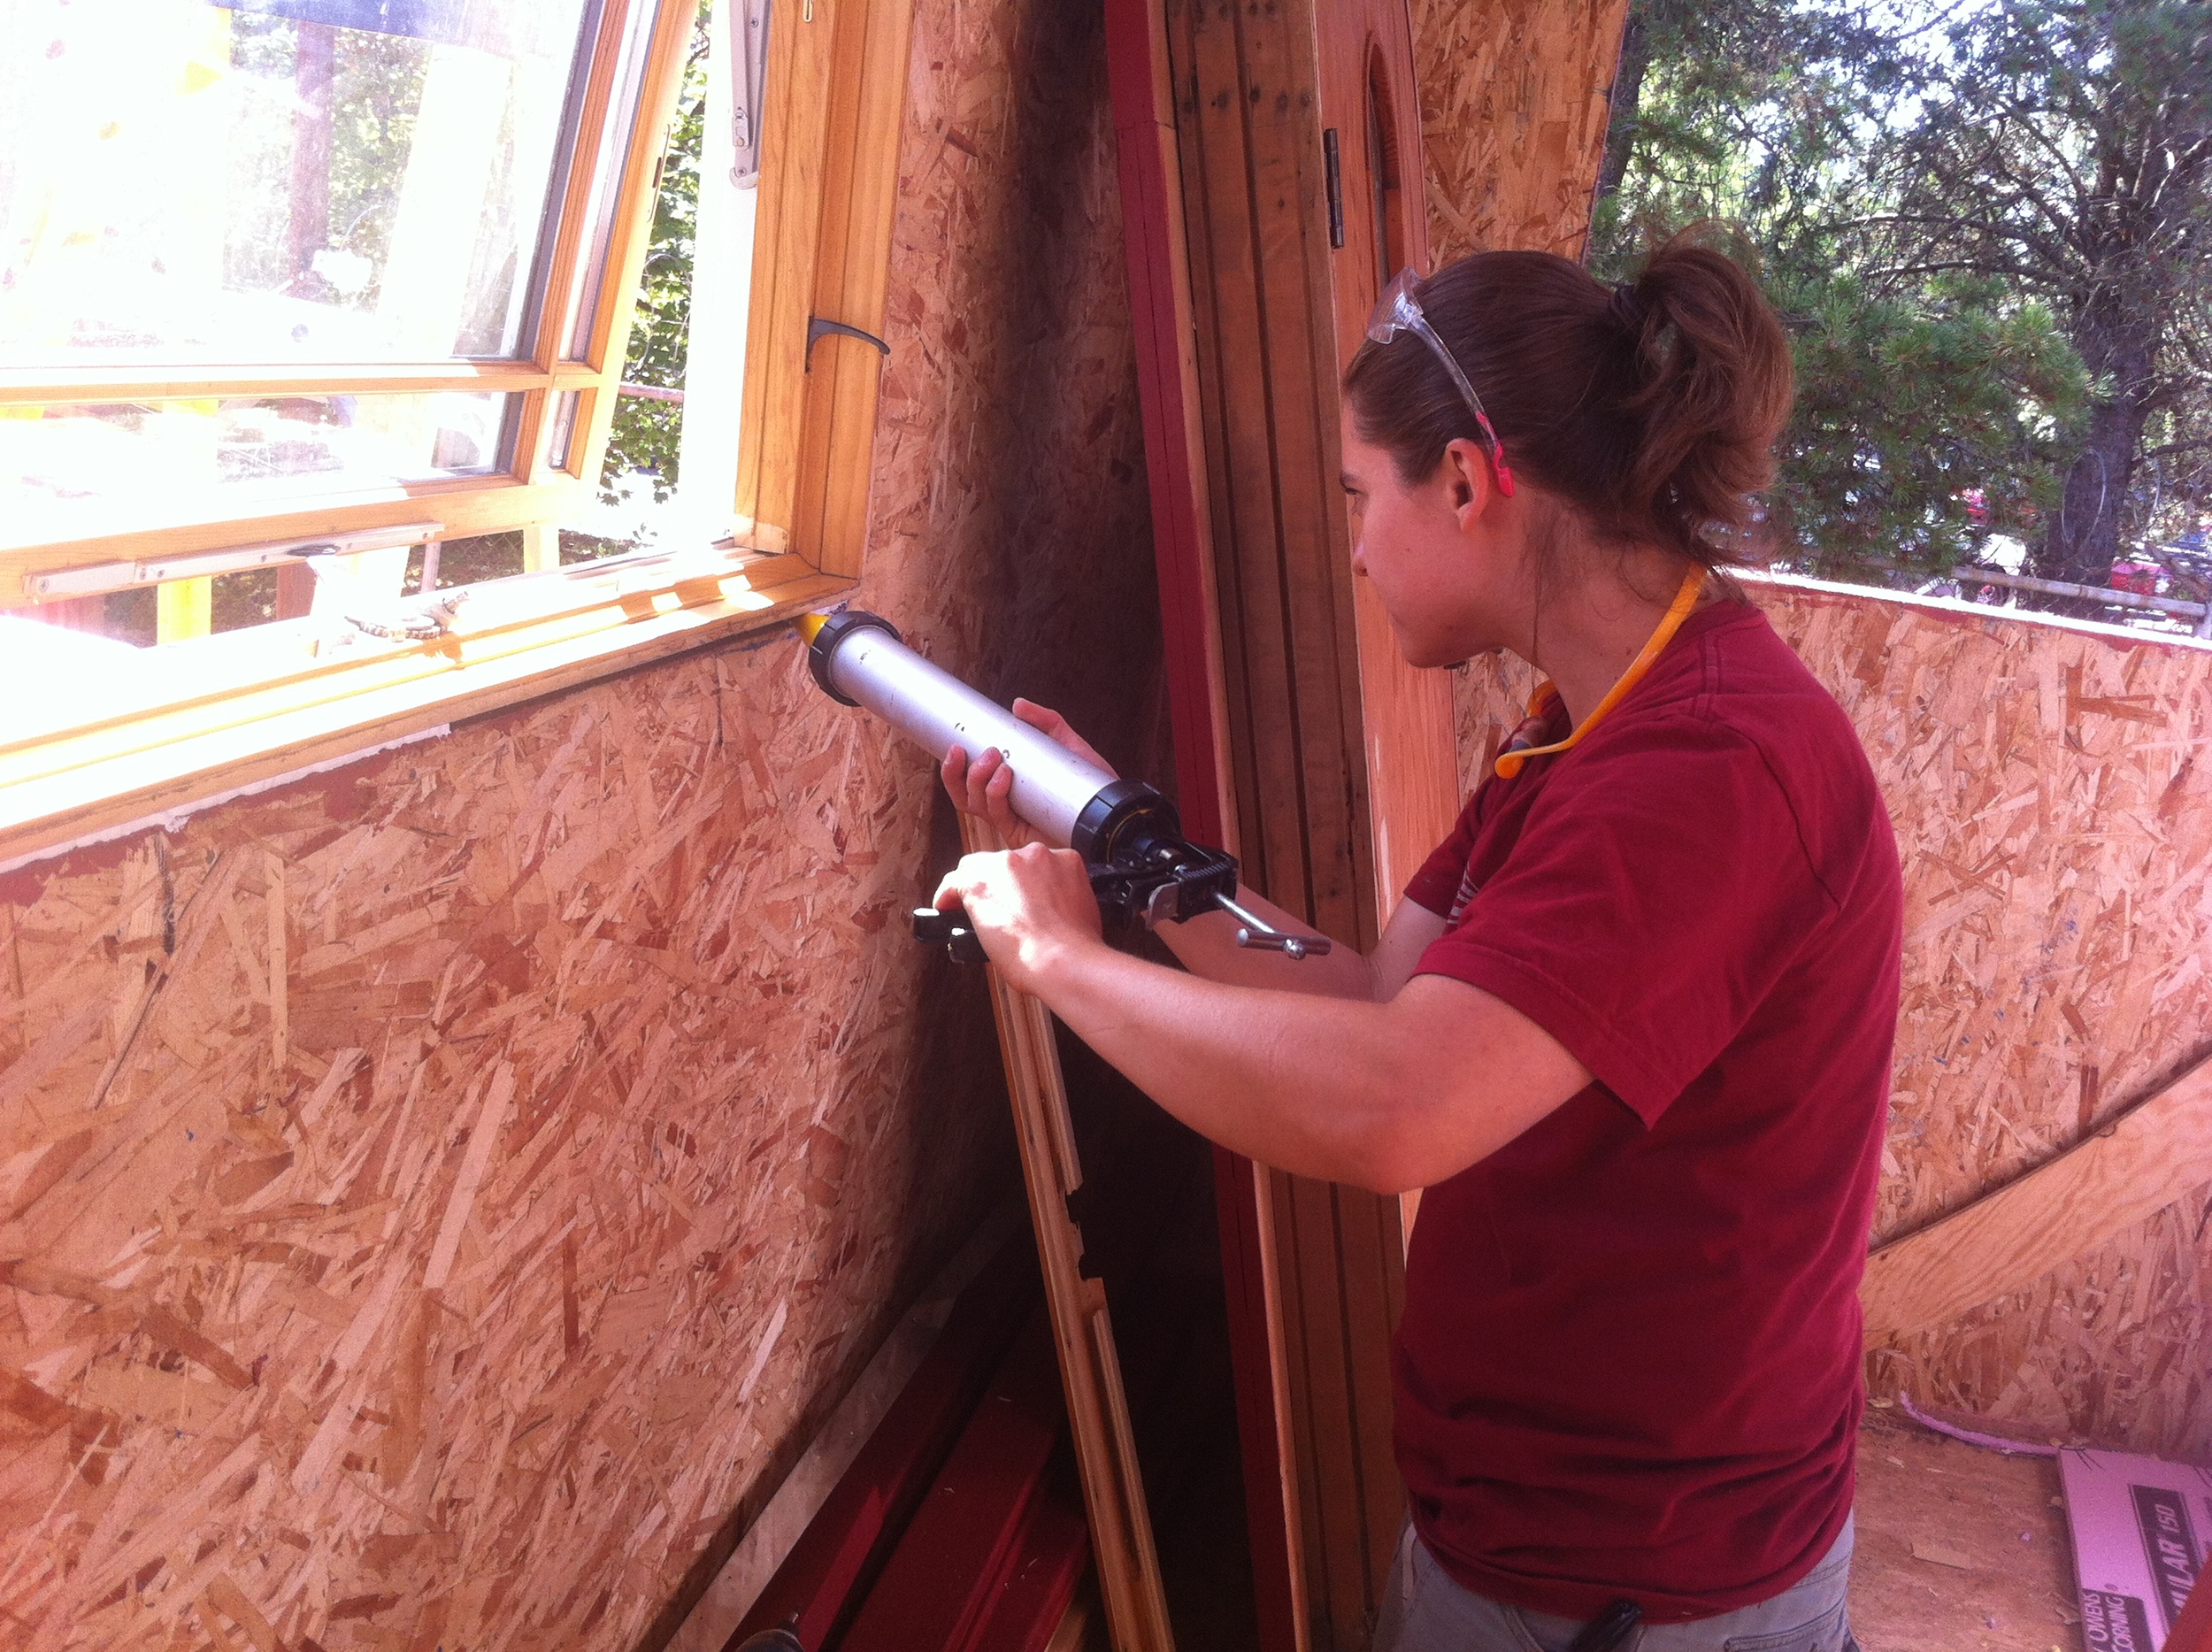
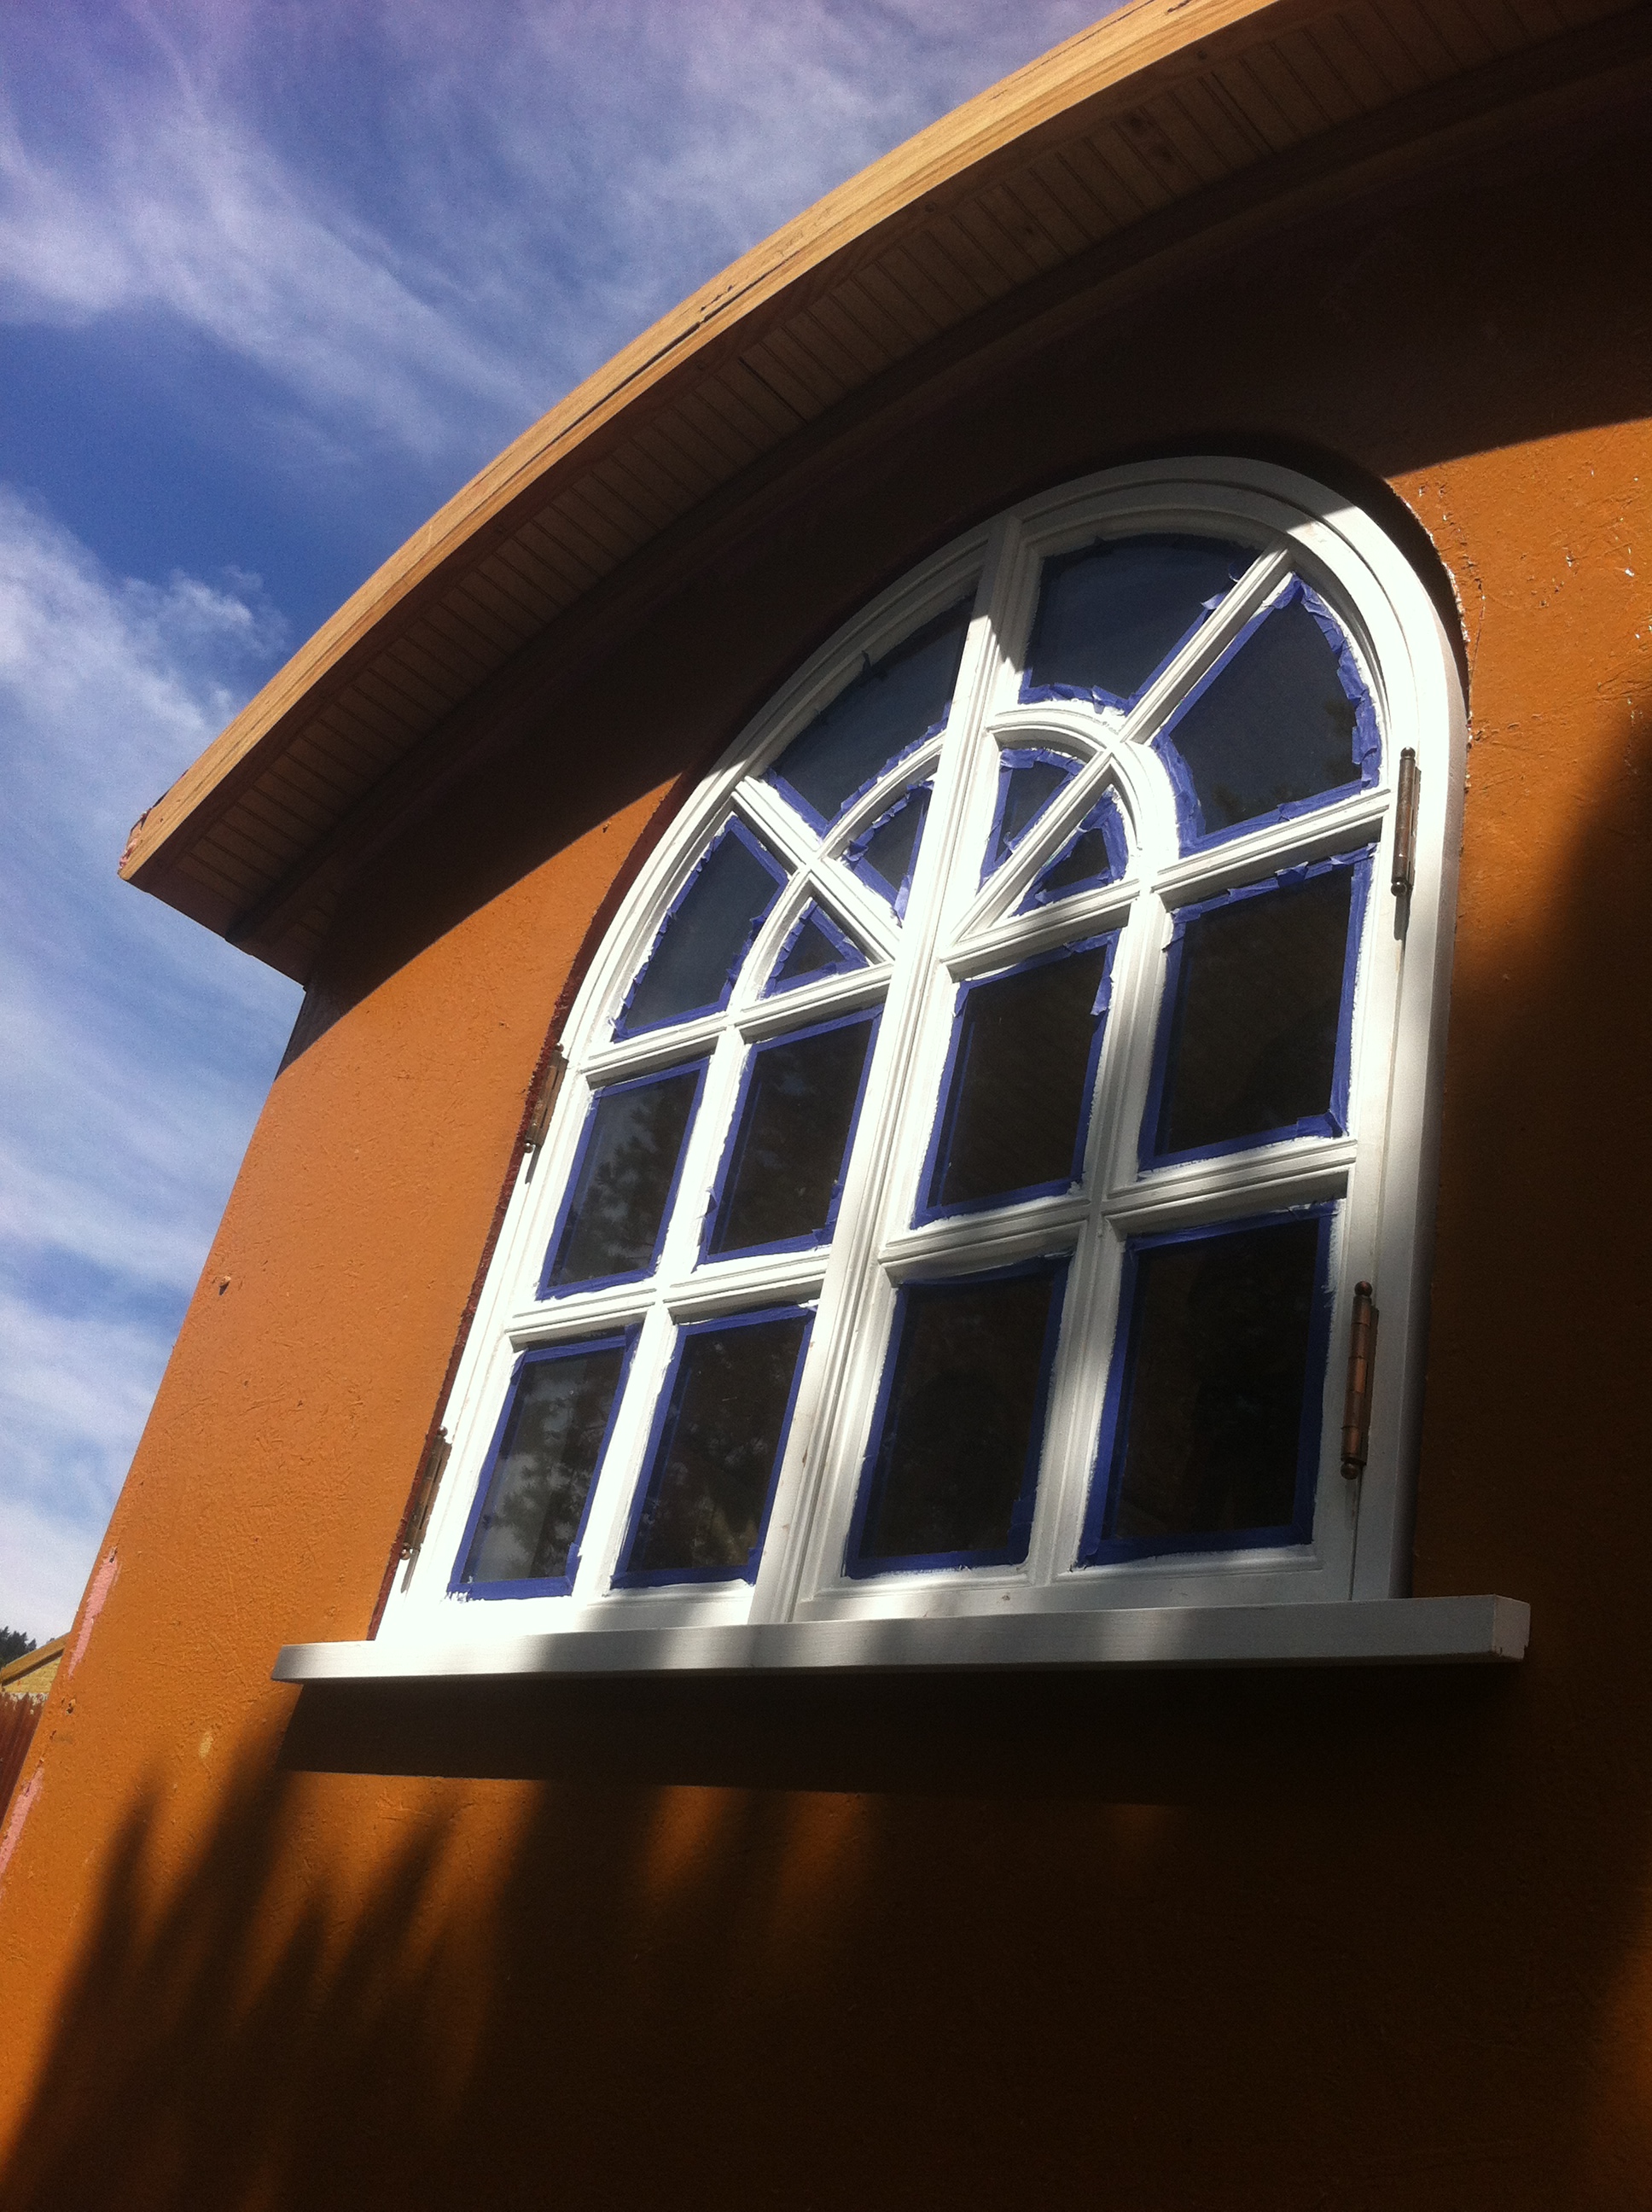
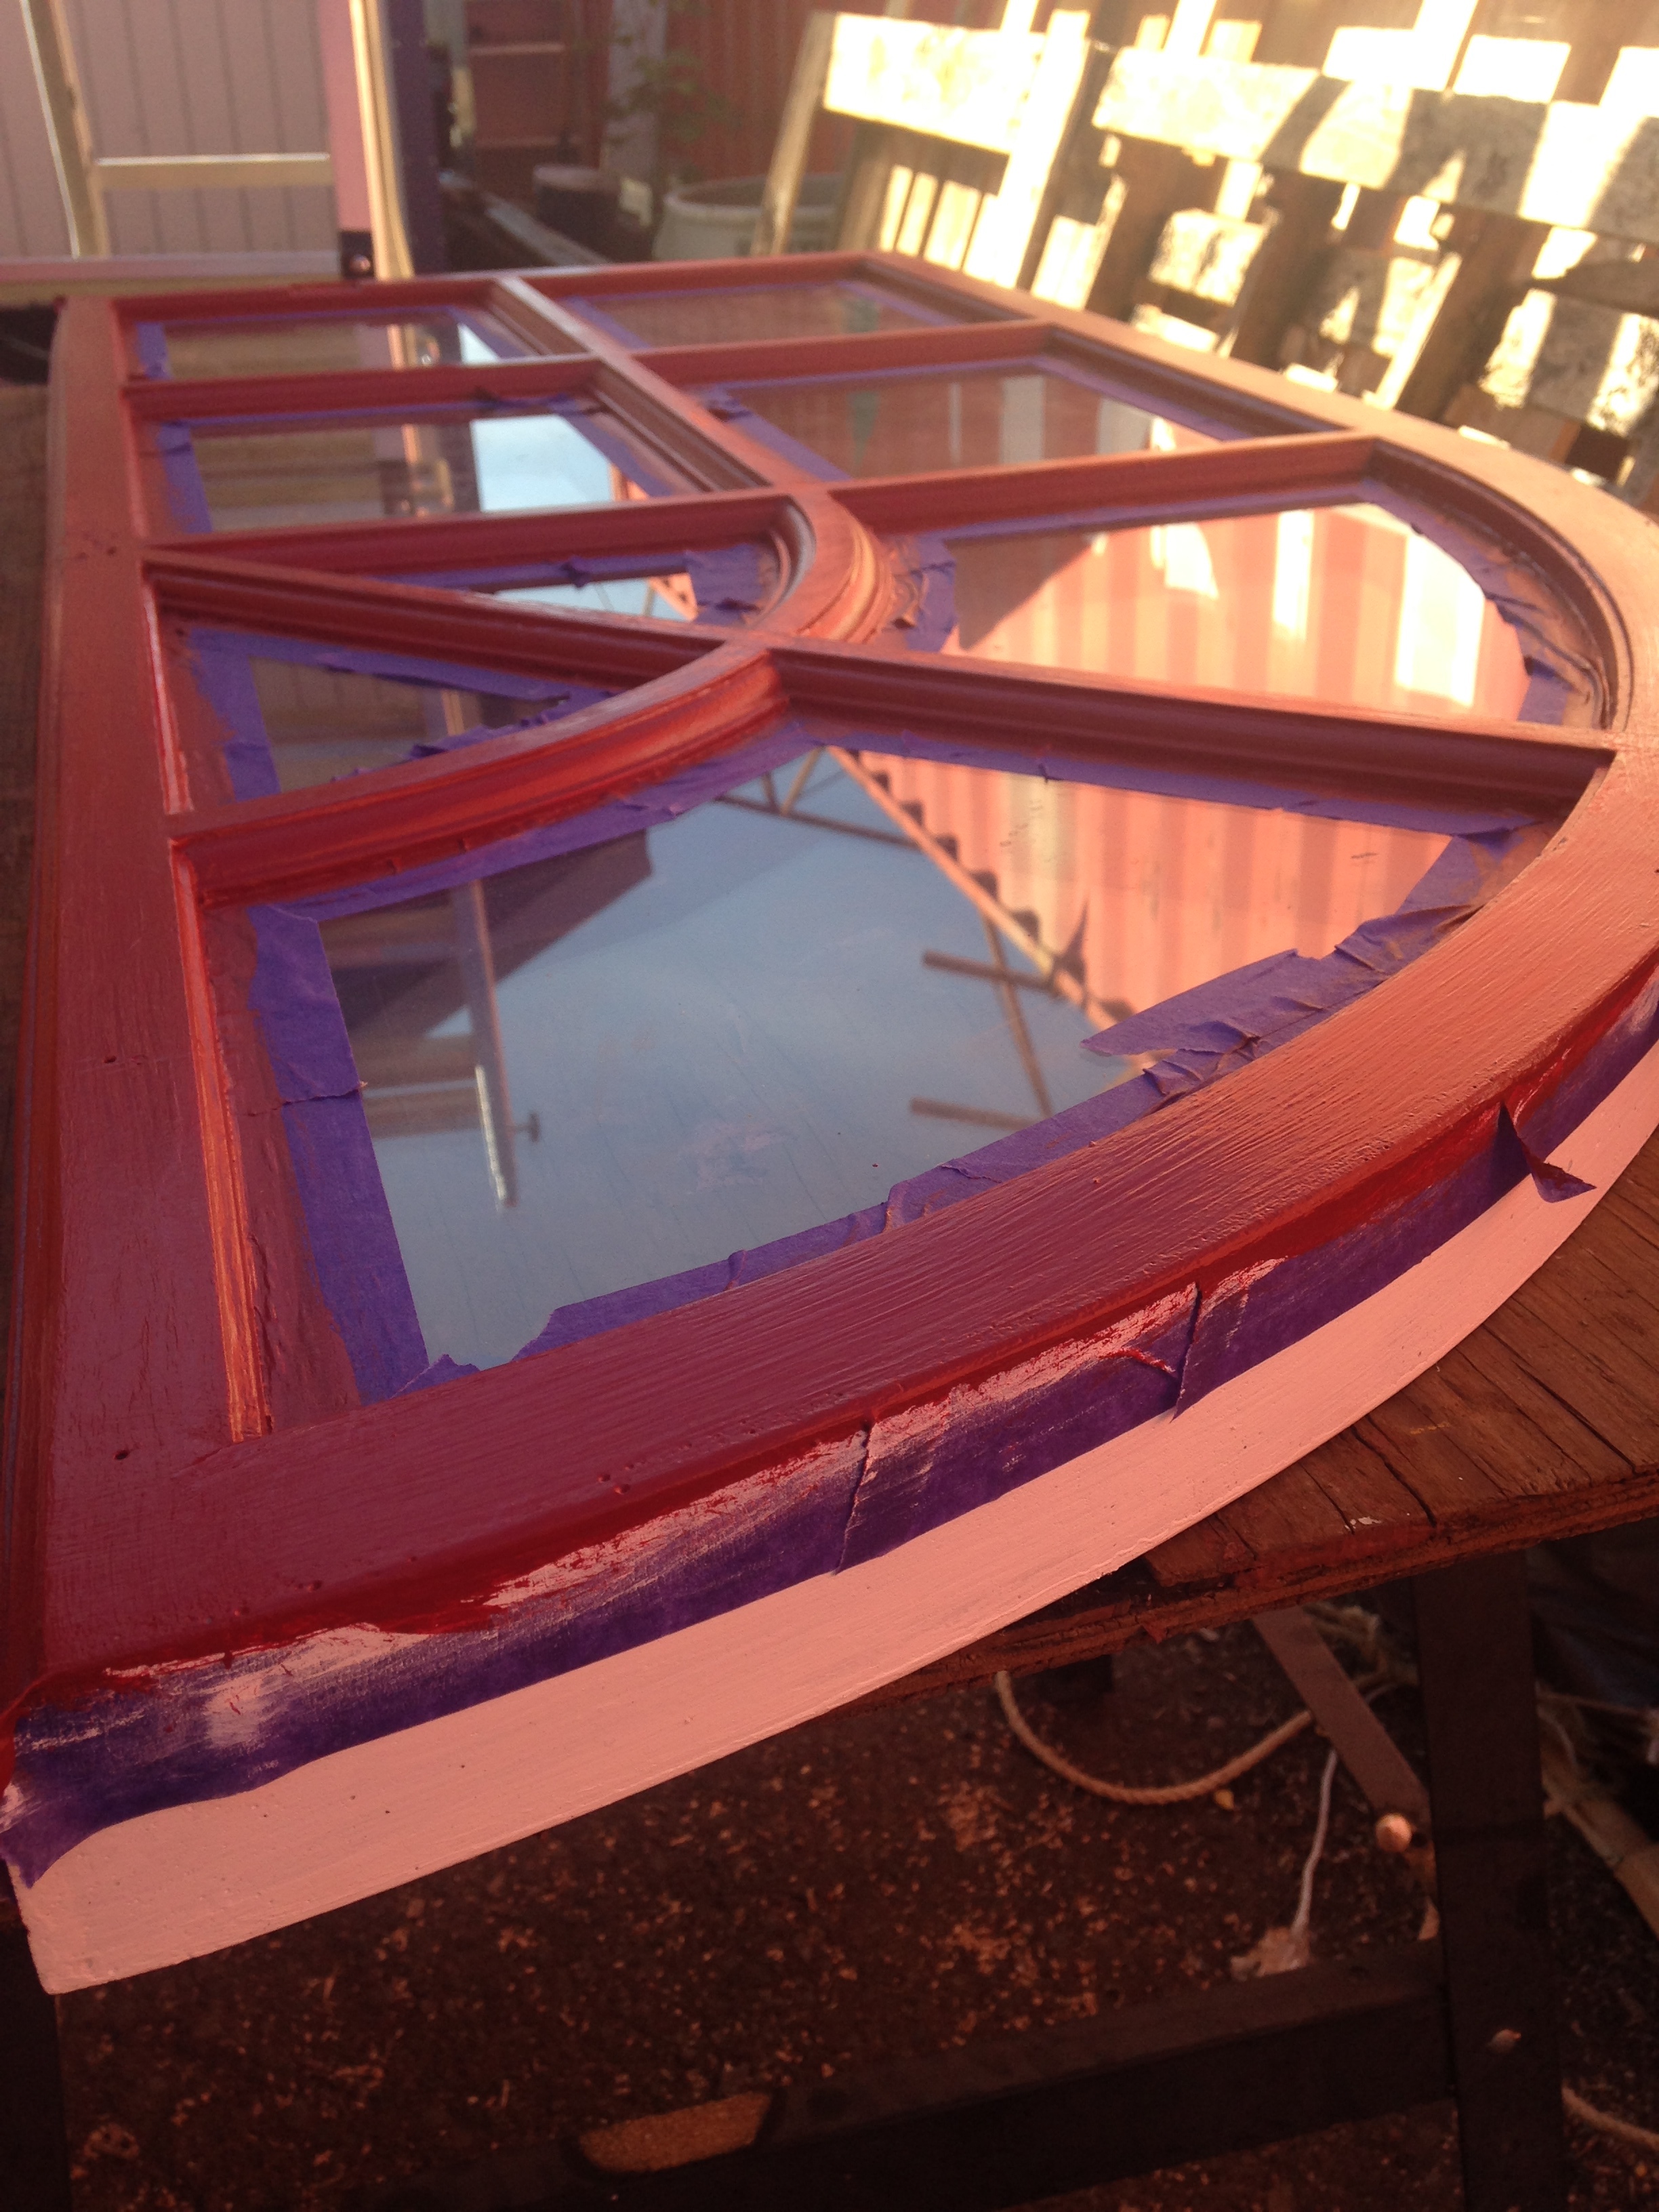
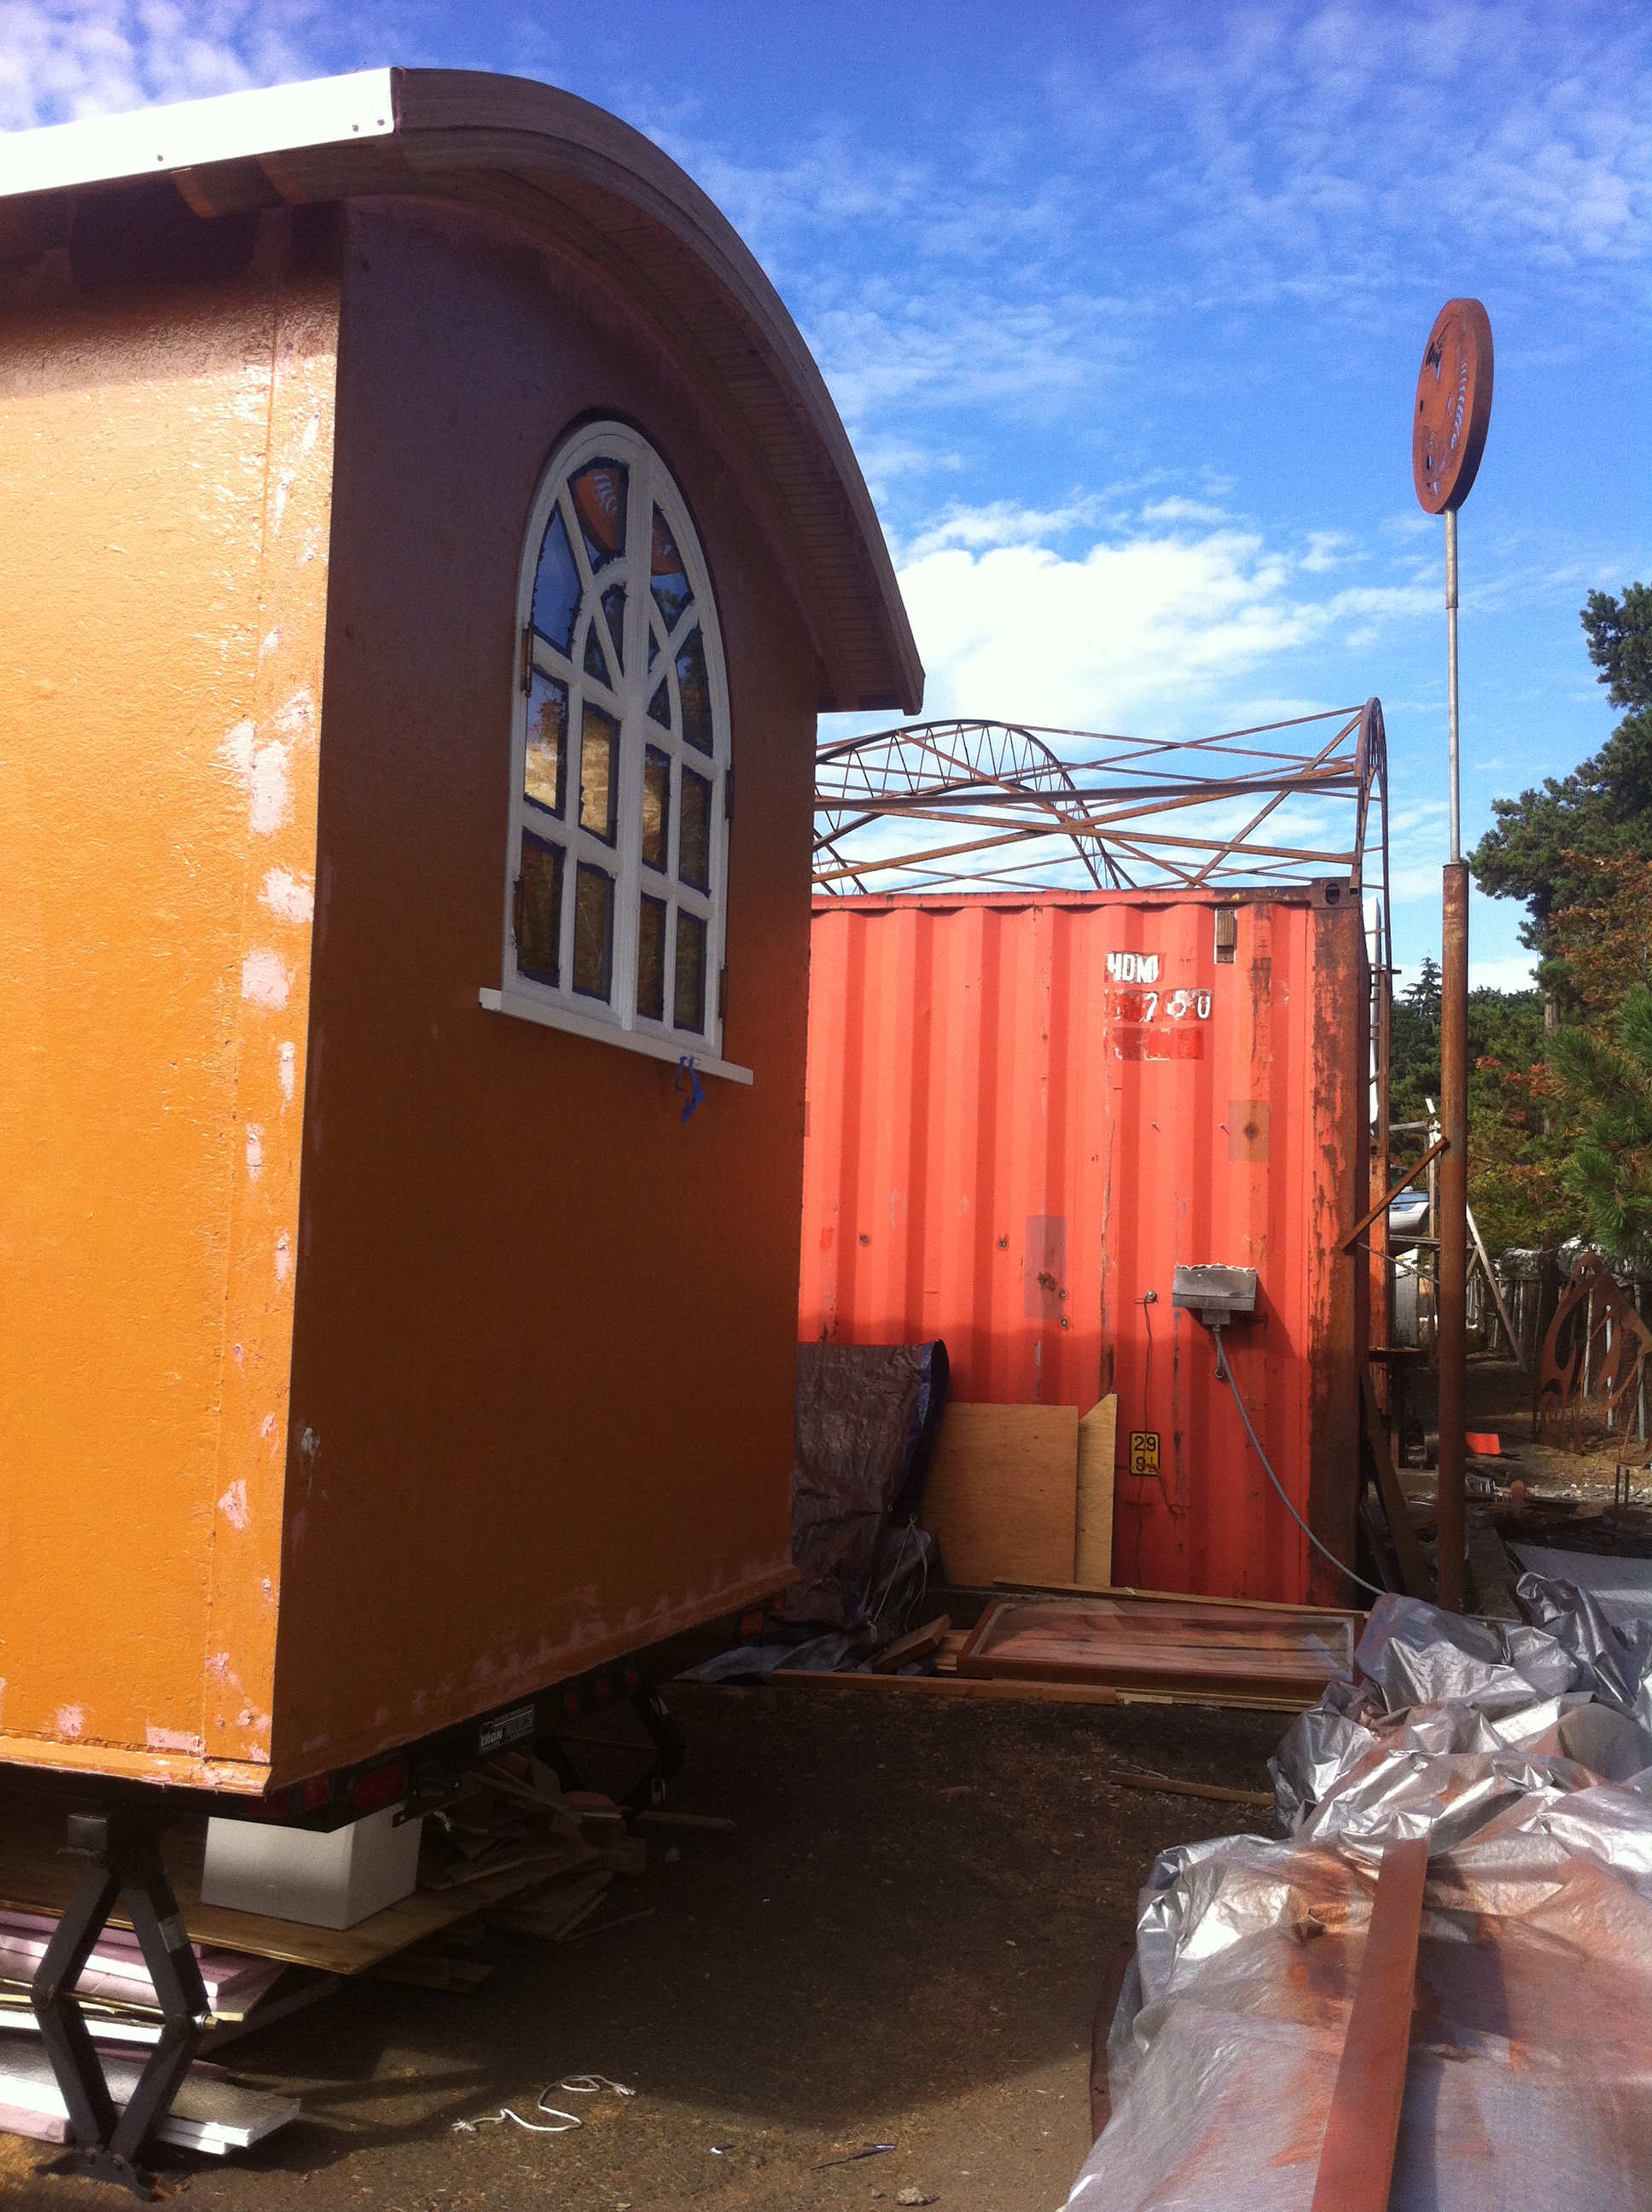
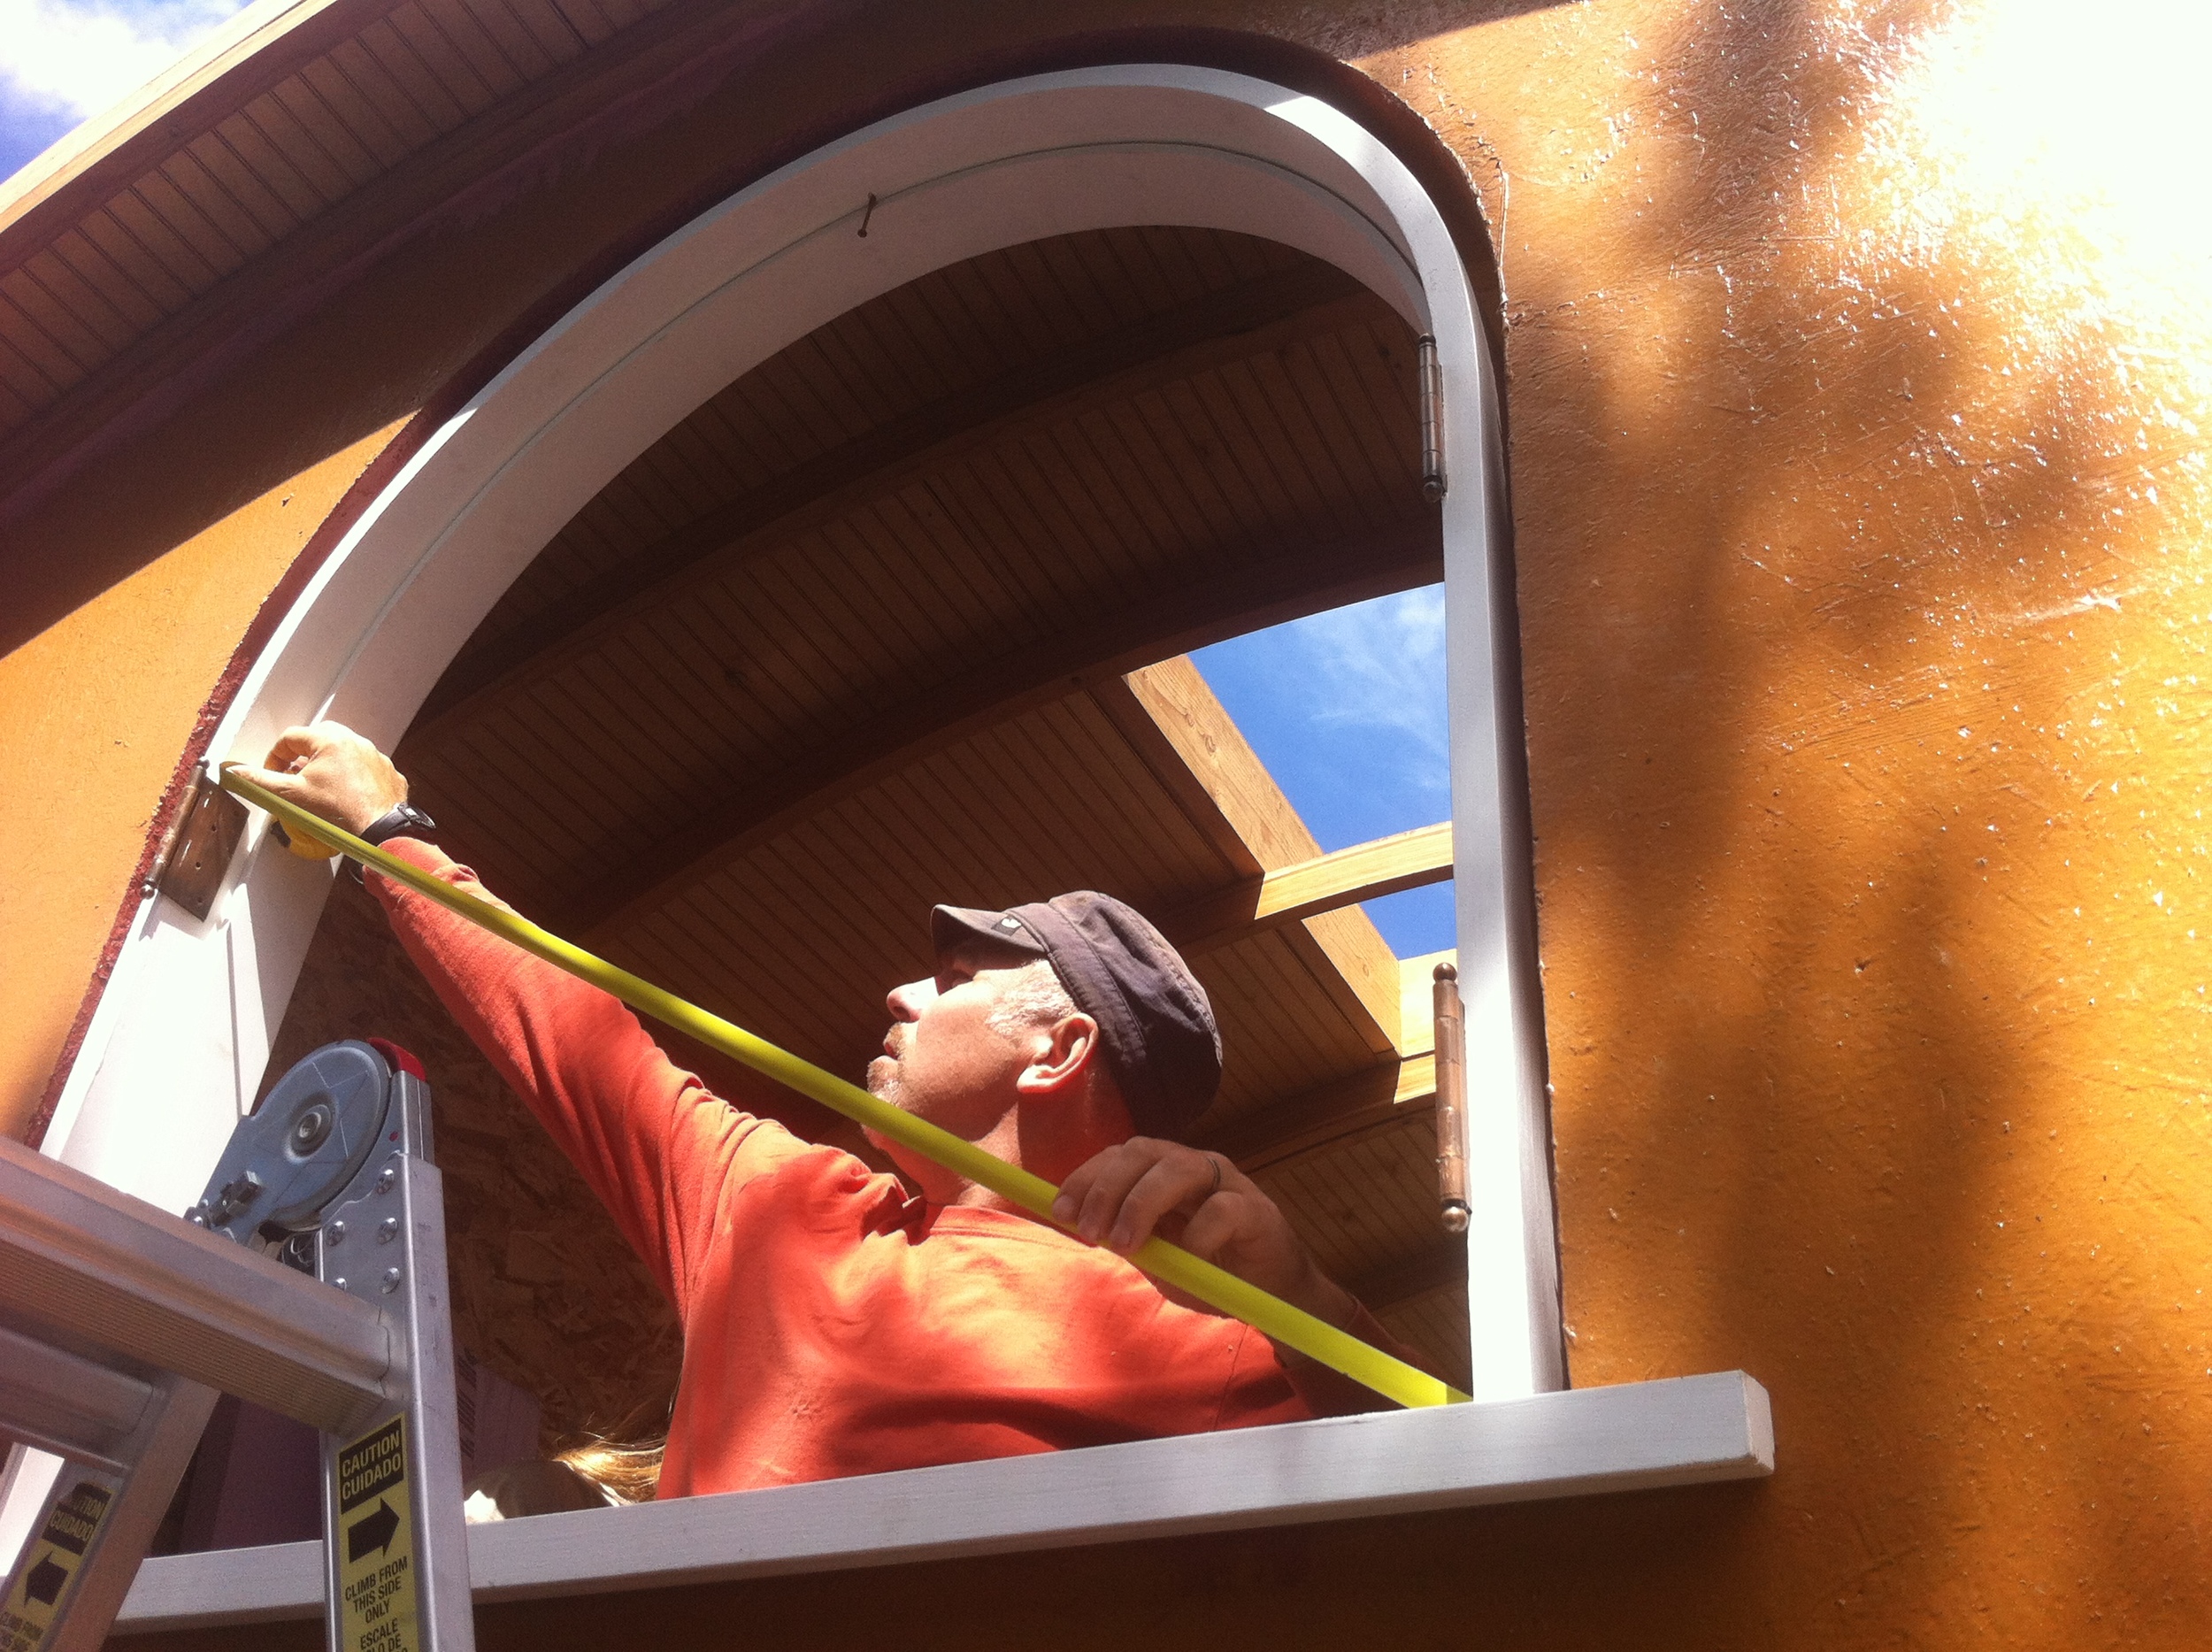
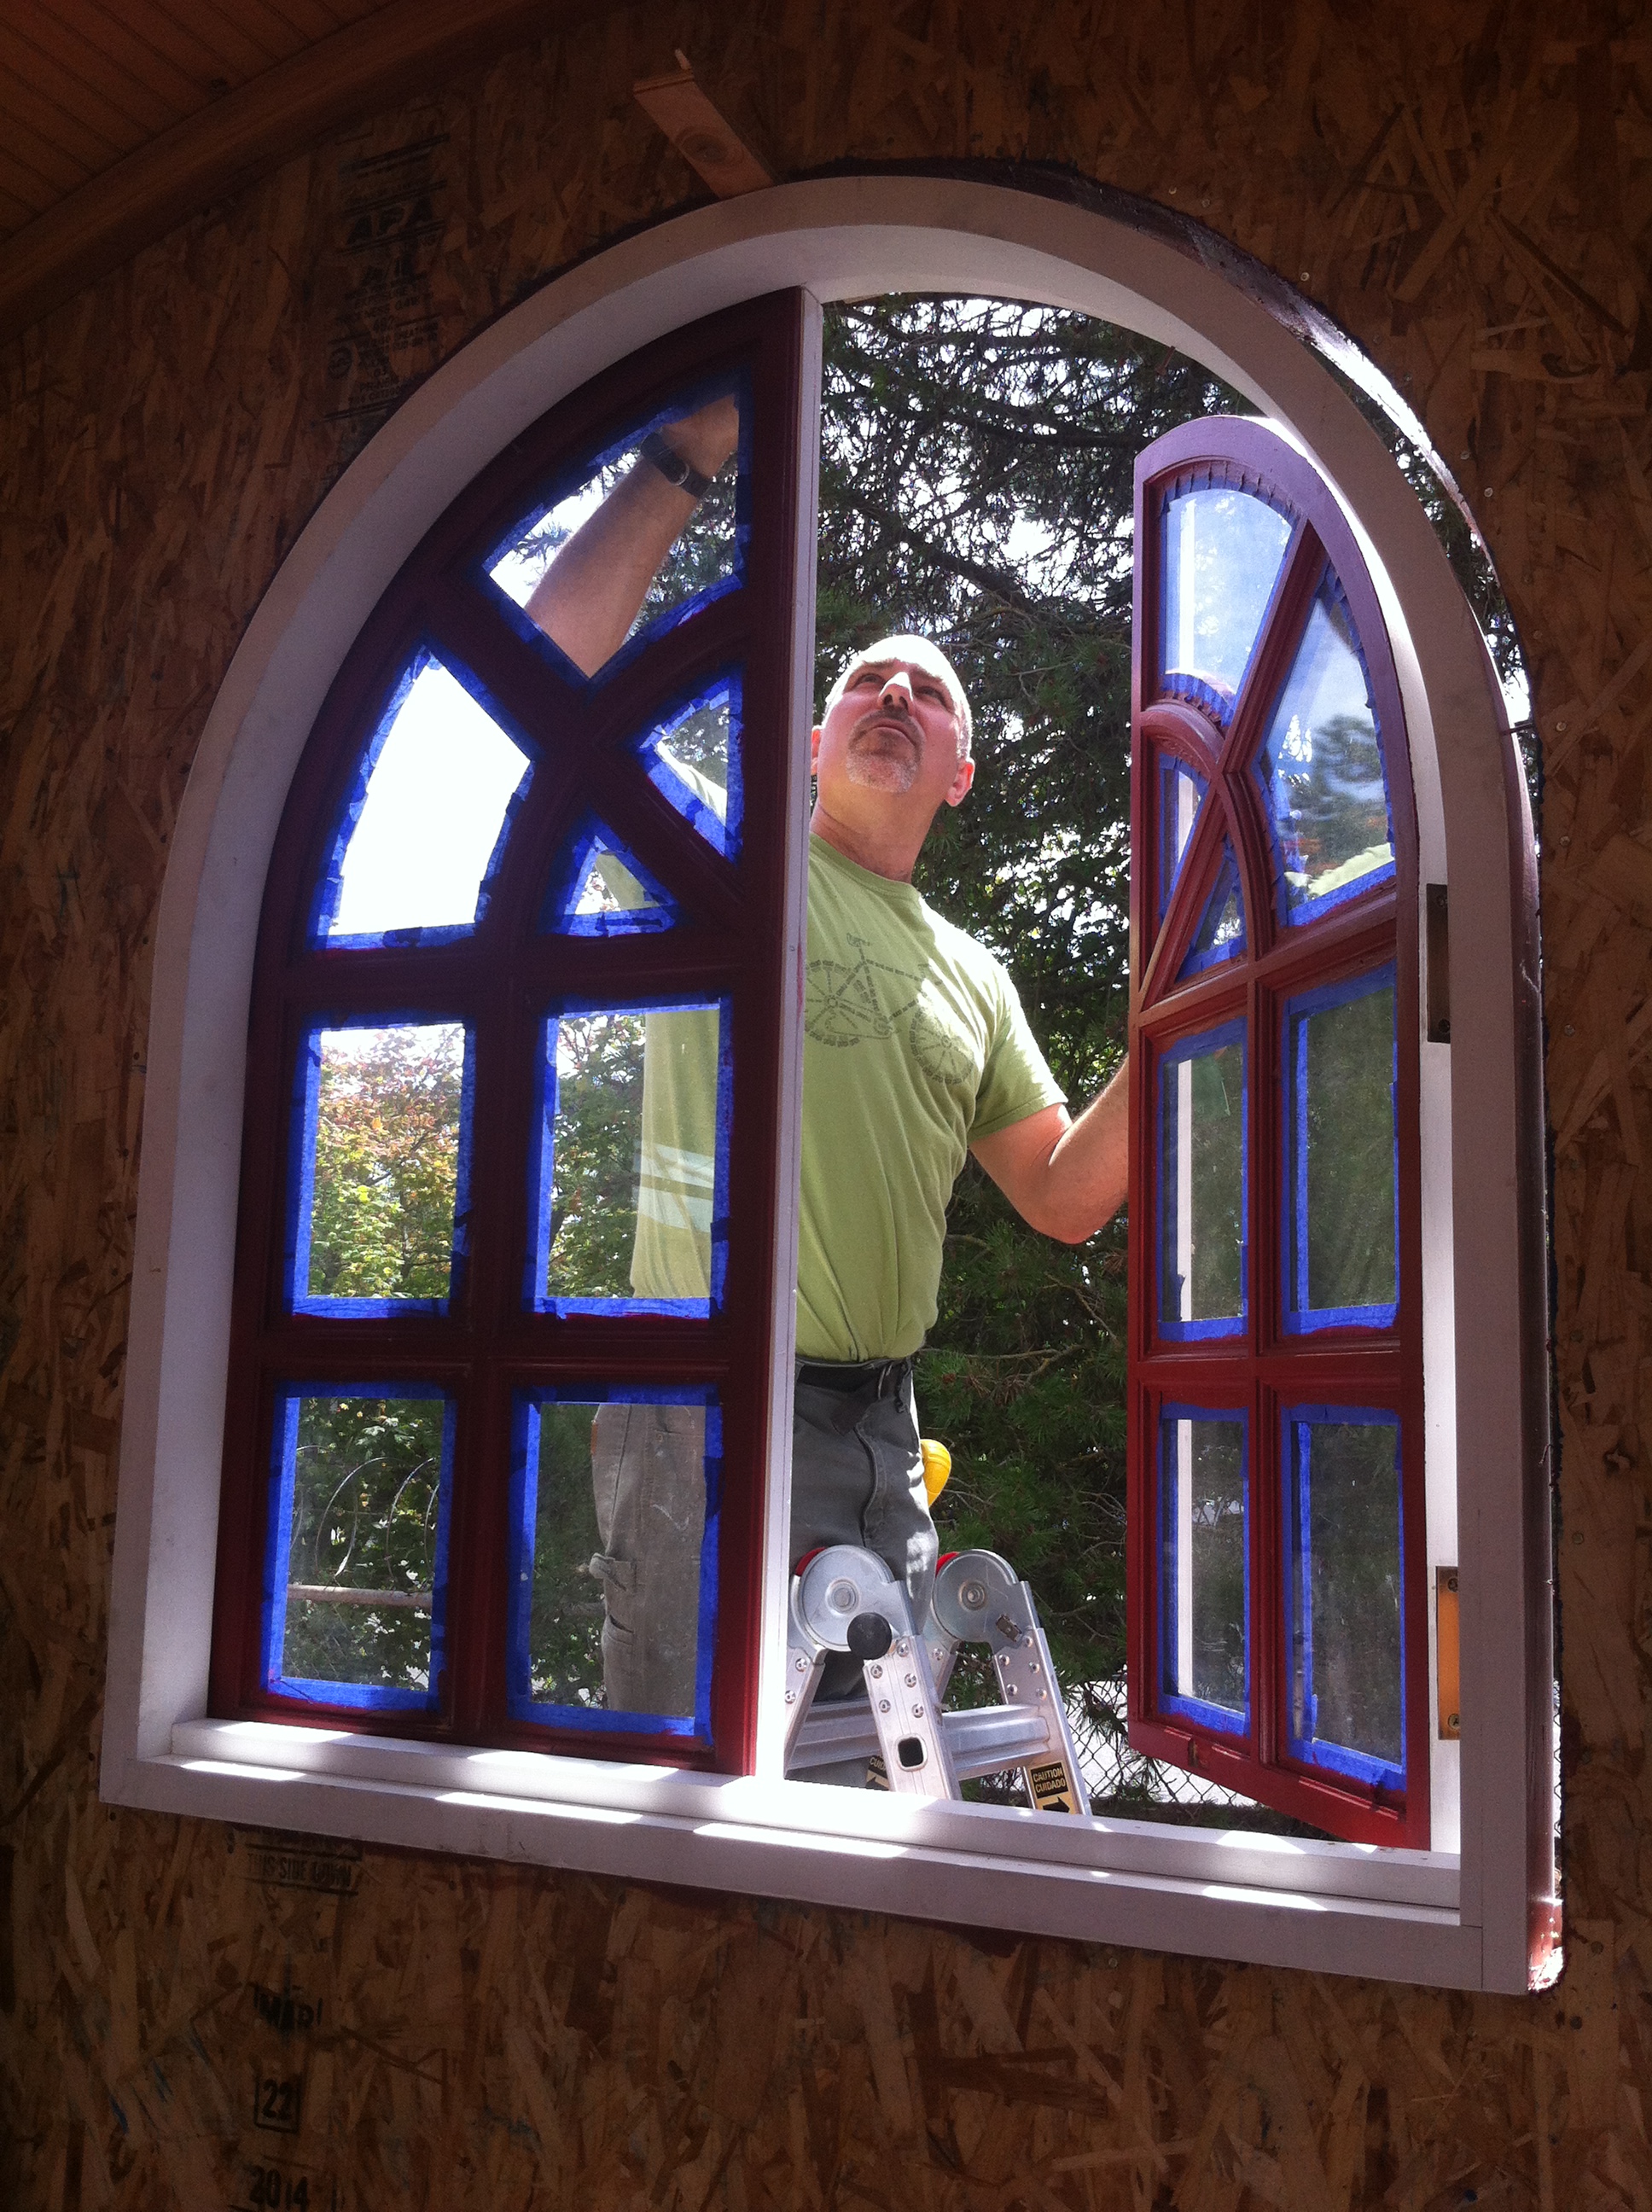
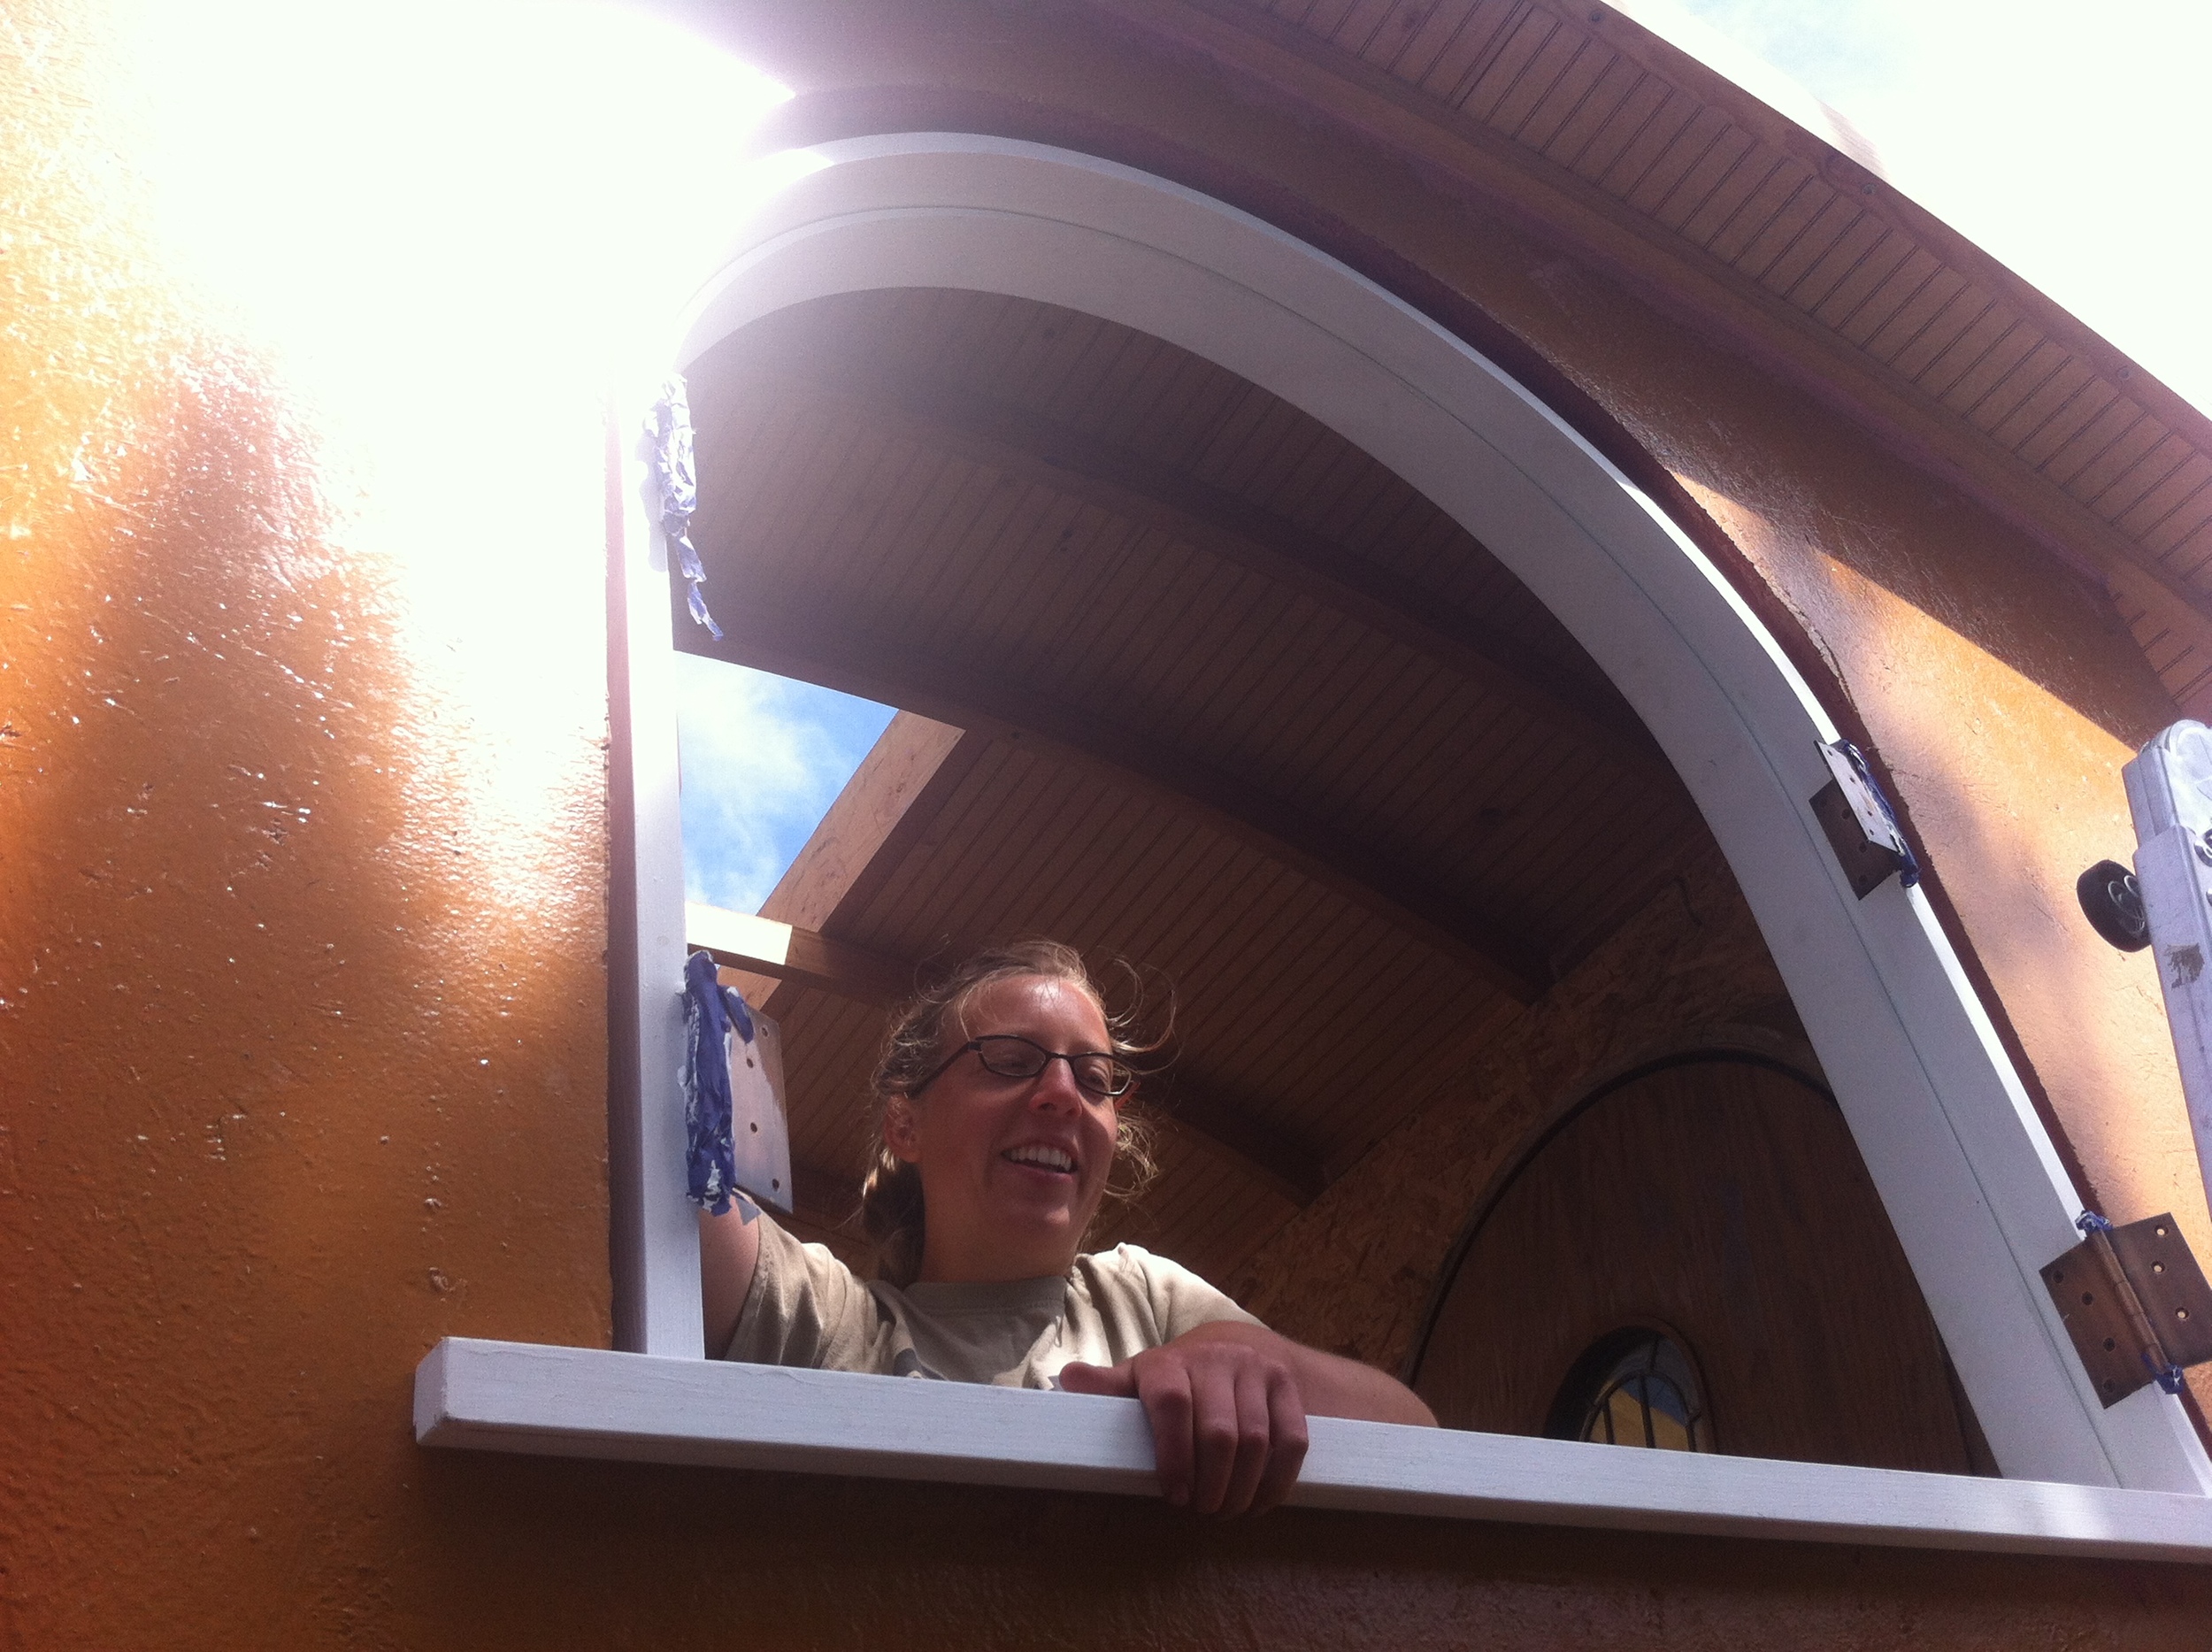
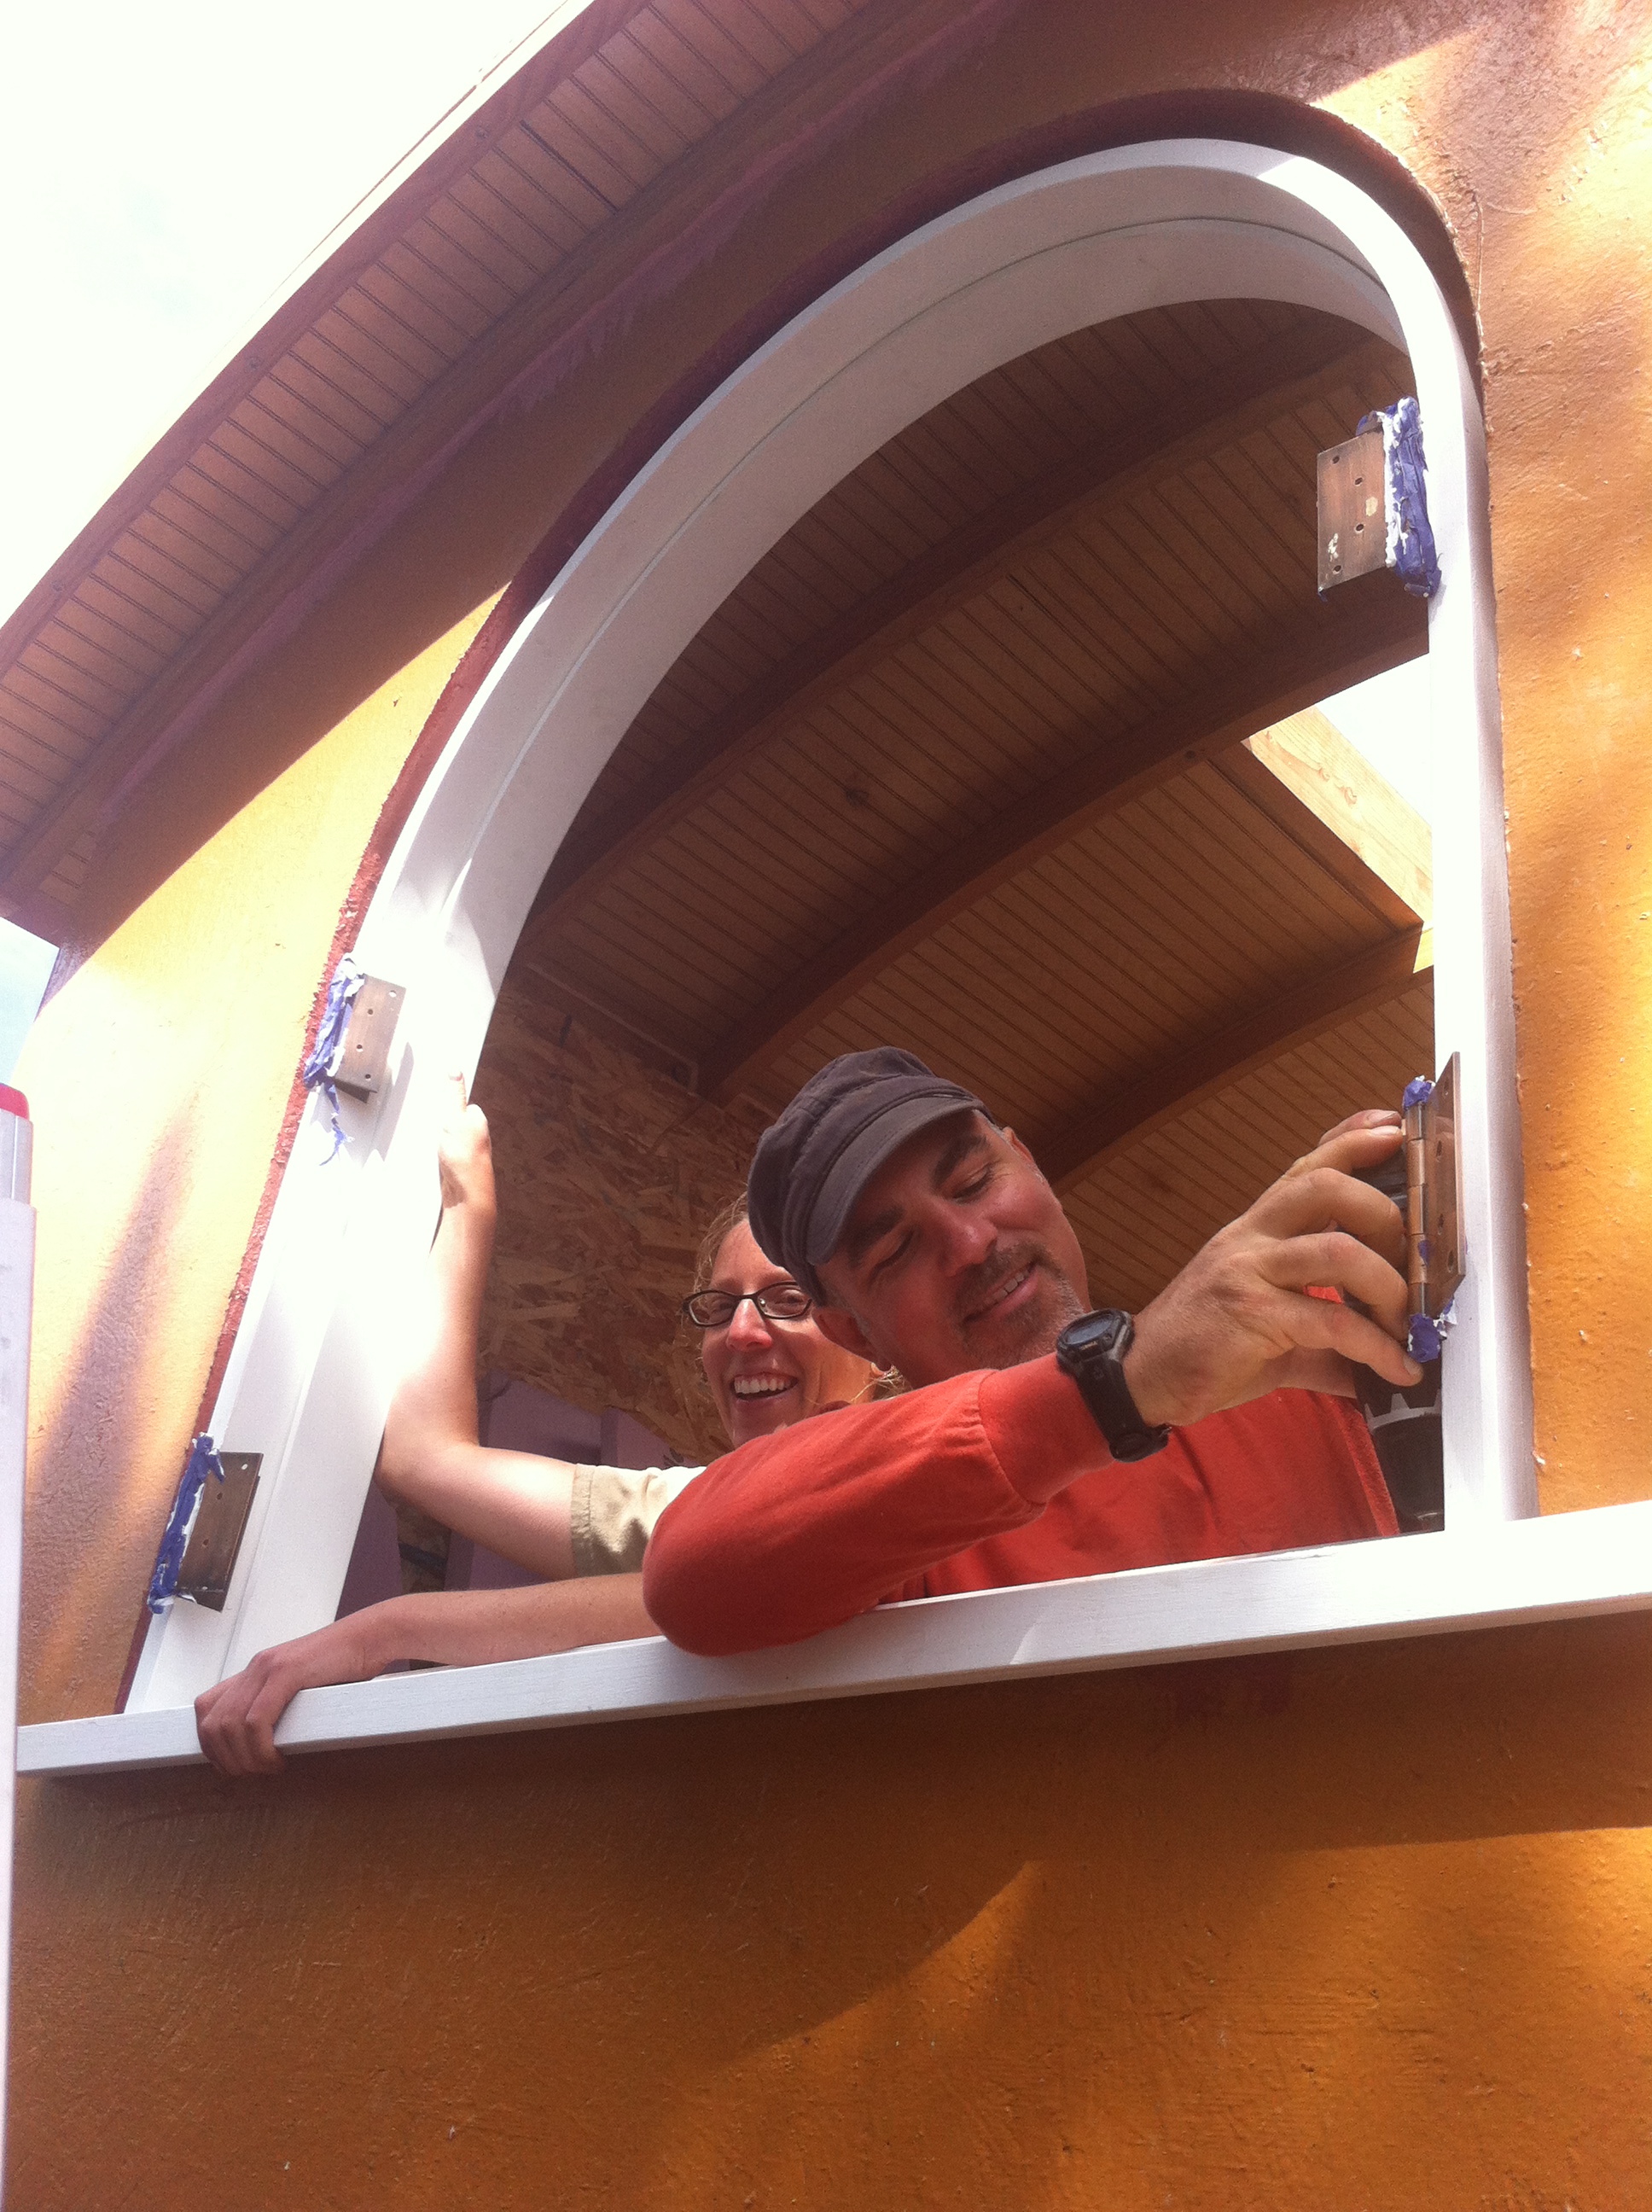
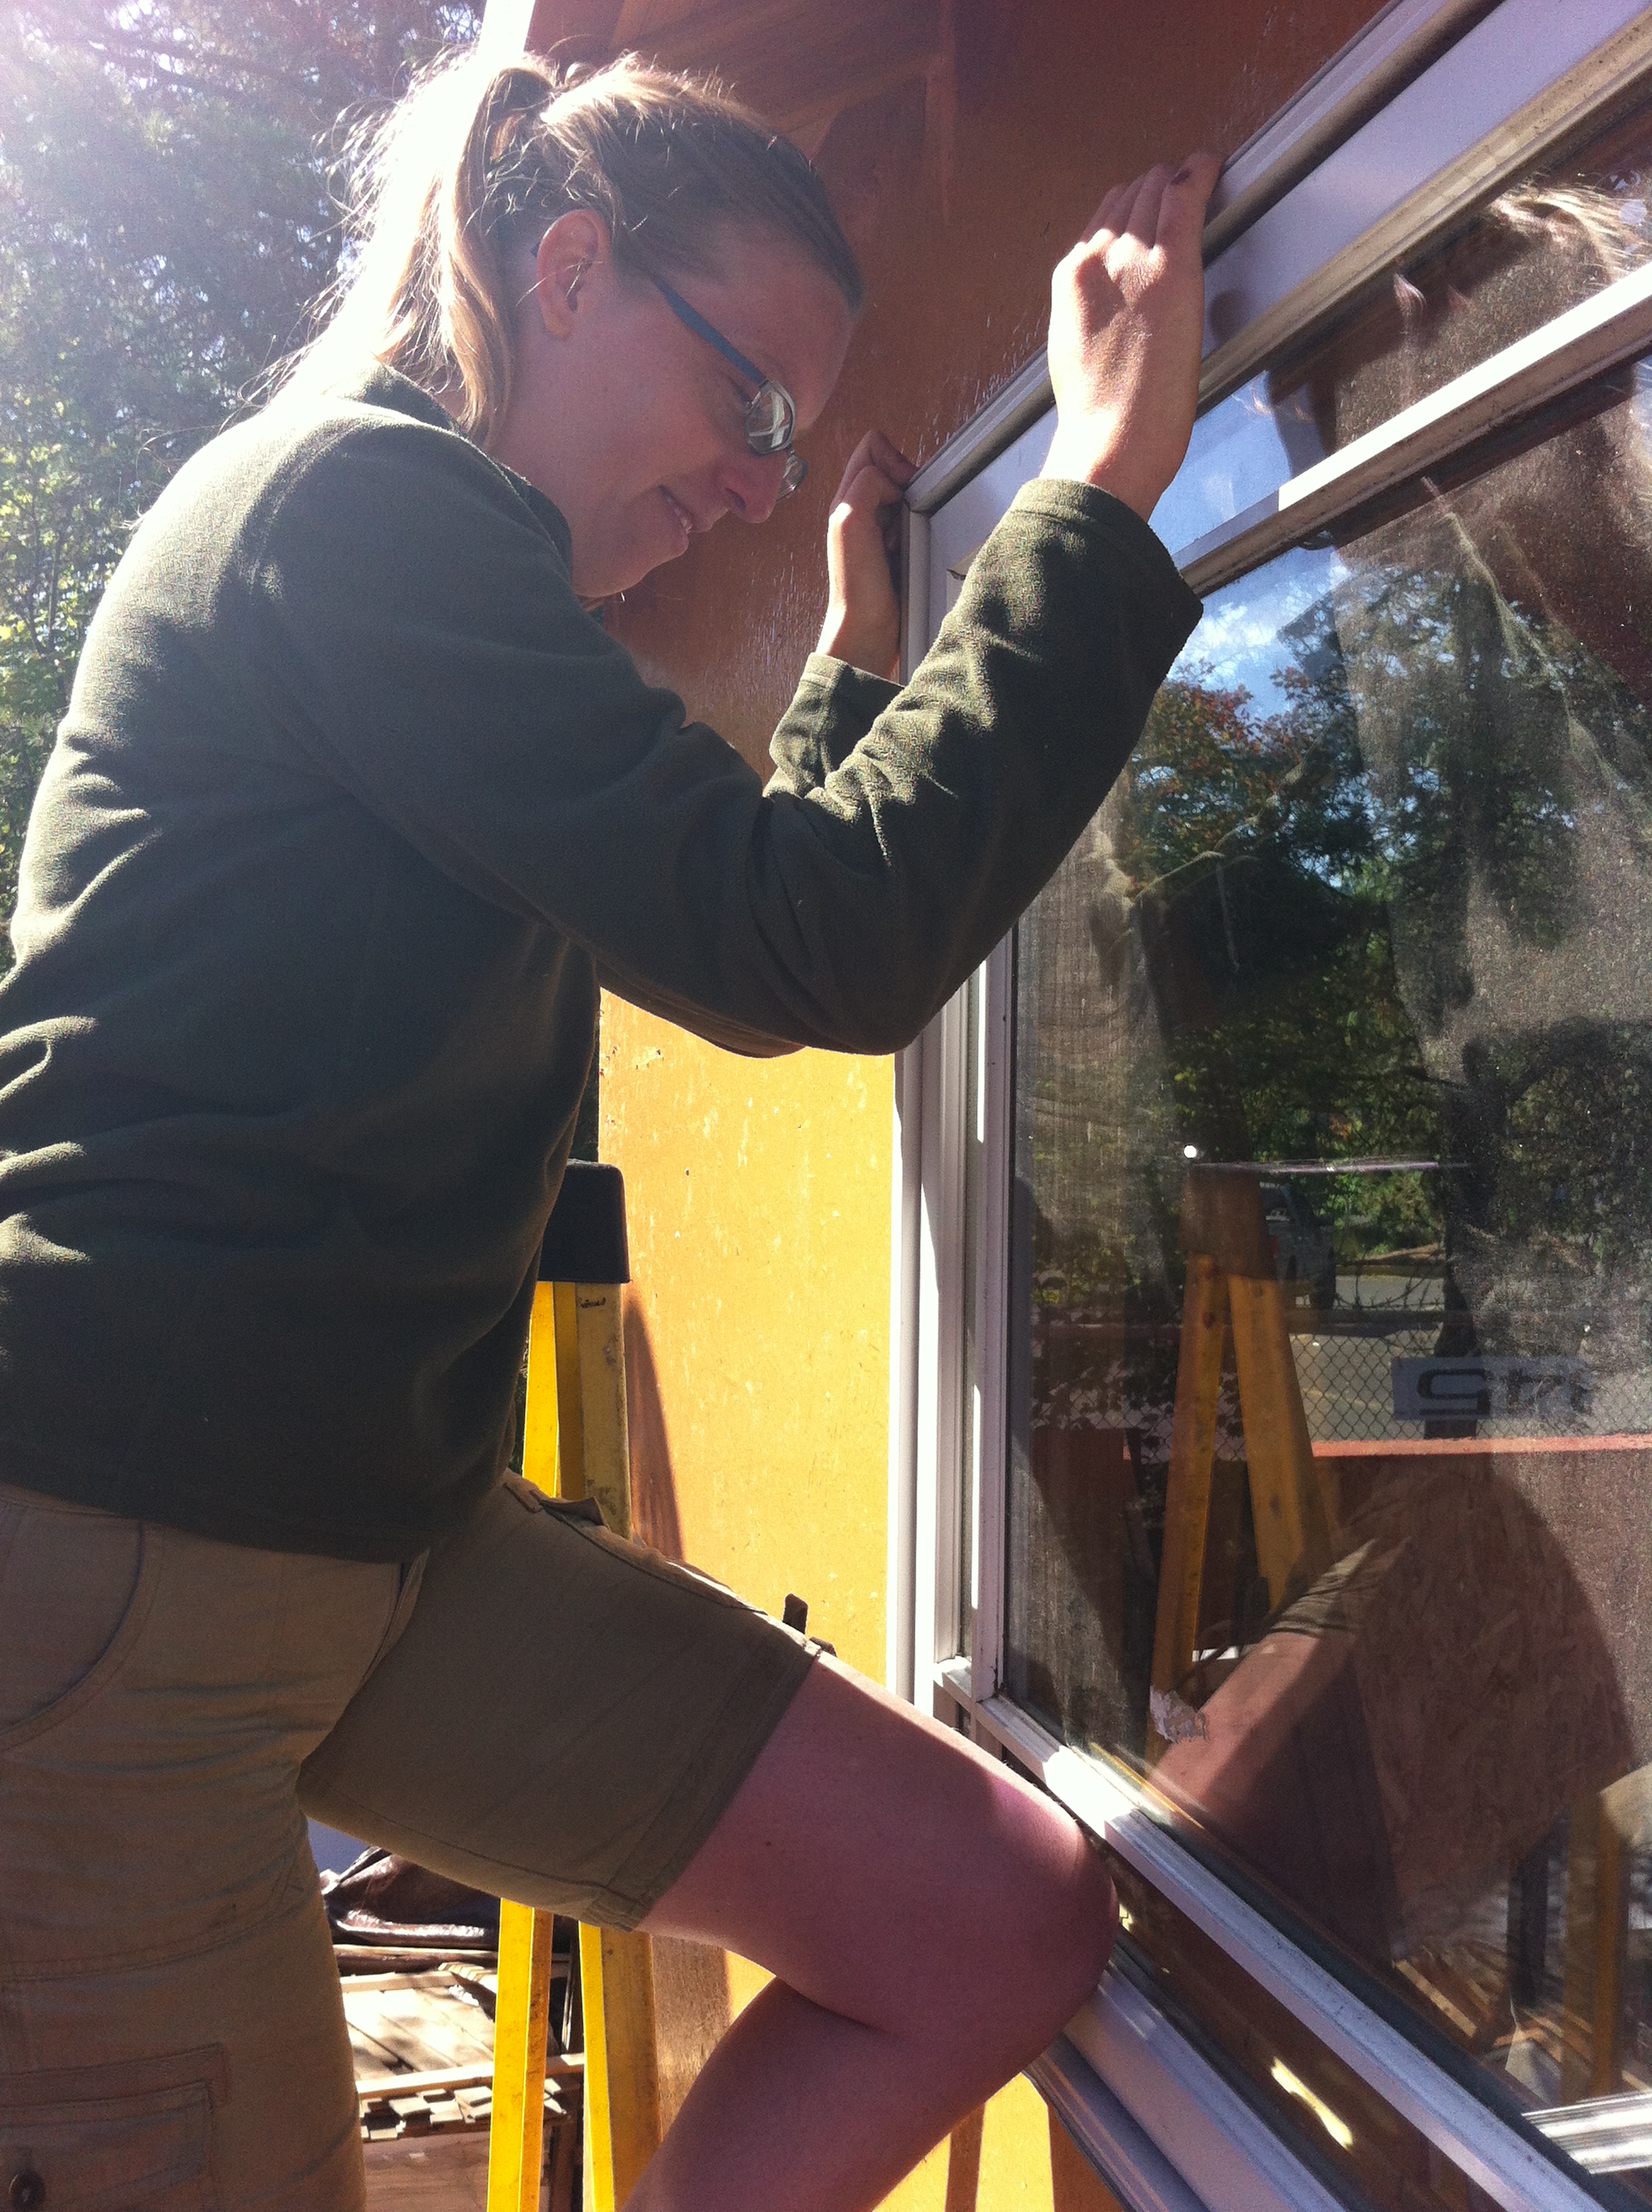
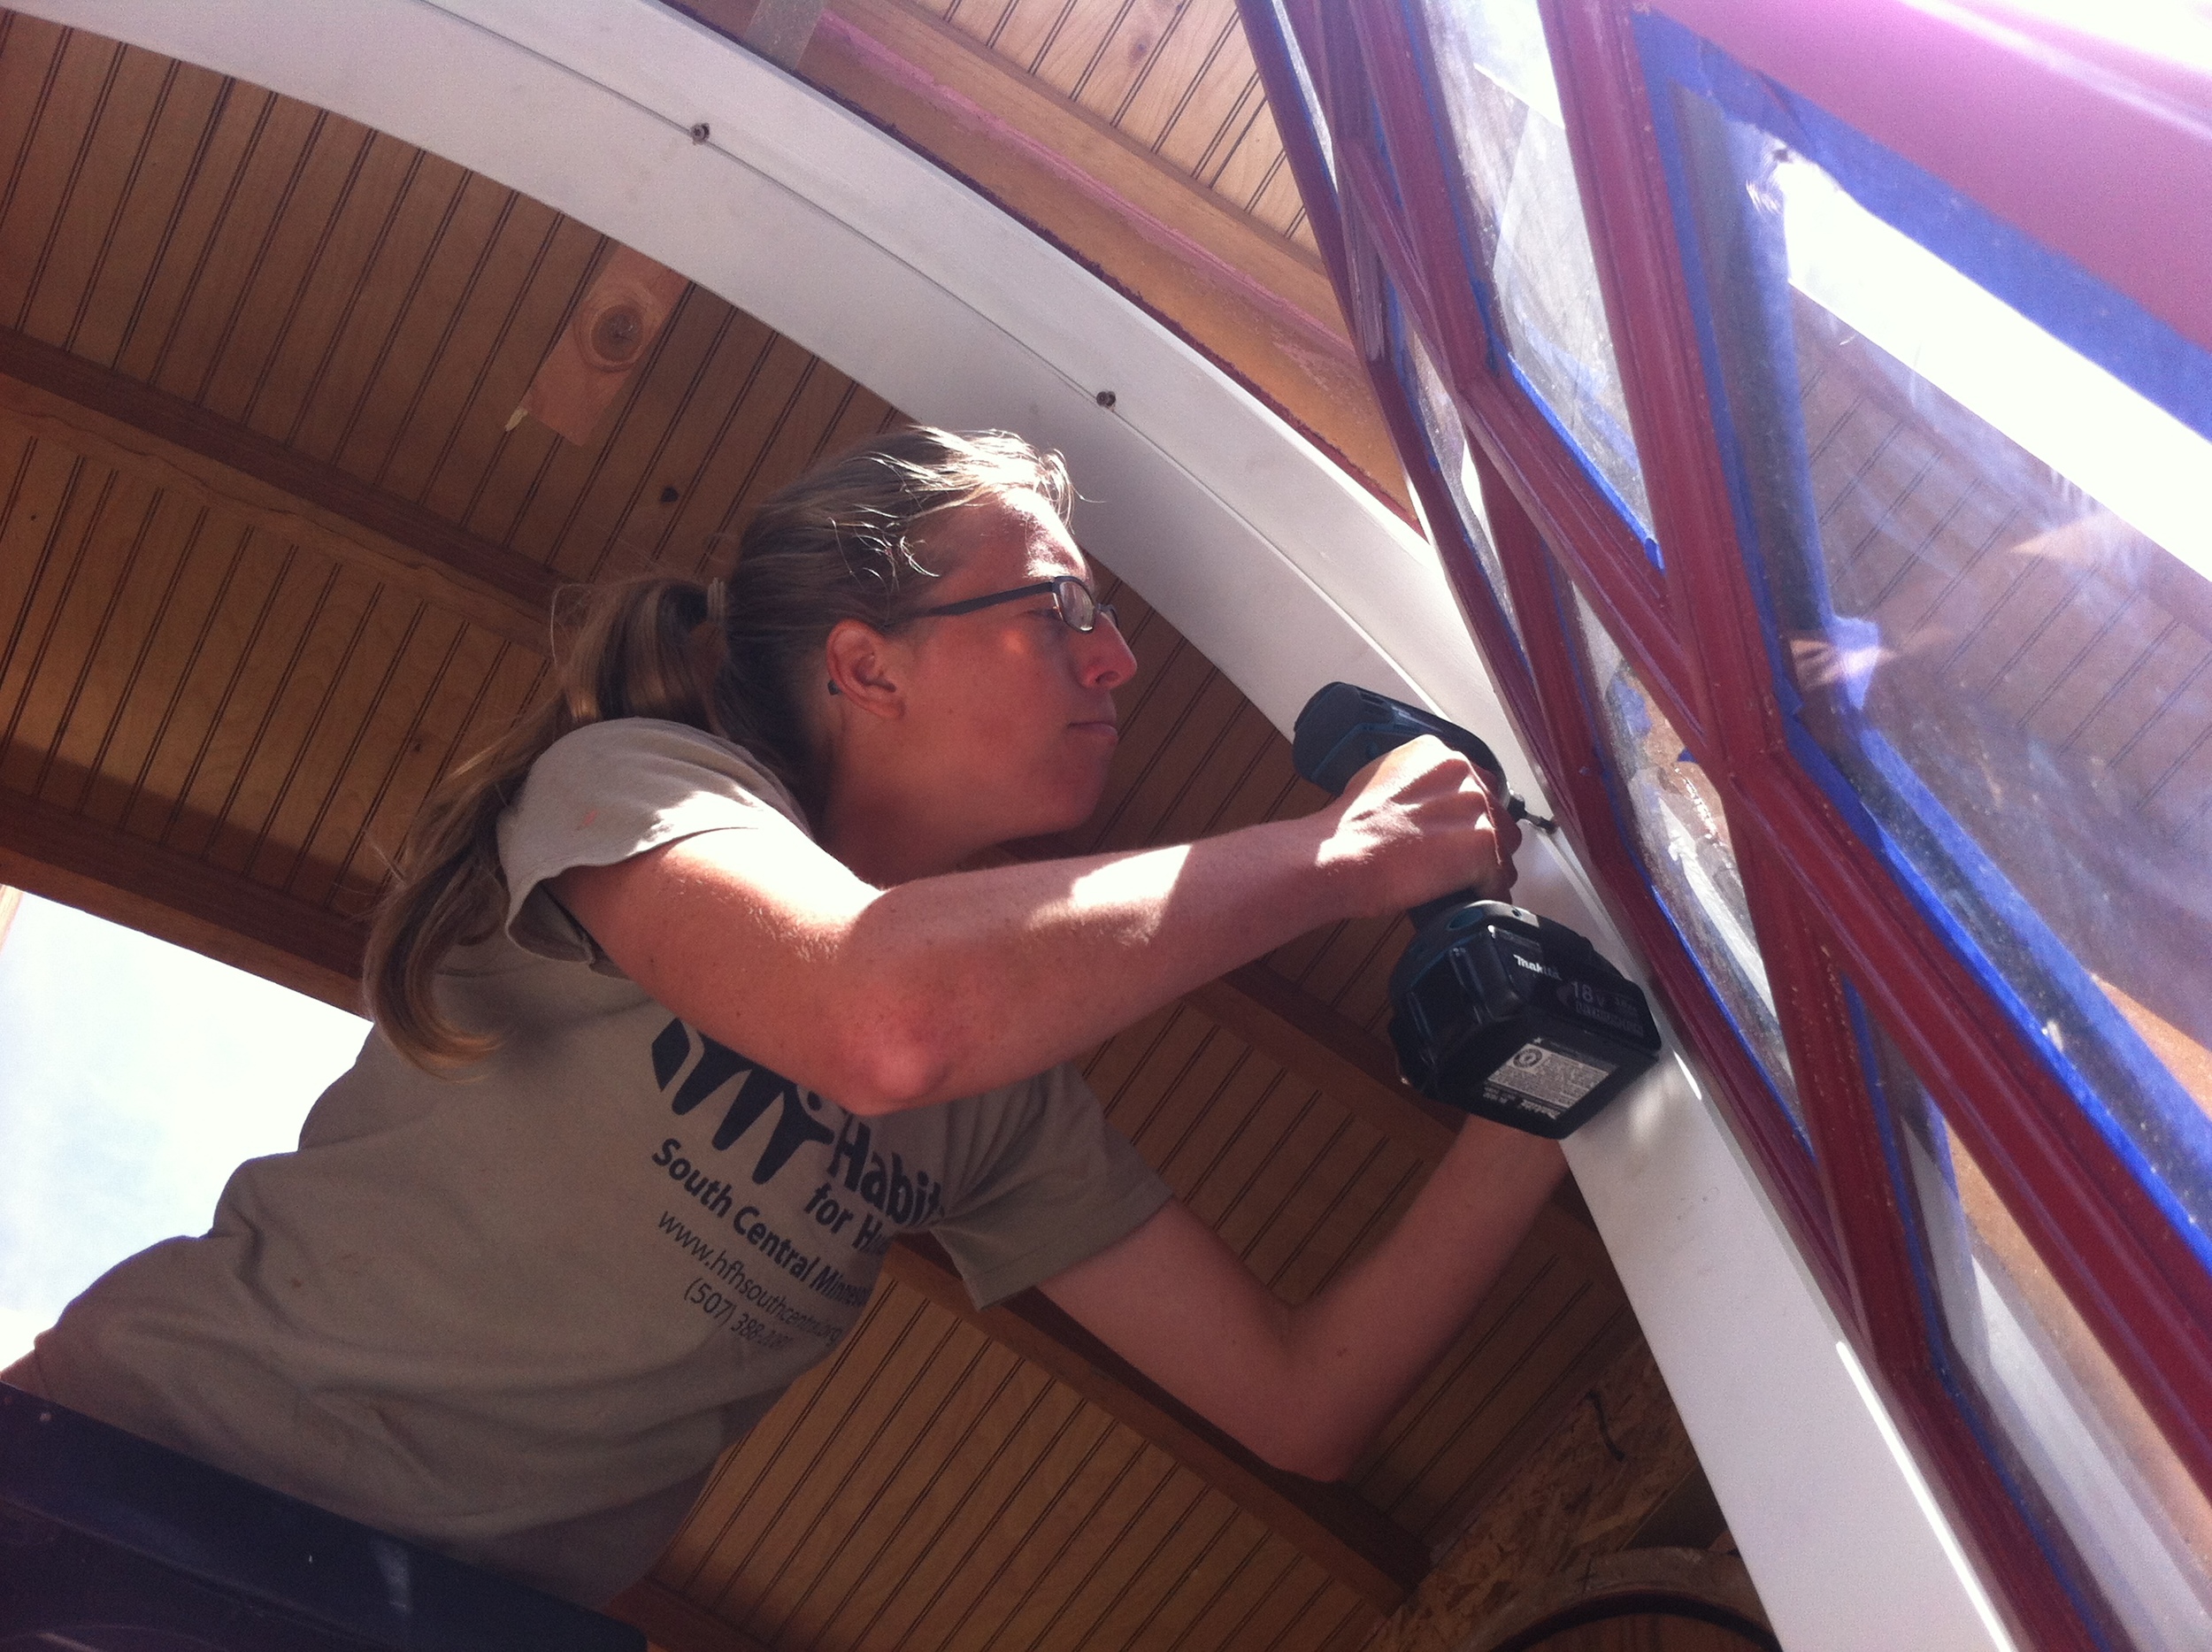
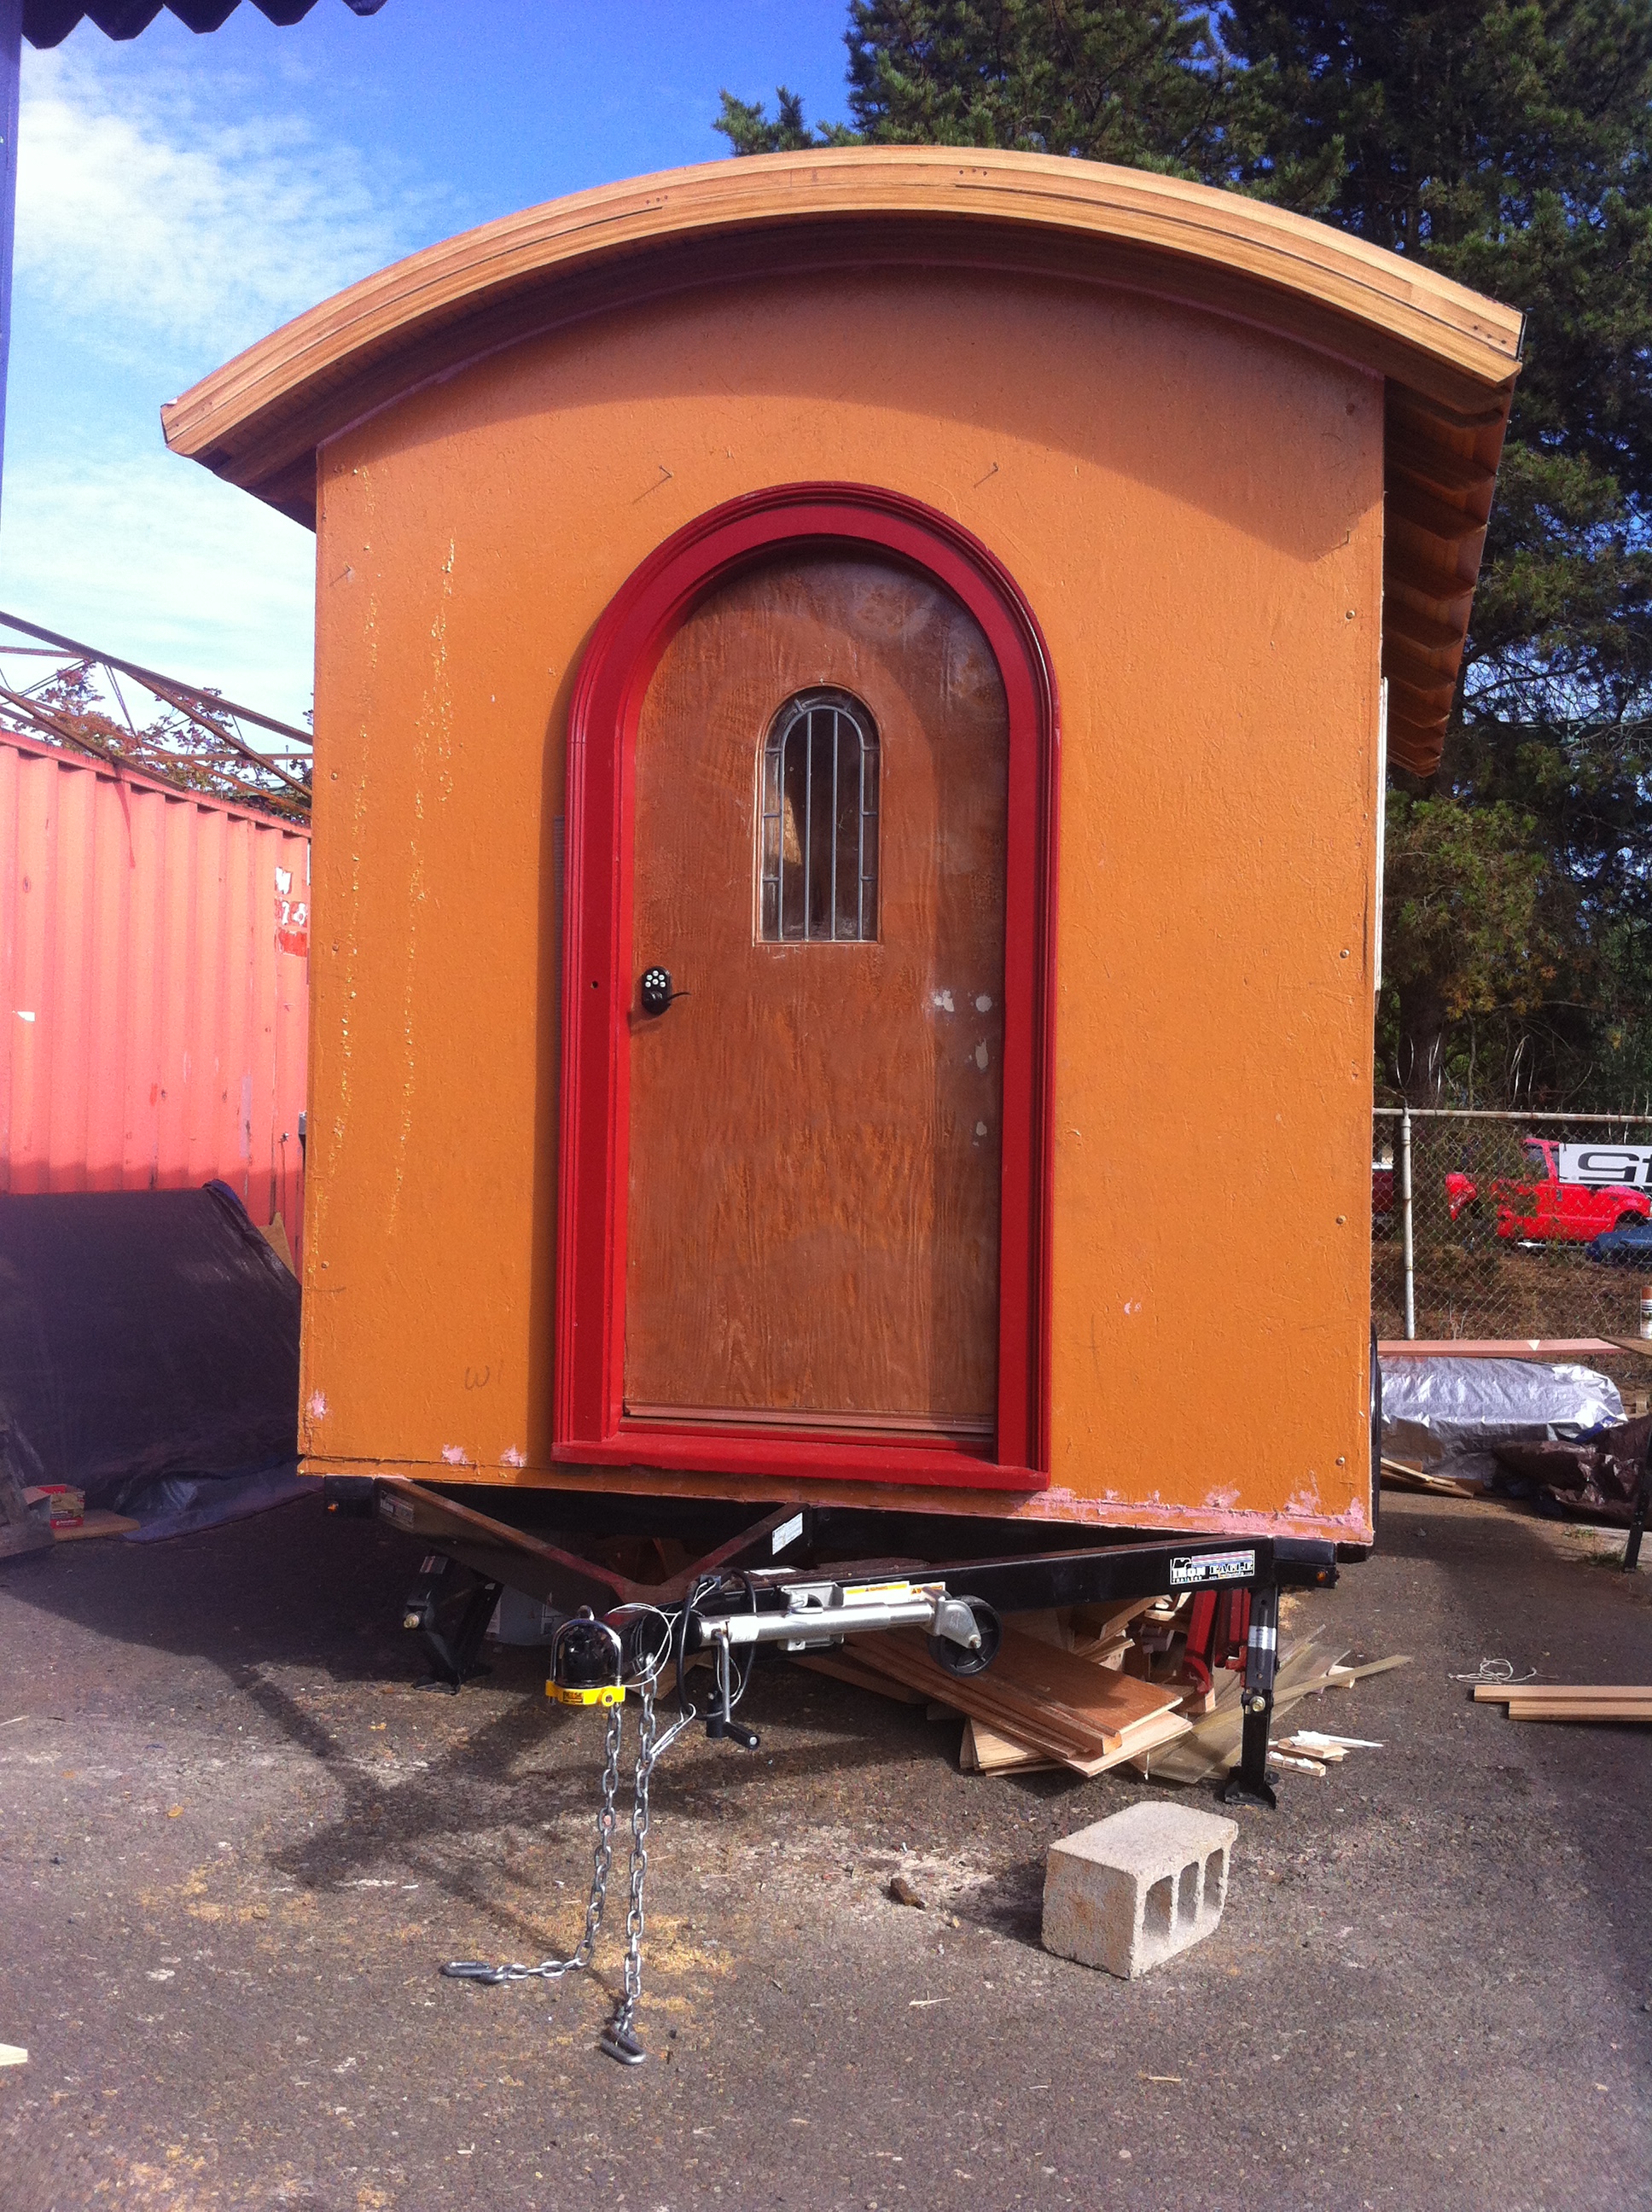
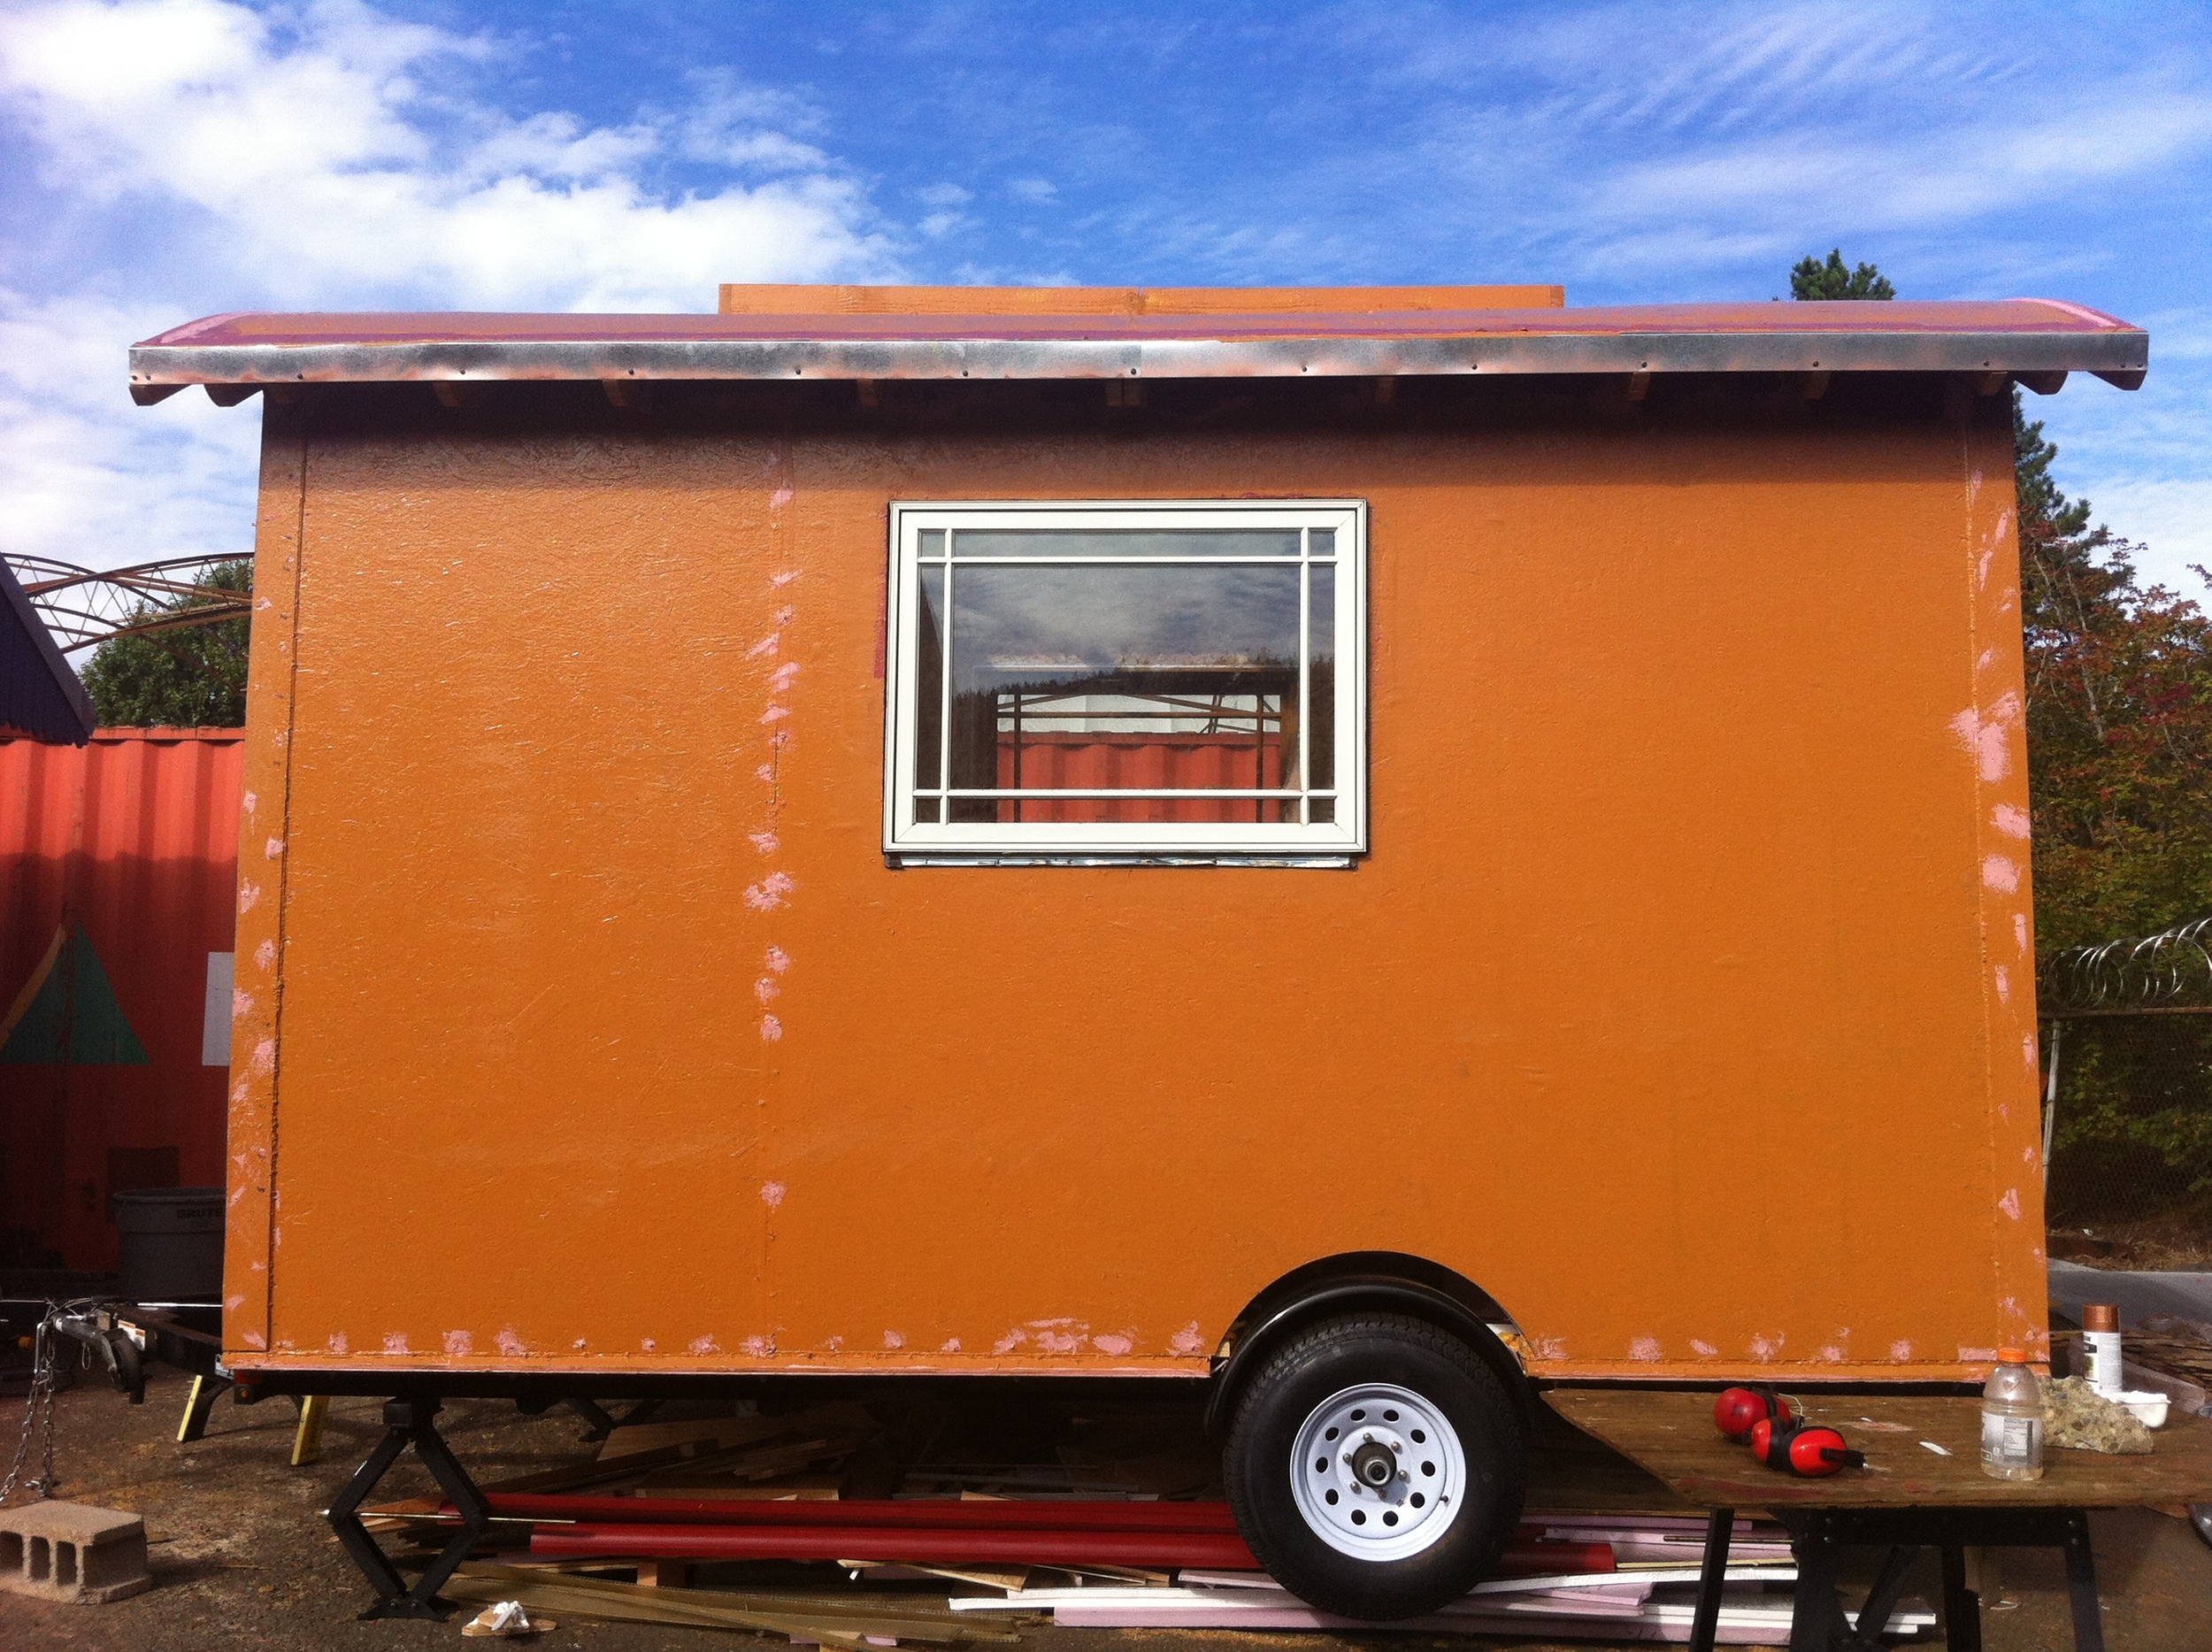
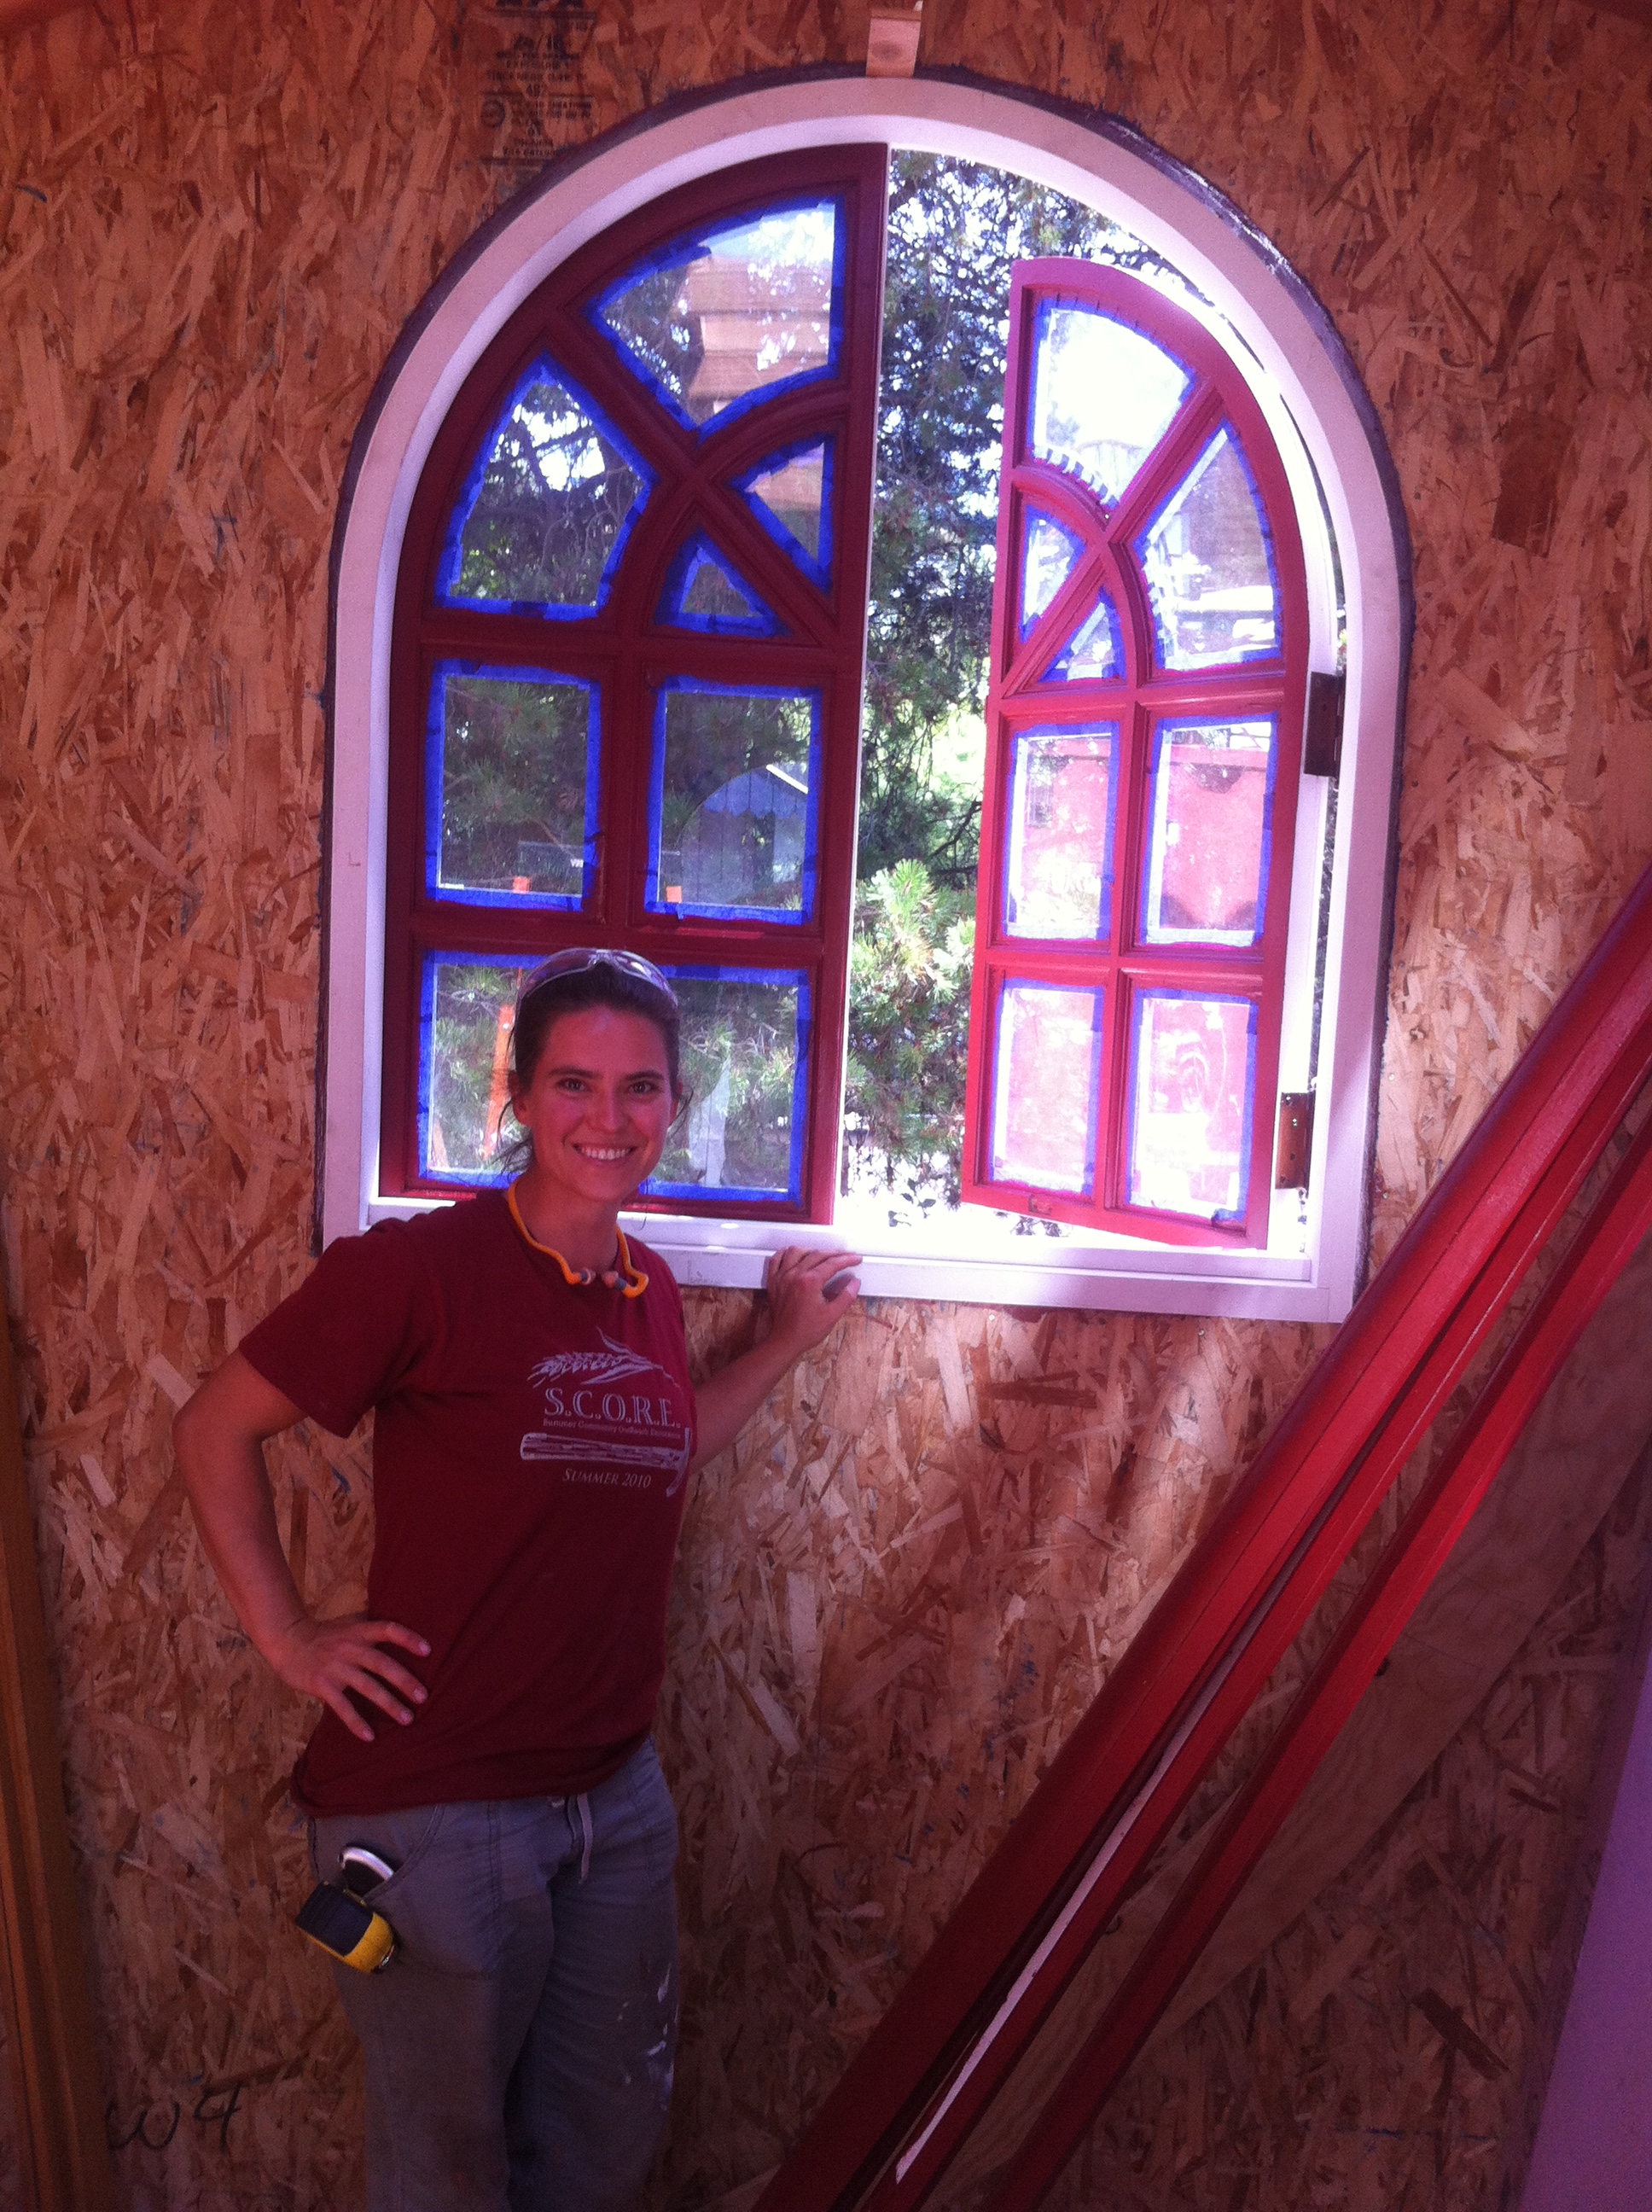
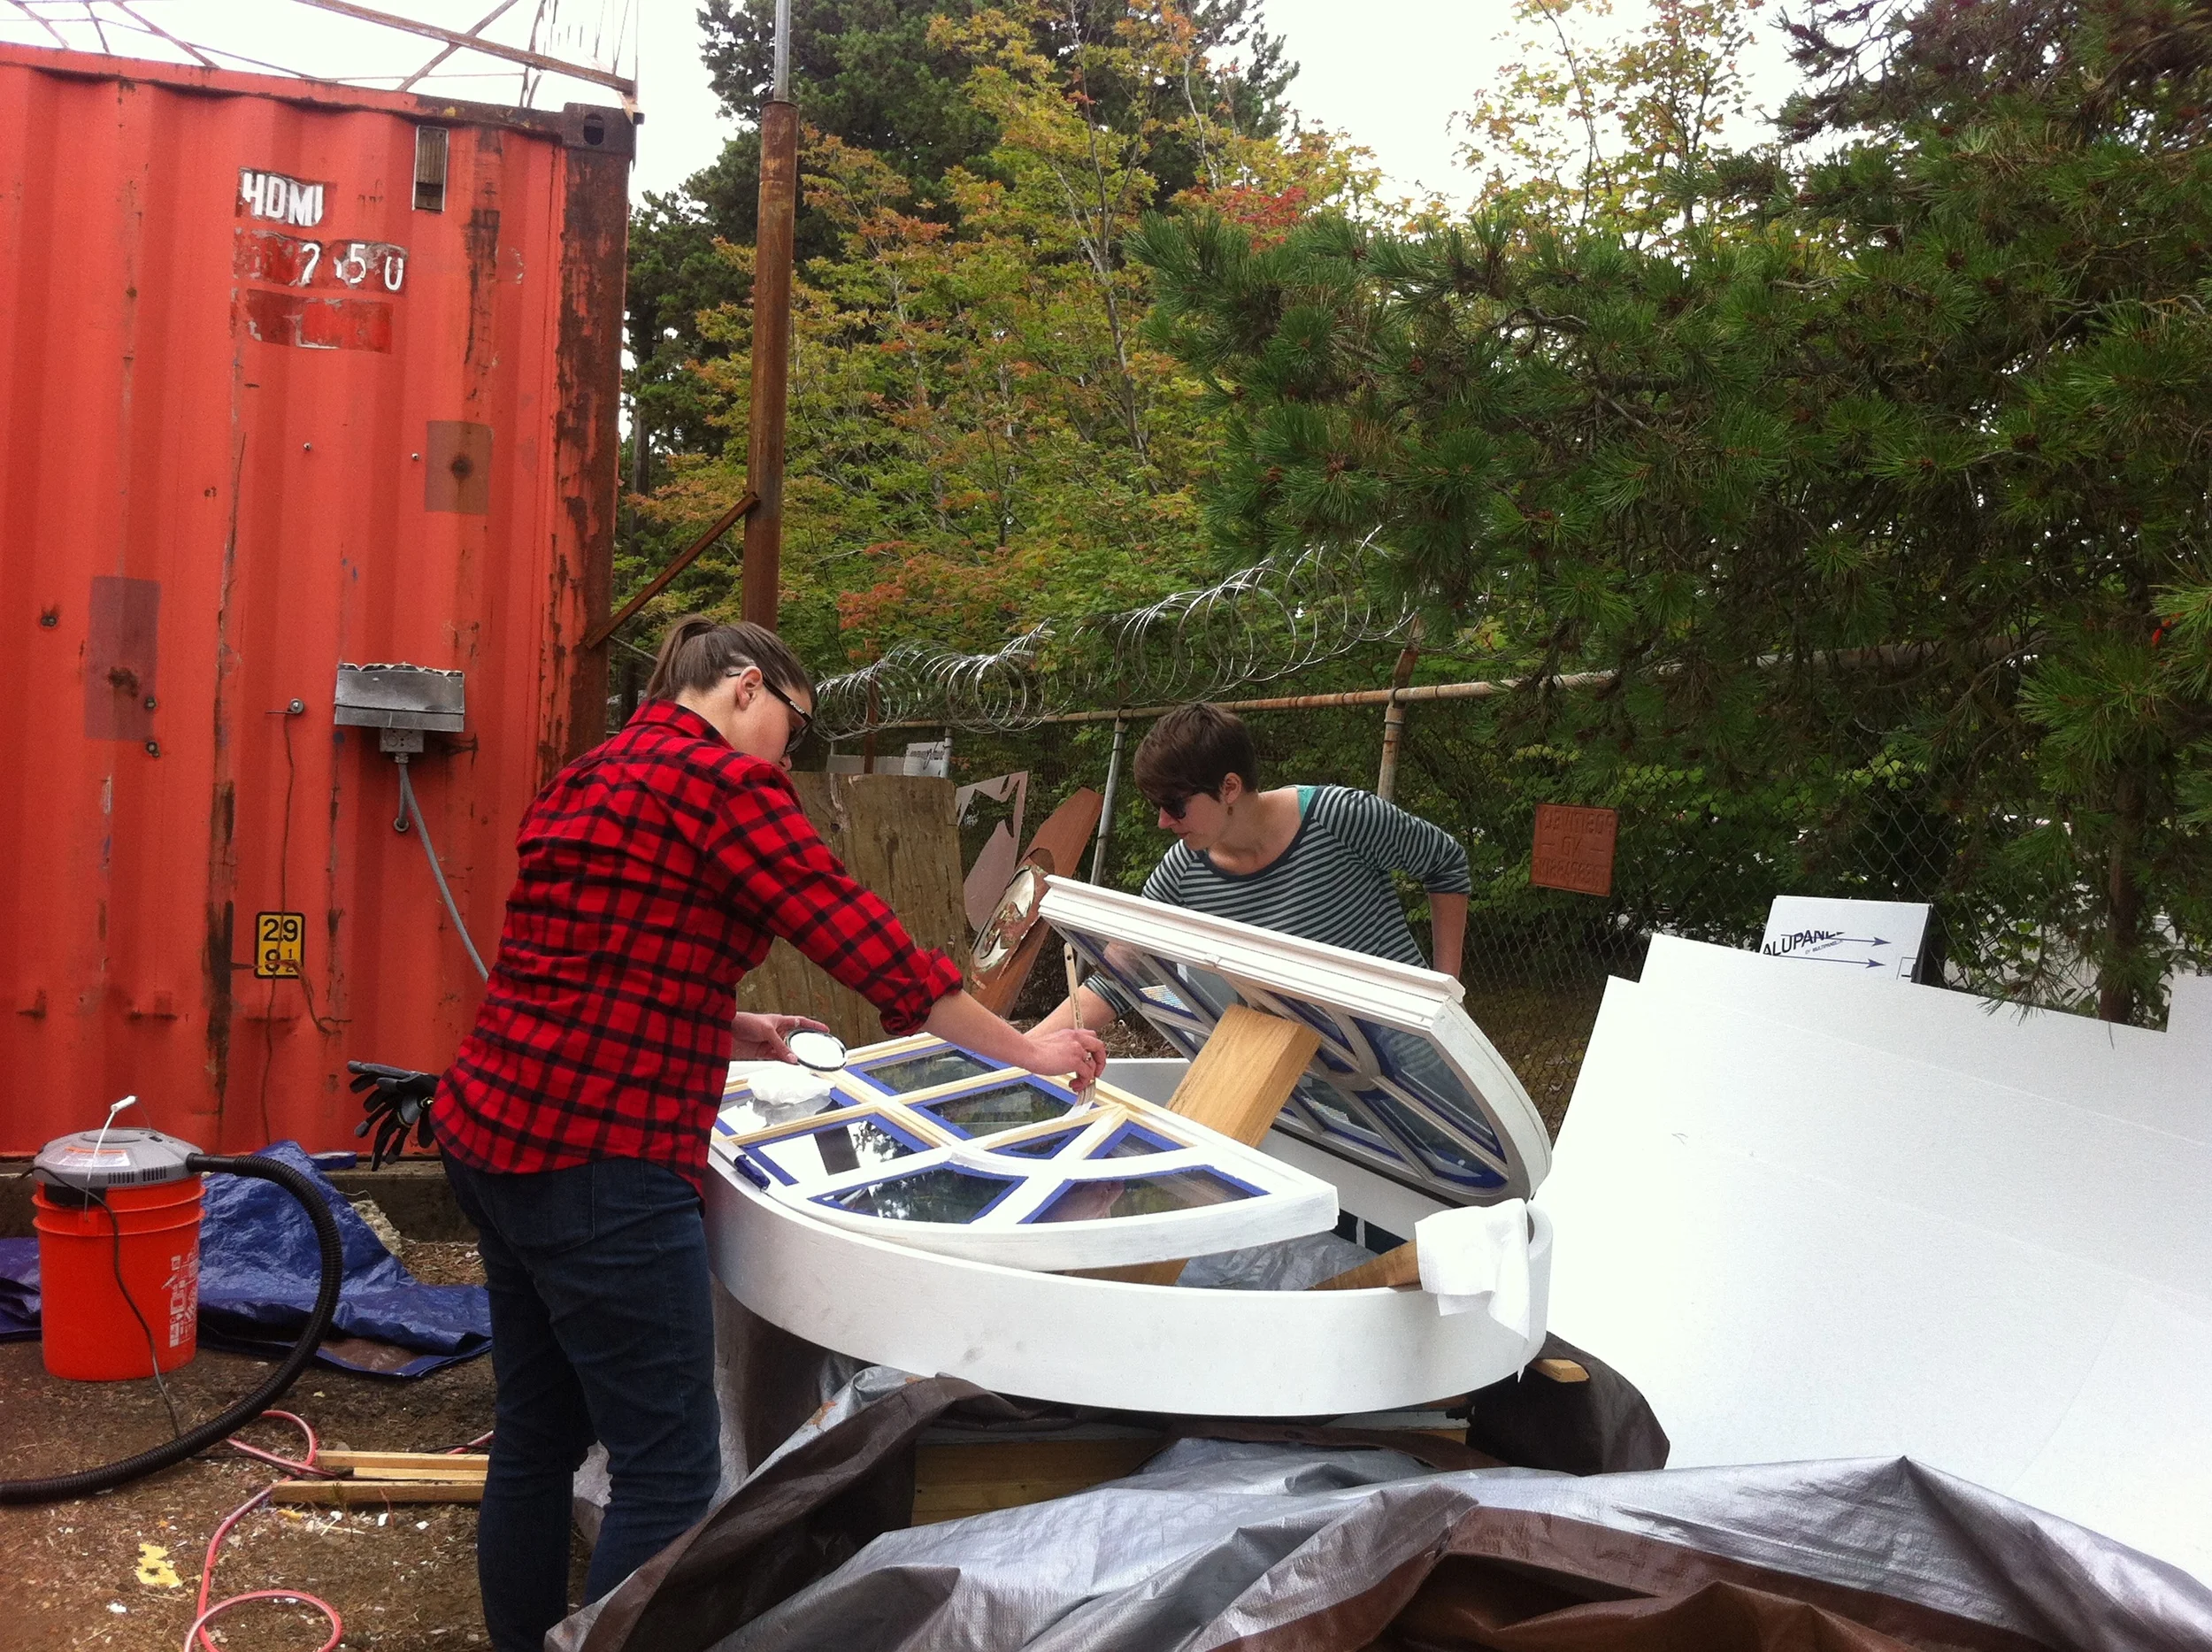
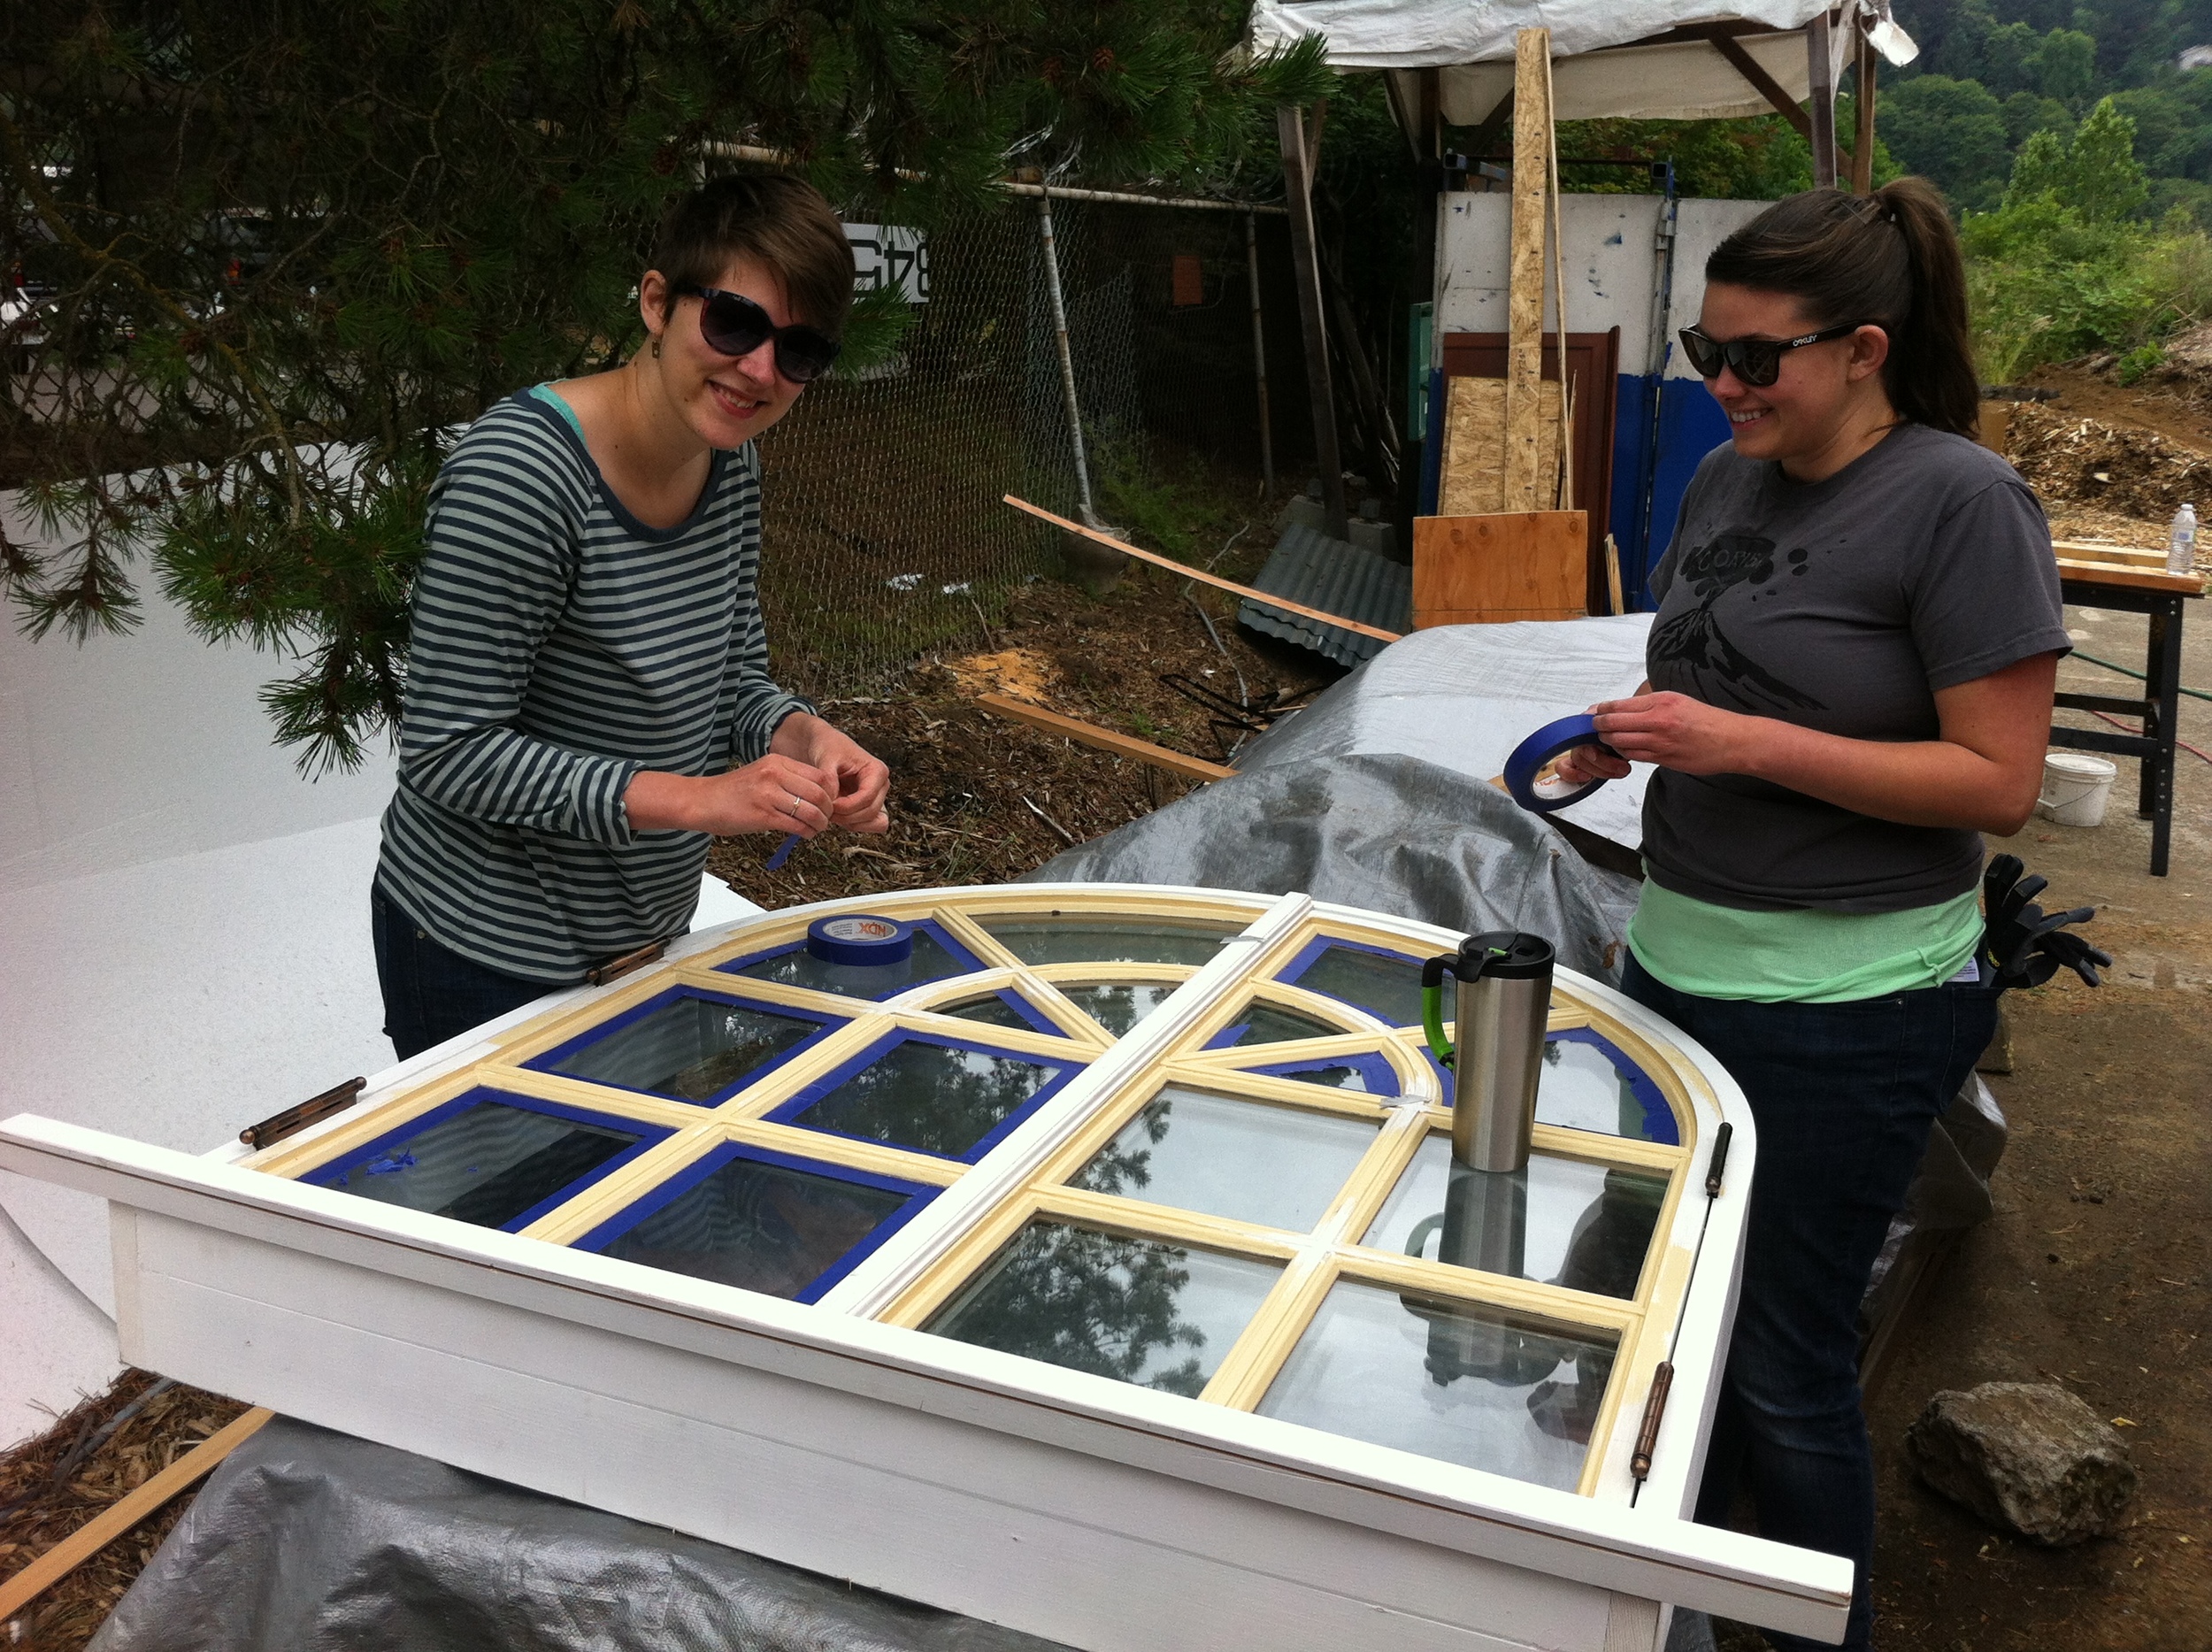
Instead Randy, Eleanor, Shelley, Matthew, and I worked on windows and door. Shelley and Eleanor did the most meticulous taping job I've ever seen in my life and then put the first layer of paint on the exterior of the arched window. Meanwhile Randy and Matthew worked on the door and I put a second coat of paint on the door jamb. It was almost lunchtime and Randy and I were sorting out pieces of varied trim I'd picked up from Green Star International when his rain-o-meter warned us that rain was imminent.

We had a lot of different materials out and realized we'd better get them put away. Eleanor and Shelley created a little tarp tent to protect the window they'd been painting and Randy and I threw tarps over the trim. We were hustling to put our tools away when that 20% chance of rain decided to arrive all at once.

Randy asked me if I wanted to tuck the Skylights for My Vardo inside, too.  "No, they should be fine in the rain," I told him as we hurried under cover.

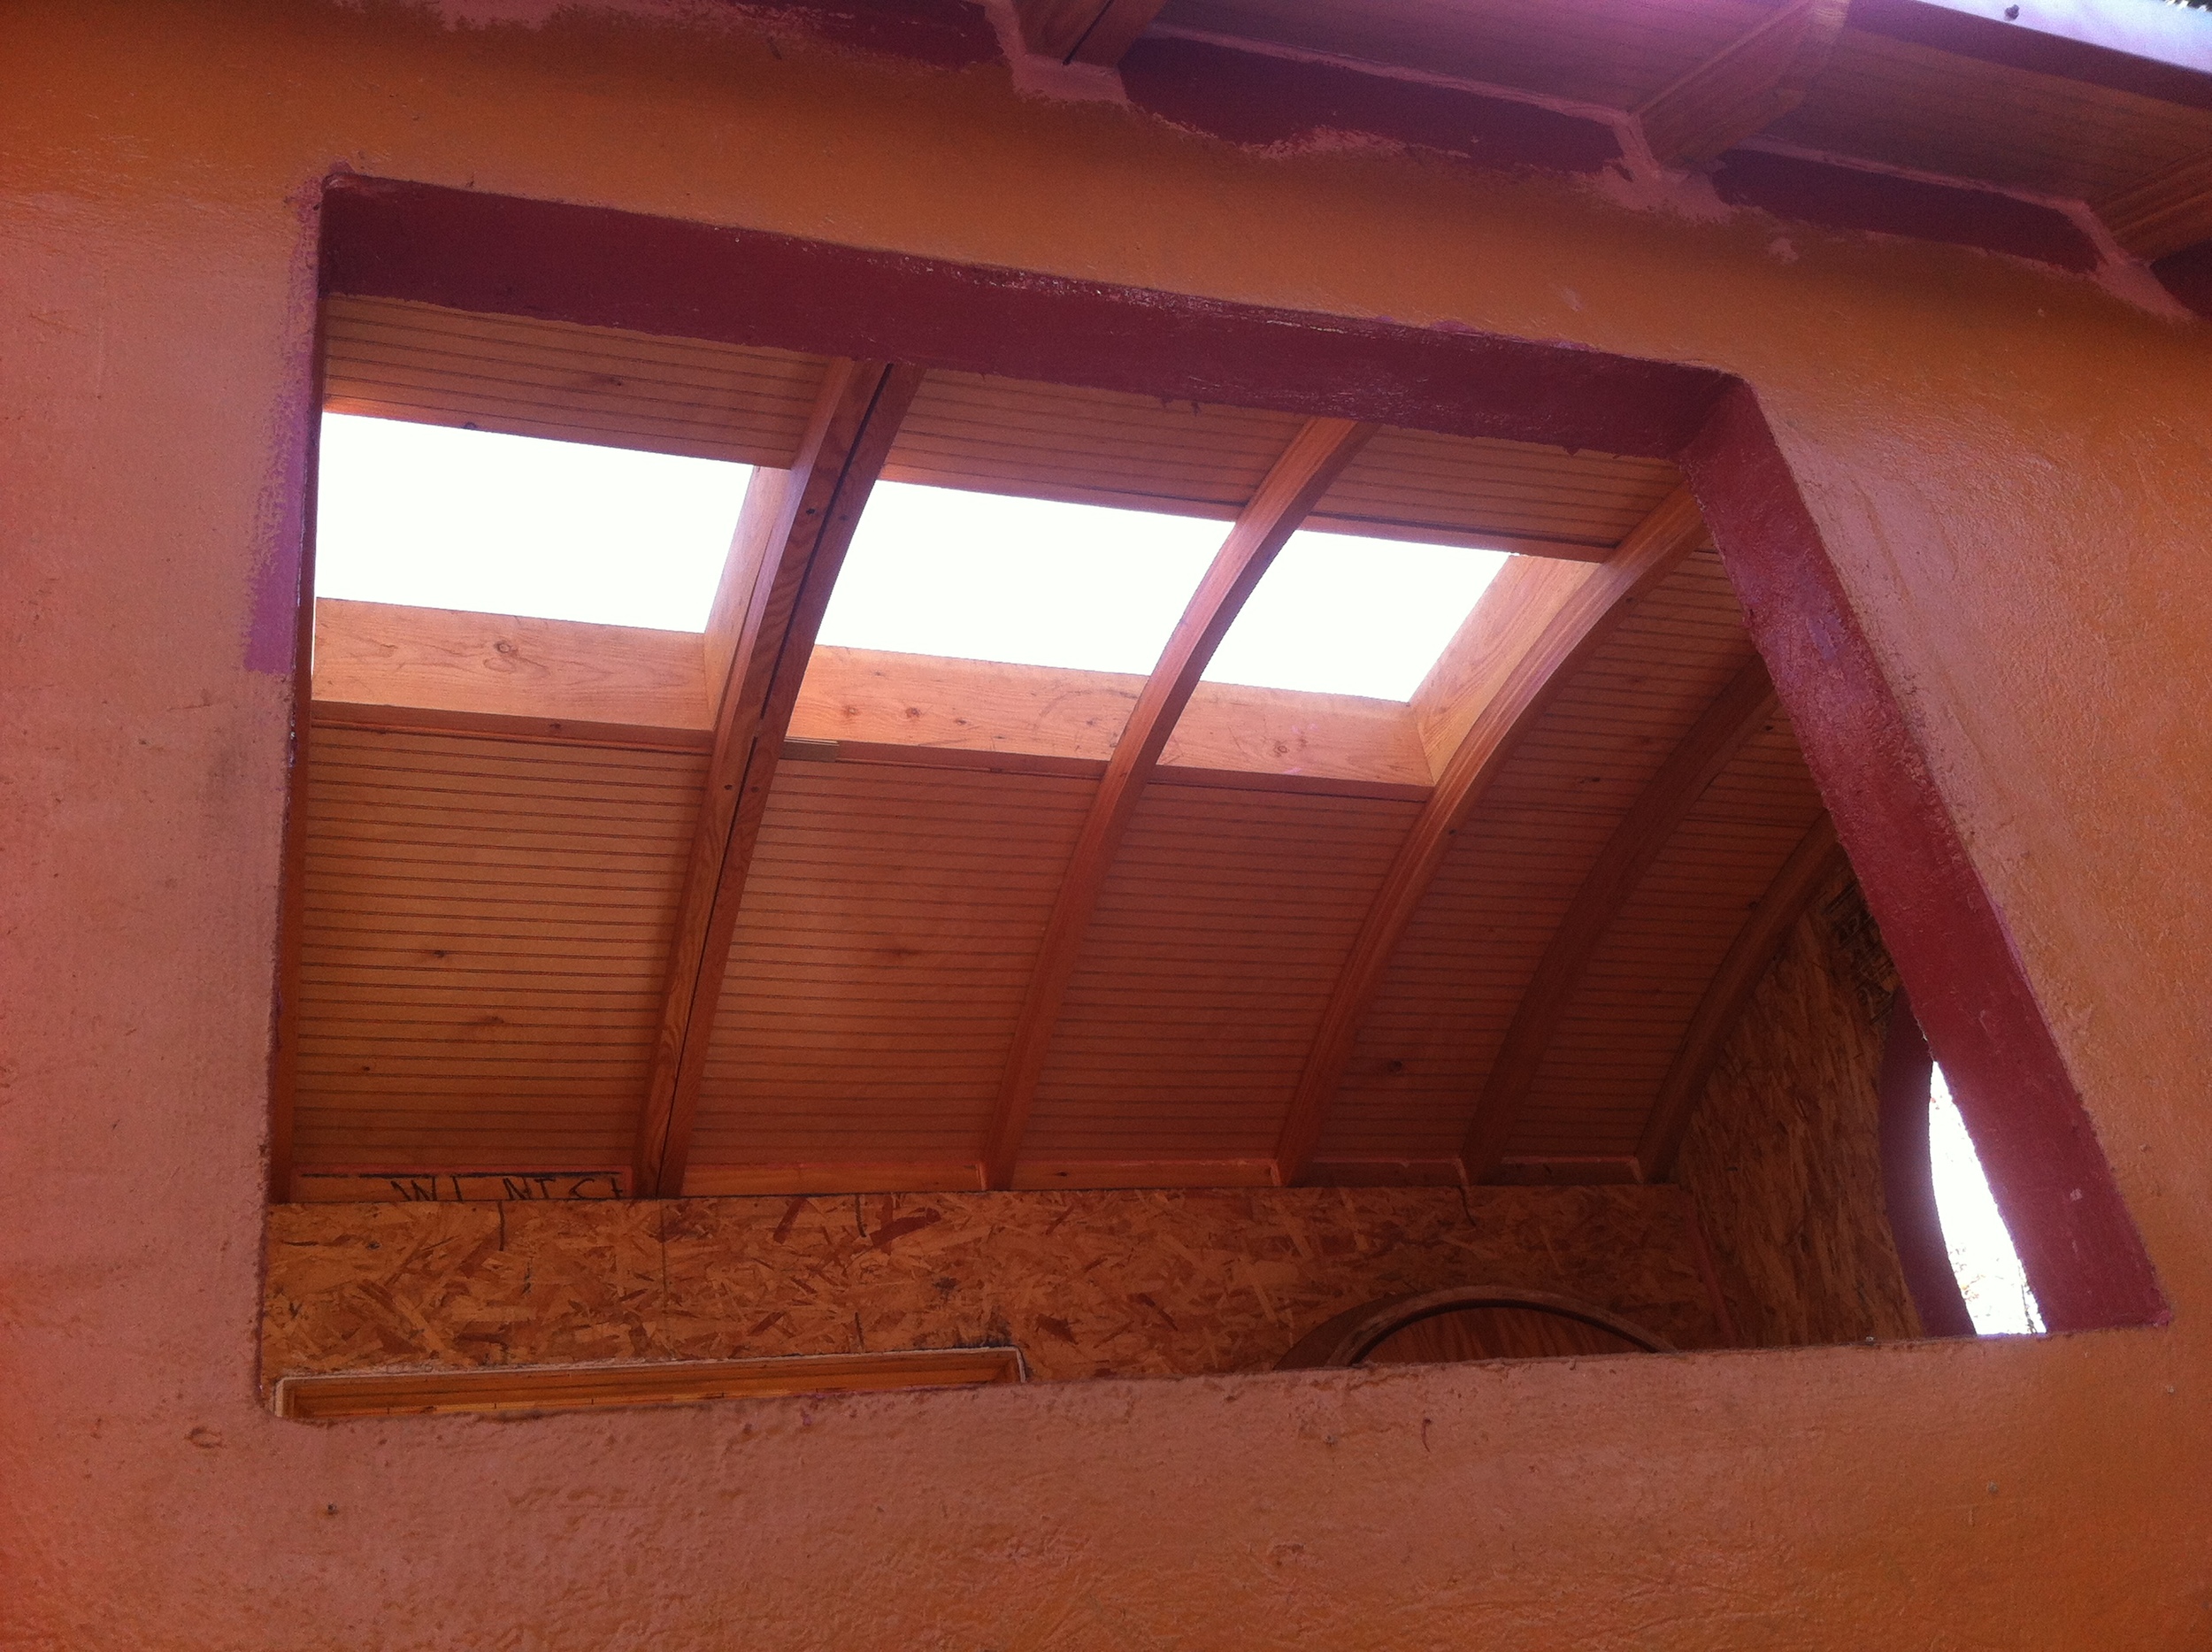
And they were fine with rain. But no so much with the wind. A gust of wind came up and caught one of the skylights and smashed it into the concrete, cracking the acrylic dome in several places.

my cracked skylight

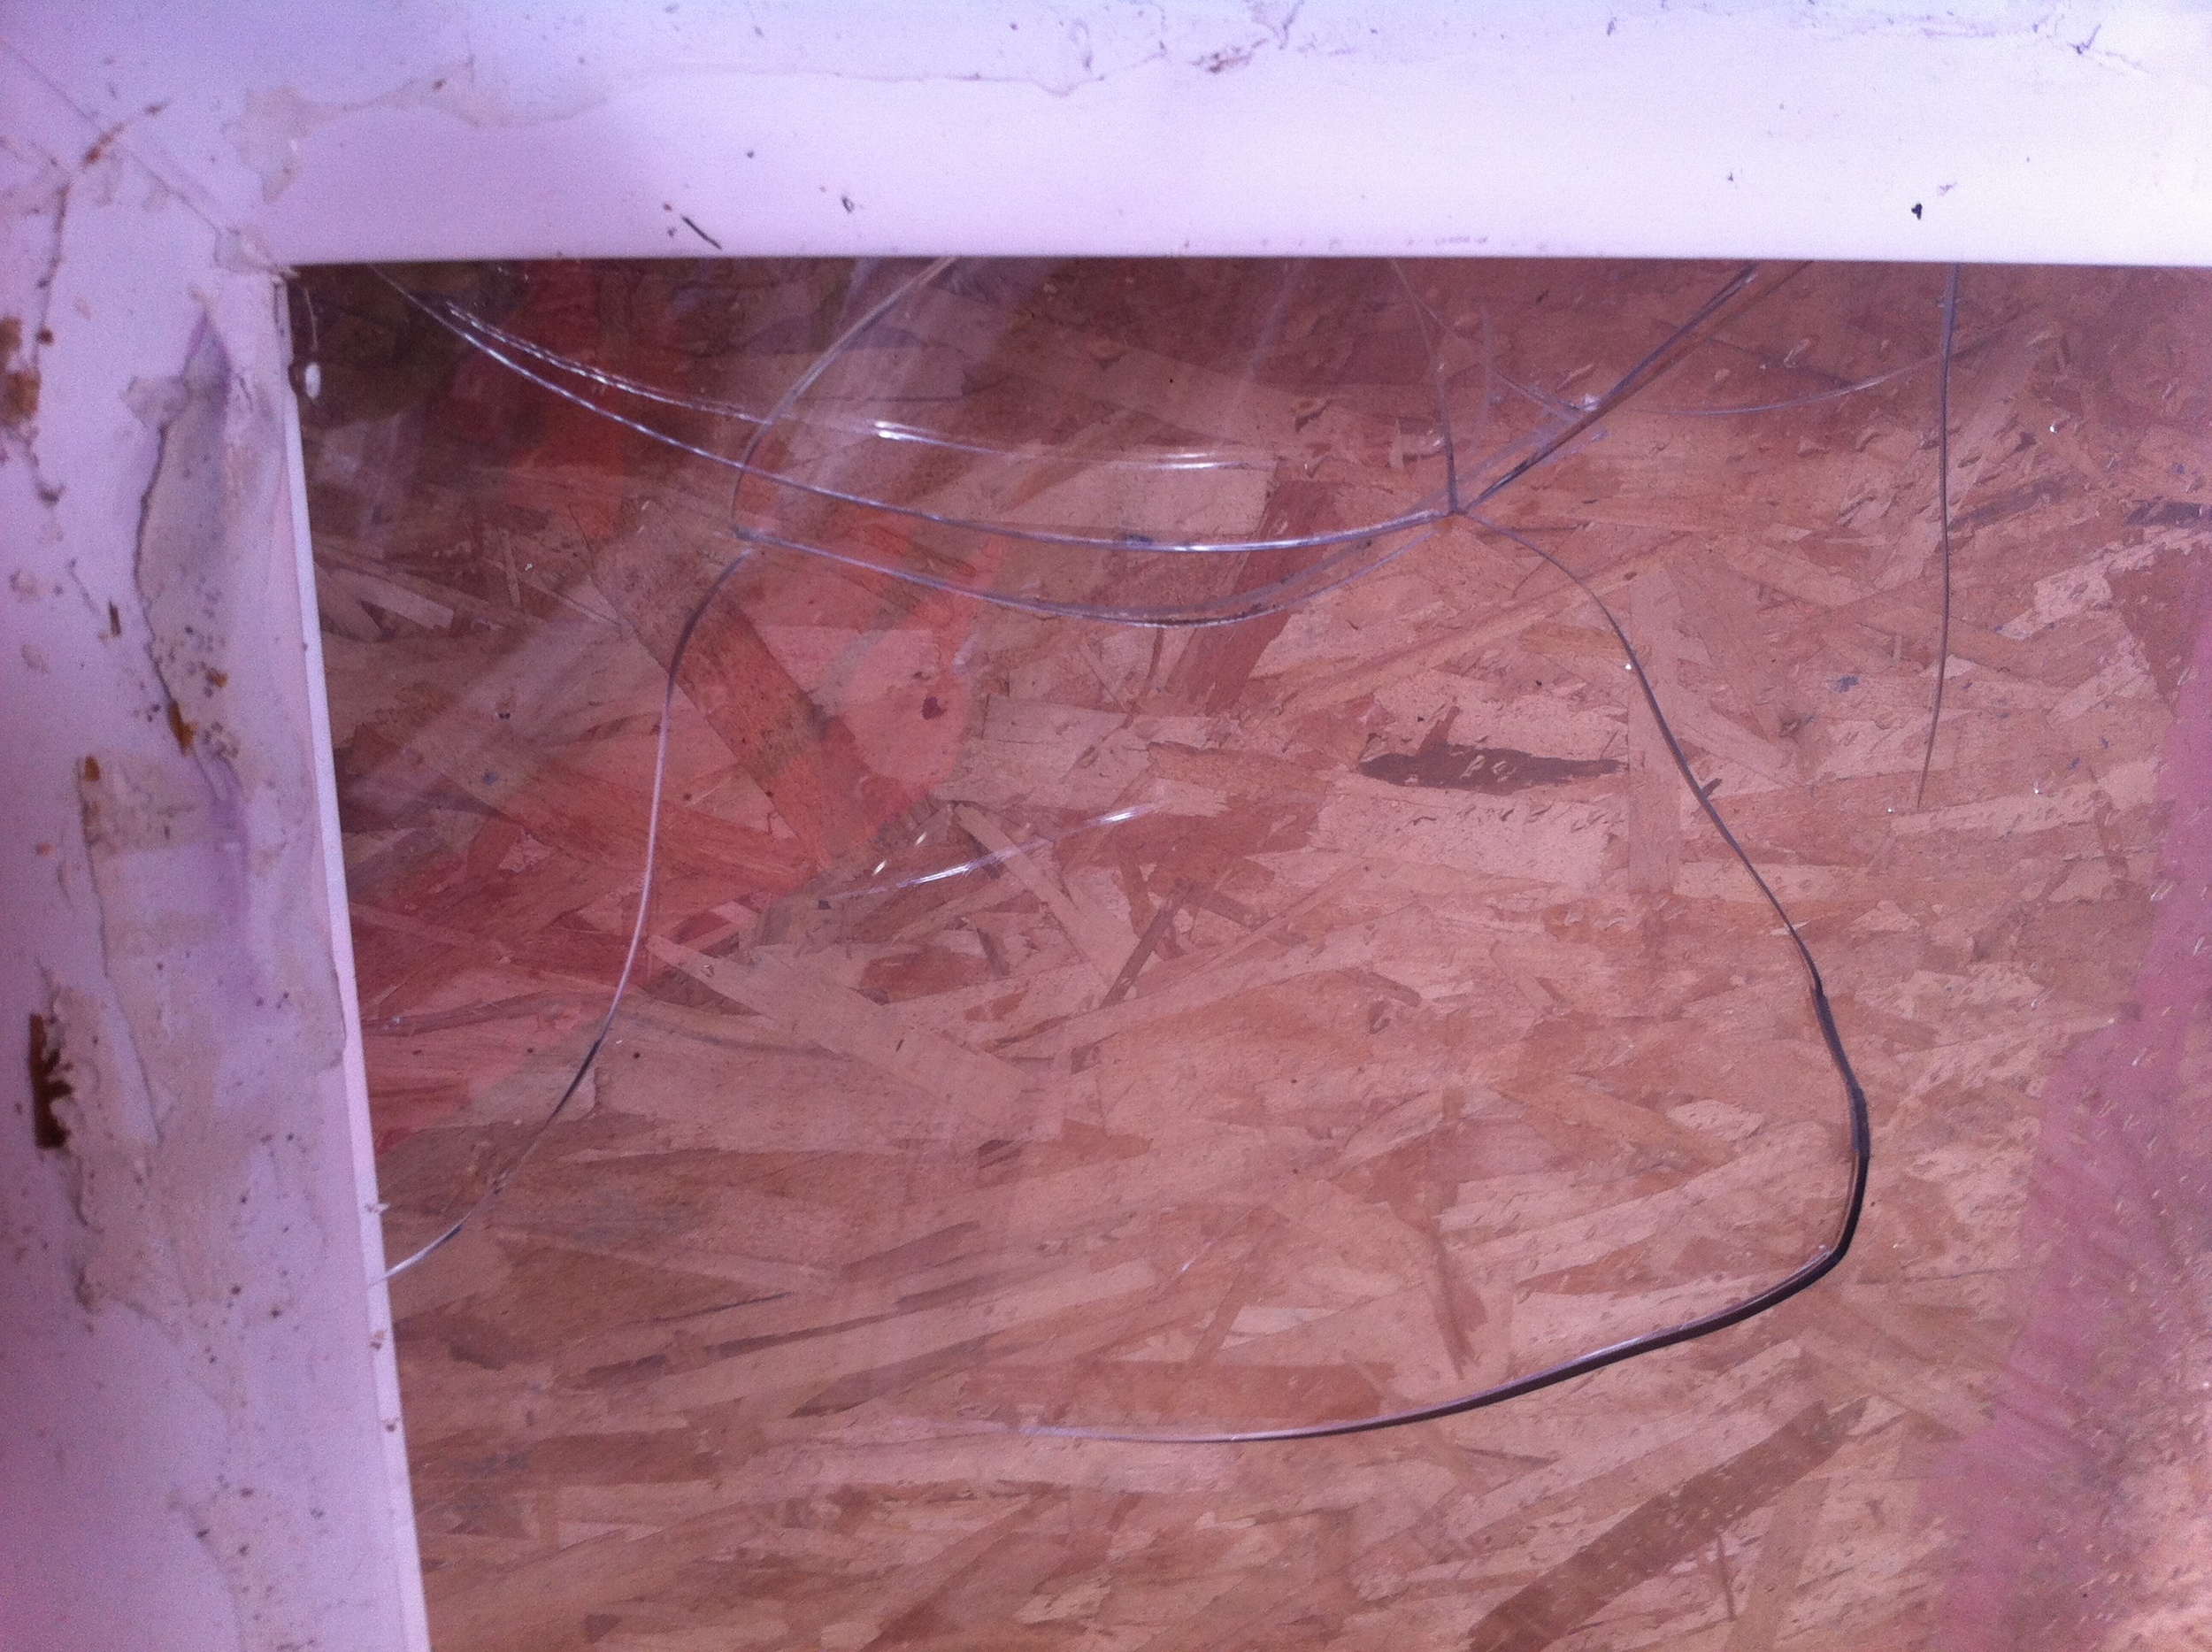
I was crestfallen. Not only because I'd gotten a great deal on these skylights from Mark at Natural Light Skylight Co. And not only because I was pleased to have diverted them from the waste stream since they're salvaged. And not only because I'd already Painted My Skylight Frames. Actually, I was most upset that this was the second skylight I'd broken!

In January when my build buddy Laura Klement and I had been scouting materials for our tiny house builds, I'd come across a dome skylight at Building Material Resources. I checked it over and it was in great shape so I brought it home, only to discover the next morning that it was cracked. I must have cracked it somehow while moving it from the store to Laura's car to its temporary storage spot. In any case, it wasn't useable anymore so I took it to the landfill the next day since I was helping a friend with a dump run.

I hated thinking that I was contributing another skylight to the landfill that was in perfectly good condition before it came into my possession! I began wondering if it was a sign from the universe that my mollycroft roof was doomed. I'd already considered removing the skylights from my vardo twice, but couldn't bring myself to do it because I was so looking forward to the feeling they'd create inside. Fellow tiny house builders had encouraged me to stick to my dream. Now I was wondering if I should just give it up.

Laura berry picking

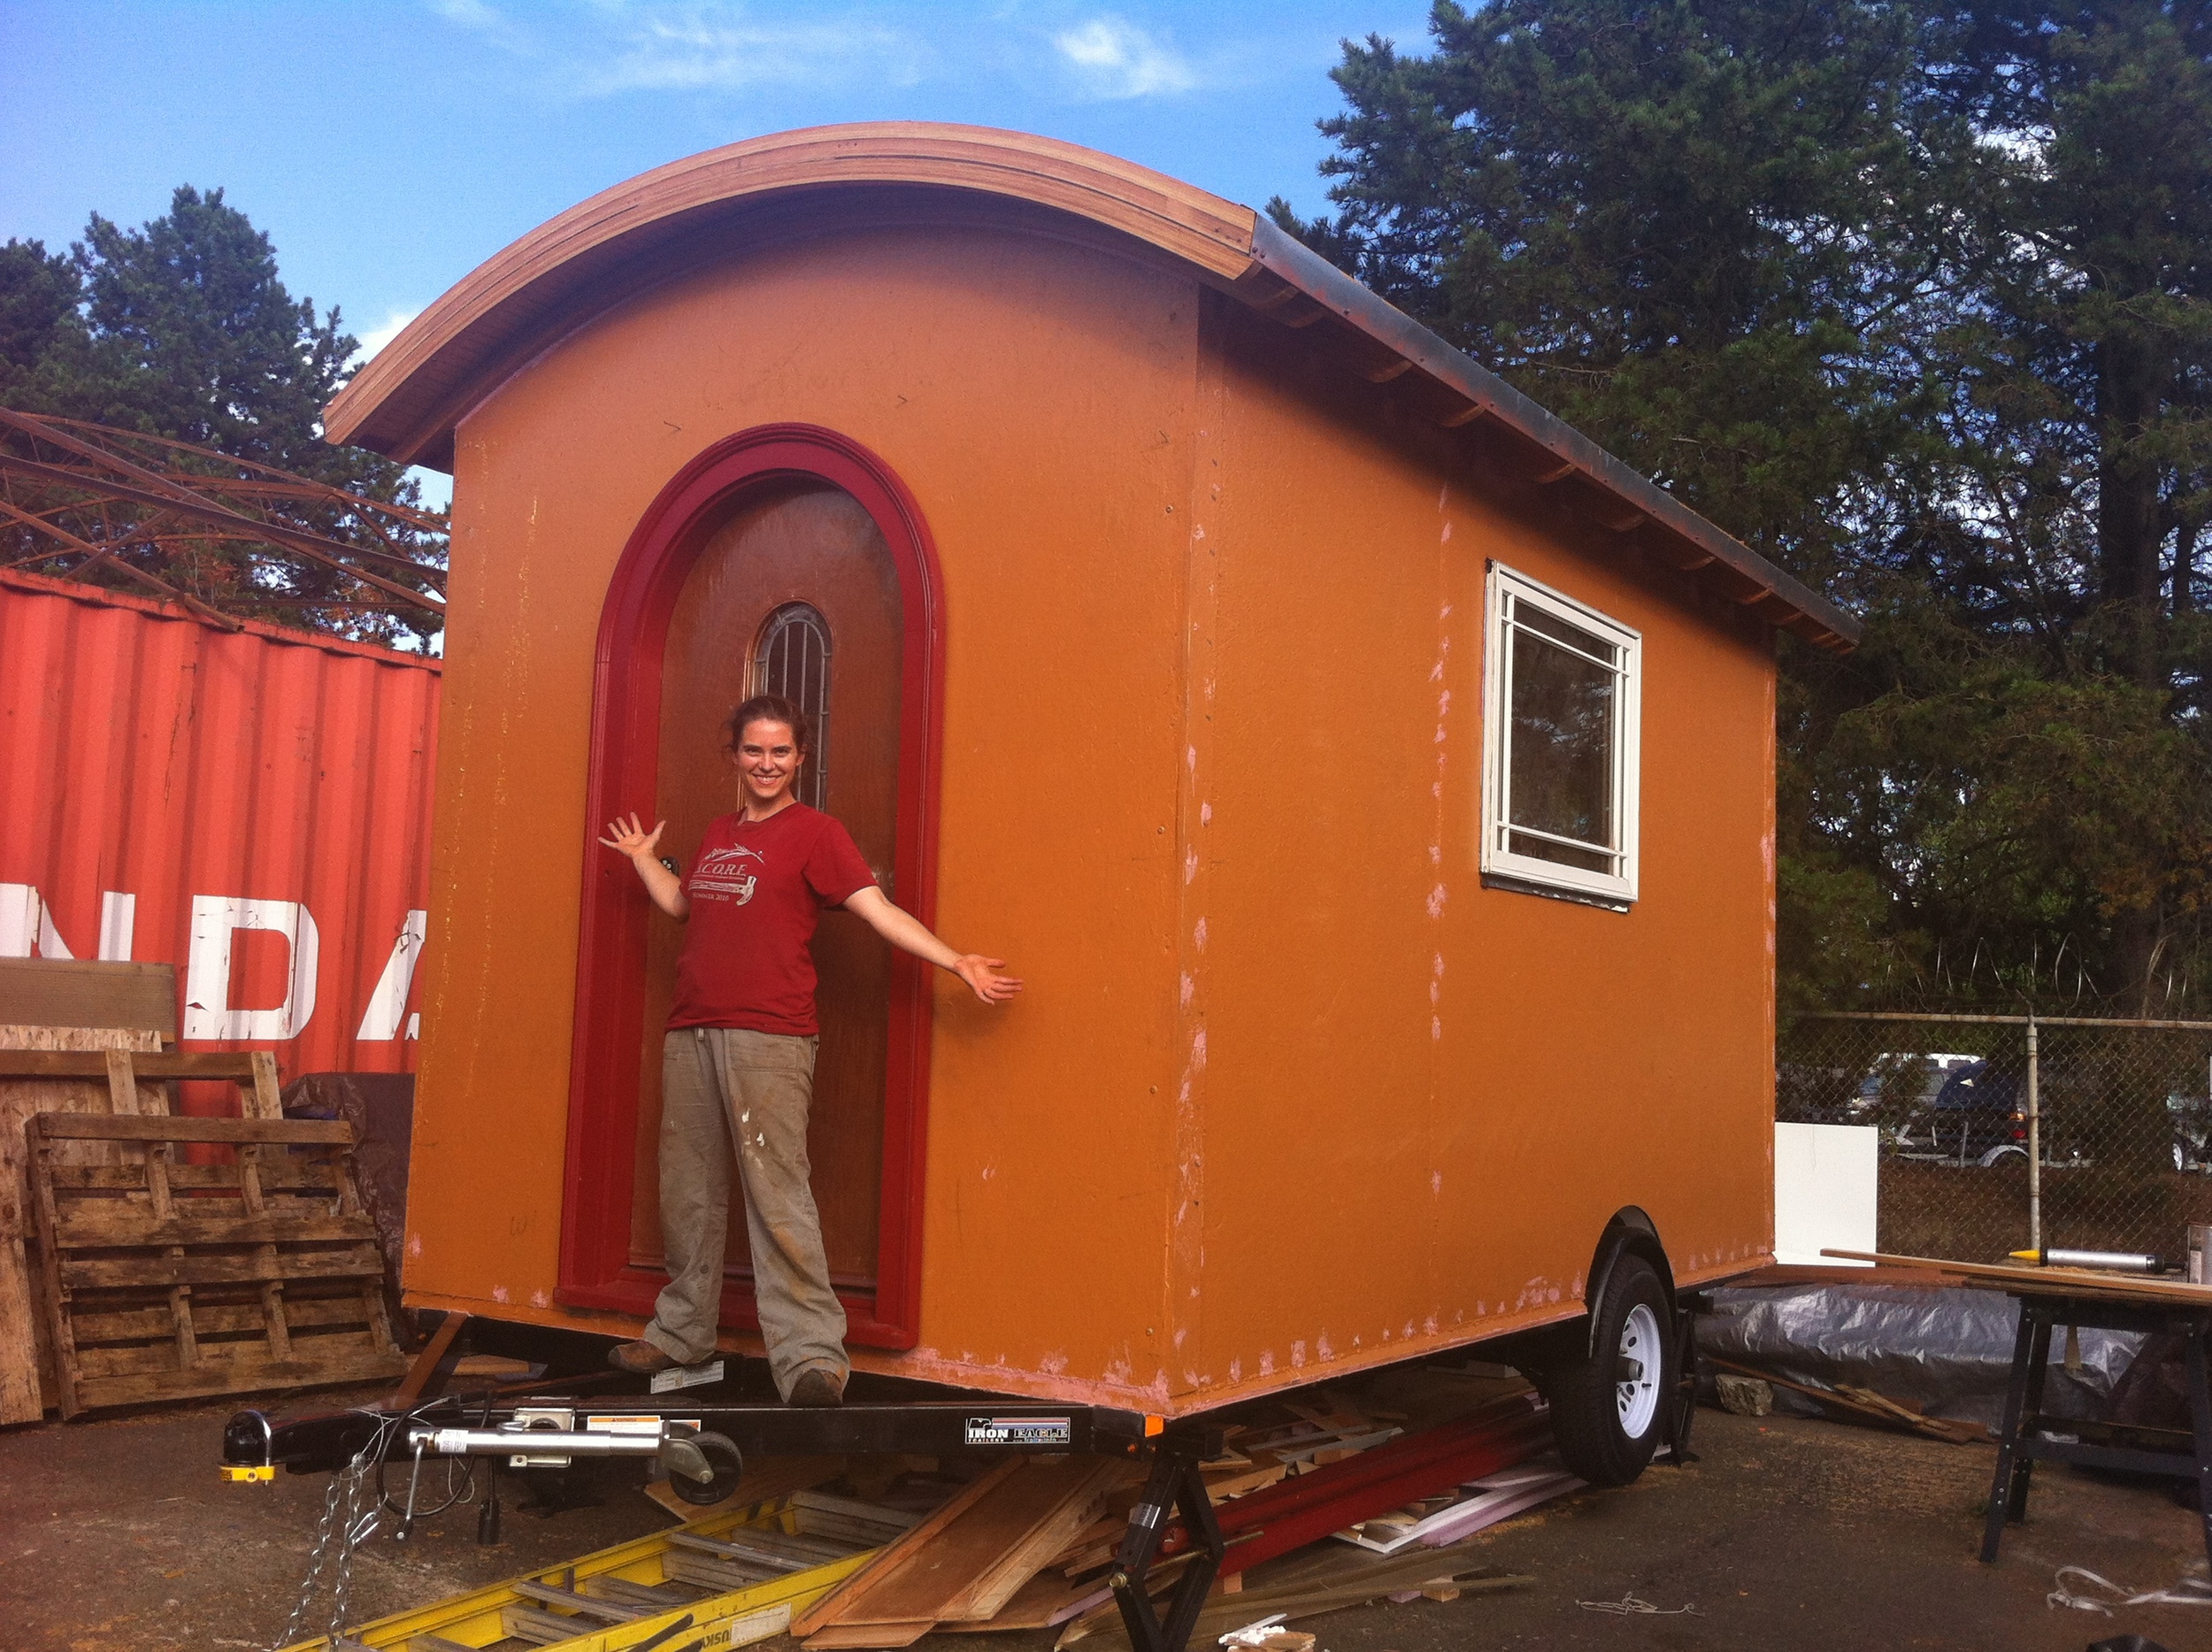
While I was wrestling with all of this frustration I was also attempting to appreciate that I had three really excellent people who had come to help me. We'd made good progress on the door and window. And here we were, all huddled in my house eating our picnic lunch while the rain - and hail! - battered my tarp. It was an adventure! And it was pretty cool being inside in the deluge! It will be really cool once I have skylights on the roof!

Nevertheless, we decided we were done for the day. So when Randy's rain-o-meter notified us of a relative dry spell from 1:12-1:23 pm we packed the trim away again (in no particular order - just like it had been before we sorted it!) I was afraid it would be floating in standing water since there were puddles everywhere, but it was actually relatively dry so we were able to get it put back just fine.

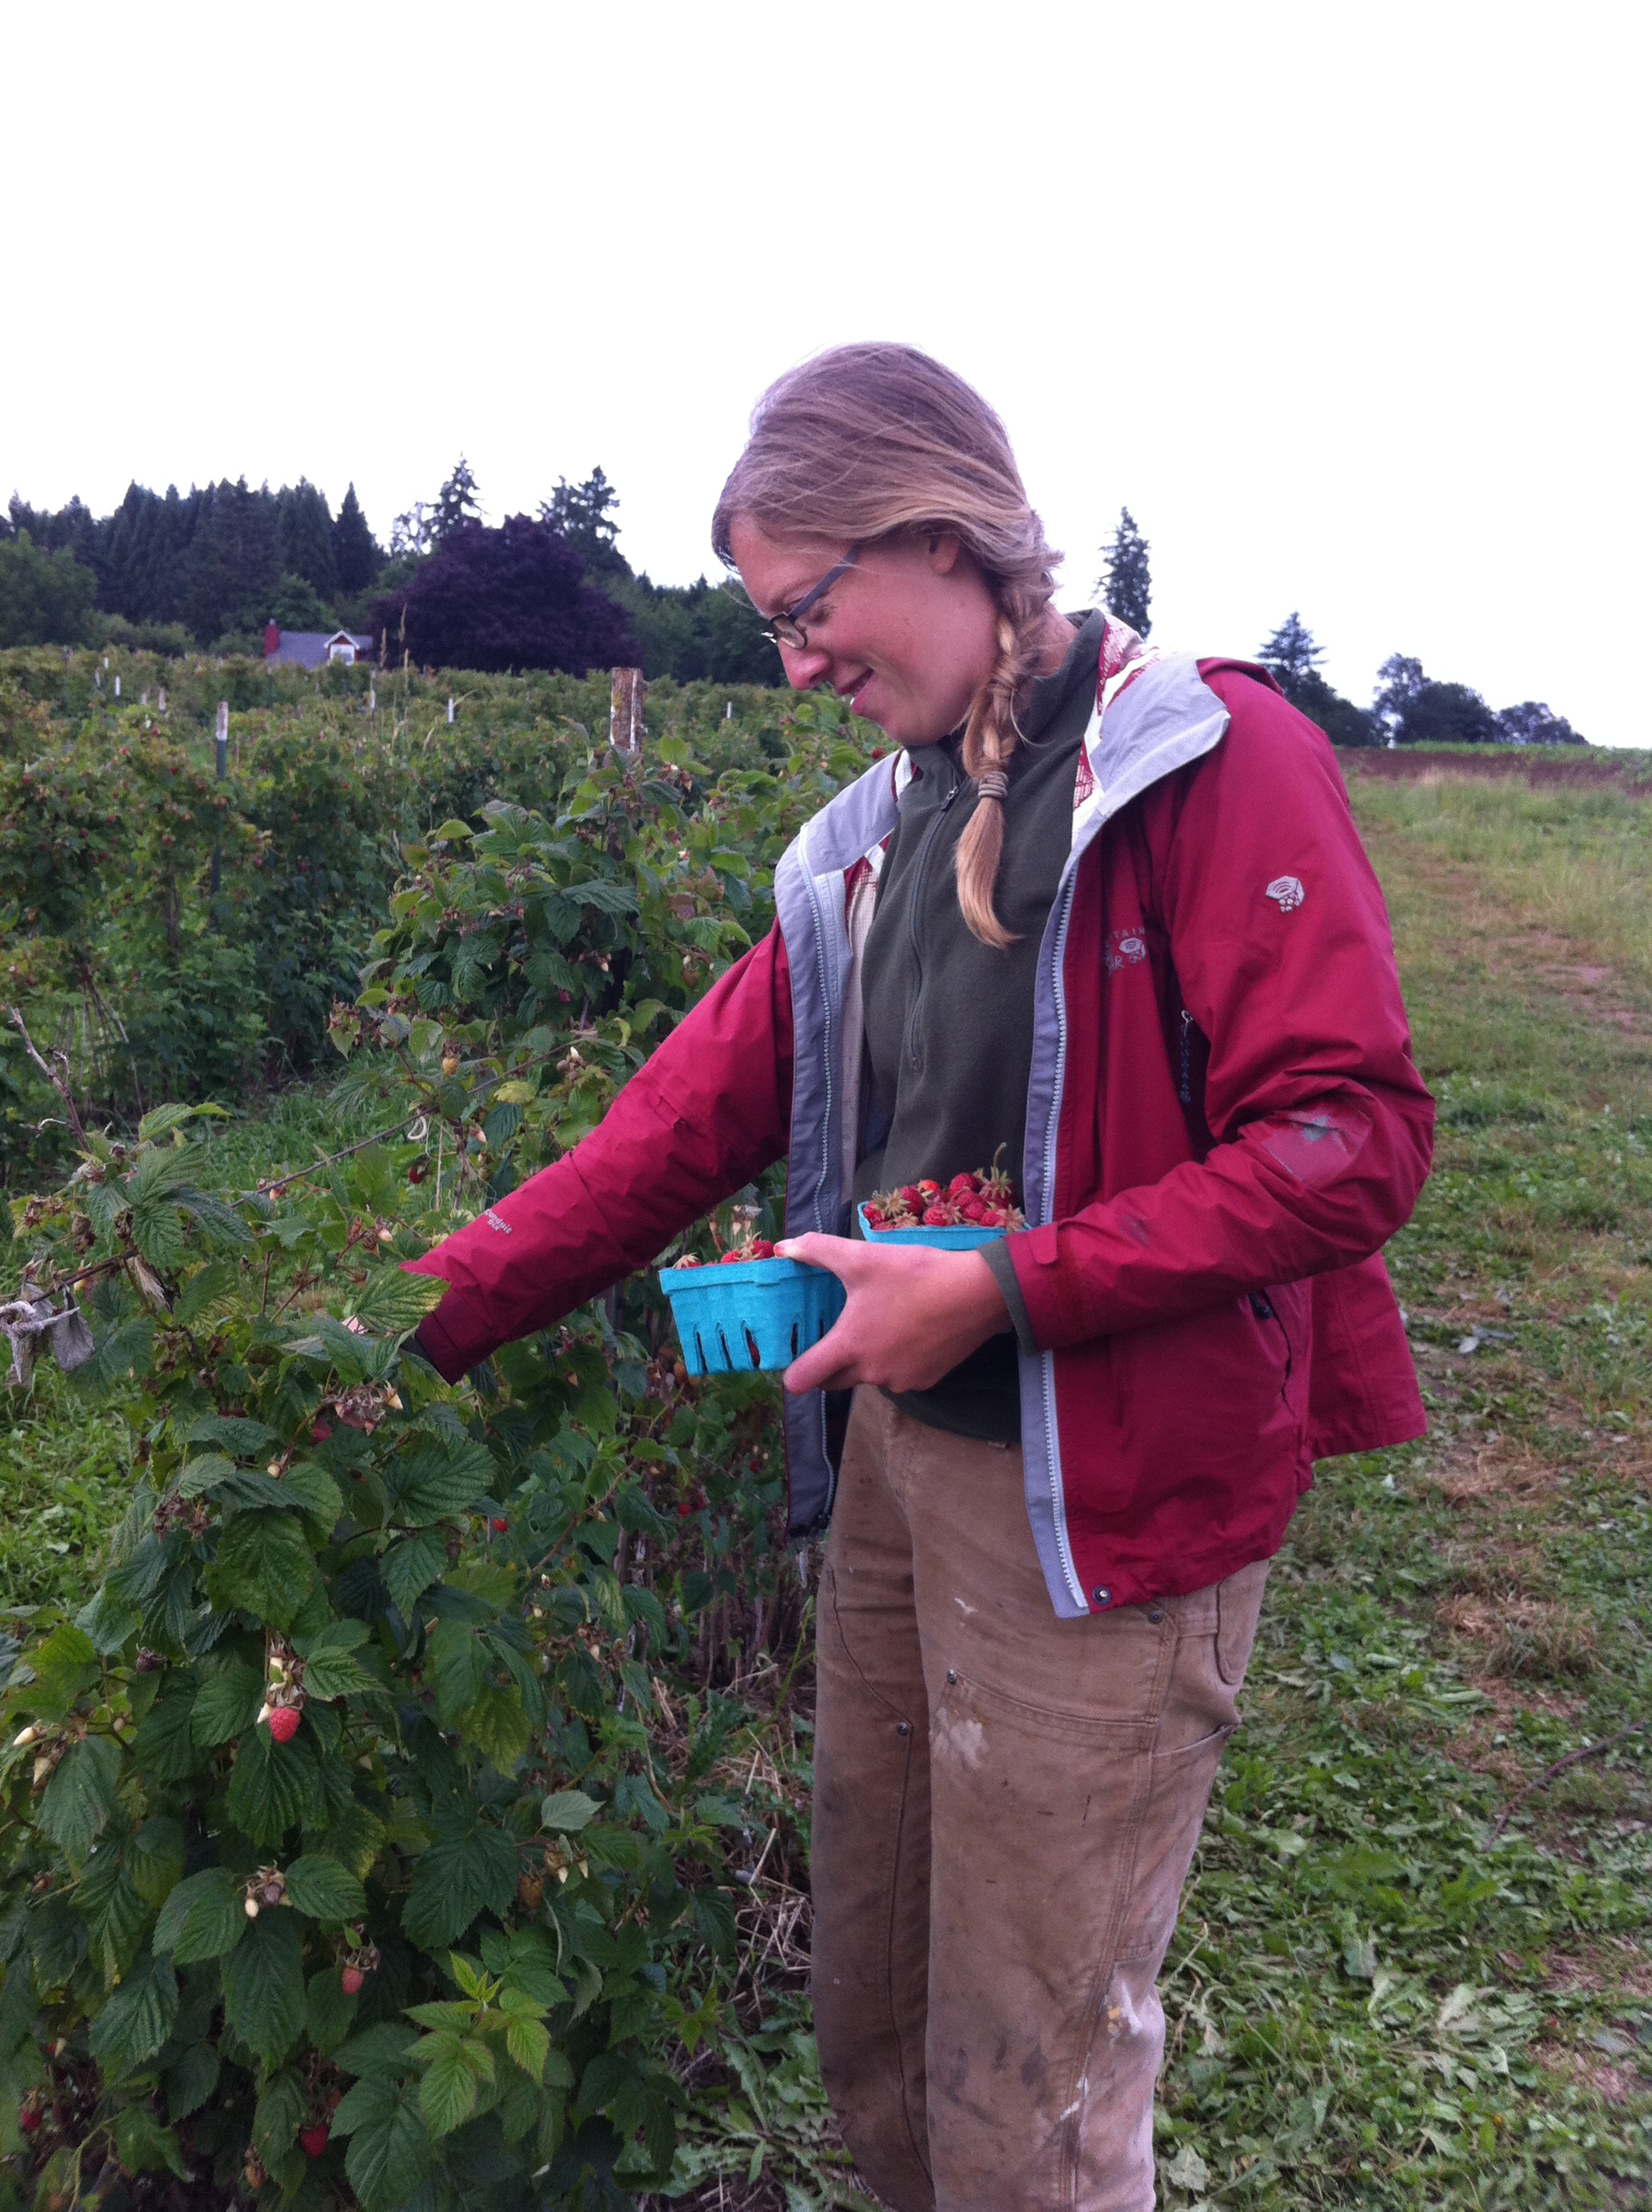
I was feeling grumpy and not quite sure how to rally. Fortunately, my build buddy Laura cheered me up by suggesting a trip to Sauvie Island. The rain had stopped by now (of course!) so we went to a u-pick strawberry farm. The berries were tiny and super sweet and the farm was beautiful so we had a great time picking pints.

Determined to make the most of the car rental, I ended my day by exploring several hardware stores and making a trip to Ikea. I enjoyed picking up a few supplies I needed and taking the time to wander the aisles to see if there were any new innovations I should be aware of.

Next weekend I'll be able to work on the tiny house all four days! So we should get the roof buttoned up and we may even get to start installing windows. I can't wait!

Day 6: Tiny House Windows

Today Noah (a friend from Whitman College) and Aaron (a friend from my grad program) came out to help with the build. Together we finished tar papering the house and then helped put in the windows. All the windows are now in their rightful places and they look great! We covered the edges of the window flanges with a waterproofing flashing so the exterior of the house is now ready for siding.

It's such a joy to have the windows in. This was a big step for me since windows add so much character to a building. Now it's starting to feel like a house instead of a construction project! I loved walking through the house this afternoon to get a feel for what it will be like to lounge on the window seat or to look out the kitchen window.

Meanwhile the roofing framer put up all the trusses and added supports for the roof's overhangs. I helped by cutting a few pieces for him and admired -  from a safe vantage point - his fearlessness about clambering around on the roof while using a circular saw to cut notches into the top of the roof rafters. The builders had to leave the site mid-afternoon for another appointment, so I helped tarp the house and we wrapped up early. A quiet evening at home and early to bed for me!

We've already cut the sheets of OSB for the roof sheathing so we're ready to put it up first thing in the morning. We're all eager to get the house dried in since the Portland spring promises plenty of rain.

Successful Window Shopping

When you're looking for windows instead of through them window shopping tends to be an expensive excursion. Fortunately, it wasn't nearly as expensive as it would have been if Jane had sprung for new windows. She decided to use salvaged windows for her tiny house for several reasons: she's interested in reusing materials to give them a second chance and keep them out of the landfill, she wanted to save money, and she enjoys the character of found objects. We're not going for the cobbled-together look that characterizes so many house trucks, but we knew that using some salvaged materials could give the house some quirky character. Jane likes Britt's Bungalow but feels like it's a little too straight-edge for her style.

So this week Jane and I made a trip to a nearby window liquidators to scout for windows for her tiny house. We had our wishlist in-hand but since we were looking for salvaged windows we knew that we'd have to be flexible about exact dimensions. We also knew we'd be taking a risk that some of the windows wouldn't be in ideal shape. So we set out determined to inspect everything carefully and to set some standards.

All salvaged windows must:

  • Be in good working order with all their necessary components
  • Have wooden interior frames or wood-clad interiors
  • Be double-paned and have screens
  • Open in the proper direction according to the tiny house layout

We found a fantastic 5-foot wide sliding door which will be the main door for the tiny house. We snagged a pair of windows that will make good dormer windows in the sleeping loft. We also selected several windows that will work for the kitchen windows. Jane considered purchasing one large new window for the window seat so that she could have exactly what she wanted, but she ended up deciding that going with a fixed picture window and two operable windows on the side walls would provide nice cross-ventilation while saving her several hundred dollars. All-in-all the windows and door cost just over $1,000 (about a third of what they would have cost new).

The design process is, of course, iterative, but having some constraints can actually help make the process more manageable since we're not starting with an endless series of choices. Besides, it's sometimes easier to design around a neat found object than to try to find exactly the right piece to fit into the plan, so the windows are a great find.

A Tiny Truck House

For a week earlier this winter every time I caught the bus on Alberta Street I admired the tiny house built on the back of a truck, which was sitting across the street at the transmission shop. I stood there and memorized it: the graceful arch of the front door and the window matching the curve of the roof, the brass clip near the door for hand-delivered mail, the wee windows, and the storage hatches tucked near the cab. When I had a long wait I'd tiptoe around the little wooden gypsy wagon and try to peep in the windows... with little success since they're high and I'm short. The folks working at the auto shop were protective of the little house so I didn't want to push my luck by asking for contact information. I could only imagine that the space inside was wonderful.

Luckily, the tiny house world is, well... tiny. This week I finally got to see the inside of this delightful little abode and meet its owner. In fact, I had the chance to swap tiny house tours with the fellow who built this little house on wheels a couple of years ago.
Entering John's house is like unwrapping a present. John's artistic touch is evident in every ledge, knob, and surface of his cozy home. Sitting on John's window seat on a rainy day, sipping tea, and talking for three hours about the process of designing this tiny house I was impressed by the high level of thoughtful consideration he committed to his live/work/play spac. While John's quick to give credit to the craftspeople whose expertise he relied upon, including Dee Williams, the design is very much his own. I was particularly fascinated by the details that make John's place uber multi-functional. His desk can convert to another sitting space or a dining bar. His bed also serves as extra lounging space. His mom used the window seat as a bed the last time John took her and the house for a road trip. There are little latches that hold the drawers under the window seat closed while the house is in motion. The space under the bed provides easy access from the inside for pantry staples and deep storage for camping gear, accessible from the outside. Did I mention that this house is only 14 feet long?!
John is probably my nearest neighbor if you count only tiny house dwellers. I feel very lucky to have found him since it's always a joy to "talk shop" with someone who shares my passions. It was fun to have John over for tea at my little place, too, and to show him drawings of my tiny dream home. He's already given me plenty to consider as I revise my tiny house plans.
In a future post I'll share more about the tiny house design considerations we've discussed. For now I wanted to introduce John and his wee house, Polymecca. John's house will be on this year's Pedalpalooza Tiny House Bike Tour in June. Mark your calendar for June 24th so you can see it, too!