 We (almost!) finished the tiny house's exterior last week. Eli has found a professional painter with all the equipment to paint the tiny house in just a day. So on Monday I caulked big gaps and primed the battens and trim to prep for the painter. Simon - who is quite an artist in addition to being a great site supervisor - is letting some thoughts percolate for the time being about the design details for the upper portion of the gable ends. Of course, we still need to install the metal roofing, too, but I won't be able to do that by myself. Manda and Simon have been super busy over at the Cully Grove site since the framing has begun over there now. In the meantime, I shifted my attention to the interior of the tiny house and solo projects.
I started out the week by clearing out all the building supplies we'd been storing in the tiny house and cleaning it up. After sweeping and vacuuming, I caulked the floorplates to the floor, studs, and sheathing. I also installed the door knob so that we can close up the house at night. Then I got going again on the rough electrical. Eli did a walk-through over the weekend and had a few modifications and additions for electrical switch and outlet boxes so I set those in place Monday. The electrical additions required a few more holes to be drilled through the studs so I've become pretty handy with the right angle drill. (Manda informs me that it's actually a "hole hog," but I like the idea of Going Whole Hog on the Tiny House!)
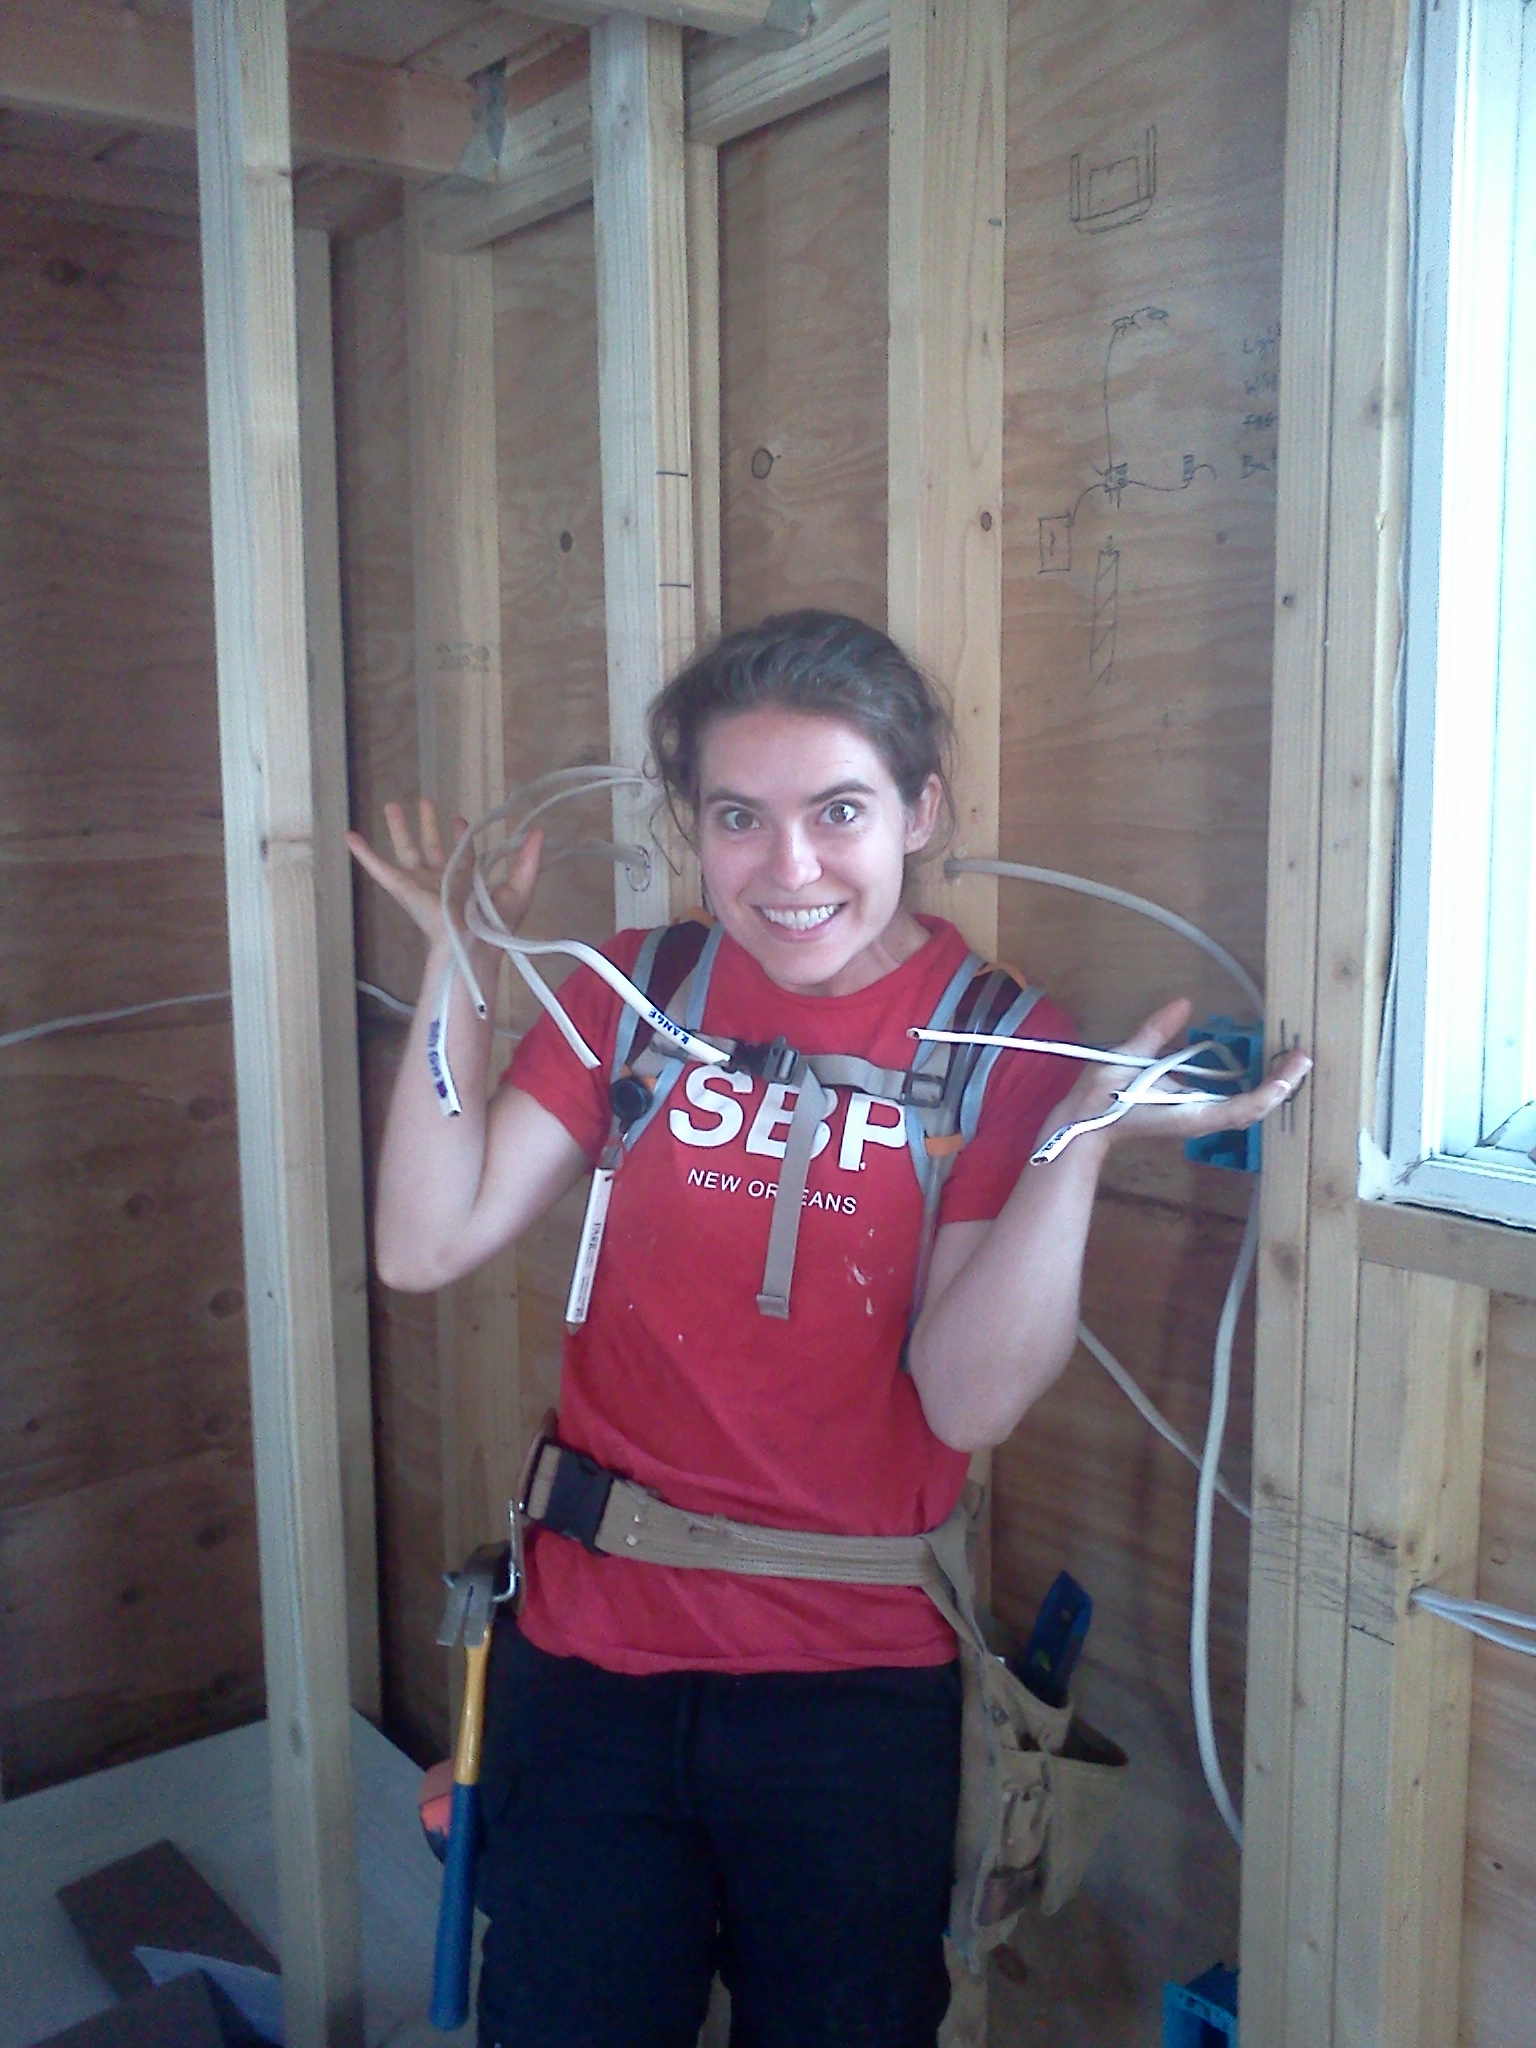
With the thumbs up from Eli I was able to pull the wire Tuesday. (I realized there was a good reason Eli suggested making my runs as straight as possible - it's much easier to actually pull the wire that way!) We're using a 12 gauge wire with 4 circuits. There's a dedicated circuit for the 10 gallon tank water heater and second for the range. A third circuit controls the bedroom and bathroom lights, outlet, and exhaust fan. The fourth circuit is for switches and outlets throughout the rest of the house. I've labeled the wires to make it easier for the electrician to connect everything once we've finished out the walls.
Running wire was a good logic puzzle and by the time I had to leave for my Real Estate Construction class on Tuesday, I had a long list of questions which Simon helped me answer on Wednesday. I enjoyed my crash course in electrical. Turns out I enjoy pulling wire and double checking that my switches and lights are all wired properly. Of course, now that I've got the hang of it, I'm finished with rough electrical, but I'm eager to give it a go again soon!
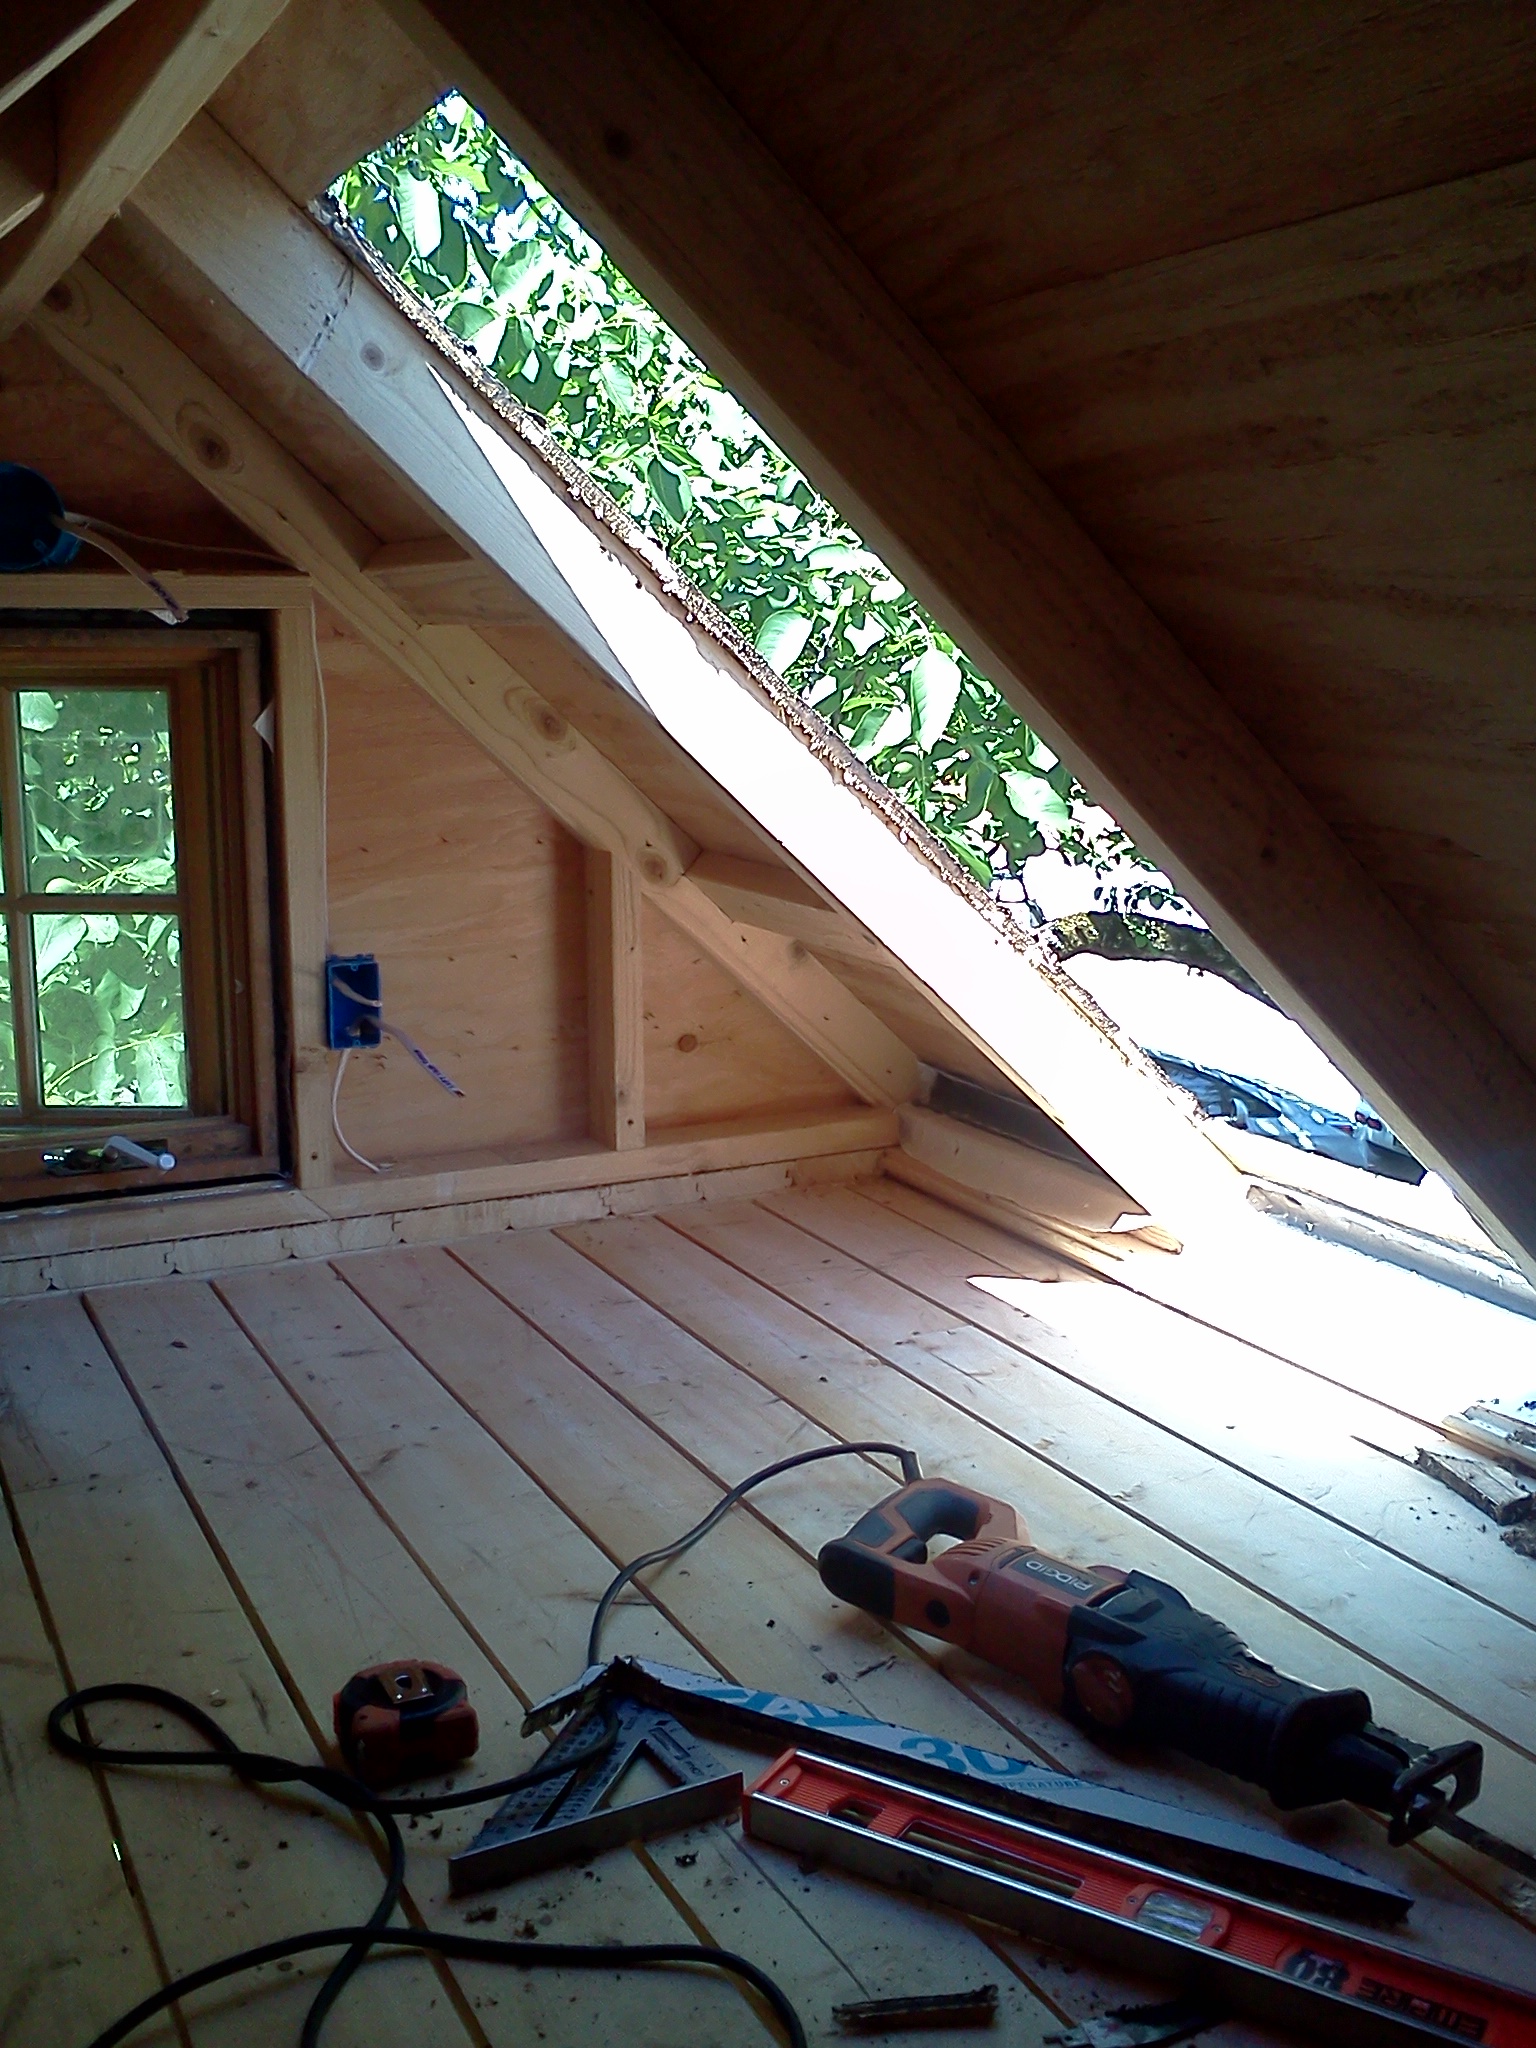
Eli also asked us to install the skylight over the sleeping loft so we can start on the roofing. I marked our rough opening, but I was nervous about using the sawzall, especially in such a confined space and at an awkward angle. The sawzall and the table saw are the two power tools I'm still not quite comfortable with because I hear horror stories of professionals doing serious damage with them. Certain power tools demand respect and I intend to be respectful! So I decided to wait for some coaching.
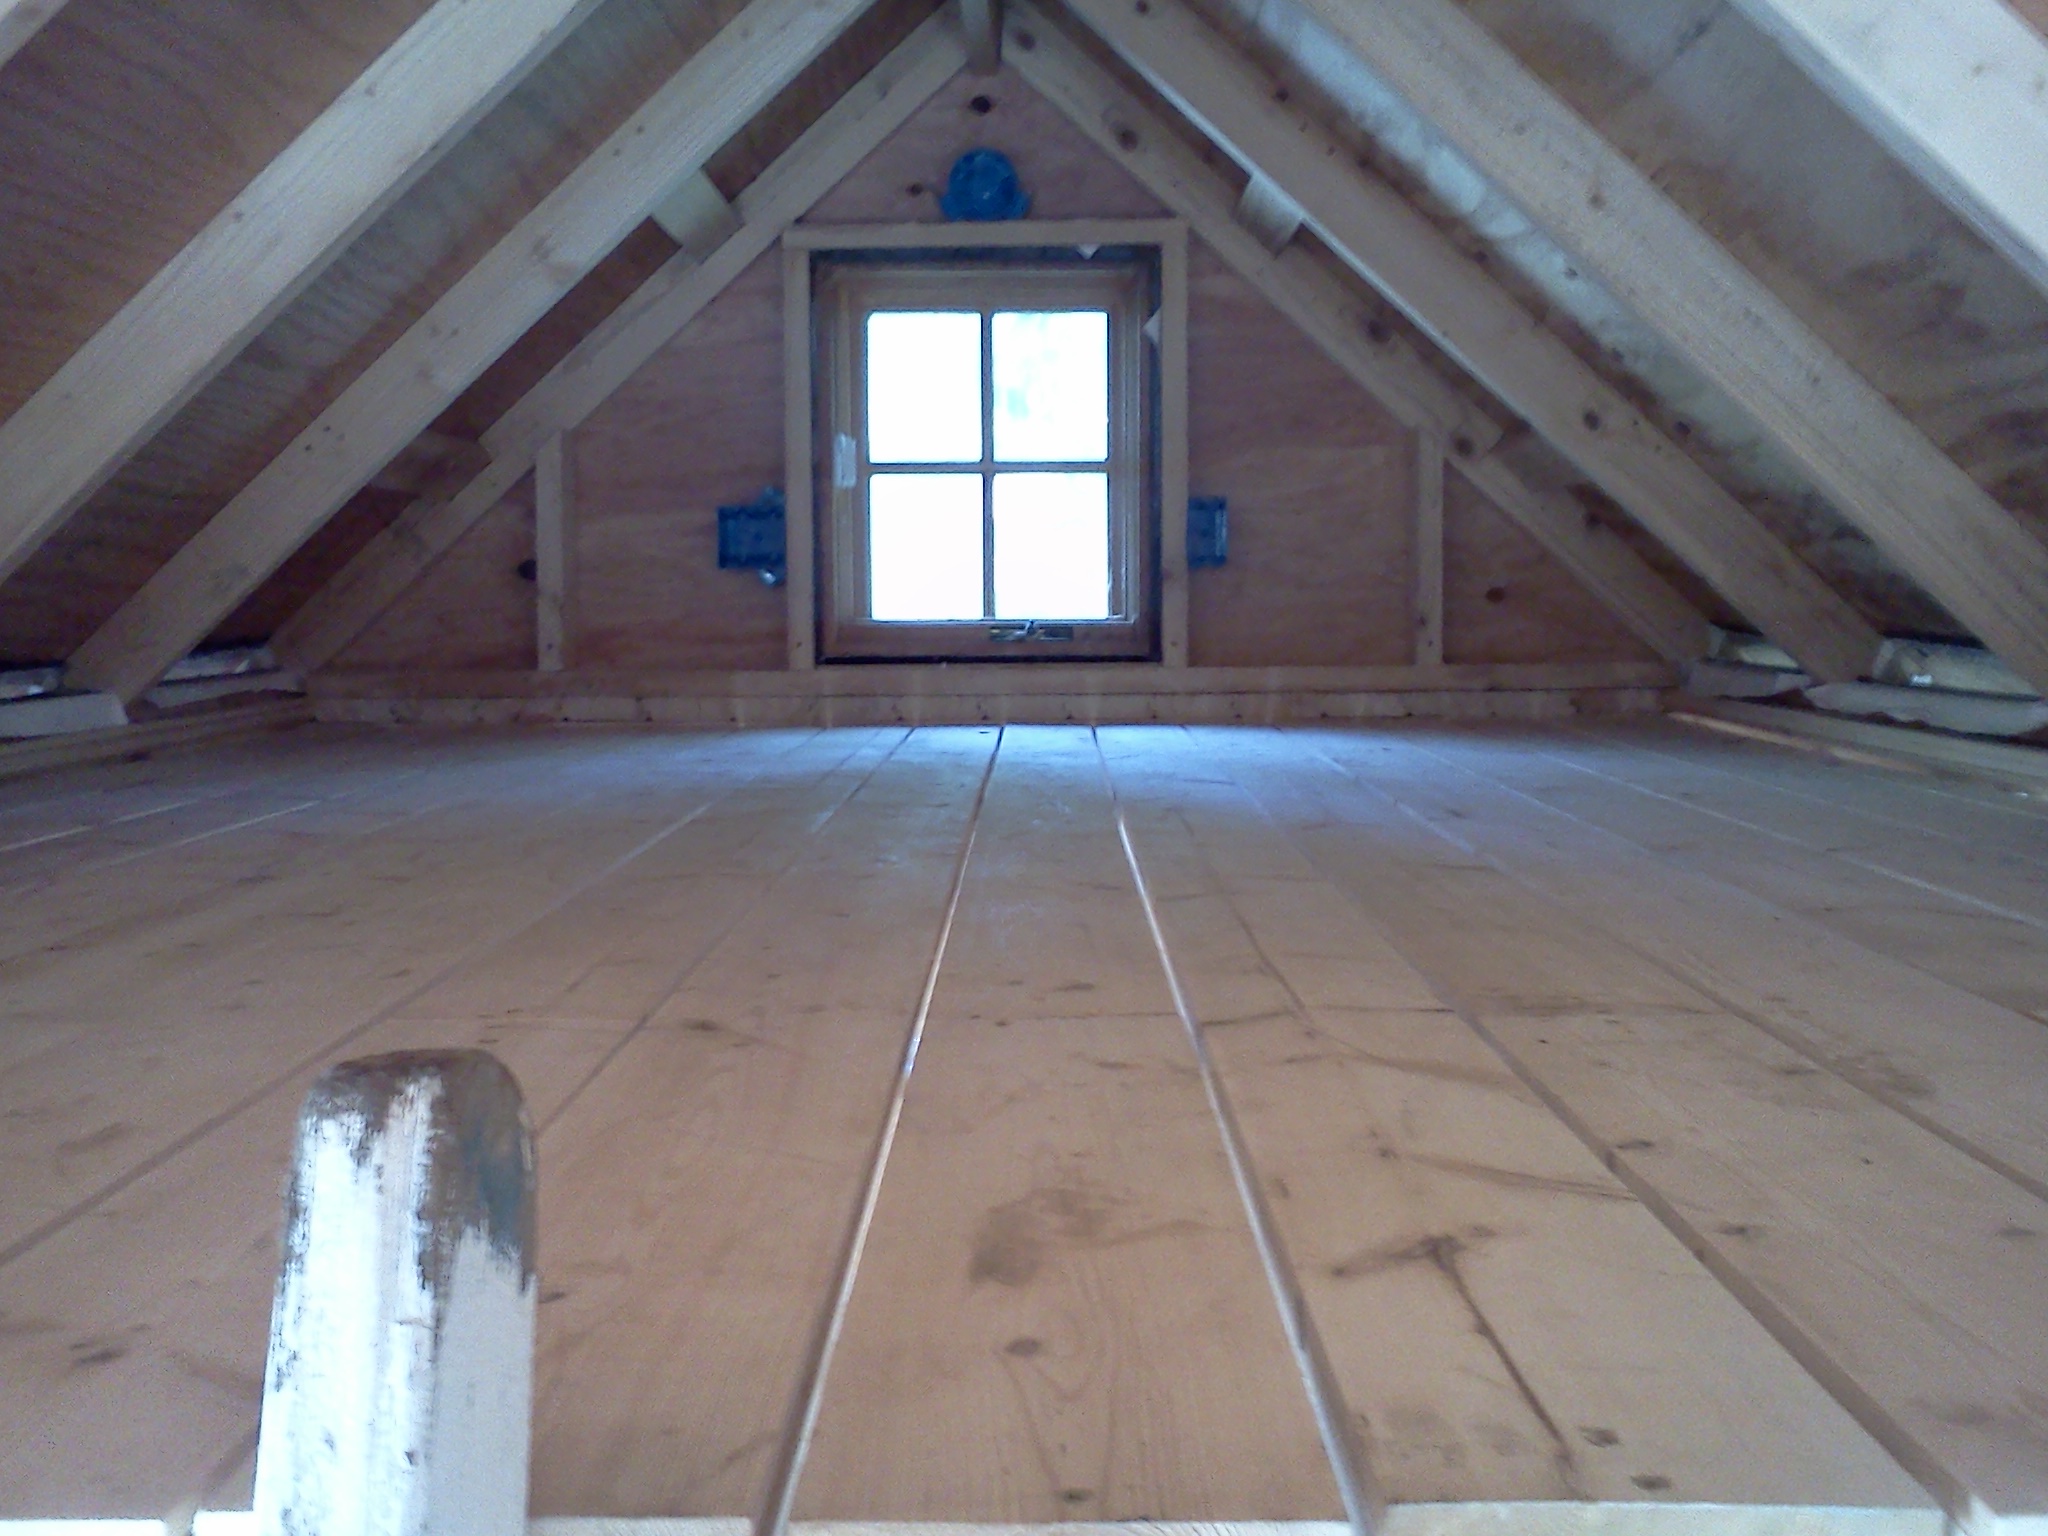
Fortunately, Manda had some down time at the Cully Grove site yesterday afternoon so she taught me how to use the sawzall safely. Simon helped us set the skylight in place and fix it to the roof sheathing. It's amazing how much the skylight opens up the sleeping loft. Once again, I'm convinced that skylights are the trick to creating a feeling of spaciousness. It's my new favorite feature of the tiny house!
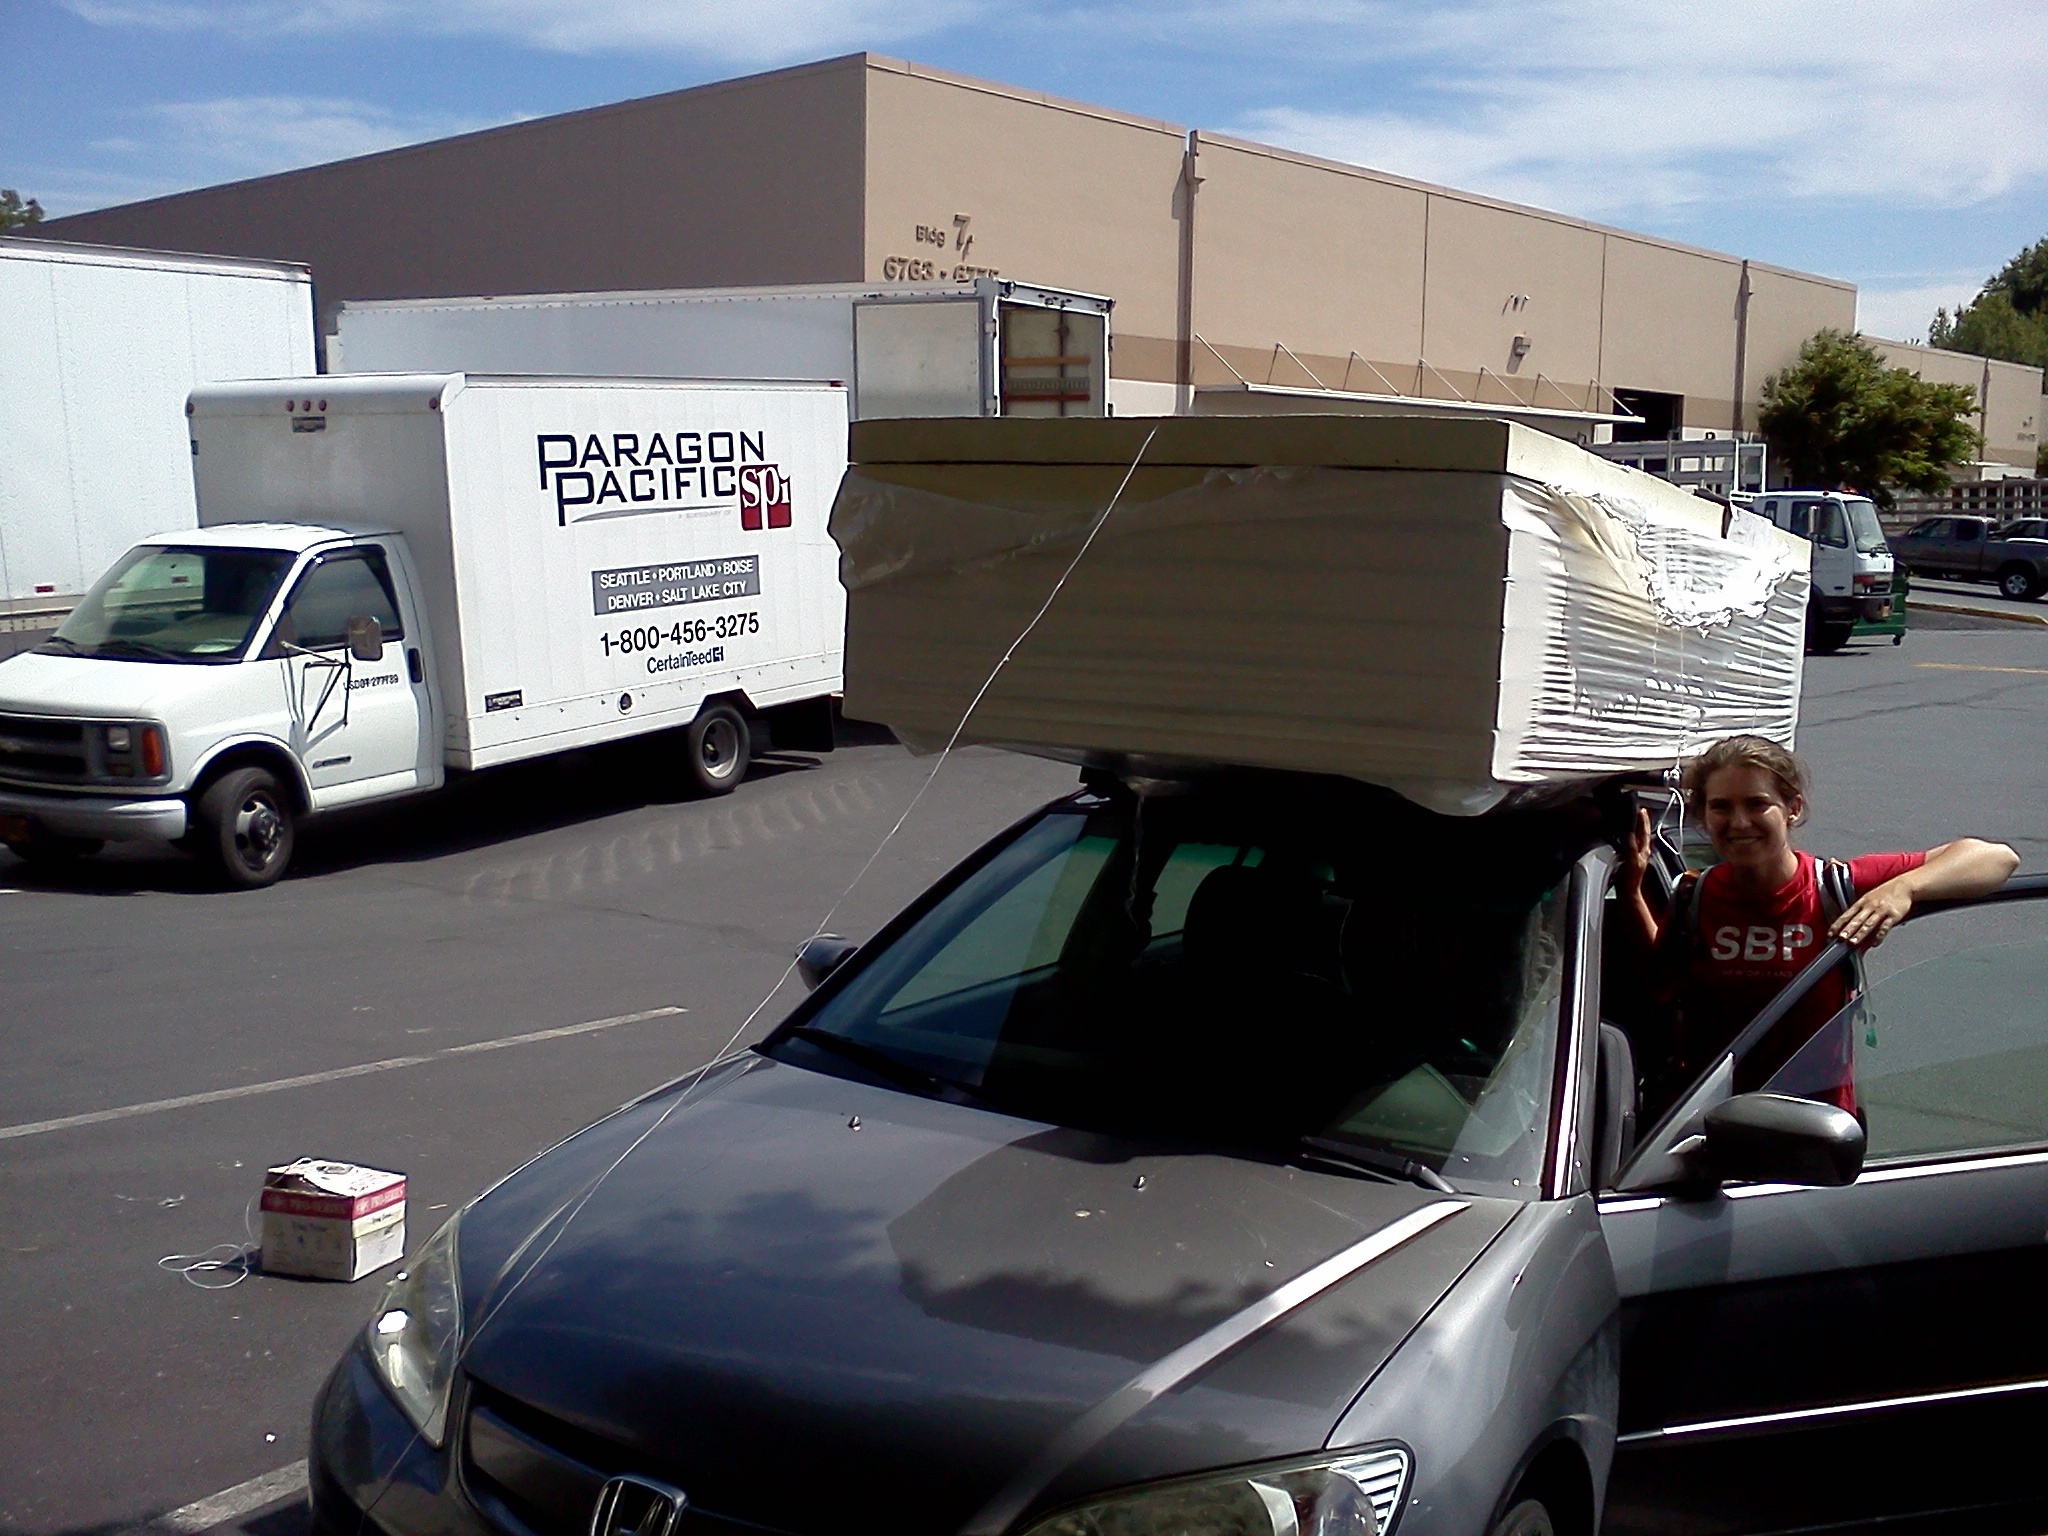
Today I did a supply run to pick up 14-3 wire for our 3-way switch, nail plates to protect our wire from puncture wounds when we install the interior finish, and the insulation for our ceiling and walls. Paragon Pacific has a crazy-wonderful selection of insulation, including this 3 inch rigid foam we'll use for our ceiling. I loved loading up the Getaround car with a heap of insulation. It reminded me of the IKEA commercials. Tee, hee!
I've realized this week that one of the strange things about building a tiny house is that I don't have a chance to perfect any of the building techniques. Just as I get the gist of hanging siding, running wire, or cutting rough openings with a sawzall we've finished up that step and moved on to the next one. I imagine by the end of the summer I'll be a true Jill of all trades. Fortunately, I anticipate there will be plenty of chances to apply what I'm learning to other tiny houses! I learned a lot this week and next week it's on to a whole new skill set...


