Today we celebrated the hard work, incredible creativity, and mad building skills of our students as we wrapped up Tiny House Design-Build. As I've noted previously in Less is More Wrap Up and Tiny House Design-Build Wrap Up, Presentation Day feels like Xmas morning to me! Watching the activity of the design studio the night before Presentation Day is a bit like hanging out in Santa's workshop on Xmas Eve. It leaves one with a night of excitedly disrupted sleep, curiosity brewing about what will be revealed the following day.
Kicking Off Tiny House Design-Build 2016
Home Again at Yestermorrow
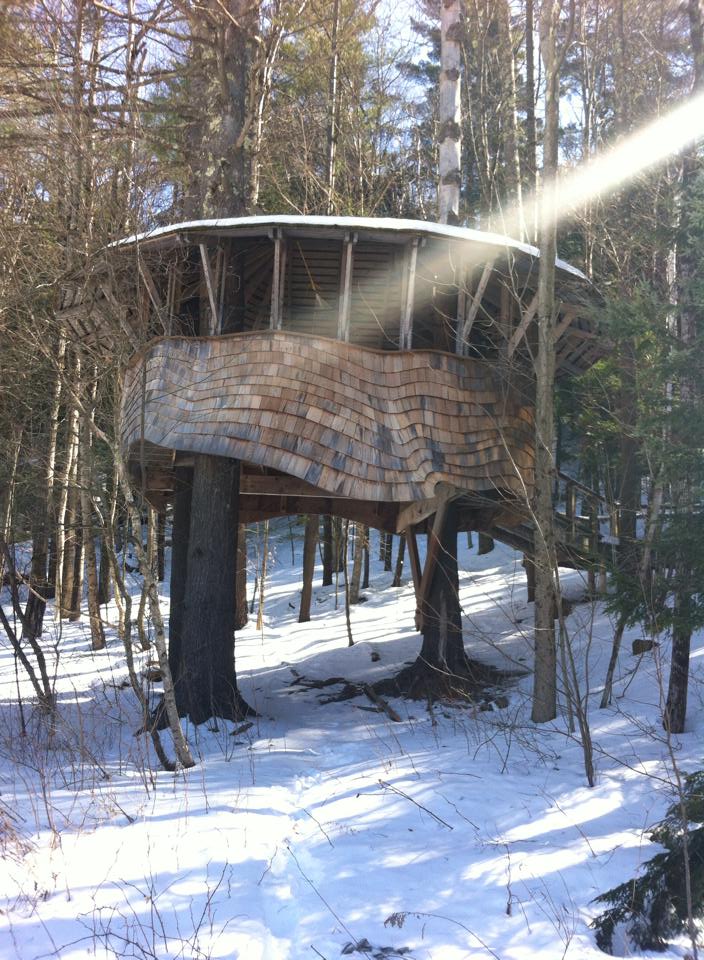 Every time I return to the Yestermorrow campus, it feels like a homecoming. This is my seventh trip to Yestermorrow and the only time I’ve arrived here via Boston. (Special thanks to the dear folks in Boston – Jessica, Sage, Alison, and Maggie – who showed me a great tiny time there!)
The first four times I came to Yestermorrow I was a student, taking the three-week core curriculum Ecological Design in the Built Environment, then Less is More and Composting Toilets, then a splendid 2-week Natural Design-Build Intensive, and finally a set of 3 workshops: Sustainable Development, Green Remodeling, and Invisible Structures.
After completing my Yestermorrow coursework I headed off to Portland State University in 2011 to earn my Masters of Urban and Regional Planning and my Urban Design Certificate. In the summer of 2012, between my two years of graduate school, I also completed my Practicum Project for my Certificate of Sustainable Design & Building at Yestermorrow, when I finished out a tiny house on wheels. Tandem is currently located at Caravan – The Tiny House Hotel in Portland, OR where it’s available for nightly rental. Here’s a Teeny, Tiny Film about me and Tandem which fellow Whitman College alum Emily put together for my practicum presentation.
When I was a student at Yestermorrow, I had fantasies of someday coming back to teach at Yestermorrow when I had enough gray hairs to attest to my wisdom. So as you might imagine, I was pretty excited to return to Yestermorrow just a couple years later to speak at the first Tiny House Fair in June 2013 and then again in September-October 2013 as an instructor for the 2-week Tiny House Design-Build.
This time I was greeted with a big hug from Dave, who manages Yestermorrow’s facilities and plays a mean stand-up bass, a firm handshake from Eric who coordinates Yestermorrow's Semester Program, and another hearty hug from Heidi, maven of Yestermorrow’s incredible kitchen. I arrived just in time for lunch, so I had a chance to meet a couple of the interns and to visit with Jenna, one of our students who arrived early. After lunch Jenna and I went for a walk around the Yestermorrow campus. I haven’t been gone long, so I wasn’t able to identify any big changes since October, but it’s always fun to play I Spy and notice the subtle shifts. It was especially nice to walk down to the river and see how different it looks iced over.
Tonight we’ll kick off our 1-week Less is More class with a full studio of 12 students from as close as Montpelier and as far away as California. A couple students are also coming down from Ontario. I can’t wait to meet all of them and learn about their plans for small homes! Stay tuned this week for updates!
Day 8: Walls, Windows & Models
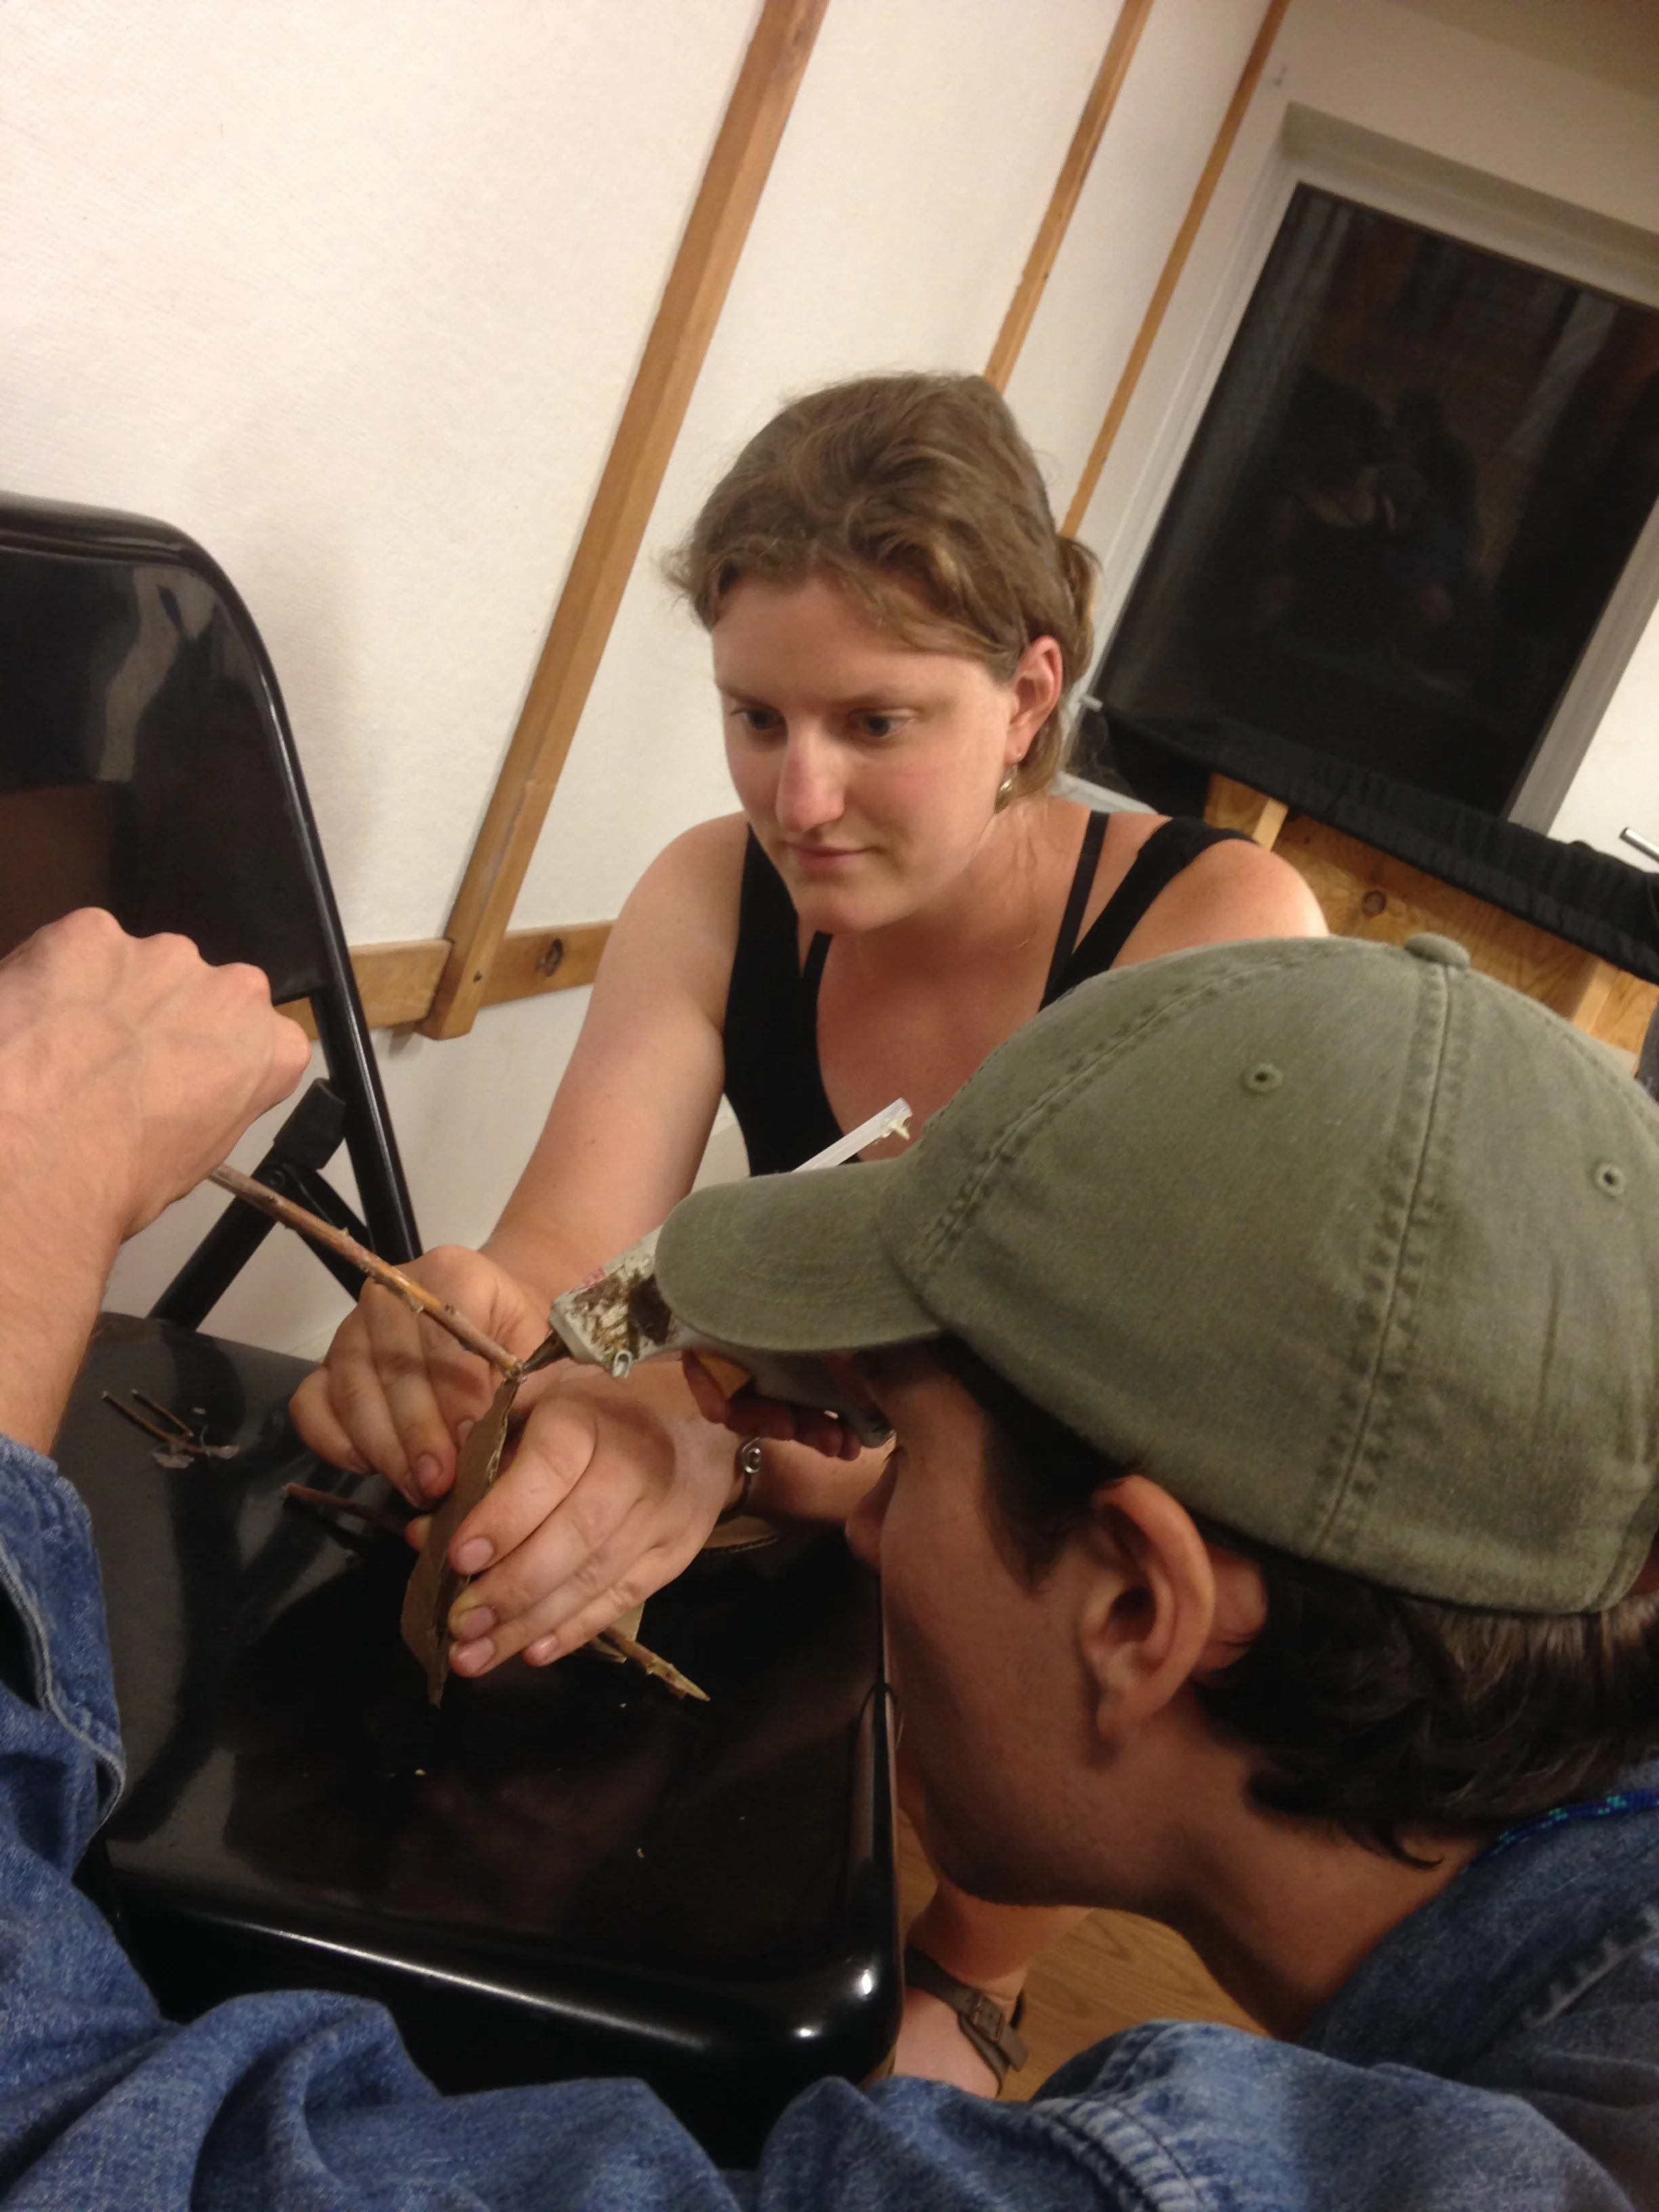
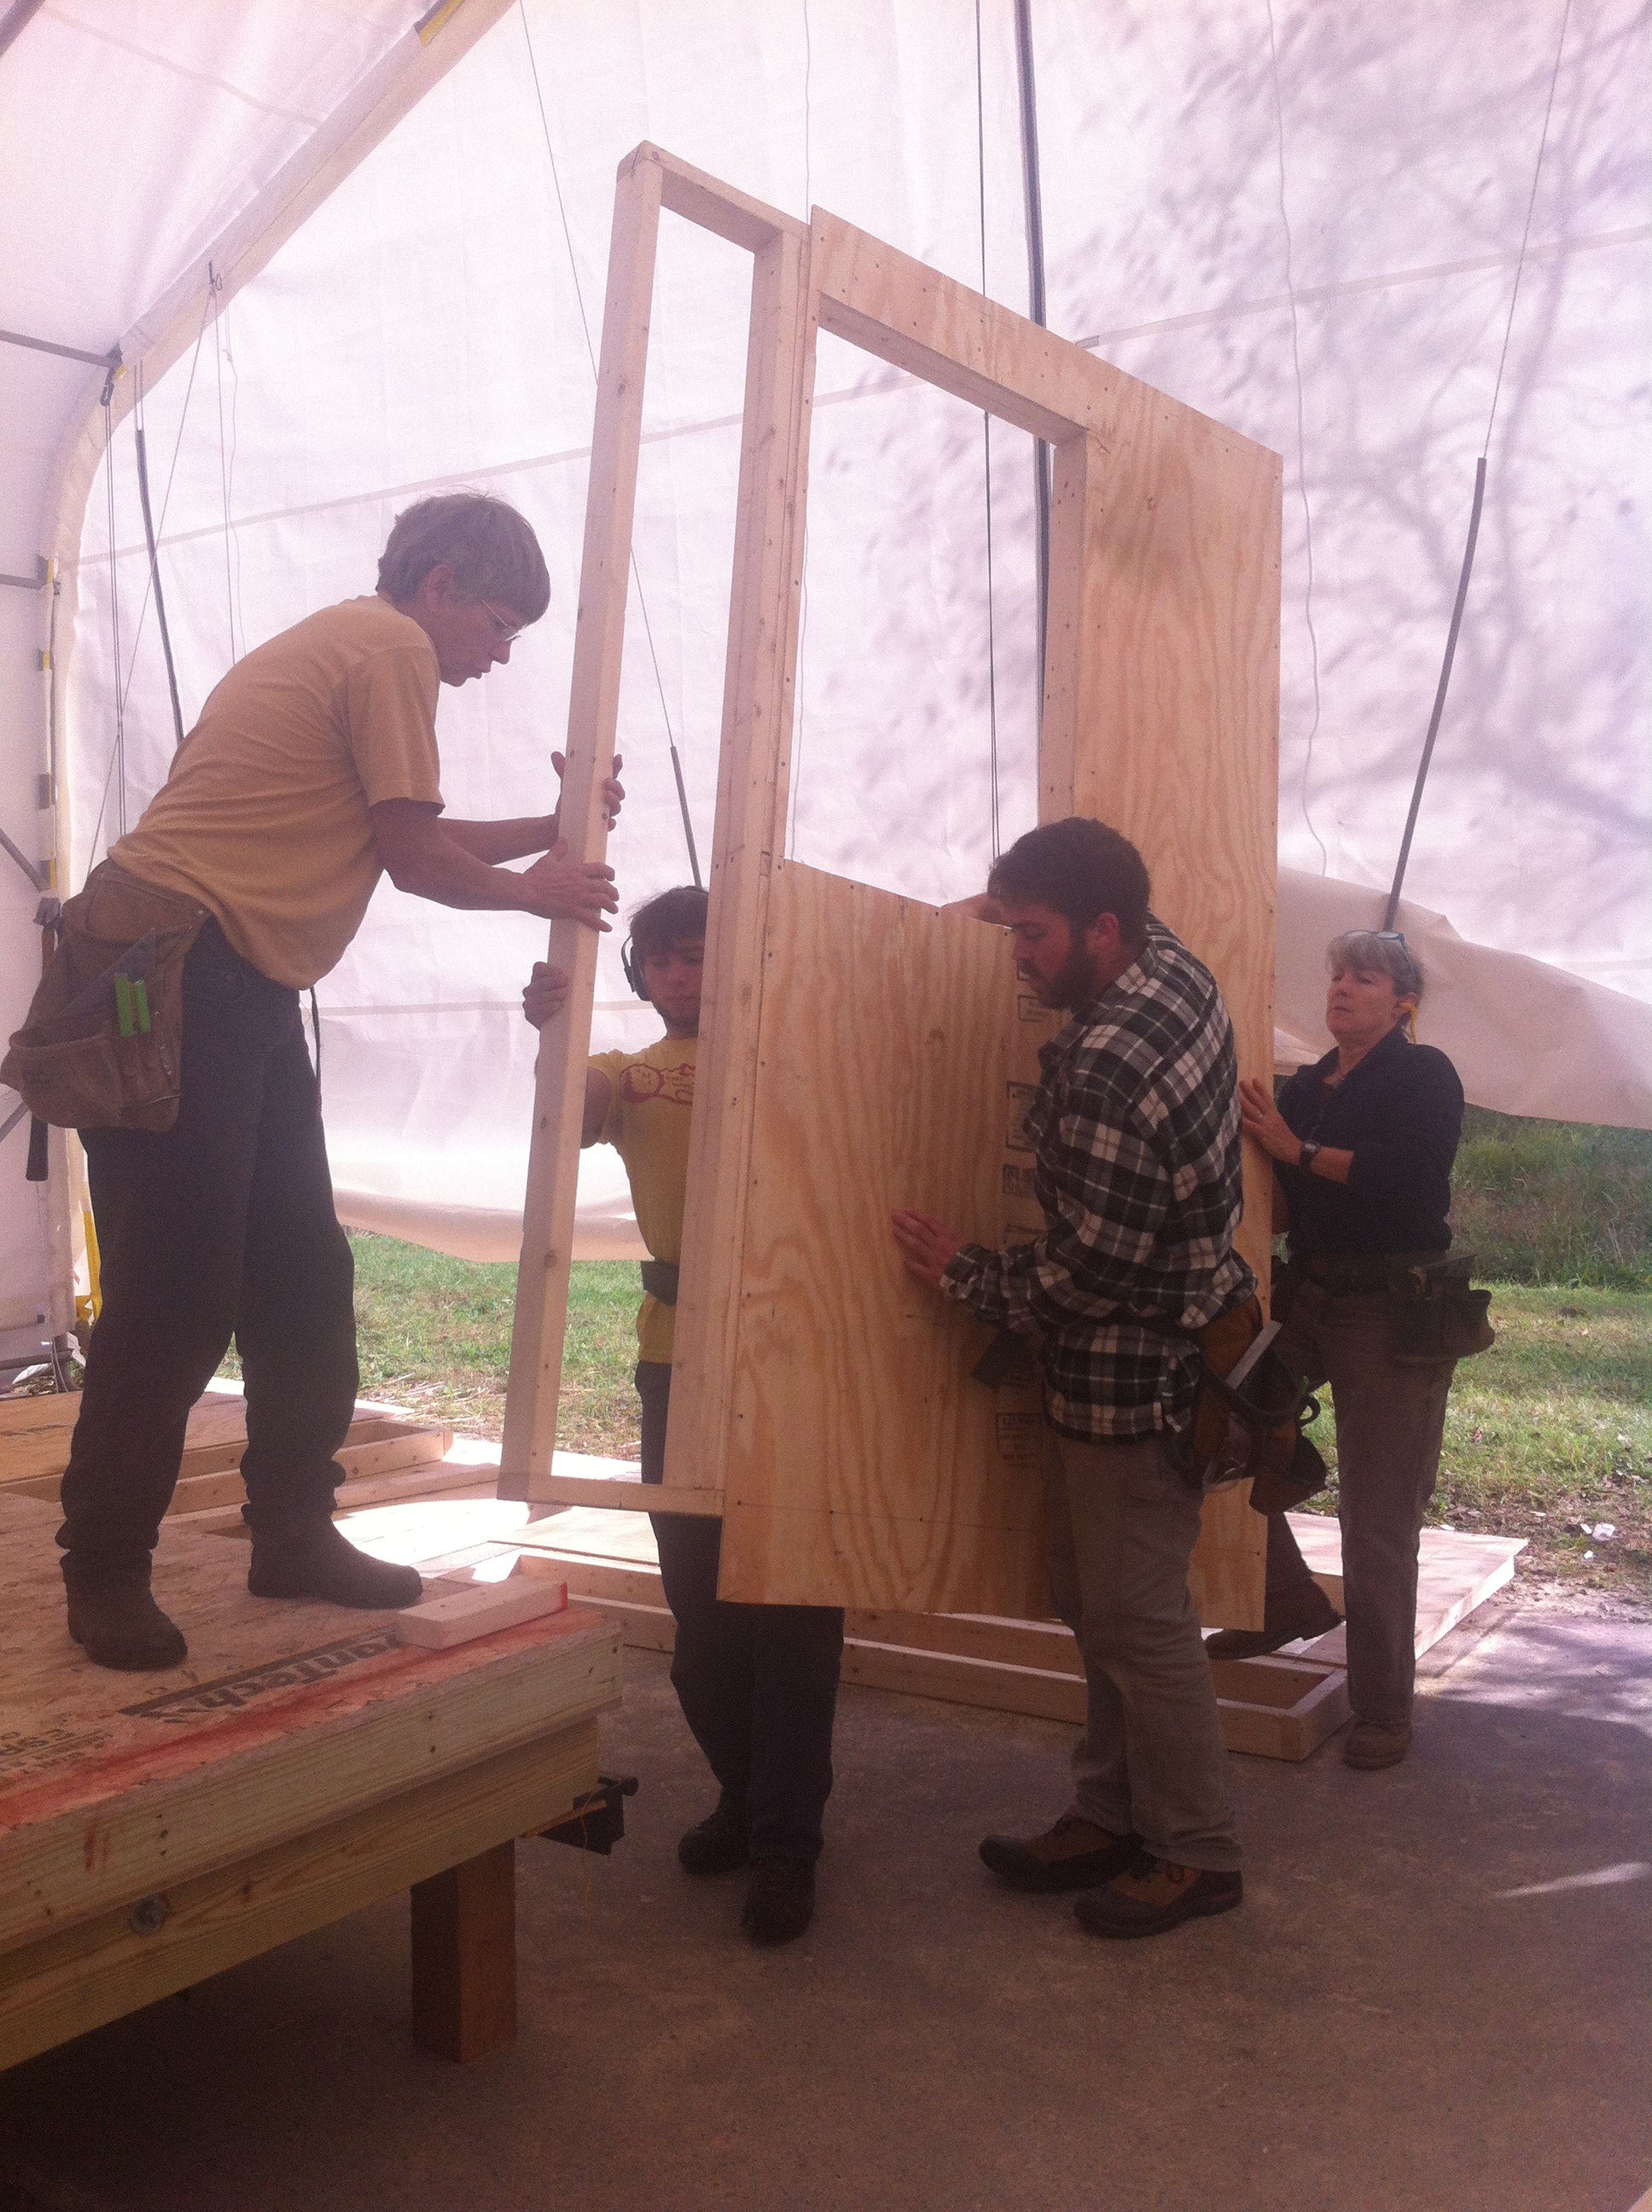 On day 8 of Yestermorrow's Tiny House Design-Build course we spent our morning on the job site getting the rest of the walls raised. A couple people have been especially enjoying the design portion of the class so they've hunkered down in the studio to learn more about how their buildings work by building models and drawing up sections and elevations. (See more photos in the Day 8 Slideshow.)
The center sections of the wall are taller because we've done a balloon frame in the area where the dormers will be, so these wall sections are quite heavy. We've braced each of the walls up in place while we square the walls and attached them to each other. Yesterday when we were sheathing we cut out most of the window openings using the circular saw to make plunge cuts. (The trick here is to drill a hole in each corner from the inside of the wall so that you can see the starting and stopping points for your cut.) However, we didn't get all the windows cut out so Julien tackled the rest today with a reciprocating saw once the walls were up. It's messier work, but definitely satisfying to see those windows pop open!
Meanwhile, Laura figured out a plan for blocking out around the wheel wells with pressure treated 2x6s so that we would have a surface to which we can nail our sheathing. It took some head scratching, just as it did on Day 4 of the Tiny Barn building blitz.
After supper Paul gave one last slideshow about proportion, line, and color. Then everyone got back to work on their own tiny house designs in the studio. The models are shaping up nicely and many people have glued a copy of their floor plans to the models which makes them easier to understand. It's so fun to see the houses people have described start to take shape.
Day 6: Sheathing, Energy & Systems, Wall Raising
 On Day 6 of Yestermorrow's Tiny House Design-Build we began sheathing the walls with CDX plywood. We're sheathing the walls flat so that the plywood creates sheer panels, which helps to keep the walls square while we install them. (See more photos in the Day 6 Slideshow.)
Since the long walls are being built in 3 sections and we have plenty of brute strength amongst the 16 of us, the panels won't be too heavy to lift into place even once they are sheathed. We decided to use 3/8" plywood to save weight since other tiny housers have done this. Unfortunately, the plywood has more warps and bows than we'd like to see so most of us have decided we'd rather use 1/2" for our little homes. (It may be that 3/8" plywood is higher quality on the Best Coast and this is another East Coast - West Coast difference.)
Now that we have the trailer level we can use it as a work surface. Our wall sheathing process involves snapping a straight line 3 1/2" from the edge of the trailer, toenailing the bottom plate of the wall to the subfloor along this line, squaring up the wall, and attaching the plywood, using the glue and screw method. Because this little house is not built down into the trailer frame we are running our plywood an extra 4 3/4" below the bottom plate so that it will cover the floor system (3/4" AvanTech subfloor, 3 1/2" pressure treated joists, and 1/2" pressure treated undercarriage). We also cut out most of the windows, using a circular saw to make plunge cuts. The windows we didn't manage to get cut out before it was time for wall raising will need to be finished with a reciprocating saw.
We got the walls almost ready to raise in the morning and after lunch I did a presentation on building science basics, energy, and systems. Afterwards we did our first wall raising and got three of the wall sections up. It's always such a thrill to see the first walls go up!
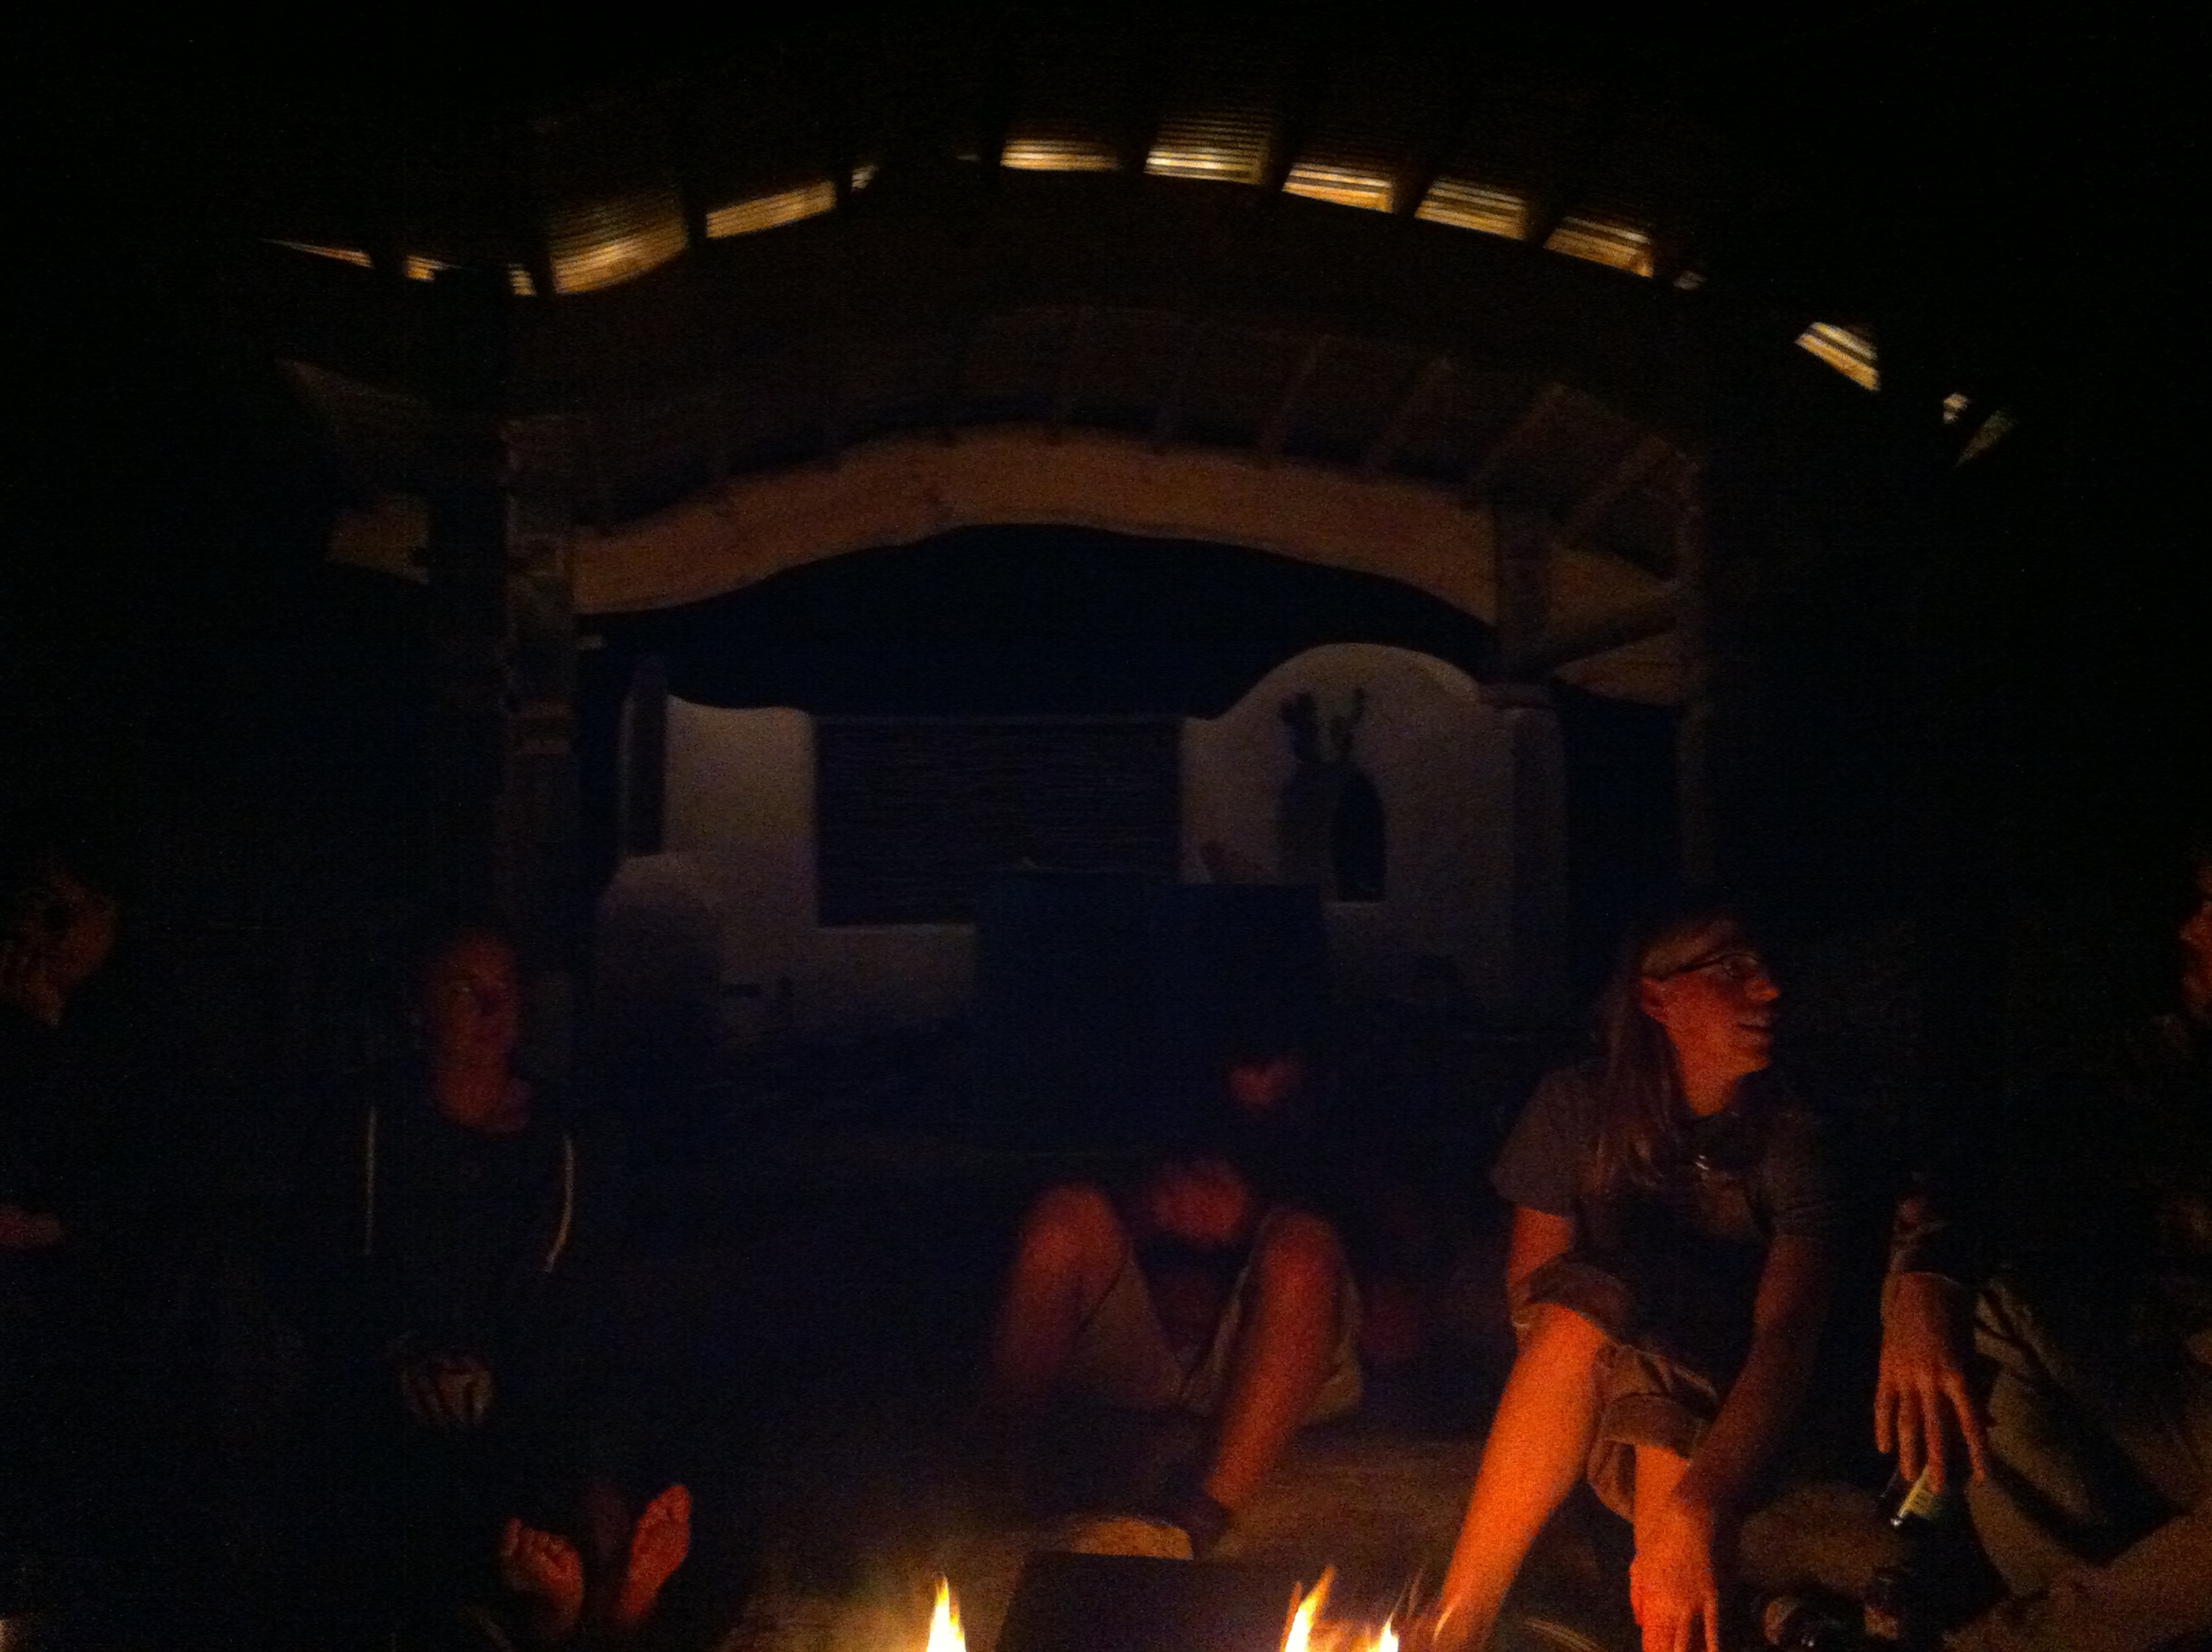
Thankfully, we set up the schedule with a 24 hour break from Saturday evening to Sunday evening, which will be a good chance for everyone to recharge. Perfect for a Saturday evening bonfire and a sing-along with a few (handmade!) instruments. It was an action-packed week and we've got another one ahead of us!
Day 5: Two Tiny Tours, Floor Insulation, Installing Subfloor
 First thing on the docket for Day 5 of Yestermorrow's Tiny House Design-Build course was a field trip to Montpelier to see two little houses. (See all the photos in the Day 5 Slideshow.)
The first was a tiny house on wheels that was constructed by Yestermorrow's first 2-week Tiny House Design-Build class two years ago. This little house was designed as a collaboration between the clients, Susan and Emily, and our co-instructor Paul Hanke. It features a bay window, a set of dormers in the sleeping loft, an alcohol cooktop, and a commercial sink for a bathtub. Life got busy and the homeowners are still working on the house. So they haven't moved in yet, but they're well on their way. They've made themselves a cozy home, sweet home and I look forward to seeing it again on my next trip to Vermont in March for the Less is More course.
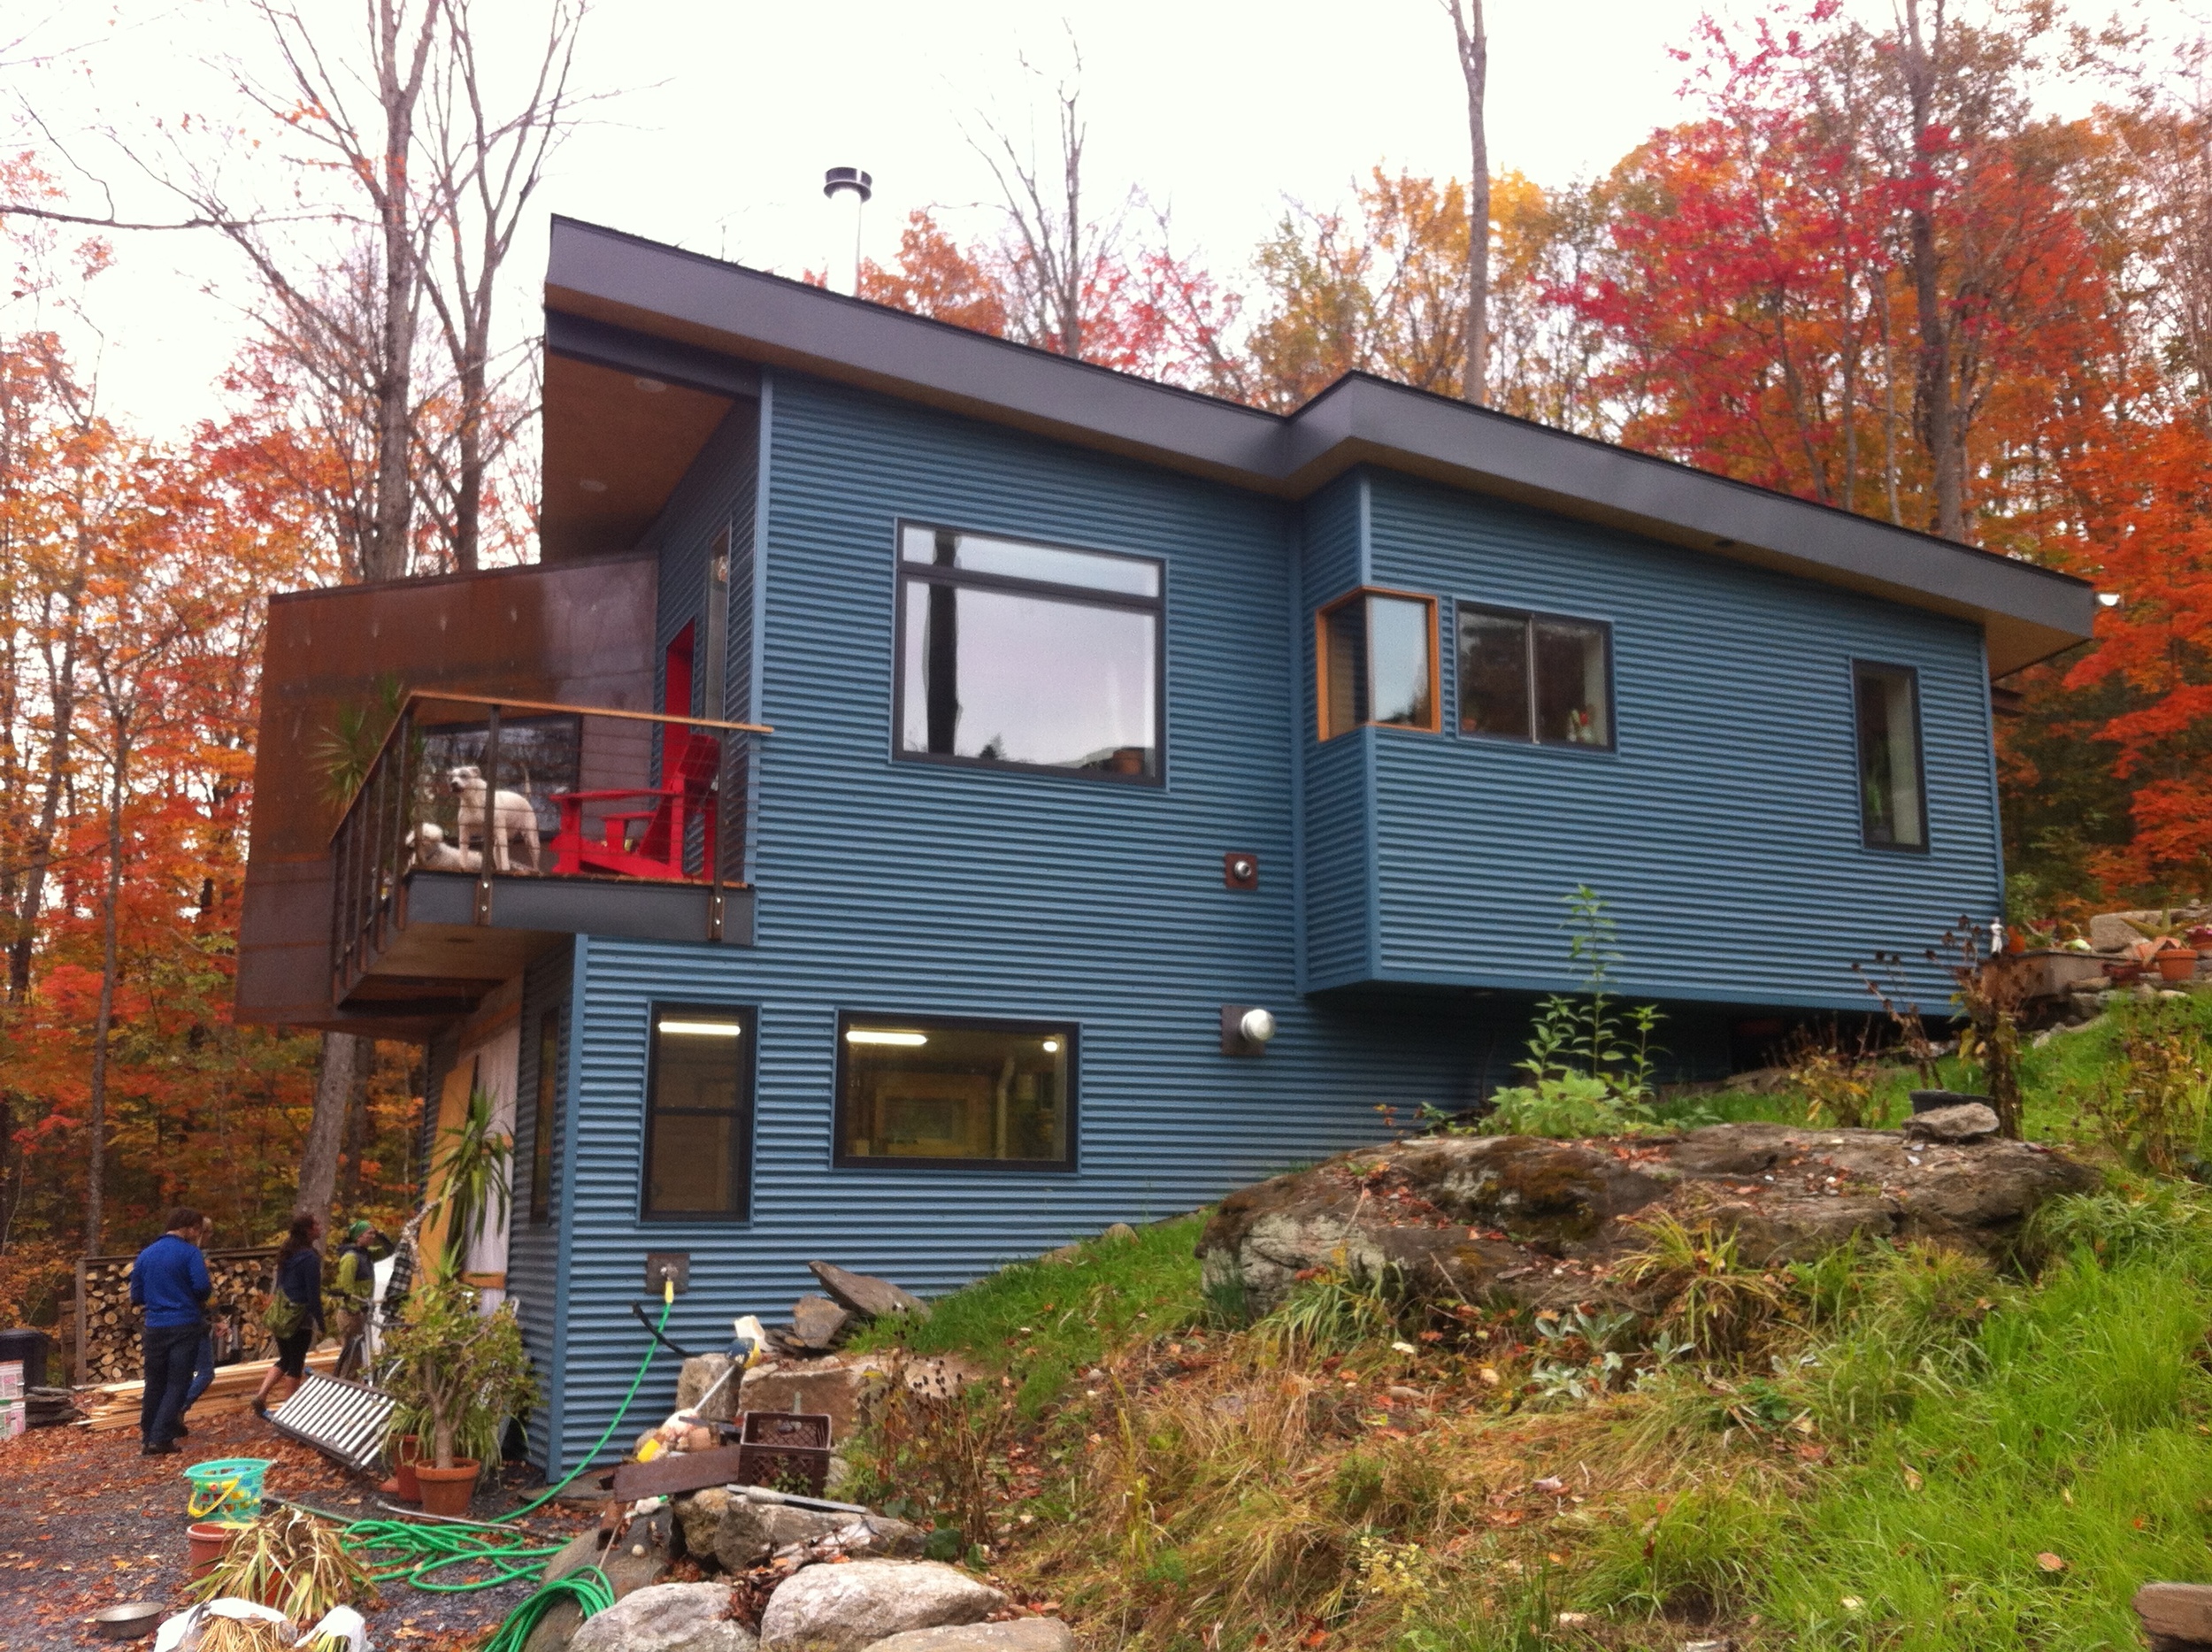
The second field trip was to see Ben Cheney's home, which was built by Yestermorrow's Semester Program last year. Ben's 700 square foot 1-bedroom house with a shop in the basement isn't a tiny house, but it is a small house that uses space creatively. It's setting is also spectacular, especially this time of year, with the blue corrugated siding contrasting nicely with the autumn leaves.
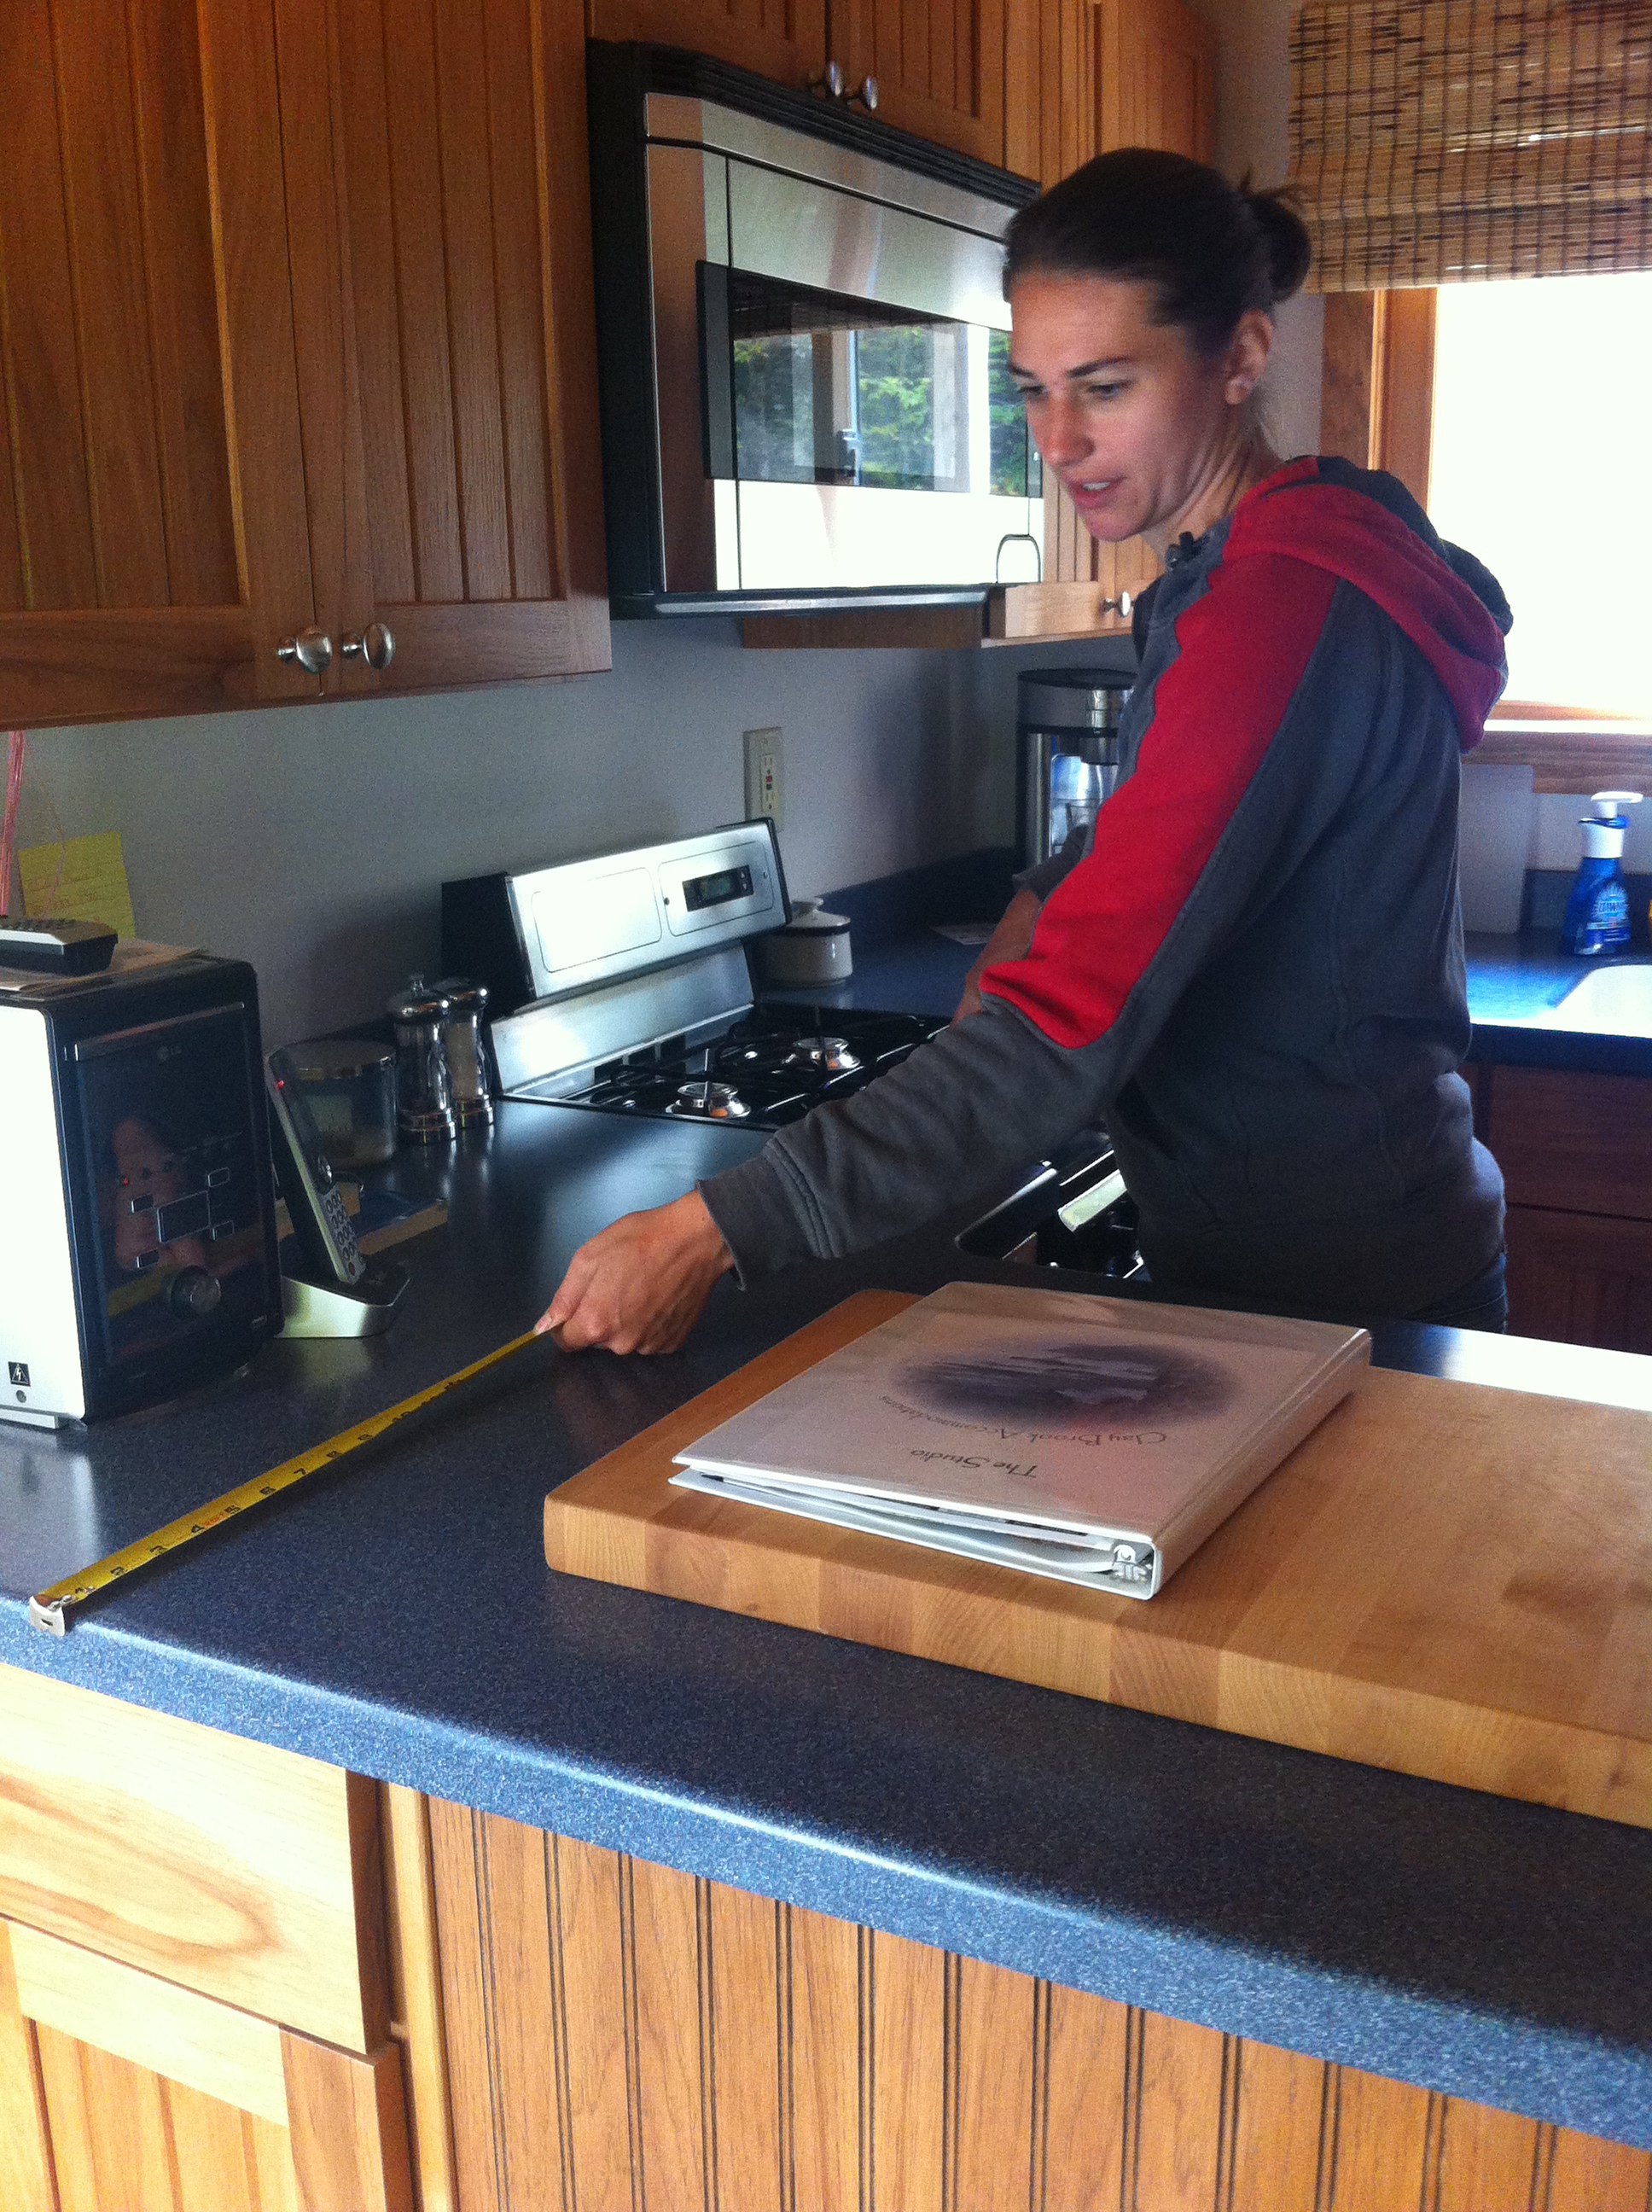
We had a great time asking Ben questions about his design decisions - and the cool gadgets he has in his home. If anyone can identify the mysterious unidentified object in the Day 5 Slideshow, please do let us know what it is!
In the afternoon we insulated the floor box of the trailer with rigid foam and sealed up the edges with low expansion spray foam. The floor box is 3 1/2" tall, so we inserted one sheet of 2" rigid foam and sealed the edges then added a sheet of 1 1/2" and sprayed the edges around it. Afterwards we installed the 3/4" subfloor. The AvanTech decking has the screw pattern stamped on it, which makes it especially easy to get it done in a snap. Tomorrow we plan to raise the first walls and it will start to feel like a real house. Stay tuned!
As usual, we had presentations and studio time in the evening after supper. It's been great to see the designs evolve, especially now that several of them are taking shape in the 3rd dimension with models and sections.
Day 3: Interiors, Another Tiny Field Trip, Site Maps & Graph Paper
 We started Day 3 of Yestermorrow's Tiny House Design-Build with my presentation about tiny house interior design considerations with dozens of tiny house photos I've collected over the past couple years, including John's Tiny House Truck, Brittany's Bayside Bungalow, Chris & Malissa's Tiny Tack House, Gina's Sweet Pea, and many more. We've created a shared inspiration folder for the class so that everyone can add their favorite interior design ideas. (See more photos in the Day 3 Slideshow.)
Then we headed down the road on another tiny field trip to see a guest cabin on the bend of the Mad River. The setting for this little house is spectacular, especially during foliage season. Like most little houses, this one uses a few tricks to maximize the space, including a retrofitted attic ladder to access the loft and glass blocks to borrow light from the bedroom for the bathroom.
The afternoon was devoted to free time so that everyone could catch their breath. A group of us headed to the nearby village of Waitsfield for maple creamies and maple-bacon donuts, which we ate next to the river and covered bridge. We're loving these gorgeous October days!
After supper everyone gathered in the studio to spend a few hours working on site plans and layouts. In the Less is More class Dave Cain shared a trick for exploring scale in a little house by cutting out graph paper blocks and rearranging the spaces until it works, so I passed this tip along and several students gave it a try. Of course, others sketched, made models, or poured over inspiring books, too. It's amazing to see how the ideas have already evolved from the first day. I can't wait to see what everyone has come up with by the end of two weeks!
Day 1: Structures, Foundation, Bubble Diagrams
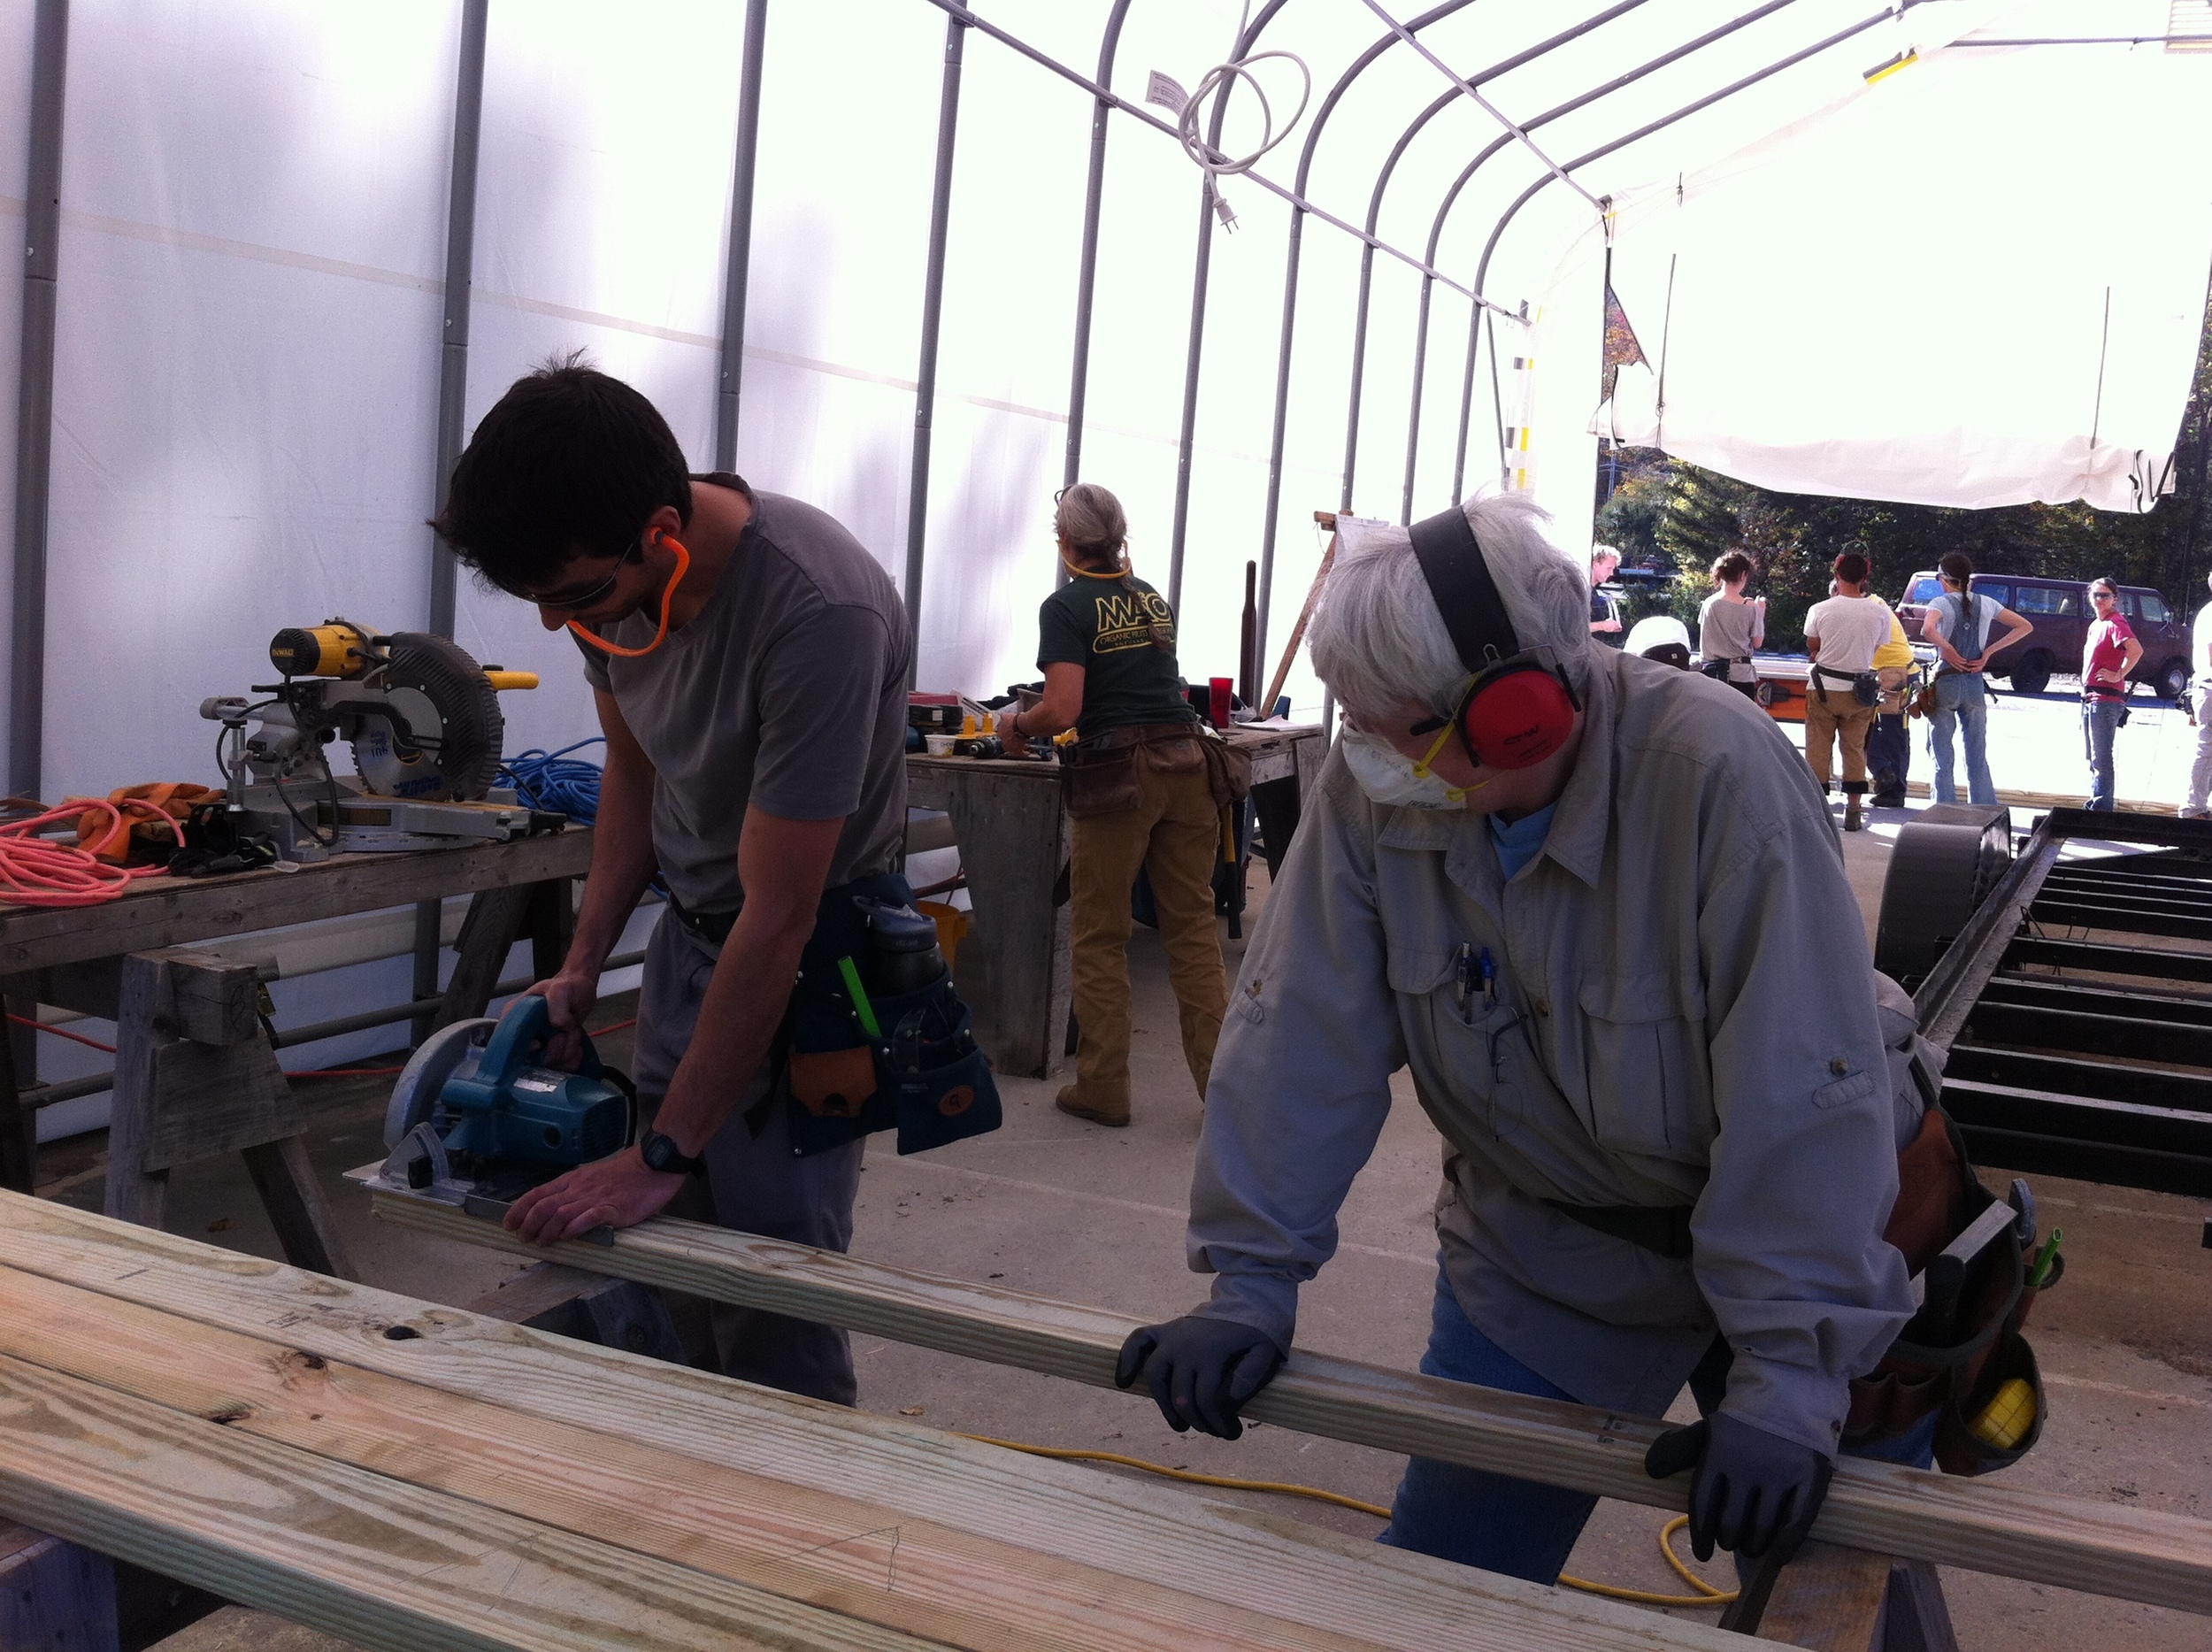 We started out Day 1 of Yestermorrow's Tiny House Design-Build with information about structures and the forces that all structures are subjected to (uplift, overturning, racking, sliding, etc.) See more photos in the Day 1 Slideshow.
Approximately half of the class intends to design a ground-bound dwelling, but since our build project for the course is a tiny house on a trailer we also addressed the particular challenges of designing a mobile structure. I introduced several different trailer configurations and shared the trailer design Portland Alternative Dwellings has developed with Iron Eagle Trailers (which are built specifically to insure a solid and easy connection between the trailer and the house and to maximize the amount of insulation in the floor).
 Then we went down to the Hanger where Patti and Lizabeth introduced the class to the trailer and the plans. Our client intends for the structure to be a part-time seasonal dwelling here in New England, so we’ll be building accordingly. The trailer is a car hauler that was purchased used, so it’s presenting some unique learning opportunities. The students who arrived on campus early to do work-trade at Yestermorrow prepped it last week by removing the decking so that we could start with the bare trailer. We began that work today by removing rust and then coating the trailer with Skyco Ospho rust treatment to prevent any additional corrosion.
Then we were on to cutting joists and rigid foam insulation for the floor system. Lizabeth introduced the circular saw and once everyone had a turn practicing with scrap lumber we switched to cutting our floor joists, which are pressure treated 2x4s. Then Patti and Lizabeth led everyone through framing the floor system in three segments, which we’ll be attaching together tomorrow.
 (By the way, it’s amusing learning the little differences between building on the West Coast and building on the east coast. On the west coast Owens Corning has the corner on the rigid foam insulation market, so we all call it “pink stuff” while on the East Coast most of it appears to be made by Dow, so it’s known here as “blue board.” Similarly, I’m used to pressure treated lumber being dark brown and full of punctures while over here it’s mostly Southern Pine and identifed by the a green tint of the chemicals.)
This evening we had a presentation on tiny houses from around the world that has me fantasizing once again about building a house inspired by an elephant. The rest of the evening was devoted to design exploration, including bubble diagraming and showing off the inspiration folders students prepared as part of their program. The creative juices were flowing, the colored markers were used with wild abandon, and google images kept producing more inspirational imagery. How fun to be at the beginning of two weeks of tiny house design and building!
Lina's Next Adventure
This post from last summer was lingering in draft mode. Now that Niche is having it's first birthday, I realized I'd better get it posted! -Lina
This summer I've been going through a Transition Time as I wrapped up my Masters of Urban and Regional Planning, my Urban Design Certificate, my work with Intrinsic Ventures in the Ford District. On top of all that, I moved from my Home, Sweet Yurt into my Home, Sweet Pea. And then I immediately spent a couple weeks catching up with my long-lost family.
So as the dust settles, I'd like to introduce you to Niche Consulting LLC and tell you about my next adventures. In January I created Niche, my own sustainable design consulting company, so that I could do design and lifestyle consulting with people interested in creating their own small homes and so that I could work on sustainable development projects. You can read Lina's Next Adventure, the letter I wrote to the folks in the Ford Building for more about that.
I remember declaring as a sophomore in college that I wanted to be a sustainability consultant someday, but I didn’t know quite what that meant. So I was researching the sort of companies for which I’d like to work. The trouble was that I was most intrigued by fringy sustainable housing ideas like natural building, cohousing communities, district sustainable energy use, and creating small homes by converting garages and basements. I couldn’t find a single company that seemed like it would allow me to pursue my passions.
But as I graduated, the parent of one of my dearest friends gave me some of the best advice I’ve ever received. Gayle told me:
“The jobs you’ll love best throughout your career probably don’t exist yet. So just be ready for them, when they’re ready for you.”
What better way to prepare myself for all the exciting projects to come than to create a company that will allow me the flexibility to pursue them?
I give credit to three people for convincing me I could – and should – start my own company. Matt Eppelsheimer of Rocket Life Incorporated taught me an incredible amount about start-ups. Joan Grimm helped me understand that creating my own single-member LLC would enable me to work with companies like Portland Alternative Dwellings more easily on a contract-basis. And Lizzy Caston, a fellow Portland State University Masters of Urban and Regional Planning alum, inspired me to strike out on my own by telling me about creating her own consulting company. I met with her for a cup of tea in early January and by the end of the week my company was registered!
Now that my graduate school degree is complete, I have the time to see what that means to be self-employed. I'm looking forward to site managing for Caravan - The Tiny House Hotel in September, co-instructing the Tiny House Design-Build course at Yestermorrow in September-October, team teaching Tiny House Basics Workshops with Dee Williams and Joan Grimm in November, and doing some capacity-building work with Portland Alternative Dwellings. Hopefully, I'll also have lots of opportunities to do consultations with individuals.
If you've who have been trying to find your niche and haven't yet, maybe it's time to make it! If you'd like to talk to me about small house designs or tiny lifestyle consultation, please contact me.


