 Okay, that’s not really true. Most of what I know about designing tiny houses came from living in a travel trailer, a yurt, an accessory dwelling, and two tiny houses on wheels over the past two years. I certainly learned plenty about tiny home design from reading Dee Williams’ Go House Go, Lloyd Kahn's Tiny Homes, Simple Shelter, and Jay Shafer’s The Small House Book, too. And, of course, I learned a great deal from attending the Less is More class at Yestermorrow (which I’ll be teaching in March 2014!)
But during the past two weeks I’ve been site managing at Caravan – The Tiny House Hotel while Kol and Deb are on their honeymoon, and cleaning Caravan's Tiny Houses everyday has taught me an enormous amount about how material selection and interior design considerations impact the ease of maintaining a little home! (Check out my Tiny House Cleaning Checklist for the run-down of how to tidy up!)
Here are some of my lessons learned:

Making Beds: I think it’s really clever that the twin bed on the first floor of Tandem pulls out into a king size bed. I have realized, however, that since I’m quite small myself a twin size mattress is plenty bulky for me to wrestle as I put sheets on two of them. I’m considering an extendable bed in my Vardo and I think I’ll go with one that makes into a full or queen size bed so that the halves aren’t so cumbersome. Additionally, I've discovered that there is a direct correlation between the size of a loft and the ease of making a bed in it! (And that having skylights makes the space seem larger psychologically even if it doesn’t actually increase the volume of the space.) You can read my Tips for Making a Loft Bed on my Tiny House Cleaning Checklist. As you consider your tiny house design, note that it’s much easier to make a loft bed if:
- the actual volume of the loft is bigger because of tall walls, a shallow roof pitch, dormers, or a gambrel shape,
- there is a foot or so of space at the end of the loft past the mattress on which I can perch and some space on either side to tuck in blankets,
- the ladder is easy to use and can be stood upon while making the bed (see more on ladders below),
- the blankets and sheets are a good fit for the mattress – it’s tricky if one is trying to do special folding down and folding back up details,
- there is a surface within reach (a counter, a table, a window seat, etc.) on which to store pillows, sheets, and blankets while making the bed without having to go all the way back down the ladder

Using Ladders: Speaking of ladders, I’ve found that designing a tiny house ladder is much like designing a tiny house itself: you want it to be sturdy, safe, and secure, but also portable. I find that I feel most secure on a ladder that has a solid connection with both the loft and the floor. I appreciate that the ladder Derin Williams made for Pearl has a bottom rung that rest squarely on the floor because it’s so much less likely to tilt. At the top it’s nice to either have pieces that extend up above so that you can pull yourself up into the loft or a flat surface that can be used to push yourself into the loft. The ladder in the Tiny Barn is my favorite because I have never been the slightest bit nervous on it.
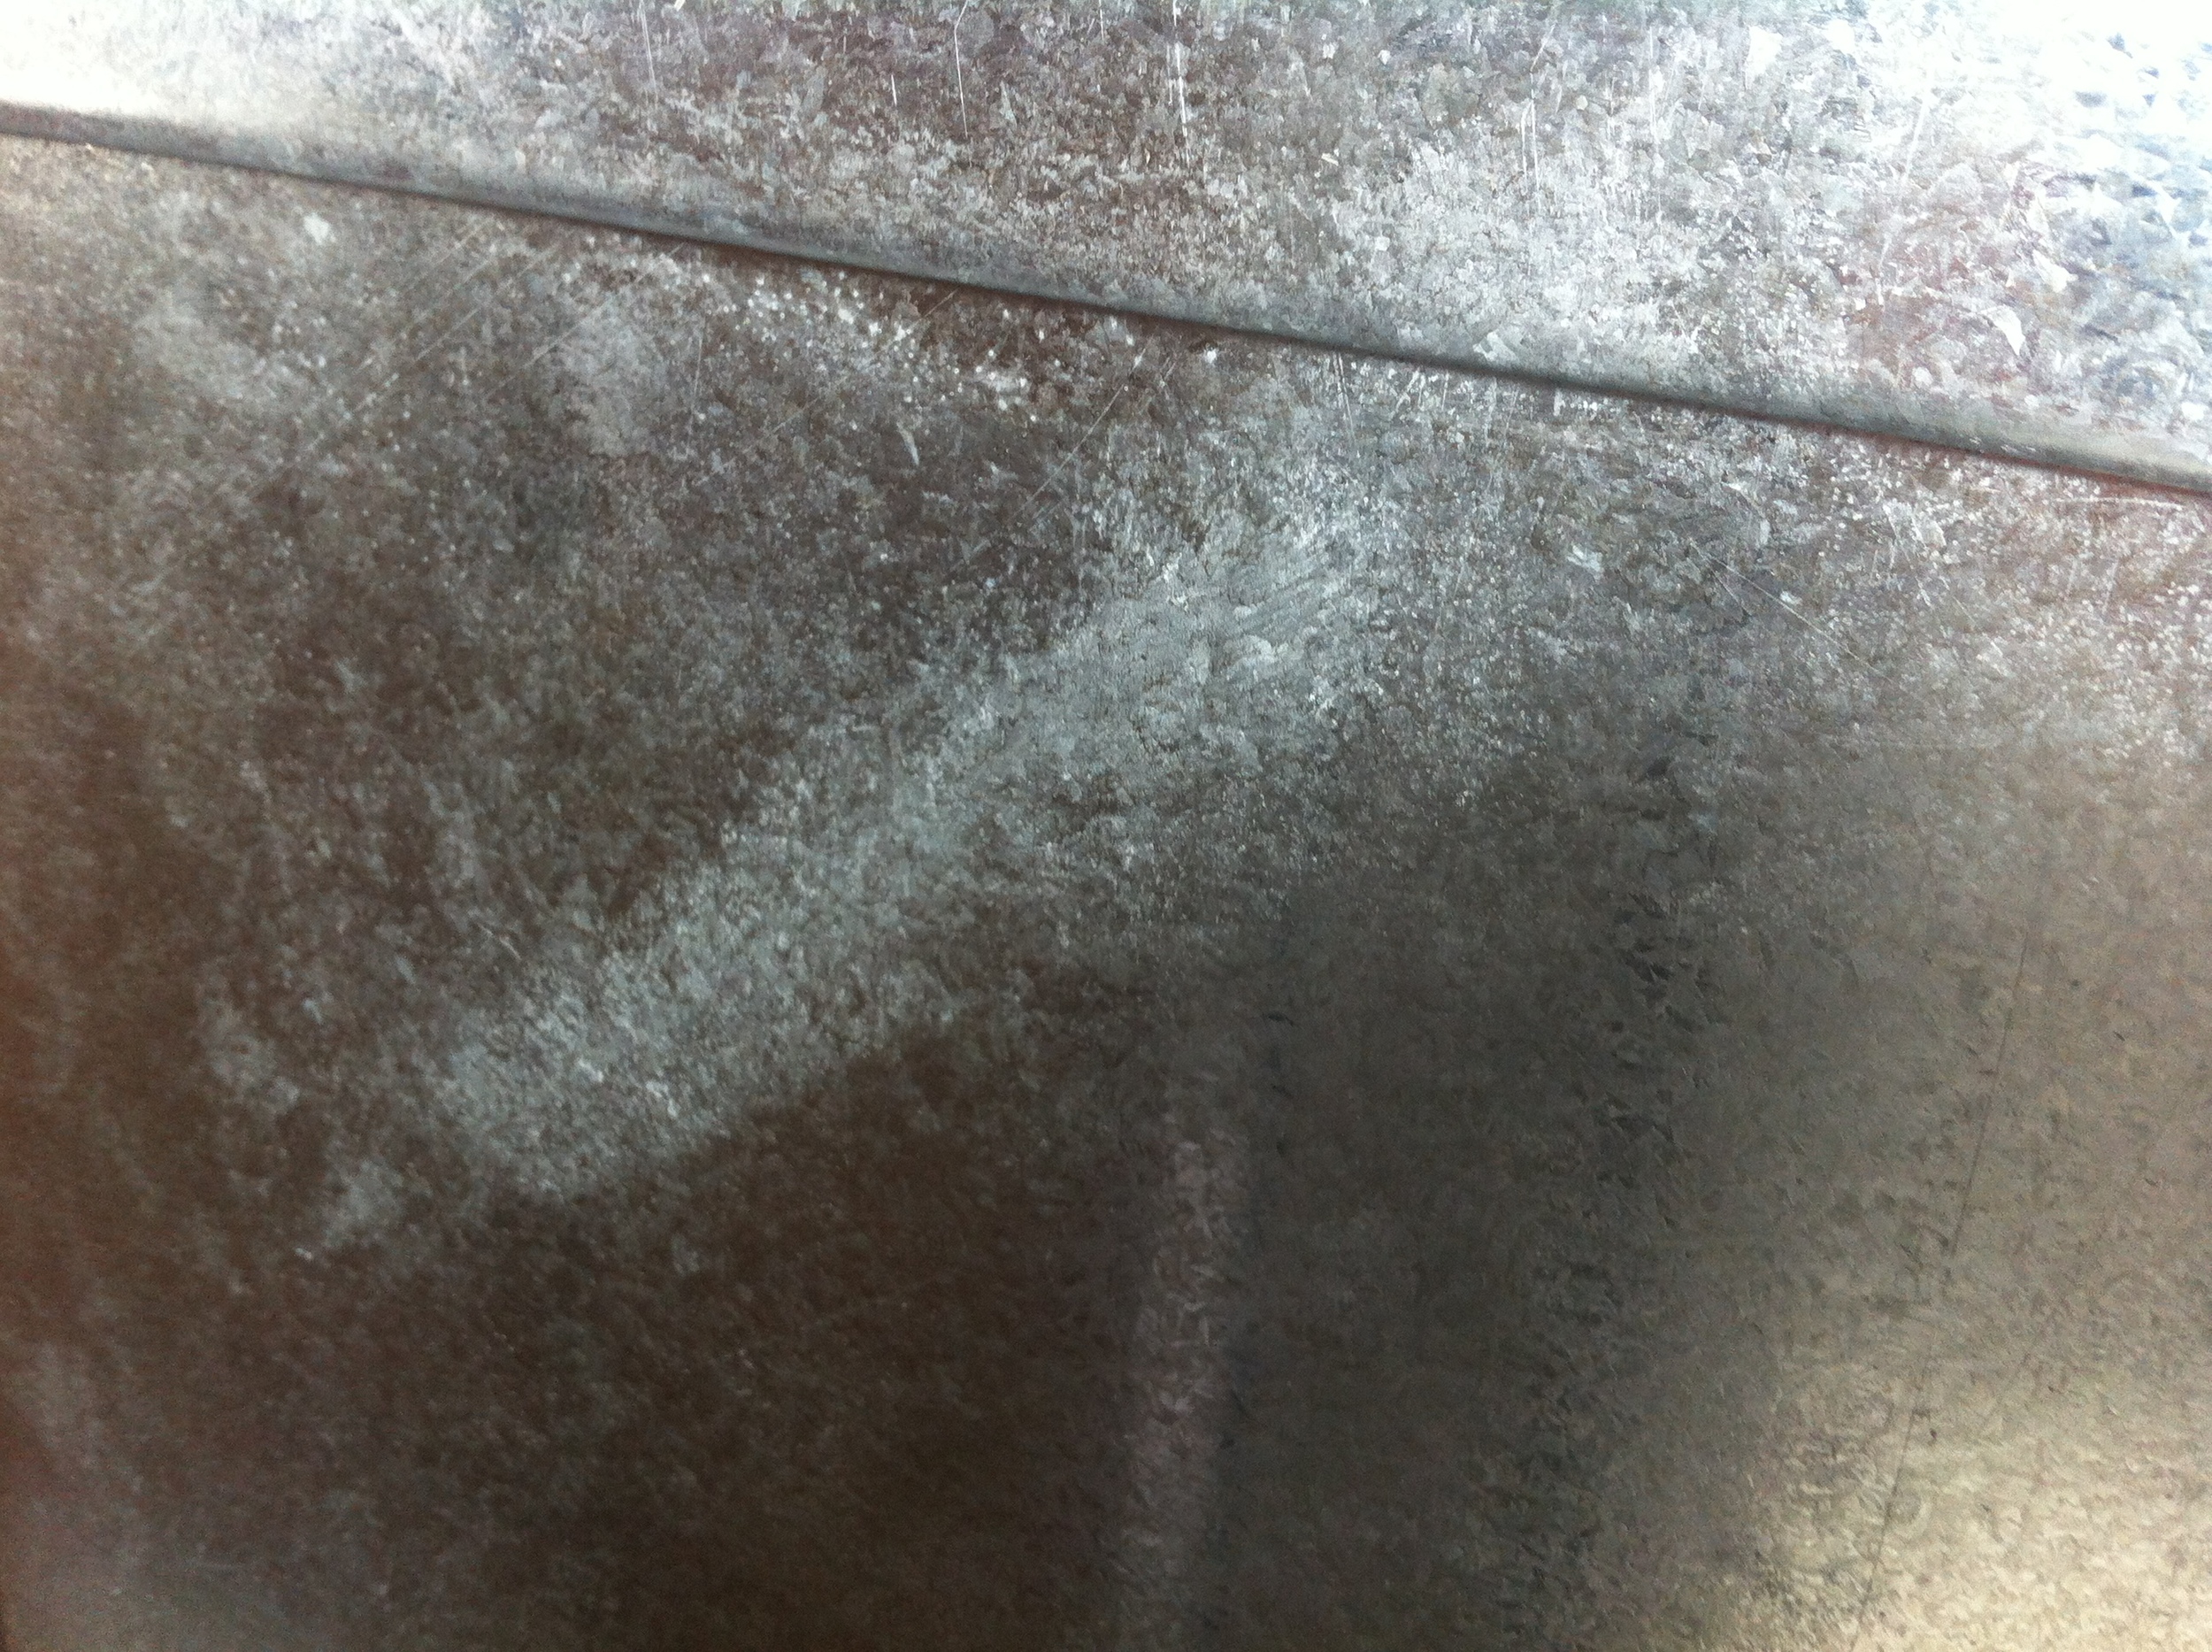
Wiping Counter Tops: Each of the tiny houses at Caravan uses a different material for the countertops. Tandem has a tiled countertop, Rosebud has a cobblestone countertop, and Pearl has a galvanized steel countertop. All three of these are fairly unusual as most of the tiny houses I’ve seen have wooden countertops. As I’ve cleaned up the tiny houses at Caravan I’ve discovered that the tile countertop is the easiest to maintain. The cobblestone looks beautiful and wears well, but I’ve realized that the uneven surface isn’t ideal for chopping veggies. The galvanized looks really cool, but I've discovered that it's so shiny and reflective that when it's in direct sunlight that have to remember to close the curtains so I don't give myself light blindness. On the other hand, once it gets marked up, those spots seem to be impossible to remove. I actually think it adds an awesome patina to the surface and shows that the house is well-lived-in and well-loved, but it's not necessarily the sleek look I first imagine when I think of metal countertops.

Scrubbing Showers: As I discovered while tiling the shower in Tandem, it’s way too easy to damage a fiberglass shower pan. Unfortunately, any nicks and scratches in the shower pan make it difficult to clean the shower forevermore, so it’s worthwhile to protect them as well as you can during the construction process. Similarly, the galvanized metal in the wet bath of the Pearl has a few marks that seem impossible to scrub away no matter how much elbow grease I use.
Cleaning Floors: Finally, it’s important to use appropriate flooring materials in appropriate places. The cork floors I installed in Tandem look awfully nice, if I do say so myself, but it might have been a good idea to use a different flooring material in the entryway and bathroom because they have absorbed some water and swollen along one of the seams. Of course, it’s also a good idea to select materials that don’t show dirt and scuff marks much. Additionally, I love marmoleum as a flooring material but I didn’t realize how slippery it is until I was reaching to tuck in the blankets at the back edge of Pearl’s convertible dinette/bed and found myself slipping. (This is compounded by my shortness, so I might be the only one with this problem!)
Recap: I highly recommend that anyone considering living in a tiny house take the opportunity to stay at Caravan - The Tiny House Hotel or Bayside Bungalow to try it out. But now I also think people ought to try out cleaning a tiny house. (Anyone is welcome to arrange a time to come clean mine! Tee, hee!) I'm grateful to have had this opportunity to become intimately acquainted with the nooks and crannies of each of these little houses because it's given me a whole new appreciation for material choices. While I learned a lot from My Summer Dream Job: Tiny House Design-Building, I think of these materials in a whole new way now because of maintaining them!
 We started Day 3 of Yestermorrow's Tiny House Design-Build with my presentation about tiny house interior design considerations with dozens of tiny house photos I've collected over the past couple years, including John's Tiny House Truck, Brittany's Bayside Bungalow, Chris & Malissa's Tiny Tack House, Gina's Sweet Pea, and many more. We've created a shared inspiration folder for the class so that everyone can add their favorite interior design ideas. (See more photos in the Day 3 Slideshow.)


